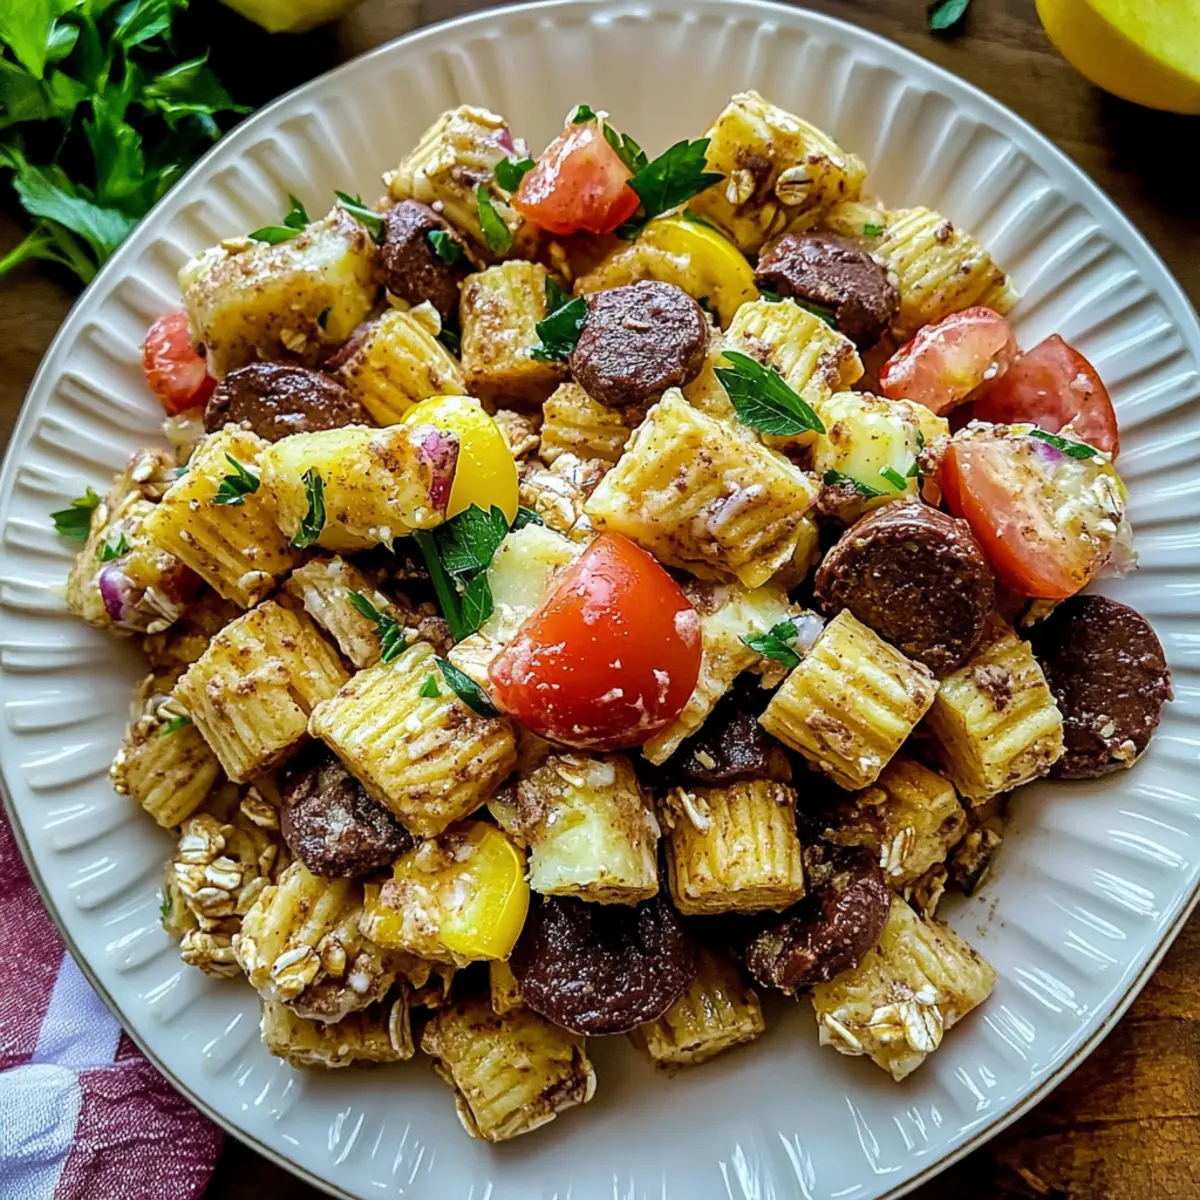
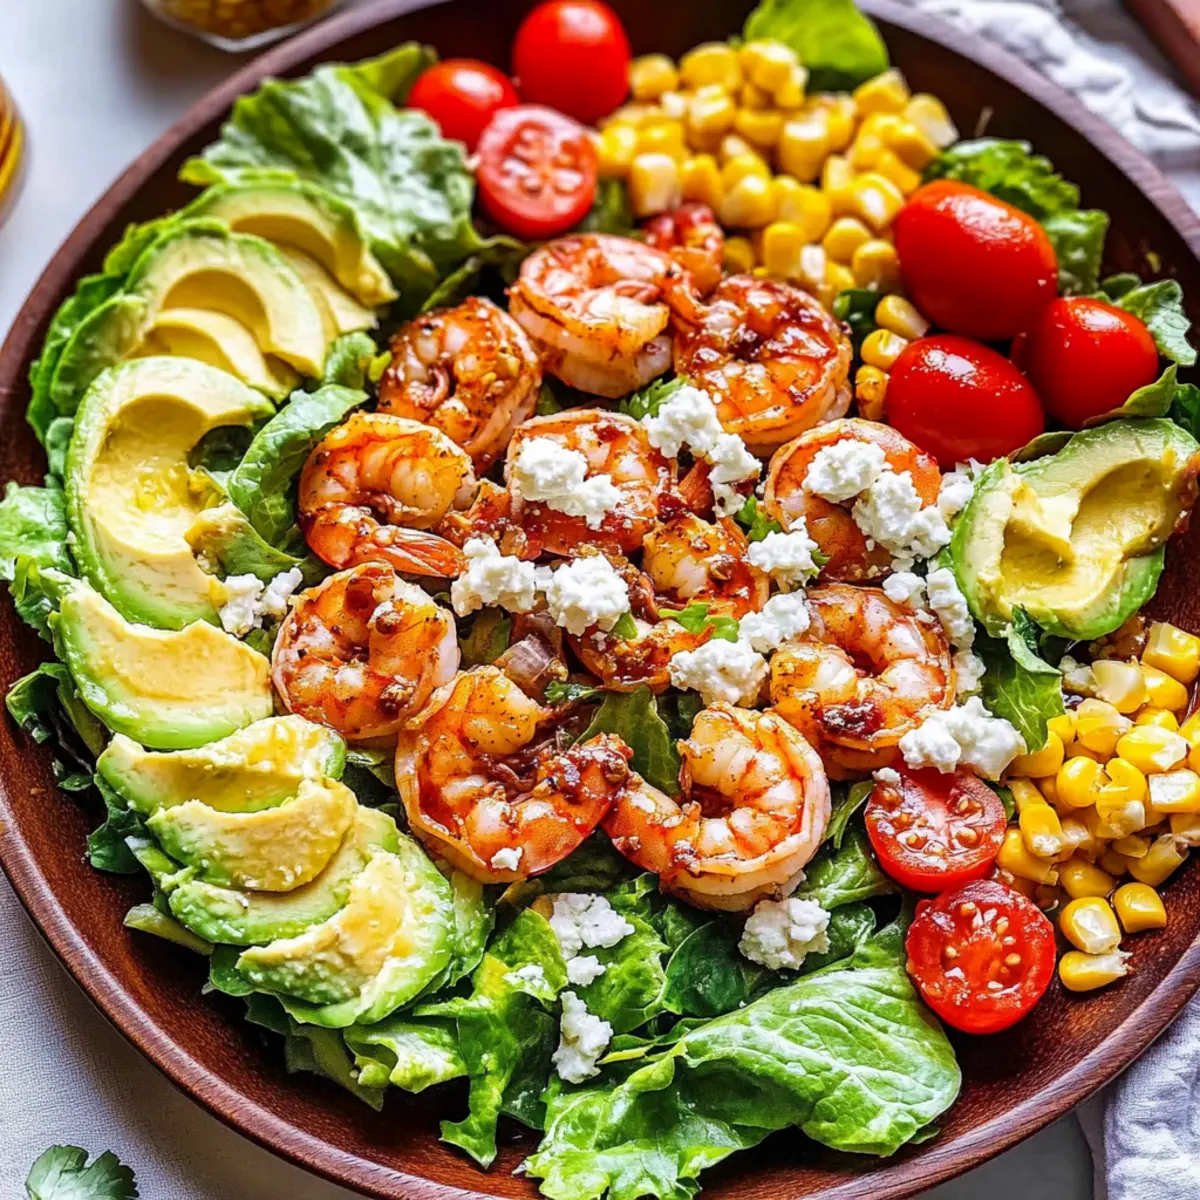
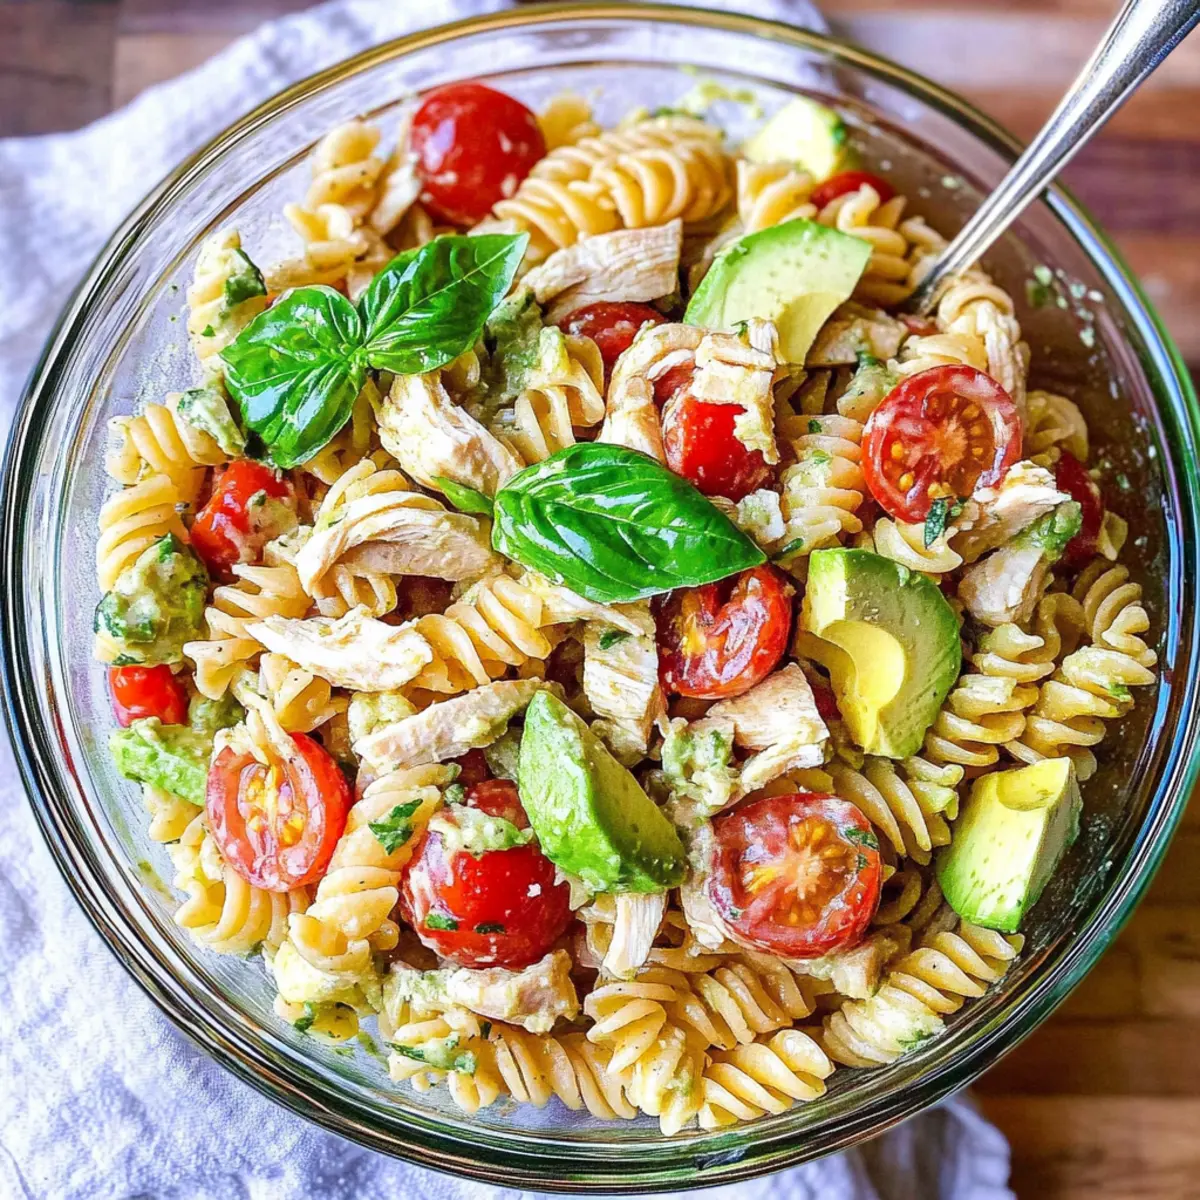
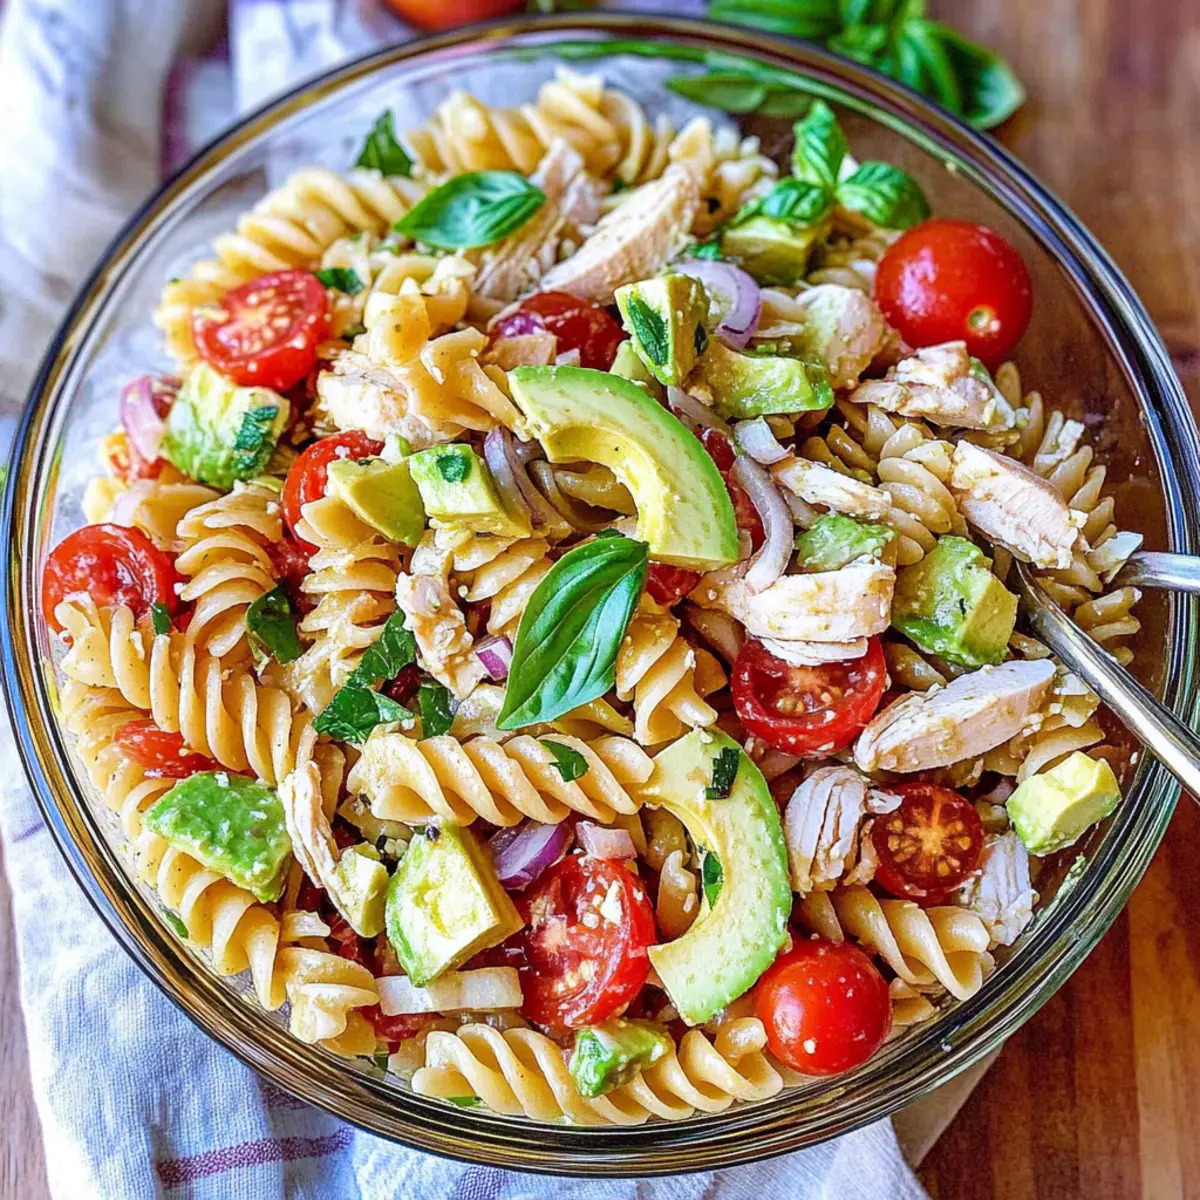
As I stood by the kitchen counter chopping vibrant cherry tomatoes and creamy avocado, a sense of calm washed over me. There’s something magical about assembling a dish that feels as refreshing as a summer breeze. This Healthy Chicken Pasta Salad is a delightful blend of robust flavors, featuring protein-packed chicken, juicy tomatoes, and aromatic basil, all tossed together in under 20 minutes. It’s the kind of meal that not only fuels your body but also lifts your spirits—a perfect go-to for lunch or light dinners. Plus, no mayo means you can enjoy it guilt-free, and it’s ideal for meal prep! Ready to create a colorful, nutritious masterpiece that satisfies without weighing you down? Let’s dive in!

Why is this Chicken Pasta Salad Special?
Quick to Prepare: This Healthy Chicken Pasta Salad takes just 20 minutes, making it a fantastic option for those busy days when you're craving something healthy without spending hours in the kitchen.
Nutrient-Dense: Packed with protein-rich chicken and healthy fats from avocado, this salad fuels your body while keeping you satisfied.
Versatile Ingredients: Customize it easily! Swap in your favorite veggies or try adding Cauliflower Pasta Ready for an extra healthy twist.
No Mayo Needed: Enjoy a light, creamy texture without the guilt of mayo—ideal for staying on track with your health goals.
Perfect for Meal Prep: This salad is great for making ahead and stays fresh in your fridge for up to three days, making it perfect for lunch or quick dinners.
Get ready to impress family and friends with this vibrant, flavorful dish that'll leave everyone asking for seconds!
Healthy Chicken Pasta Salad Ingredients
For the Salad
- Rotini Pasta – Provides structure and a hearty base; swap for bow tie, penne, or macaroni if you prefer.
- Shredded Chicken – Adds protein; consider using rotisserie chicken for convenience or grilled chicken breasts for a fresh option.
- Avocado – Contributes creaminess; remember it can brown, so add it just before serving if making ahead.
- Cherry Tomatoes – Offer juiciness and sweetness; any ripe small tomatoes can work if cherry tomatoes aren’t available.
- Fresh Basil – Imparts a fragrant herbal touch; use dried basil in a pinch, but fresh delivers the best flavor.
- Red Onion – Adds crunch and sharpness; adjust the quantity to taste or substitute with green onions for a milder flavor.
For the Dressing
- Olive Oil – Acts as a base for the dressing; extra-virgin is preferred for its robust flavor.
- White Wine Vinegar – Provides acidity to balance the flavors; you can substitute with apple cider vinegar for a milder taste.
- Italian Seasoning – Enhances the overall flavor; if you're out, use individual herbs like oregano and thyme.
- Salt & Pepper – Essential for seasoning; adjust to taste for the perfect finishing touch.
Make this Healthy Chicken Pasta Salad your next go-to dish and savor the joy of wholesome flavors!
Step‑by‑Step Instructions for Healthy Chicken Pasta Salad
Step 1: Prepare the Pasta
Start by bringing a large pot of salted water to a rolling boil over high heat. Once boiling, add 8 ounces of rotini pasta, cooking it for about 8-10 minutes until al dente, or firm to the bite. Drain the pasta in a colander and rinse it under cold water to cool down quickly. Set it aside in a large mixing bowl to prepare for the rest of your delicious Healthy Chicken Pasta Salad.
Step 2: Chop the Ingredients
While the pasta is cooking, dice 1 ripe avocado and halve a cup of cherry tomatoes, setting them aside for later. Chop half a small red onion and roughly tear a handful of fresh basil leaves. These colorful ingredients will add vibrancy and flavor to your salad. Make sure to keep everything handy and ready to combine, enticing you with their freshness as you assemble your Healthy Chicken Pasta Salad.
Step 3: Mix the Chicken
Add your shredded chicken (around 2 cups) to the bowl with the cooked rotini pasta. If you're using rotisserie chicken, make sure it's warmed slightly for better melding of flavors. About this time, you should appreciate the protein boost this Healthy Chicken Pasta Salad provides as you mix the chicken into the pasta.
Step 4: Prepare the Dressing
In a small jar or bowl, combine 3 tablespoons of olive oil with 2 tablespoons of white wine vinegar, 1 teaspoon of Italian seasoning, and a pinch of salt and pepper. Close the jar tightly and shake it vigorously until the dressing emulsifies and thickens slightly. This bright dressing will perfectly complement your Healthy Chicken Pasta Salad, enhancing the exquisite flavors of the fresh ingredients.
Step 5: Combine the Salad
Drizzle the prepared dressing over the pasta and chicken mixture. Gently fold in the diced avocado, cherry tomatoes, chopped red onion, and fresh basil with a spatula. Be careful not to mash the avocado. Toss everything together until the ingredients are fully combined and evenly coated with the dressing, creating a deliciously vibrant and healthy Chicken Pasta Salad.
Step 6: Serve and Enjoy
Your Healthy Chicken Pasta Salad is now ready to serve! Spoon it into bowls or plates, and admire the colorful presentation of your creation. For added enjoyment, feel free to pair it with some whole grain bread or your favorite side. If not serving immediately, refrigerate the salad for up to 3 days, but remember to add the avocado just before enjoying it for the freshest flavor.

Healthy Chicken Pasta Salad Variations
Feel free to get creative with this recipe—your taste buds will thank you!
-
Dairy-Free: Swap avocado with a drizzle of tahini for a unique creaminess while keeping it dairy-free.
-
Whole Grain Boost: Use whole wheat pasta instead of regular rotini for added fiber and a nutty flavor.
-
Spicy Kick: Add a pinch of red pepper flakes or sliced jalapeños to your dressing for a delightful heat that will awaken your palate!
-
Savory & Sweet: Toss in some dried cranberries or chopped apples for a sweet contrast to the savory chicken and vegetables.
-
Extra Veggies: Include grated carrots or diced bell peppers for added color, crunch, and nutritional benefits! These veggies add a satisfying texture to the salad.
-
Mediterranean Twist: Incorporate olives and feta cheese for a Mediterranean flair, bringing in a briny flavor that’s irresistible alongside the fresh basil.
-
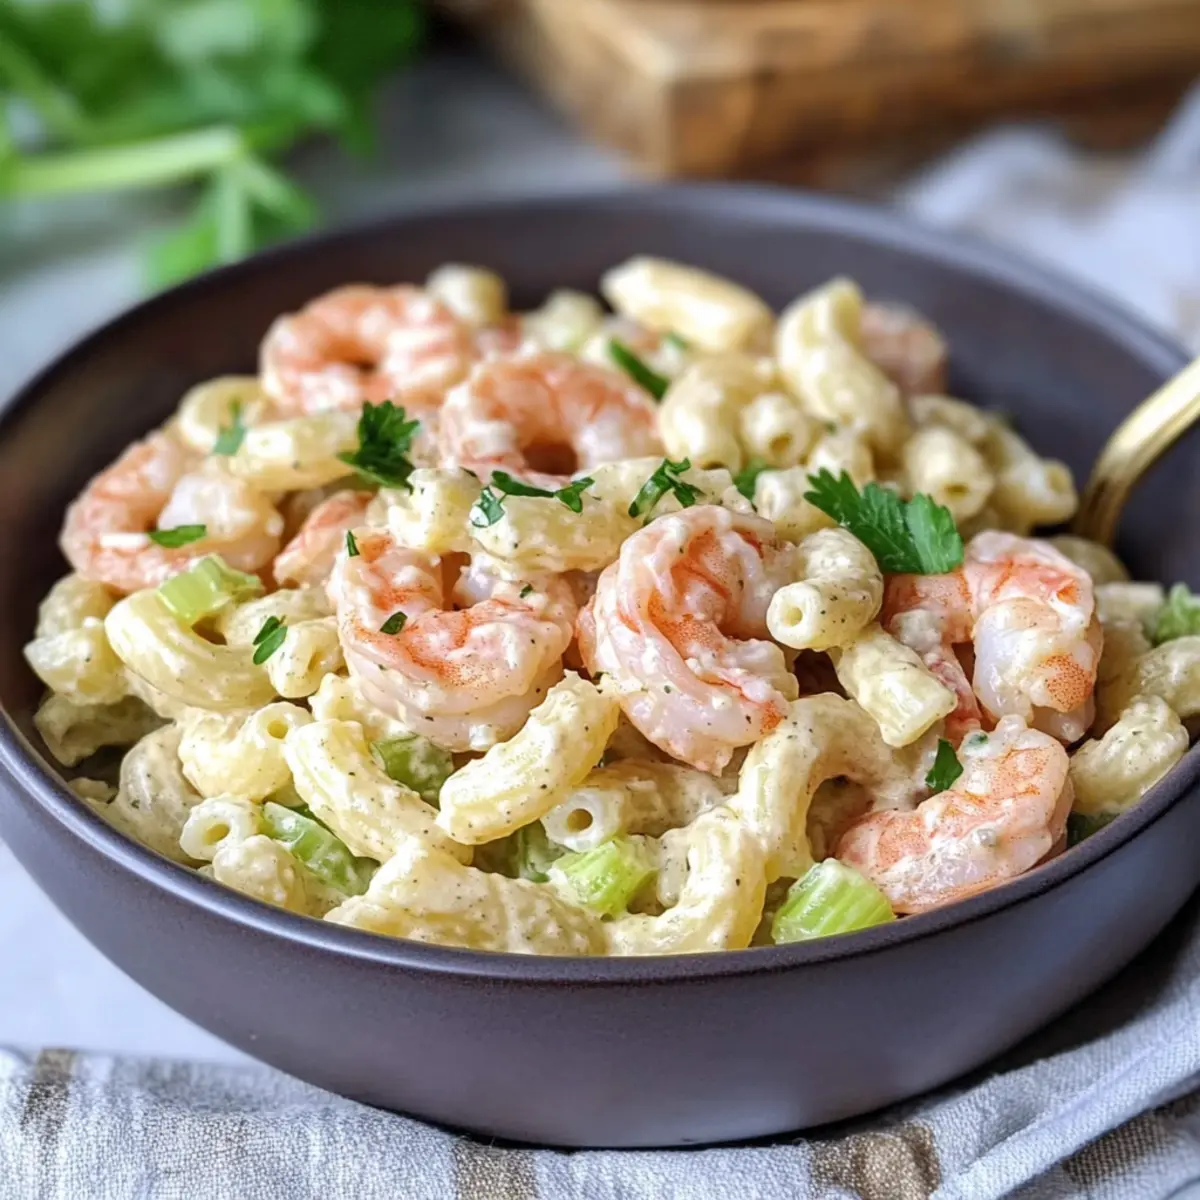
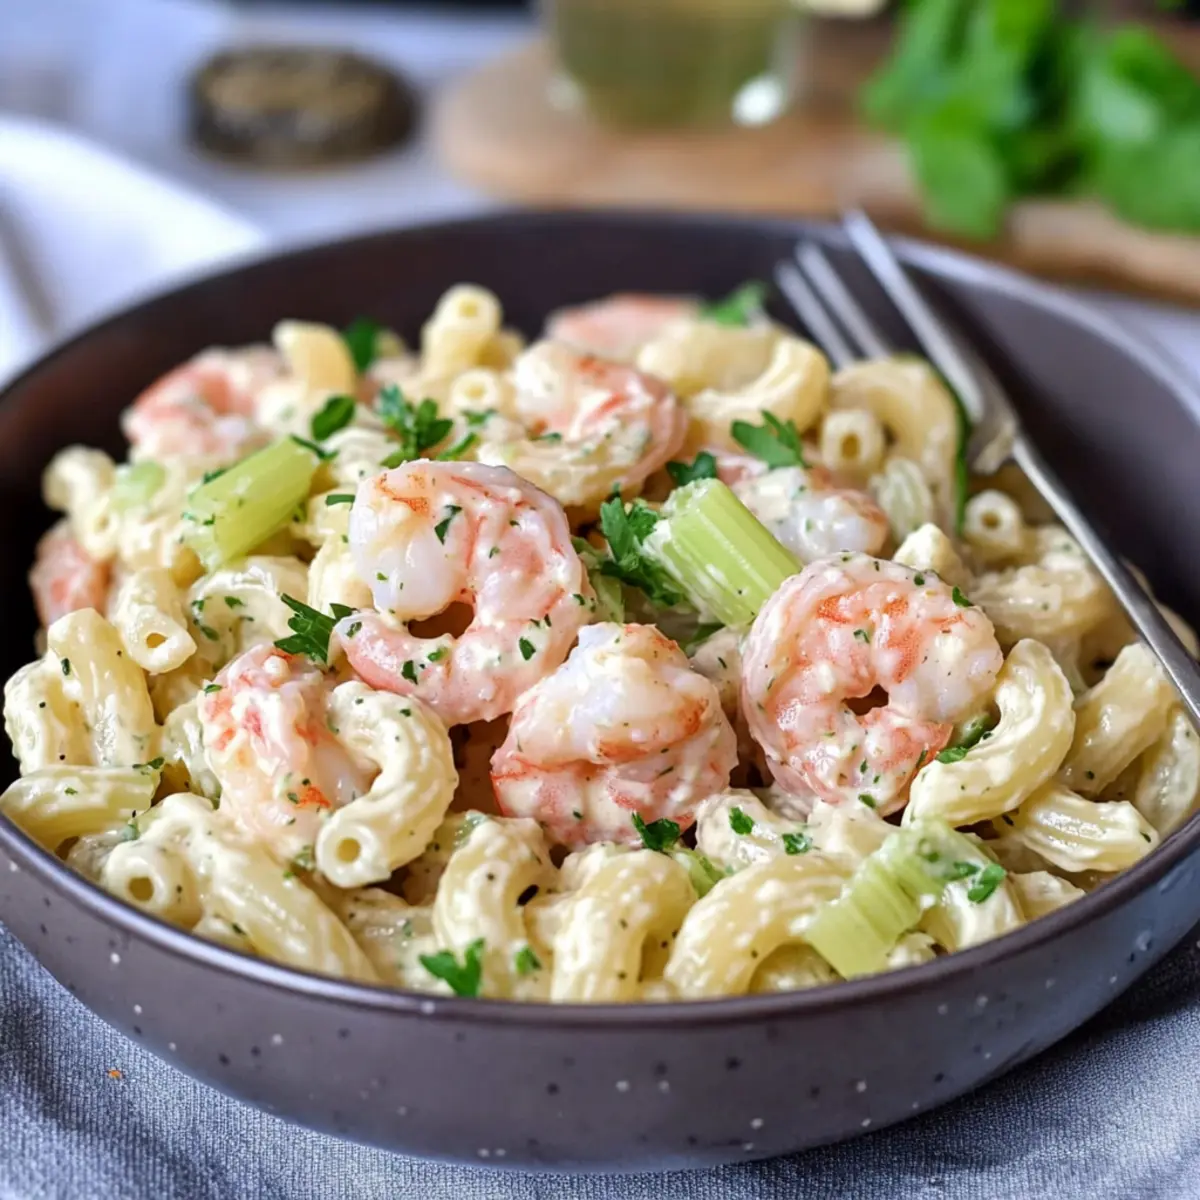
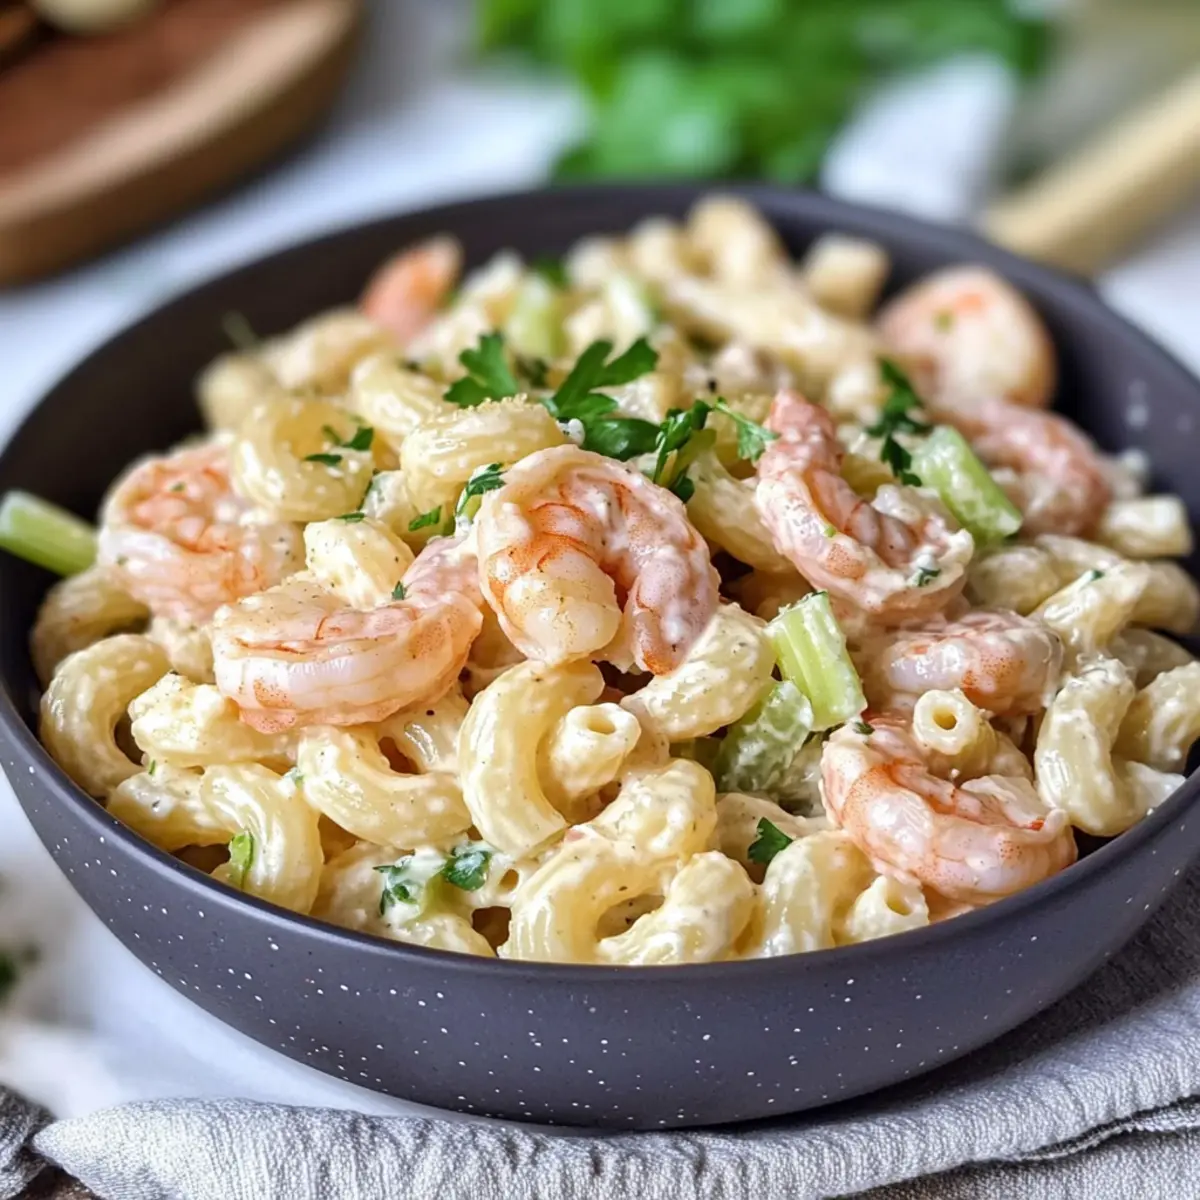
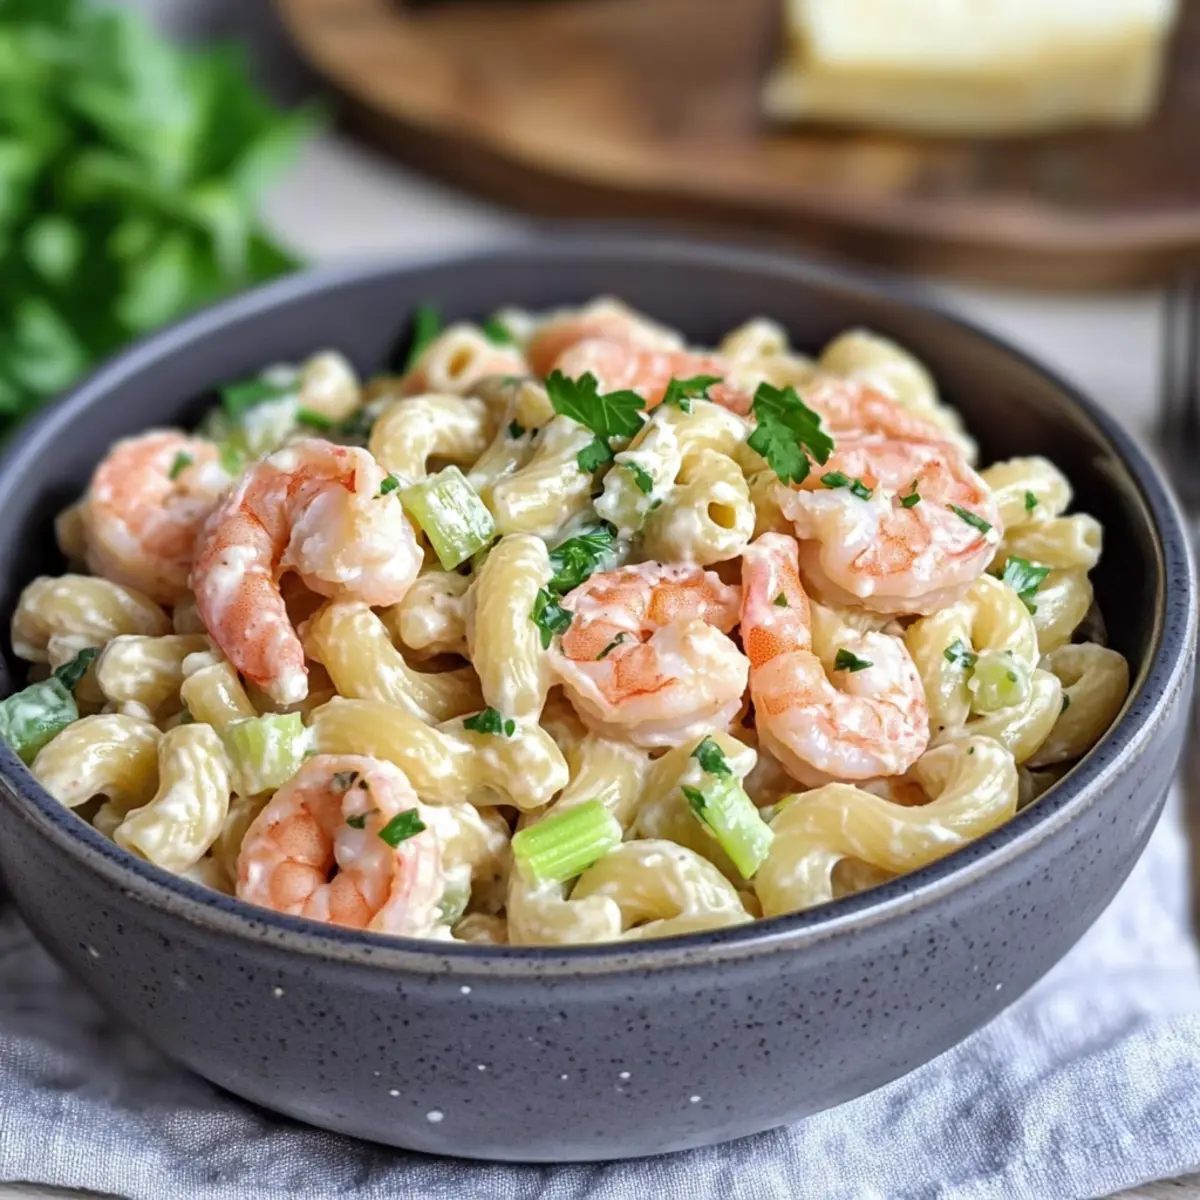
Seafood Option: Replace chicken with shrimp or crab for a seafood pasta salad that’s equally delicious and rich in protein. It’s perfect for coastal gatherings!
-
Herb Variety: Don't hesitate to switch up the herbs—try cilantro or parsley for a fresh twist that brings a different aroma to your salad.
Whether you explore these variations or invent your own, let your creativity shine! This salad can easily transform into different delightful meals, much like my beloved Avocado Egg Salad or Seafood Pasta Savory. Enjoy the journey of tasty experimentation!
What to Serve with Healthy Chicken Pasta Salad
This vibrant salad is the perfect centerpiece for a wholesome meal, inviting you to complement it with delightful side dishes.
-
Zesty Garlic Bread: The crispy, buttery crunch of garlic bread enhances the salad’s freshness, perfect for mopping up any remaining dressing.
-
Crisp Cucumber Slices: Cool, crunchy cucumbers bring a refreshing contrast to the rich avocado, making each bite a delightful experience.
-
Light Fruit Salad: A medley of seasonal fruits adds a sweet flare, balancing the savory flavors of the dish with juicy bites.
-
Grilled Vegetables: Smoky, charred veggies like zucchini or bell peppers introduce a hearty element, enriching your plate and providing more textures.
-
Italian Chopped Salad: This mix of greens, olives, and cheese harmonizes with the flavors in the chicken pasta salad, making it a colorful and nutritious addition.
-
Herbal Iced Tea: A soothing herbal iced tea with a hint of lemon complements the fresh flavors beautifully and adds a refreshing touch.
-
Chocolate Avocado Mousse: For dessert, a creamy mousse made from avocado and cocoa is a rich yet healthy finish, echoing the creamy avocado in your salad while providing a sweet note.
How to Store and Freeze Healthy Chicken Pasta Salad
Fridge: Store your Healthy Chicken Pasta Salad in an airtight container in the refrigerator for up to 3 days. Be sure to toss it gently before serving leftovers to redistribute the dressing.
Freezer: For best results, it’s recommended to freeze only the chicken and pasta separately from the vegetables to preserve freshness. Use within 1-2 months for optimal taste.
Reheating: If refrigerated, you can enjoy leftovers cold, or gently reheat the chicken and pasta in a microwave. Add fresh avocado just before serving for the best flavor and texture.
Expert Tips for Healthy Chicken Pasta Salad
-
Choose Quality Chicken: Opt for rotisserie chicken to save time or grill your own. Ensure it’s cooked through for the best flavor and safety—medium-low heat is key.
-
Avoid Avocado Browning: If you’re making the salad ahead, keep the avocado separate and add it just before serving to maintain its freshness and beautiful color.
-
Customize for Flavor: Experiment with your favorite veggies like bell peppers or olives for added crunch and flavor diversity. This Healthy Chicken Pasta Salad adapts beautifully!
-
Make a Creamy Dressing: For a thicker texture without mayo, try adding a spoonful of Greek yogurt to your dressing. It elevates the creamy richness while keeping it healthy.
-
Season to Your Taste: Don’t be shy with salt and pepper! Adjusting these seasonings will enhance your Healthy Chicken Pasta Salad's overall flavor, making each bite delightful.
Make Ahead Options
This Healthy Chicken Pasta Salad is perfect for meal prep, allowing busy cooks to save time while still enjoying delicious, nutritious meals throughout the week! You can prepare the salad ingredients, including the rotini pasta, shredded chicken, diced cherry tomatoes, and chopped red onion, up to 3 days in advance. Just remember to keep the diced avocado separate to prevent browning; add it just before serving to maintain its creamy texture. Store the salad ingredients in an airtight container in the refrigerator. When ready to serve, simply drizzle on the homemade dressing and toss everything together for a fresh, vibrant dish that tastes just as delightful as when it was first made!
Healthy Chicken Pasta Salad Recipe FAQs
How do I select ripe avocados for this salad?
Absolutely! When choosing avocados, look for ones that are firm yet yield gently to pressure when squeezed. The skin should be a dark green to almost black color, free from dark spots. Avoid avocados that feel overly soft or have blemishes.
How should I store my Healthy Chicken Pasta Salad?
For optimal freshness, store your Healthy Chicken Pasta Salad in an airtight container in the refrigerator. It will stay fresh for up to 3 days. Be sure to give it a gentle toss before serving leftovers to evenly redistribute the dressing, keeping every bite delicious!
Can I freeze this pasta salad for later?
Very! However, it's best to freeze only the chicken and pasta separately. Vegetables like avocado and tomatoes don’t freeze well. To freeze, place the cooled chicken and pasta in a freezer-safe bag or container and use within 1-2 months for the best flavor. To enjoy later, thaw in the fridge overnight and add fresh ingredients prior to serving.
What if the avocado browns before I eat the salad?
If you wish to avoid browning, it’s smart to add the avocado just before serving the salad. If you’ve already mixed it in, a gentle squeeze of lemon or lime juice can help slow the browning process. Also, storing in an airtight container will minimize air exposure that speeds up browning.
Are there any allergy considerations I should keep in mind?
Definitely! If you're serving this Healthy Chicken Pasta Salad to guests, be mindful of common allergens. Ensure the olive oil and vinegar are allergy-friendly, as some individuals may have sensitivities to certain brands. Feel free to swap any ingredients based on dietary restrictions—like using gluten-free pasta if necessary.
How can I make this salad suitable for meal prep?
For meal prep, assemble the salad without the avocado and dressing. Store in individual containers in the fridge, and add the dressing and avocado just before enjoying. This way, your salad will stay fresh and delicious throughout the week—perfect for on-the-go lunches or quick dinners!
Healthy Chicken Pasta Salad: Wholesome & Flavorful Delight
Ingredients
Equipment
Method
- Bring a large pot of salted water to a boil. Add rotini pasta and cook for 8-10 minutes until al dente. Drain and rinse under cold water. Set aside in a mixing bowl.
- Dice avocado and halve cherry tomatoes. Chop red onion and tear basil leaves. Set aside.
- Add shredded chicken to the bowl with cooked pasta and mix.
- In a jar, combine olive oil, white wine vinegar, Italian seasoning, salt, and pepper. Shake until emulsified.
- Drizzle dressing over the pasta and chicken. Fold in avocado, tomatoes, onion, and basil gently.
- Serve immediately or refrigerate for up to 3 days, adding avocado just before serving.