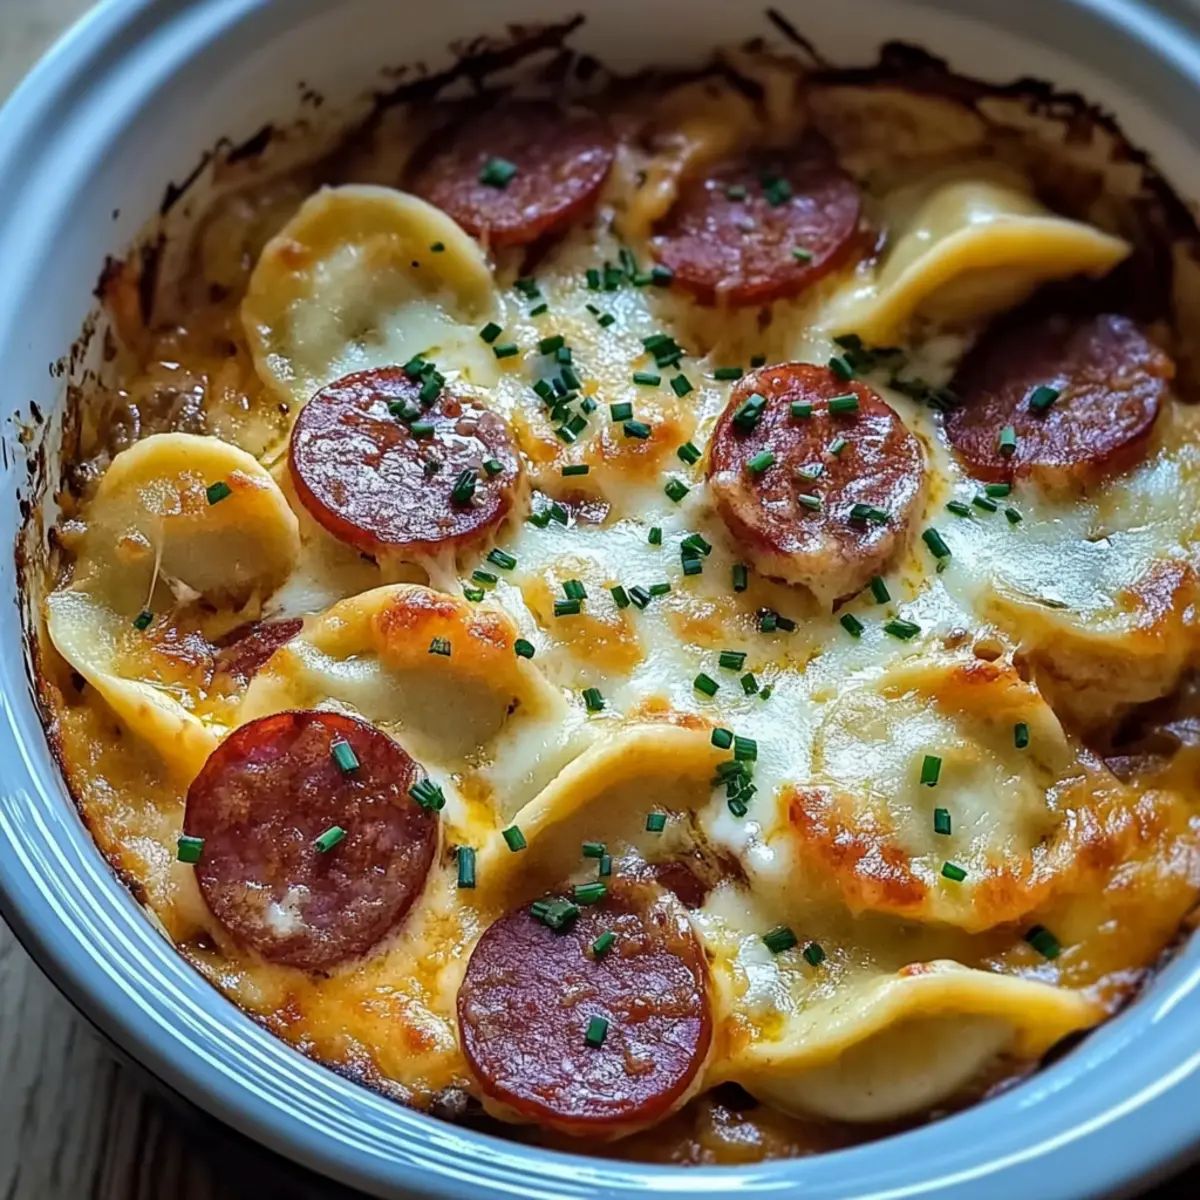
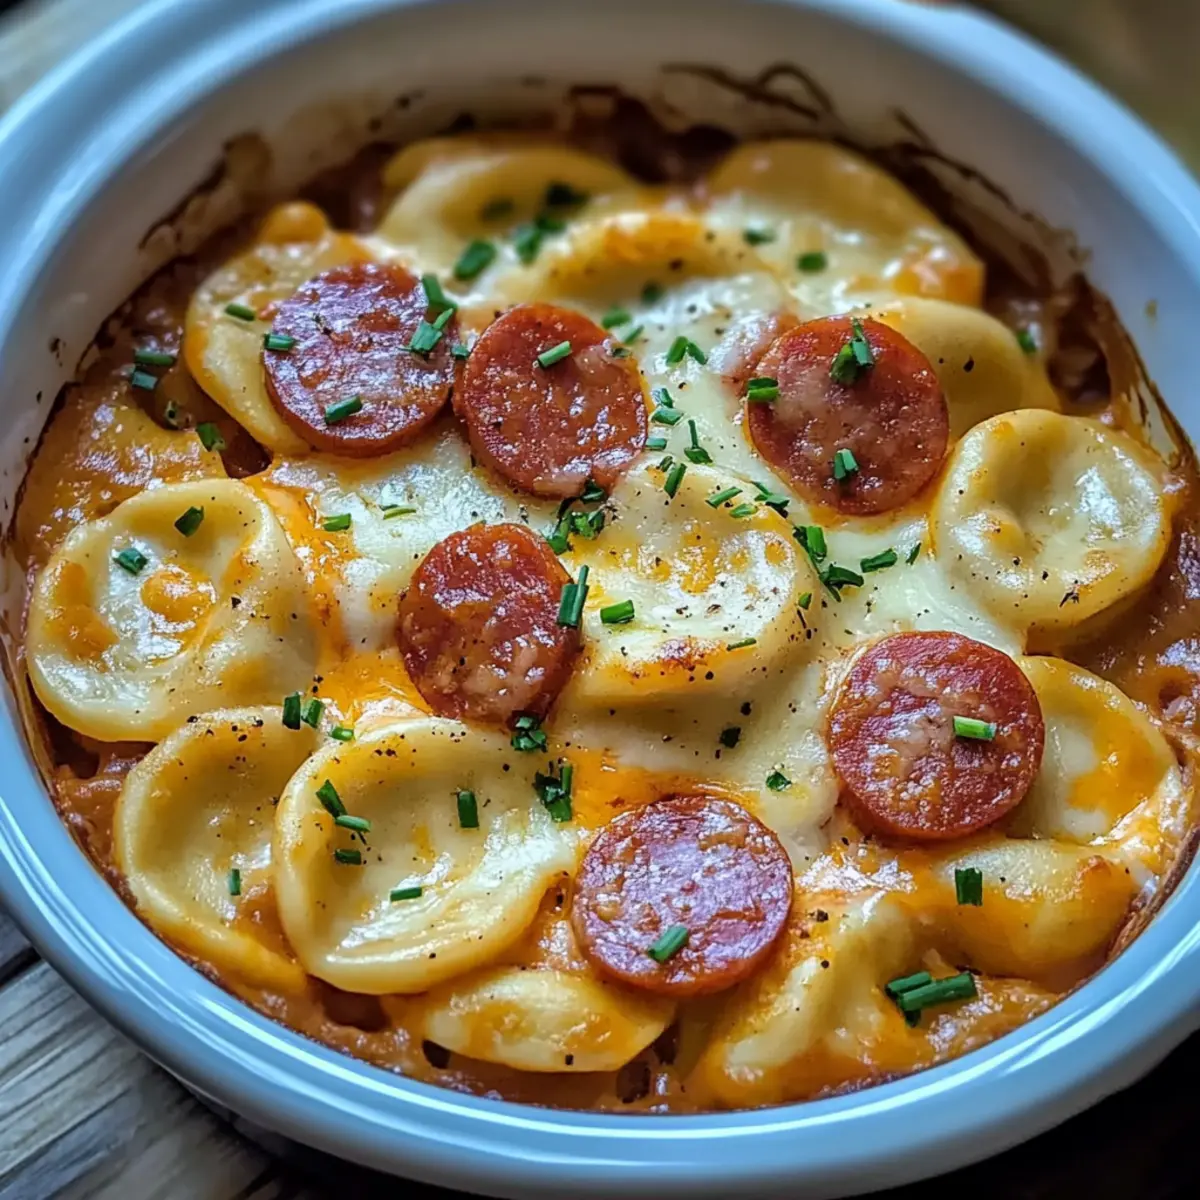
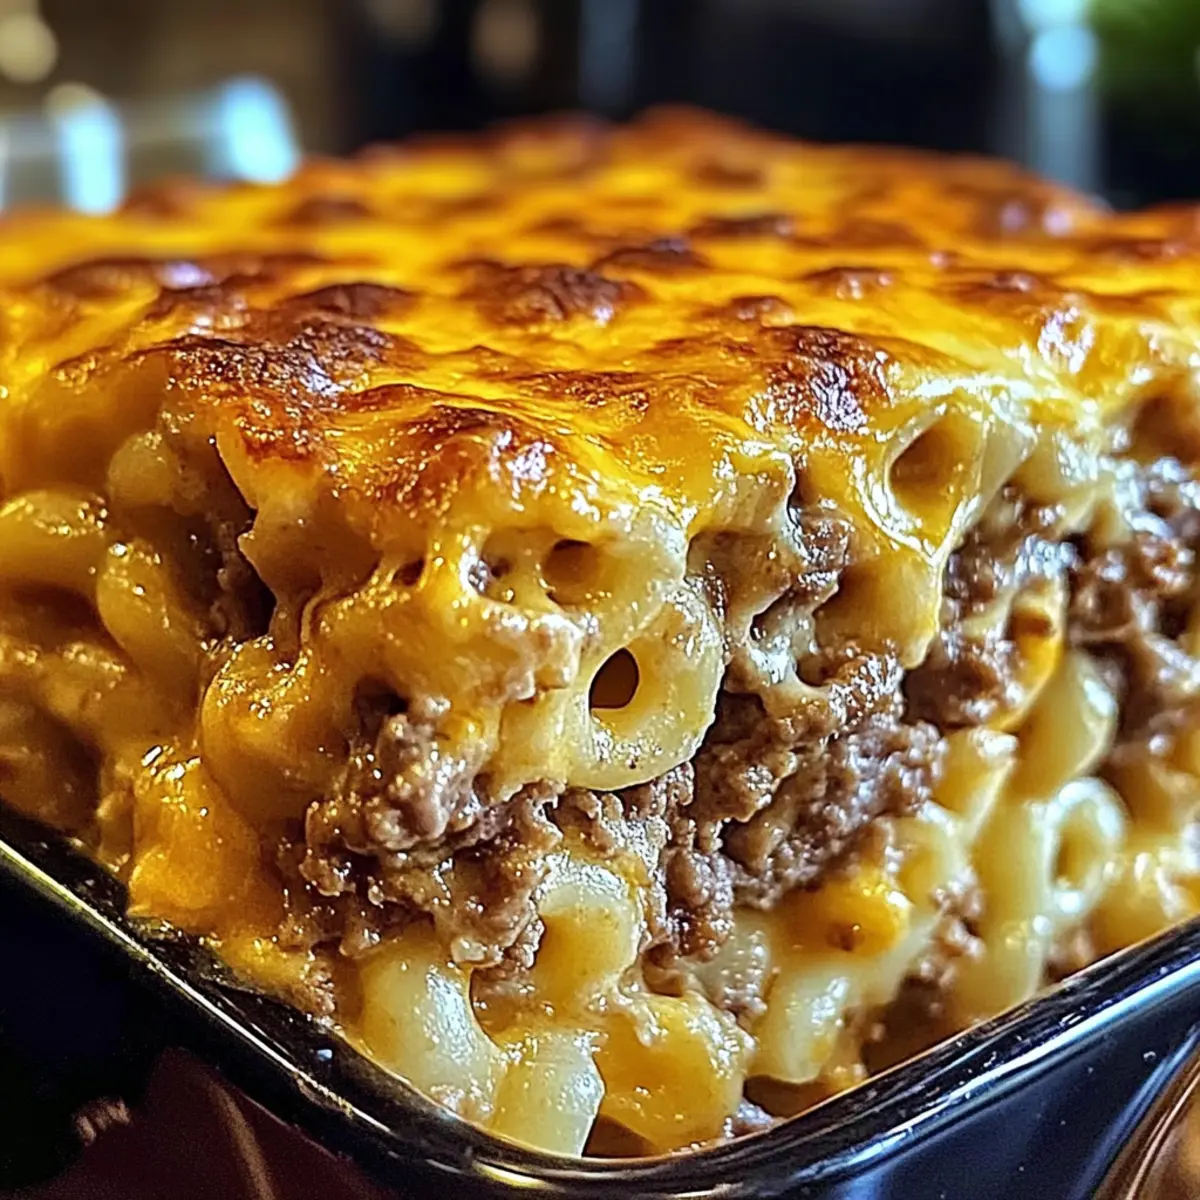
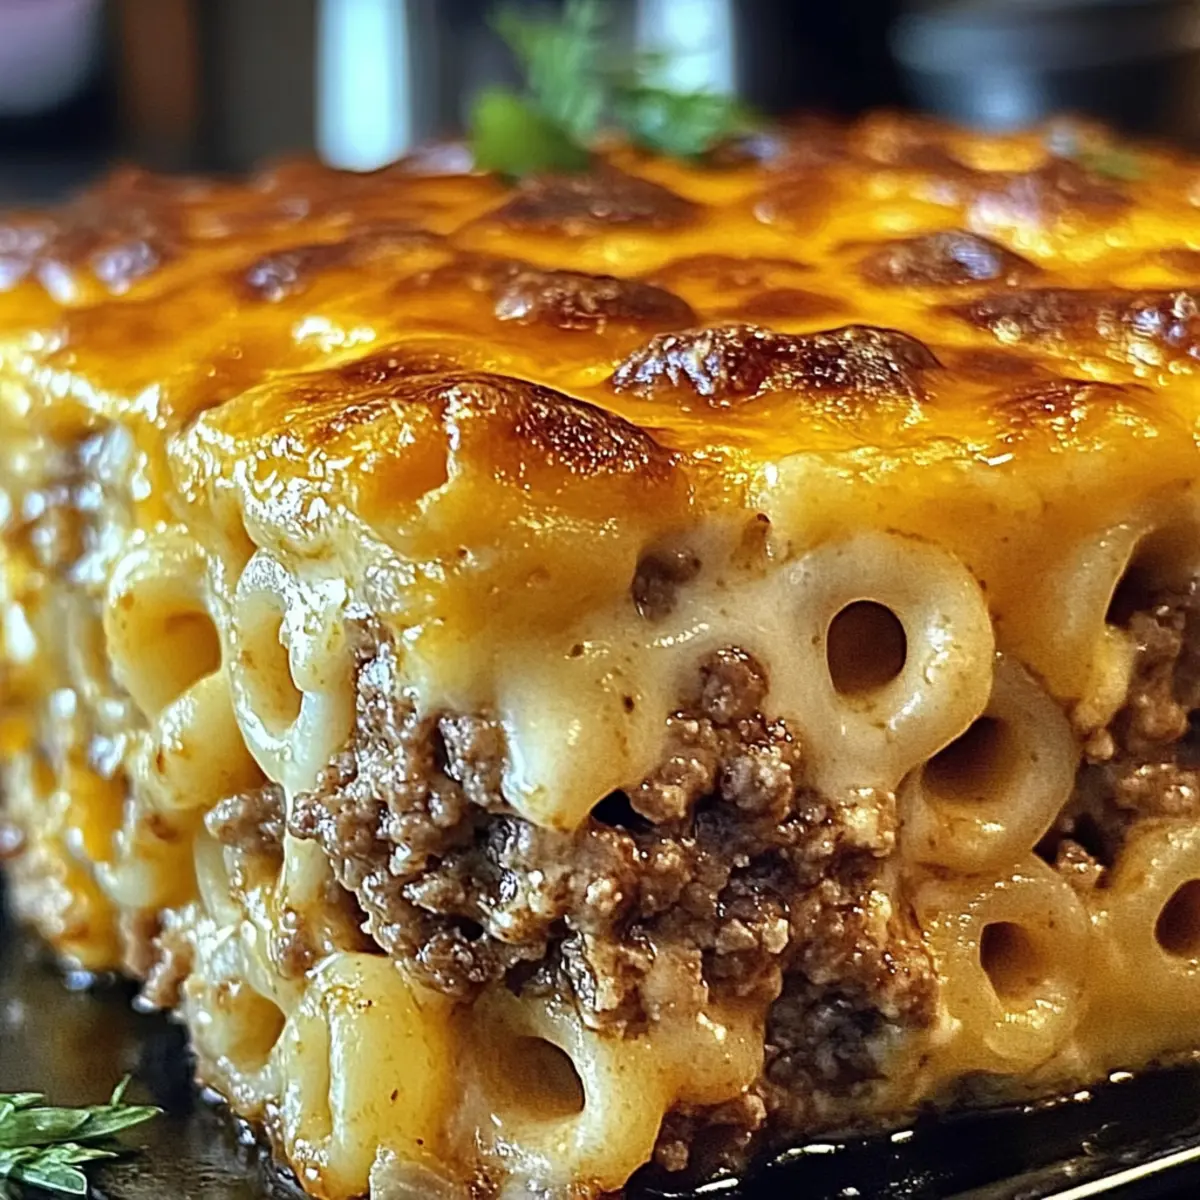
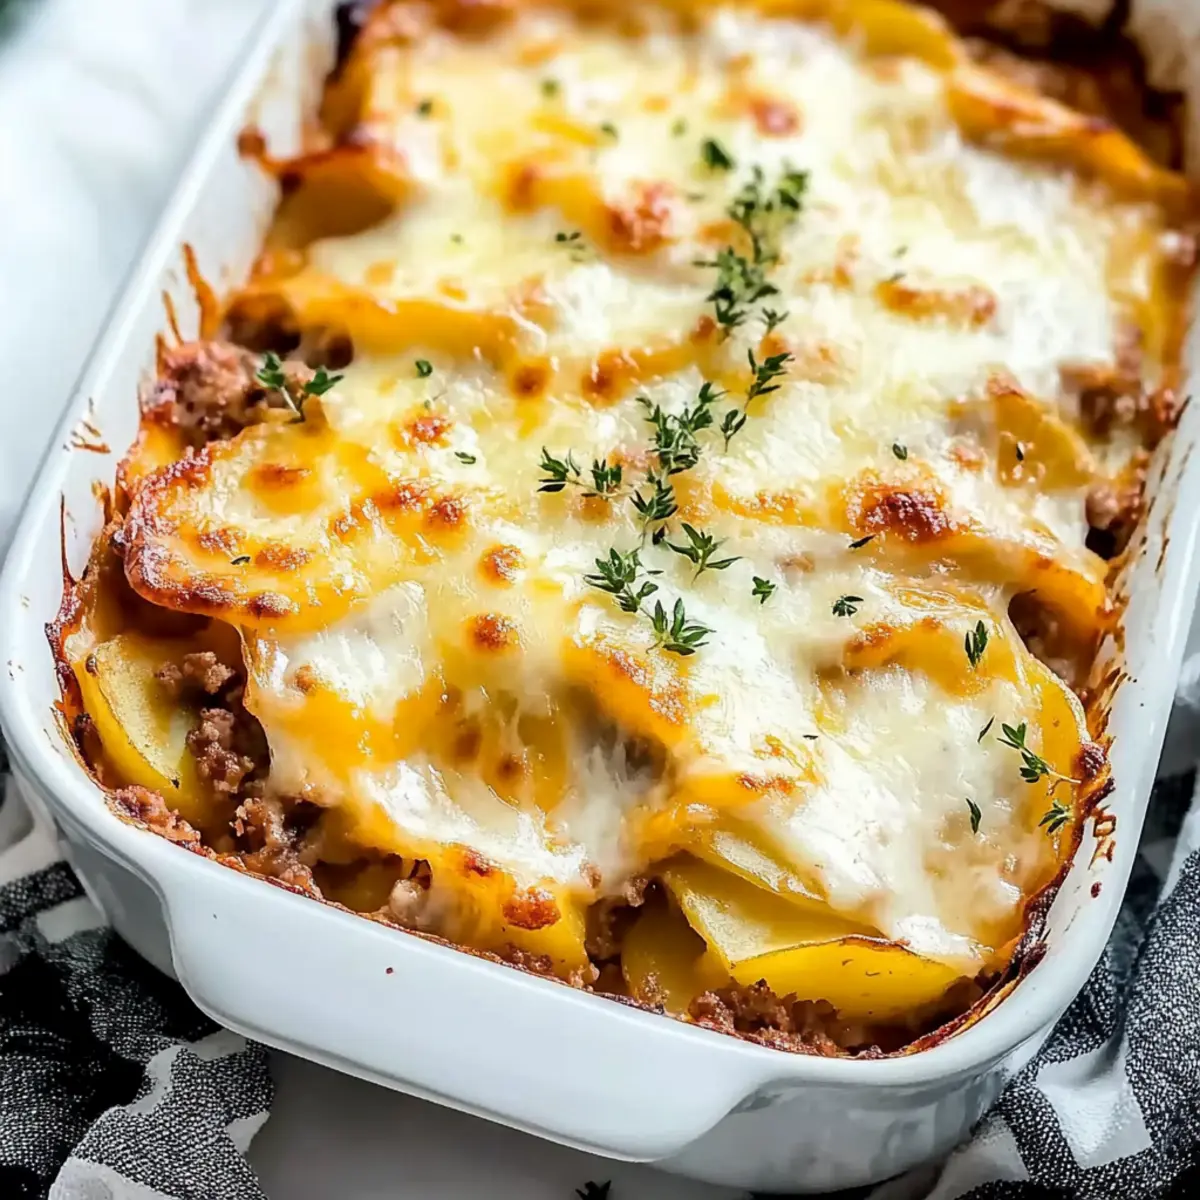
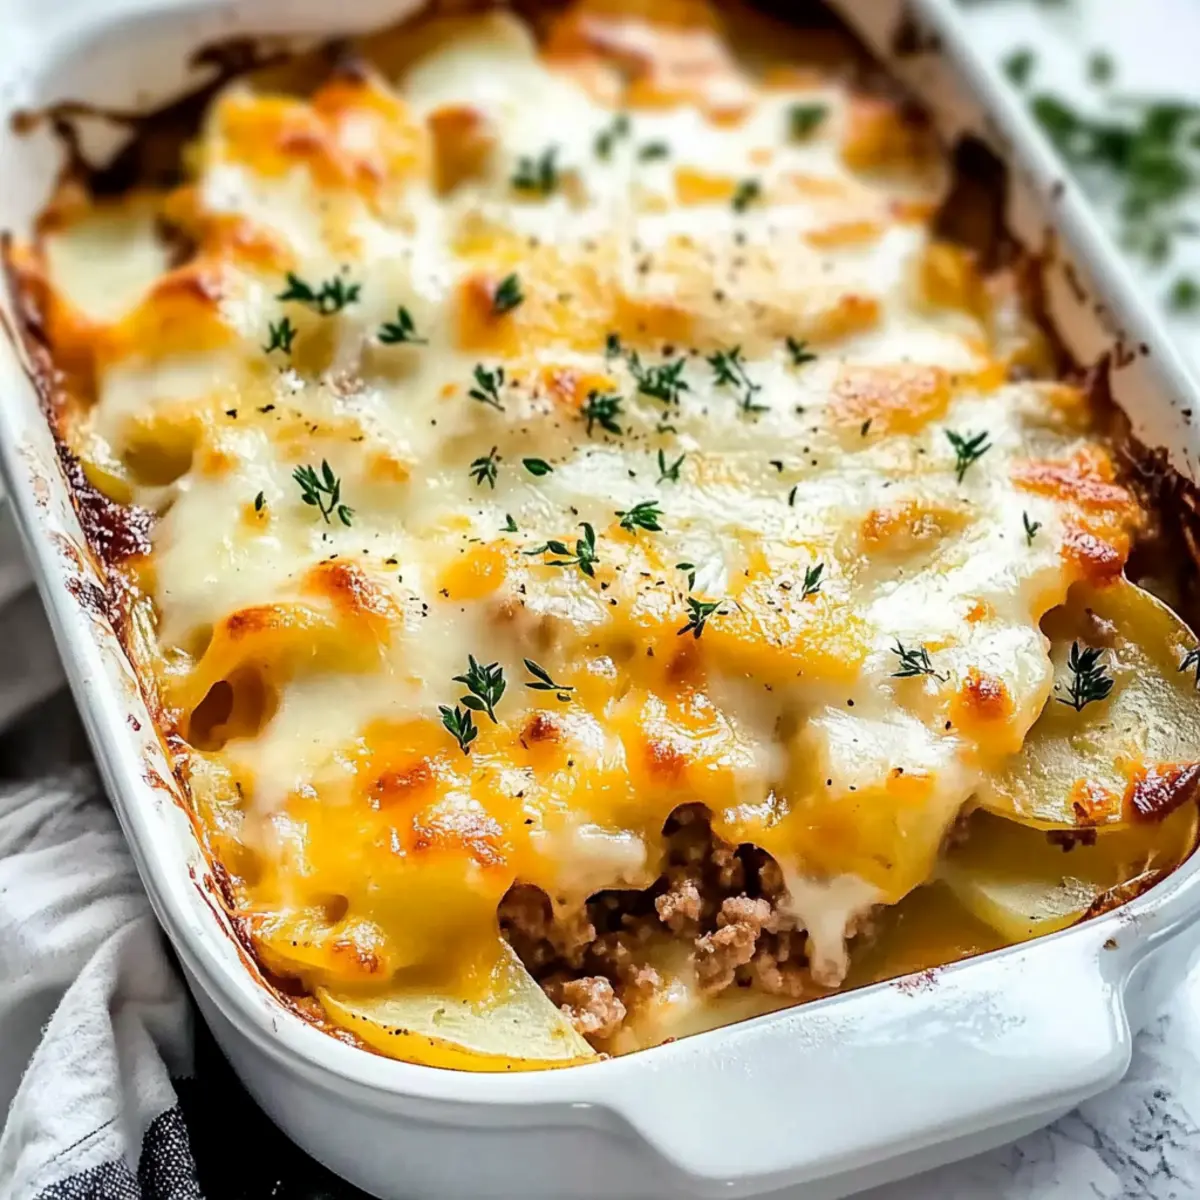
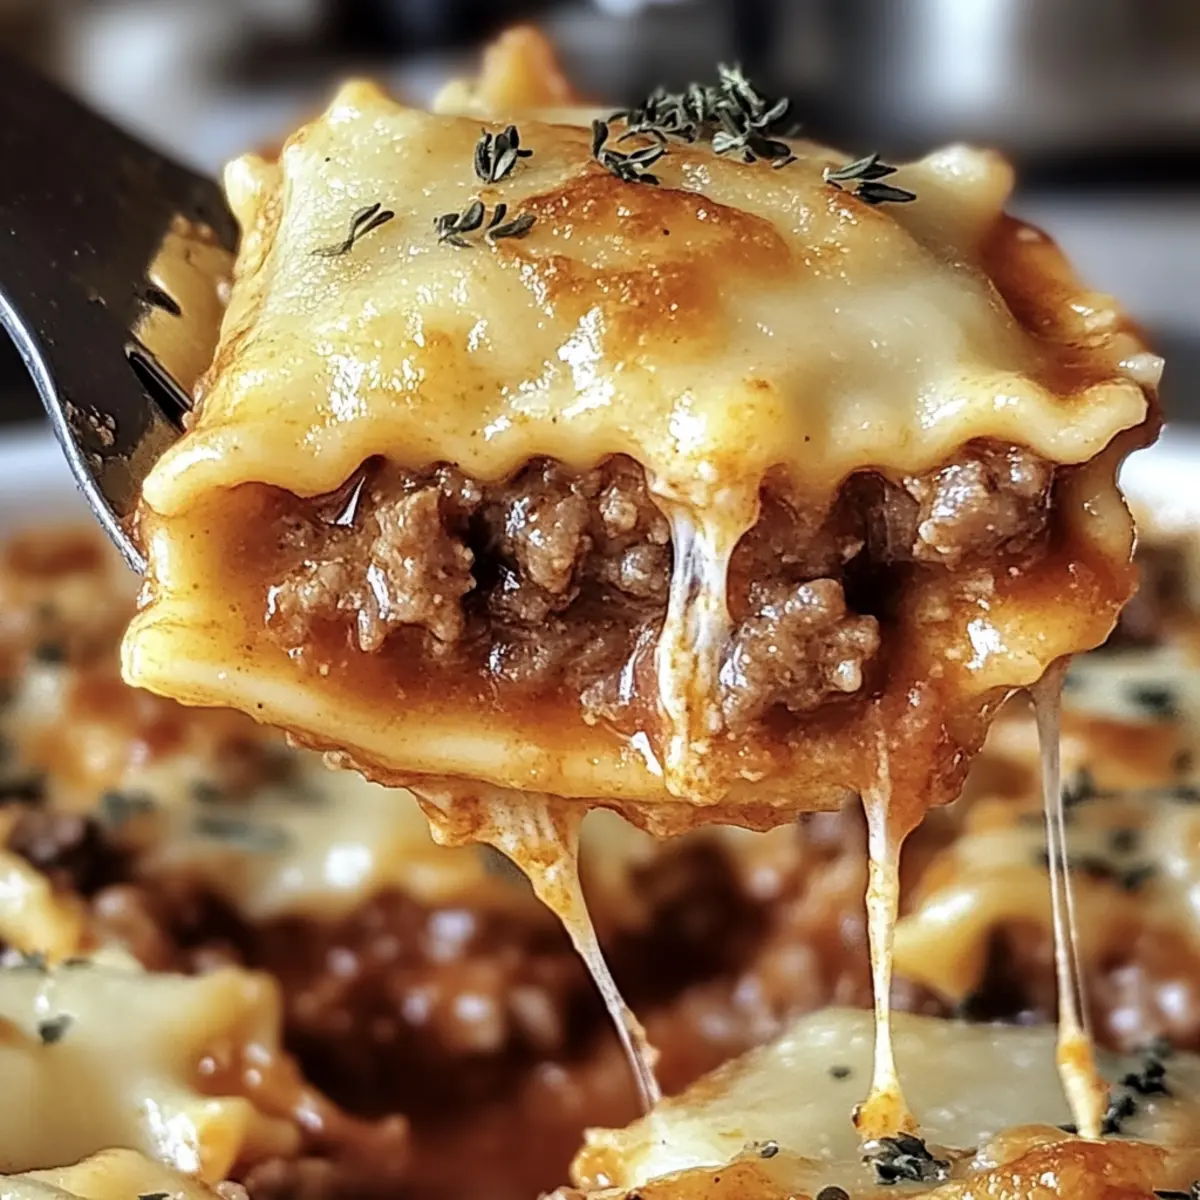
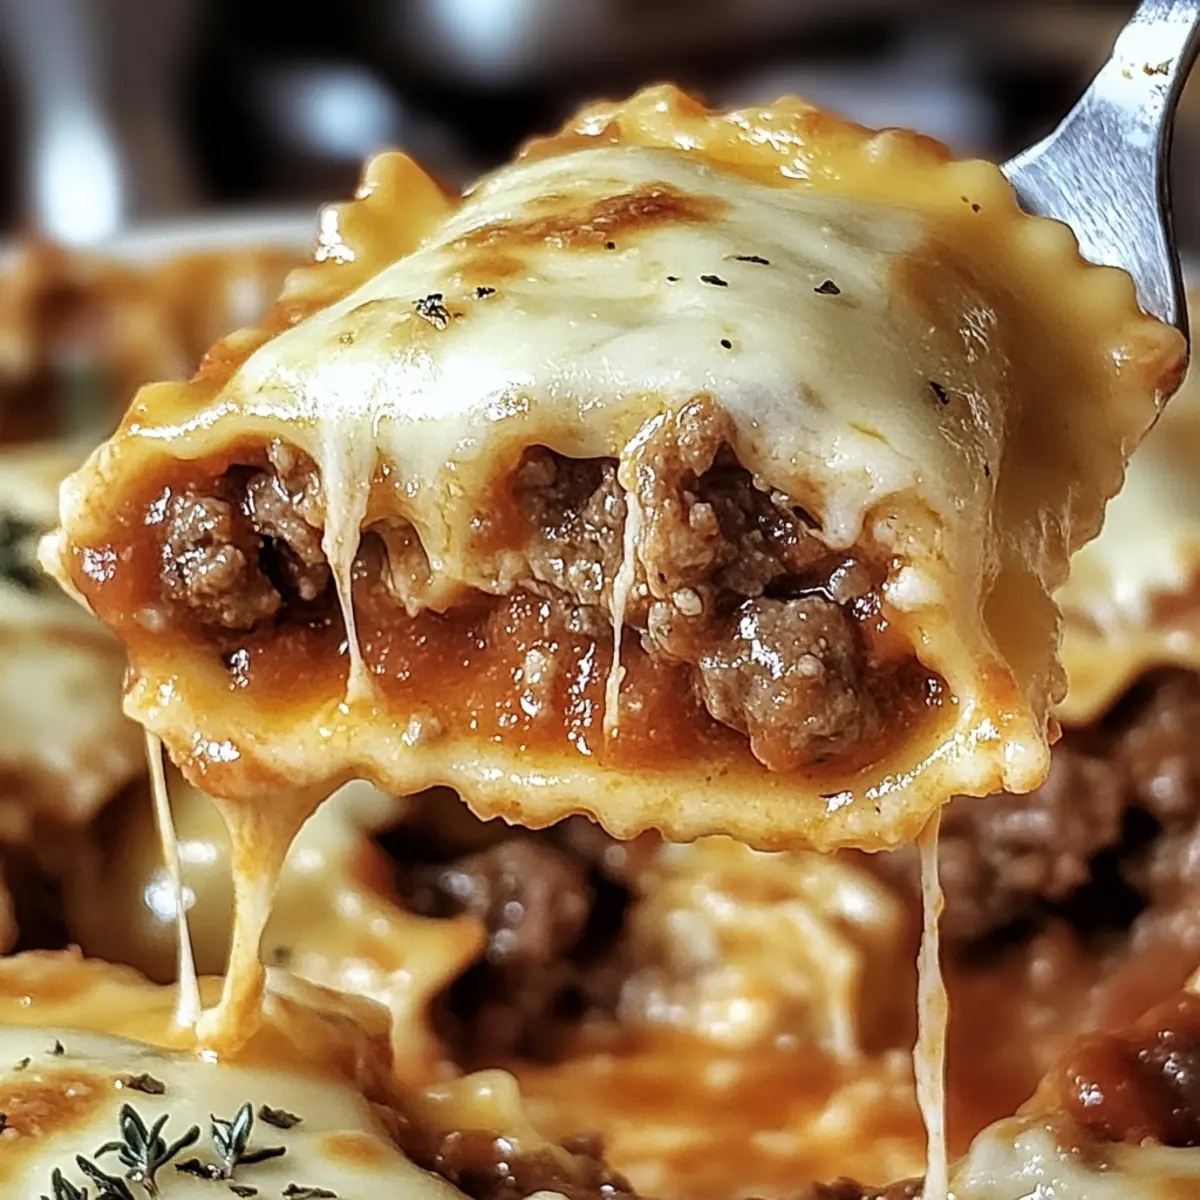
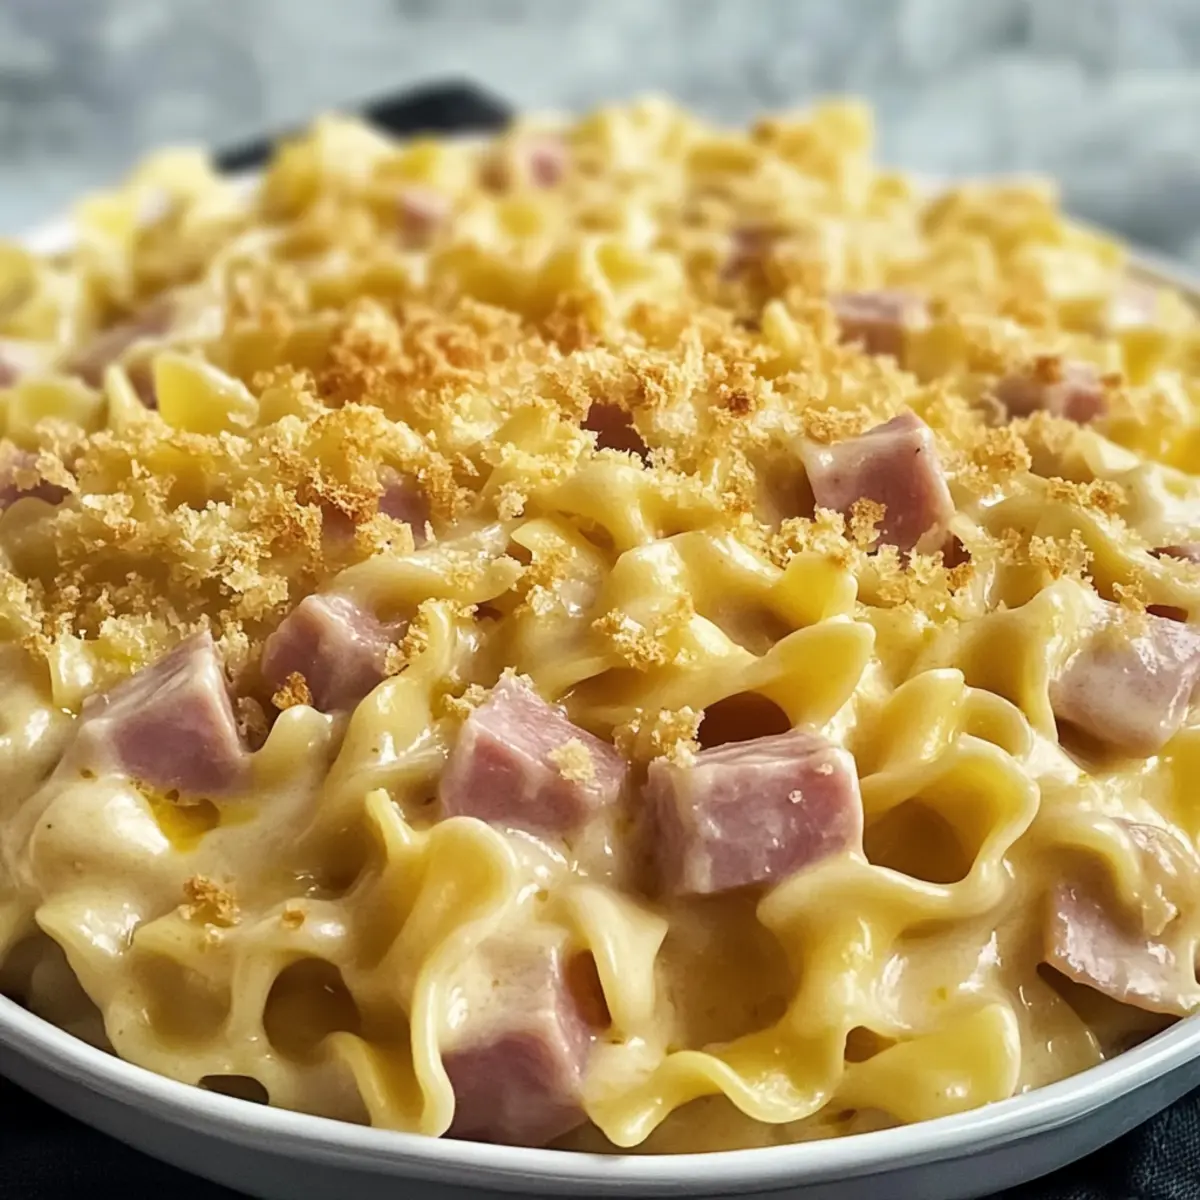
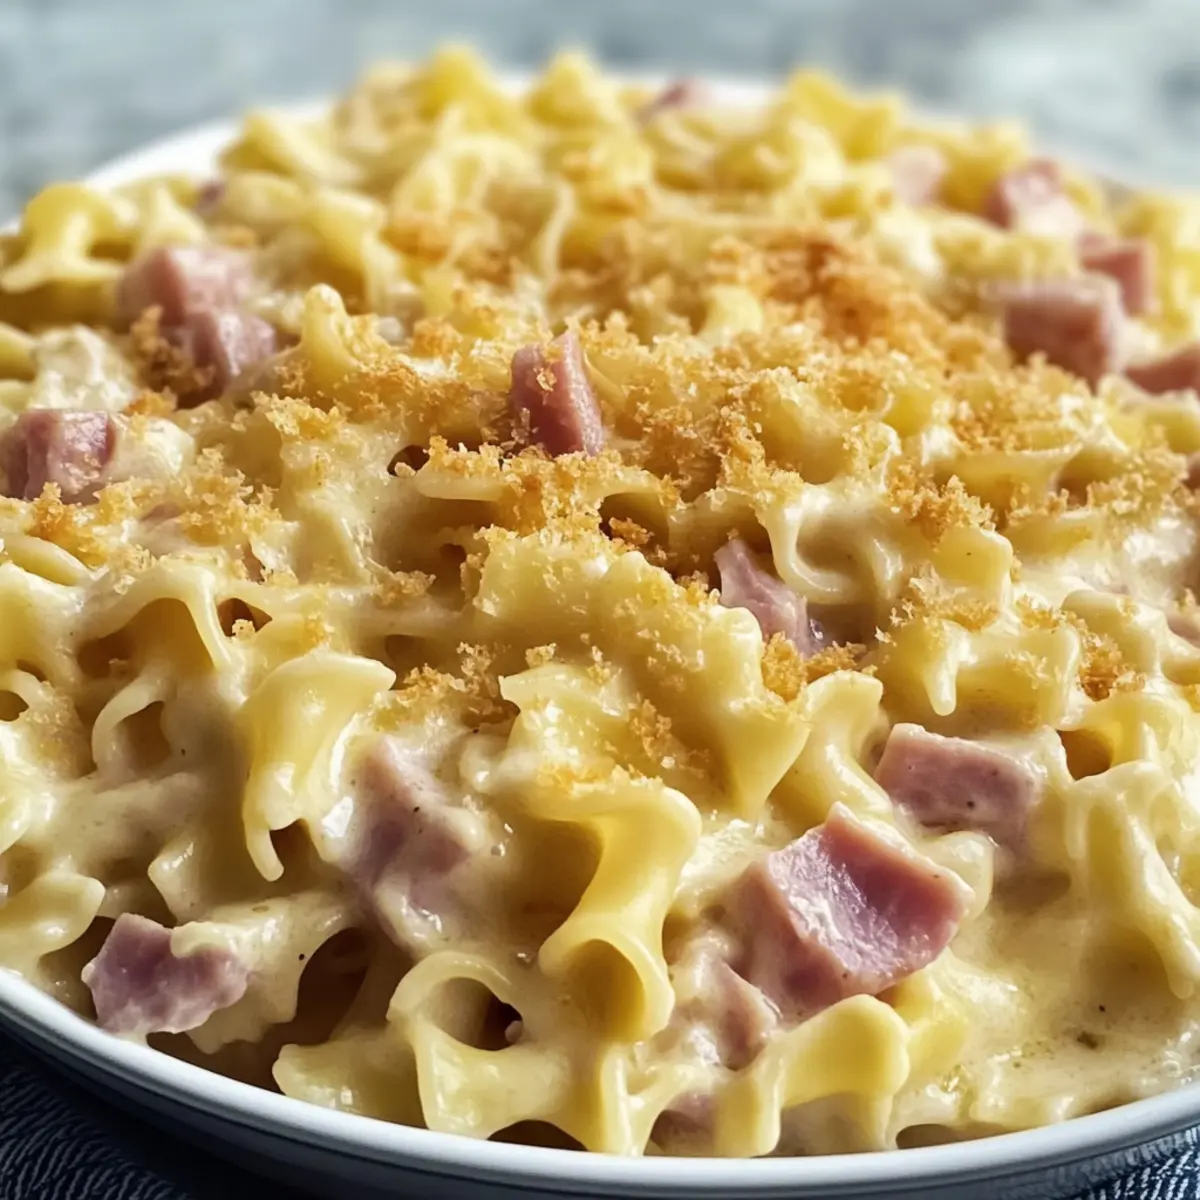
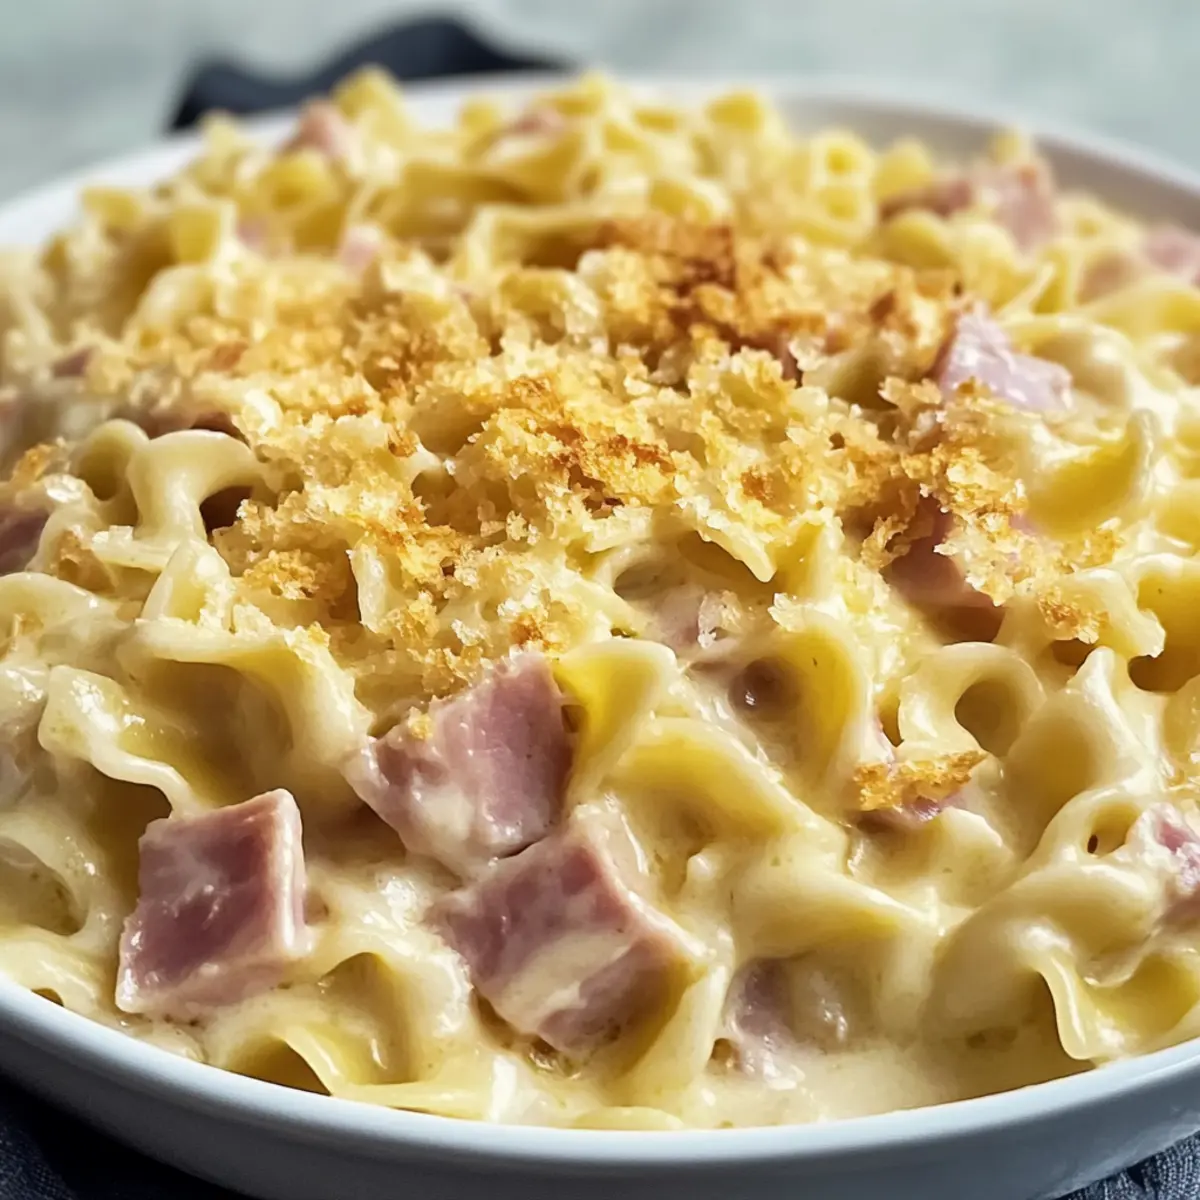
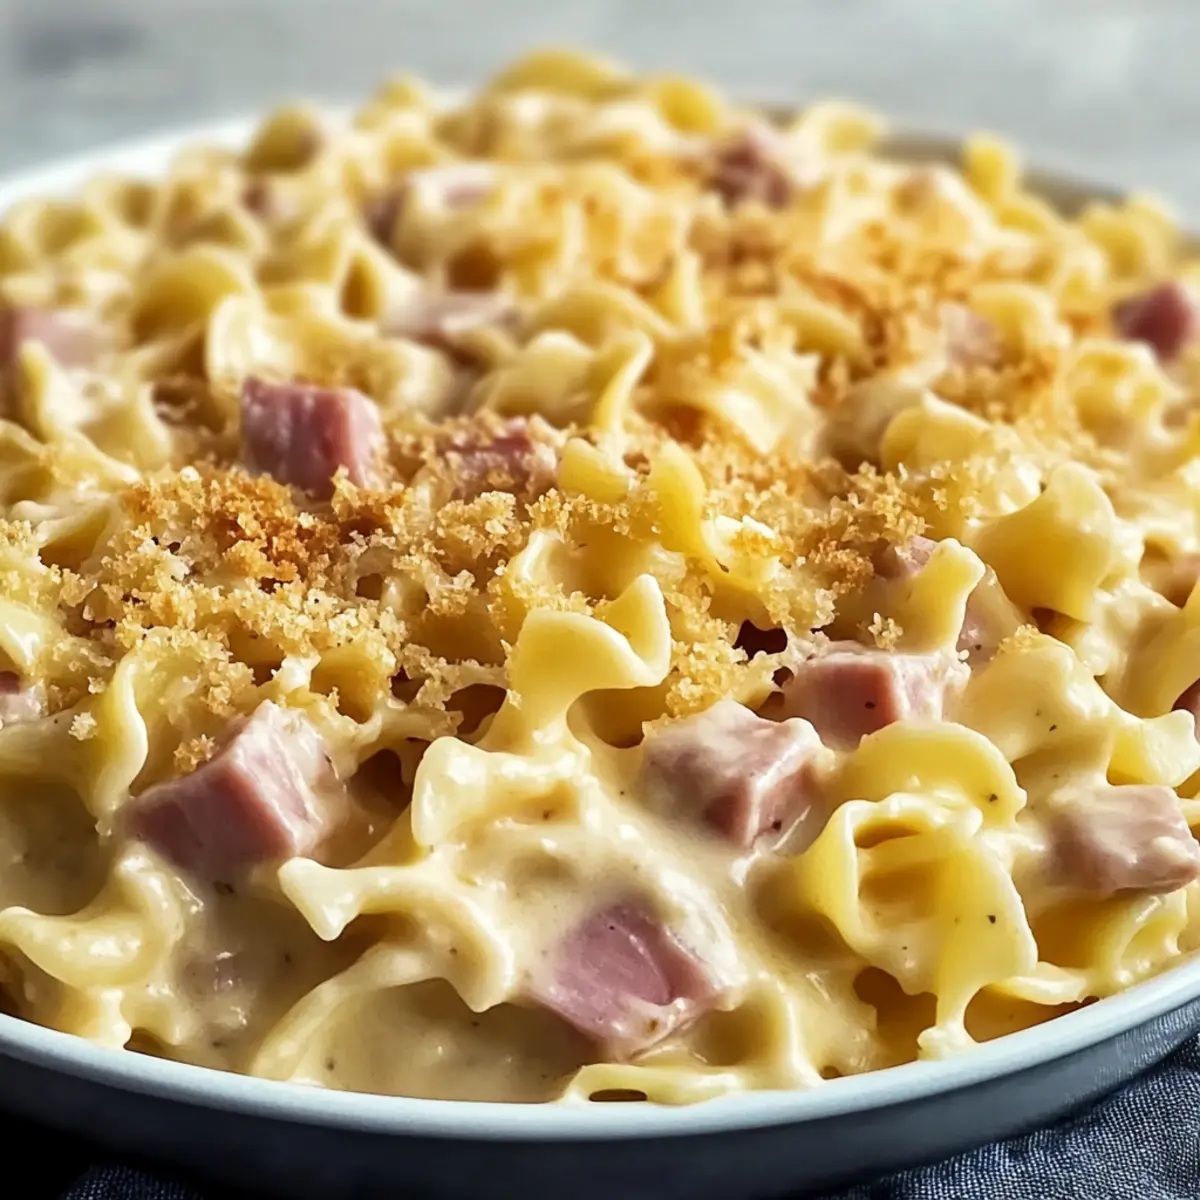
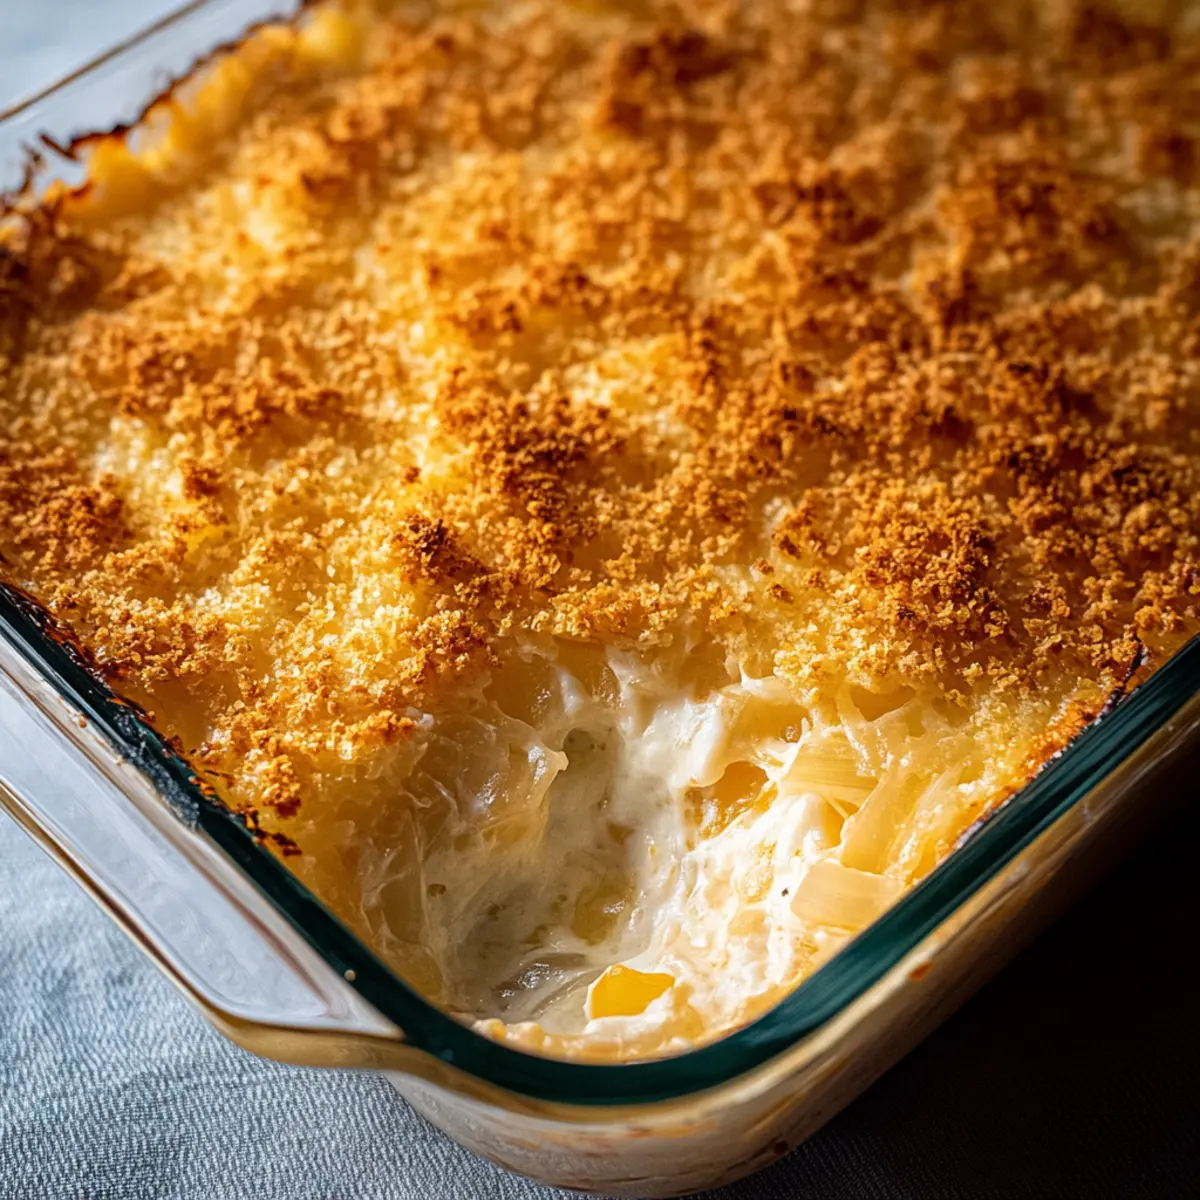
As I stood in my kitchen, the aroma of sautéed sweet onions wafted through the air, transporting me to a cozy Southern kitchen filled with warmth and comfort. This Southern Sweet Onion Casserole is a dish I've come to rely on for gatherings and family dinners, where it's always a crowd-pleaser. With its creamy texture and cheesy goodness, this casserole marries the natural sweetness of tender onions with a crispy, buttery topping, creating a satisfying side dish that's hard to resist. Not only is it easy to whip up on busy days, but it also brings that homey feel to any meal, whether it's a holiday feast or a casual Sunday dinner. Are you ready to discover how to bring this comforting classic to your table?
Why is this casserole so irresistible?
Comforting and indulgent, this Southern Sweet Onion Casserole is bound to become your go-to side dish! The creamy texture brings comfort to every bite, while the rich cheese blend ensures flavor that keeps everyone coming back for more. It’s a crowd-pleaser, perfect for potluck gatherings or holiday meals, complementing dishes like honey-glazed ham or roast turkey wonderfully. Additionally, the easy preparation means you can whip it up on busy weeknights without hassle. Looking for more delicious sides? Explore the Sweet Potato Casserole or add some flair with Smoky Sweet Potatoes!
Southern Sweet Onion Casserole Ingredients
• Get ready to gather some incredible ingredients for your Southern Sweet Onion Casserole!
For the Base
- Sweet Onions – Adds natural sweetness and flavor; Vidalia or any sweet variety is recommended.
- Unsalted Butter – Provides richness and helps sauté onions; controlling the seasoning beautifully.
- Salt – Enhances flavor; use according to taste for the best results.
- Black Pepper – Offers mild heat and depth; fresh ground is preferred for optimal flavor.
- Sugar (Optional) – Enhances the sweetness of onions; omit if you prefer a less sweet casserole.
For the Cheese Mixture
- Sharp Cheddar Cheese – Adds a bold, tangy flavor; can substitute with medium cheddar for a milder taste.
- Mozzarella Cheese – Contributes creaminess and a mild flavor; Monterey Jack or Gruyère work well too.
- Sour Cream – Adds creaminess and richness; Greek yogurt can be used for a tangy twist.
- Eggs – Bind the casserole together, providing necessary structure.
For the Topping
- Crushed Butter Crackers – Create a crunchy topping; Ritz crackers are preferred, but gluten-free options are available.
- Melted Butter (for topping) – Enhances crispiness of the cracker topping and adds delicious flavor.
Step‑by‑Step Instructions for Southern Sweet Onion Casserole
Step 1: Prepare the Onions
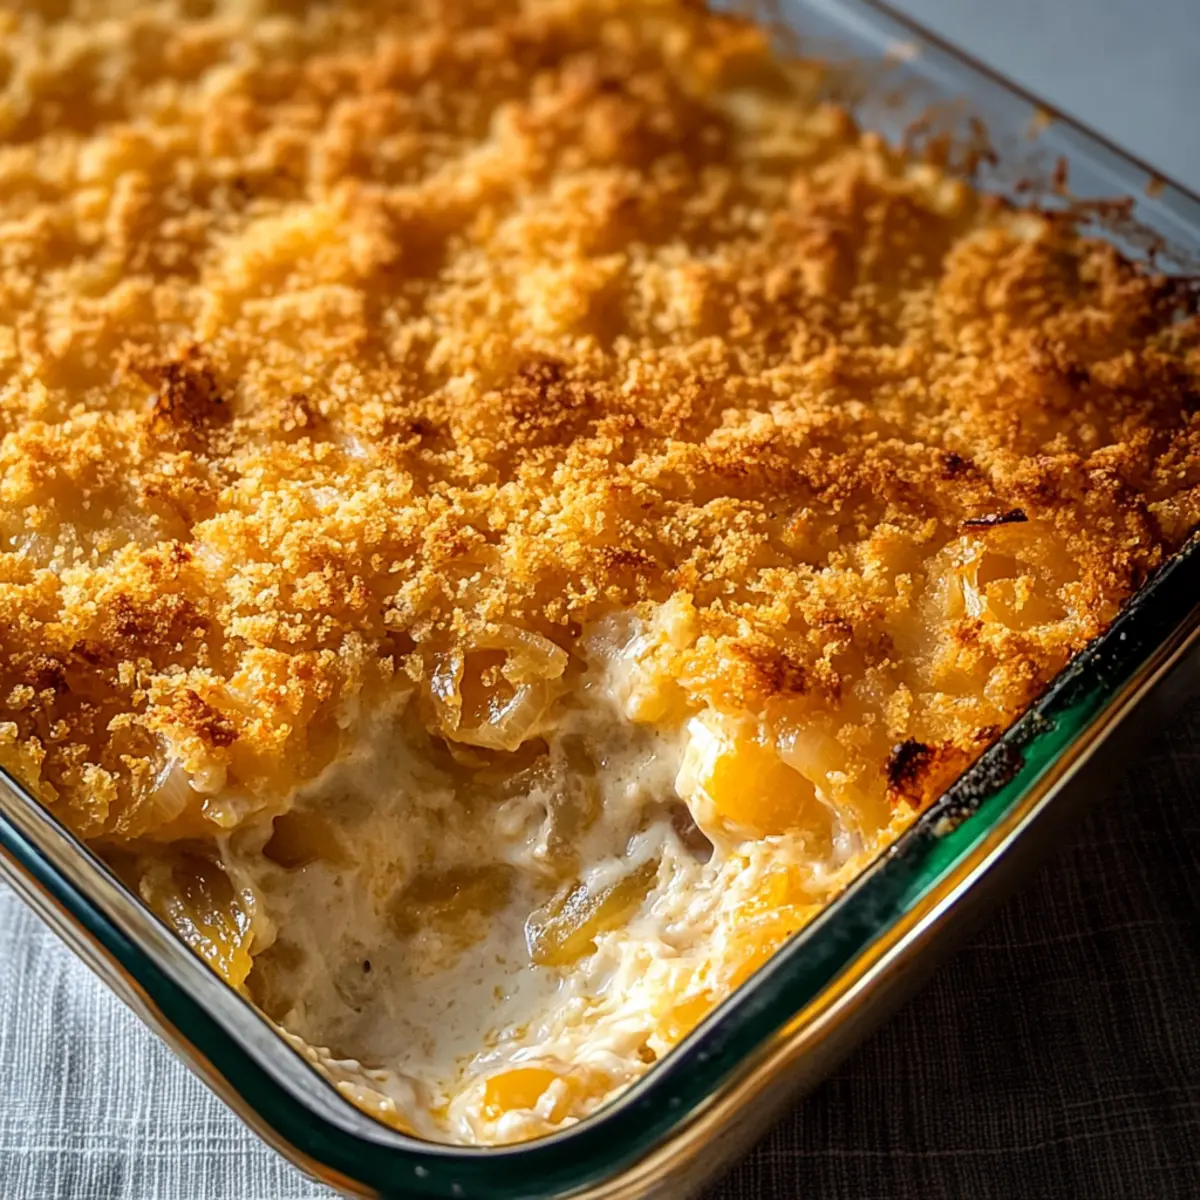
Begin by thinly slicing the sweet onions, using Vidalia or another sweet variety for optimal flavor. In a medium skillet, melt unsalted butter over medium heat. Add the sliced onions along with a sprinkle of salt and pepper, sautéing them until softened and lightly golden, which should take about 15 minutes. Stir occasionally to ensure even cooking and prevent burning.
Step 2: Make the Custard Base
Once the onions are beautifully caramelized, remove the skillet from heat. Stir in the sour cream and beaten eggs, mixing until you achieve a smooth consistency. Next, fold in both the sharp cheddar and mozzarella cheeses until they are well combined with the onion mixture. This cheesy custard base will make your Southern Sweet Onion Casserole irresistibly creamy.
Step 3: Assemble the Casserole
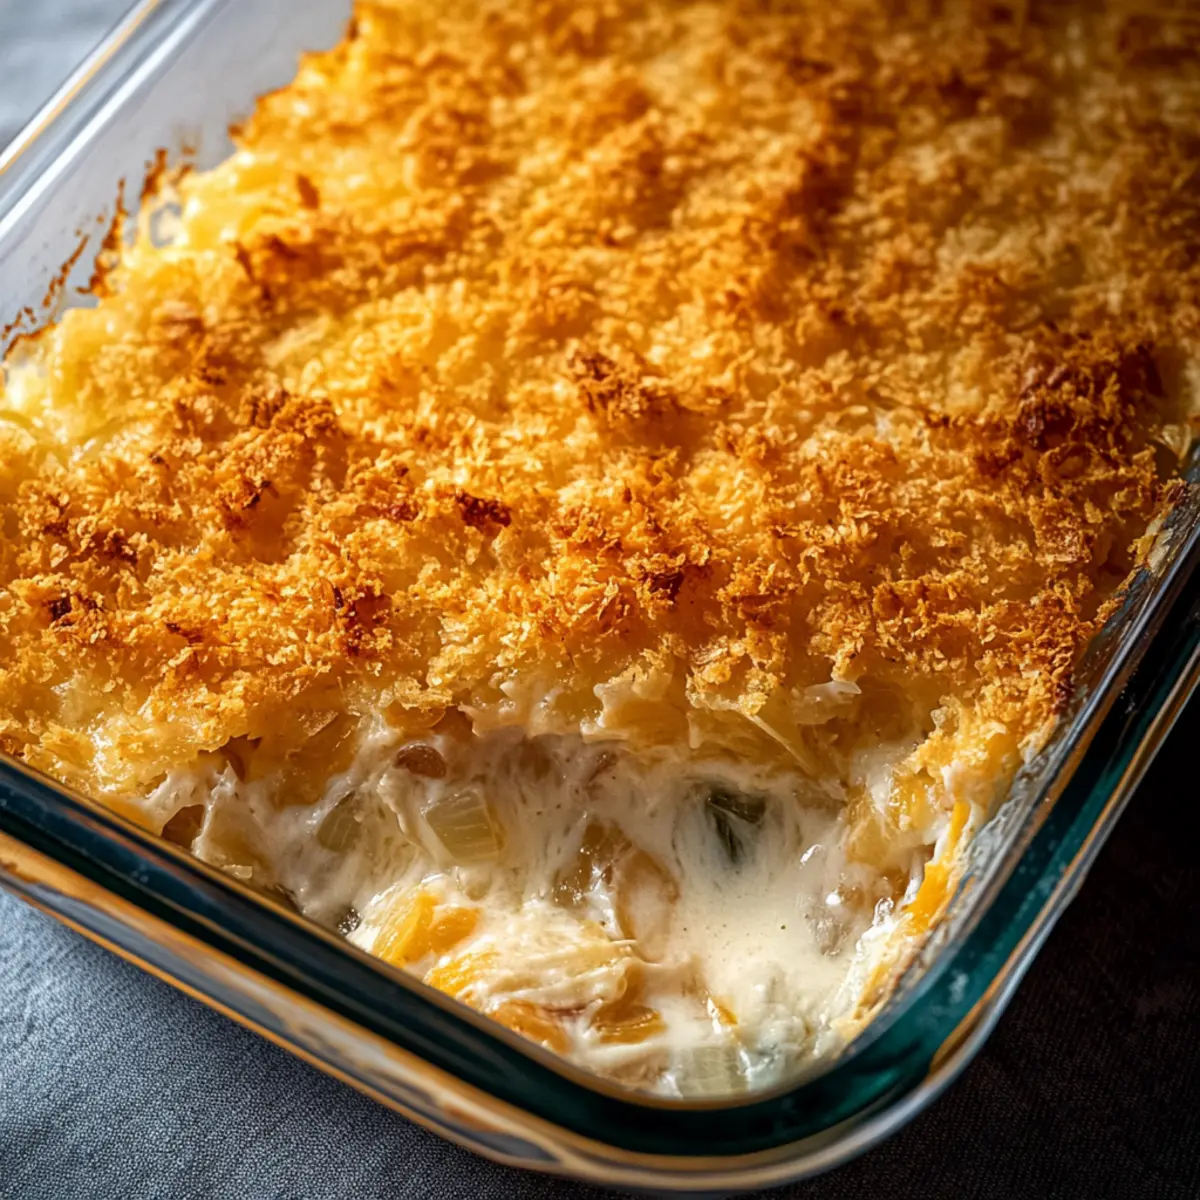
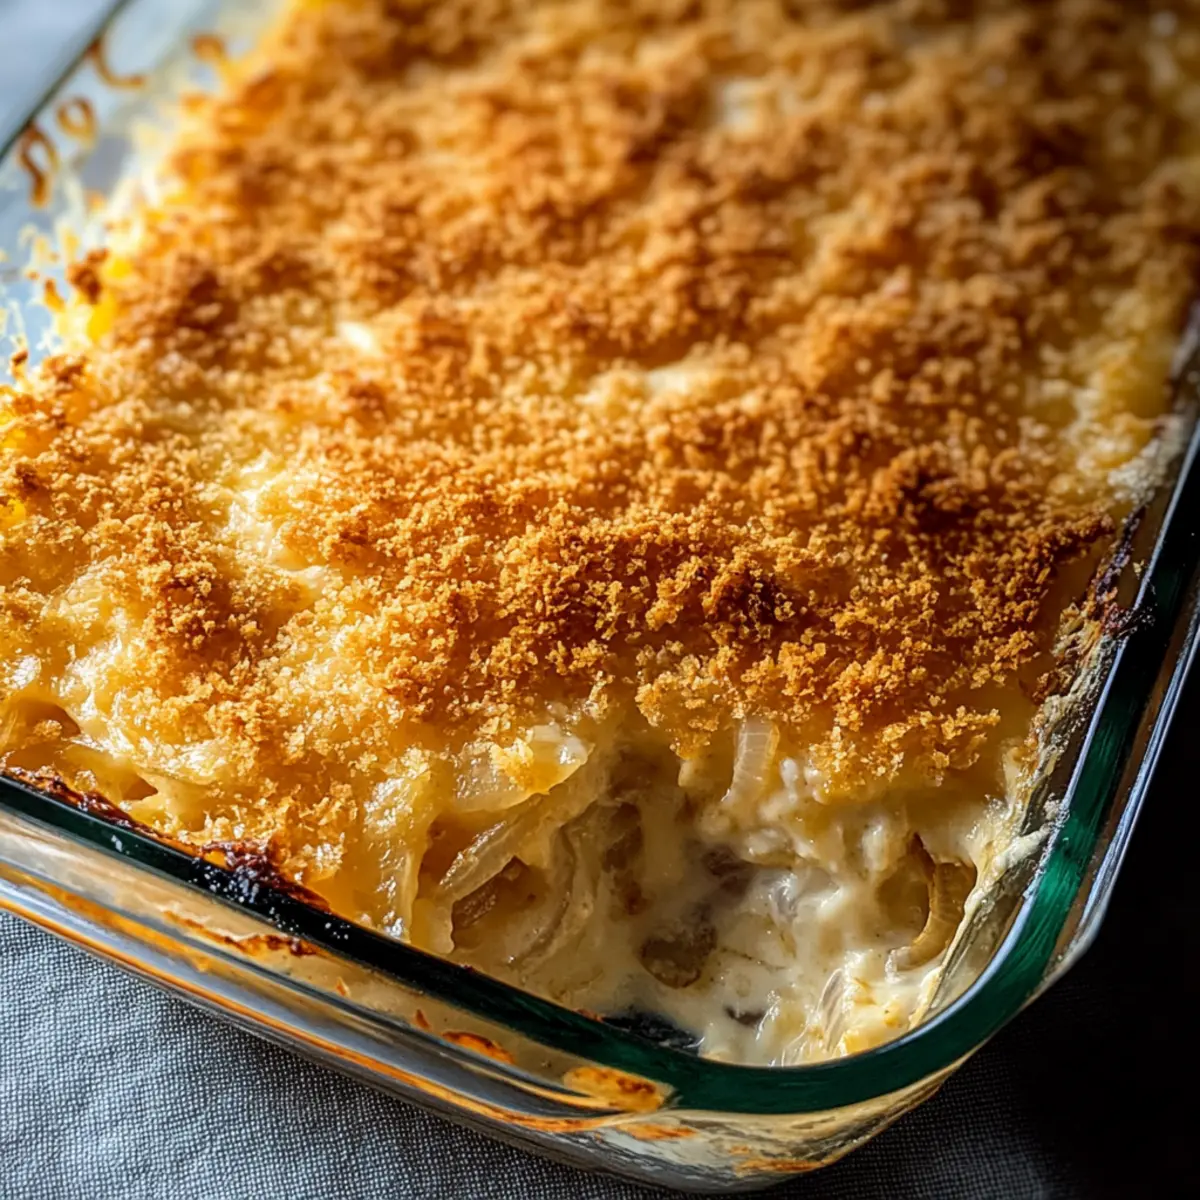
Spray a 9x13-inch baking dish with cooking spray to prevent sticking, then pour the luscious onion and cheese mixture into the dish. Spread it out evenly to ensure every bite is packed with flavor. To finish assembling the Southern Sweet Onion Casserole, sprinkle the top with the remaining cheeses and the crushed butter crackers that have been mixed with melted butter, creating a crunchy topping.
Step 4: Bake
Preheat your oven to 350°F (175°C) and then place the assembled casserole in the oven. Bake it uncovered for 30-35 minutes, or until the top is golden brown and bubbly at the edges. You’ll know it’s done when the aroma wafts through the kitchen, inviting everyone to take a seat at the table.
Step 5: Serve
Once baked, allow the Southern Sweet Onion Casserole to sit for about 5 minutes before cutting into it. This resting period helps everything firm up nicely, making it easier to serve. Grab your spatula, and prepare to dish out this comforting and cheesy side dish that will delight family and friends alike!
Make Ahead Options
These Southern Sweet Onion Casserole components are perfect for meal prep enthusiasts! You can sauté the sweet onions and prepare the custard base up to 24 hours in advance, allowing the flavors to meld beautifully. Simply store the onion mixture in an airtight container, refrigerated until you're ready to assemble the casserole. If using, crush the crackers and mix them with melted butter for your topping, but hold off on adding this layer until just before baking to keep it crispy. When ready to serve, pour the onion mixture into your baking dish, top with the cracker mixture, and bake as directed. This way, you’ll have a delightful, homemade dish with minimal effort on busy nights!
Southern Sweet Onion Casserole Variations
Feel free to explore these delightful twists and swaps for the Southern Sweet Onion Casserole, enhancing flavors and textures to match your taste!
-
Cheesy Option: Amp up the cheese by adding more mozzarella or even a mix of Gruyère for a richer flavor.
Imagine each creamy bite unfolding layers of luscious cheese that pairs beautifully with the sweet onions. -
Bacon Addition: For a smoky twist, incorporate cooked, crumbled bacon into the onion mixture.
The savory crunch of bacon complements the sweetness of the onions, making it an additional crowd-pleaser! -
Vegetarian-Friendly: Add sautéed mushrooms or spinach to the casserole for a vegetable boost.
The earthiness of mushrooms or the vibrant green of spinach creates added color and flavor. -
Spicy Kick: Introduce cayenne pepper or red pepper flakes to the custard base for an exciting heat.
This little addition can elevate your casserole, giving it a surprising zing that warms your palate. -
Gluten-Free Option: Use gluten-free crackers or breadcrumbs for the topping to accommodate dietary needs.
This way, everyone can enjoy it while maintaining that crunchy topping that we all love! -
Herb Infusion: Fresh herbs like thyme or rosemary can add another layer of flavor to this comforting dish.
Their fragrant notes create a beautiful balance with the sweetness of the onions, making each bite even more delightful. -
Creamy Vegan Version: Substitute sour cream with coconut cream and use nutritional yeast for a cheesy flavor.
This way, your casserole can embrace a plant-based twist that still delivers on taste and comfort.
Looking for more delicious side ideas? Check out my Cornbread Breakfast Casserole for a hearty beginning to your day, or try the Spicy Miso Casserole for a bold dinner option!
Storage Tips for Southern Sweet Onion Casserole
Fridge: Store leftovers in an airtight container for up to 4 days. This keeps your Southern Sweet Onion Casserole fresh and delicious for enjoying later.
Freezer: For long-term storage, freeze the baked casserole for up to 2 months. Make sure it’s tightly wrapped to prevent freezer burn.
Thawing: Thaw the casserole in the refrigerator overnight before reheating, ensuring it maintains its creamy texture.
Reheating: To reheat, place in a preheated oven at 325°F (163°C) until warmed through, about 20-25 minutes. Avoid microwaving to keep the topping crispy.
Expert Tips for Southern Sweet Onion Casserole
- Caramelize Slowly: Allow onions to caramelize slowly for max sweetness; rushing can make them bitter and ruin the flavor.
- Smooth Custard Base: Beat the eggs well before adding them to ensure a smooth custard for your Southern Sweet Onion Casserole.
- Crispy Topping: To maintain that perfect crunch, reheat in the oven instead of the microwave, which can make the topping soggy.
- Try Variations: Don't hesitate to experiment with extra cheeses, smoked bacon, or sautéed veggies like mushrooms for a twist.
- Freezing Tips: If you have leftovers, freeze the casserole after baking. Thaw overnight in the fridge for the best texture when reheating.
What to Serve with Southern Sweet Onion Casserole
This comforting dish creates a cozy atmosphere, making every meal feel like a warm hug for the soul.
- Roasted Chicken: Juicy and flavorful, the tender chicken pairs beautifully with the creamy casserole, allowing each bite to elevate your dining experience.
- Collard Greens: These greens offer a slightly bitter, earthy contrast, enhancing the sweetness of the casserole while adding a nutritious touch to your plate.
- Cornbread Muffins: Soft and buttery, cornbread muffins complement the richness of the casserole, making for a satisfying Southern meal that feels complete.
- Grilled Steak: The hearty, smoky flavors of grilled steak balance the creamy sweetness of the casserole, creating a mouthwatering combination everyone will enjoy.
- Fried Green Tomatoes: With their crispy exterior and tangy flavor, these fried bites provide a delightful crunch that pairs well with the soft texture of the casserole.
- Peach Cobbler: For dessert, this sweet treat with its warm, fruity filling adds a comforting end to your meal, perfectly embodying Southern flavors.
- Iced Tea: Refreshing and classic, a glass of sweet iced tea complements the flavors of the casserole and rounds out a true Southern dining experience.
Southern Sweet Onion Casserole Recipe FAQs
What type of sweet onions should I use?
I recommend using Vidalia onions or any sweet variety, as they add the perfect balance of sweetness and flavor to the casserole. Look for onions that feel heavy for their size, with smooth and dry skin.
How should I store leftovers?
Store any leftover Southern Sweet Onion Casserole in an airtight container in the refrigerator for up to 4 days. When you’re ready to enjoy it again, reheat in the oven at 325°F (163°C) for about 20-25 minutes to maintain the crispy topping.
Can I freeze the casserole?
Absolutely! You can freeze the baked Southern Sweet Onion Casserole for up to 2 months. Make sure to allow it to cool completely before wrapping it tightly in aluminum foil or plastic wrap to prevent freezer burn.
What if my casserole is too watery?
If the casserole becomes watery, it could be due to excess moisture from the onions or insufficient binder from the eggs. To troubleshoot, you can slightly increase the cooking time to allow more moisture to evaporate or double-check that the eggs are well mixed to create a firmer custard.
Are there any dietary considerations I should be aware of?
Yes! If you're serving guests with dietary restrictions, ensure to mention that this casserole contains dairy and eggs, which may be allergens. For a gluten-free version, simply swap out the butter crackers for gluten-free options to cater to guests with gluten sensitivities.
How do I reheat the casserole without losing its texture?
To keep your Southern Sweet Onion Casserole's topping crispy during reheating, place it in a preheated oven at 325°F (163°C). Cover it lightly with foil to avoid over-browning, and heat for about 20-25 minutes until warmed through, avoiding the microwave which can make the topping soggy.
Southern Sweet Onion Casserole: Your New Favorite Comfort Dish
Ingredients
Equipment
Method
- Thinly slice the sweet onions and sauté them in melted butter over medium heat with a sprinkle of salt and pepper for about 15 minutes until softened and lightly golden.
- Remove the skillet from heat and stir in sour cream and beaten eggs until smooth. Fold in sharp cheddar and mozzarella cheeses.
- Pour the onion and cheese mixture into a greased 9x13-inch baking dish, and top with remaining cheeses and crushed crackers mixed with melted butter.
- Preheat oven to 350°F (175°C) and bake uncovered for 30-35 minutes until golden brown and bubbly.
- Let the casserole rest for 5 minutes before serving.