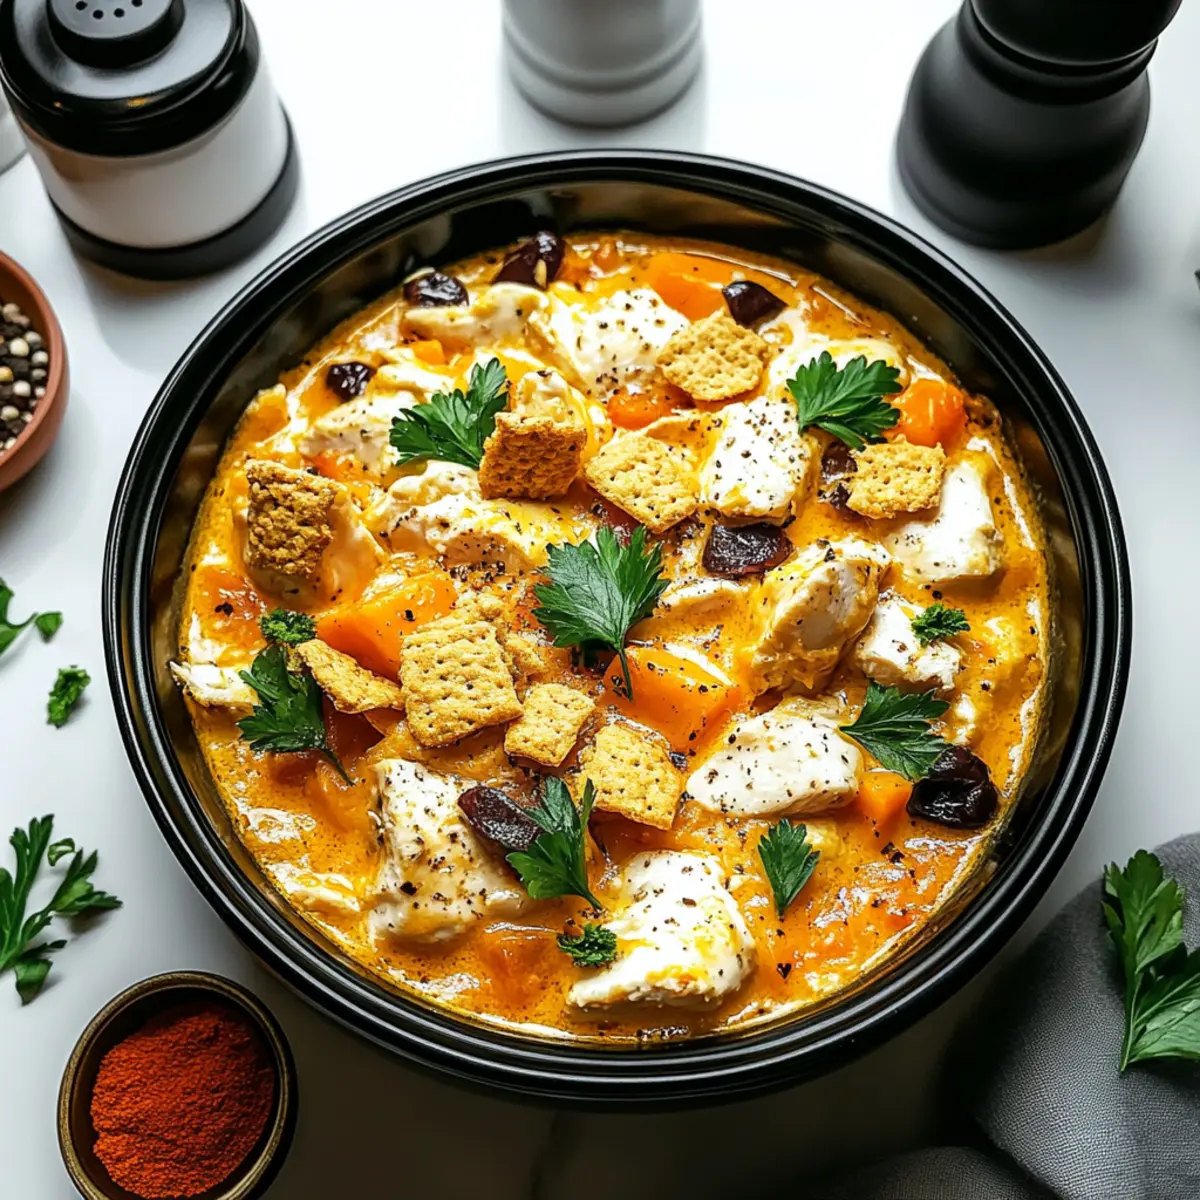
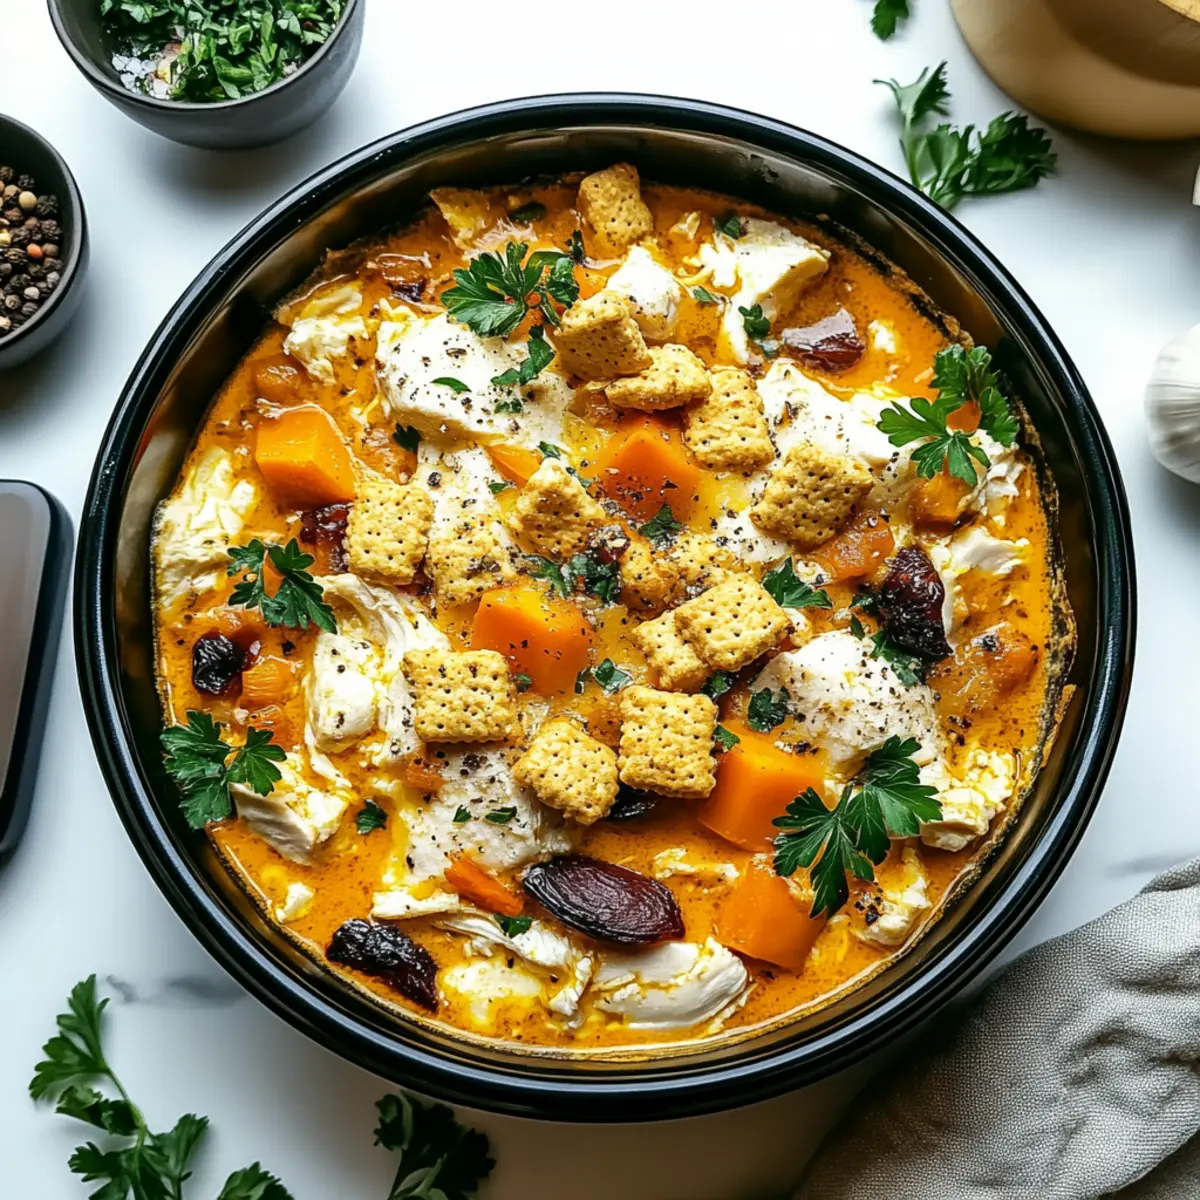
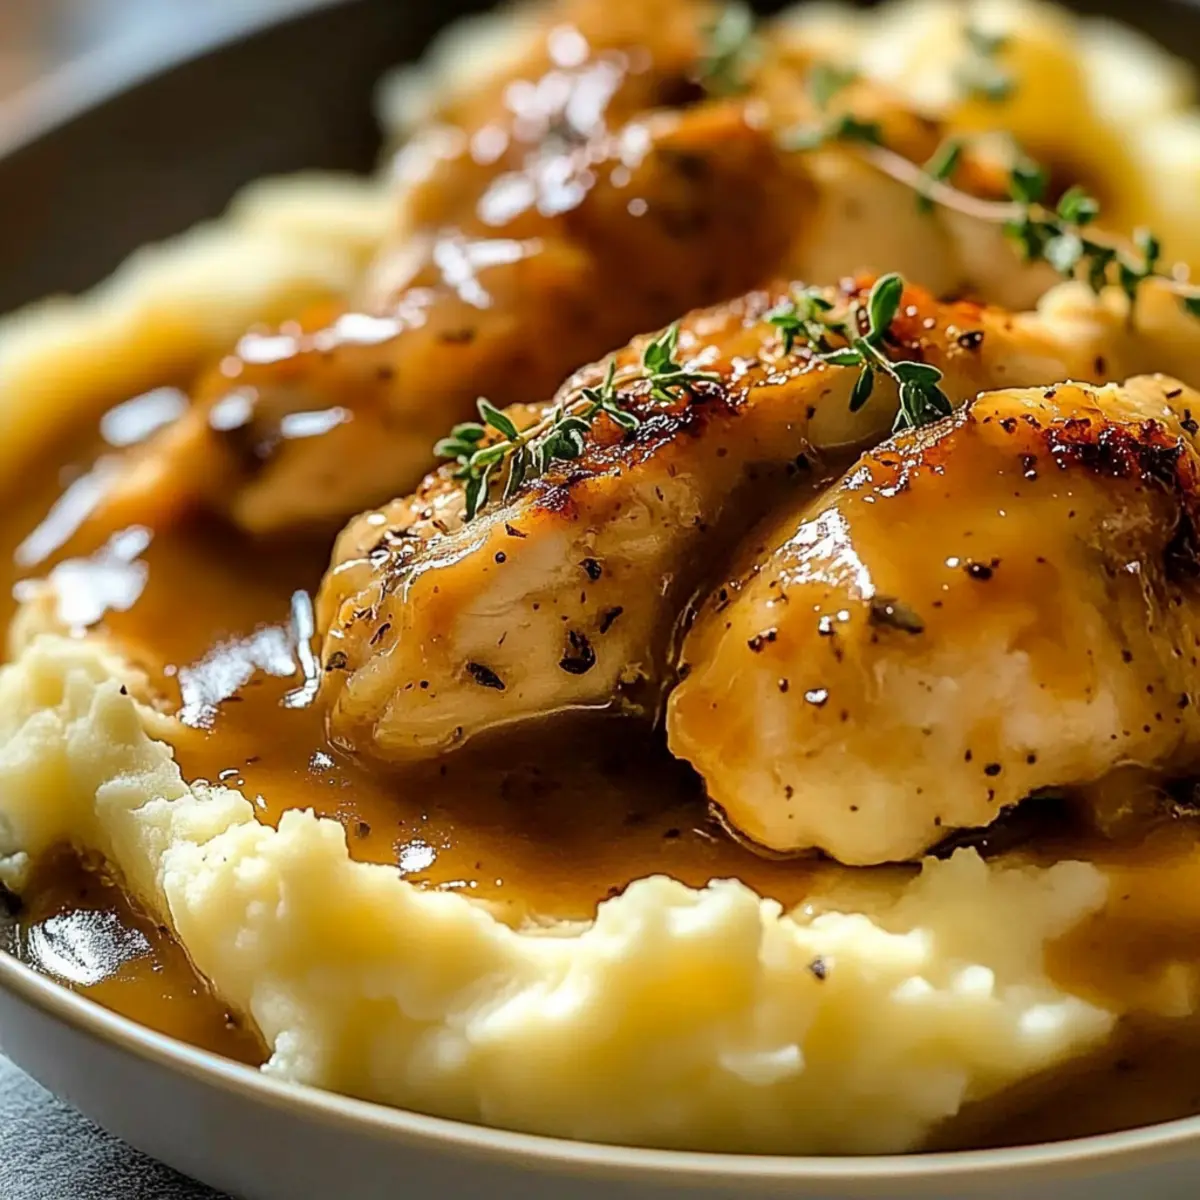
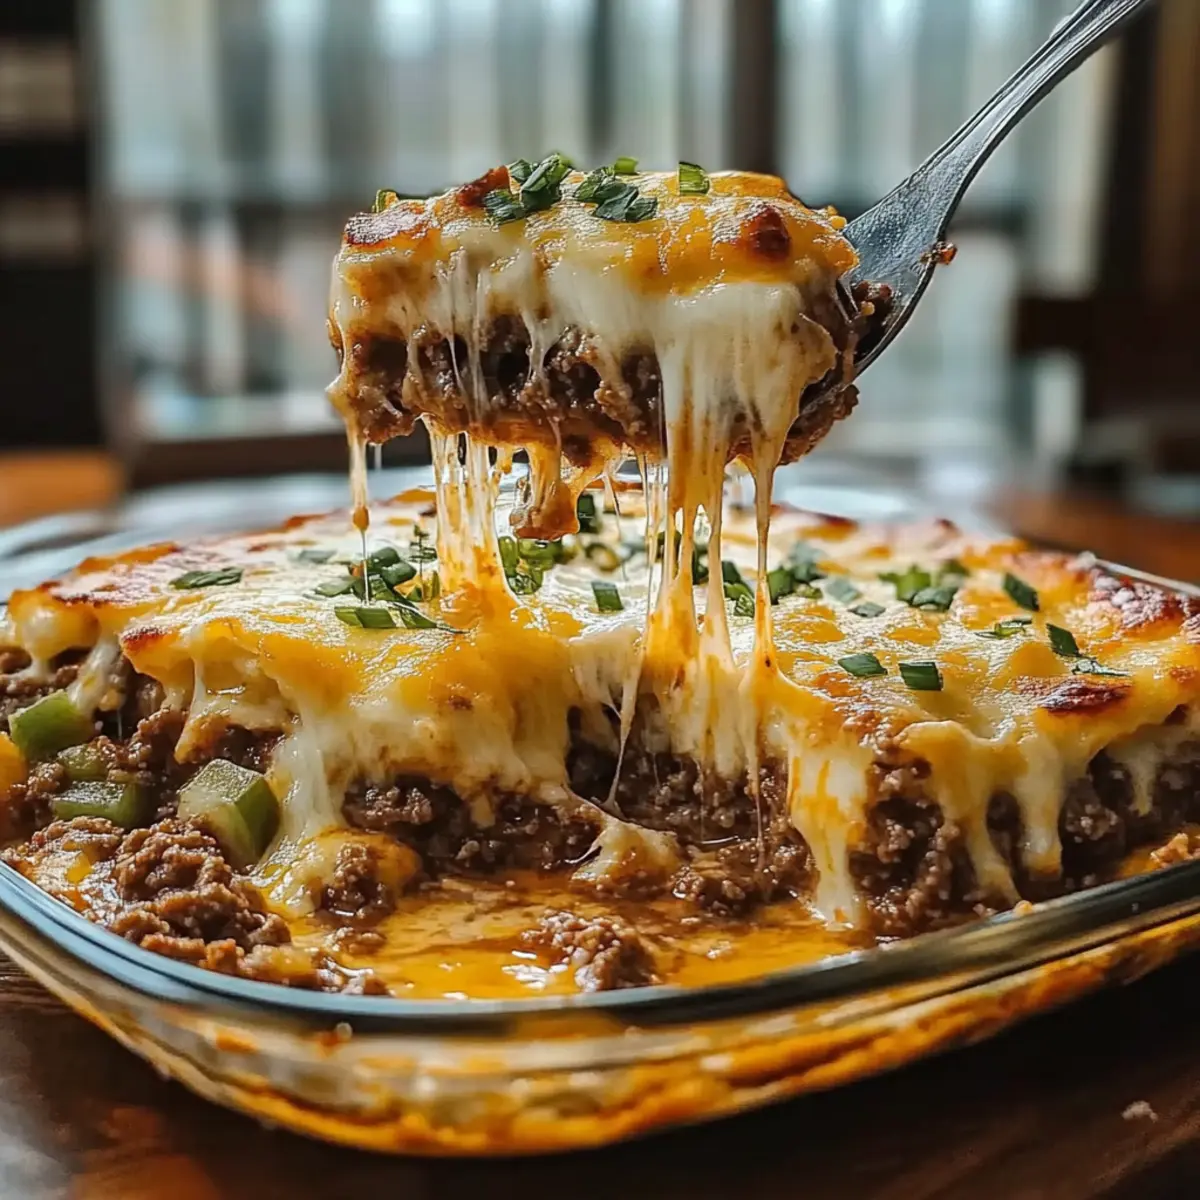
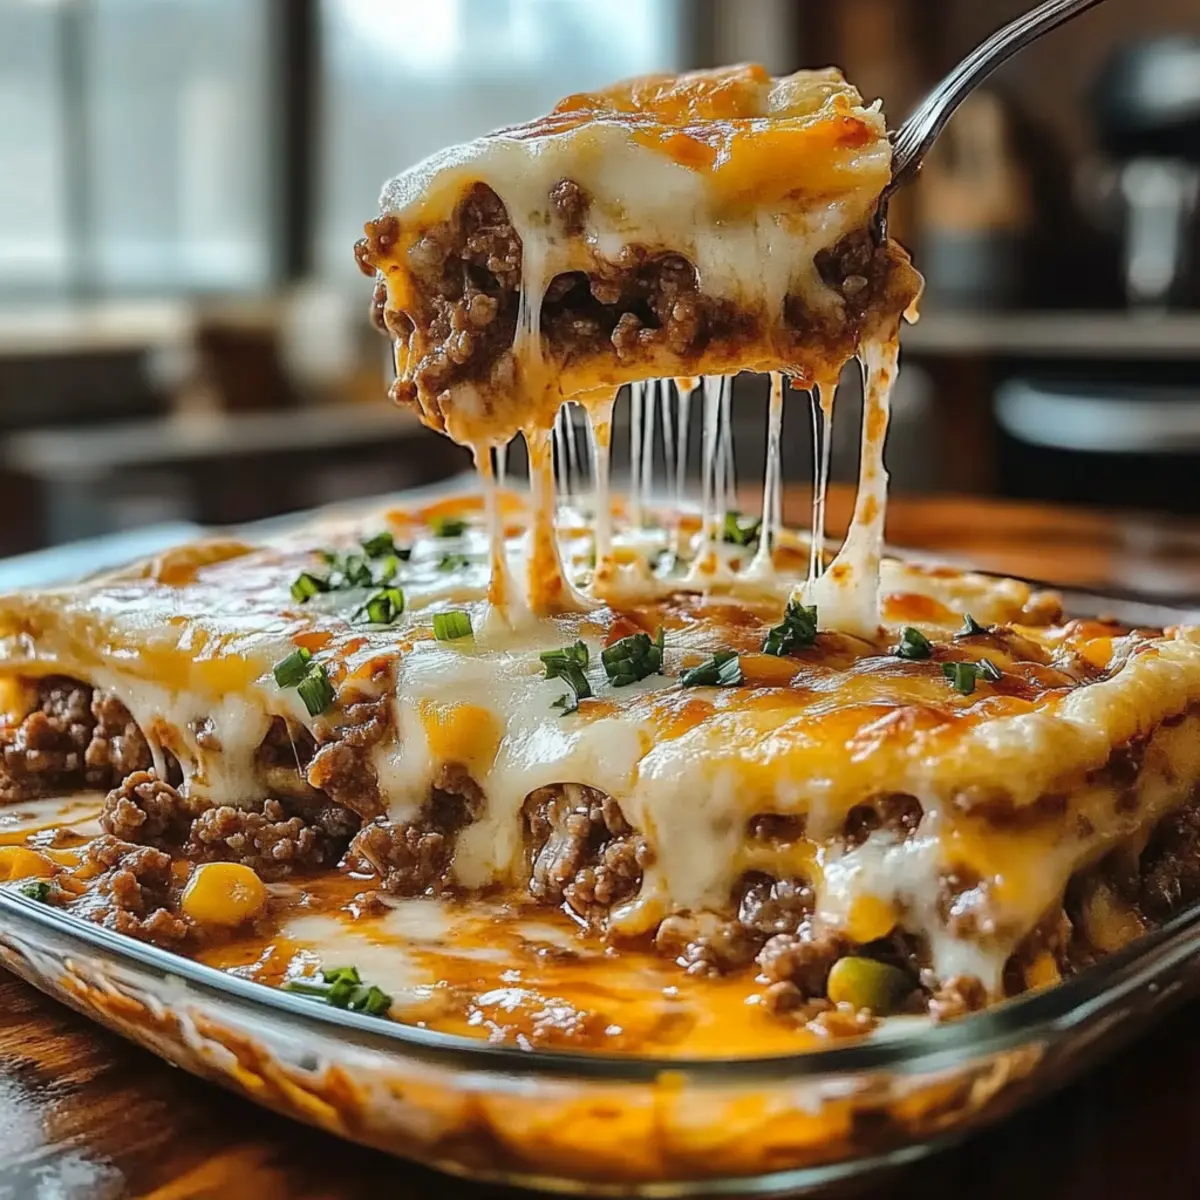
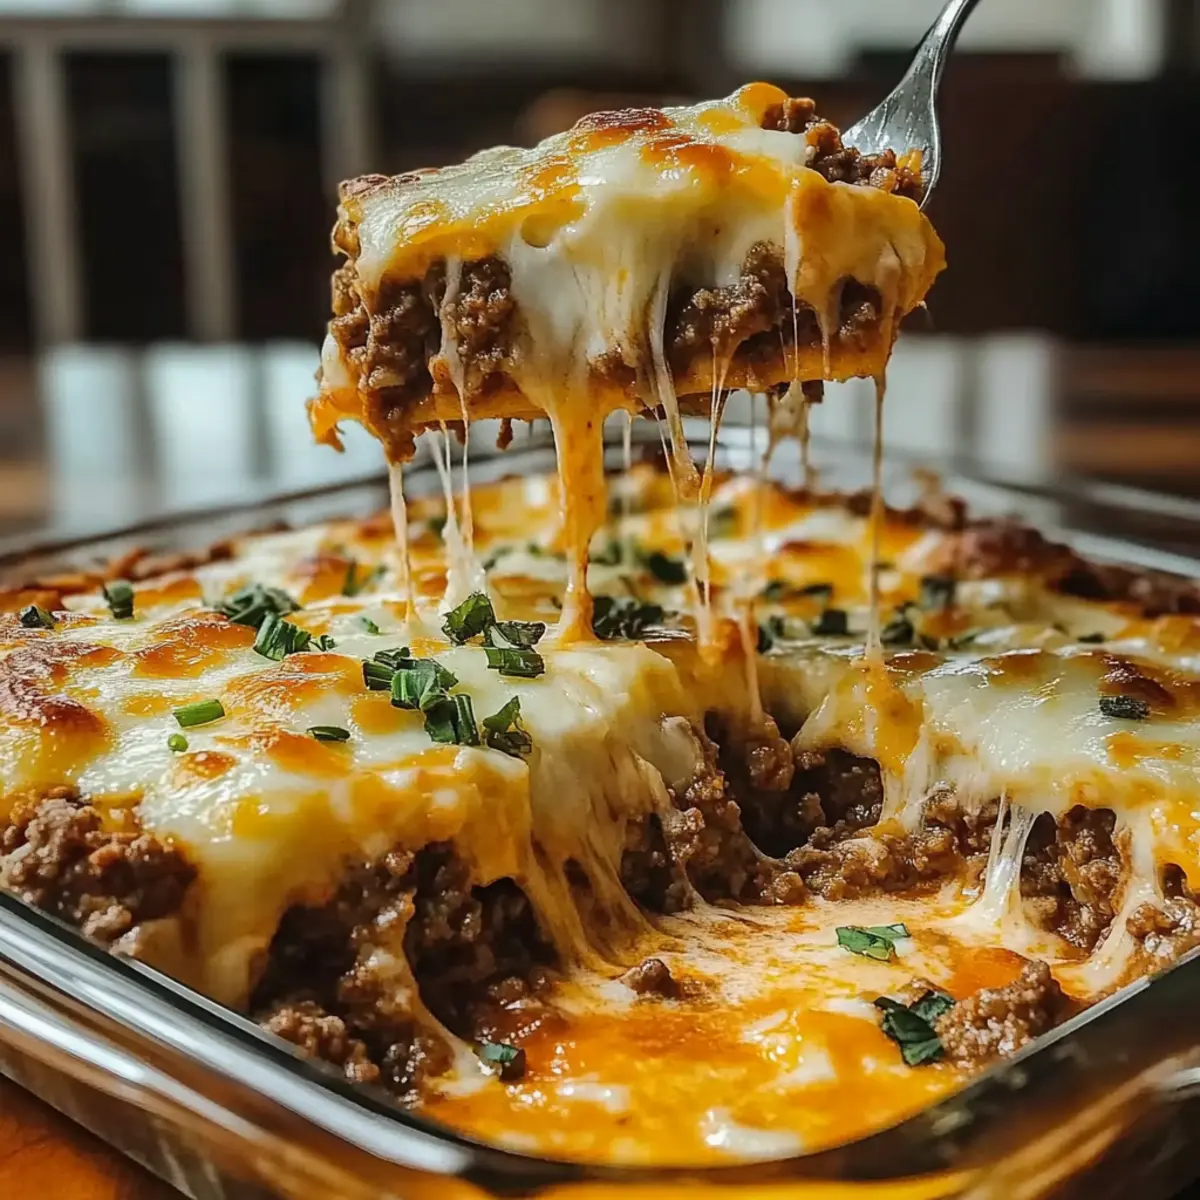
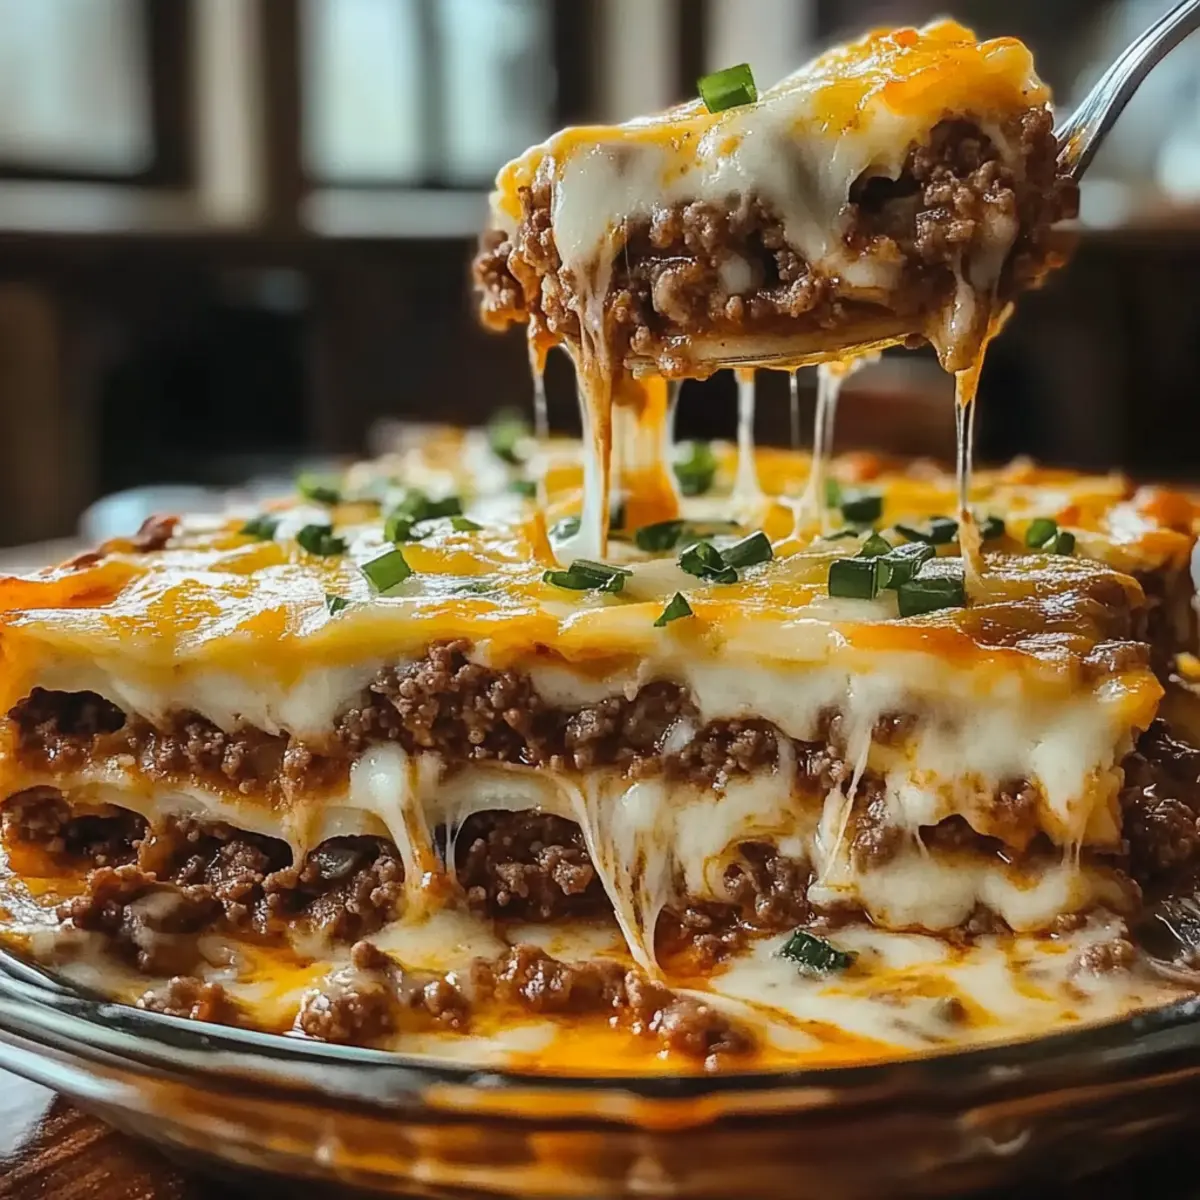
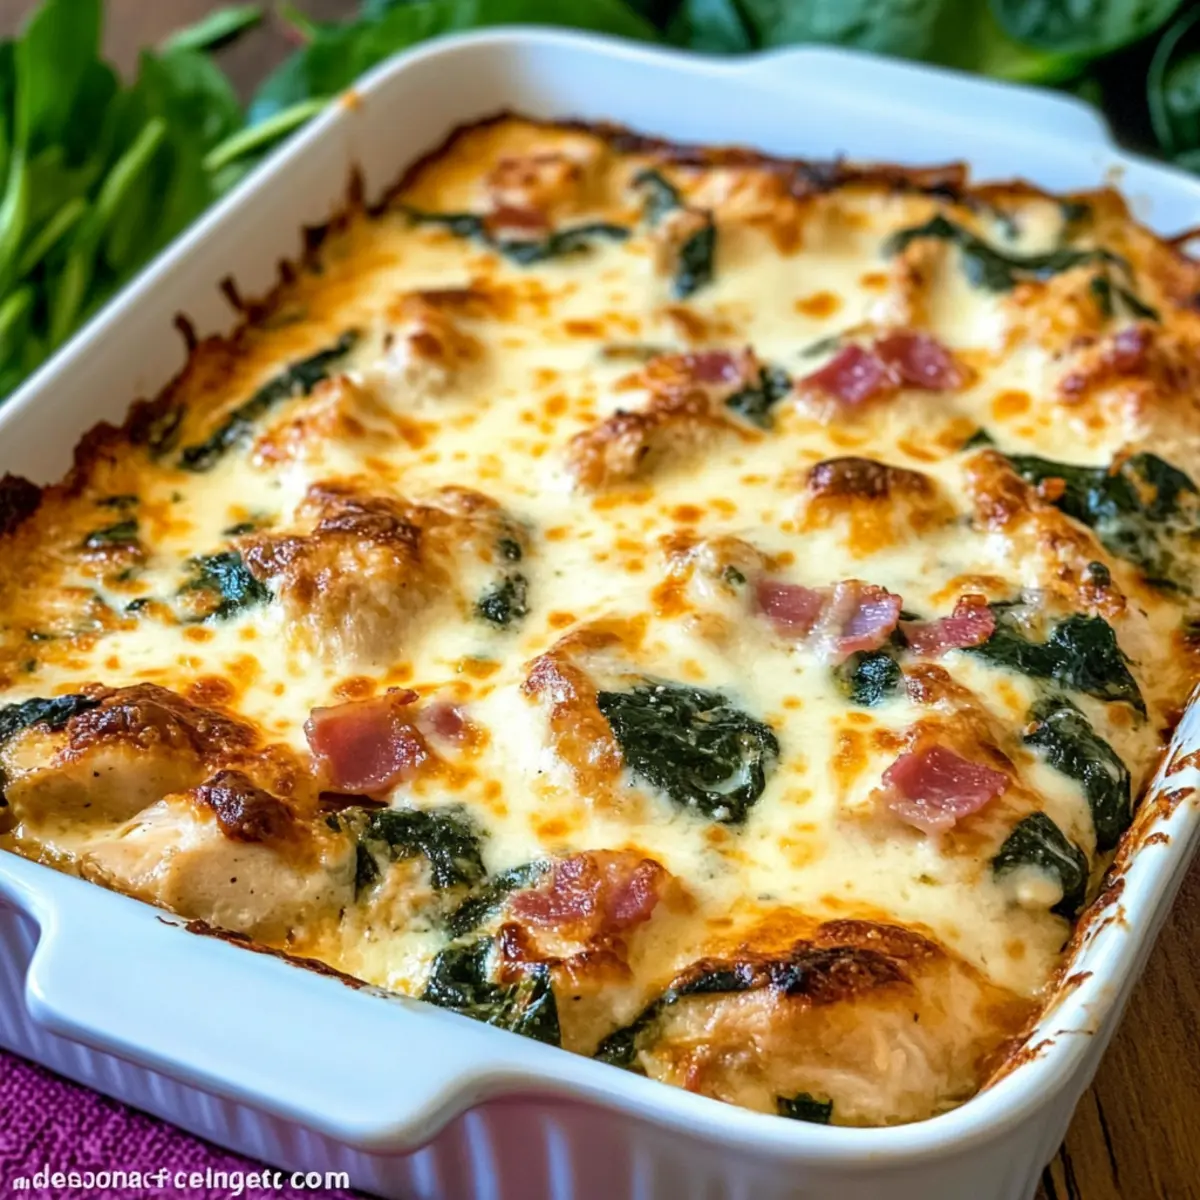
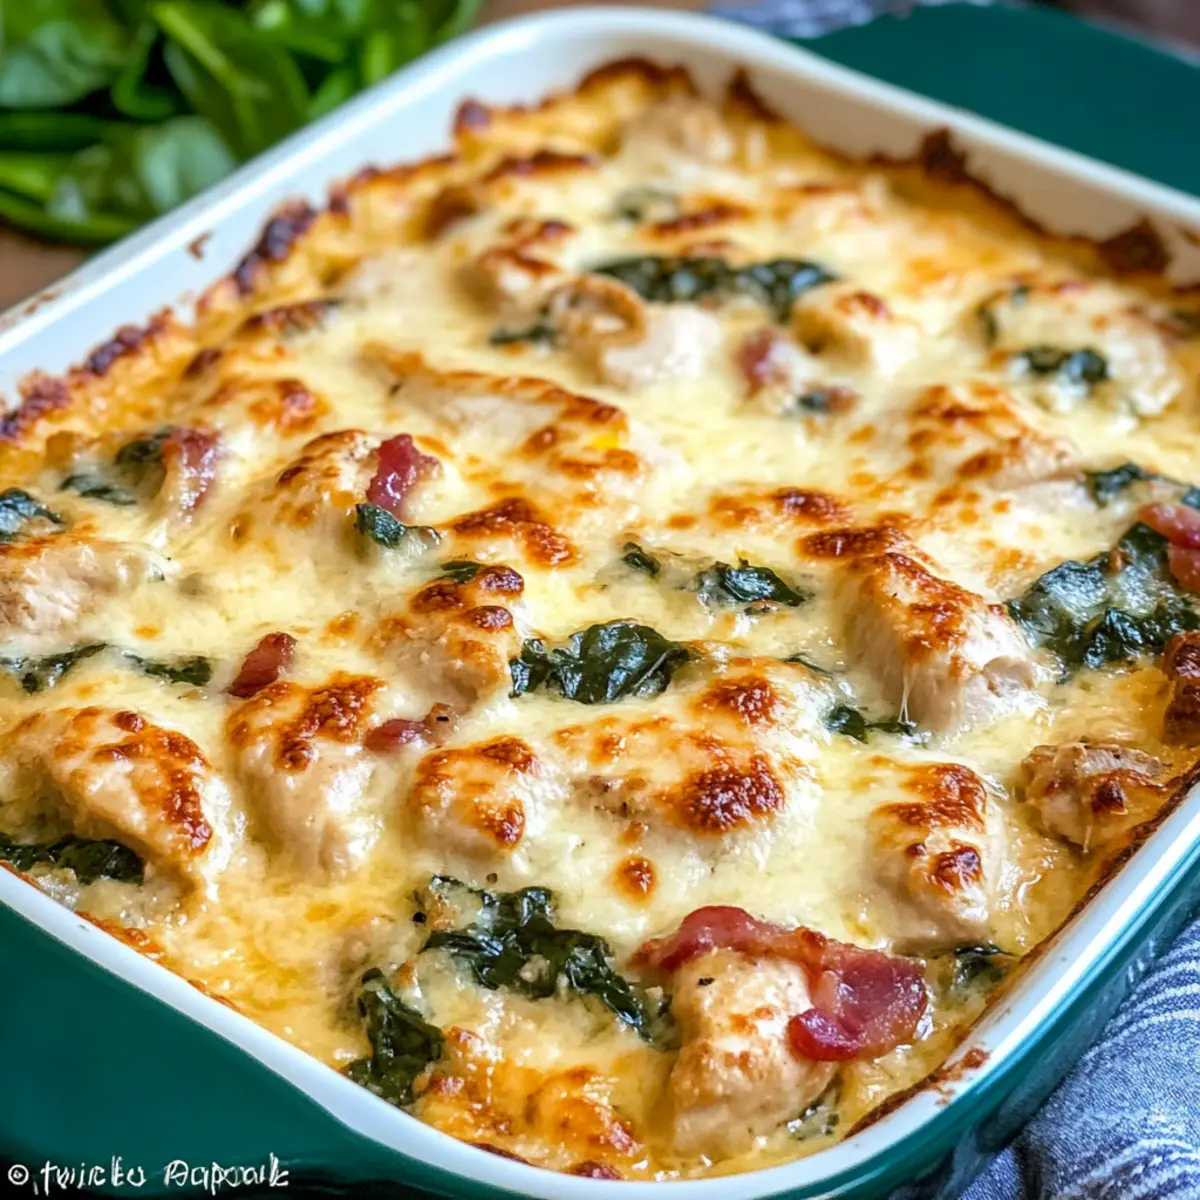
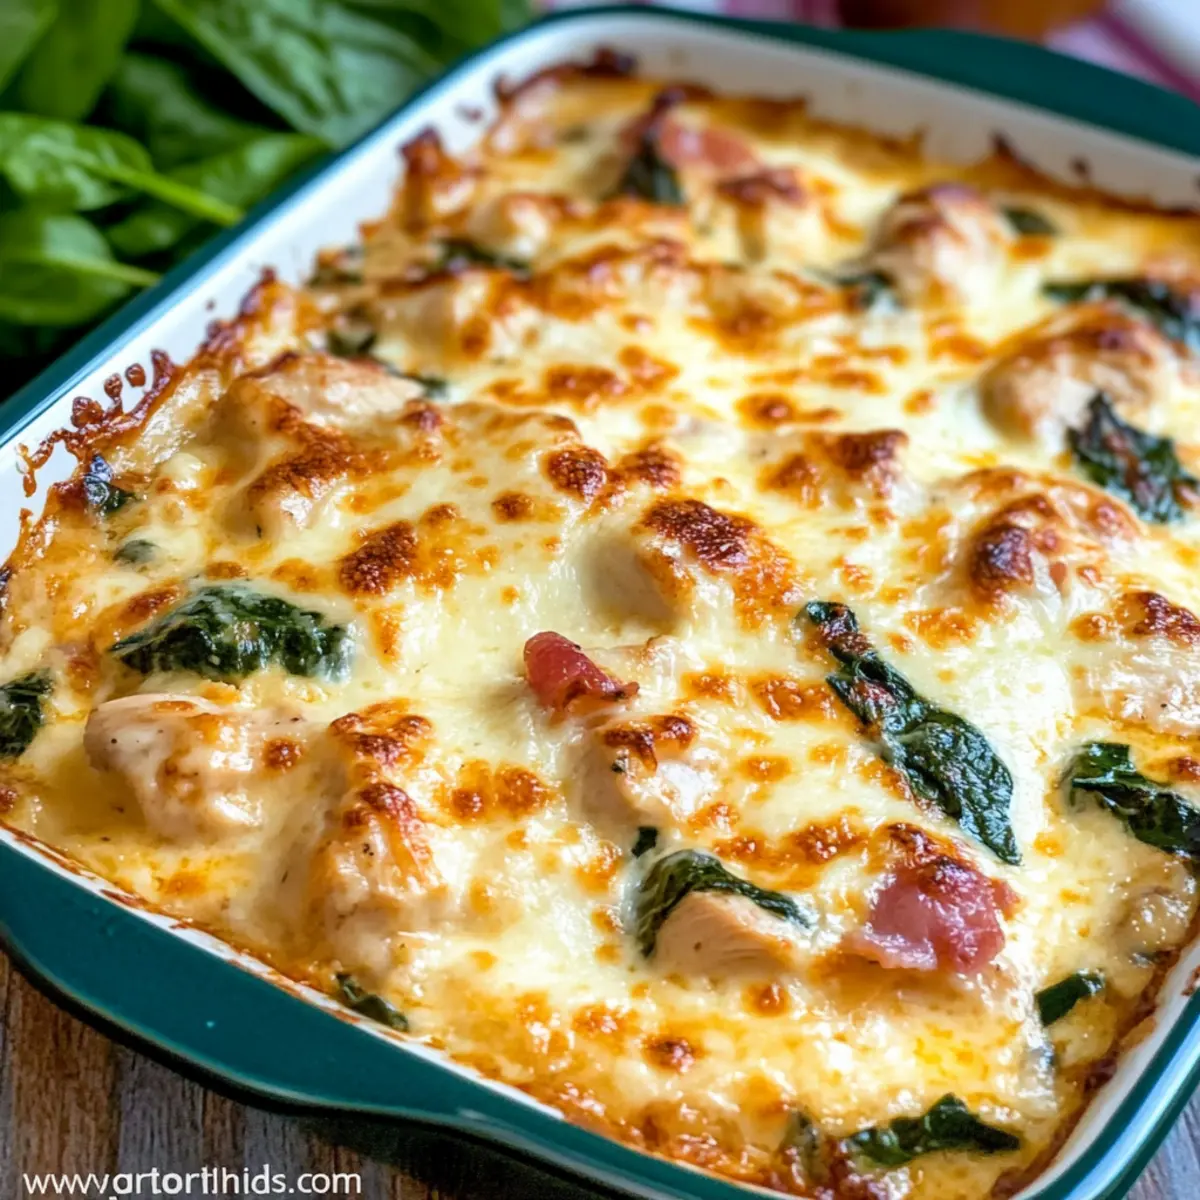
The moment I pulled this Keto Chicken Cheese Bake from the oven, I was greeted by the inviting aroma of melted cheese and smoky bacon—it felt like a warm hug on a plate. This creamy low-carb delight is perfect for those cozy evenings when comfort food calls, yet you want to stay on track with your diet. With tender chicken, a rich blend of four cheeses, and just the right amount of spice, this dish is not only a crowd-pleaser but also quick to prepare, making it ideal for busy weeknights. Picture serving this sumptuous bake alongside a crisp salad or veggies, and you’ve got a wholesome meal that won’t weigh you down. Ready to discover the secret to turning a classic casserole into a keto-friendly masterpiece?
Why is this Keto Chicken Cheese Bake a must-try?
Deliciously Creamy: The rich mixture of four cheeses creates an indulgent sauce that coats each bite.
Smoky Bacon Goodness: Adding crispy bacon elevates the flavor profile, bringing a delightful crunch to this comforting dish.
Time-Saving Shortcut: Using rotisserie chicken makes this recipe incredibly quick and convenient—perfect for busy weeknights.
Customizable for You: Feel free to swap in your favorite veggies or different cheese blends like Pepper Jack or Gouda for a personal twist!
Crowd-Pleaser: This bake is guaranteed to impress family and friends at any gathering, making it a staple for your recipe collection.
Pair it with a fresh green salad or steamed veggies for a complete meal, and check out my other favorites like Crock Pot Chicken or Honey Garlic Chicken to keep your dinner exciting!
Keto Chicken Cheese Bake Ingredients
For the Chicken and Sauce
• Rotisserie Chicken – Saves time by using pre-cooked chicken; freshly roasted or poached chicken can work as well.
• Cream Cheese – Provides creaminess and richness to the sauce; can be replaced with Neufchâtel for a lighter version.
• Heavy Cream – Ensures a rich and decadent sauce; for a lower-calorie option, use half-and-half.
• Avocado Mayonnaise – Adds creaminess and healthy fats; can be substituted with regular mayonnaise.
• Sharp Cheddar Cheese – Supplies a bold flavor essential for richness; use medium cheddar if you prefer a milder taste.
• Parmesan Cheese – Adds salty, nutty flavor; low-fat Parmesan can be used as a substitute.
• Mozzarella Cheese – Topped for cheesiness and stretchiness; any melty cheese can serve as a replacement.
For Seasoning and Additional Flavor
• Bacon – Adds a smoky flavor and crispy texture; swap with turkey bacon for a lower-fat option.
• Hot Sauce – Provides a kick to the dish; adjust to taste or omit for less heat.
• Dry Mustard – Contributes a tangy flavor; yellow mustard can work as a substitute.
• White Pepper, Garlic Powder, Onion Powder, Paprika – Enhances overall flavor and depth.
For Vegetables
• Red Onion – Sautéed for sweetness and texture; yellow onion can be used for a similar flavor.
• Baby Bella Mushrooms – Adds earthiness to the dish; substitute with cremini or button mushrooms if preferred.
• Fresh Garlic – Intensifies aroma; garlic powder can be used if fresh is unavailable.
• Baby Spinach – Adds nutritional value and vibrant color; kale can be used as a substitute.
With these ingredients on hand, you'll be well on your way to creating a delightful Keto Chicken Cheese Bake that everyone will love!
Step‑by‑Step Instructions for Keto Chicken Cheese Bake
Step 1: Preheat the Oven
Start by preheating your oven to 375°F (190°C). This step is vital for ensuring your Keto Chicken Cheese Bake cooks evenly and achieves that delightful bubbly, golden top. Allow the oven to come to temperature while you prepare the ingredients, setting the stage for a scrumptious meal.
Step 2: Cook the Bacon
In a large skillet, cook the diced bacon over medium heat until it's crispy and golden, about 5-7 minutes. Once done, drain the excess fat, reserving about 2 tablespoons in the skillet for later use. Remove the bacon, crumble it, and set it aside to add that delicious smoky flavor to your dish later on.
Step 3: Prepare the Cream Sauce
In a medium saucepan, combine cream cheese, Parmesan, sharp cheddar, avocado mayonnaise, and heavy cream over medium heat. Stir continuously until the mixture is creamy and well blended, about 5 minutes. This rich cream sauce will form the flavorful base for the Keto Chicken Cheese Bake, ensuring every bite is packed with cheesy goodness.
Step 4: Sauté the Vegetables
Using the reserved bacon fat in your skillet, sauté the diced red onion for about 3 minutes, until it softens. Add the baby Bella mushrooms and continue cooking for another 5 minutes, stirring occasionally. Finally, add minced garlic and baby spinach, cooking just until the spinach wilts down, about 2-3 minutes.
Step 5: Combine Chicken and Sauce
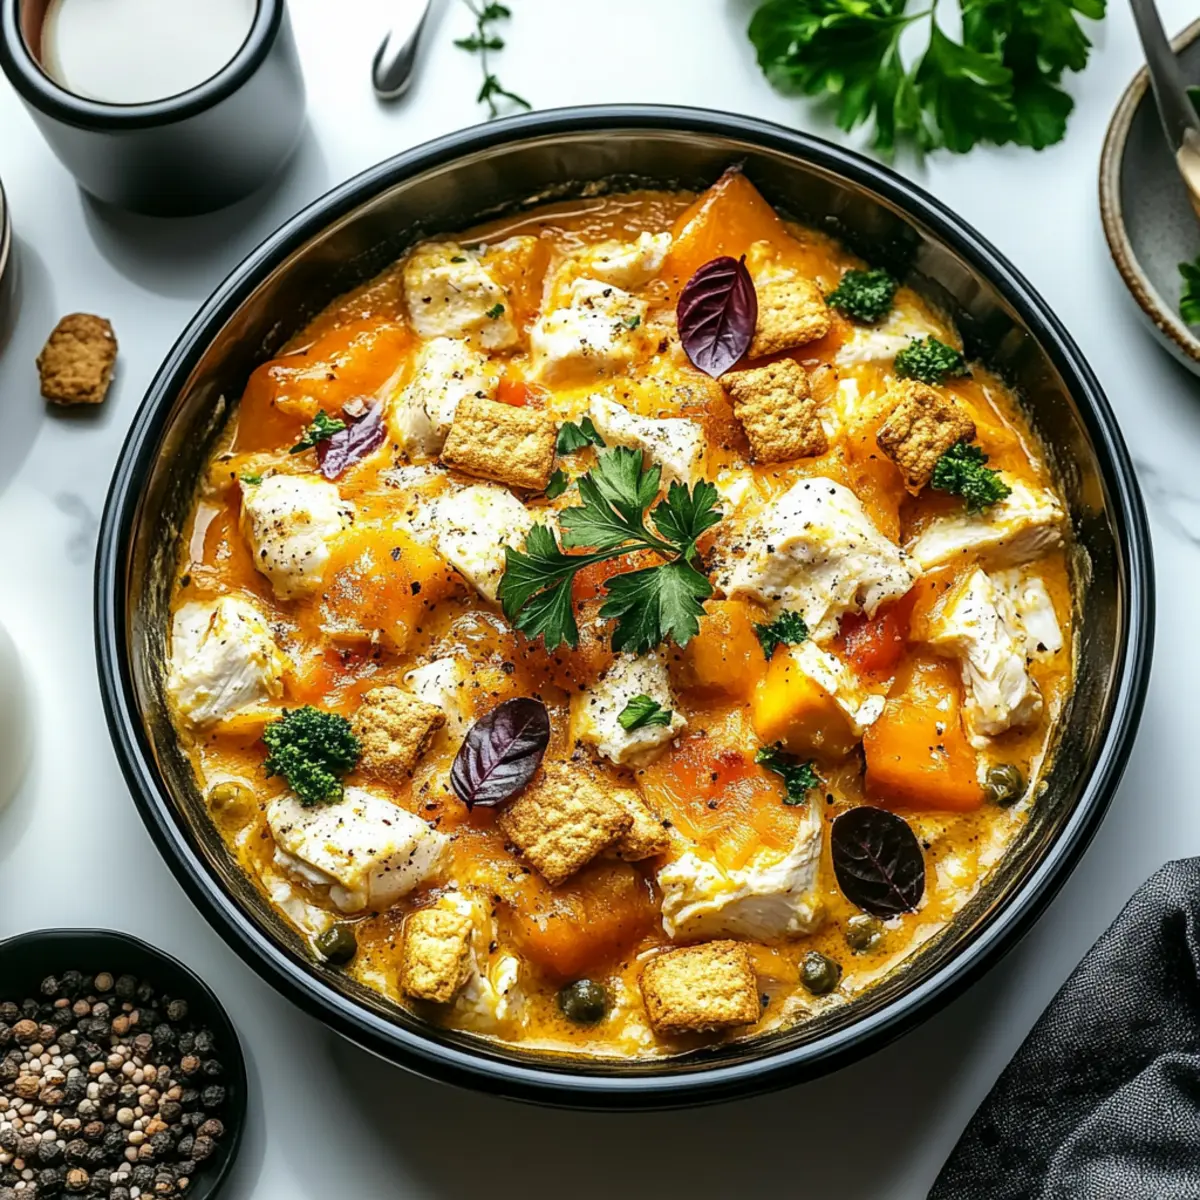
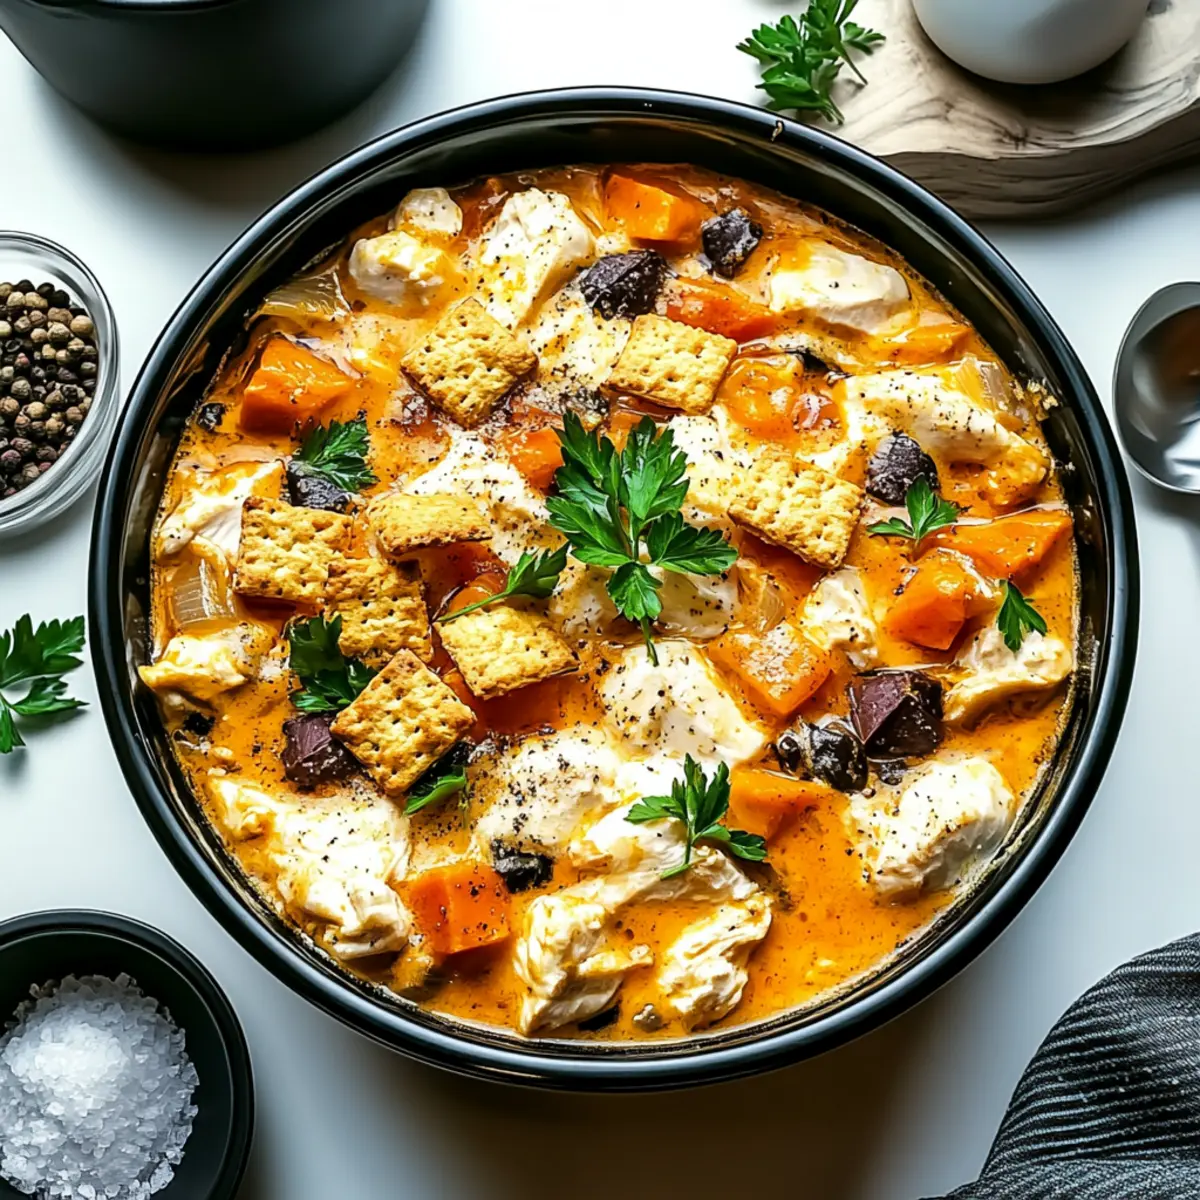
In a large mixing bowl, gently combine the cooked rotisserie chicken, crumbled bacon, and the creamy sauce you prepared in Step 3. Stir until everything is evenly coated and well mixed. Then, pour this deliciously rich mixture into an 8x12-inch casserole dish, spreading it out evenly for optimal cooking.
Step 6: Add the Cheese Topping
Sprinkle shredded mozzarella cheese generously over the top of the mixture in the casserole dish. The mozzarella cheese will melt into a gooey layer, creating a satisfying texture for your Keto Chicken Cheese Bake. With the casserole assembled, it's time to send it to the oven.
Step 7: Bake to Perfection
Place the casserole in the preheated oven and bake for 20 minutes until the cheese is melted and bubbly. Keep an eye on it, as you want the top to be a lovely golden color. This baking process ensures that all the flavors meld beautifully together.
Step 8: Broil for a Golden Finish
For an extra touch, switch the oven to broil for an additional 1-2 minutes after baking. This will create a perfect browned crust on the cheese, making your Keto Chicken Cheese Bake look irresistibly enticing. Watch closely so it doesn't burn!
Step 9: Rest Before Serving
Once out of the oven, let the bake sit for 10 minutes. This resting period allows the flavors to meld together and the sauce to settle. As tempting as it is to dive right in, this step enhances the overall experience of your delicious Keto Chicken Cheese Bake.
Keto Chicken Cheese Bake Variations & Substitutions
Feel free to play around with these ideas and make this delightful dish truly yours!
- Turkey Bacon: Swap crispy bacon for turkey bacon to lower the fat content without sacrificing flavor.
- Veggie Delight: Add zucchini or bell peppers for an extra boost of nutrition and pop of color.
- Cheese Twist: Use Pepper Jack cheese for a spicy kick or Gouda for a smoky touch.
- Dairy-Free: Substitute all cheeses with a dairy-free cheese blend along with coconut cream for a creamy sauce.
- Chicken Alternatives: Use cooked ground beef or sausage for a hearty twist on the classic chicken.
- Keto Crunch: Top with crushed pork rinds instead of breadcrumbs for added crunch and flavor without the carbs.
- Slow-Cooker Version: Why not transform this to a slow-cooker dish? Combine everything and let it cook low and slow for about 4 hours.
- Herb Infusion: Sprinkle in fresh herbs like thyme or rosemary for an aromatic finish, enhancing the overall flavor profile.
With these variations, you can make this Keto Chicken Cheese Bake your own! Don’t hesitate to explore even more flavors with other delicious recipes like Spatchcock Chicken Flavor or a classic Crock Pot Chicken. Enjoy every bite!
Make Ahead Options
These Keto Chicken Cheese Bake preparations are perfect for busy weeknights! You can assemble the entire casserole up to 24 hours in advance. Simply prepare the dish through the mixing stage, cover it tightly with plastic wrap, and refrigerate. This allows the flavors to meld beautifully while saving you precious time later. When you're ready to serve, uncover the casserole, sprinkle the mozzarella cheese on top, and bake it straight from the fridge—just add an extra 5-10 minutes to the cooking time. Remember, allowing it to rest for 10 minutes post-baking ensures that the creamy goodness stays intact. Enjoy a comforting dinner that's just as delicious as if made fresh!
What to Serve with Keto Chicken Cheese Bake
Imagine the satisfying aroma of melted cheese and bacon wafting through your home as you prepare the perfect meal companions to this indulgent dish.
- Fresh Green Salad: A crisp, refreshing salad adds a light crunch and balances the richness of the bake.
- Steamed Broccoli: Nutrient-packed and vibrant, steamed broccoli offers a tender contrast that enhances your dining experience.
- Garlic Bread: Crunchy, buttery garlic bread provides a hearty side, perfect for soaking up any leftover creamy sauce.
- Zucchini Noodles: Spiralized zucchini offers a low-carb alternative to pasta, adding a fresh texture to your meal.
- Cauliflower Rice: Light, fluffy cauliflower rice acts as a great base, soaking up flavors while keeping with your keto lifestyle.
- Red Wine Pairing: A glass of rich red wine beautifully complements the savory flavors and elevates your dining experience.
- Dark Chocolate Mousse: To finish on a sweet note, this luscious dessert can satisfy chocolate cravings while keeping it keto-friendly.
- Iced Herbal Tea: Refreshing and caffeine-free, iced herbal tea serves as a palate cleanser that pairs nicely with the rich flavors of the bake.
Expert Tips for Keto Chicken Cheese Bake
-
Go Easy on Mixing: Gently combine ingredients to avoid breaking the mushrooms. Overmixing can lead to a mushy texture, which you don't want.
-
Resting Is Key: Allow the dish to sit for 10 minutes before serving. This resting time helps the flavors meld beautifully in your Keto Chicken Cheese Bake.
-
Use Quality Cheese: Opt for high-quality cheeses for better flavor and texture. This enhances the richness of your creamy sauce and overall dish.
-
Season Gradually: If you're unsure about the spice levels, add hot sauce and dry mustard a little at a time. You can always add more, but you can't take spice away!
-
Enjoy Custom Options: Feel free to swap out vegetables or cheeses based on your preference. Mixing it up keeps meals exciting and tailored to your taste!
-
Don’t Skip the Broil: Broiling for a couple of minutes at the end creates a beautiful golden crust on the cheese. Just watch it closely to avoid burning.
How to Store and Freeze Keto Chicken Cheese Bake
Fridge: Store any leftovers in an airtight container in the fridge for up to 3 days. Make sure it’s cooled completely before sealing to retain freshness.
Freezer: For longer storage, you can freeze the unbaked Keto Chicken Cheese Bake for up to 2 months. Wrap it tightly in plastic wrap followed by aluminum foil to prevent freezer burn.
Reheating: When ready to enjoy, thaw overnight in the fridge, then bake at 375°F for 25-30 minutes, covered with foil, until heated through.
Make-Ahead: Prepare the dish ahead of time, refrigerate before baking, and reheat as mentioned above to make mealtime a breeze.

Keto Chicken Cheese Bake Recipe FAQs
How do I select the right ripeness for the vegetables?
Absolutely! When choosing your veggies, opt for firm and vibrant items. For mushrooms, look for smooth, unblemished caps without dark spots, and choose spinach that's fresh and crisp. This ensures your Keto Chicken Cheese Bake will have the best flavor and texture.
How should I store any leftovers from the Keto Chicken Cheese Bake?
After cooling, store leftovers in an airtight container in the fridge for up to 3 days. Make sure it's completely cooled before sealing. This way, you'll maintain its creamy texture and rich flavors for your next meal!
Can I freeze the Keto Chicken Cheese Bake?
Yes! You can freeze the unbaked Keto Chicken Cheese Bake for up to 2 months. Wrap it tightly in plastic wrap followed by aluminum foil to prevent freezer burn. When you're ready to enjoy, simply thaw it overnight in the fridge, then bake at 375°F for 25-30 minutes, covered with foil until heated through.
What should I do if my cheese doesn't melt properly?
If your cheese isn’t melting as beautifully as expected, it might be due to using lower-fat cheese options. Try using full-fat varieties for better melting and creaminess. Also, broiling it for 1-2 minutes at the end can give that appealing golden brown finish, enhancing both flavor and aesthetics.
Are there any dietary considerations for people with allergies?
Absolutely! This recipe can be customized for various dietary needs. If you're avoiding dairy, consider using plant-based cream cheese and cheese substitutes. Also, always check labels for potential allergens, especially with pre-packaged ingredients like bacon or mayonnaise. If you're cooking for pets, avoid giving them anything with onion or garlic, as these can be harmful.
Keto Chicken Cheese Bake
Ingredients
Equipment
Method
- Preheat your oven to 375°F (190°C).
- Cook the diced bacon over medium heat until crispy and golden, about 5-7 minutes. Reserve about 2 tablespoons of bacon fat in the skillet.
- In a medium saucepan, combine cream cheese, Parmesan, sharp cheddar, avocado mayonnaise, and heavy cream over medium heat. Stir until creamy, about 5 minutes.
- Sauté diced red onion in reserved bacon fat for about 3 minutes, then add baby Bella mushrooms and cook for another 5 minutes. Finally, add minced garlic and spinach, cooking until the spinach wilts down, about 2-3 minutes.
- Combine the cooked chicken, crumbled bacon, and cream sauce in a large bowl, then pour into an 8x12-inch casserole dish.
- Sprinkle mozzarella cheese generously over the top of the mixture.
- Bake in the preheated oven for 20 minutes until the cheese is melted and bubbly.
- Broil for an additional 1-2 minutes for a golden finish, watching closely to avoid burning.
- Let the bake sit for 10 minutes before serving.