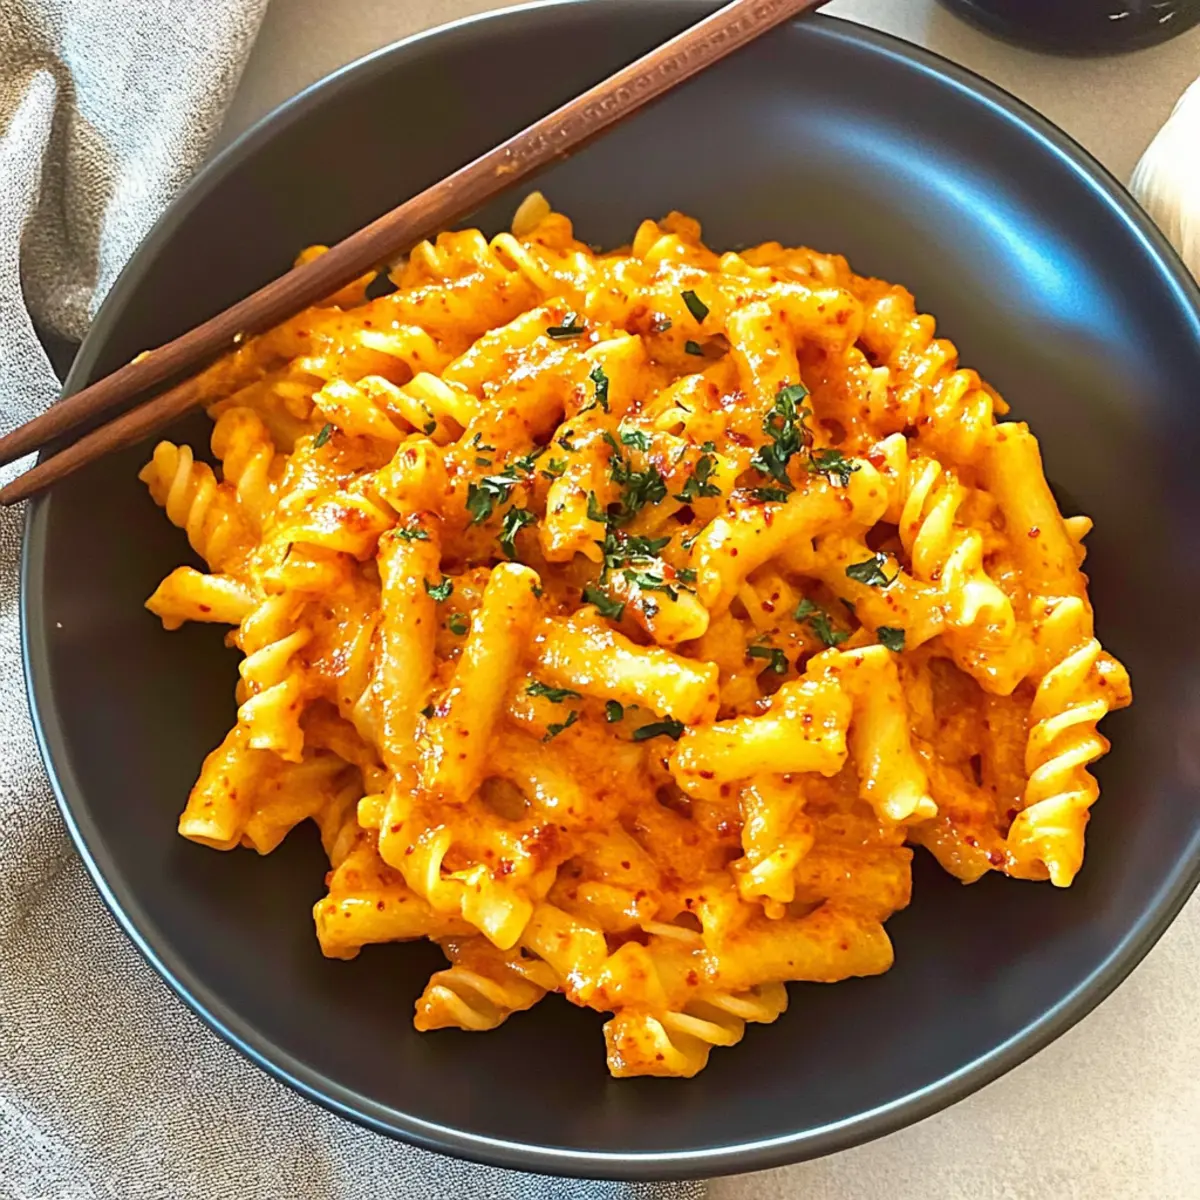
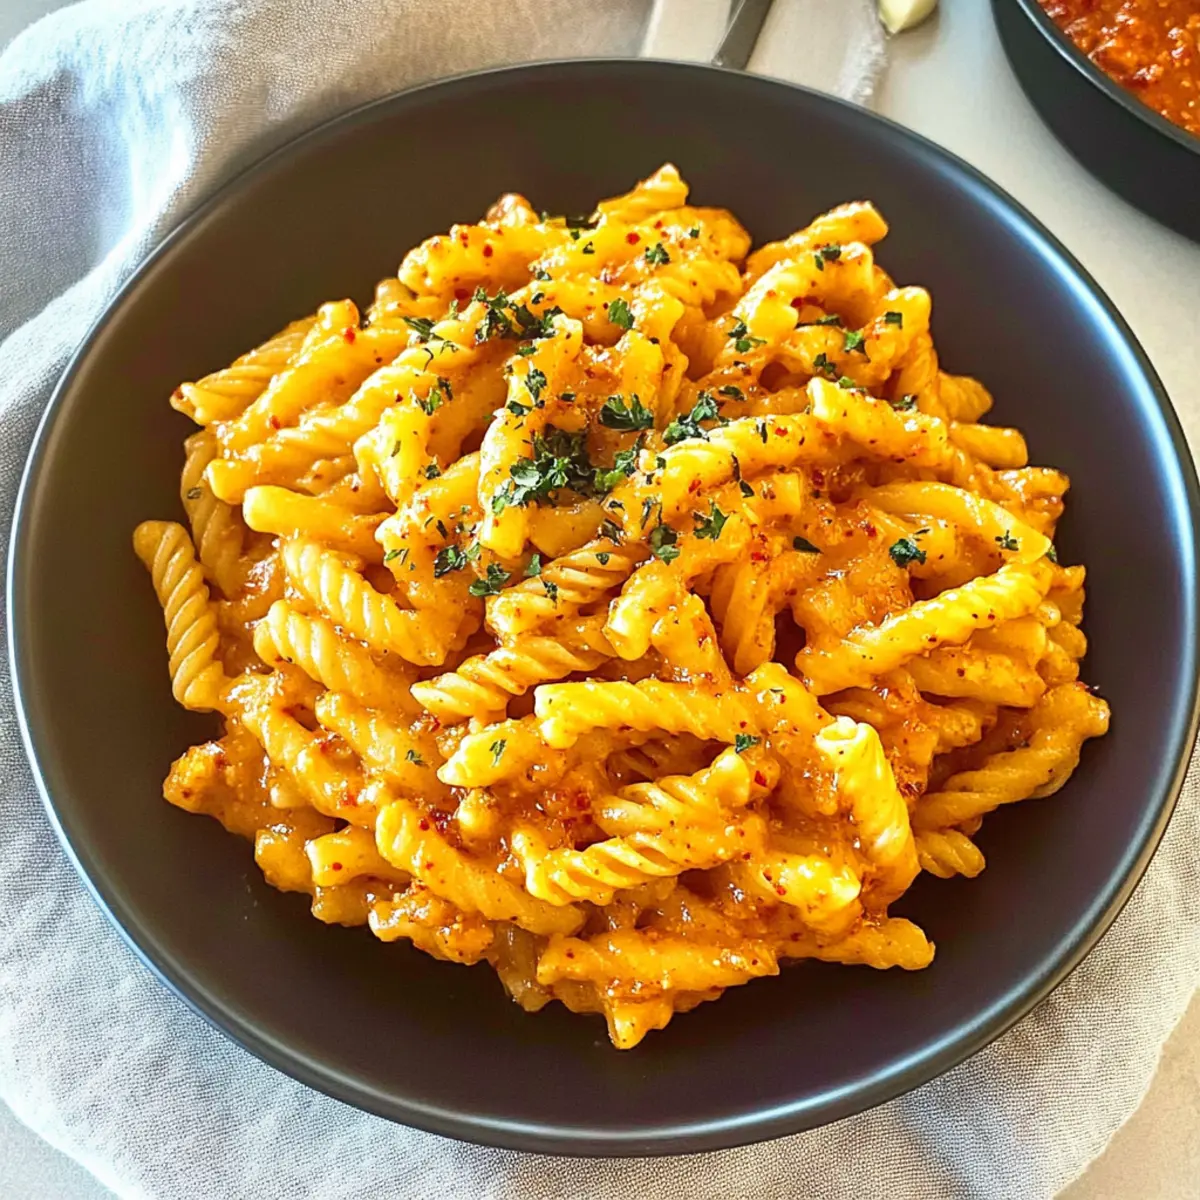
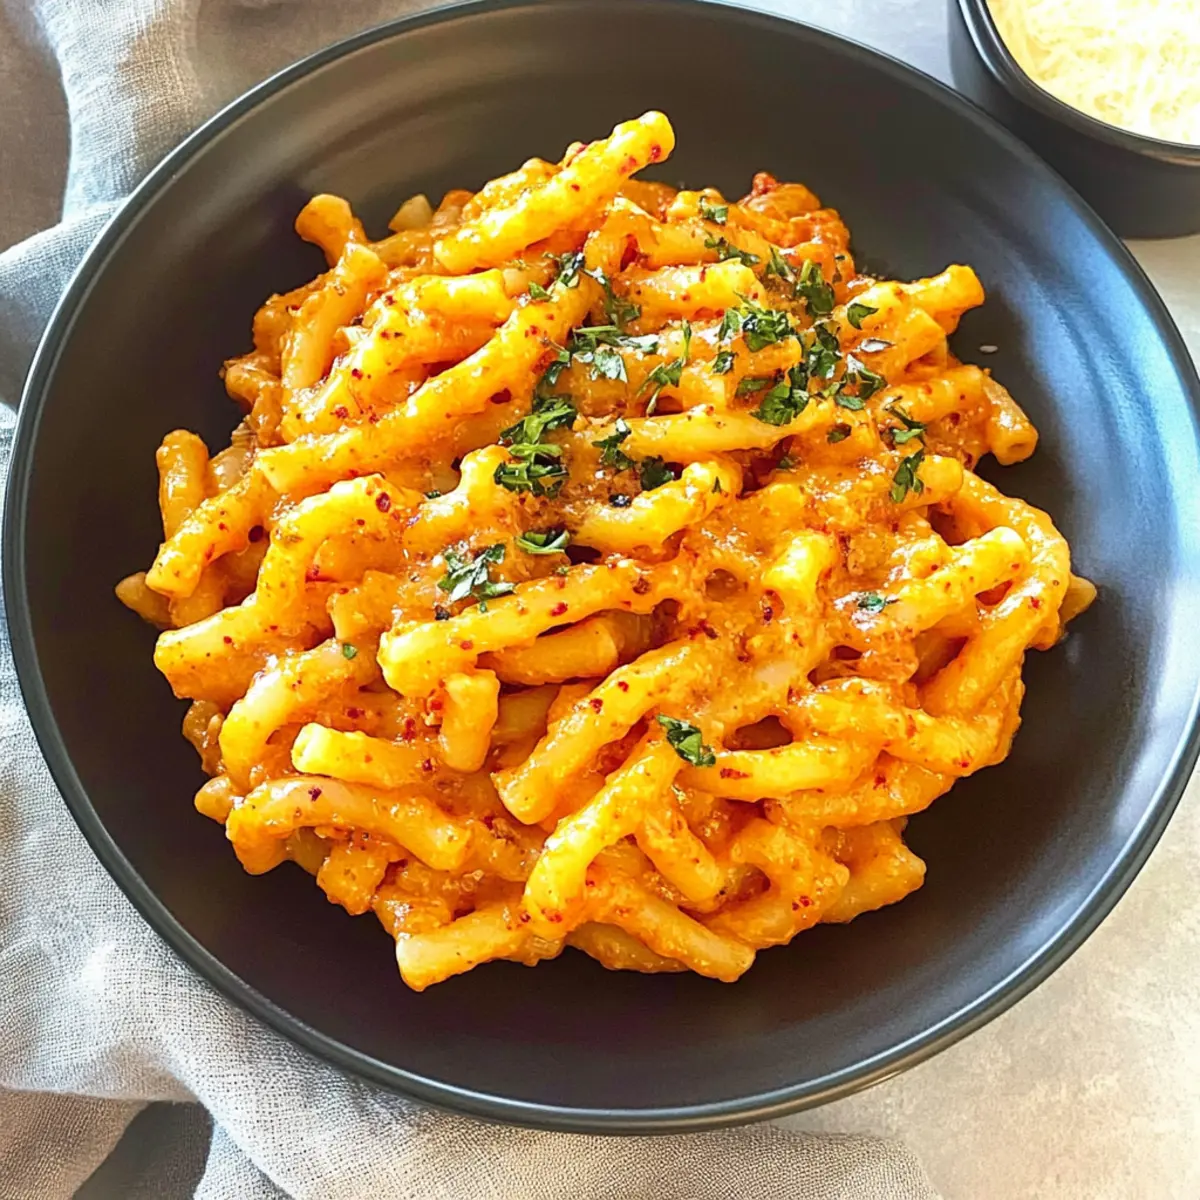
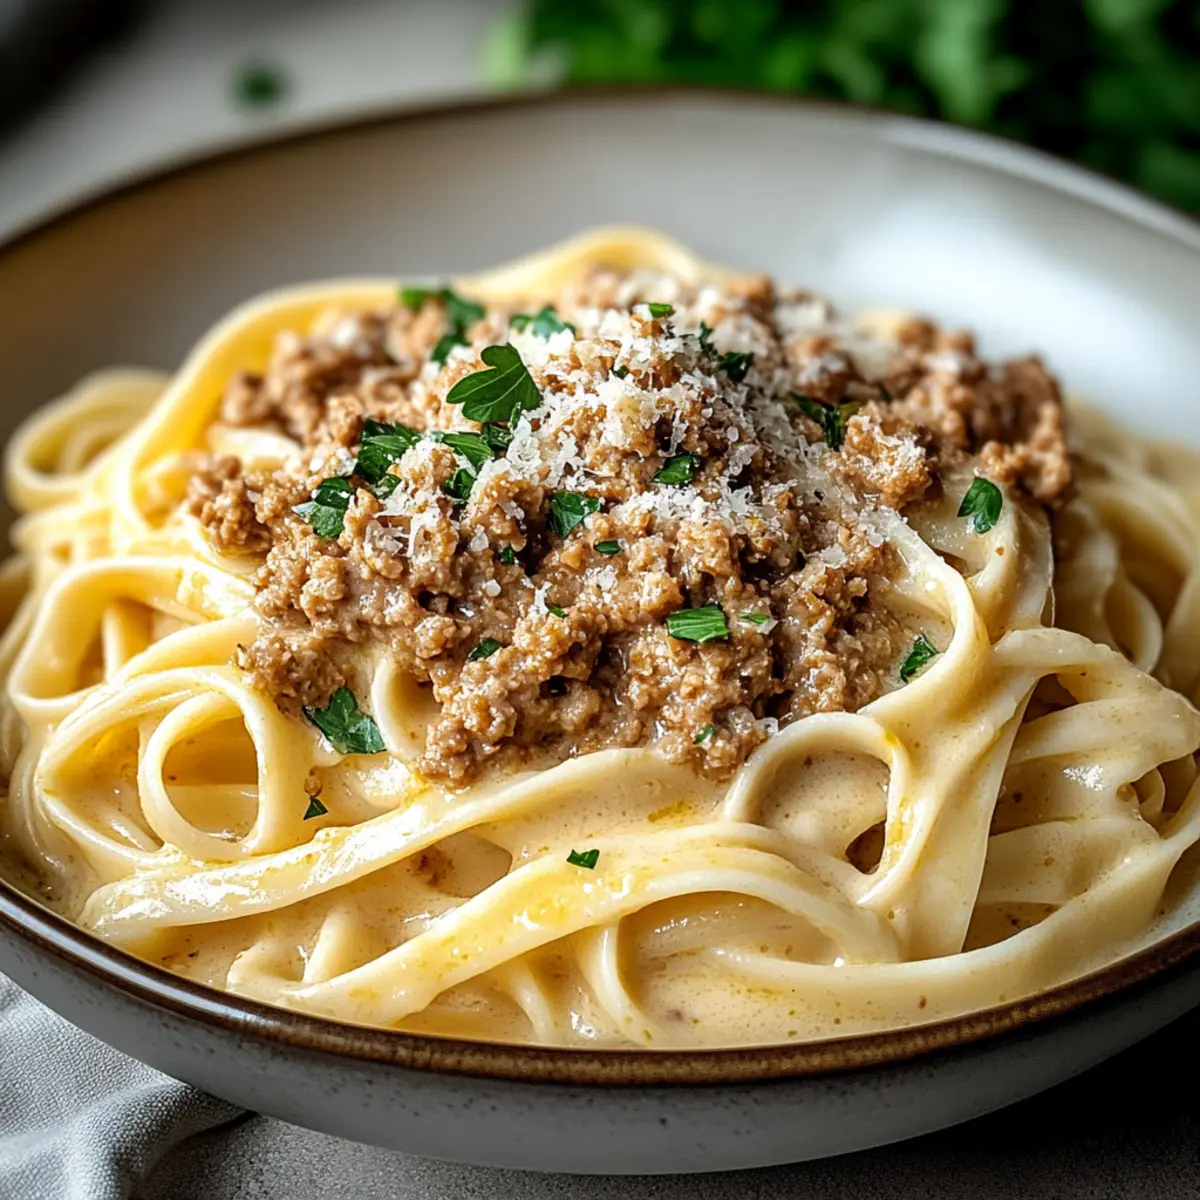
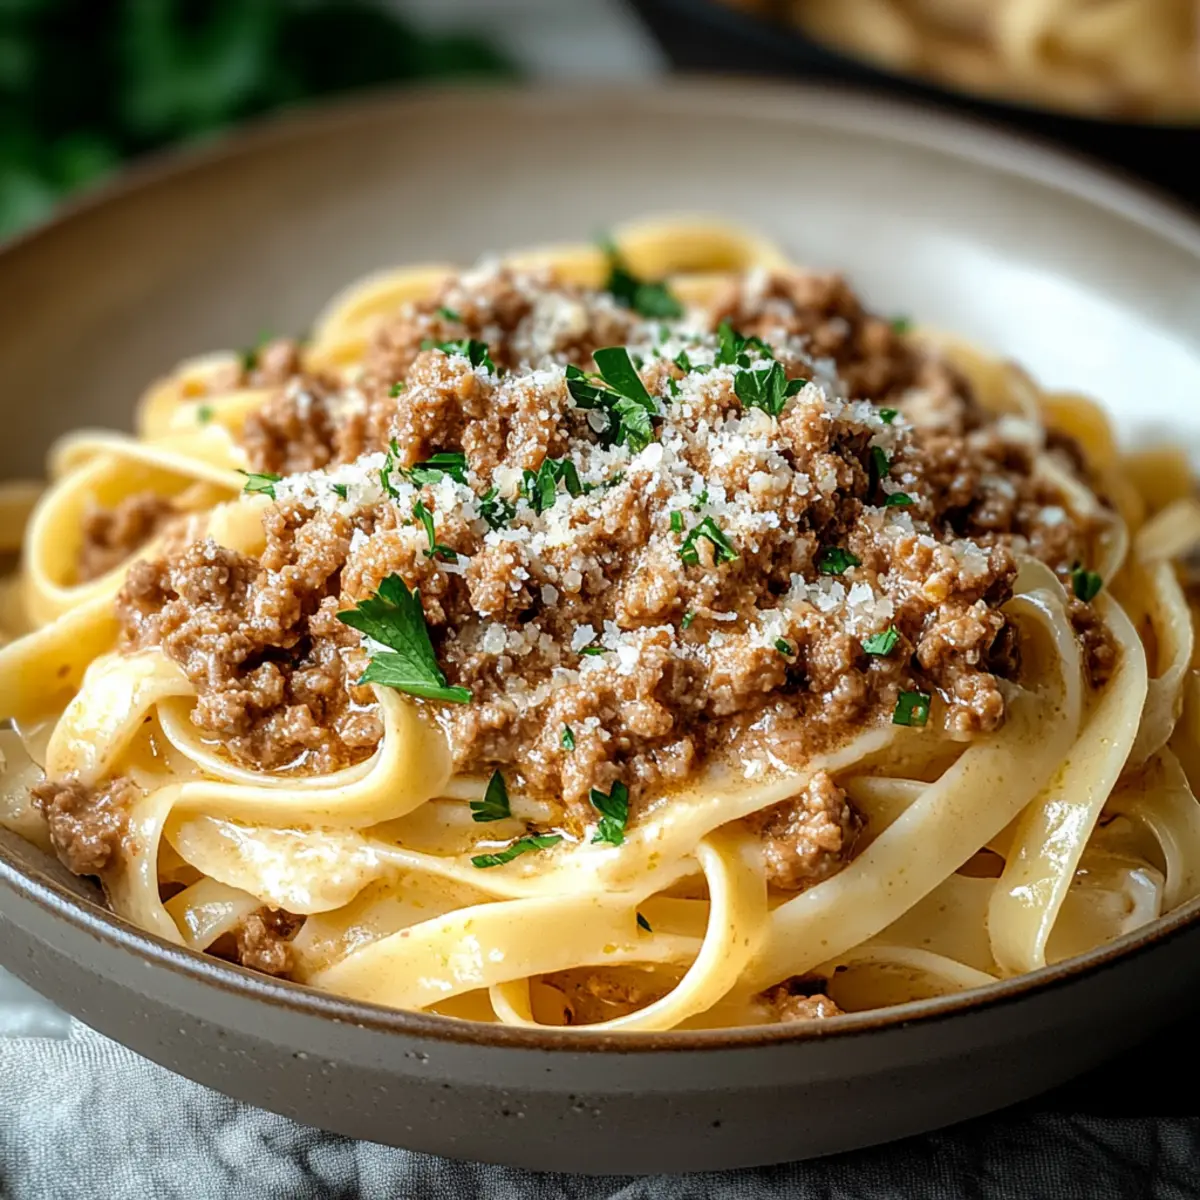
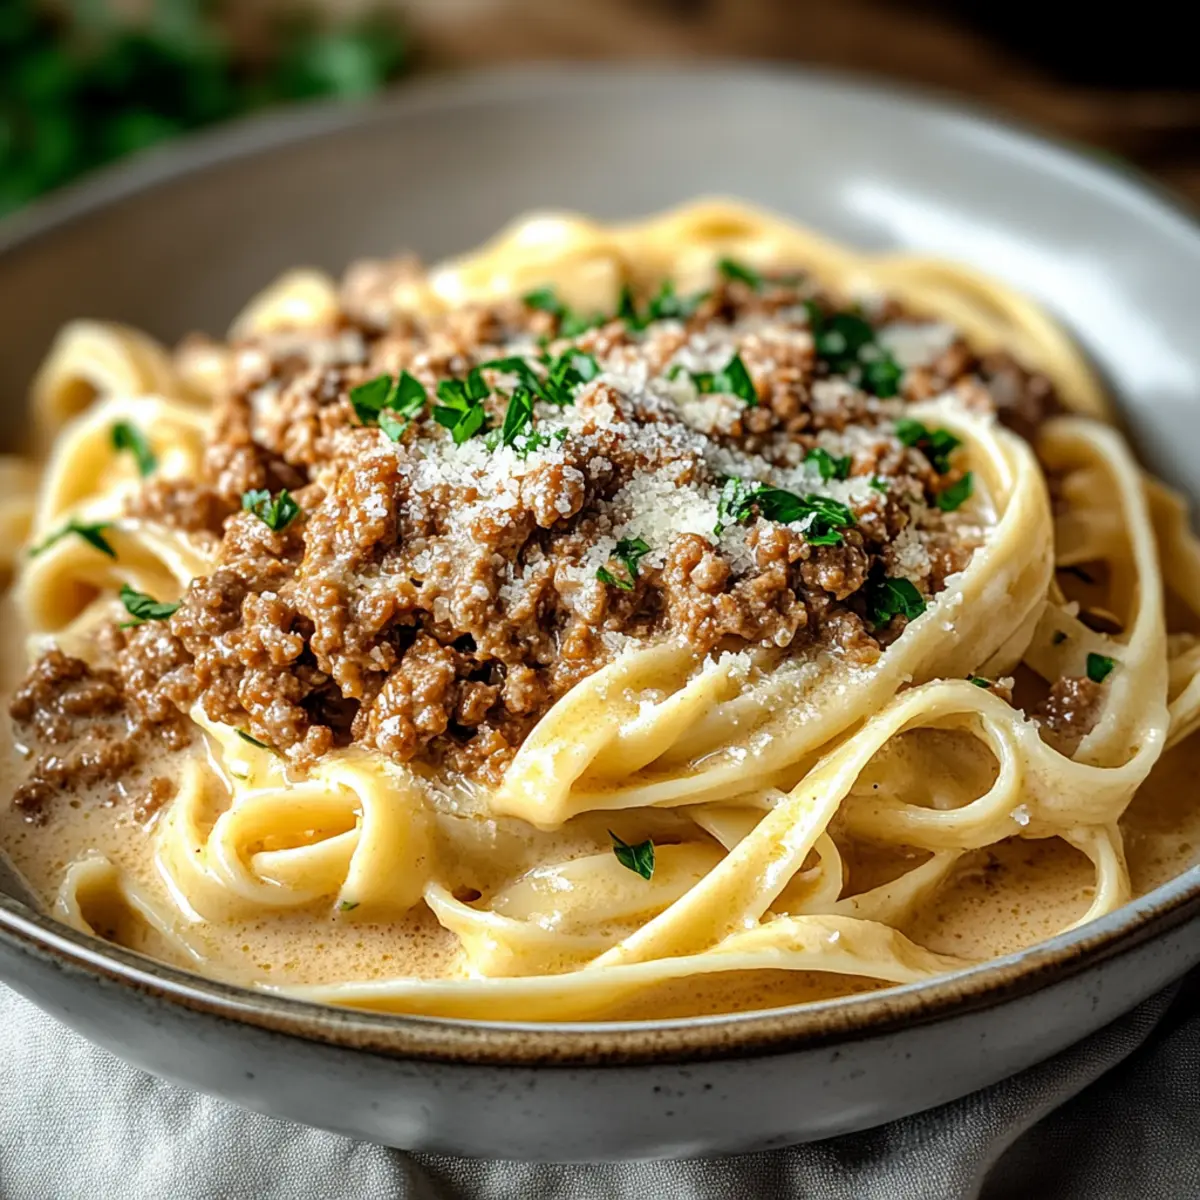
The aroma of sautéed onions mingling with juicy tomatoes takes me back to sunlit Italian kitchens where every meal is a work of art. This Quick and Easy Pasta Napoletana captures that magic in just 30 minutes, making it perfect for those hectic weeknights when you crave something homemade without the hassle. Rich in flavor yet wonderfully simple, this dish is a delicious way to gather your loved ones around the table. With vegetarian-friendly options and the versatility to add extras, you'll find it a cherished go-to for family meals. Curious how to whip up this comforting Italian classic? Let’s dive into the details!
Why Choose Pasta Napoletana Tonight?
Quick and Easy: This wonderfully simple recipe comes together in under 30 minutes, perfect for busy weeknights when time is short.
Flavor Explosion: The juicy tomatoes and sweet onions create a sauce that's bursting with authentic Italian flavors that will satisfy your cravings!
Vegetarian-Friendly: This dish offers versatile options to cater to everyone's preferences, whether you stick to the classic recipe or add veggies like zucchini or spinach.
Family Favorite: With its comforting appeal, Pasta Napoletana ensures happy faces around the dinner table, making it a go-to meal for family gatherings.
Crowd-Pleasing: Serve it up alongside a fresh salad or garlic bread for a complete meal that everyone loves! Don't forget to check out Skillet Pasta Sun for another delightful pasta idea!
Pasta Napoletana Ingredients
• Elevate your dish with these must-have components!
For the Pasta
- Spaghetti or Bucatini – 8 oz (220 grams); provides the main structure of the dish. Substitute any short pasta if preferred.
For the Sauce
- Extra Virgin Olive Oil – 1 Tbsp; used for sautéing and flavor, ensuring a rich taste. Any good-quality olive oil can be a substitute.
- Onion – 1 medium, finely chopped; base flavor enhances sweetness when sautéed. Use yellow, white, or red onions interchangeably.
- Garlic – 2-3 cloves, minced; adds aromatic flavor; adjust to taste for more savoriness.
- Canned Tomatoes – 1 can (14 oz/400 grams), whole, diced, or cherry; forms the sauce base and provides juiciness. Fresh tomatoes can be substituted, especially cherry tomatoes.
- Fine Salt – ½ tsp plus more to taste; balances flavors and is crucial for seasoning while cooking.
- Black Pepper – ⅛ tsp; adds warmth and spice; adjust to personal preference.
For Garnishing
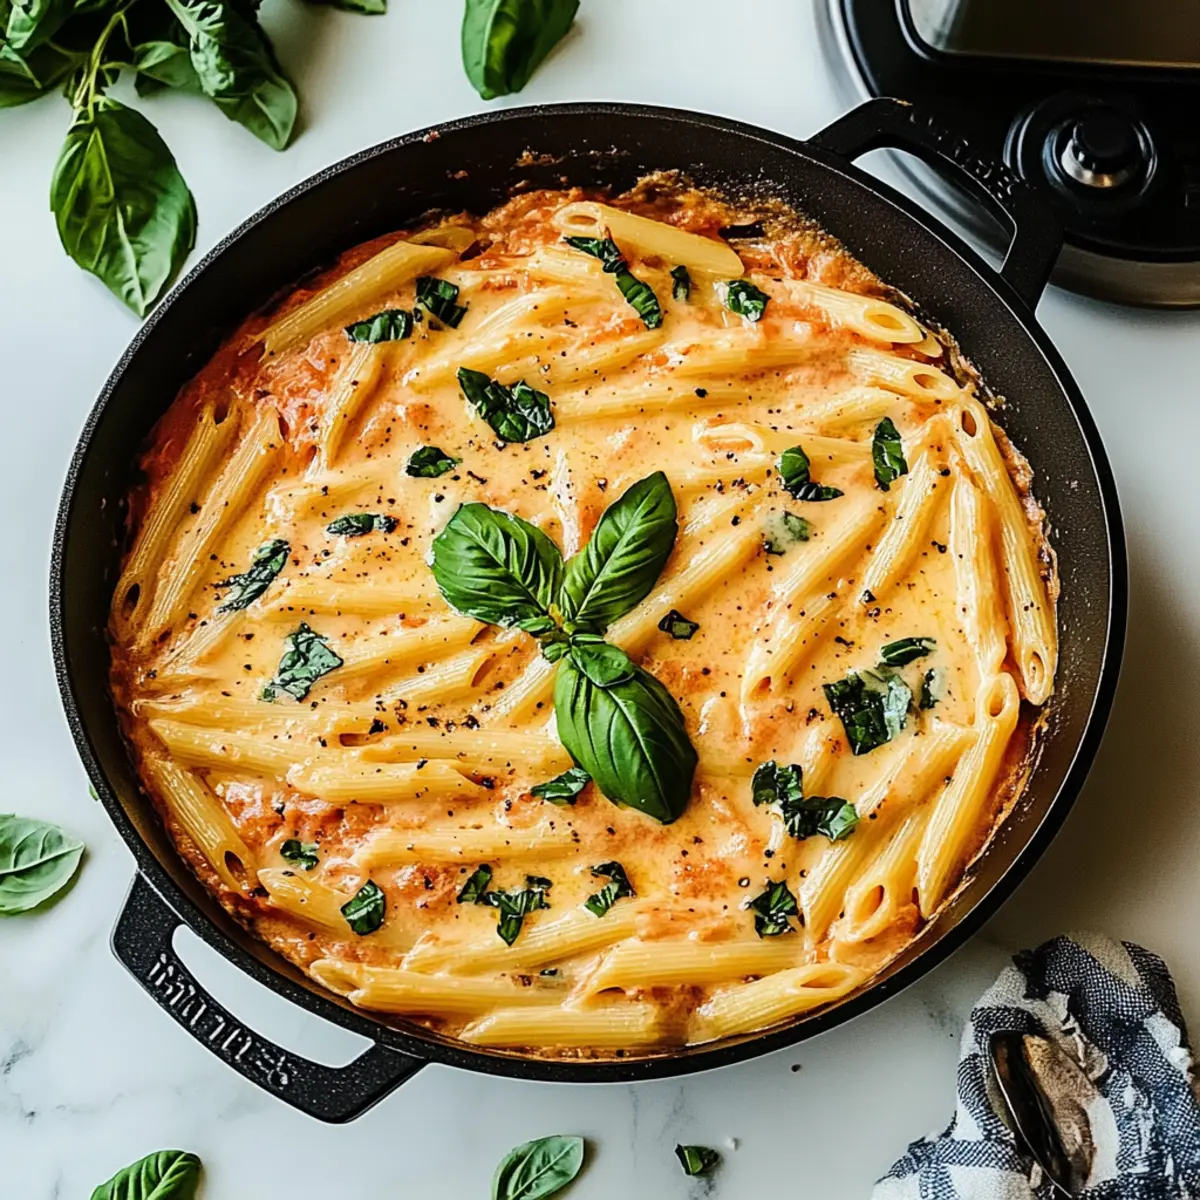
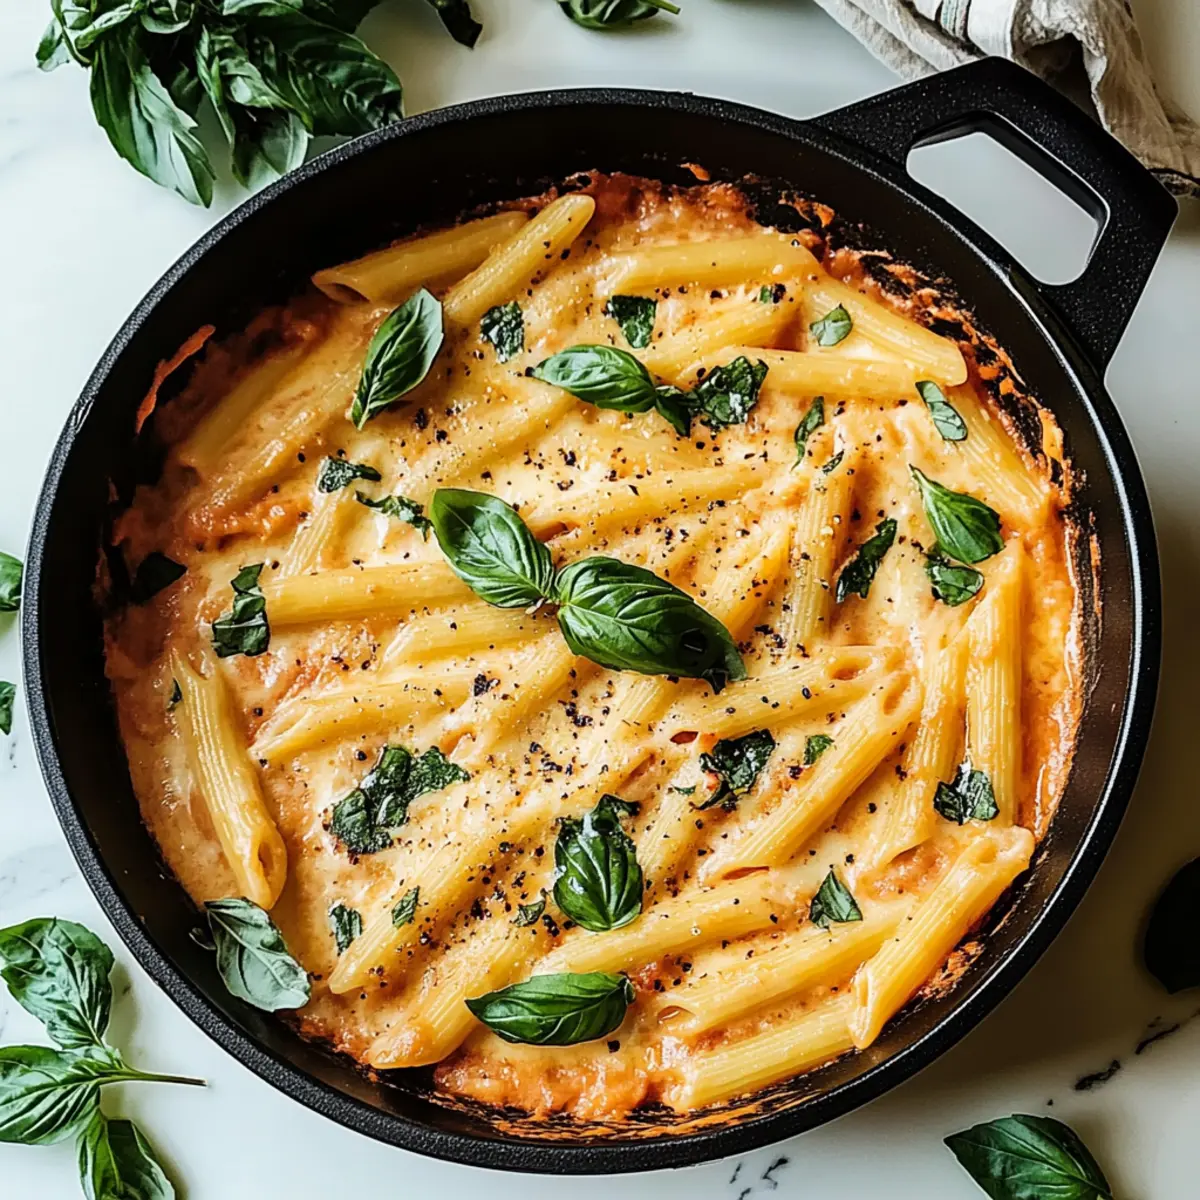
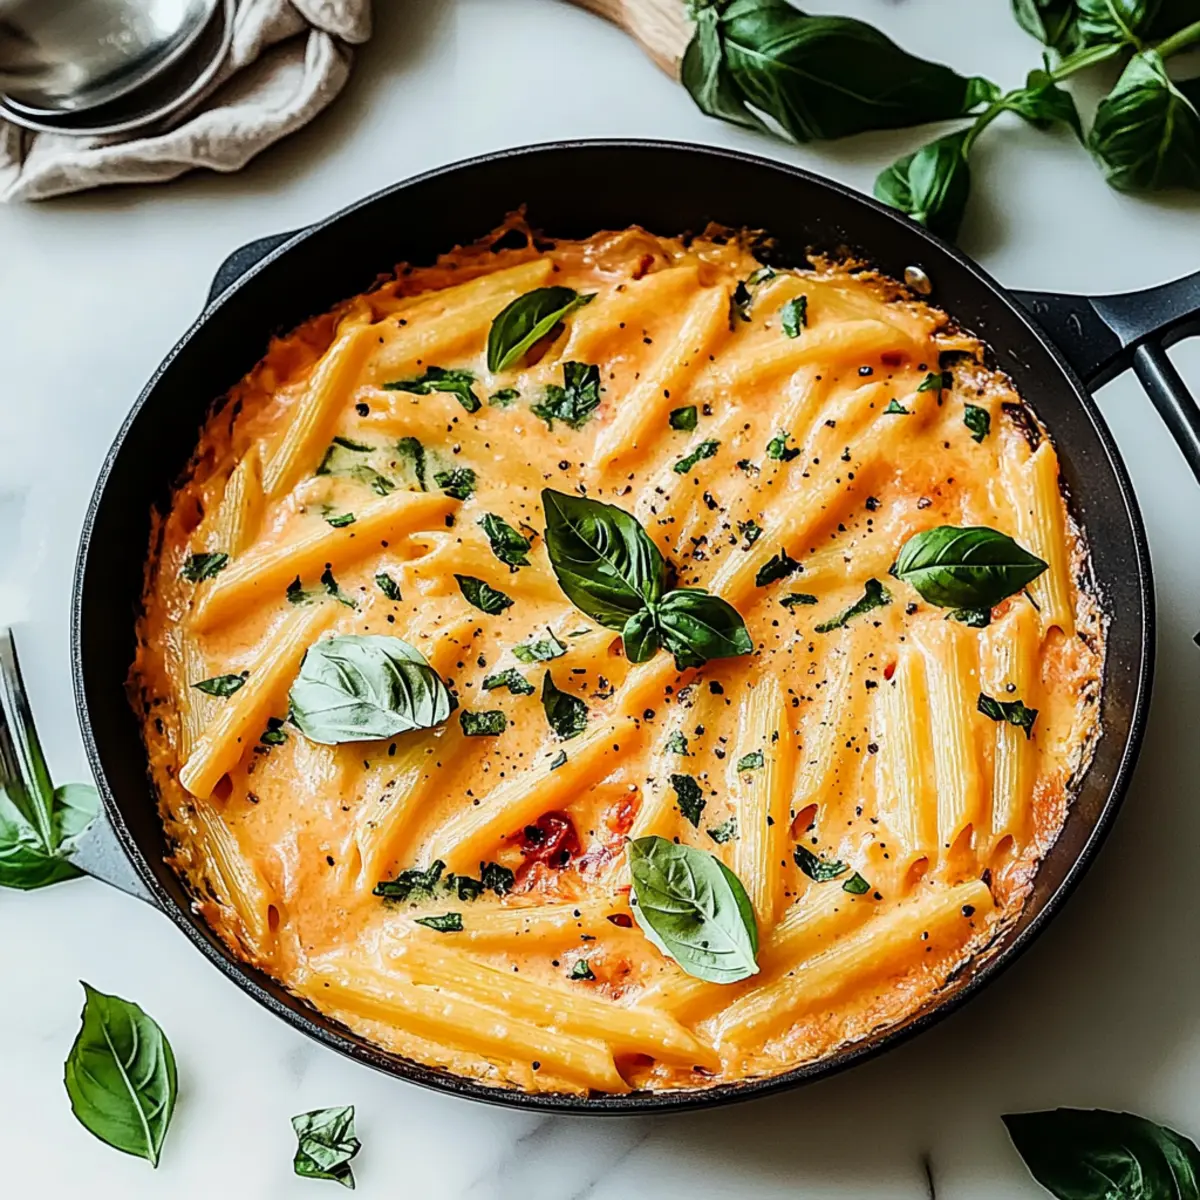
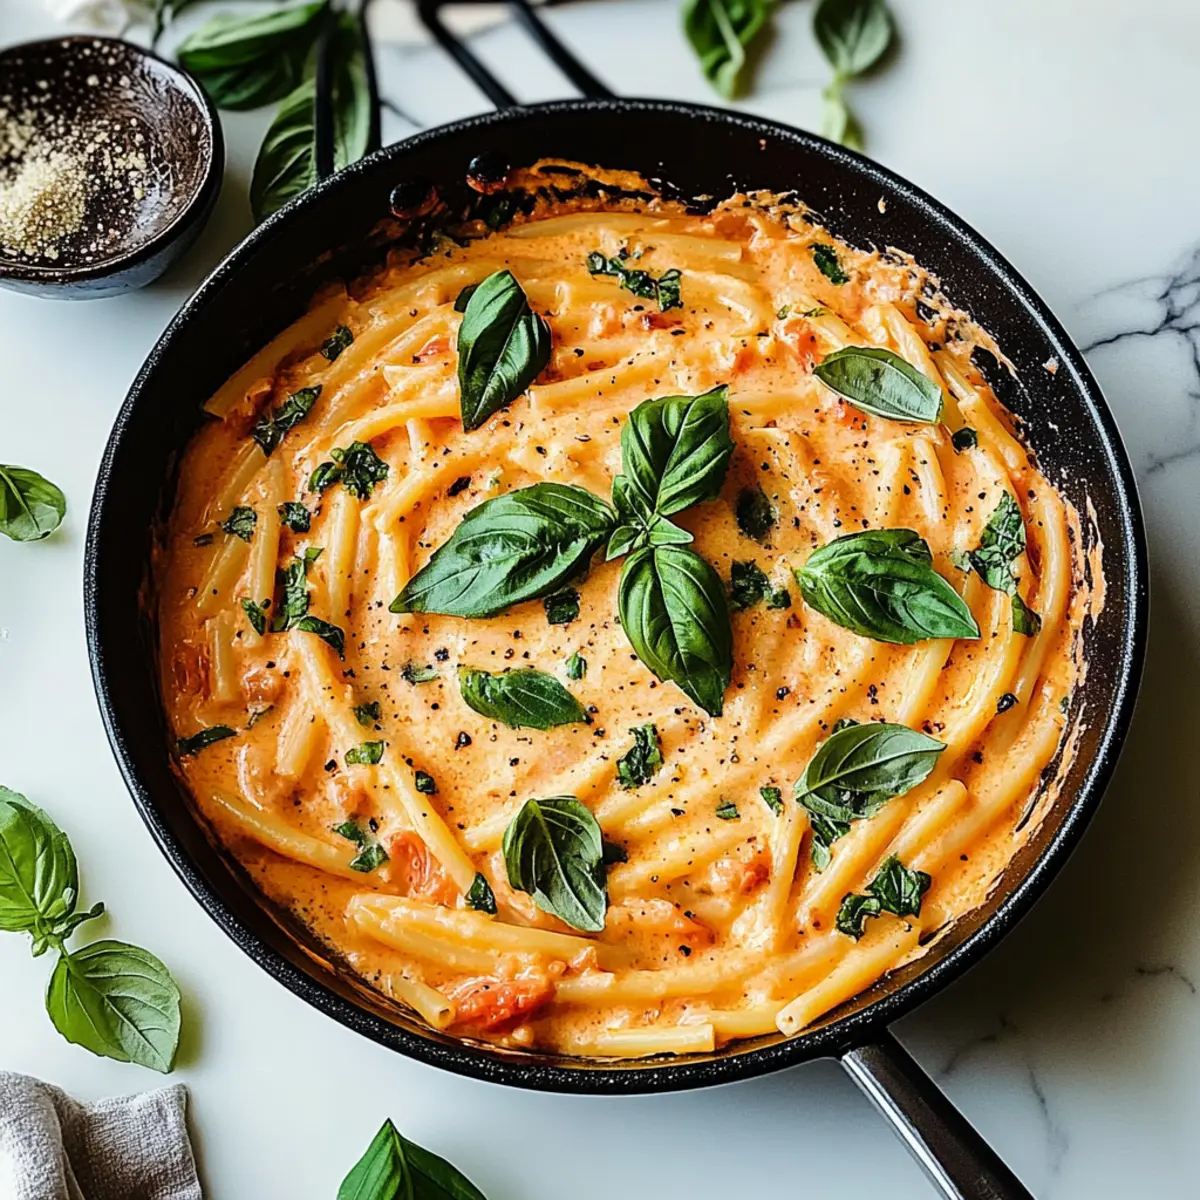
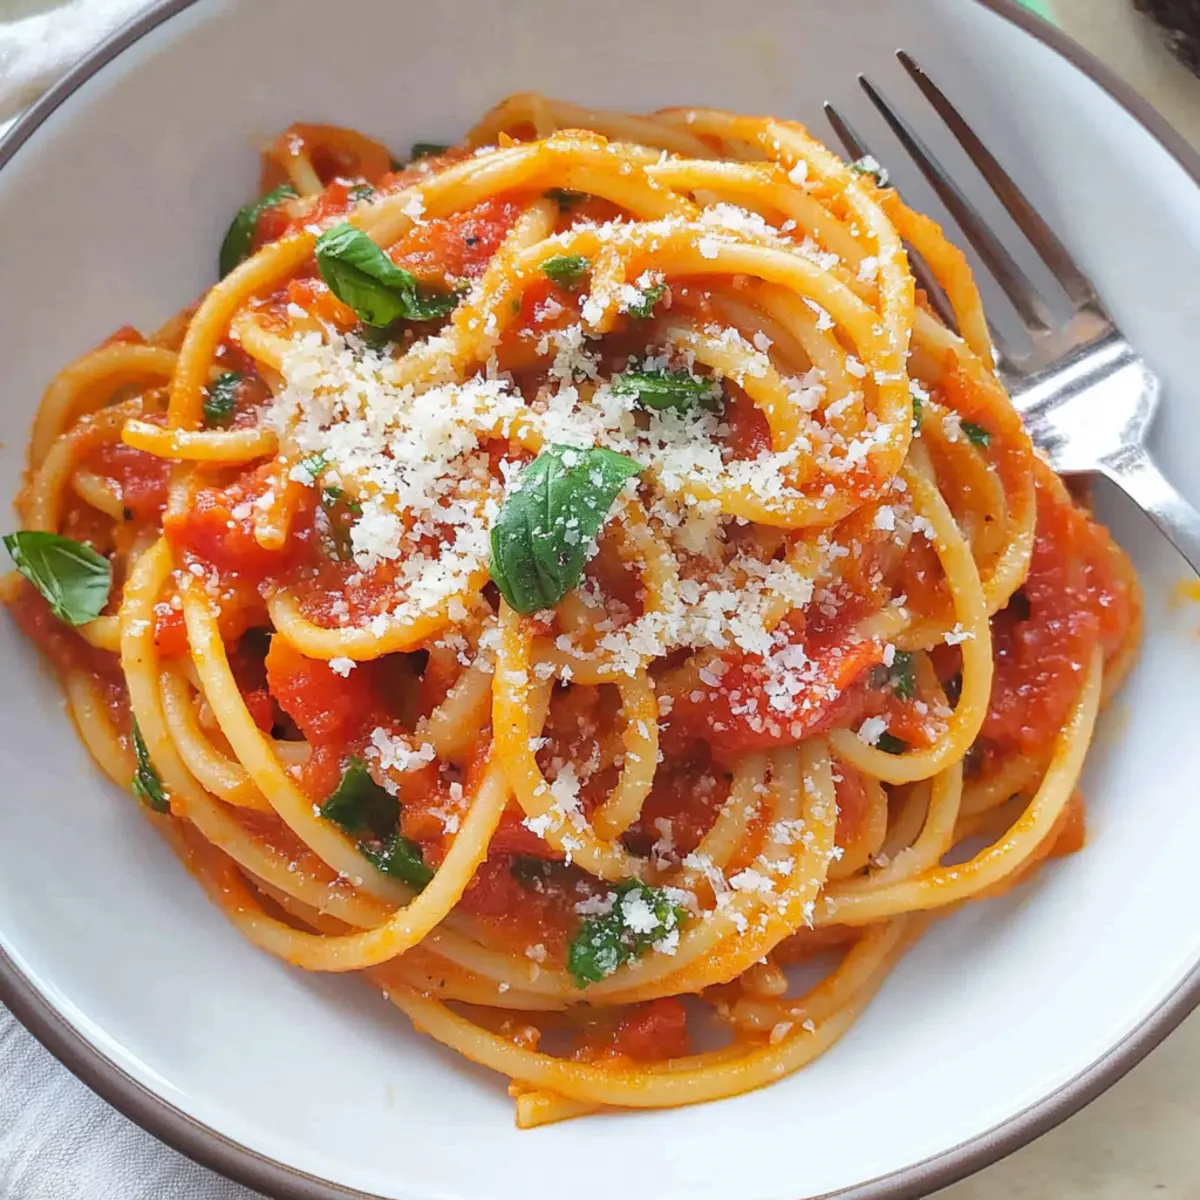
- Fresh Basil – A handful of leaves, chopped or torn; introduces freshness and depth. Substitute with fresh parsley if desired.
- Parmesan Cheese – 3 Tbsp, grated for serving; adds richness and umami. For a vegan option, omit or substitute with nutritional yeast.
Enjoy crafting your Pasta Napoletana with these essential ingredients that come together to create a lovely family meal!
Step‑by‑Step Instructions for Pasta Napoletana
Step 1: Cook Pasta
Begin by bringing a large pot of salted water to a rolling boil over high heat. Add the 8 oz of spaghetti or bucatini and cook according to the package instructions for about 8-10 minutes until al dente. Once cooked, reserve ½ cup of the pasta water, then carefully drain the rest and set aside.
Step 2: Prepare Sauce
While the pasta cooks, heat 1 tablespoon of extra virgin olive oil in a large skillet over medium heat. Once shimmering, add the finely chopped onion and sauté for 5-6 minutes until it becomes soft and translucent, filling your kitchen with a delicious aroma. This is the perfect time to create a rich flavor base for your Pasta Napoletana.
Step 3: Add Garlic
Next, stir in 2-3 minced garlic cloves, continuing to sauté for about 2 minutes until fragrant. Be careful not to let the garlic brown; you want it to release its lovely aroma without burning. This will enhance the overall depth of flavor in the sauce.
Step 4: Combine Tomatoes
Now it’s time to bring it all together! Add the canned tomatoes (14 oz), ½ teaspoon of fine salt, and ⅛ teaspoon of black pepper to the skillet. Stir well, allowing the mixture to come to a gentle simmer. Cook for about 15 minutes, stirring occasionally, until the sauce slightly reduces and thickens, enveloping the tomatoes in rich flavors.
Step 5: Mix Together
Once your sauce is ready, add the drained pasta and a handful of fresh basil leaves to the skillet. Toss everything together, ensuring the pasta is well coated. If the sauce appears too thick, gradually stir in a little of the reserved pasta water to achieve your desired sauciness, making the dish beautifully cohesive.
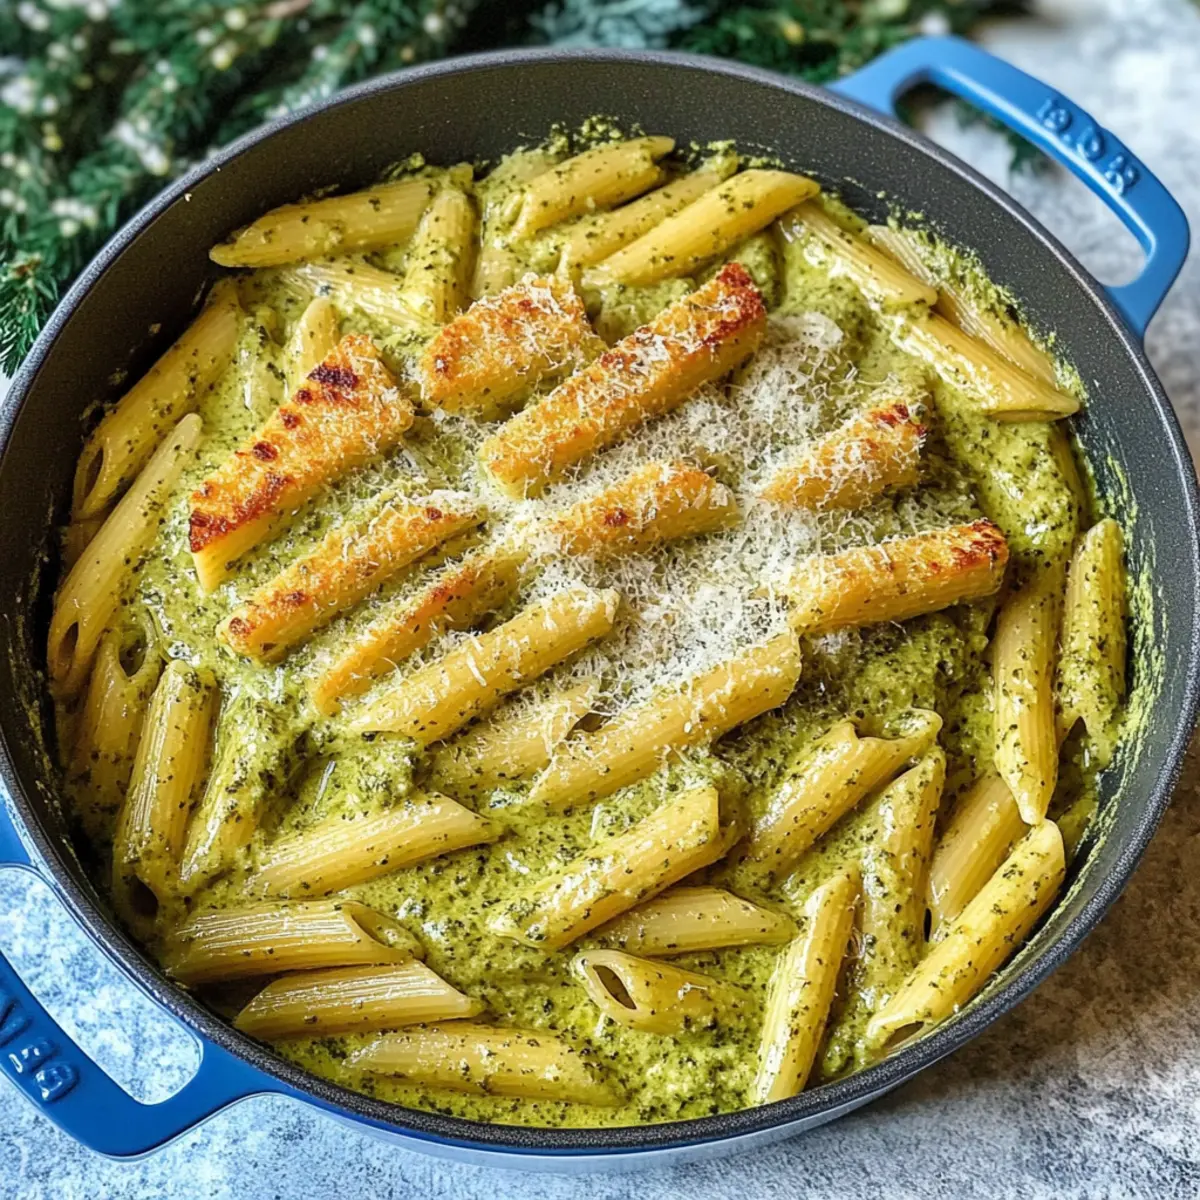
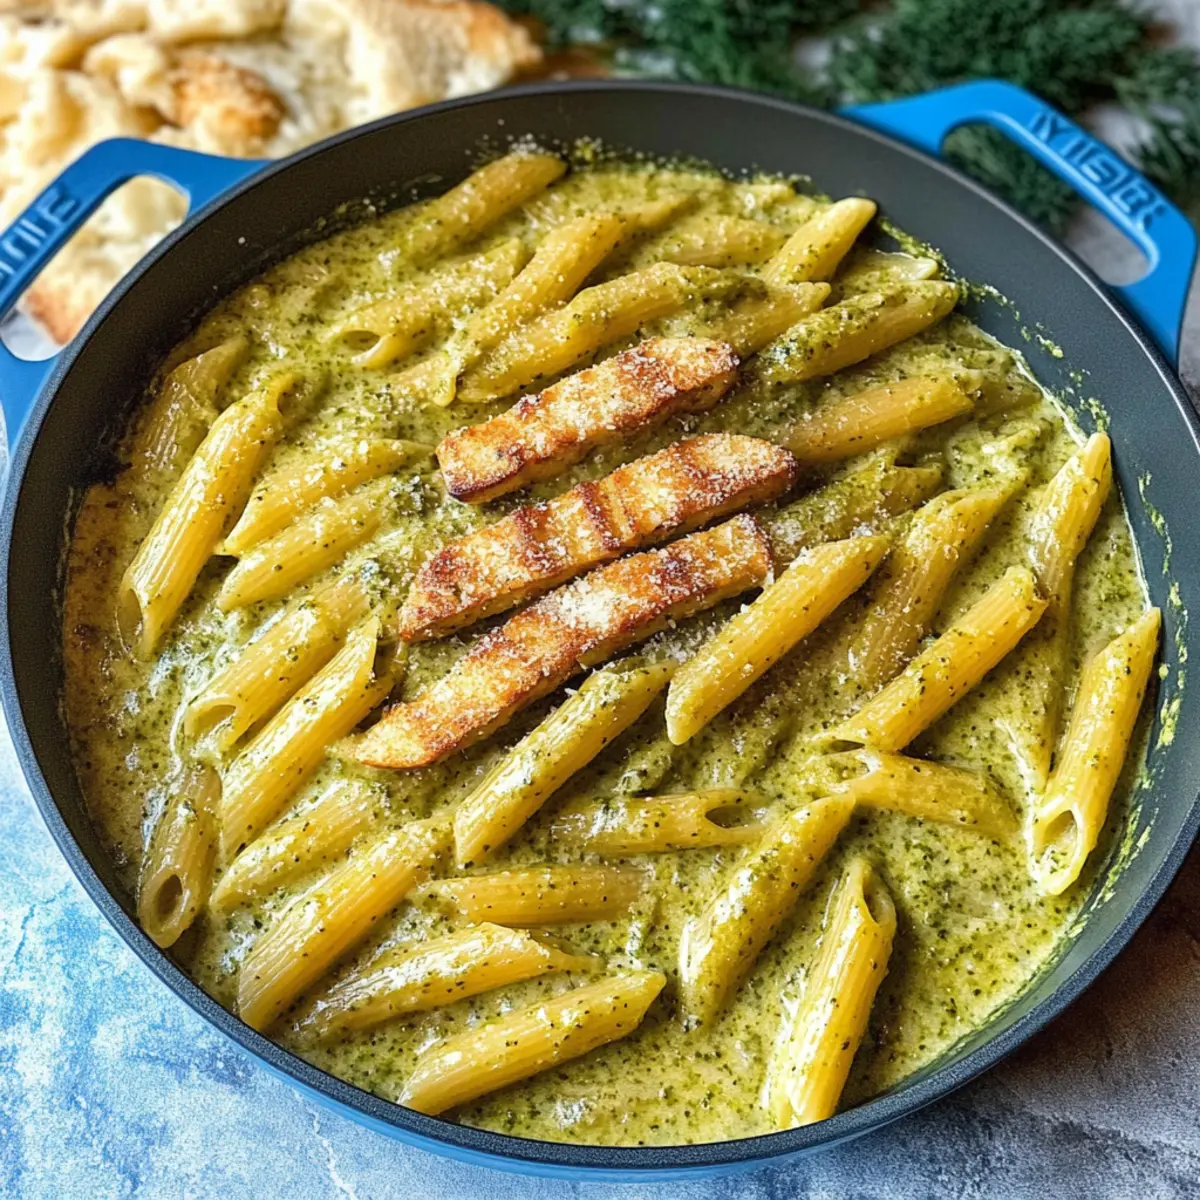
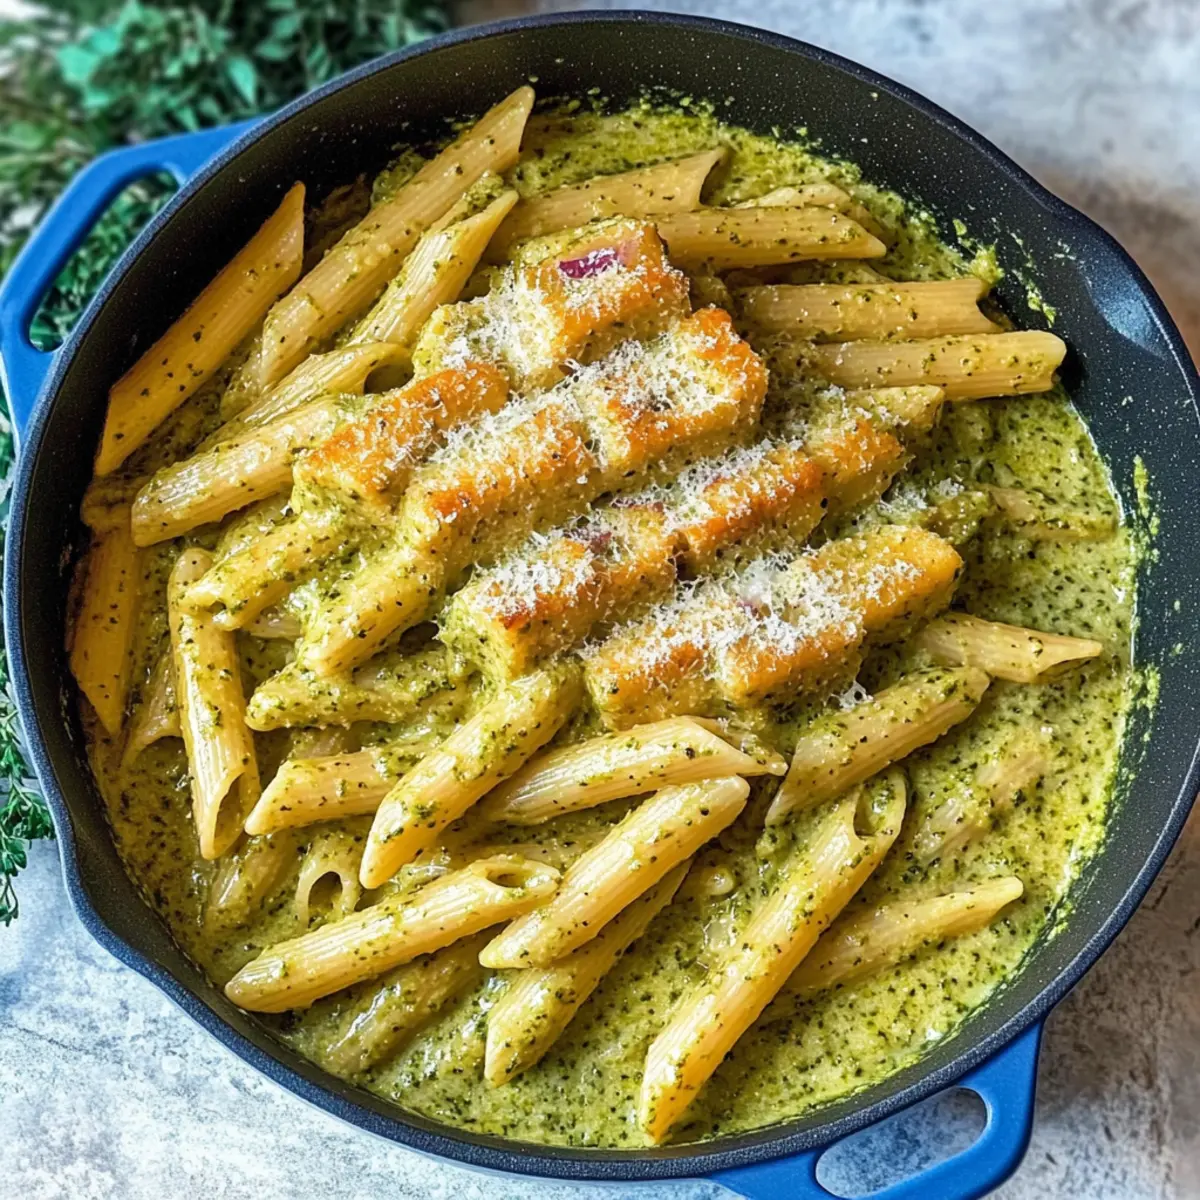
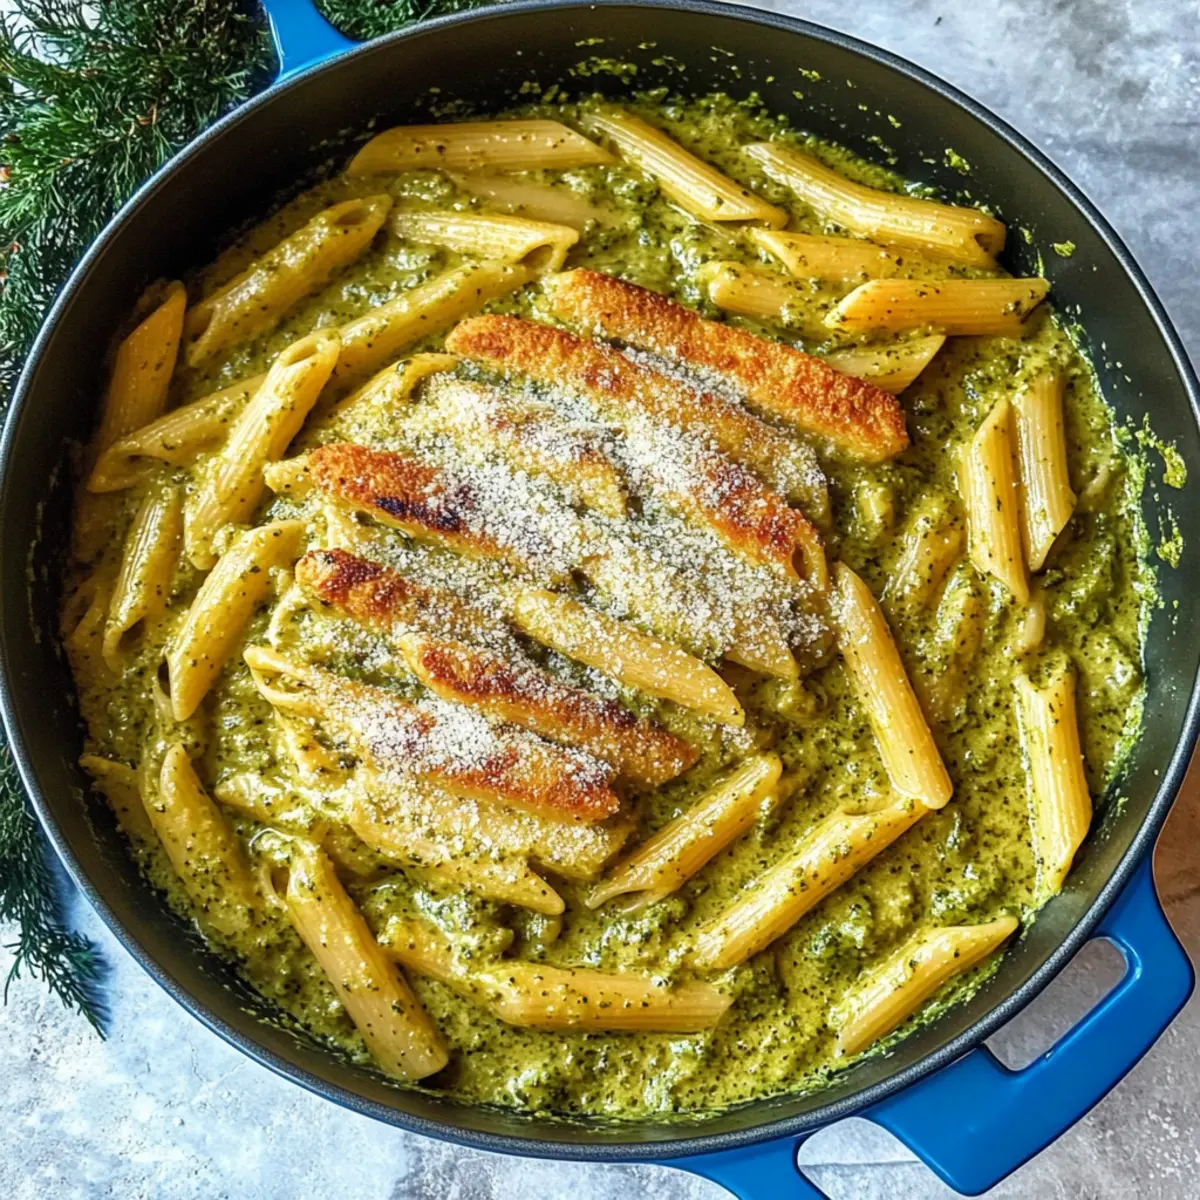
Step 6: Serve
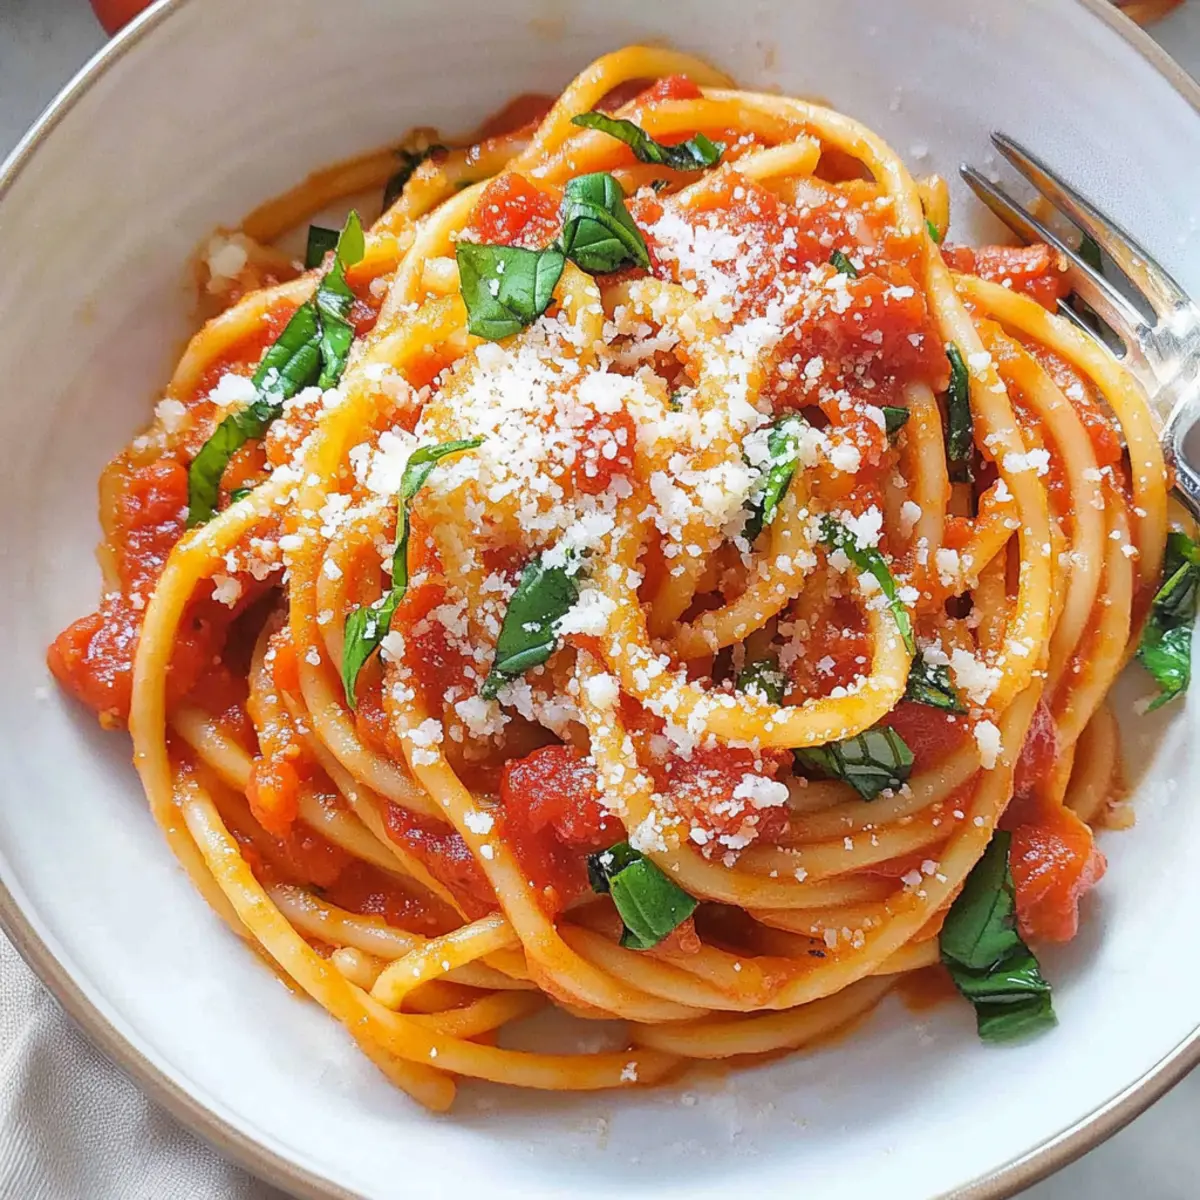
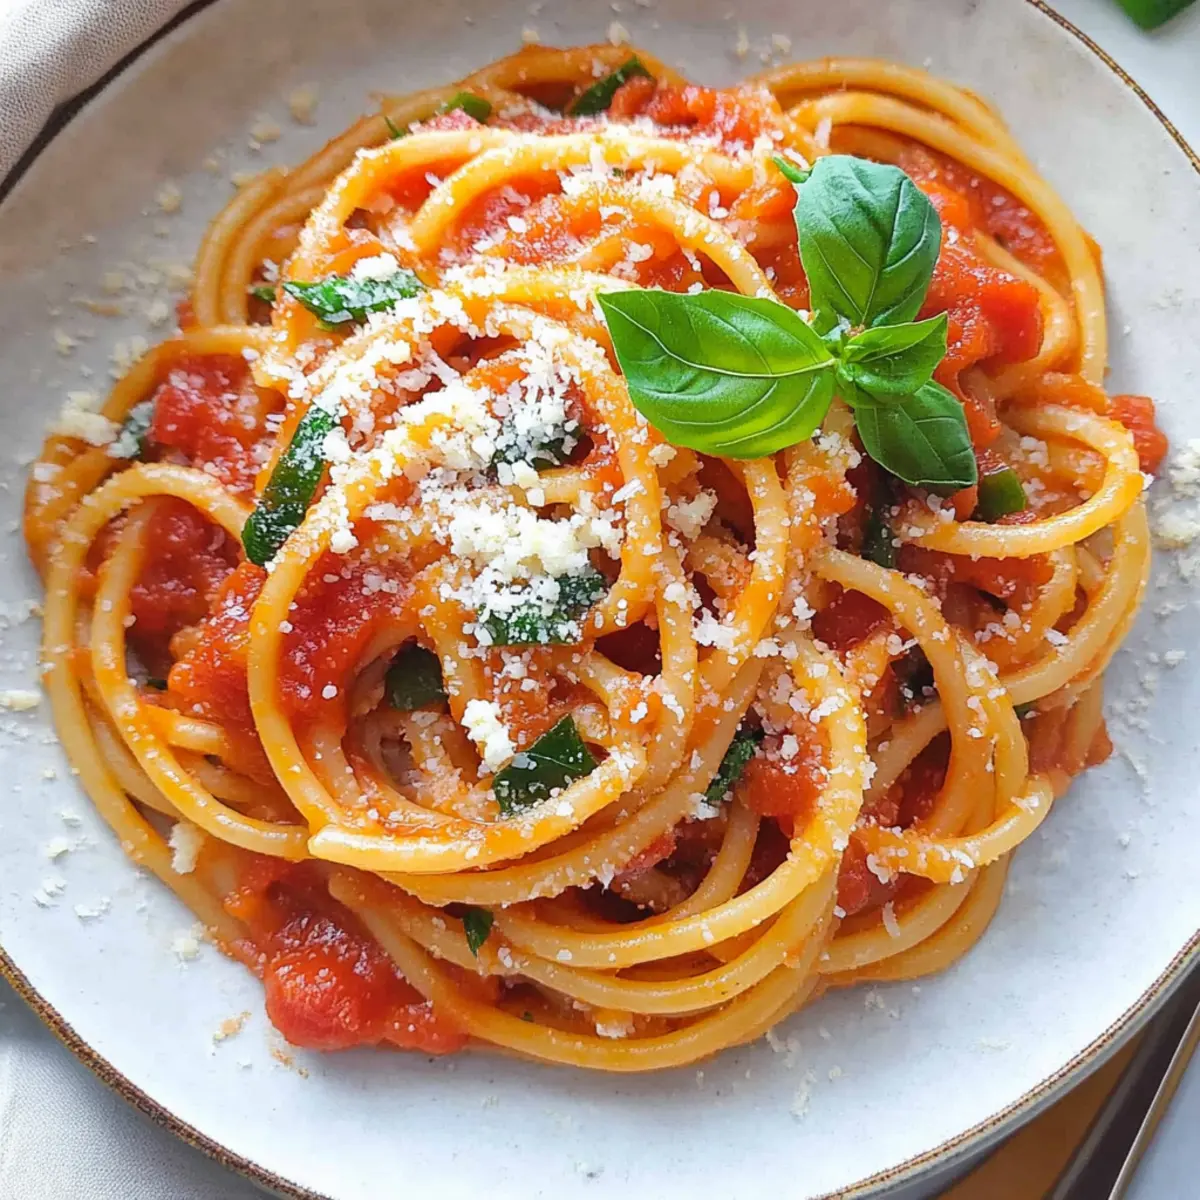
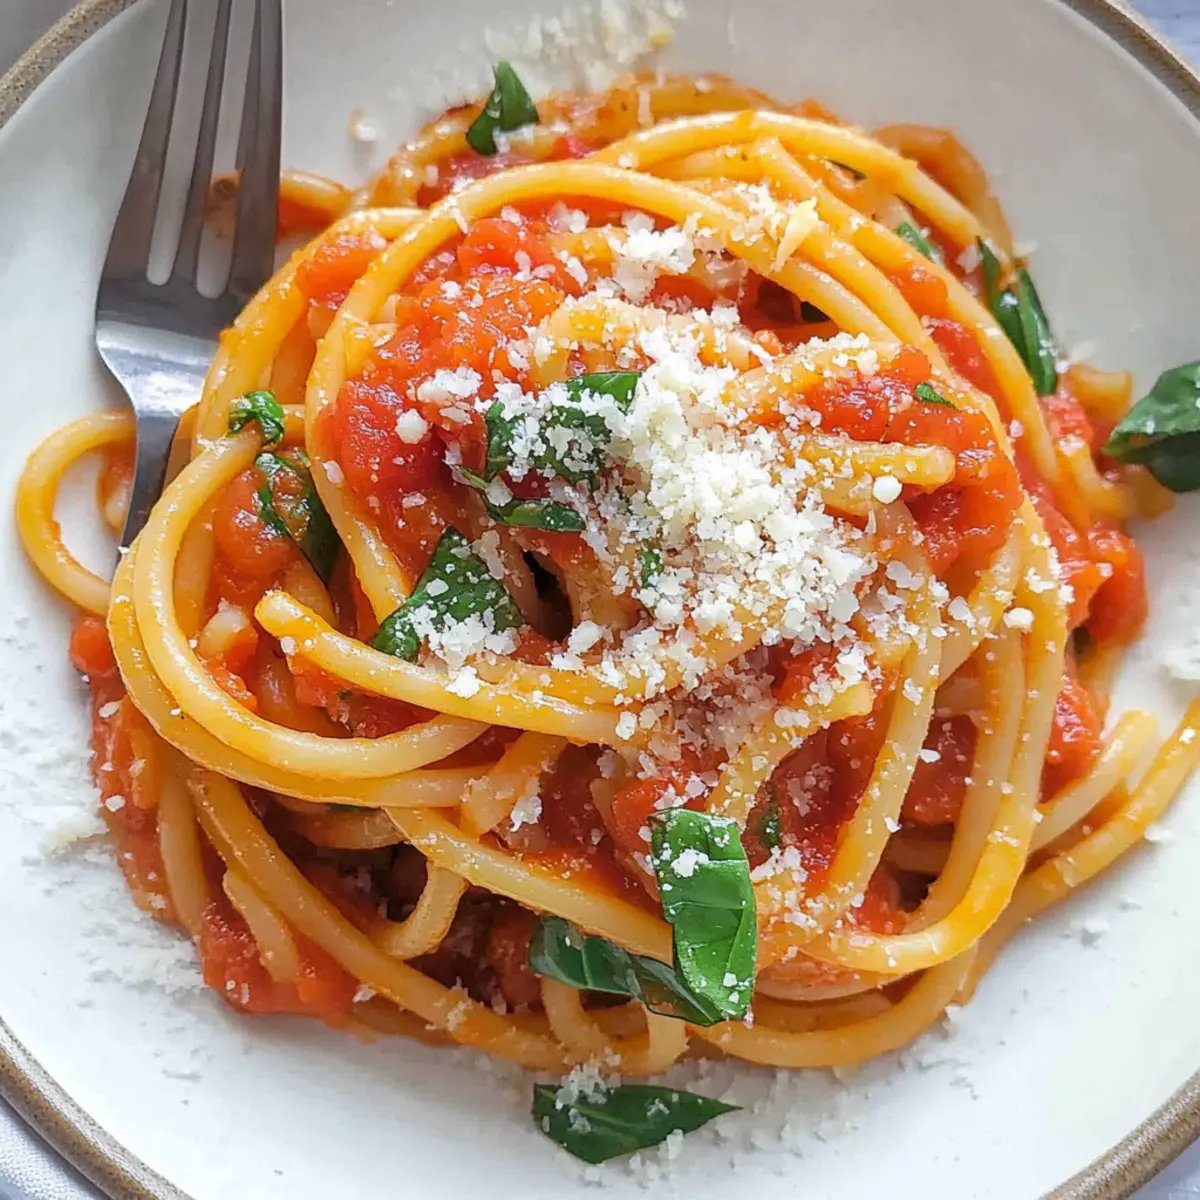
Finally, plate your delicious Pasta Napoletana, garnishing with 3 tablespoons of grated Parmesan cheese and a sprinkle of additional basil if desired. A drizzle of olive oil and an extra dash of black pepper can enhance the flavors further. Serve warm and watch your loved ones gather around the table!
Make Ahead Options
Preparing your delicious Pasta Napoletana ahead of time is a fantastic way to save time on busy weeknights! You can cook the pasta and store it in an airtight container in the refrigerator for up to 3 days. For the sauce, sauté the onions and garlic, then add the canned tomatoes, salt, and pepper—cook as directed but stop just before adding the pasta. This sauce can also be refrigerated for up to 3 days. When you’re ready to serve, simply reheat the sauce in a skillet, add the cooked pasta, and toss in fresh basil for that bright flavor. This way, you’ll have a delicious, hassle-free meal that's just as delightful as if you had made it fresh!
Variations & Substitutions for Pasta Napoletana
Feel free to customize this lovely Pasta Napoletana to suit your taste and dietary needs, making it truly your own!
-
Short Pasta: Swap bucatini or spaghetti for any short pasta like penne or fusilli for a fun texture twist. The sauce clings beautifully to the crevices of short pasta, ensuring every bite is packed with flavor.
-
Add Vegetables: Boost nutrition by incorporating sautéed zucchini or fresh spinach. They not only add color but also a fresh, vibrant flavor that complements the rich tomato sauce beautifully.
-
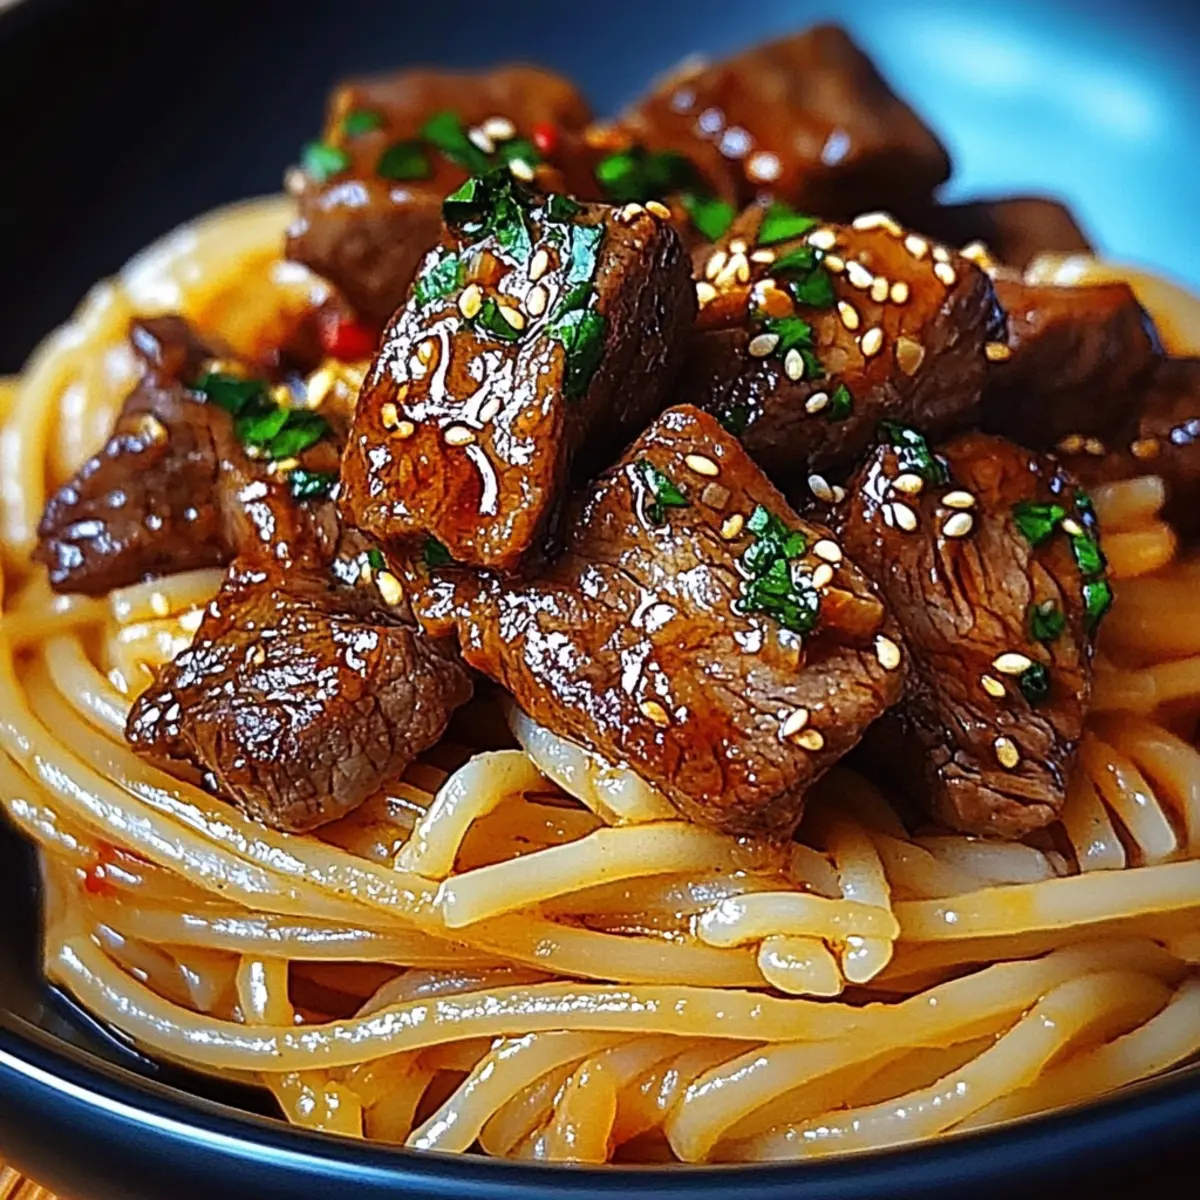
Protein Punch: Stir in cooked Italian sausage or ground meat for an extra protein boost. This transforms your dish into a hearty meal that’s perfect for satisfying hungry family members.
-
Dairy-Free: For a vegan-friendly version, simply omit the Parmesan cheese or replace it with nutritional yeast. You’ll still get a delightful umami flavor without any dairy.
-
Herb Variations: Experiment with different herbs like oregano or thyme if you’re running low on basil. Fresh or dried, these can add an aromatic quality that diversifies the flavor profile.
-
Spice it Up: If you enjoy heat, add a pinch of red pepper flakes to the sauce while it simmers. This brings a delightful kick that complements the sweetness of the tomatoes beautifully.
-
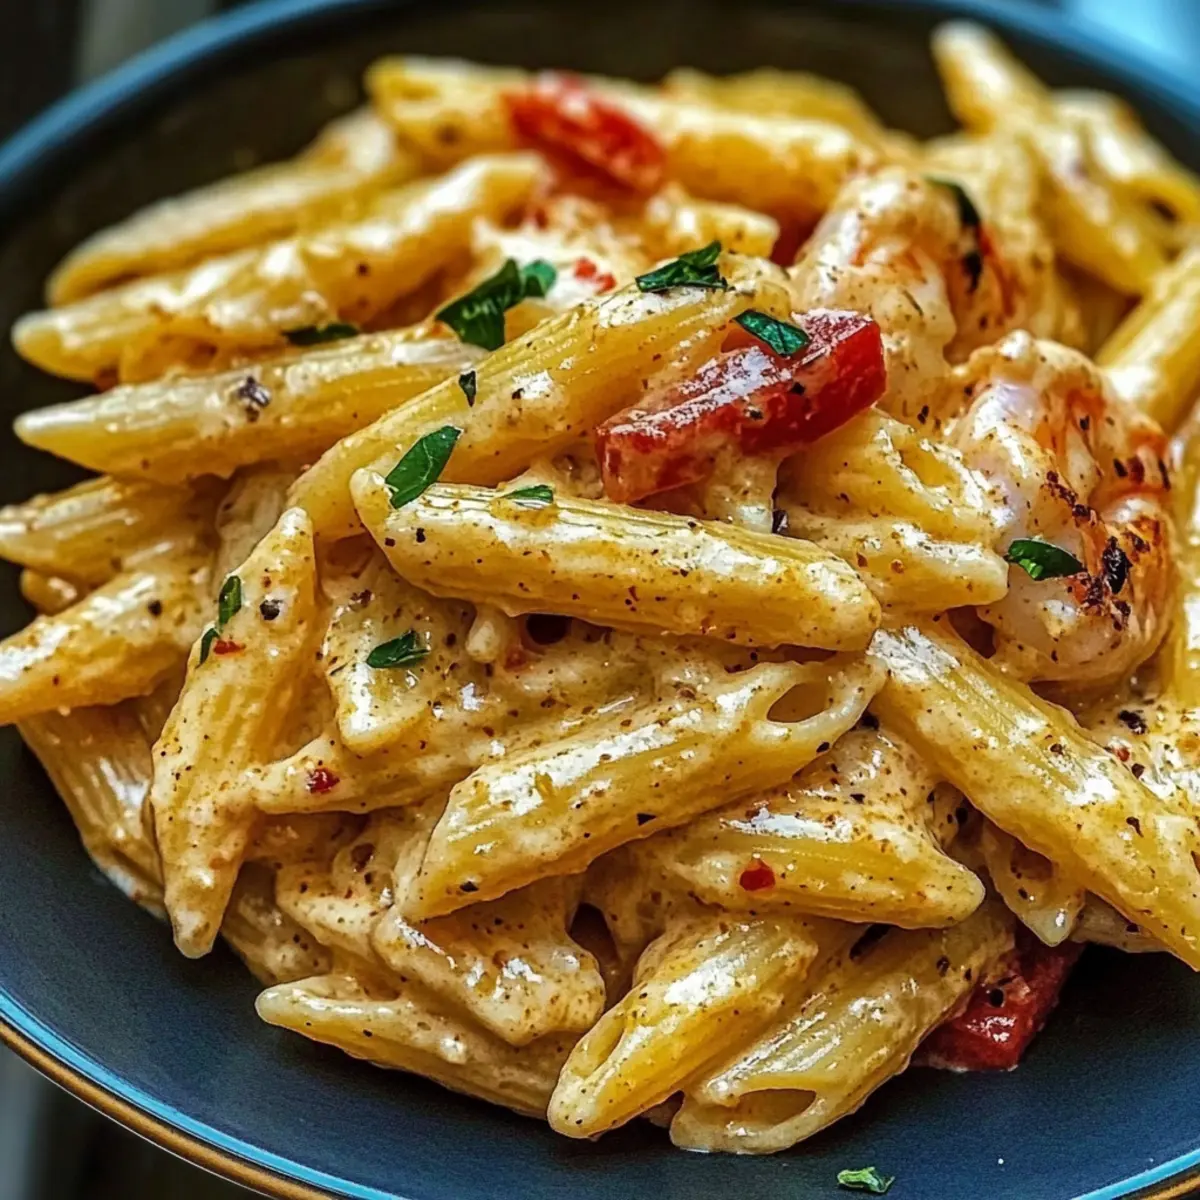
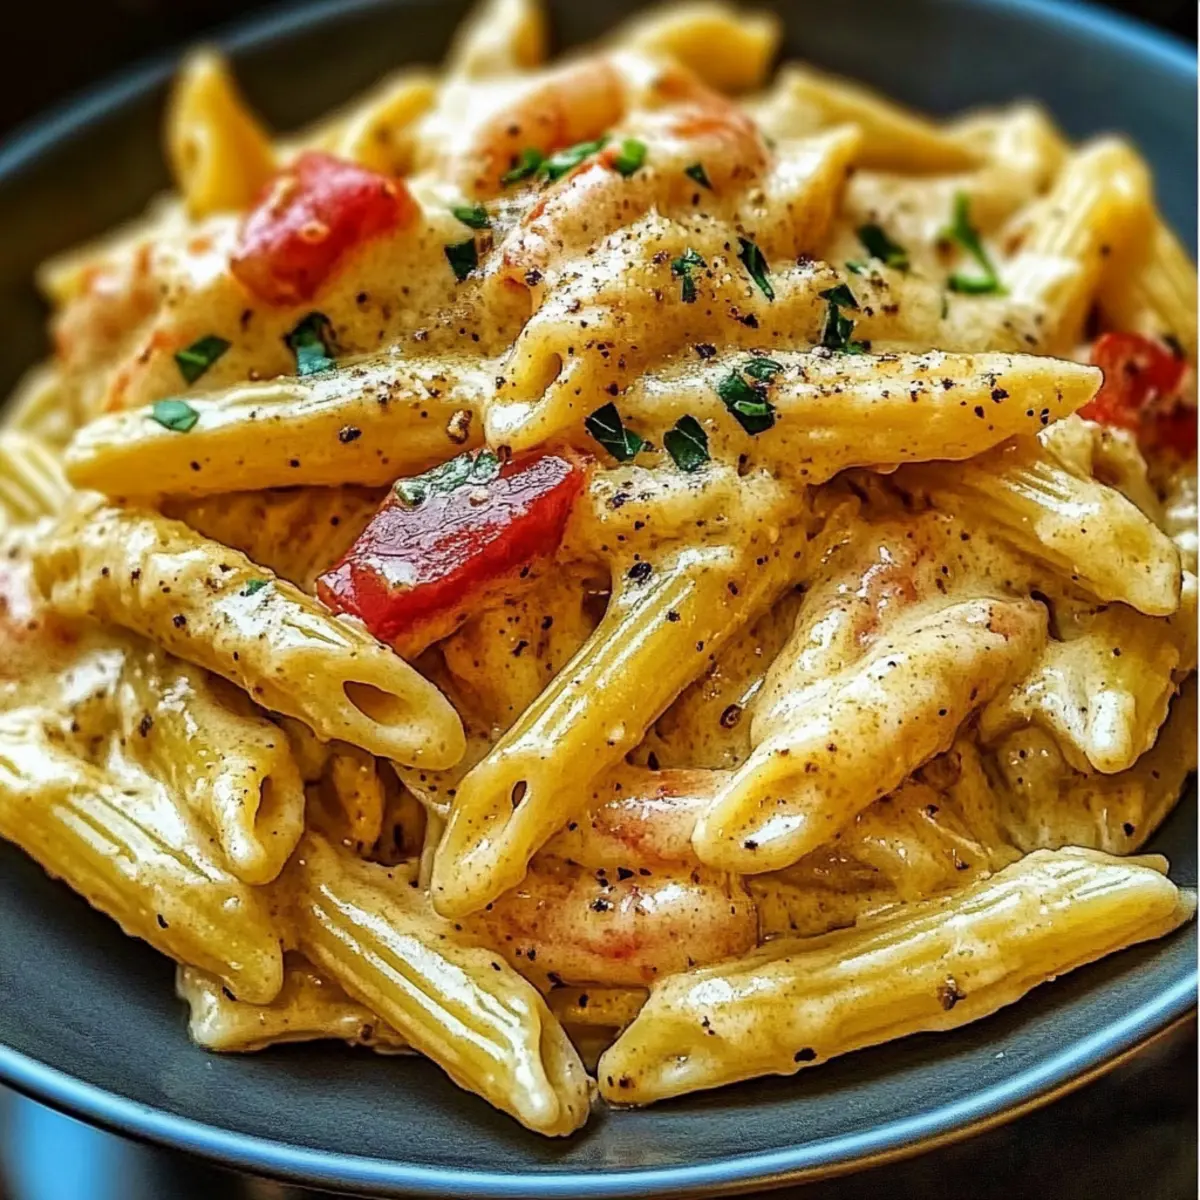
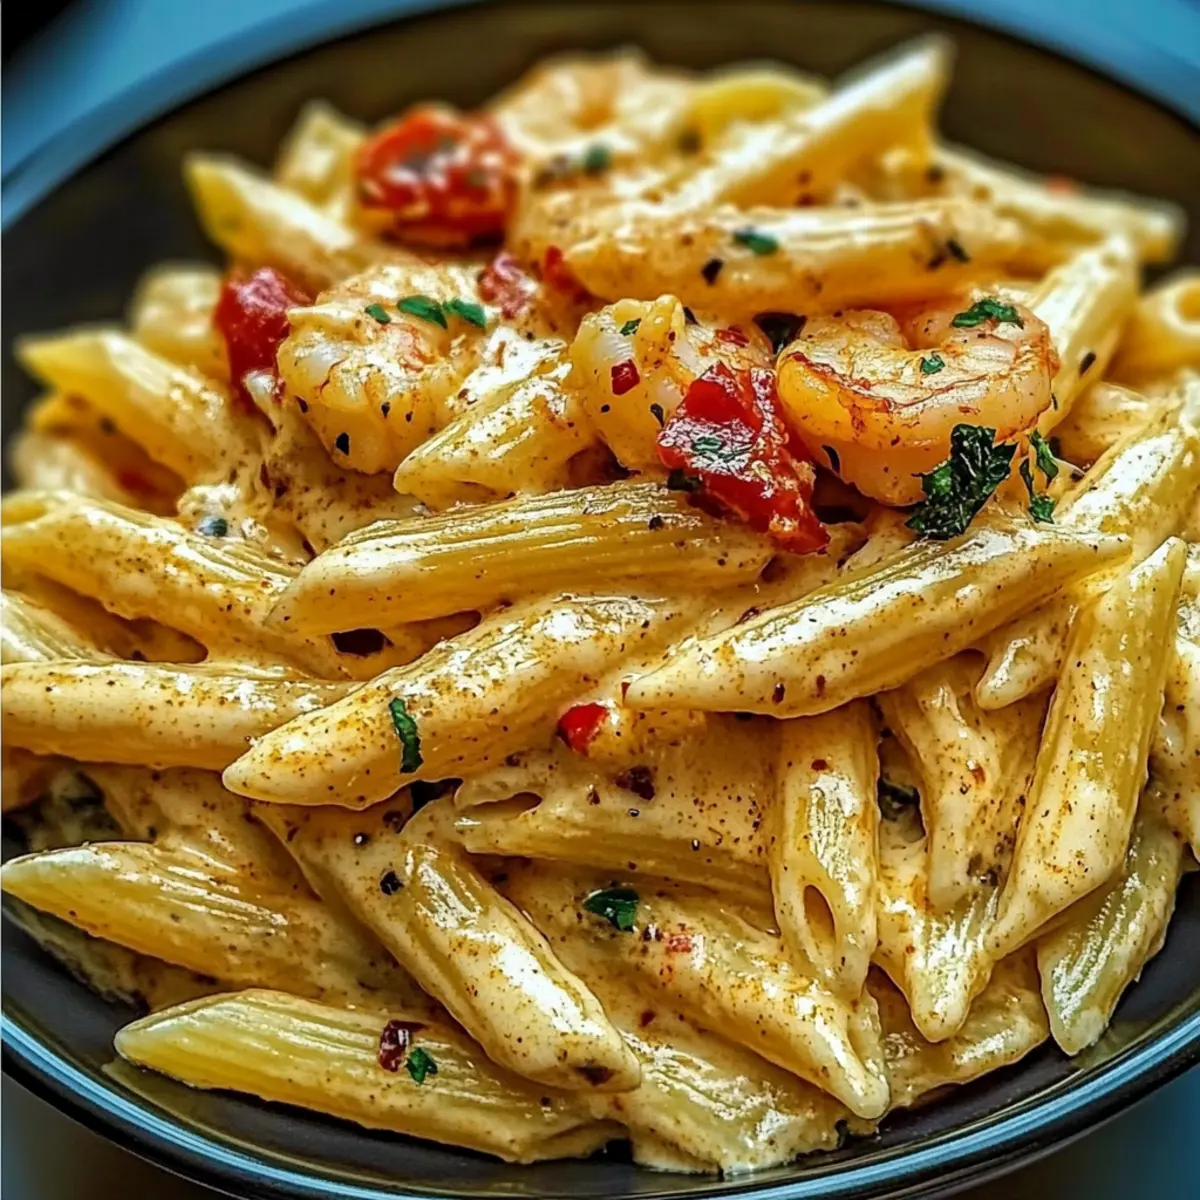
Seafood Twist: For a gourmet flair, consider adding shrimp or scallops as a seafood option, which pair well with the tomato sauce. The result is a luxurious dish that’s perfect for impressing guests.
-
Creamy Addition: For a creamy texture, mix in a splash of heavy cream or a dollop of cream cheese after combining the pasta and sauce. This will create a rich, decadent sauce that’s sure to please!
And if you're looking for more delightful ideas, check out these Skillet Pasta Sun or explore the delightful possibilities of Seafood Pasta Savory.
What to Serve with Pasta Napoletana
Elevate your mealtime experience with delightful pairings that complement the vibrant flavors of this Italian classic.
-
Garlic Bread: A crunchy, buttery delight that's perfect for scooping up the luscious sauce, adding a comforting touch to your dinner. The aroma of freshly toasted bread with garlic butter will weave through your kitchen, enticing everyone to the table.
-
Fresh Green Salad: Crisp greens topped with a zesty vinaigrette provide a refreshing contrast to the warm, hearty pasta. The vibrant flavors and textures of seasonal veggies can enhance your overall dining experience, offering a burst of freshness.
-
Roasted Vegetables: A medley of seasonal veggies, lightly seasoned and caramelized, adds earthiness and color to your plate. This balance of textures and flavors will satisfy even the pickiest eaters.
-
Caprese Salad: This classic Italian salad featuring fresh mozzarella, ripe tomatoes, and basil adds a fragrant, cool element that pairs beautifully with the rich pasta sauce. The layers of flavor echo the main dish, enhancing your meal's cohesion.
-
Olive Oil Drizzle: A simple but elegant enhancement, drizzle high-quality extra virgin olive oil over the finished dish for an added layer of flavor and richness. It enriches the flavor experience while maintaining the Italian essence.
-
Wine Pairing: A light Chianti or crisp Pinot Grigio beautifully complements the tomato-based sauce, enhancing each bite's experience. Sharing a glass elevates dinner to a lovely evening escape, full of warmth and chatter.
-
Tiramisu: End your meal on a sweet note with this creamy coffee-flavored dessert that brings an indulgent, satisfying finish to your dining experience. The rich flavors and textures will leave everyone wanting just a taste more.
Expert Tips for Pasta Napoletana
-
Choose Quality Ingredients: Using high-quality canned tomatoes ensures a flavor-packed sauce; look for whole or cherry tomatoes for added sweetness.
-
Mind the Cook Time: Avoid overcooking the pasta; it should be al dente to absorb the sauce's flavors and maintain a pleasing texture.
-
Sauté Gently: When cooking the onions and garlic, keep the heat moderate to enhance their natural sweetness without burning.
-
Add Freshness: Enhance your Pasta Napoletana by adding fresh vegetables, like zucchini or spinach, during the sauce preparation for extra nutrition.
-
Experiment with Proteins: For a heartier dish, consider stirring in cooked Italian sausage or chickpeas for a delightful twist to your vegetarian-friendly options.
-
Save Some Pasta Water: Always reserve a bit of the cooking water! It's perfect for adjusting the sauce’s consistency while ensuring it clings beautifully to the pasta.
Storage Tips for Pasta Napoletana
Fridge: Store leftovers in an airtight container for up to 2 days. This keeps the flavors fresh while preventing the pasta from drying out.
Freezer: For longer storage, freeze Pasta Napoletana in a freezer-safe container for up to 3 months. Defrost in the fridge before reheating.
Reheating: Reheat in the microwave or skillet over low heat, adding a splash of reserved pasta water or olive oil to enhance moisture and flavor. Enjoy your delicious Pasta Napoletana again!
Room Temperature: If left out, consume within 2 hours. To maintain optimal flavor and safety, avoid leaving it at room temperature for longer.
Pasta Napoletana Recipe FAQs
How do I choose the right tomatoes for Pasta Napoletana?
Absolutely! For the best flavor, opt for high-quality canned tomatoes, like San Marzano, as they provide natural sweetness and cooking consistency. Whole or cherry tomatoes are fantastic choices, but if you have fresh tomatoes on hand, those work beautifully—especially ripe cherry tomatoes!
How should I store leftover Pasta Napoletana?
Very! To keep your leftovers fresh, store them in an airtight container in the refrigerator for up to 2 days. This method helps retain the flavors and prevents the pasta from drying out. When ready to enjoy, simply reheat in the microwave or on the stovetop, adding a splash of reserved pasta water for moisture.
Can I freeze Pasta Napoletana?
Of course! To freeze, allow the Pasta Napoletana to cool completely, then transfer it to a freezer-safe container. It can be stored for up to 3 months. When you're ready to eat, just defrost it in the fridge overnight, and reheat gently over low heat in a skillet, adding a splash of olive oil or reserved pasta water for the best consistency.
What can I do if my sauce is too thick?
No worries! If you find that your sauce has become too thick, simply add a little reserved pasta water—start with a couple of tablespoons. This will help loosen it up and create a beautiful, silky sauce that clings to your pasta perfectly. You can also add a drizzle of olive oil for added richness.
Are there any dietary considerations for Pasta Napoletana?
Absolutely! This recipe is vegetarian-friendly and can easily be made vegan by omitting the Parmesan cheese or substituting it with nutritional yeast. It's advisable to check the ingredient labels if anyone has food allergies, particularly with canned goods. Additionally, if you plan to serve it to pets, be cautious, as garlic and onions can be harmful to them.
Savory Pasta Napoletana for Quick and Easy Family Dinners
Ingredients
Equipment
Method
- Begin by bringing a large pot of salted water to a rolling boil over high heat. Add the 8 oz of spaghetti or bucatini and cook according to the package instructions for about 8-10 minutes until al dente. Once cooked, reserve ½ cup of the pasta water, then carefully drain the rest and set aside.
- While the pasta cooks, heat 1 tablespoon of extra virgin olive oil in a large skillet over medium heat. Once shimmering, add the finely chopped onion and sauté for 5-6 minutes until it becomes soft and translucent.
- Next, stir in 2-3 minced garlic cloves, continuing to sauté for about 2 minutes until fragrant.
- Add the canned tomatoes, ½ teaspoon of fine salt, and ⅛ teaspoon of black pepper to the skillet. Stir well, allowing the mixture to come to a gentle simmer. Cook for about 15 minutes, stirring occasionally.
- Once your sauce is ready, add the drained pasta and a handful of fresh basil leaves to the skillet. Toss everything together, ensuring the pasta is well coated.
- Finally, plate your Pasta Napoletana, garnishing with 3 tablespoons of grated Parmesan cheese and a sprinkle of additional basil if desired.