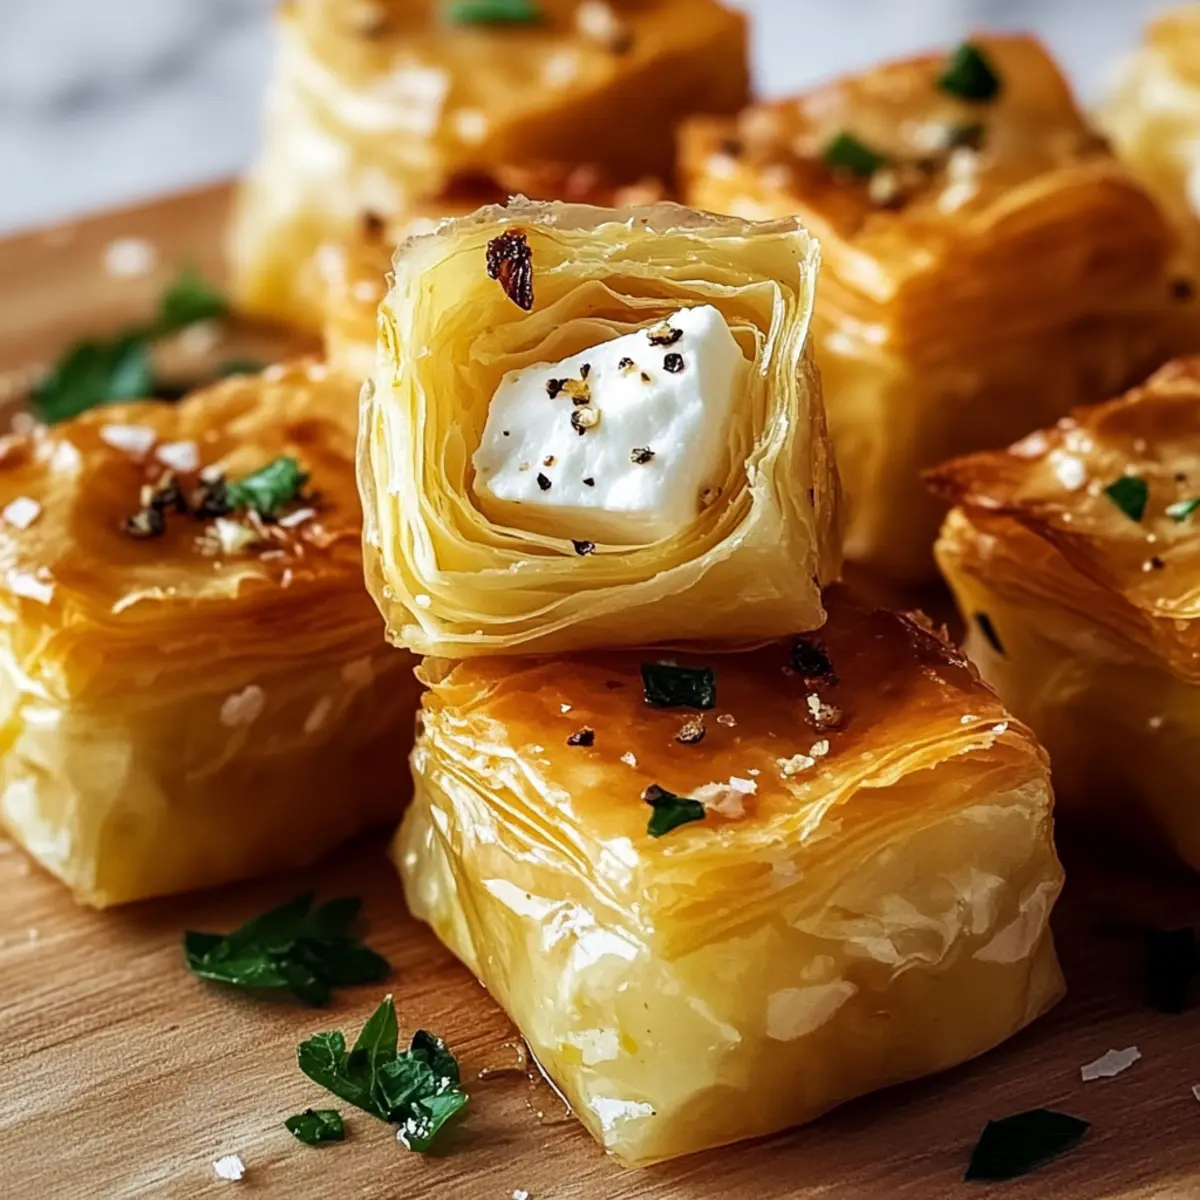
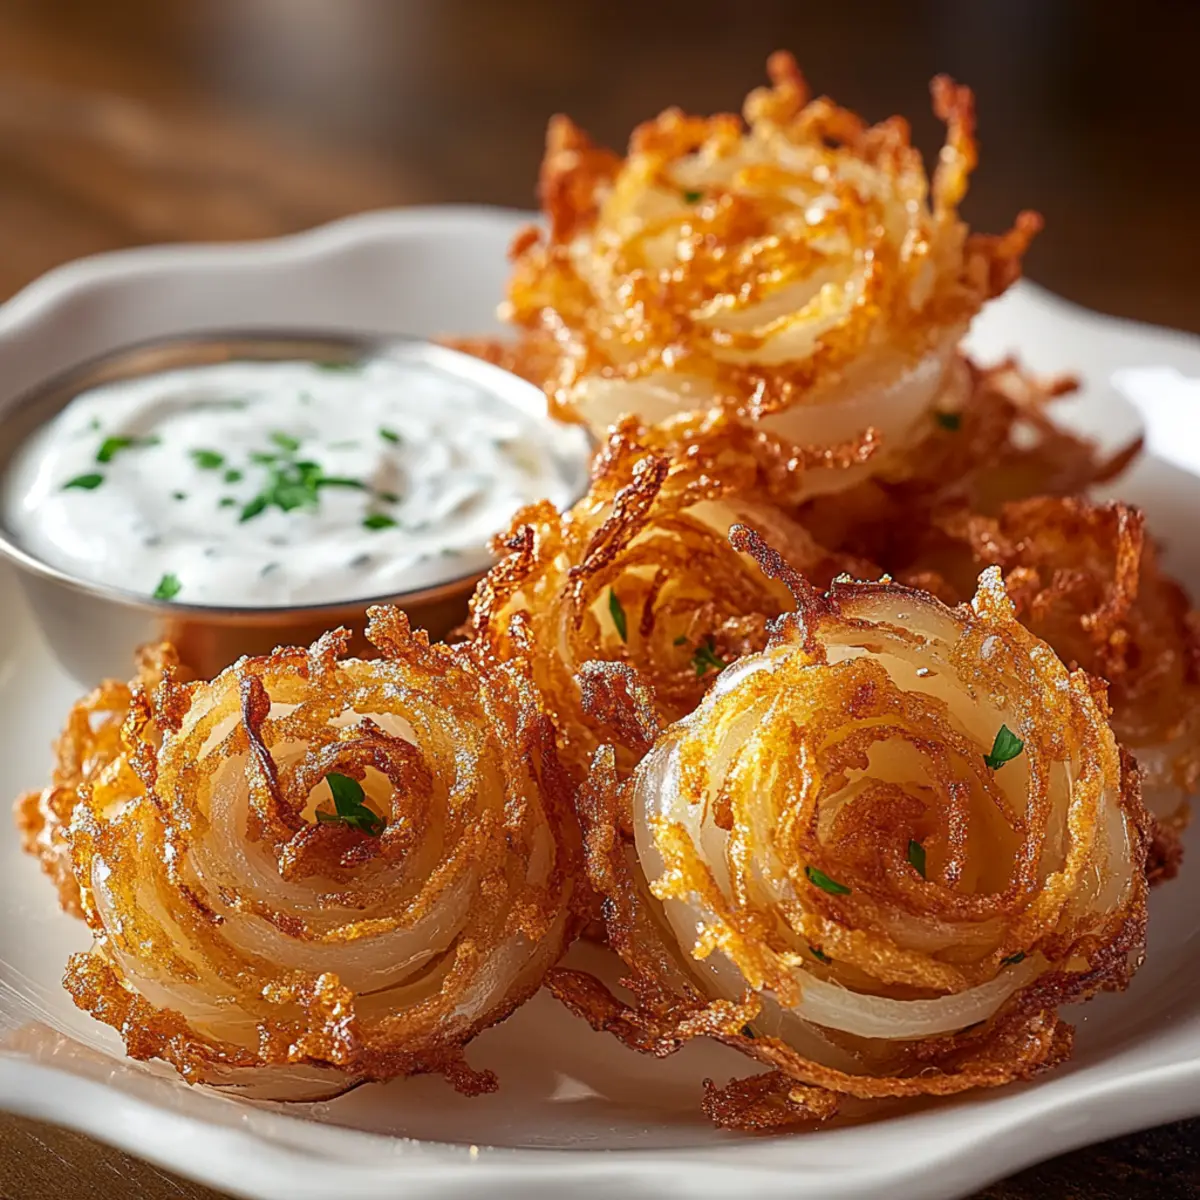
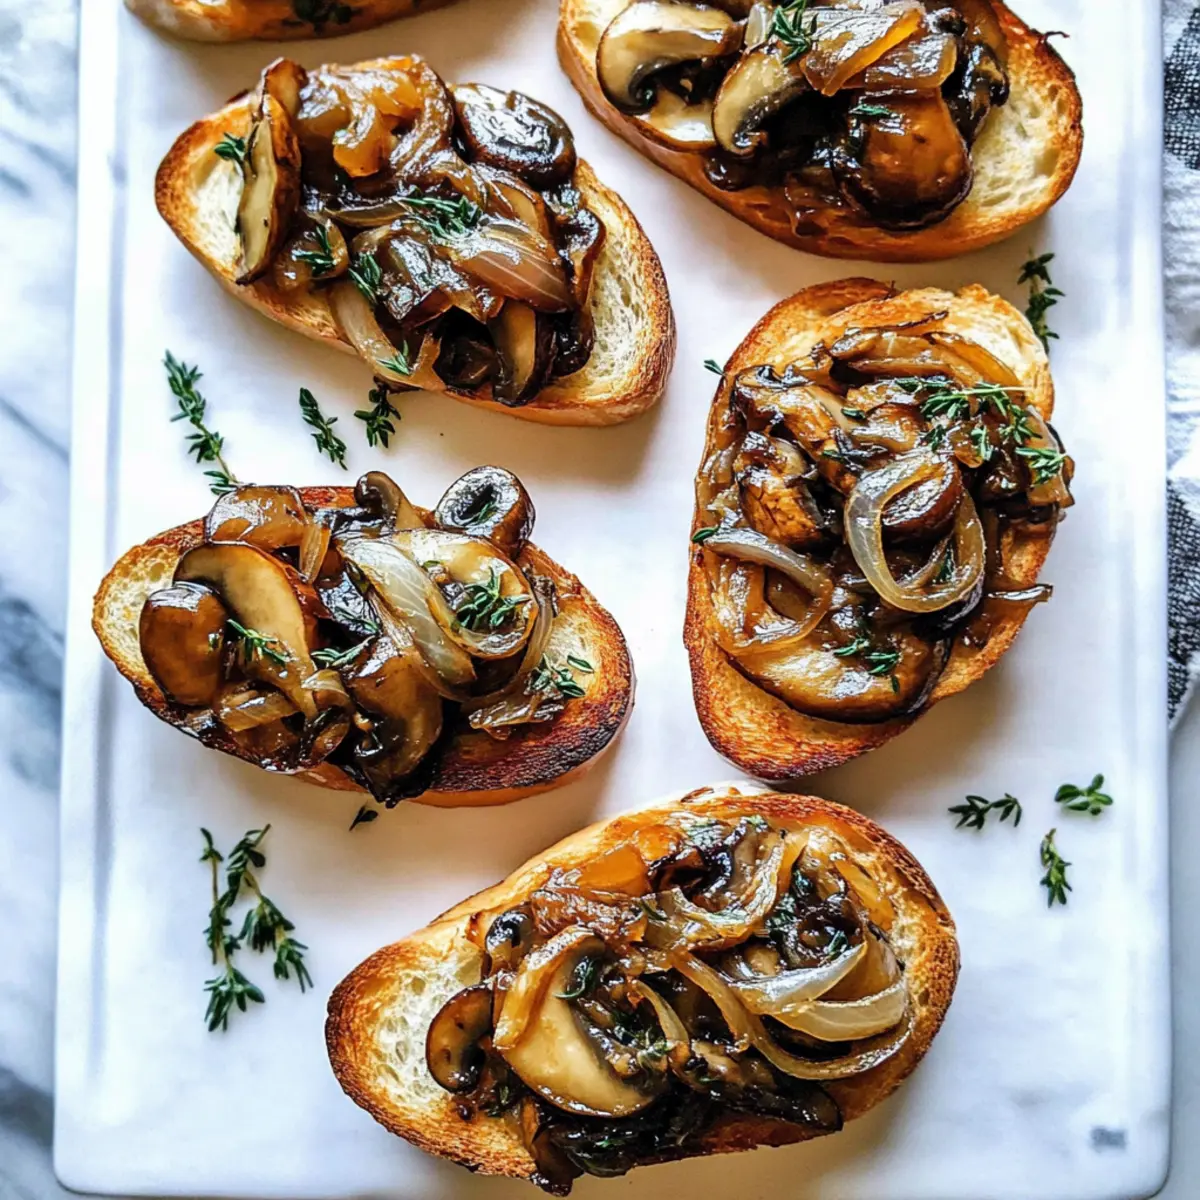
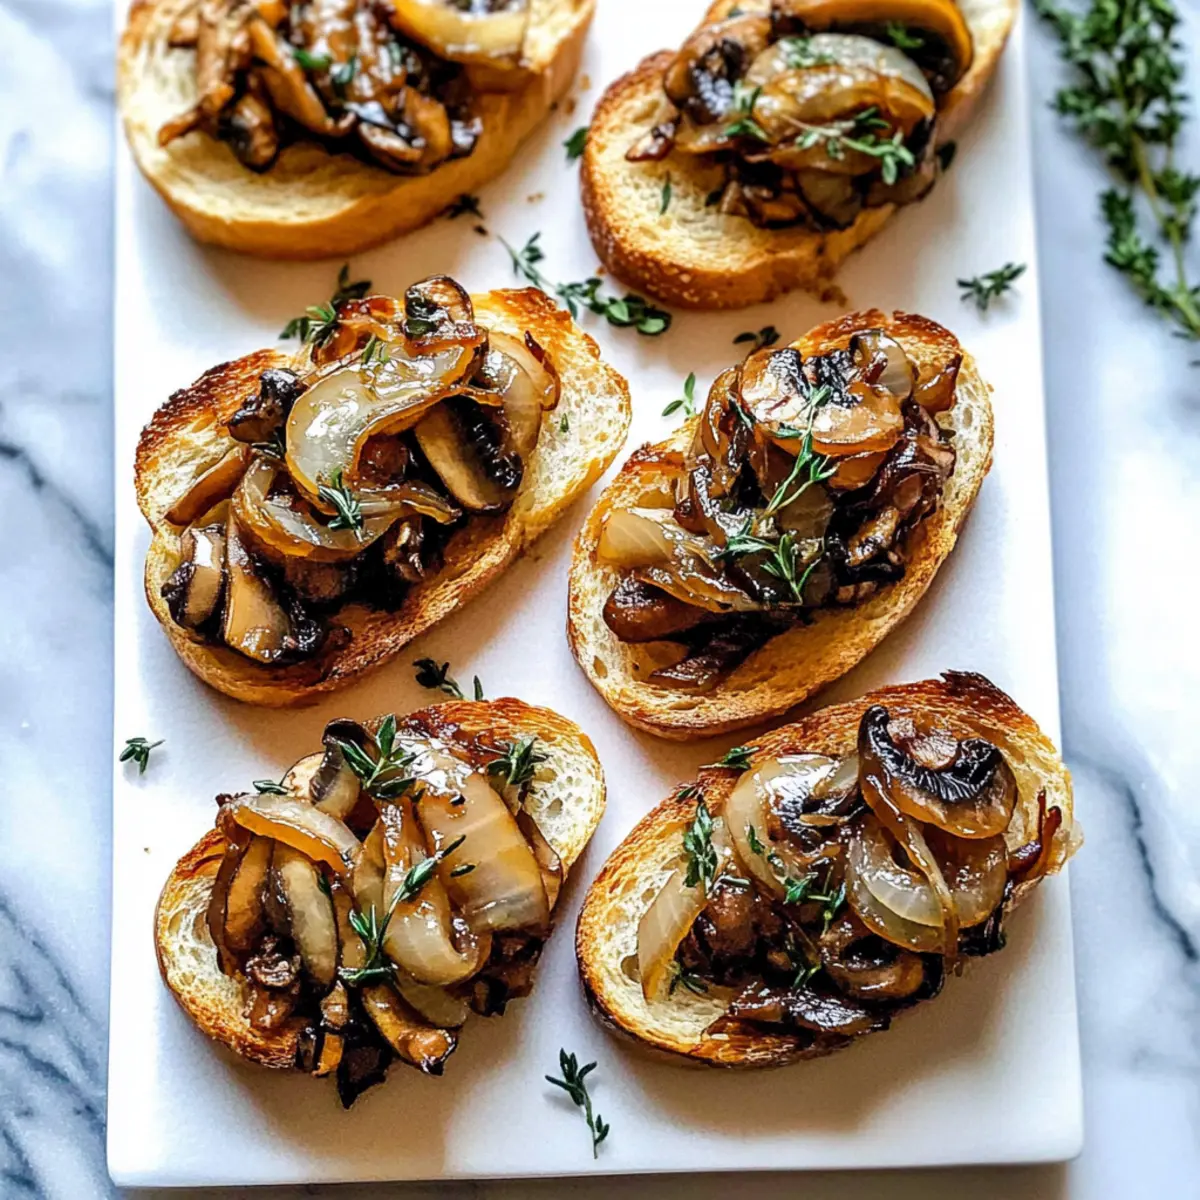
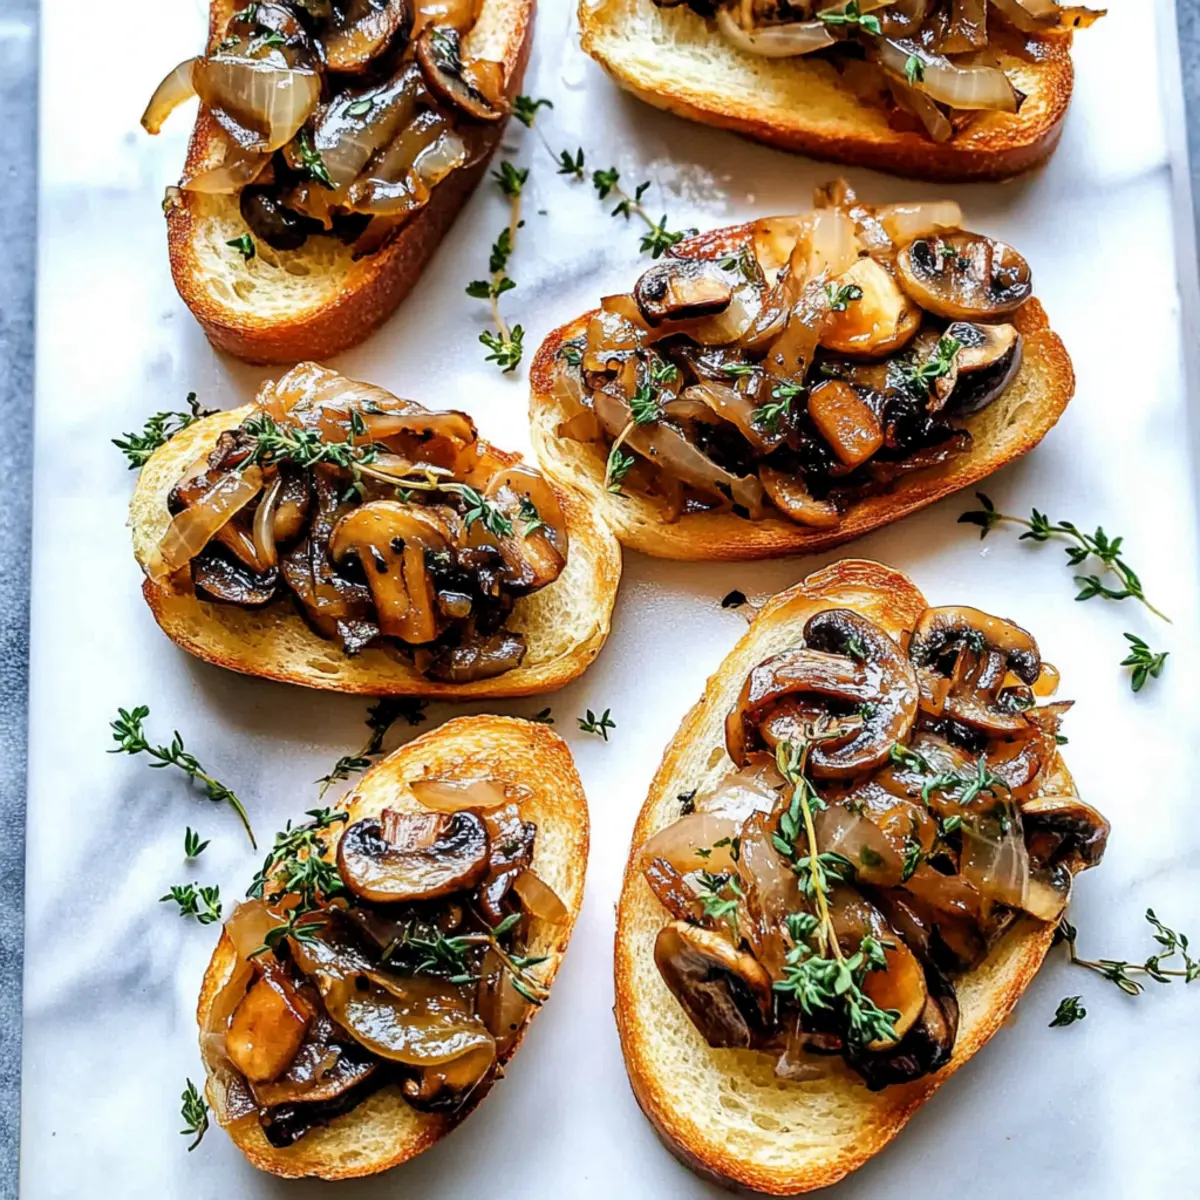
The rich aroma of buttery caramelization wafts through my kitchen, instantly transforming the ordinary into an extraordinary culinary delight. My Mushroom Crostini, featuring jammy caramelized onions and earthy mushrooms, is an appetizer that never fails to impress at gatherings. This recipe offers the dual benefit of being quick to prep and a perfect vegetarian option, making it a go-to choice for any occasion. Imagine the warmth of toasted baguette topped with a silky, sweet mixture that invites smiles and sparks conversations—who can resist? Just wait until you see how easily you can prepare this dish ahead of time, leaving you free to mingle and enjoy your guests. Ready to elevate your next gathering with this simple yet sophisticated twist on Italian flavors?
Why is Mushroom Crostini a Must-Try?
Simplicity: This recipe is incredibly easy to make, perfect for home cooks and chefs alike.
Irresistible Flavors: The sweet caramelized onions paired with earthy shiitake mushrooms create a truly gourmet flavor profile.
Crowd-Pleaser: Ideal as an appetizer for any gathering, this dish invites compliments and sparks delightful conversations.
Versatile: Feel free to customize with different mushroom varieties or add a creamy topping like goat cheese for extra richness. And if you're looking to explore more delicious options, check out our Grilled Mushrooms Savory for another tasty twist!
Make-Ahead Ability: Prep the mushroom and onion mixture in advance; just reheat and assemble right before serving. This time-saving tip keeps you stress-free and engaged with your guests!
Mushroom Crostini Ingredients
For the Mushroom Mixture
• Vermont Creamery Cultured Unsalted Butter – Provides a rich, creamy base; swap it for any high-quality unsalted butter for versatility.
• Medium Yellow Onion – Introduces sweetness and a flavorful foundation; thinly slice for even cooking. Shallots can stand in for a milder flavor.
• Shiitake Mushrooms – Offer an earthy flavor and chewy texture; ensure they are cleaned and sliced for cooking. Cremini mushrooms can be a great alternative.
• Brown Mushrooms – Enhance volume and earthiness; cleaned and sliced for consistency. Regular white mushrooms also work well as substitutes.
• Garlic (1 clove) – Adds depth to the flavor; press or mince to release its aromatic qualities. Be cautious not to burn it, as that introduces bitterness.
• Marsala Wine (¼ cup) – Infuses richness and sweetness; consider chicken stock or grape juice if you want a non-alcoholic option.
• Fresh Thyme Leaves (2 teaspoons) – Bring a delightful herbal note; fresh is preferred for potency, but dried thyme can work—just use less.
• Kosher Salt (½ teaspoon) – Essential for enhancing flavors; adjust this to taste, especially with other salty components.
• Freshly Ground Black Pepper (¼ teaspoon) – Provides a hint of spice; feel free to adjust according to your preference.
For the Baguette
• Baguette (1 loaf) – This forms the crispy base; slice into pieces for crostini. Choosing a day-old baguette can ease slicing and enhance texture.
Enjoy the journey of crafting these delightful Mushroom Crostini — a simple yet stunning appetizer that nibbles at the heart of Italian cuisine!
Step‑by‑Step Instructions for Mushroom Crostini
Step 1: Sauté the Aromatics
In a large skillet, melt 4 tablespoons of Vermont Creamery Cultured Unsalted Butter over medium heat. Once it's bubbly and fragrant, add thinly sliced medium yellow onions and both shiitake and brown mushrooms. Cook this mixture for about 5 minutes, stirring occasionally, until the mushrooms are tender and the onions are golden-brown, filling your kitchen with a heavenly aroma.
Step 2: Incorporate Wine and Thyme
Remove the skillet from heat and pour in ¼ cup of Marsala wine along with 2 teaspoons of fresh thyme leaves. Stir well to combine, and then return the skillet to low heat. Allow the mixture to simmer for another 5-7 minutes until the juices thicken and the mixture becomes jammy, creating a delicious topping for your Mushroom Crostini.
Step 3: Prepare the Baguette
While the mushroom mixture simmers, preheat your oven to 400°F (200°C). Slice the baguette into pieces about ½ inch thick and lay them flat on a baking sheet. Brush each slice generously with the remaining melted butter, then place in the oven to toast for 8-10 minutes until they are lightly browned and crispy, inviting perfect crunch.
Step 4: Assemble Your Crostini
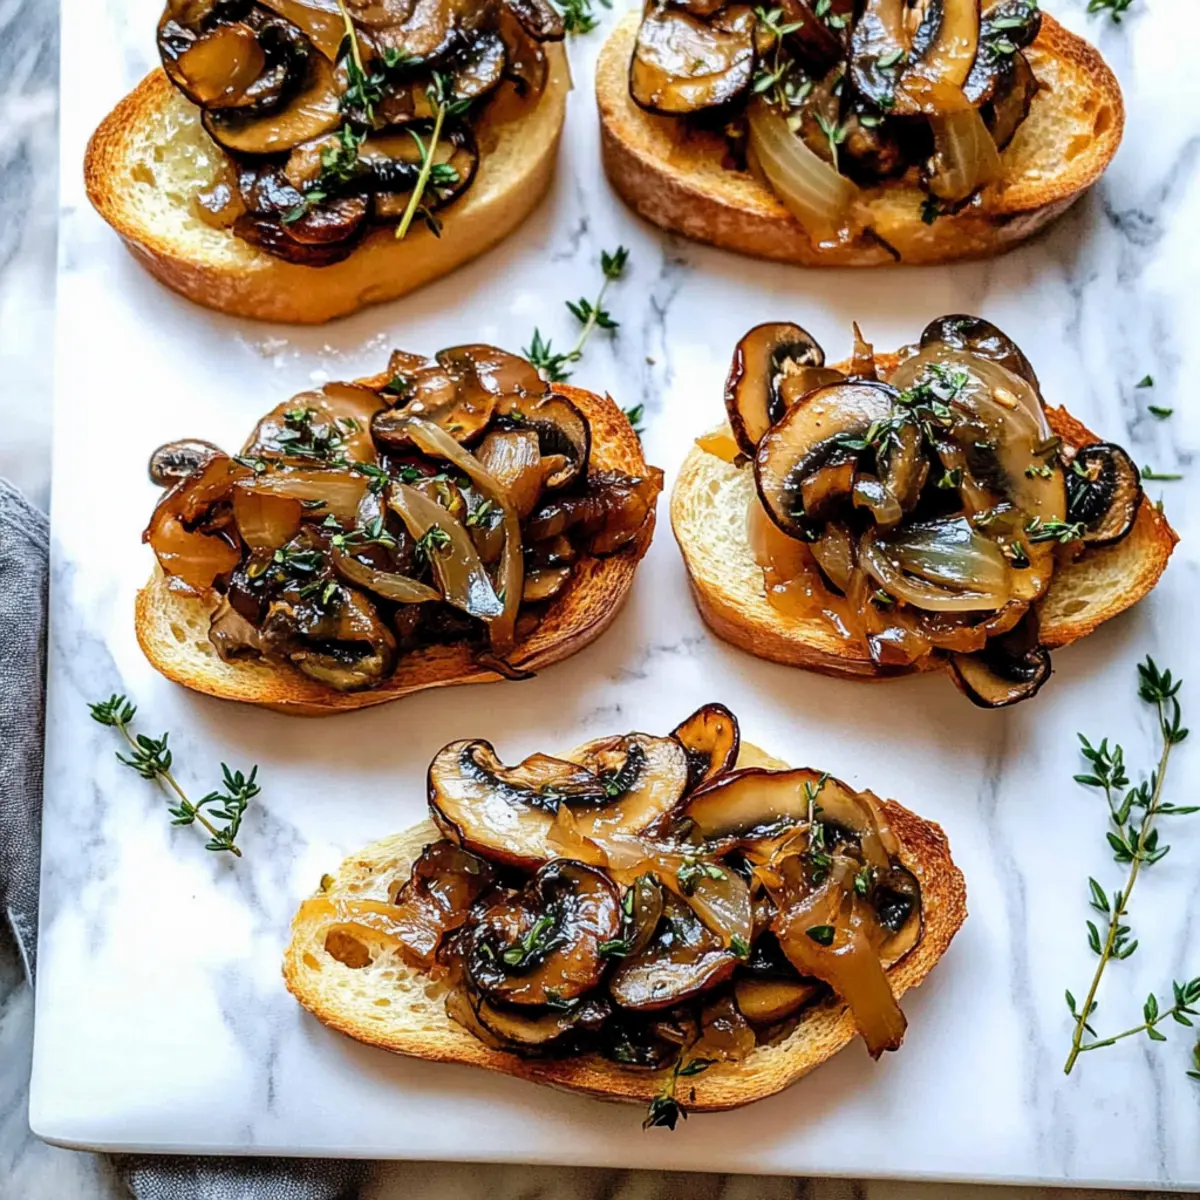
Once the baguette slices are toasted, remove them from the oven and let them cool for a moment. Spoon a generous mound of the savory mushroom and onion mixture onto each toasted slice. For a final touch, garnish with additional fresh thyme leaves to enhance the visual appeal and flavor of your delightful Mushroom Crostini.
Step 5: Serve and Enjoy
Present your assembled Mushroom Crostini on a beautiful serving platter for an inviting touch. This easy yet sophisticated appetizer is perfect for gatherings, offering a delightful bite of rich buttery flavor combined with the sweet earthiness of the mushrooms.
Mushroom Crostini Variations & Substitutions
Feel free to get creative with this Mushroom Crostini recipe; the possibilities are endless and delicious!
-
Non-Dairy: Use plant-based butter to make this recipe dairy-free while still achieving that creamy richness. Your guests won’t even notice the difference!
-
Different Mushrooms: Experiment with ports, oyster, or even truffle mushrooms for a unique twist. Each variety brings a special flavor profile for new culinary adventures.
-
Spicy Kick: Add a pinch of red pepper flakes or some finely chopped jalapeños to the mushroom mixture for a delightful heat that will tantalize your taste buds!
-
Hearty Greens: Fold in sautéed spinach or kale for added nutrients and vibrant color. This not only boosts the flavor but also makes the dish more satisfying.
-
Gluten-Free: Substitute the baguette with gluten-free bread or crackers to ensure everyone at your gathering can enjoy a taste of this delightful appetizer.
-
Herb Swap: While fresh thyme is divine, try rosemary or basil for a different aromatic experience. Each herb will bring its own unique charm to the dish.
-
Cheesy Delight: Top your crostini with freshly grated Parmesan or mozzarella before toasting. This extra layer of cheesy goodness melts delectably into the warm mushroom mixture.
-
Gourmet Finish: Drizzle balsamic glaze over the finished crostini for a touch of sweetness and a sophisticated finish. It adds a beautiful presentation and piquant flavor that elevates the dish.
And if you want to explore more flavor-packed options, don’t forget to check out our Grilled Mushrooms Savory for another delightful culinary creation!
Expert Tips for Mushroom Crostini
-
Make-Ahead Magic: Prepare the mushroom and onion mixture in advance and refrigerate for up to 3-4 days. Just reheat before serving for an effortless appetizer.
-
Perfect Mushroom Cuts: Cut mushrooms thick enough to maintain their shape while cooking; they will shrink as they caramelize, ensuring a hearty bite on your crostini.
-
Butter Control: Use cultured unsalted butter for better seasoning control. This enhances the rich flavor of your Mushroom Crostini without overwhelming it with salt.
-
Wine Substitutions: If you'd like a non-alcoholic version, chicken stock or grape juice can replace Marsala wine, offering a slightly different yet delicious taste.
-
Customize Your Toppings: For added creaminess and flavor, consider topping the assembled crostini with goat cheese or crème fraîche, elevating the dish even further.
How to Store and Freeze Mushroom Crostini
Fridge: Keep the caramelized mushroom and onion mixture in an airtight container for up to 3-4 days. Reheat gently before serving to restore flavors.
Freezer: For longer storage, freeze the mushroom mixture in a sealed bag for up to 2 months. Thaw overnight in the fridge and reheat before topping your crostini.
Assembled Crostini: To maintain the crunchiness of the baguette, consume the final assembled Mushroom Crostini fresh. If leftovers remain, eat them within a day for the best texture.
Reheating: To reheat, place assembled crostini on a baking sheet and pop them in a warm oven (about 350°F) for 5-7 minutes, ensuring they crisp back up nicely.
What to Serve with Savory Mushroom Crostini?
The Mushroom Crostini is a delightful appetizer that pairs beautifully with various flavors and textures, creating a memorable meal experience.
-
Fresh Arugula Salad: A vibrant mix of peppery arugula, cherry tomatoes, and a tangy vinaigrette adds a refreshing contrast to the rich crostini. This salad brightens up your plate and palate.
-
Garlic Roasted Asparagus: Tender asparagus tossed in minced garlic and olive oil, then roasted to perfection, offers a delightful crunch alongside the silky mushroom topping. The earthy asparagus complements the flavors beautifully.
-
Creamy Polenta: A smooth bed of creamy, buttery polenta serves as a hearty base that balances the textures of the crostini, lending a comforting element to your meal. Plus, it’s easy to make ahead!
-
Wine Pairing: Lightly chilled Sauvignon Blanc is a perfect match, enhancing the dish's earthy flavors while adding a refreshing citrus note that awakens the senses. A sip of this wine perfectly complements every bite.
-
Savory Cheese Platter: Include a selection of soft cheeses like goat cheese or Brie along with some assorted olives. The rich, creamy cheeses enhance the flavors of the crostini, making them an irresistible pairing.
-
Mini Stuffed Peppers: Colorful mini bell peppers filled with cheese and herbs bring a burst of flavor and color to your table, creating an eye-catching spread that your guests will adore. Their sweetness perfectly contrasts the savory crostini.
Each of these pairings will elevate your Mushroom Crostini experience, making your gathering a celebration of flavors!
Make Ahead Options
These Mushroom Crostini are perfect for meal prep aficionados looking to save time and enjoy delicious homemade food! You can prepare the mushroom and onion mixture up to 3 days in advance. Simply sauté the onions and mushrooms as instructed, then let the mixture cool before transferring it to an airtight container for refrigeration. To maintain quality, avoid adding the toasted baguette slices until just before serving, as this will keep them crispy. When you’re ready to impress your guests, reheat the mixture gently on the stove and assemble your crostini with the toasted baguette slices just before serving. This allows you to enjoy restaurant-quality results with minimal effort!
Mushroom Crostini Recipe FAQs
What type of mushrooms should I use for the best flavor?
Absolutely! Shiitake mushrooms bring an earthy richness that truly elevates the Mushroom Crostini. However, if you can't find them, cremini mushrooms are a great alternative that will still provide wonderful flavor and texture.
How long can I store the mushroom and onion mixture in the fridge?
You can keep the caramelized mushroom and onion mixture in an airtight container for up to 3–4 days. Just make sure to reheat it gently before topping your crostini to bring back its delicious flavors.
Can I freeze the mushroom and onion mixture?
Yes, you can! To freeze, place the mixture in a zip-top bag, removing as much air as possible, and store it in the freezer for up to 2 months. When you’re ready to use it, just thaw it overnight in the fridge and reheat it on the stove before serving.
What’s the best way to reheat leftover assembled crostini?
For the crispiest outcome, place any leftover assembled Mushroom Crostini on a baking sheet and reheat them in a preheated oven at 350°F (175°C) for 5–7 minutes. This will help restore that delightful crunch while warming the mushroom topping.
Are there any dietary considerations I should keep in mind?
Definitely! If you’re serving this dish to guests, be sure to check for any mushroom allergies or dietary restrictions. For a gluten-free option, you can serve the mushroom mixture on gluten-free crackers instead of baguette slices, ensuring everyone can enjoy this savory treat!
Can I prepare the crostini toppings ahead of time?
Yes! Preparing the mushroom and onion mixture ahead of time is a fantastic idea. Just make it up to 3–4 days in advance, store it in the fridge, and reheat it before serving. This way, you can spend more time enjoying your gathering with friends!
Deliciously Easy Mushroom Crostini for Your Next Gathering
Ingredients
Equipment
Method
- Sauté the Aromatics: Melt butter in a skillet over medium heat, add onions and mushrooms, cook until tender.
- Incorporate Wine and Thyme: Add Marsala wine and thyme, simmer until the mixture is jammy.
- Prepare the Baguette: Preheat oven to 400°F, slice baguette, brush with melted butter, and toast until crispy.
- Assemble Your Crostini: Spoon mushroom mixture onto toasted baguette slices, garnish with thyme.
- Serve and Enjoy: Present on a platter and enjoy your Mushroom Crostini.