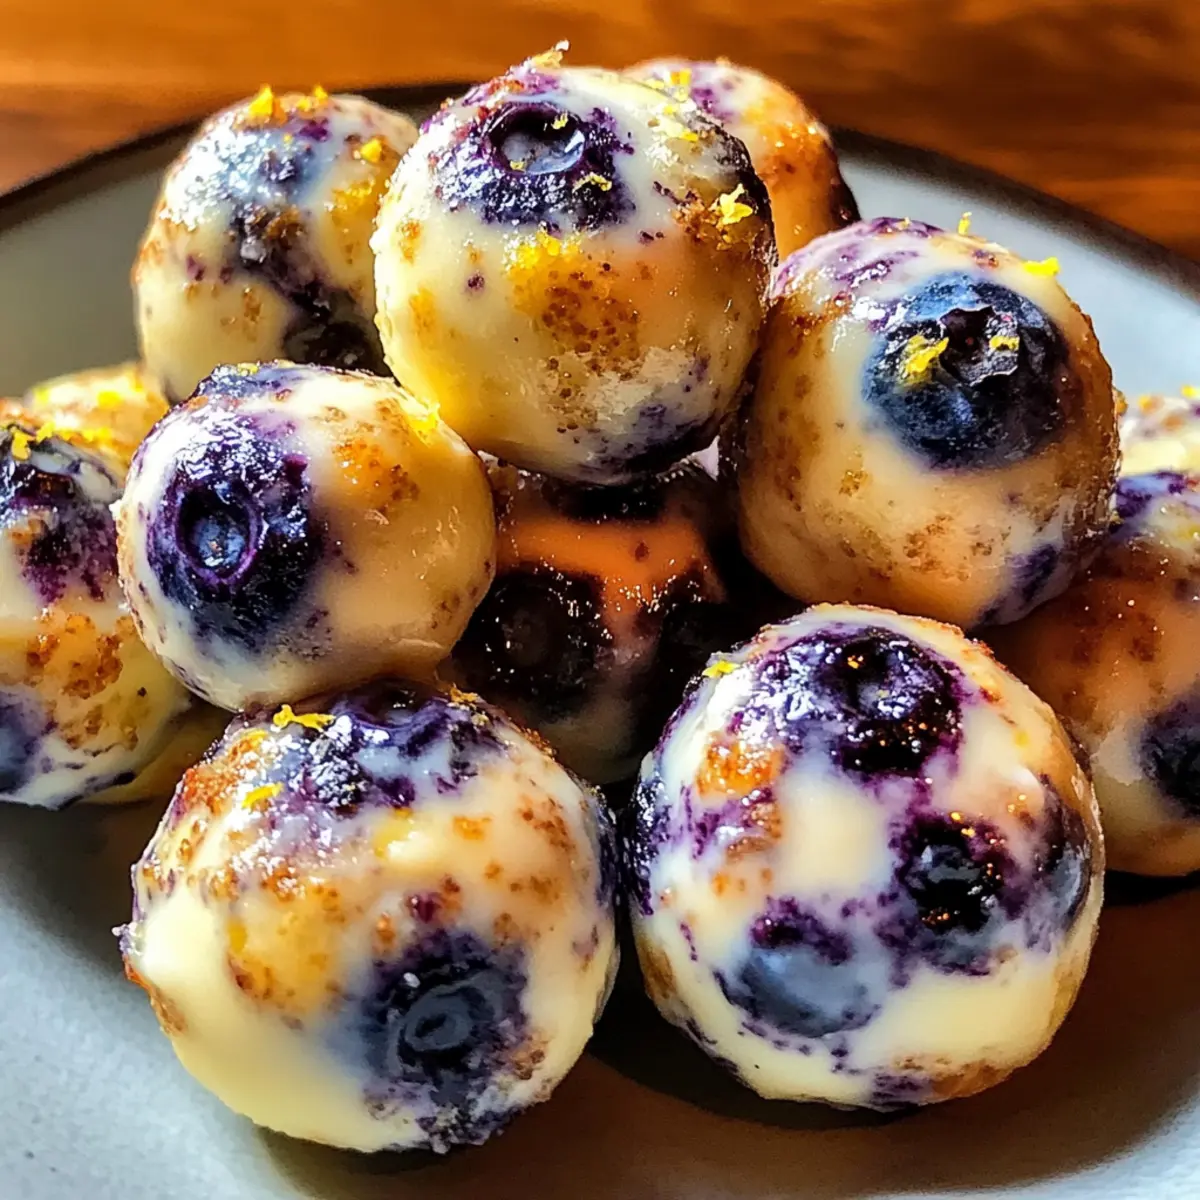
As I stood in my kitchen, the sweet aroma of caramelized onions wafted through the air—one of those moments that instantly transports you to a cozy café where gourmet flavors dance on your palate. Today, I’m thrilled to share my Pear & Apple Grilled Cheese with Caramelized Onions, a delightful fusion of sweet and savory that elevates the classic comfort food experience. This quick meal is ready in just 35 minutes, making it perfect for both a bustling weeknight or a leisurely lunch with friends. Plus, it’s entirely customizable; swap in your favorite cheeses or fruits to make it your own. Ready to dive into a sandwich that feels like a warm hug? Let’s get cooking!
Why is this grilled cheese special?
Gourmet Touch: This Pear & Apple Grilled Cheese with Caramelized Onions transforms a simple comfort food into an upscale treat. Quick to Prepare: With just 35 minutes on the clock, it fits perfectly into even the busiest schedules. Endless Customization: Feel free to mix and match cheeses or add your favorite fruits for a personal twist! Savory Meets Sweet: The luscious caramelized onions combine beautifully with fresh pear and apple, creating a flavor explosion with every bite. Crowd-Pleaser: Whether it's a weekday dinner or a whimsical brunch, this dish is sure to impress everyone at the table. Don’t forget to pair it with a fresh side salad or a comforting soup for a complete meal!
Pear & Apple Grilled Cheese Ingredients
For the Sandwich
• Sourdough Bread – Provides a sturdy base and crispy texture, perfect for grilling.
• Unsalted Butter – Essential for sautéing onions and toasting the bread; can be swapped with olive oil for a dairy-free option.
• Medium Pear – Adds natural sweetness and juicy texture; you can use an Asian pear or a firm peach as a substitute.
• Medium Apple – Offers a refreshing tartness that balances the sweetness of the pear; Granny Smith works wonderfully here.
• Medium Onion – Key for creating rich, caramelized flavor; yellow onions are standard, but shallots are a milder alternative.
• Shredded Sharp Cheddar Cheese – Delivers a creamy richness; mix with mozzarella or gouda for a unique twist.
• Balsamic Vinegar – Enhances the sweetness of the caramelized onions; apple cider vinegar is a great alternative for a tangy kick.
• Salt and Black Pepper – Essential for rounding out flavors; season to taste for the best result.
Optional Additions
• Cinnamon – Sprinkling some on the apple slices can elevate the sweetness and add warmth to the flavor profile.
• Additional Cheeses – Feel free to explore different cheese combinations to really customize your Pear & Apple Grilled Cheese experience!
Step‑by‑Step Instructions for Pear & Apple Grilled Cheese With Caramelized Onions
Step 1: Caramelize Onions
In a medium skillet, melt 1 tablespoon of unsalted butter over medium heat. Add thinly sliced onions, sprinkling a pinch of salt to enhance their sweetness. Cook gently for about 10 minutes, stirring occasionally until they become soft and translucent. Next, drizzle in 1 tablespoon of balsamic vinegar and continue cooking for 2-3 more minutes, until the onions are golden brown and caramelized, releasing a sweet aroma.
Step 2: Prepare the Sandwich
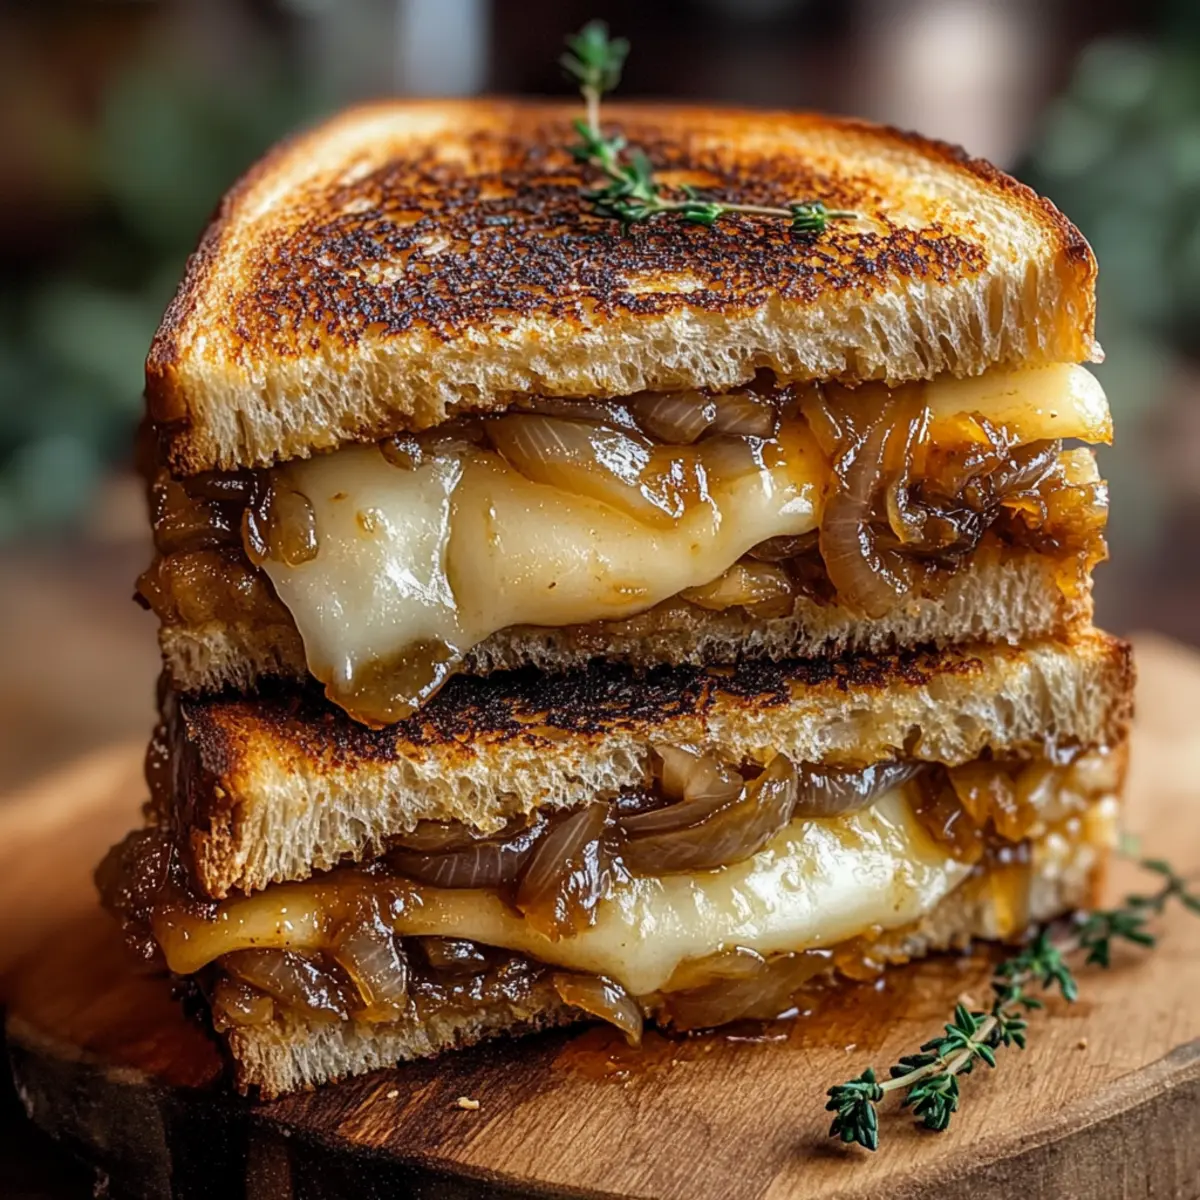
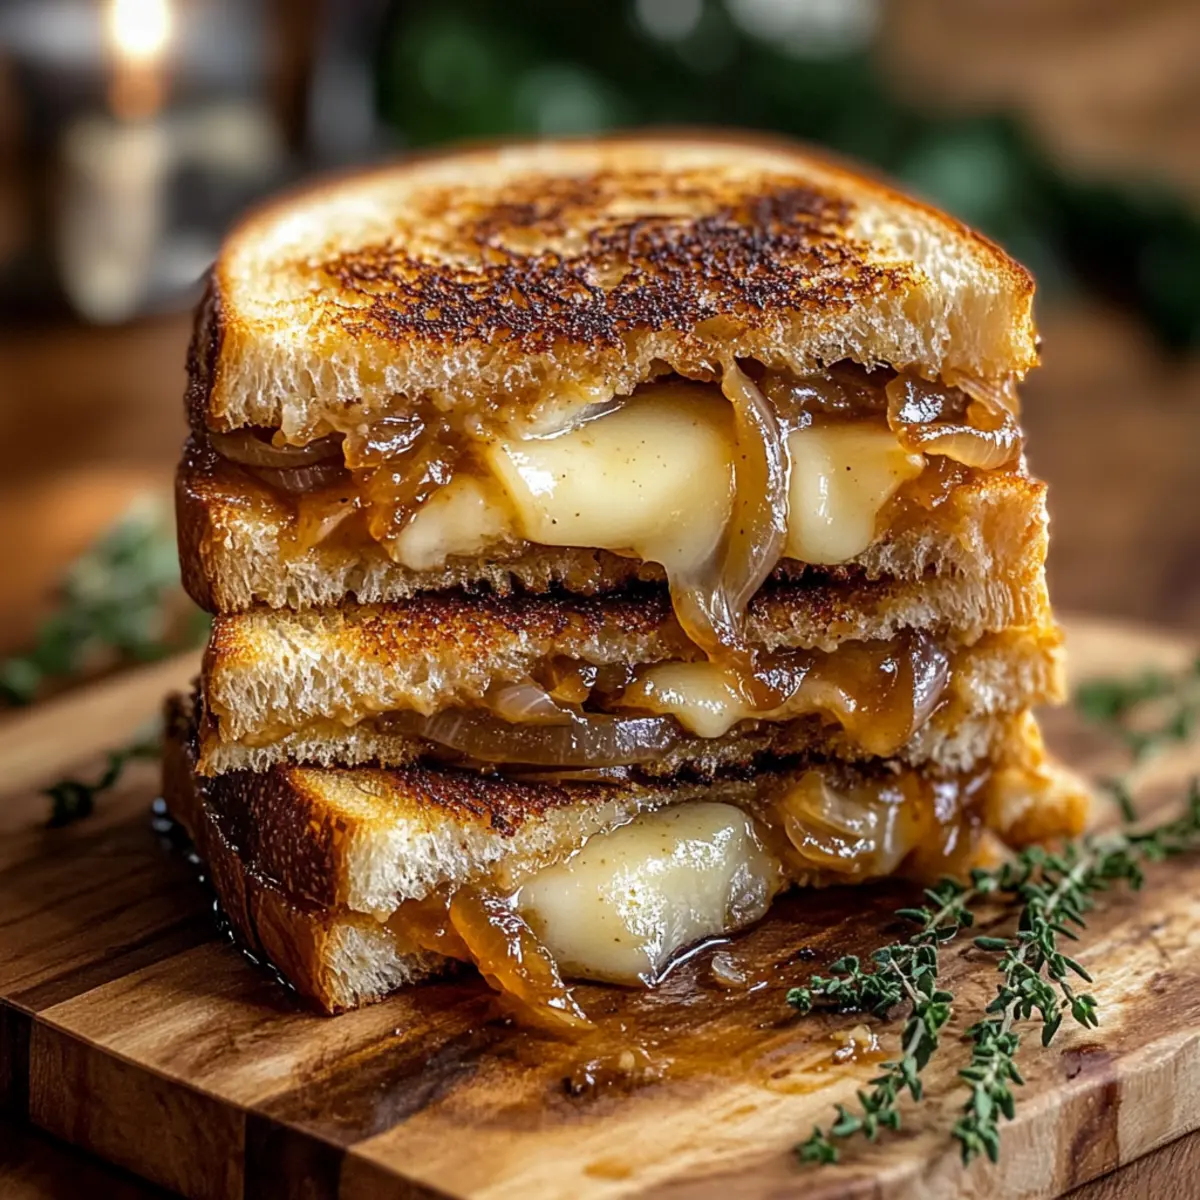
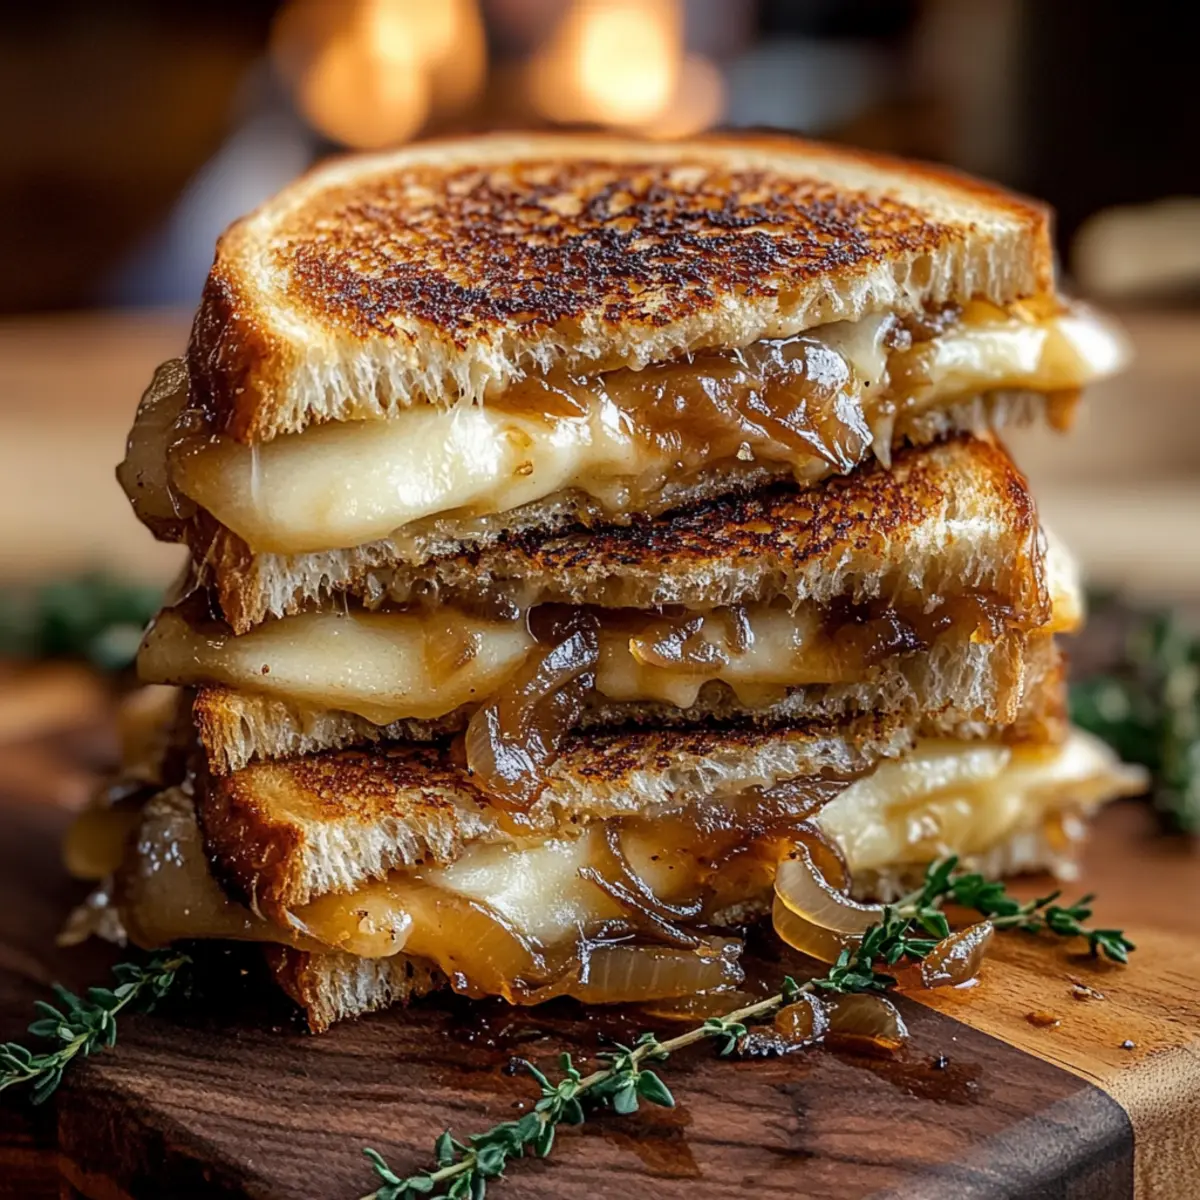
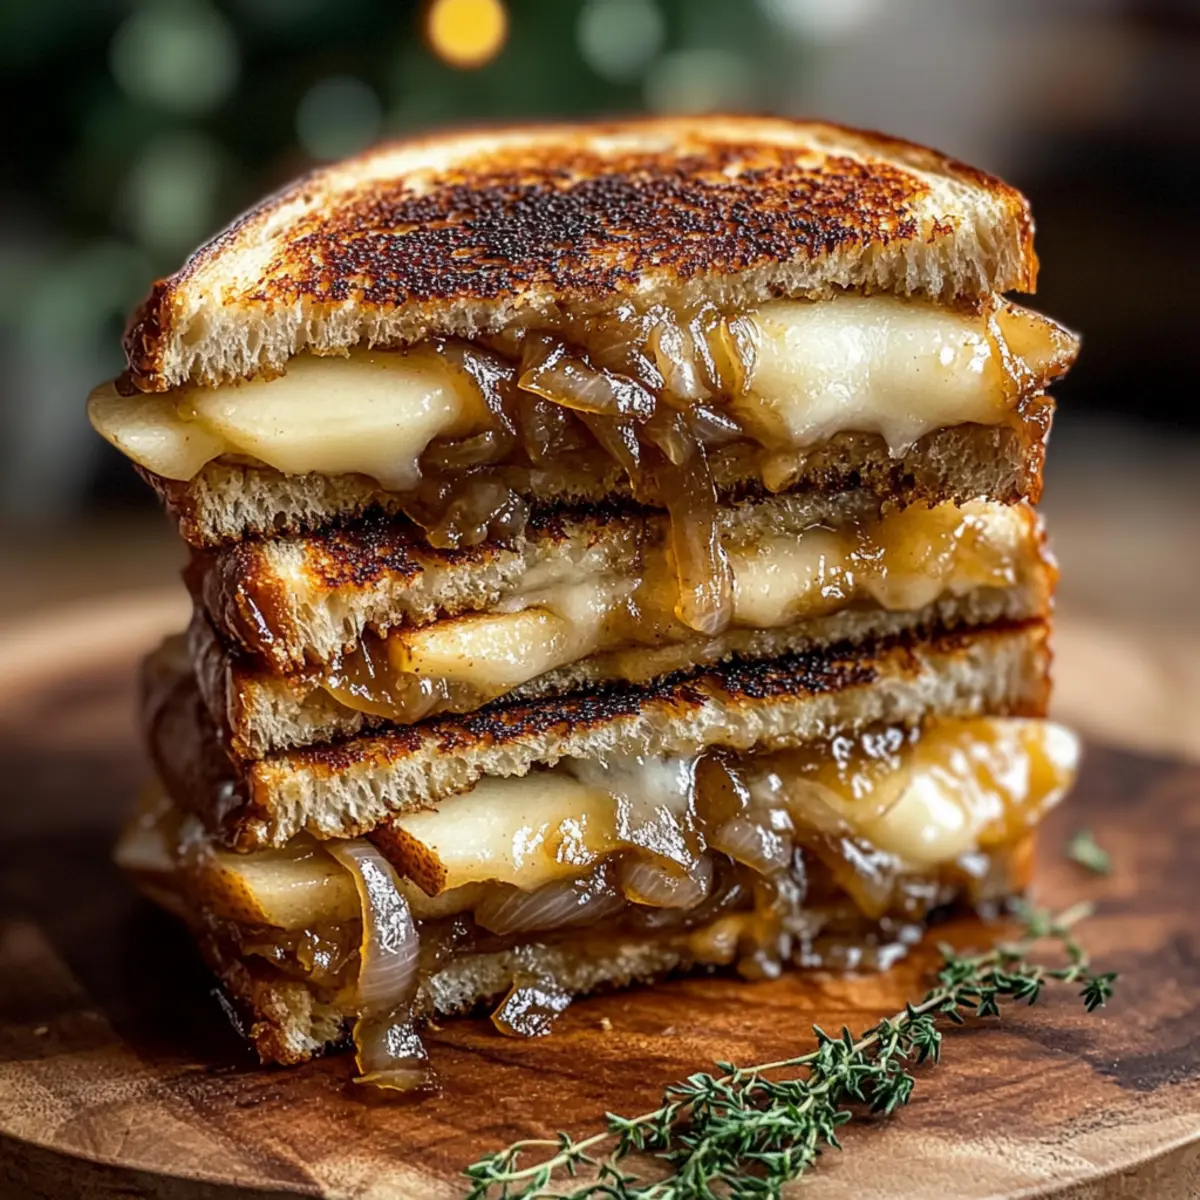
Using the same skillet, add a touch more butter and melt it over medium heat. Lay two slices of sourdough bread in the skillet and sprinkle half of the shredded sharp cheddar cheese on each slice. Layer the caramelized onions evenly over the cheese, followed by thinly sliced apple and pear pieces. Top off with the remaining cheese before placing another slice of sourdough on top, creating a mouthwatering Pear & Apple Grilled Cheese.
Step 3: Grill the Sandwiches
Increase the heat slightly, ensuring to maintain medium heat, and allow the assembled sandwiches to grill for about 4-5 minutes. Use a spatula to press down gently on the sandwiches, allowing the cheese to melt evenly. Once the bottom slices are golden brown and the cheeses have melded together beautifully, carefully flip the sandwiches and cook for an additional 4-5 minutes on the other side until perfectly toasted.
Step 4: Serve and Enjoy
Remove the Pear & Apple Grilled Cheese from the skillet and slice each sandwich in half diagonally for a delightful presentation. Serve warm, allowing the oozy cheese and warm, sweet fruit to shine. Pair with a fresh side salad or a comforting soup for a complete meal, and relish in the comforting flavors you’ve just created!
Make Ahead Options
These Pear & Apple Grilled Cheese with Caramelized Onions are perfect for meal prep enthusiasts! You can caramelize the onions and prepare the fruit the night before, storing them in an airtight container in the refrigerator for up to 3 days. To maintain the quality of the flavors, make sure the onions are completely cool before storing to avoid excess moisture. When you're ready to enjoy your gourmet sandwich, simply layer the prepared ingredients between slices of sourdough cheese and grill for about 8-10 minutes, flipping halfway through. This way, you'll have a delicious and comforting meal ready with minimal effort, perfect for busy weeknights!
Pear & Apple Grilled Cheese Variations
Let your creativity flow and tailor this delightful sandwich to suit your tastes!
- Dairy-Free: Use dairy-free cheese and olive oil instead of butter. The flavors still shine through while accommodating dietary needs.
- Spicy Kick: Add sliced jalapeños or a pinch of red pepper flakes for a thrilling heat. It contrasts beautifully with the sweetness of the fruit!
- Nutty Crunch: Sprinkle in toasted walnuts or pecans for added texture and a delightful crunch. They elevate the flavor profile and add a satisfying bite!
- Herb Infusion: Mix in fresh rosemary or thyme with the caramelized onions for a fragrant twist. These herbs complement the sweetness of the pear beautifully.
- Tortilla Wrap: Swap the bread for a tortilla to create a quesadilla-style delight. Grill until the cheese is gooey and serve with salsa for an exciting variation!
- Fruit Medley: Try using different seasonal fruits like peaches or figs instead of pears and apples. Each will bring its own unique flavor palette!
- Savory Option: Add crispy bacon or smoked ham for a decadent, savory twist. The salty elements create a delicious balance with the sweet fruits.
- Balsamic Drizzle: Drizzle extra balsamic reduction over the ready sandwich. It emphasizes the flavor while providing a glossy, gourmet finish.
Now, you can explore these alternatives, or if you're excited for more flavors, why not try your hand at dishes like Grilled Mushrooms Savory or a classic Chicken Salad Apples? Happy cooking!
How to Store and Freeze Pear & Apple Grilled Cheese
Airtight Container: Store any leftovers in an airtight container in the fridge for up to 3 days to maintain freshness and prevent sogginess.
Freezer: If you’d like to freeze your Pear & Apple Grilled Cheese, wrap it tightly in plastic wrap and then aluminum foil. It can be frozen for up to 2 months.
Reheating: For crispy sandwiches, reheat in a toaster oven or skillet over medium heat for about 5-7 minutes, flipping halfway through until warmed through and the cheese is melted.
Storage Tips: Always allow the sandwiches to cool to room temperature before storing, as this prevents condensation, keeping the texture just right!
Expert Tips for Pear & Apple Grilled Cheese
-
Perfectly Caramelized Onions: Take your time cooking the onions until they're golden brown; this maximizes their sweetness and flavor, enriching your Pear & Apple Grilled Cheese.
-
Choose the Right Bread: Sourdough is ideal for its crispy texture, but a whole-grain option can add a nutty depth. Just ensure it’s sturdy enough to hold the fillings without falling apart.
-
Cheese Combinations: Don’t limit yourself to just sharp cheddar! Mixing cheeses like gouda or mozzarella can create a beautifully melted texture while adding layers of flavor to your grilled cheese.
-
Balance Sweetness: If using very sweet fruits, try adding a sprinkle of salt or even a dash of cayenne pepper to balance the flavors and enhance the overall taste of your Pear & Apple Grilled Cheese.
-
Keep it Crispy: After grilling, let your sandwich rest for a minute before slicing. This helps the cheese set slightly, preventing it from oozing out with the first cut!
-
Experiment with Extras: Feel free to add greens like spinach or kale to your Pear & Apple Grilled Cheese for a burst of color and nutrition; they also add a refreshing contrast to the rich flavors.
What to Serve with Pear & Apple Grilled Cheese with Caramelized Onions
Elevate your meal experience by pairing your delicious sandwich with complementary sides and beverages that enhance the flavors.
- Mixed Greens Salad: Light and refreshing, a simple salad with vinaigrette adds a crisp contrast to the rich grilled cheese.
- Tomato Basil Soup: The classic pairing with a twist; the acidity of the tomatoes beautifully cuts through the sweetness of the sandwich.
- Crispy Sweet Potato Fries: Their sweetness and crunch pair wonderfully with the gooey, cheesy goodness of the grilled cheese.
- Apple Cider: A warm glass of spiced apple cider complements the fruity notes and adds a cozy autumnal feel to your meal.
- Pickled Vegetables: A tangy bite balances the richness of your sandwich while providing a crunchy texture for variety.
- Grilled Vegetables: Roasted zucchini or bell peppers will add savory depth and a hint of smokiness, enhancing this sweet and savory dish.
- Dessert Charcuterie Board: Finish on a sweet note with cheeses, fruits, and chocolates that echo the main flavors of the meal.
Pear & Apple Grilled Cheese with Caramelized Onions Recipe FAQs
How do I select the best pears and apples for this recipe?
Absolutely! Look for firm pears and apples that are free from dark spots or blemishes. A medium pear should yield slightly to pressure, indicating ripeness. For apples, varieties like Granny Smith add a nice tartness that complements the sweetness of the pear beautifully. Aim for fruit that feels heavy for its size, which usually signals juiciness and flavor.
What is the best way to store leftover Pear & Apple Grilled Cheese?
Very good question! To keep your leftovers fresh, place them in an airtight container in the refrigerator. They’ll last up to 3 days. For the best texture when reheating, consider using a toaster oven or skillet, as it helps retain the sandwich's crispiness. Reheat for about 5-7 minutes, flipping halfway through to ensure even warming.
Can I freeze my Pear & Apple Grilled Cheese?
Of course! Freezing is a great option if you want to save some for later. Wrap each sandwich tightly in plastic wrap, then in aluminum foil to prevent freezer burn. It can be stored in the freezer for up to 2 months. When you’re ready to enjoy, just let it thaw in the fridge overnight before reheating – this helps maintain the best texture and flavor.
What should I do if my caramelized onions are not browning?
Ah, a common concern! If your onions aren’t caramelizing, ensure you’re cooking them over medium heat and giving them enough time—about 10 minutes initially, with a few more minutes after adding balsamic vinegar. If they’re still not browning, consider a splash of water to help deglaze the pan and lift any fond (the tasty bits stuck to the pan), enhancing flavor. Stirring occasionally is also key; patience is your friend here!
Are there any dietary considerations I should keep in mind with this recipe?
Definitely! For those with lactose intolerance or dairy allergies, swapping the unsalted butter for olive oil and using dairy-free cheese alternatives will not only make this Pear & Apple Grilled Cheese suitable but just as delicious! Always ensure your chosen bread is free from any allergens if serving to guests. If you're preparing for smaller family members or pets, be cautious about high sodium levels from cheese and consider using lower-sodium options for a healthier adaptation.
Pear & Apple Grilled Cheese With Caramelized Onions Delight
Ingredients
Equipment
Method
- In a medium skillet, melt 1 tablespoon of unsalted butter over medium heat. Add thinly sliced onions and a pinch of salt. Cook for about 10 minutes until soft and translucent.
- Drizzle in 1 tablespoon of balsamic vinegar and cook for 2-3 more minutes until golden brown and caramelized.
- In the same skillet, add more butter to melt. Lay two slices of sourdough bread, sprinkle half of the cheese on each slice, layer with caramelized onions, sliced apple and pear, and top with remaining cheese.
- Place another slice of bread on top to assemble the sandwich. Grill for about 4-5 minutes, pressing gently with a spatula.
- Flip sandwiches and grill for another 4-5 minutes until perfectly toasted.
- Remove from skillet, slice diagonally, and serve warm.