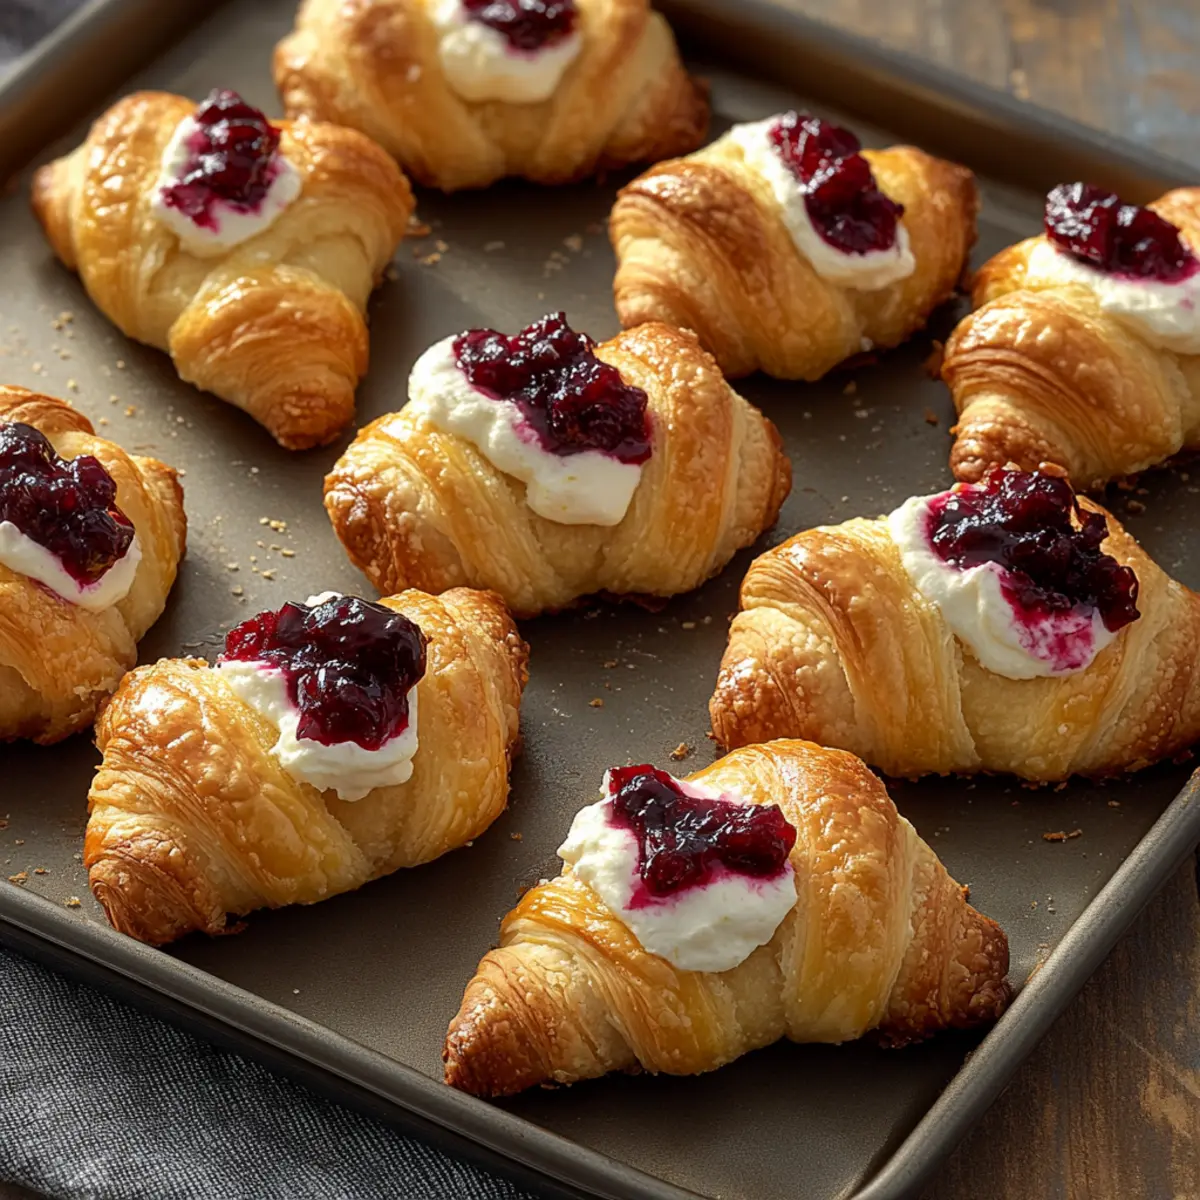
As I stirred the spices into the brownie batter, a warmth surged through me—like a hug from an old friend. This Gingerbread Brownies Recipe blends the comforting aromas of ginger, cinnamon, and molasses with the dense, chewy goodness of rich brownies. Perfect for the holiday season, this treat not only satisfies your sweet tooth but also makes for an impressive crowd-pleaser. Plus, it’s surprisingly simple to whip up, allowing you to spend less time in the kitchen and more time creating cherished memories with loved ones. Whether you're gluten-free, vegan, or just looking to elevate your dessert game, this recipe has options for everyone. Curious about how these brownies could bring a festive twist to your dessert table? Let’s dive in!
Why Are Gingerbread Brownies Irresistible?
Irresistible, Cozy Flavor: This Gingerbread Brownies Recipe marries the warm spices of classic gingerbread with the rich texture of brownies, creating an unforgettable dessert.
Versatile Options: With easy adaptations like gluten-free or vegan variations, everyone can indulge!
Crowd-Pleasing Delight: Perfect for holiday gatherings or any occasion, they are guaranteed to impress guests.
Quick and Simple: The straightforward process makes baking these a breeze, leaving you stress-free to enjoy the celebration.
Comfort in Every Bite: The fudgy texture combined with the spicy aroma provides that nostalgic comfort we all crave. If you love unique twists, you might also enjoy Pumpkin Brownies Decadent or a flavor-packed Spatchcock Chicken Flavor.
Gingerbread Brownies Recipe Ingredients
For the Brownie Batter
• Unsalted Butter (1 cup / 227 g) – Adds moisture and richness; you can use vegan butter for a dairy-free option.
• Light Brown Sugar (1 ½ cups / 300 g) – Contributes sweetness and a hint of caramel flavor; dark brown sugar works for a deeper taste.
• Eggs (2 large, room temperature) – Helps bind ingredients and adds moisture; substitute with flax eggs for a vegan alternative (1 tbsp ground flaxseed + 3 tbsp water).
• Molasses (2 tablespoons) – Provides the classic gingerbread flavor; honey or maple syrup can be used, but the taste will vary.
• Vanilla Extract (1 teaspoon) – Elevates the overall flavor profile of the brownies.
• All-Purpose Flour (2 ½ cups / 312.5 g) – Creates the structure of the brownies; opt for a gluten-free flour blend for a gluten-free version.
• Ground Ginger (1 tablespoon) – Imparts the signature spice characteristic of gingerbread.
• Cinnamon (2 teaspoons) – Adds warmth and comforting depth.
• Baking Powder (1 teaspoon) – Acts as the leavening agent for a light, fluffy texture.
• Kosher Salt (½ teaspoon) – Balances the sweetness and enhances overall flavor.
For Dusting
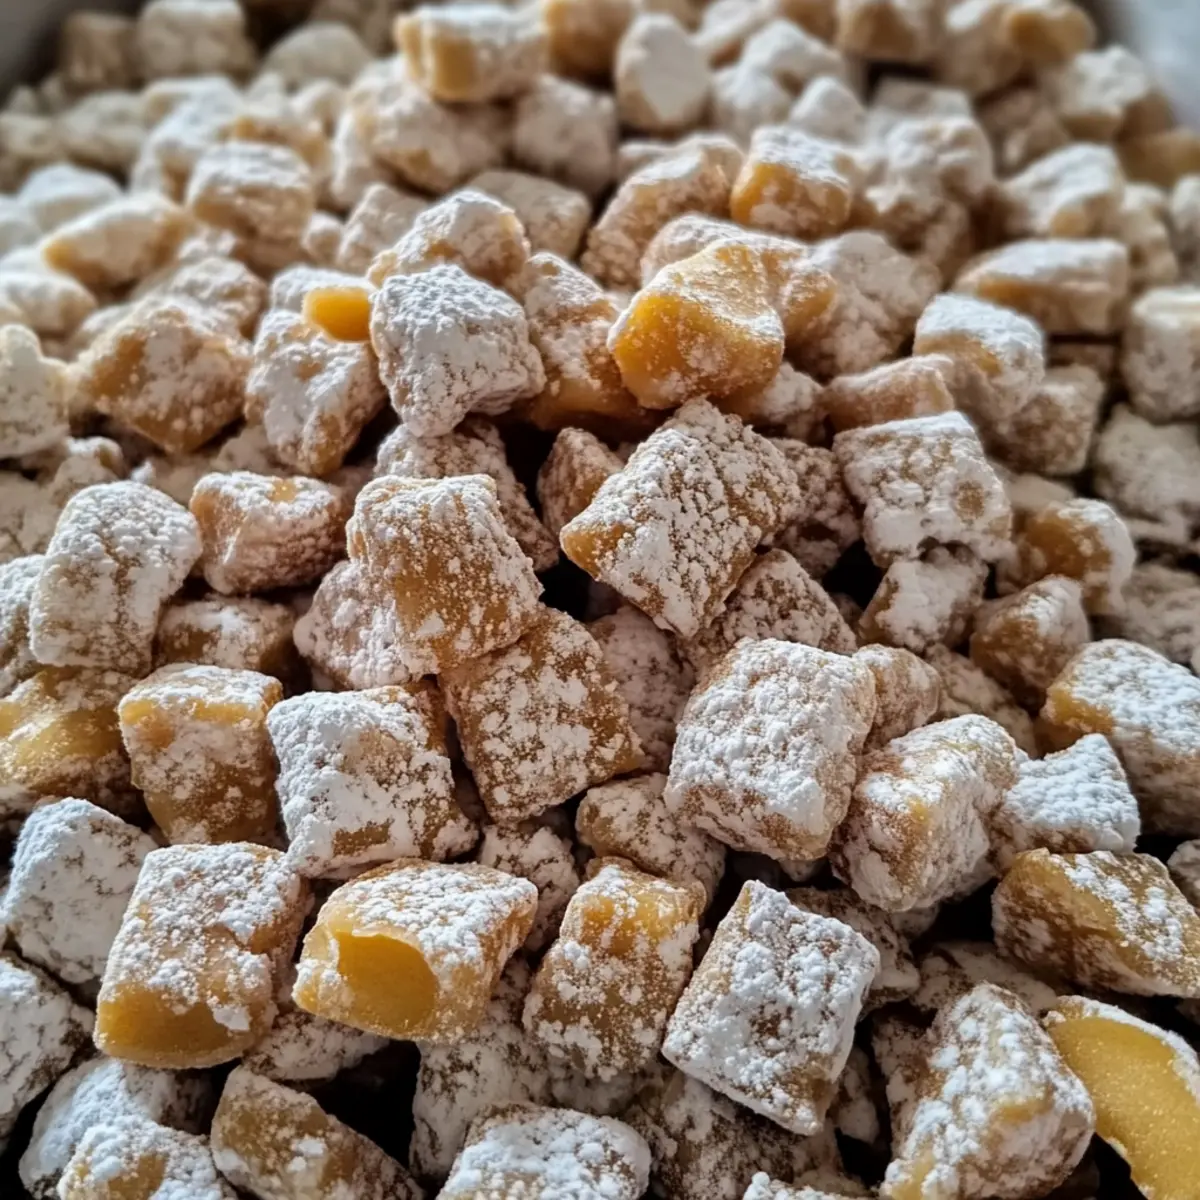
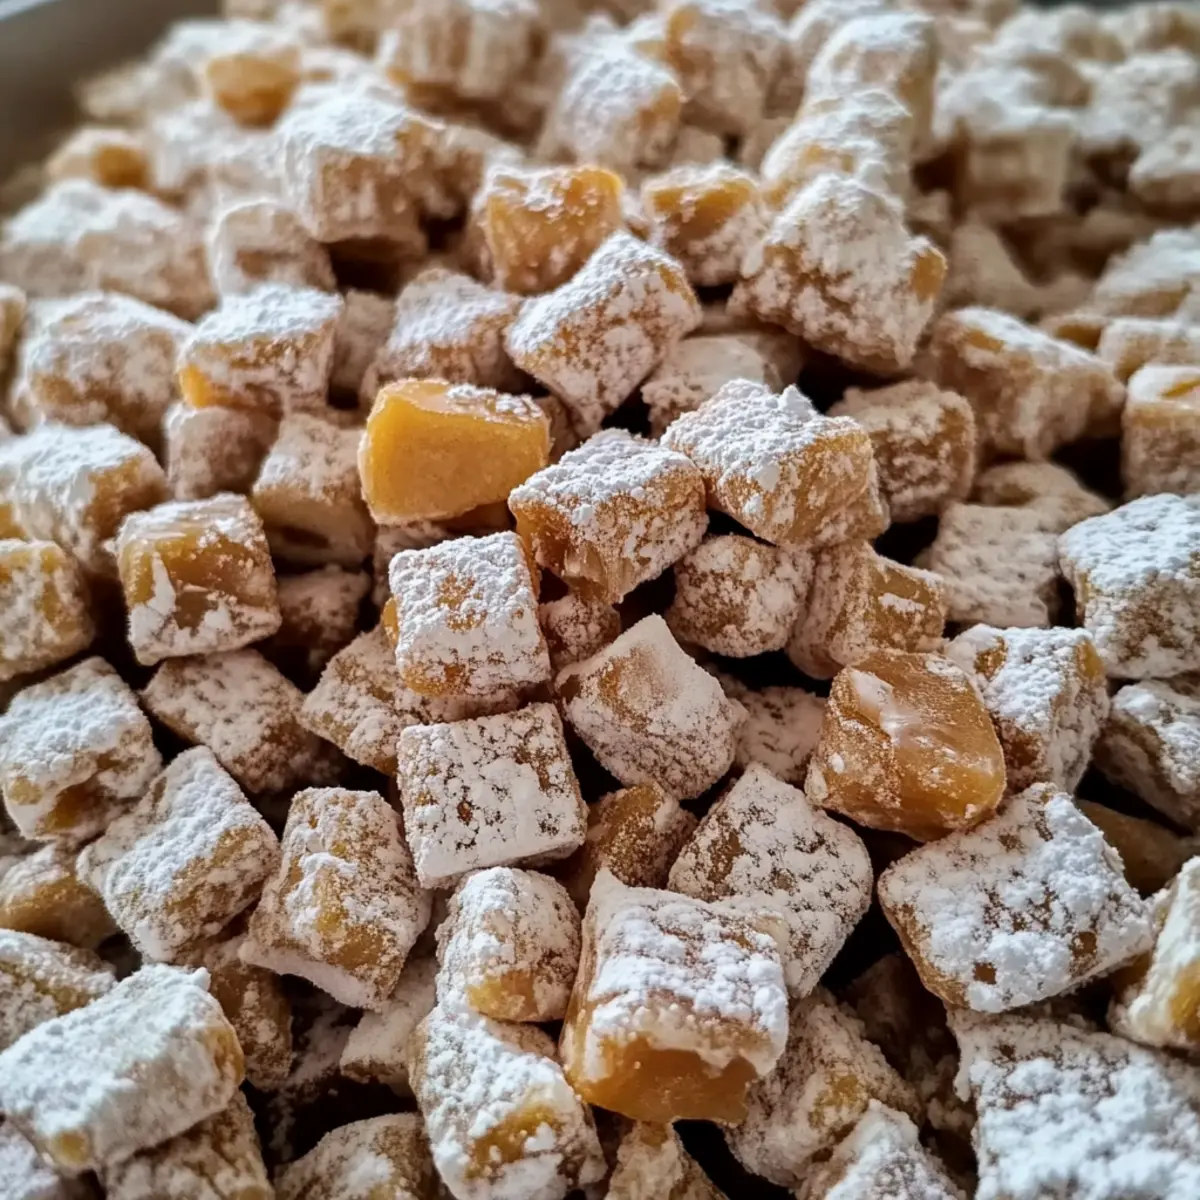
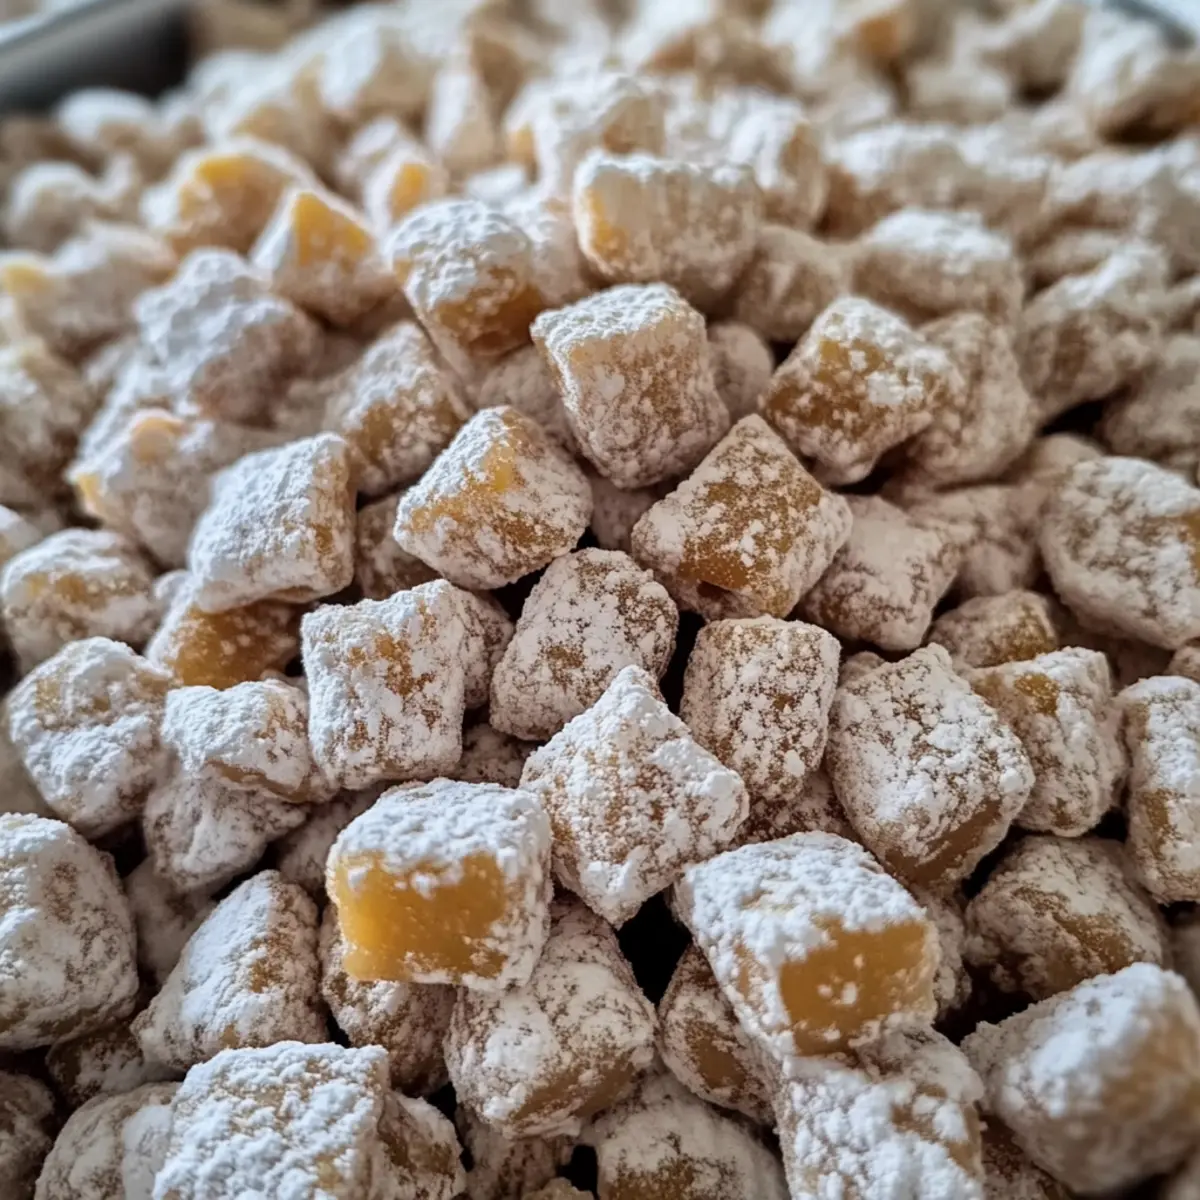
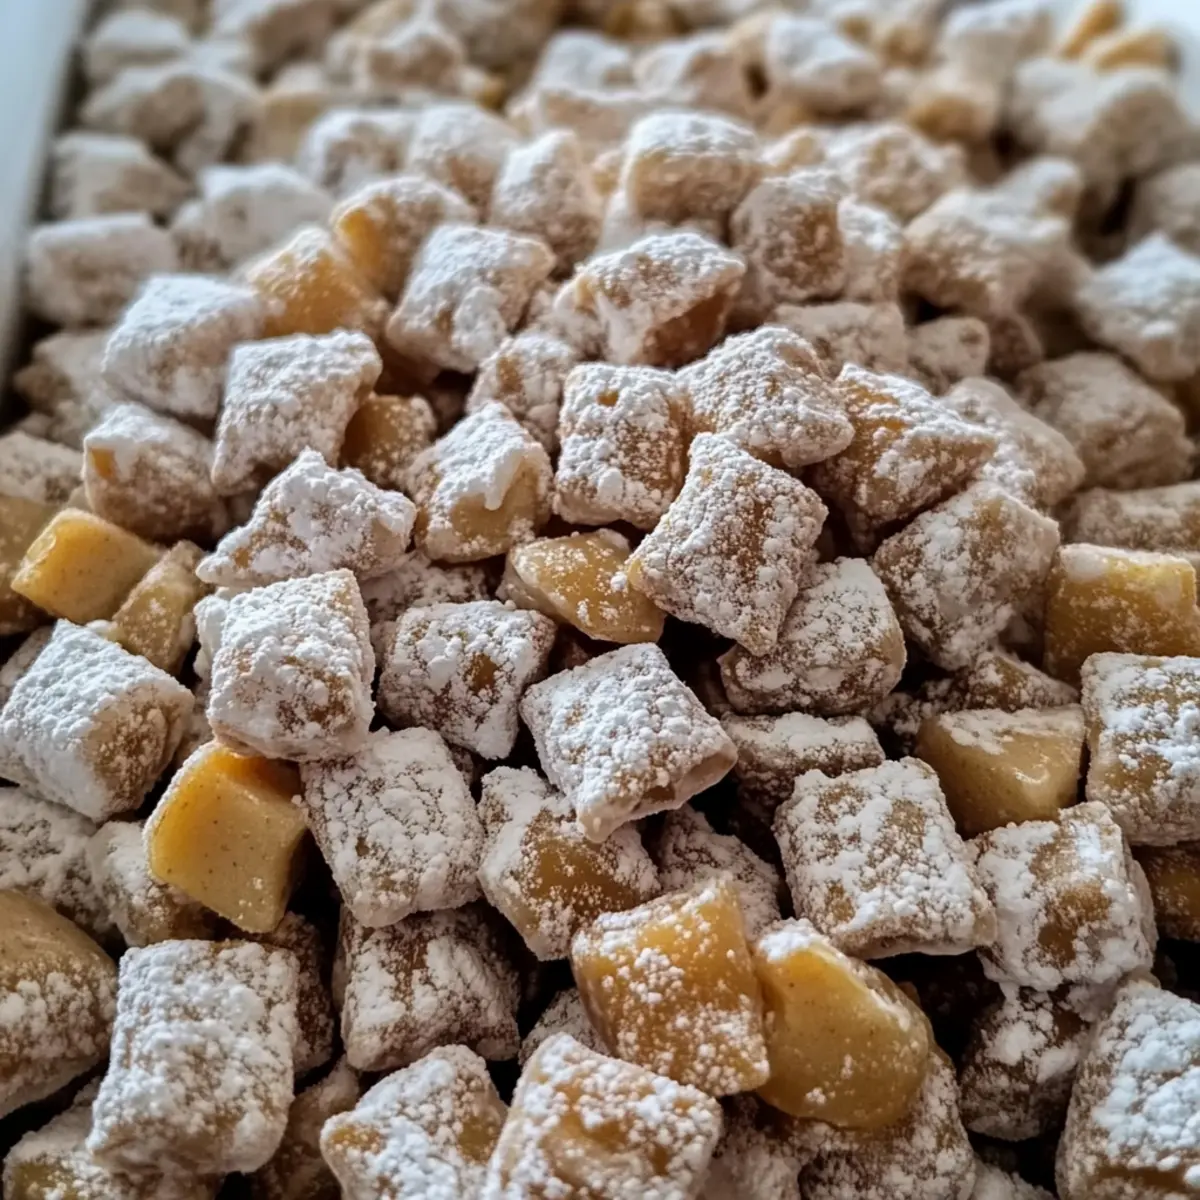
• Confectioners’ Sugar – Perfect for a sweet finish on top of the finished brownies.
With this Gingerbread Brownies Recipe, you're just a few ingredients away from creating a festive dessert that will have everyone asking for seconds!
Step‑by‑Step Instructions for Gingerbread Brownies Recipe
Step 1: Preheat the Oven
Begin by preheating your oven to 350°F (177°C). While it warms up, take a 9x9-inch baking dish and line it with parchment paper, allowing some overhang to make it easier to lift the brownies later. This setup will ensure even cooking and help prevent sticking, ensuring your delicious Gingerbread Brownies come out perfectly.
Step 2: Combine Butter and Sugar
In a large mixing bowl, combine 1 cup of melted unsalted butter with 1 ½ cups of light brown sugar. Stir vigorously until you have a smooth mixture with no clumps. The warmth of the melted butter will help dissolve the sugars, creating a glossy base for your Gingerbread Brownies that is rich and inviting.
Step 3: Add Eggs and Molasses
Next, add 2 large room-temperature eggs, 2 tablespoons of molasses, and 1 teaspoon of vanilla extract to the bowl. Mix these ingredients until the batter is smooth and well combined. The eggs will help bind everything together while the molasses infuses that classic gingerbread flavor, making your brownies even more decadent.
Step 4: Whisk Dry Ingredients
In a separate bowl, whisk together 2 ½ cups of all-purpose flour, 1 tablespoon of ground ginger, 2 teaspoons of cinnamon, 1 teaspoon of baking powder, and ½ teaspoon of kosher salt. This step is essential to evenly distribute the spices and leavening agent, ensuring that every bite of your Gingerbread Brownies is packed with flavor and has the right texture.
Step 5: Combine Wet and Dry Mixtures
Gradually fold the dry ingredients into the wet mixture, taking care not to overmix. Stir until just combined and the batter is smooth, with no traces of flour visible. Be careful, as too much mixing can lead to dense brownies; we're aiming for a tender and chewy texture typical of Gingerbread Brownies.
Step 6: Pour and Spread the Batter
Pour the brownie batter into the prepared baking dish, spreading it evenly with a spatula. This ensures that all corners of the dish are filled, which will lead to evenly baked Gingerbread Brownies. The thick batter may require gentle nudging to get into the edges but will level out beautifully as it bakes.
Step 7: Bake the Brownies
Place the baking dish in the preheated oven and bake for 30-35 minutes. Keep an eye on them toward the end; the edges should look set and the center should feel firm but slightly soft when gently pressed. A toothpick inserted into the center should come out with a few moist crumbs; this indicates the perfect doneness for your Gingerbread Brownies.
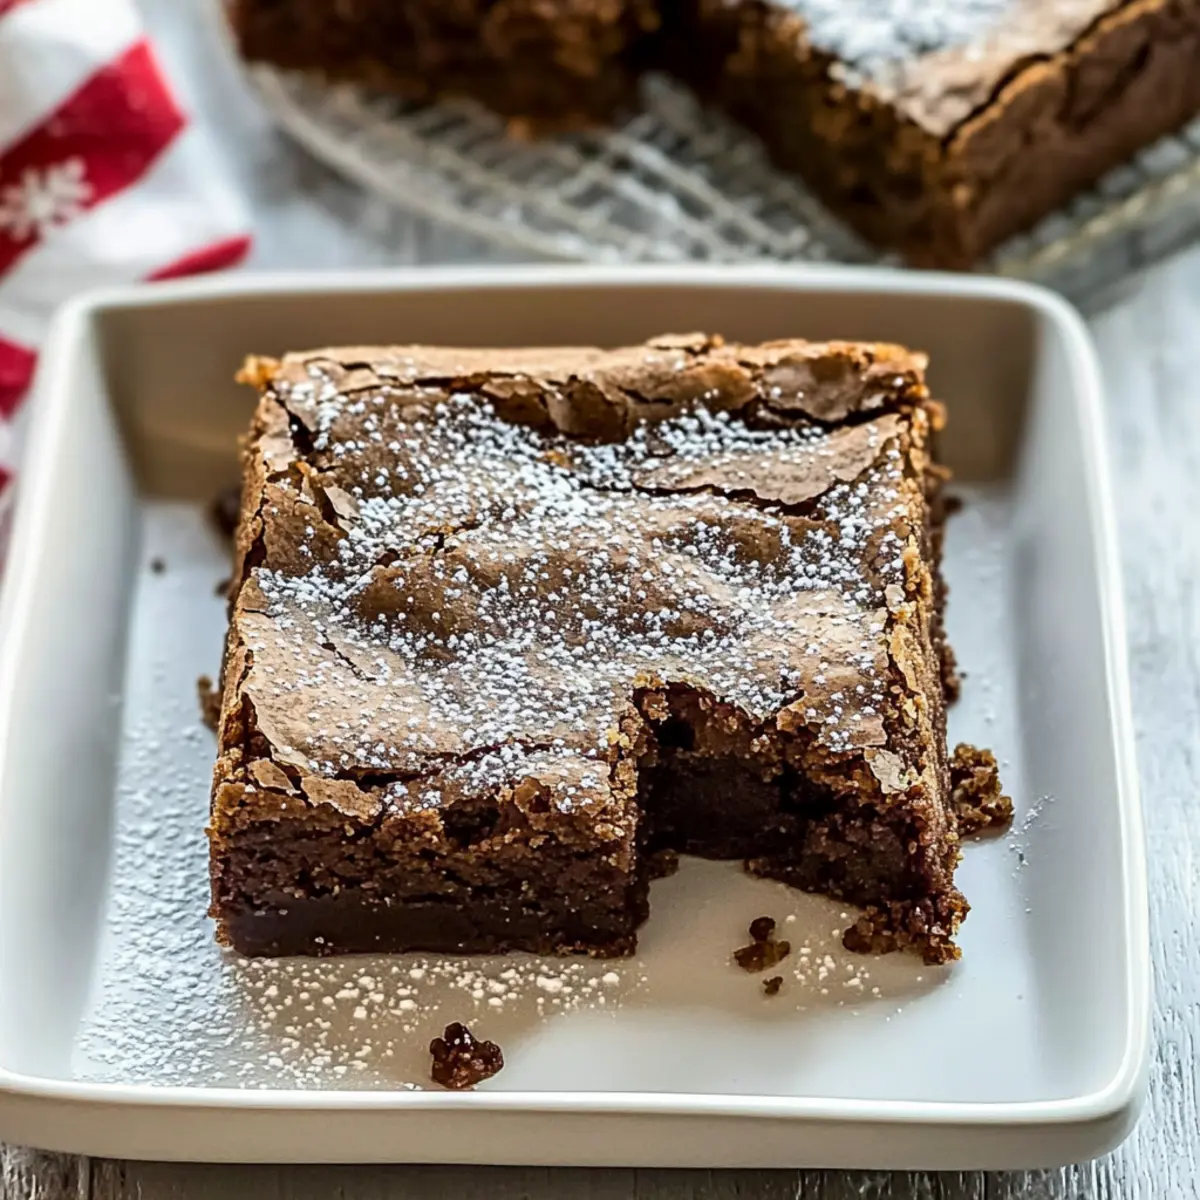
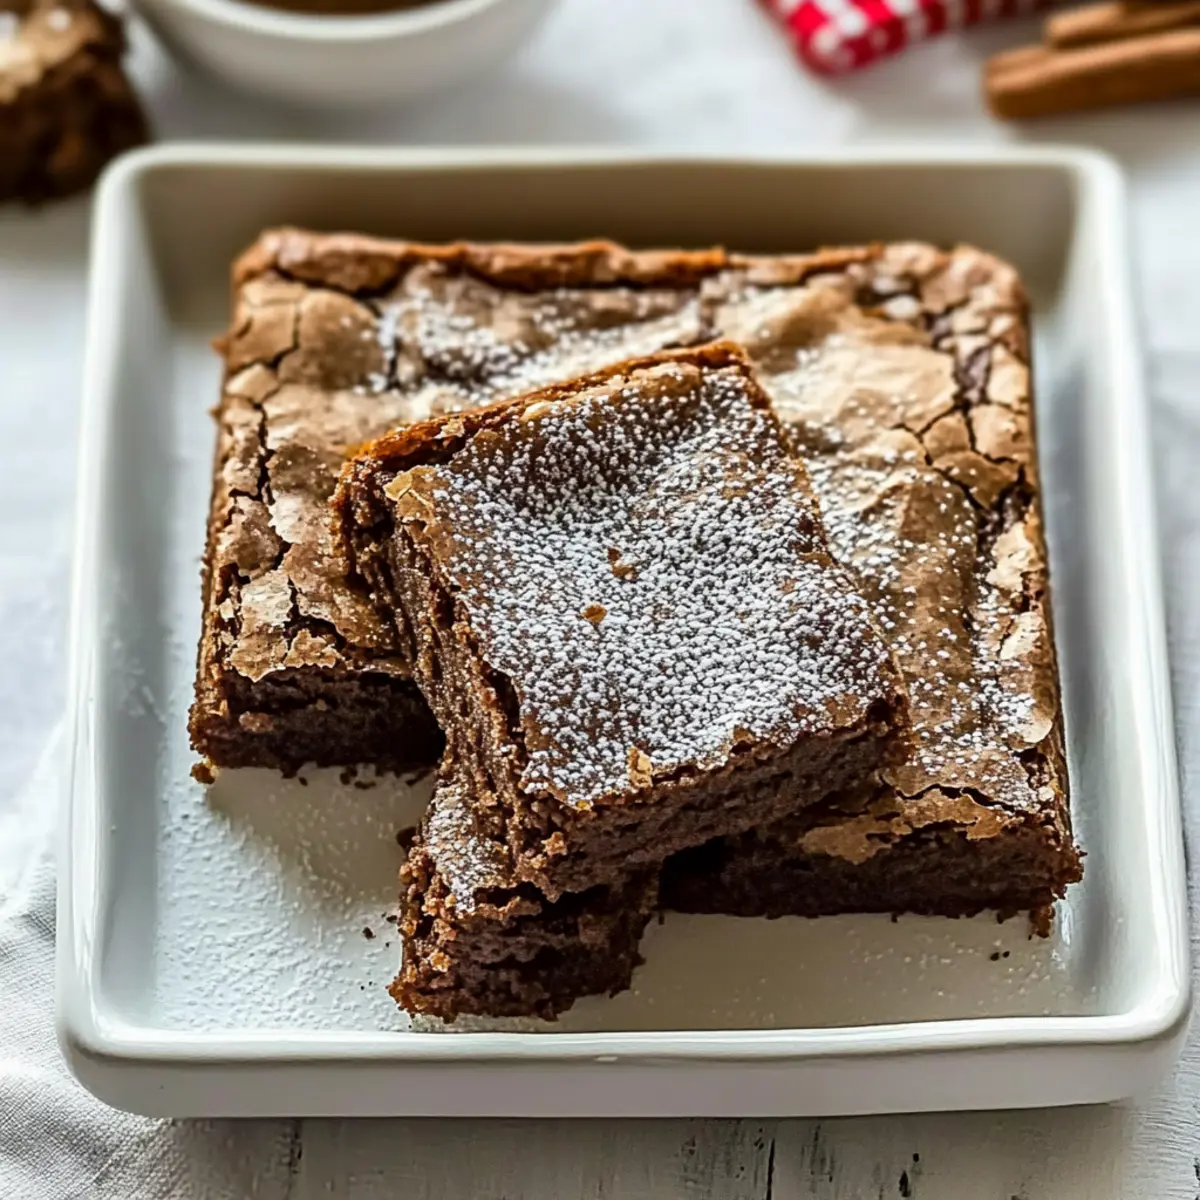
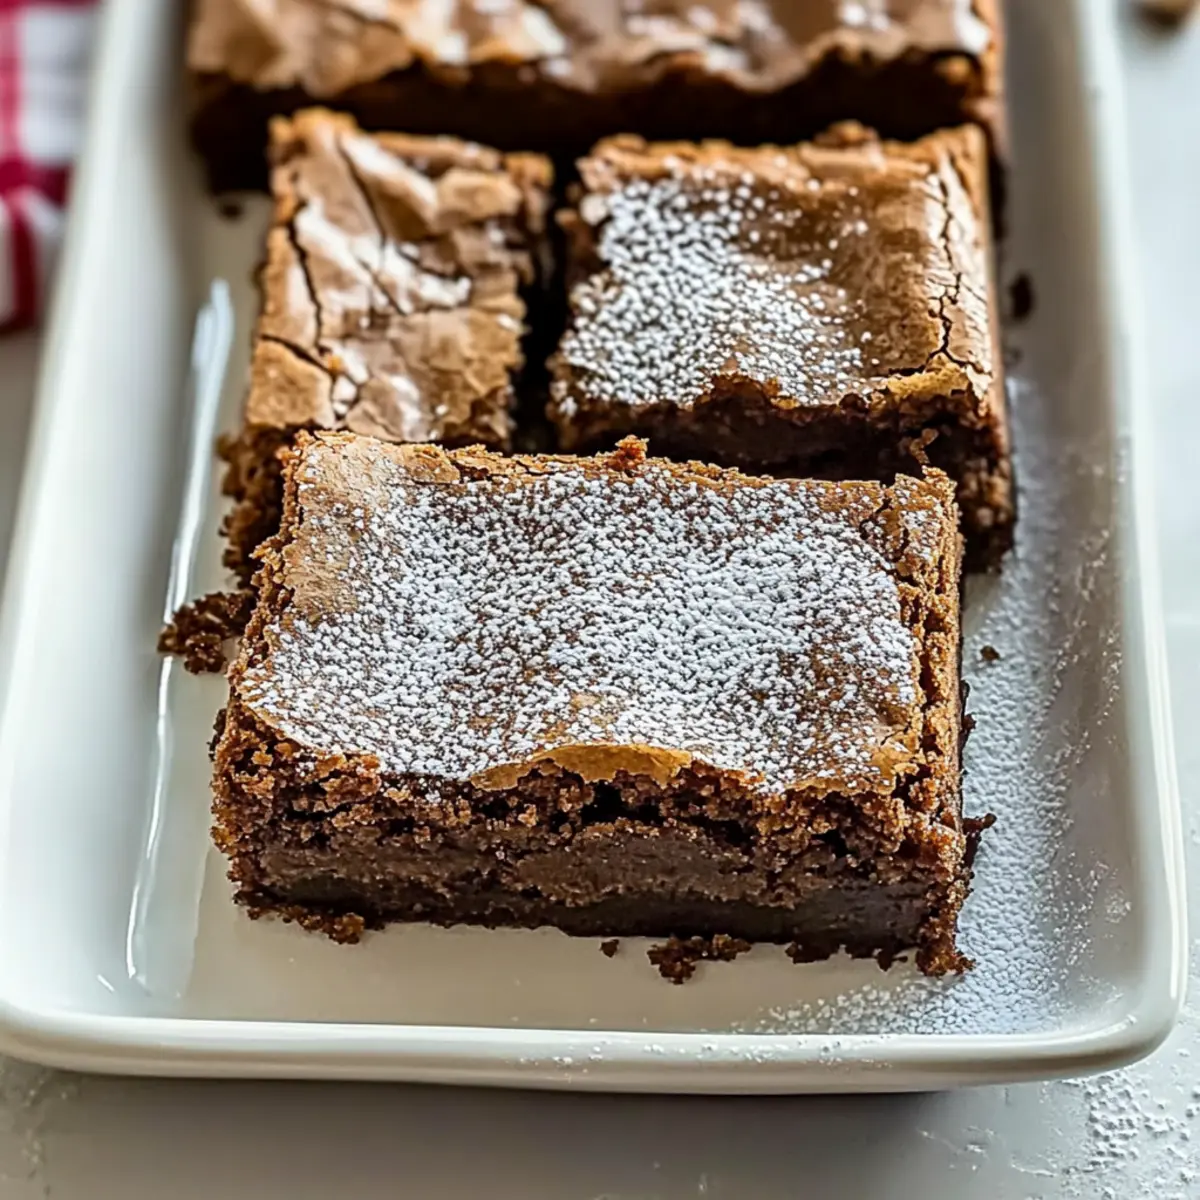
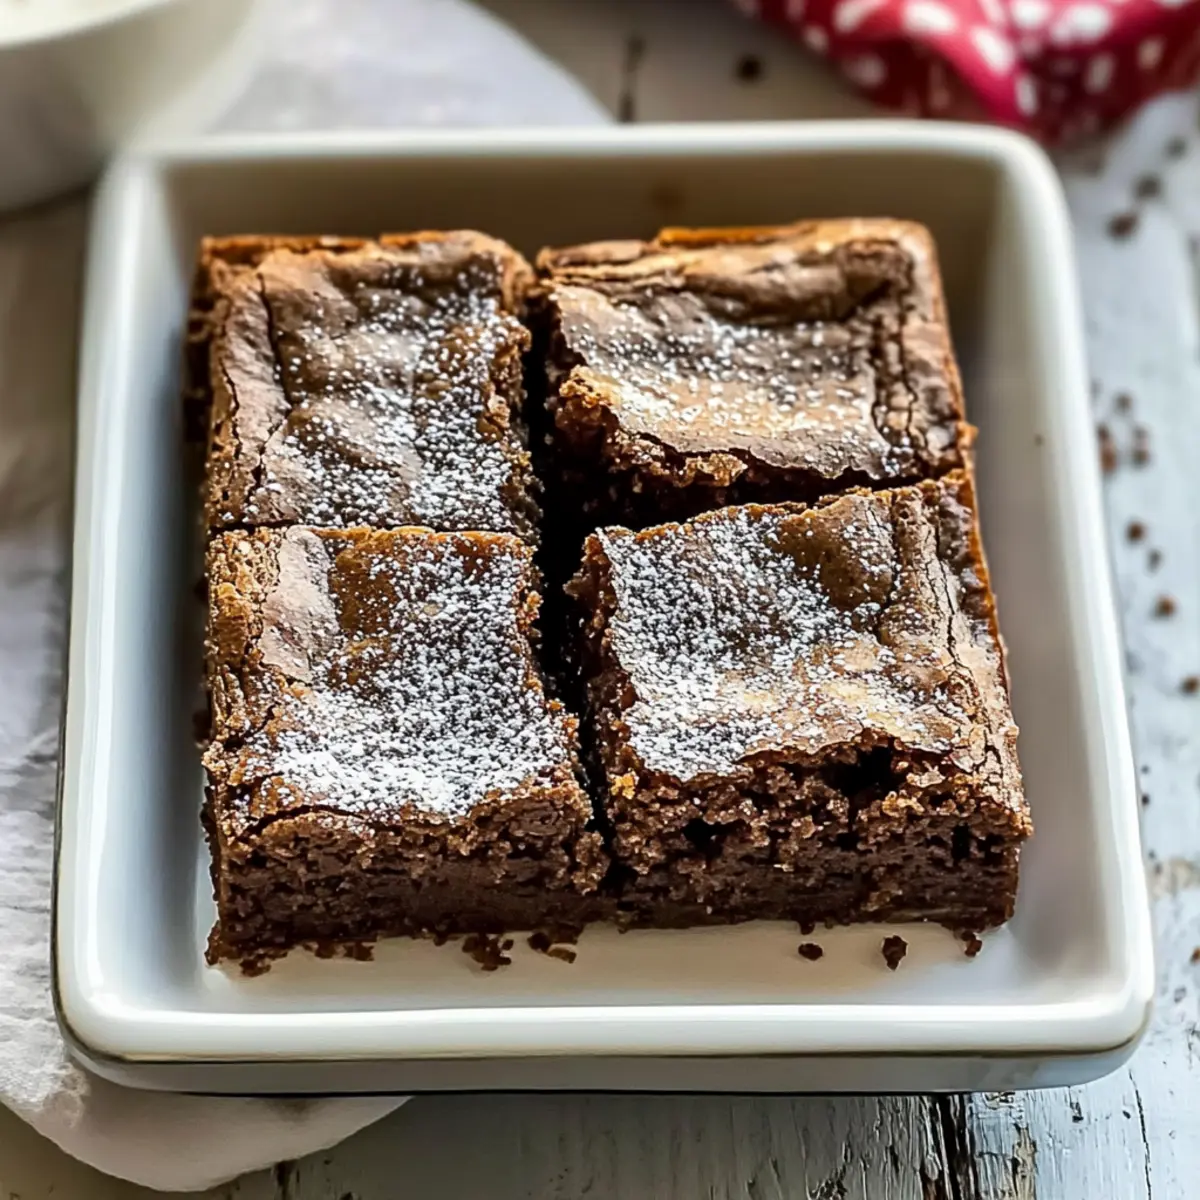
Step 8: Cool and Dust
Once baked, remove the brownies from the oven and let them cool completely in the pan on a wire rack. Once cooled, dust the top generously with confectioners' sugar before lifting them out using the parchment paper overhang. Slice them into squares and get ready to showcase your delightful Gingerbread Brownies to friends and family.
Make Ahead Options
These Gingerbread Brownies are fantastic for meal prep, saving you time during the busy holiday season! You can prepare the brownie batter up to 24 hours in advance. Simply mix the wet and dry ingredients together, then cover the bowl and refrigerate it to maintain freshness. For the best results, once you're ready to bake, let the batter sit at room temperature for about 30 minutes before pouring it into the prepared pan and baking. After they’ve cooled, these brownies can be stored in an airtight container at room temperature for up to 3 days, ensuring they taste just as delicious when you’re ready to serve them. Dust with confectioners' sugar right before serving for that perfect finishing touch!
What to Serve With Gingerbread Brownies Recipe
The perfect holiday dessert deserves a delightful ensemble to enhance every bite and bring warmth to your table.
-
Vanilla Ice Cream: The creamy, cool texture contrasts beautifully with the warm, spiced brownies, creating a comforting classic combination. A scoop melts slightly over the top, adding richness to each delicious bite.
-
Whipped Cream: Light and airy, a dollop of freshly whipped cream complements the dense, fudgy brownies perfectly. Its subtle sweetness lifts the warm spices, enhancing the overall flavor experience.
-
Peppermint Hot Cocoa: This festive drink brings together the flavors of cocoa with refreshing peppermint, providing a cozy beverage to sip while indulging in your brownies. It's a nostalgic pairing that evokes holiday cheer!
-
Spiced Apple Cider: The cinnamon and nutmeg notes in spiced apple cider harmonize with the ginger and cinnamon of the brownies. Serve it warm for a delightful embrace of autumn flavors.
-
Chocolate Drizzle: Add an extra layer of decadence by drizzling melted chocolate over the brownies. This enhances the dessert’s richness while bringing a beautiful touch to the presentation.
-
Coffee: A nice cup of freshly brewed coffee serves as a perfect companion. The bitter notes balance the sweetness of the gingerbread brownies, making for a sophisticated, well-rounded dessert experience.
-
Dried Fruit Medley: A small bowl of dried cranberries, apricots, and figs introduces a chewy texture and fruity sweetness that perfectly contrasts the rich brownies. This makes for a great palate cleanser between bites.
-
Nutty Snack Mix: Prepare a side of spiced nut mix for an added crunch. The flavors of roasted almonds and walnuts pair beautifully with the cookies, enriching the snacking experience.
-
Maple Syrup Drizzle: For a unique twist, drizzle pure maple syrup over the brownies. This adds a touch of sweetness and depth while bringing out the molasses flavor in the brownies.
Celebrate the cozy flavors of the season and make your meal a memorable gathering with these delightful accompaniments!
Expert Tips for Gingerbread Brownies
-
Check for Doneness: Avoid overbaking your Gingerbread Brownies; they should still be soft in the center. Use a toothpick; it should come out with a few moist crumbs.
-
Mixing Method: When combining the wet and dry ingredients, mix just until incorporated to keep the brownies chewy. Overmixing can lead to dryness!
-
Parchment Paper: Line your baking dish with parchment paper and leave a bit hanging over the edges. This makes it easy to lift the brownies out and cut them into perfect squares.
-
Flavor Boost: For an extra depth of flavor, consider adding a touch of nutmeg or cloves along with the ginger and cinnamon!
-
Variations Ready: Remember, this easy Gingerbread Brownies Recipe can be adapted for gluten-free or vegan diets, so everyone can enjoy!
How to Store and Freeze Gingerbread Brownies
-
Room Temperature: Store your Gingerbread Brownies in an airtight container at room temperature for up to 3-4 days to maintain their soft and chewy texture.
-
Fridge: If you prefer, keep them in the refrigerator for up to a week. Just remember to seal them in an airtight container to prevent drying out.
-
Freezer: For long-term storage, freeze the brownies in an airtight container or heavy-duty freezer bag for 2-3 months. Thaw at room temperature when ready to enjoy.
-
Reheating: To enjoy your brownies warm, gently reheat them in the microwave for 10-15 seconds or in the oven at 350°F (177°C) for about 5-7 minutes.
Gingerbread Brownies Recipe Variations
Feel free to take your Gingerbread Brownies Recipe to new heights with these delightful variations that cater to different diets and preferences!
-
Gluten-Free: Swap all-purpose flour for a high-quality gluten-free blend to make these brownies suitable for everyone at the table. You'll maintain that rich, fudgy texture without sacrificing flavor.
-
Vegan: Replace the eggs with flax eggs (1 tbsp ground flaxseed + 3 tbsp water) and use vegan butter instead of unsalted butter. Even without eggs, the moisture will keep them perfectly chewy!
-
Chocolate Chip Twist: Fold in ½ cup of dark or semi-sweet chocolate chips into the batter for a dreamy chocolate addition. The combination of chocolate with warm spices creates a decadent, irresistible treat.
-
Nutty Crunch: For added texture, mix in ½ cup of chopped pecans or walnuts. The nuts provide a lovely crunch that complements the soft brownies wonderfully!
-
Spice it Up: Introduce other warm spices like cloves or nutmeg to elevate the flavor profile. Just a pinch can transform these brownies into a seasonal delight.
-
Maple Sweetness: Substitute molasses with maple syrup for a lighter flavor while still keeping that festive sweetness. Its unique taste adds a delightful twist to the overall profile!
-
Layered Dessert: Consider turning these brownies into a layered dessert by creating a chocolate or cream cheese frosting to spread on top. Perfect for impressing guests at your next gathering!
-
Coffee Infusion: Add 1-2 tablespoons of instant coffee or espresso powder to the batter for a gentle caffeine kick that enhances the chocolatey notes. Perfect for coffee lovers!
With these delicious variations, you can customize your Gingerbread Brownies to fit your dietary needs or simply bring a new flavor experience to your table. And if you're in a baking mood, check out my Chicken Adobo recipe for a savory counterpart to these sweet treats!
Gingerbread Brownies Recipe FAQs
What type of molasses should I use for the best flavor?
I recommend using unsulfured molasses for the best flavor in your Gingerbread Brownies. It has a rich, sweet taste that perfectly complements the spices. Blackstrap molasses can be used if you're looking for a stronger flavor, but keep in mind it’s less sweet and may alter the overall taste of your brownies.
How should I store my Gingerbread Brownies?
To keep your Gingerbread Brownies fresh, store them in an airtight container at room temperature for up to 3-4 days. If you'd prefer a longer storage option, you can move them to the refrigerator for up to a week, ensuring they remain sealed to prevent any drying.
Can I freeze Gingerbread Brownies?
Absolutely! To freeze your Gingerbread Brownies, first, allow them to cool completely. Then, wrap them tightly in plastic wrap, followed by aluminum foil, or place them in an airtight container or heavy-duty freezer bag. This method will protect them from freezer burn and they can be stored for up to 2-3 months. When you’re ready to eat, simply thaw them at room temperature.
What should I do if my brownies come out too dry?
To enhance moisture in your Gingerbread Brownies next time, make sure not to overbake them. Check for doneness around the 30-minute mark; the center should feel slightly soft and a toothpick inserted should have a few moist crumbs. If your brownies do end up dry, consider serving them with a scoop of ice cream or a drizzle of warm chocolate sauce to bring back some moisture.
Are these brownies safe for gluten-free and vegan diets?
Yes, indeed! This Gingerbread Brownies Recipe can easily be made gluten-free by substituting the all-purpose flour with a gluten-free flour blend. For a vegan version, simply replace the eggs with flax eggs (1 tablespoon ground flaxseed mixed with 3 tablespoons water per egg). These adjustments ensure that dietary restrictions don’t hold anyone back from enjoying these delicious treats.
What are some ingredient substitutes I can use?
You have plenty of options! If you've run out of light brown sugar, dark brown sugar will add a deeper flavor. Alternatively, you can use coconut sugar for a less processed option. For the molasses, honey or maple syrup can work in a pinch, although the flavor profile will change slightly. And for a dairy-free option, vegan butter can replace regular butter seamlessly.
Gingerbread Brownies Recipe: A Cozy Holiday Treat
Ingredients
Equipment
Method
- Preheat your oven to 350°F (177°C) and prepare a 9x9-inch baking dish with parchment paper.
- In a large mixing bowl, combine melted unsalted butter and light brown sugar. Stir until smooth.
- Add eggs, molasses, and vanilla extract to the bowl. Mix until smooth.
- In a separate bowl, whisk together flour, ground ginger, cinnamon, baking powder, and kosher salt.
- Gradually fold the dry mixture into the wet mixture until just combined.
- Pour the batter into the prepared baking dish and spread evenly.
- Bake for 30-35 minutes, checking for doneness with a toothpick.
- Cool completely in the pan, then dust with confectioners' sugar and slice into squares.