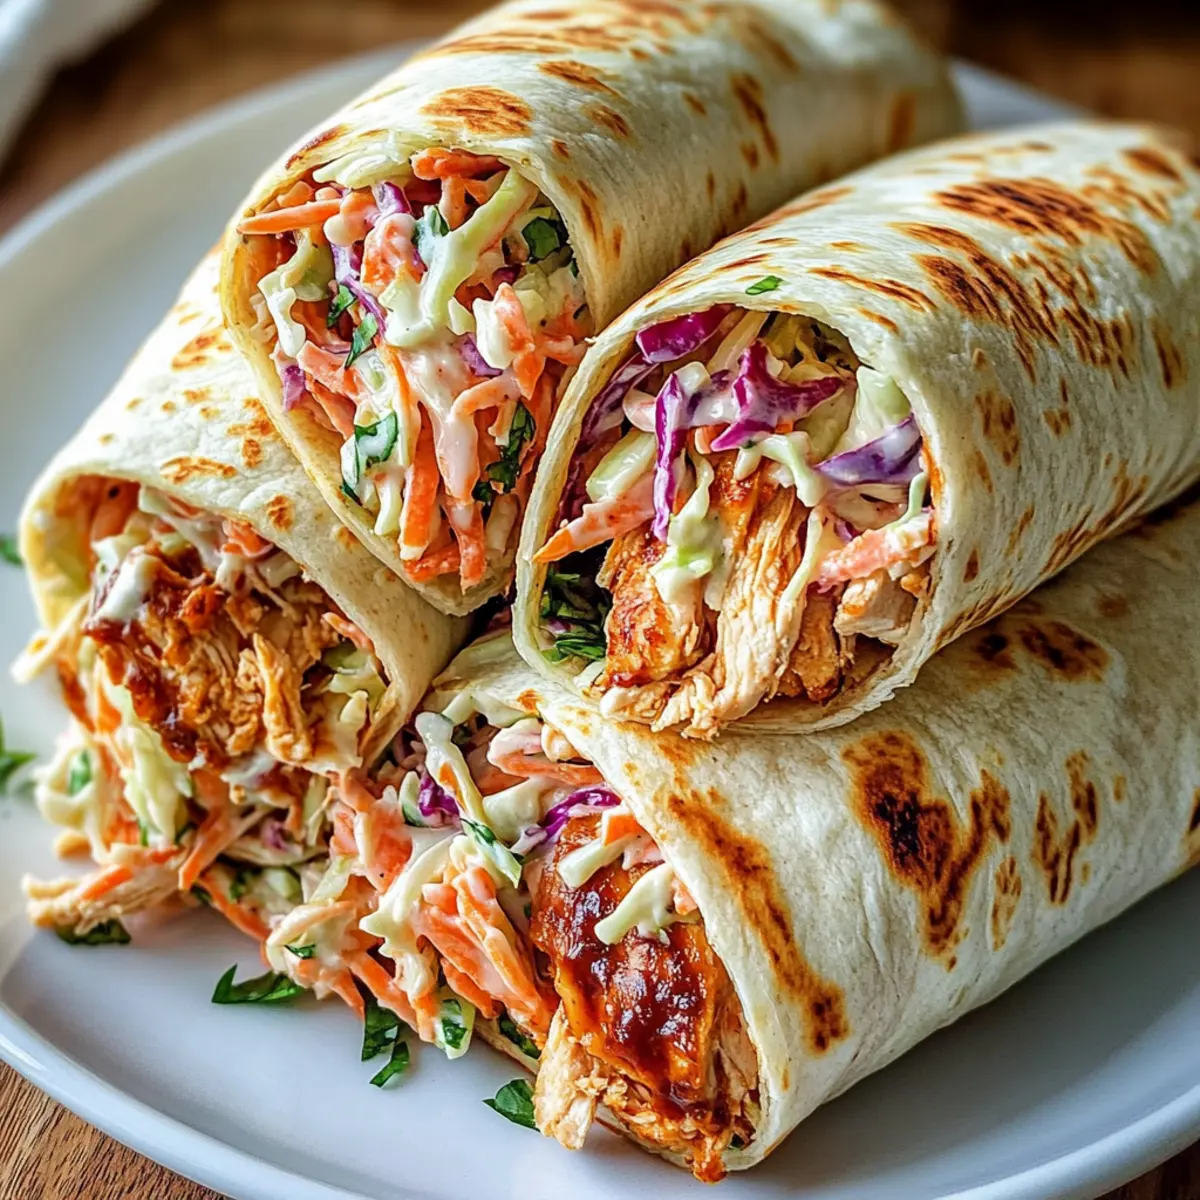
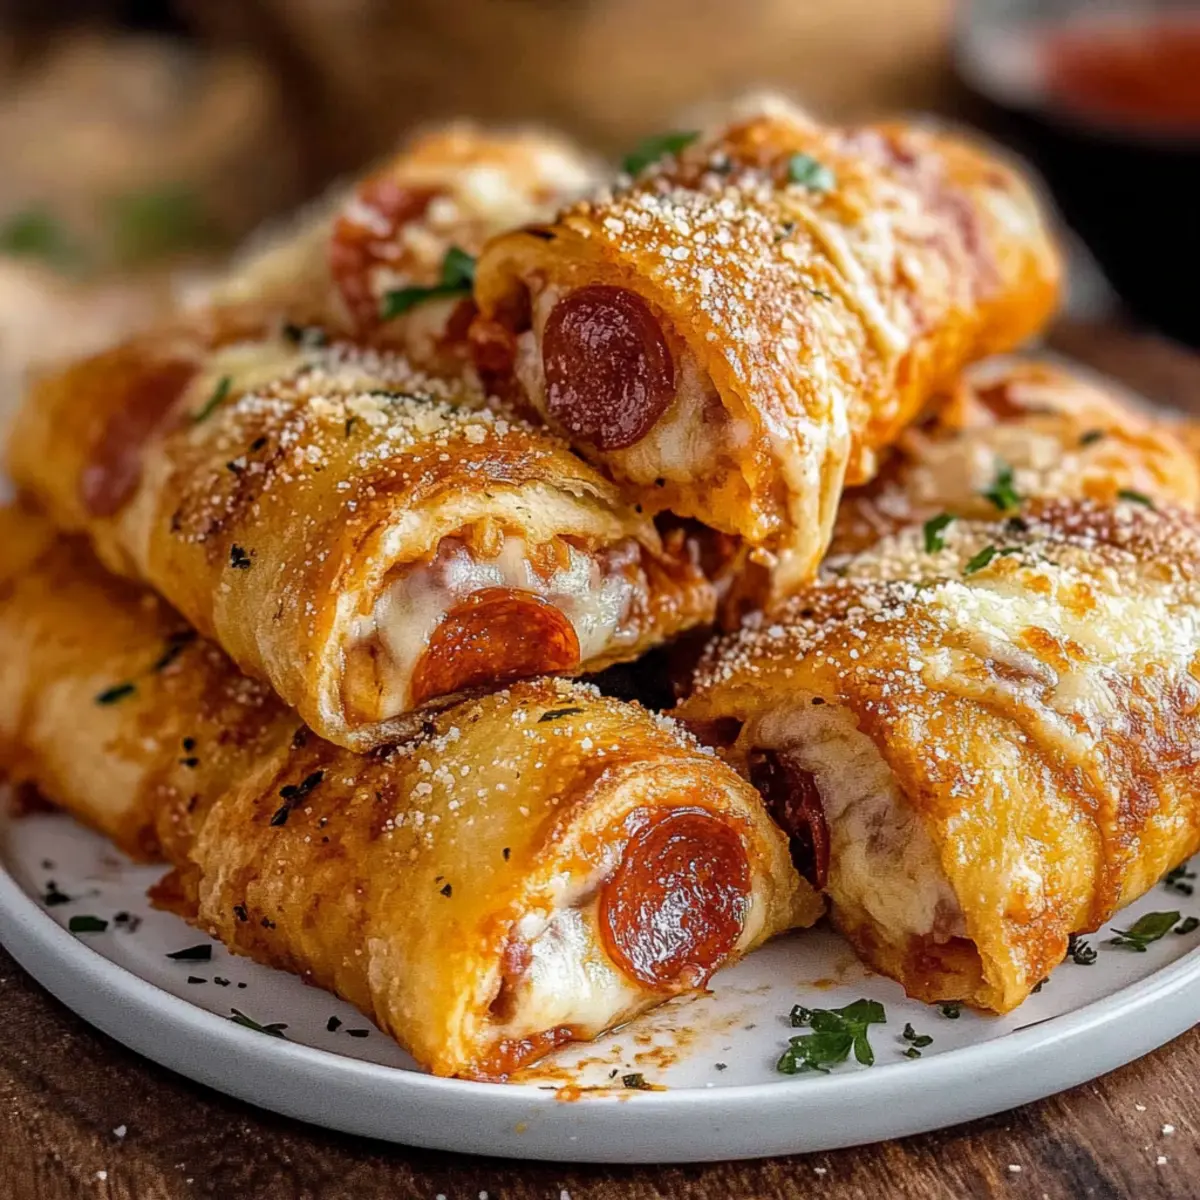
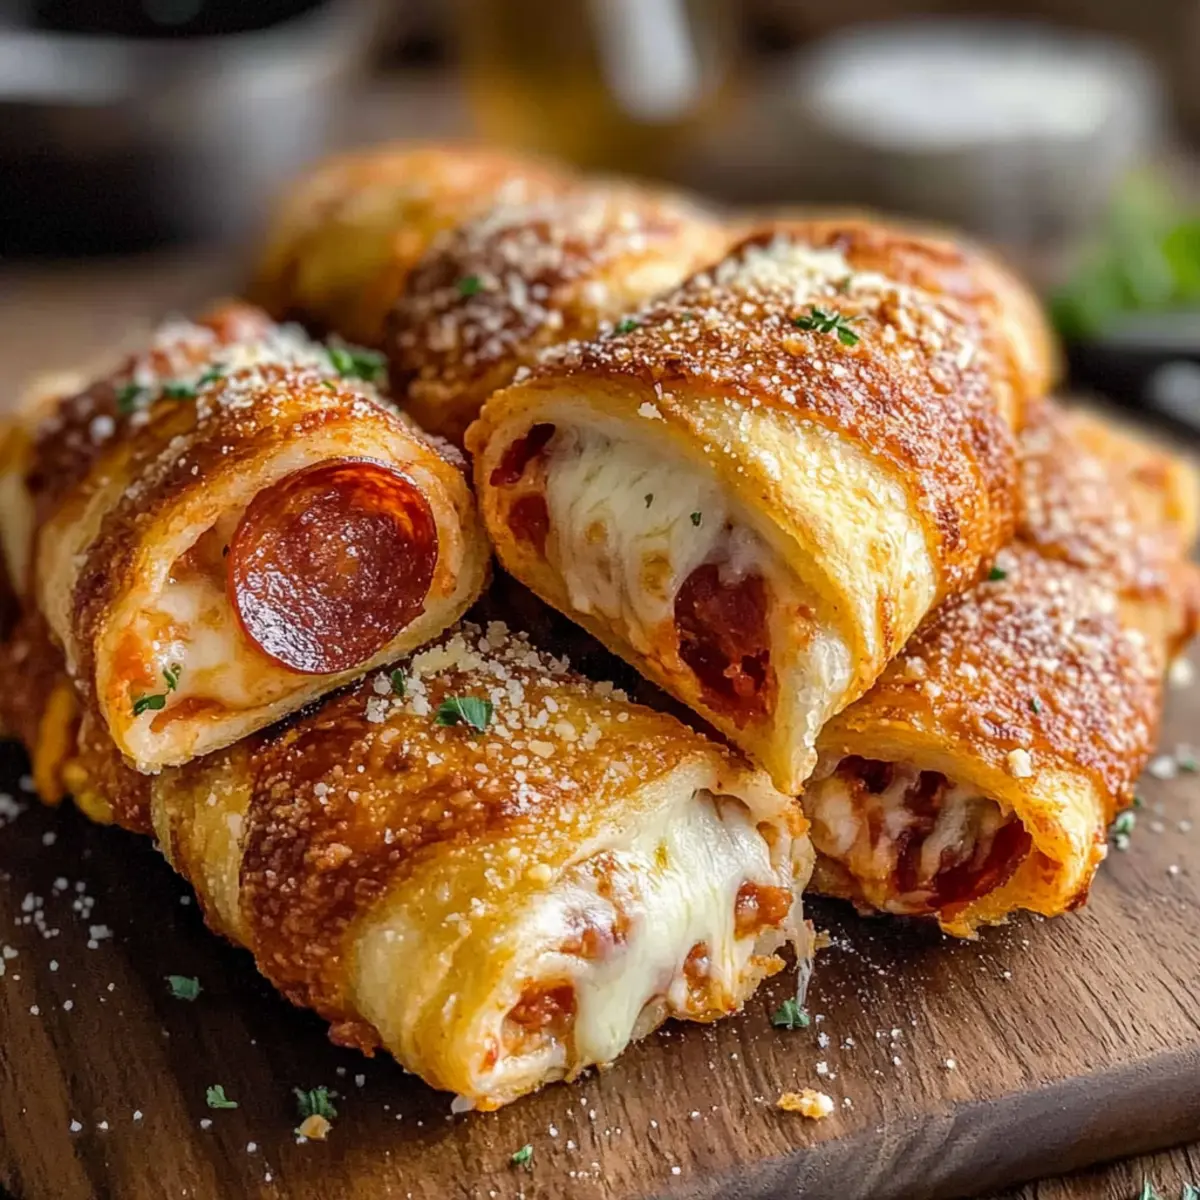
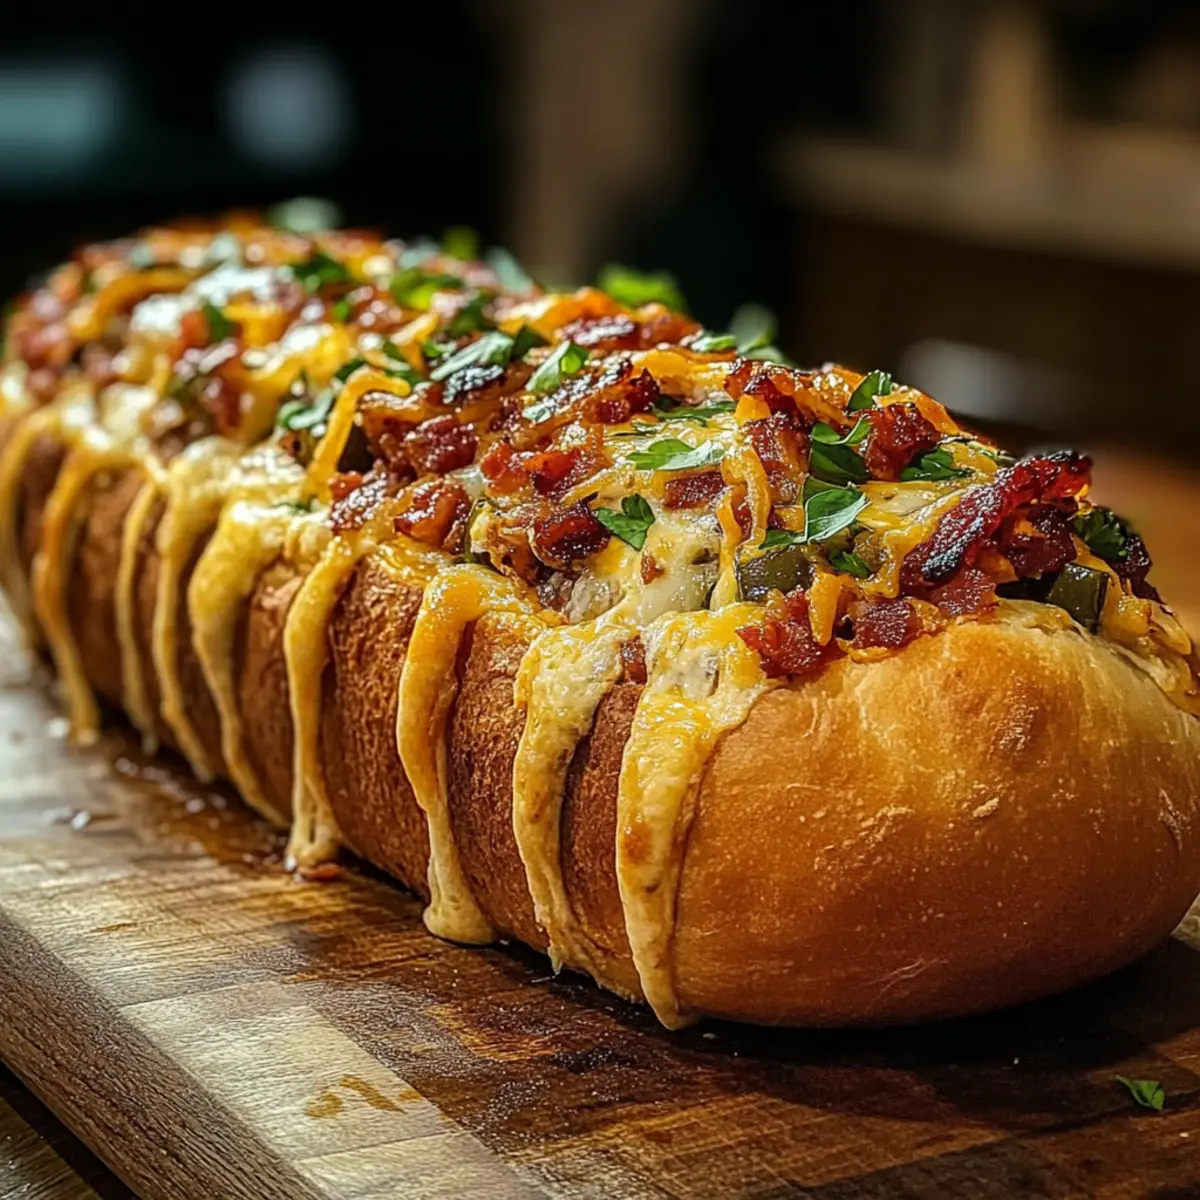
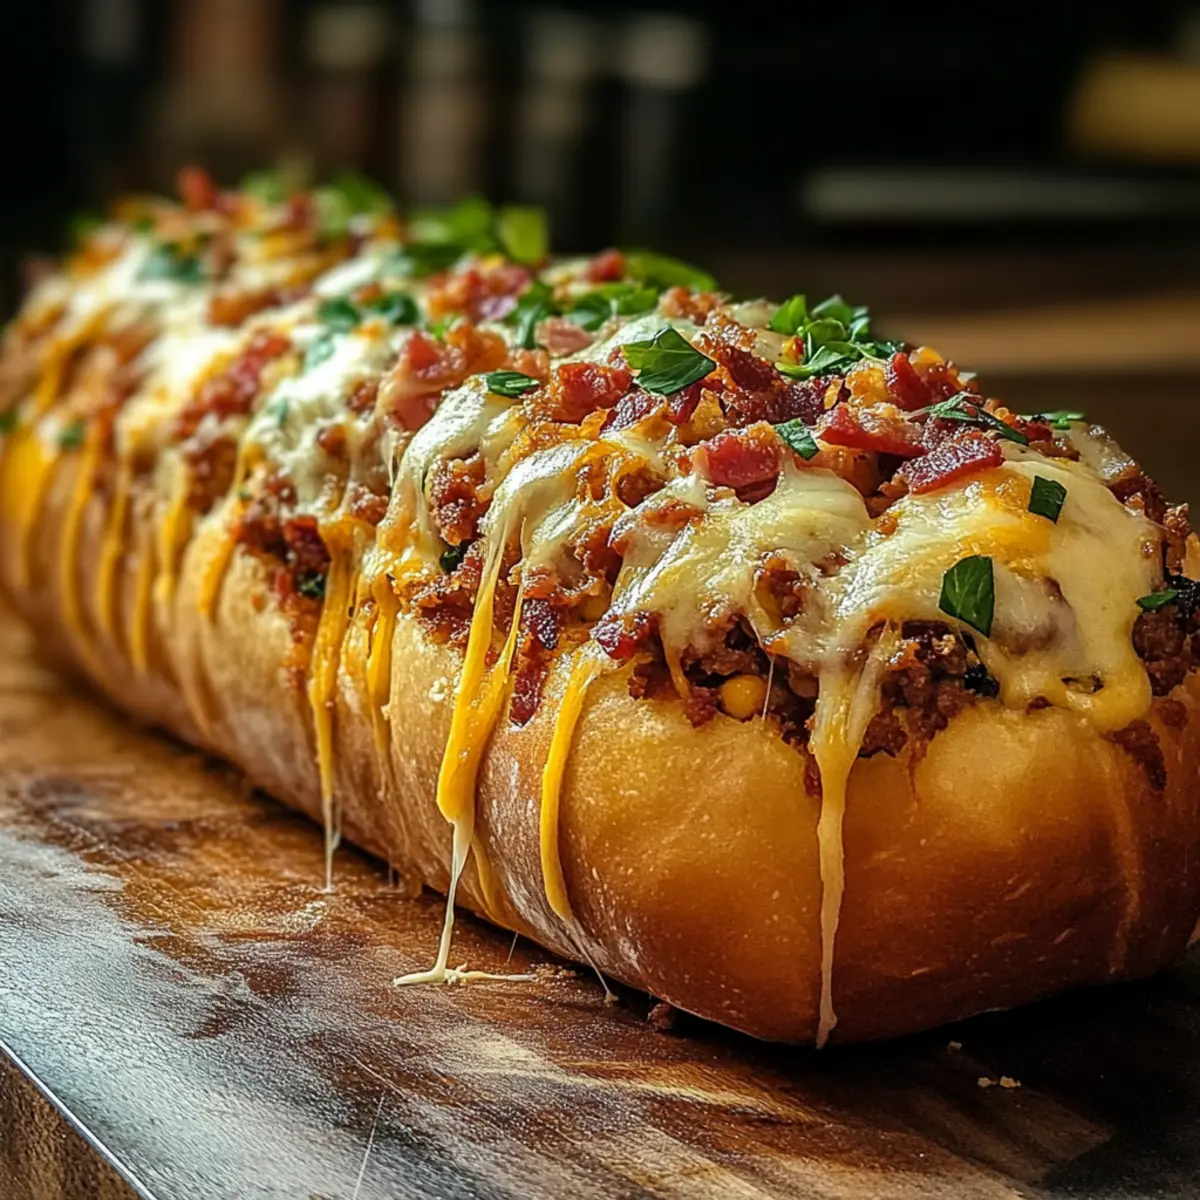
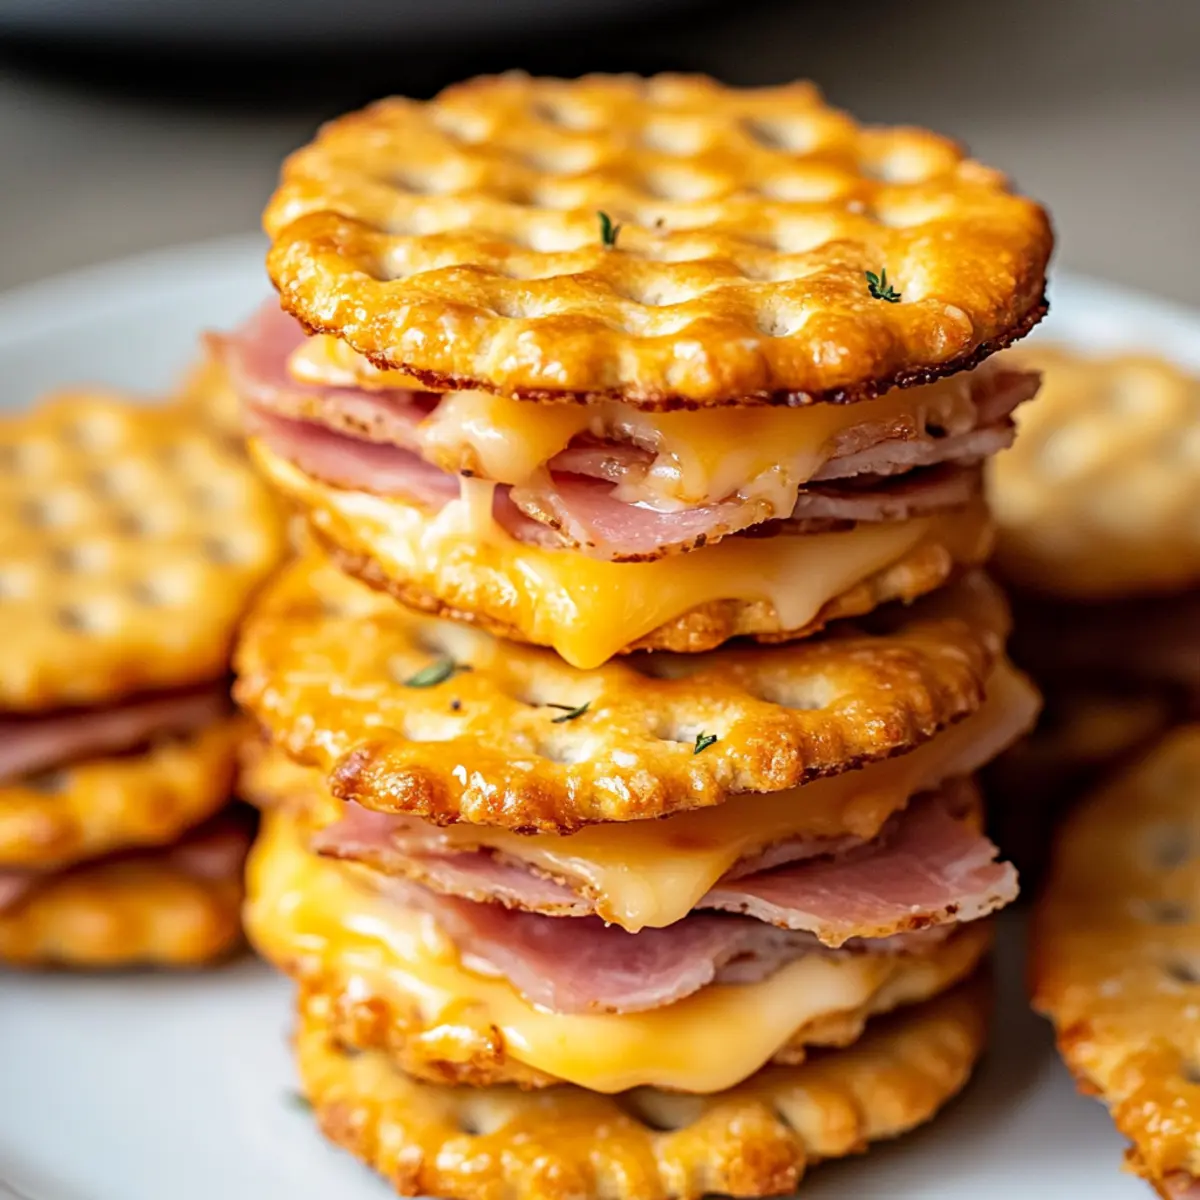
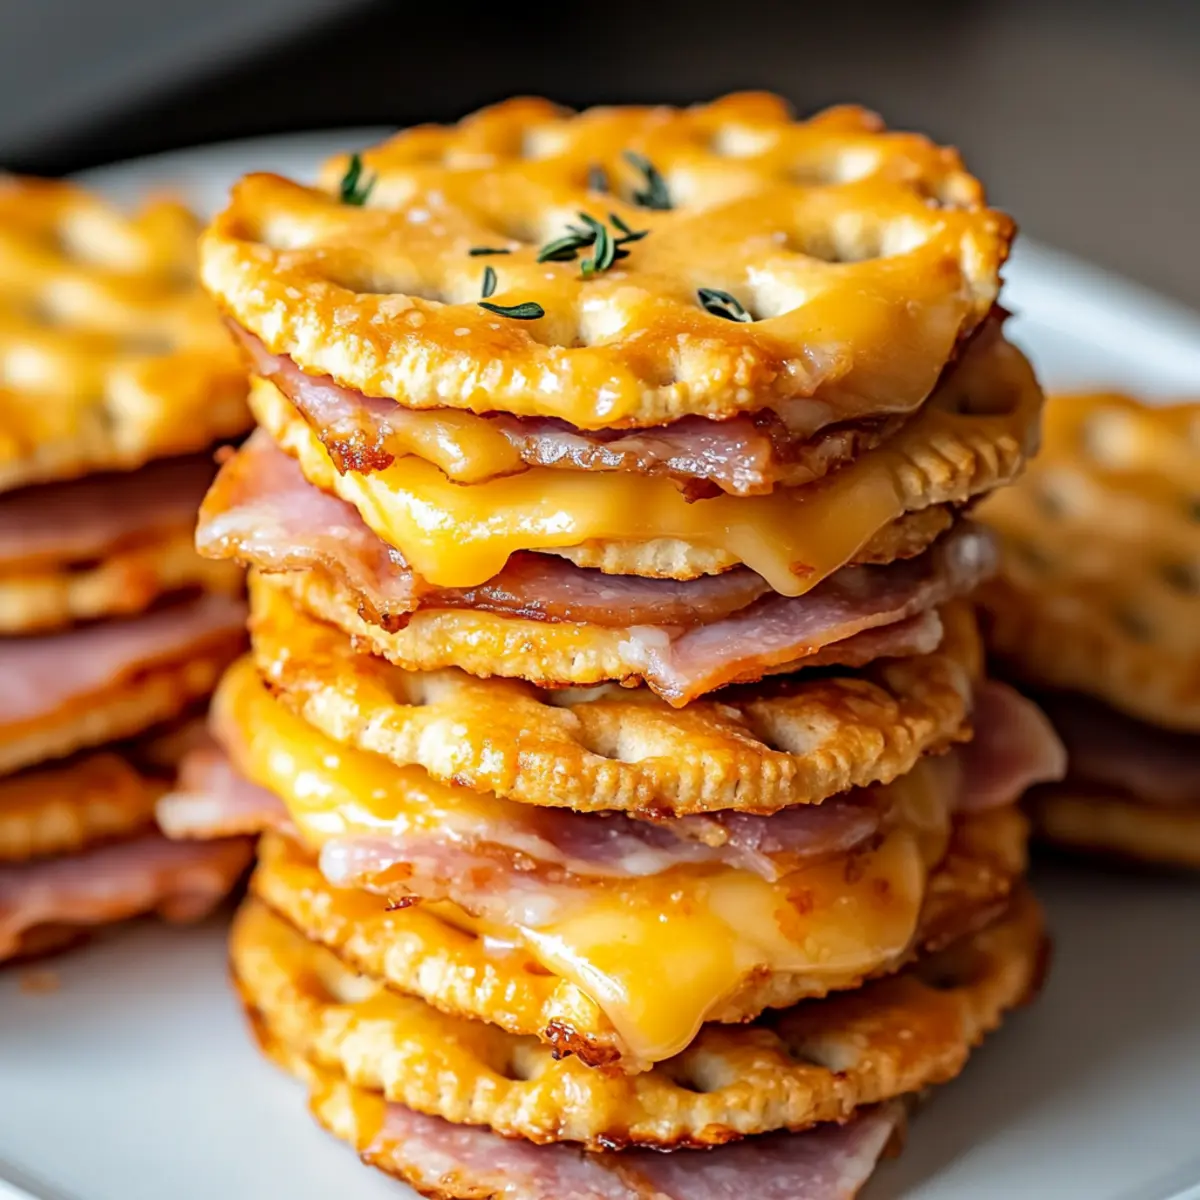
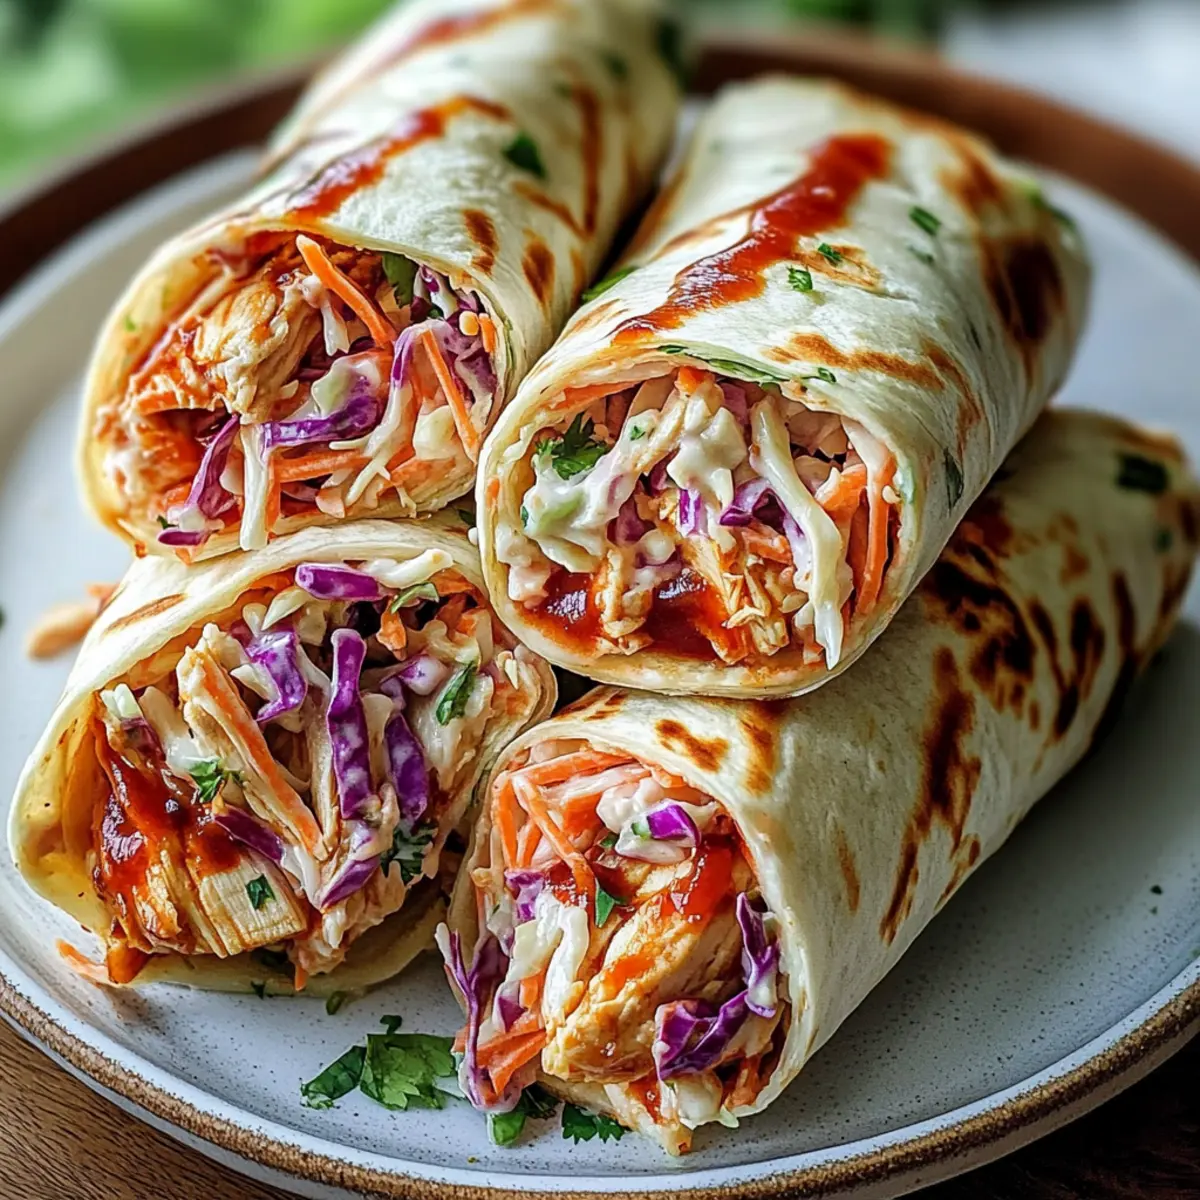
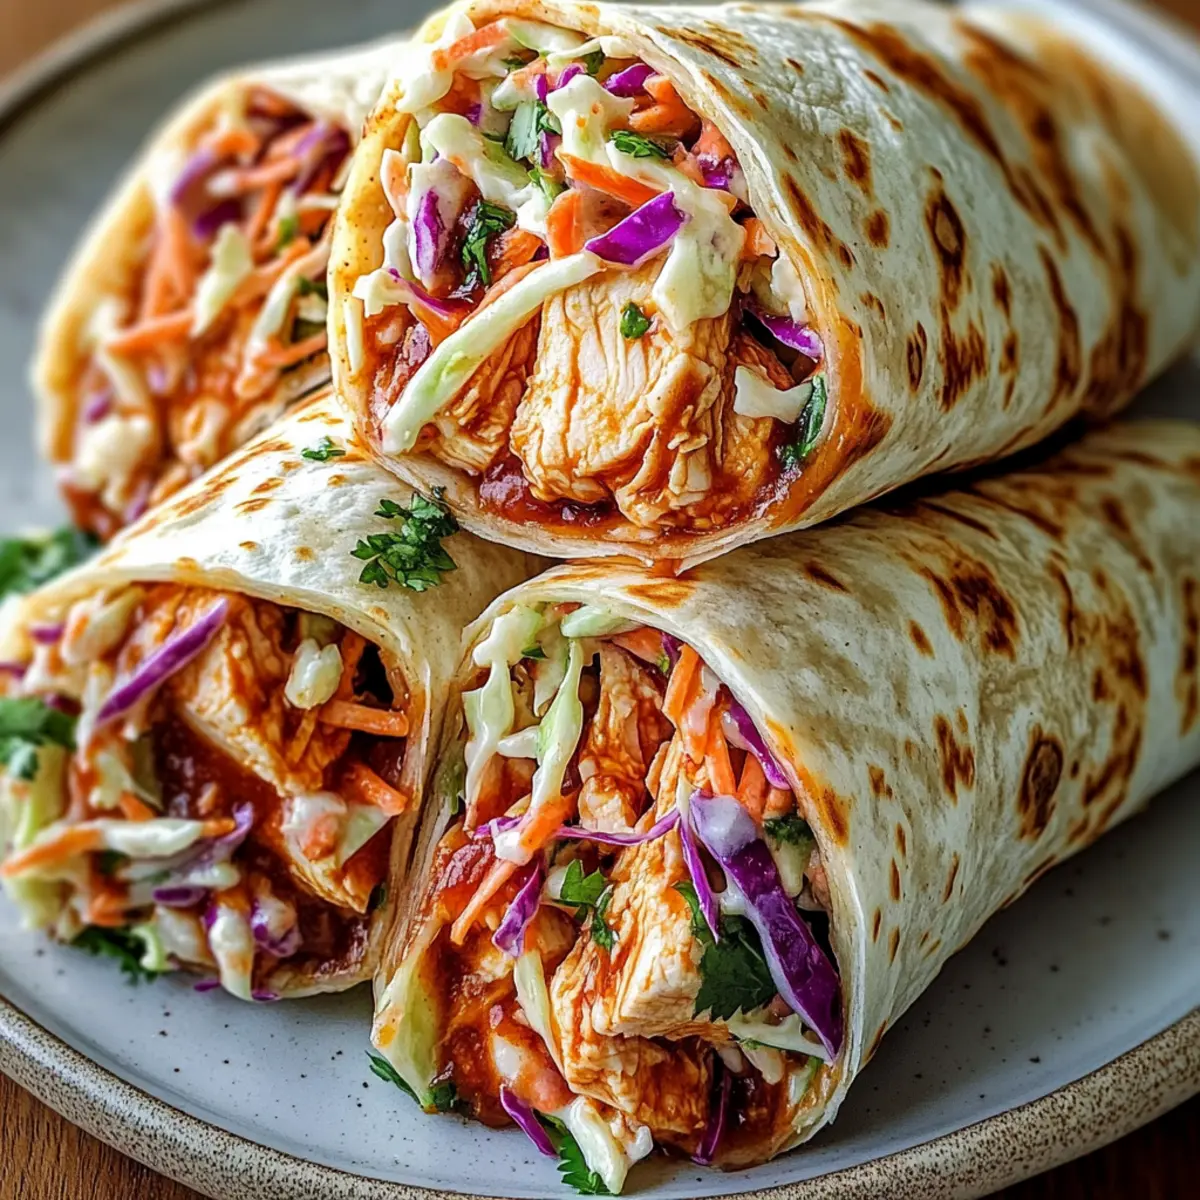
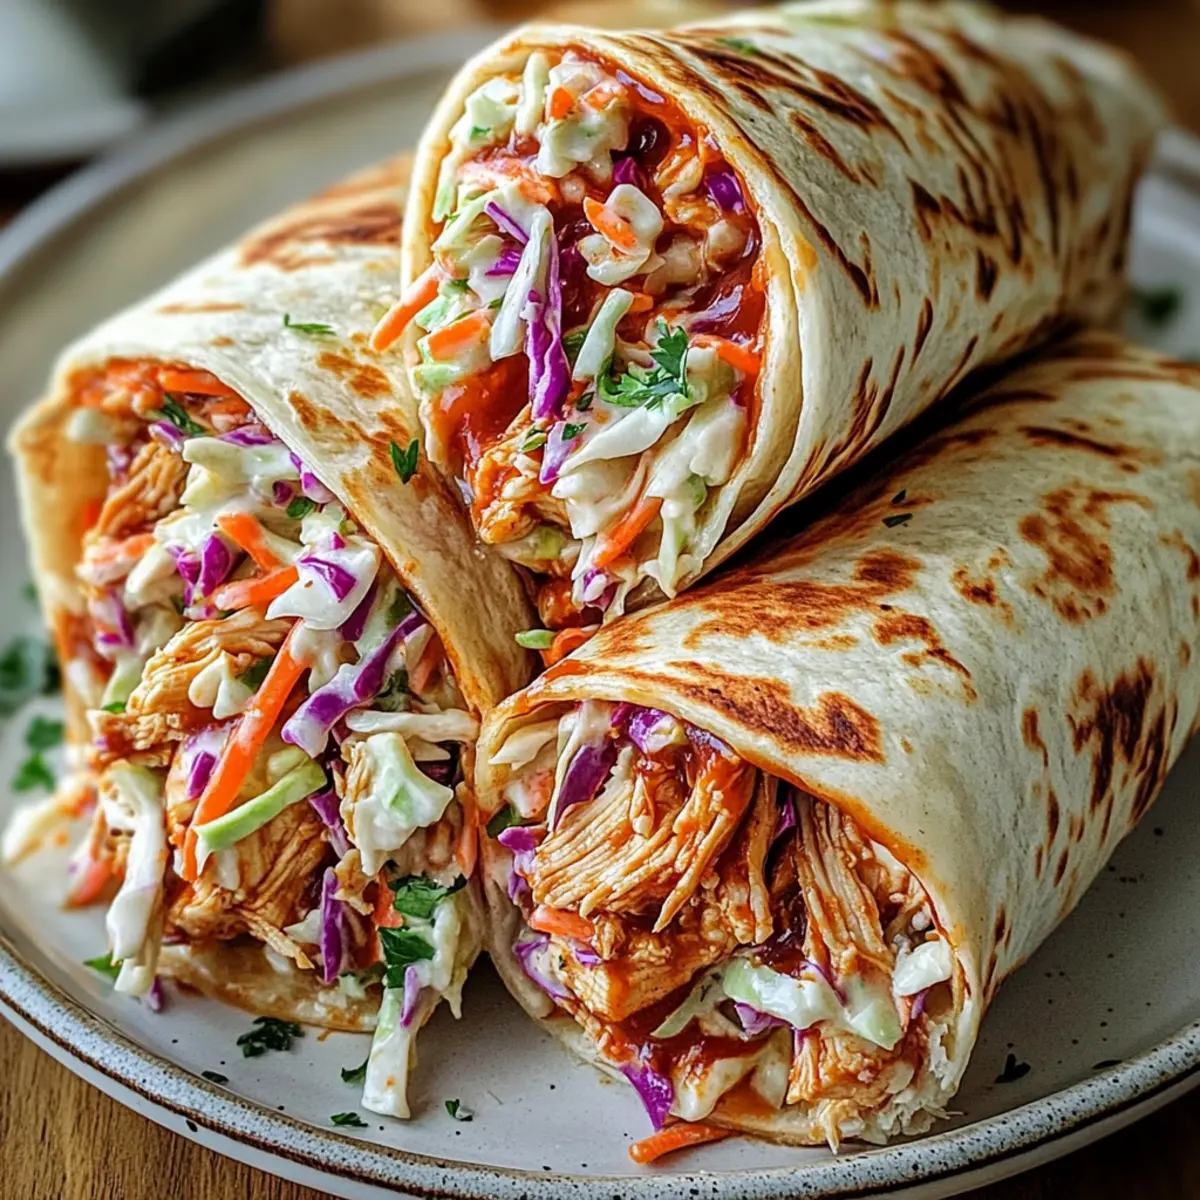
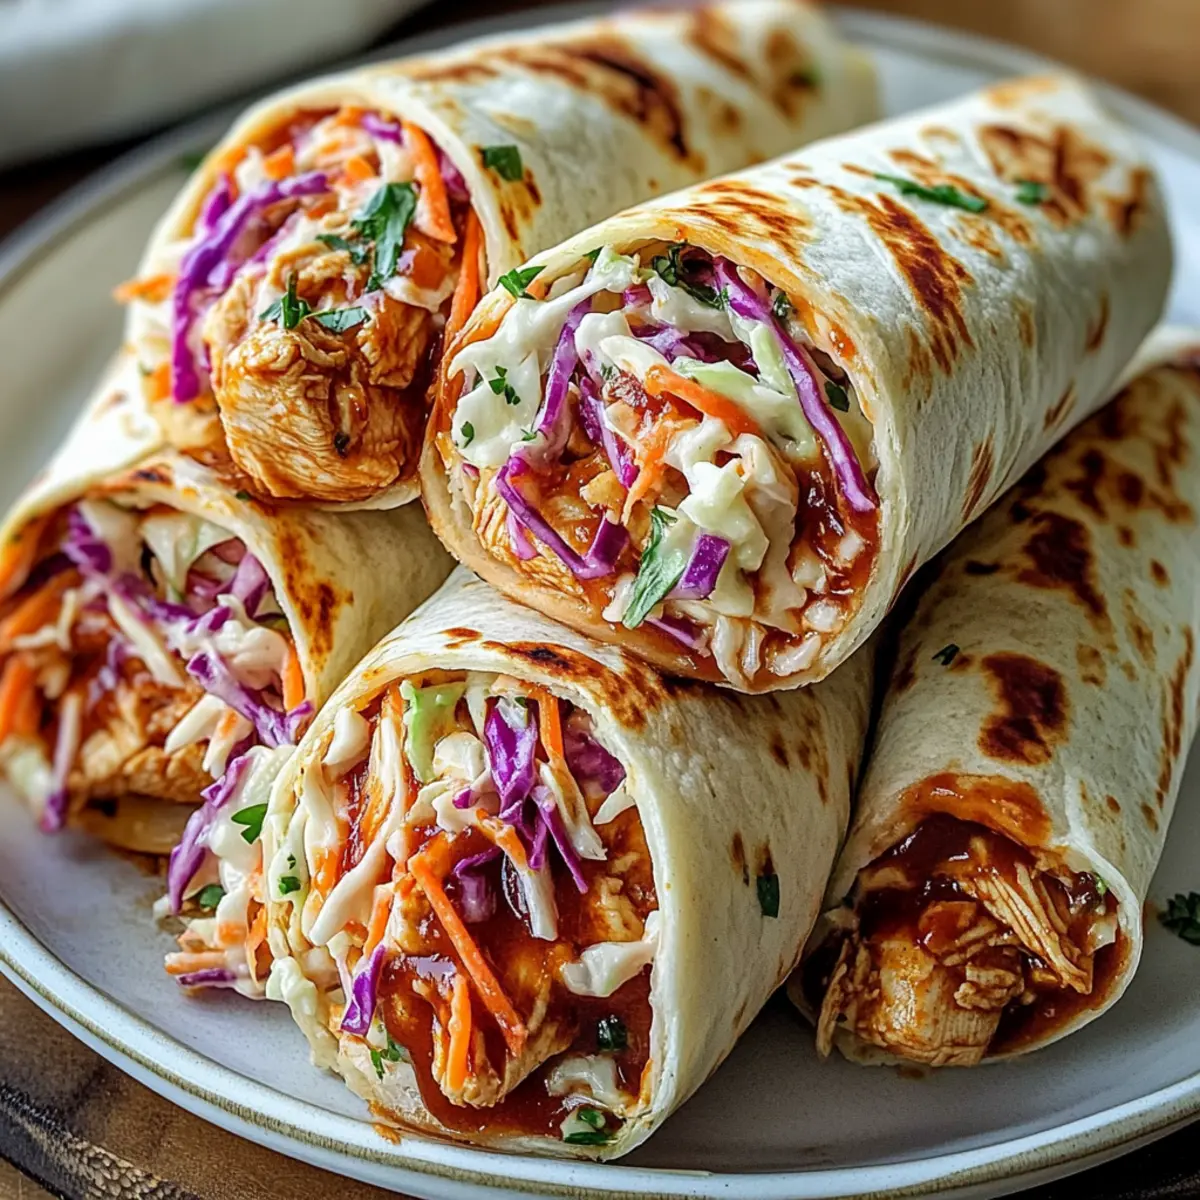
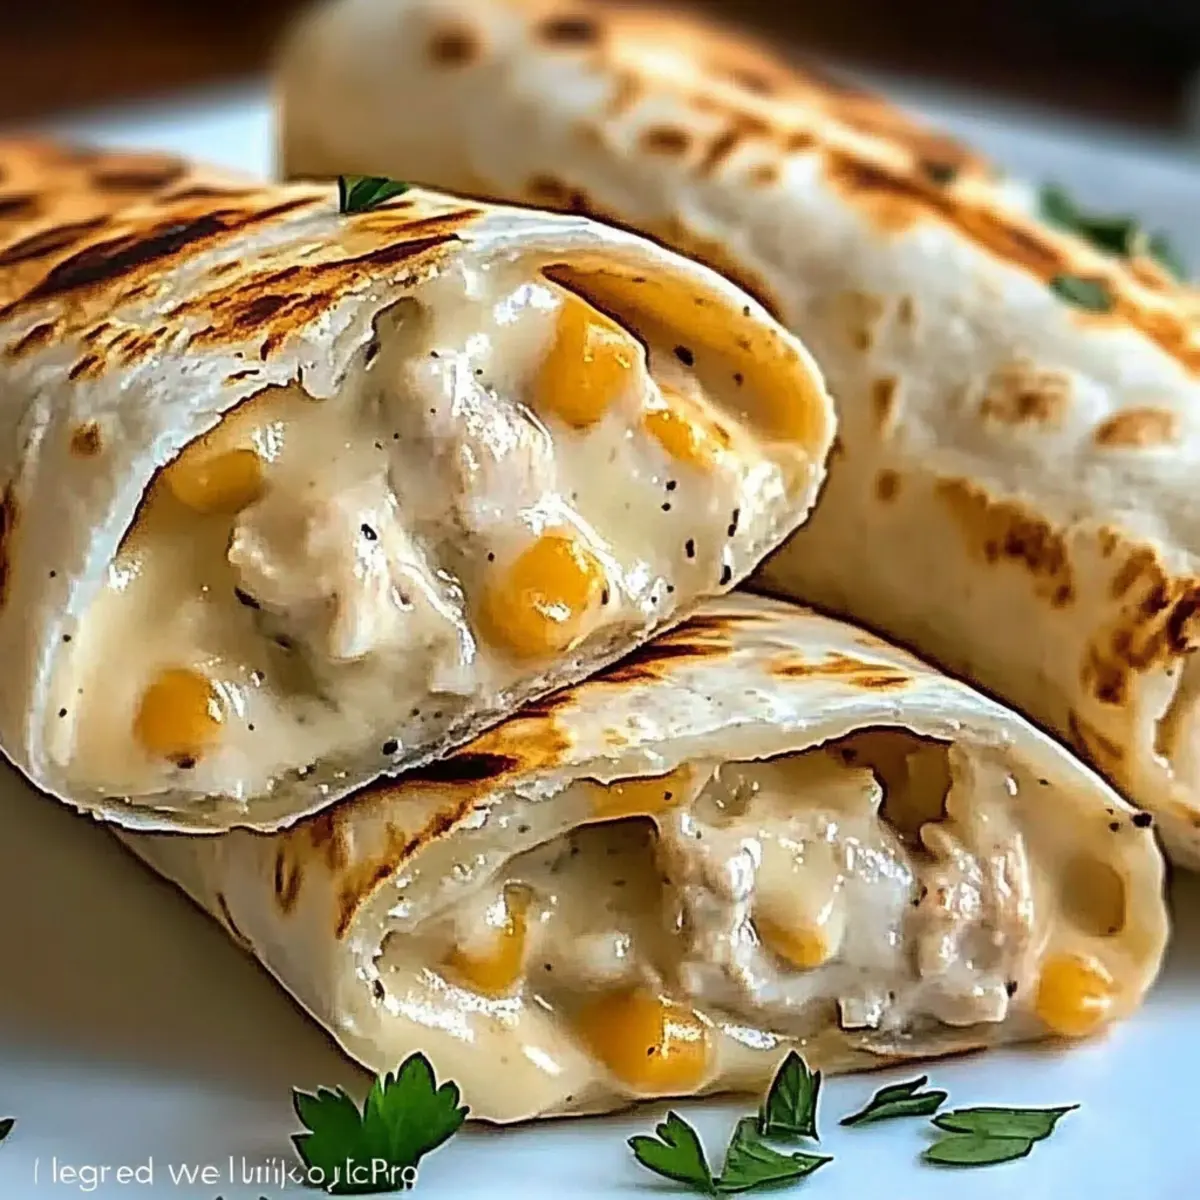
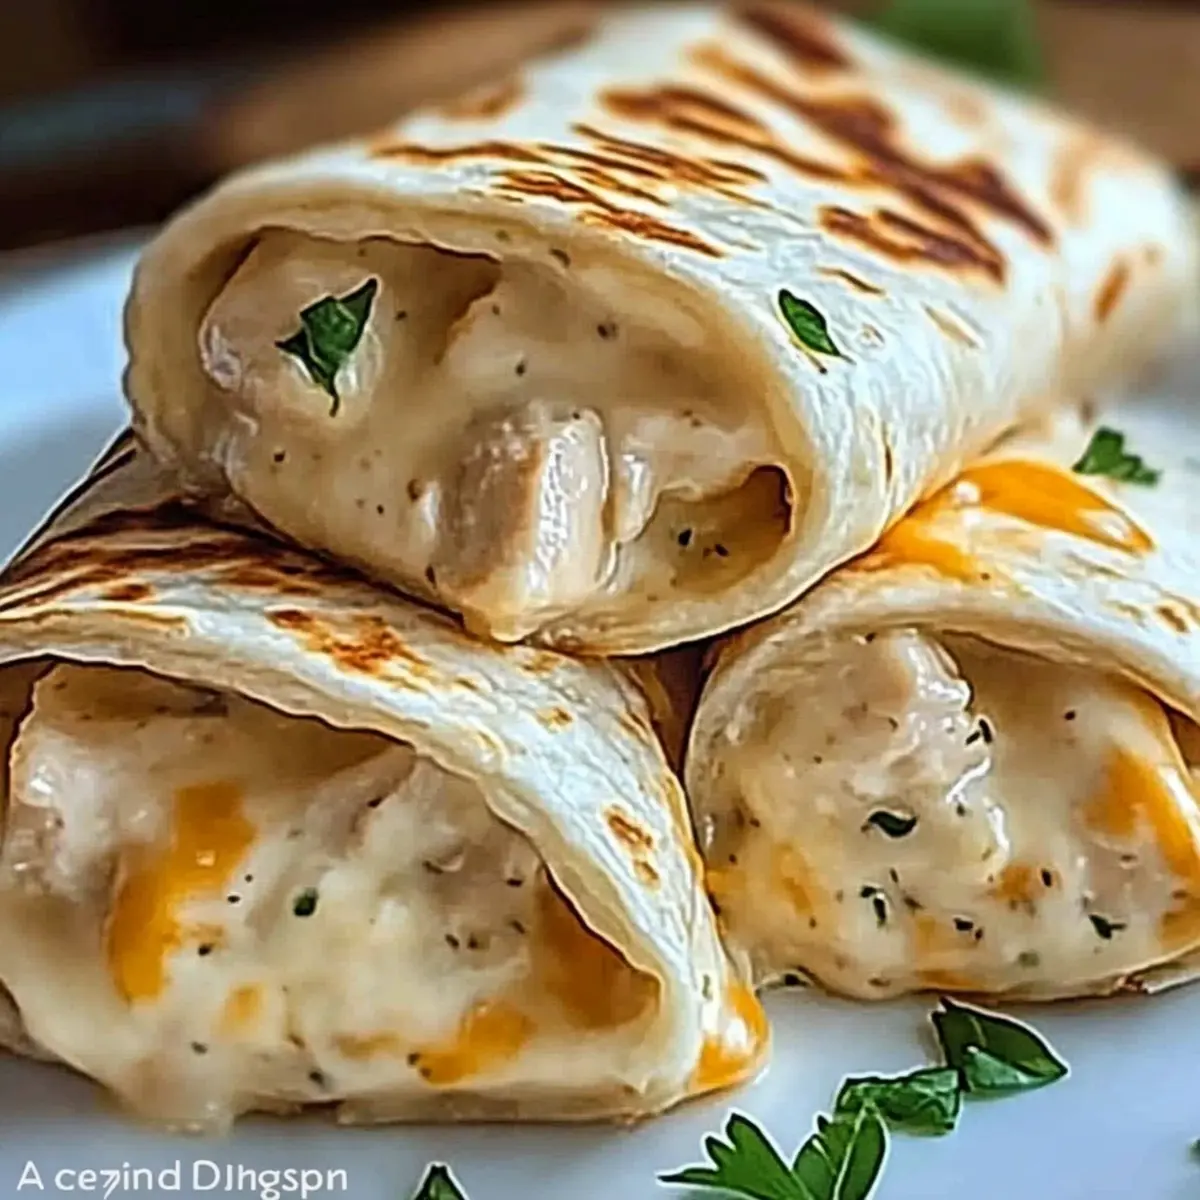
Waking up on a Saturday morning, I found myself tugging at the closet for comfort food, desperately craving something that hits the spot without taking all day to make. Enter these Quick Cheesy Chicken Wraps—a dazzling combination of juicy chicken, rich melted cheese, and hints of garlic tucked inside warm tortillas. Whipping this up takes just 25 minutes, making it a seamless choice for busy weeknights or leisurely weekends. This dish is not only family-friendly, but it also brings that warm hug of comfort food we all crave. With optional variations to customize it to your taste, you’ll have everyone asking for seconds. Ready to indulge in a delightful twist on classic wraps? Let’s dive in!
Why Will You Love These Wraps?
Quick, easy prep: In just 25 minutes, you can have these tasty wraps ready to enjoy. Perfect for busy weeknights or surprise guests!
Melty goodness: The combination of melted cheese and juicy chicken creates a comforting bite that’s hard to resist.
Versatile flavors: Customize with a layer of cream cheese or add your favorite veggies, like bell peppers, for an extra flavor kick!
Family-approved: These wraps are a hit with both kids and adults, making them an ideal choice for a satisfying family meal.
Crispy satisfaction: Enjoy the delicious contrast of crispy tortillas wrapped around warm, savory filling. Serve alongside a light cucumber salad or sweet potato fries for a complete meal.
With these Quick Cheesy Chicken Wraps, you’re guaranteed a comfort food favorite the whole family will love!
Quick Cheesy Chicken Wrap Ingredients
For the Filling
- Diced Chicken – Provides protein and substance; for best results, use breast or thigh meat.
- Olive Oil – Adds moisture and helps seasonings adhere; can be replaced with cooking spray for fewer calories.
- Garlic Powder – Enhances flavor; if you’re a garlic lover, use fresh minced garlic for a punchy taste.
- Onion Powder – Adds depth to the seasoning profile; really amps up the savory taste!
- Paprika – Imparts smokiness and color; try smoked paprika for a richer flavor.
- Salt and Pepper – Essential for seasoning; adjust according to your taste preferences.
For the Wrap
- Flour Tortillas – Acts as the wrap base; swap for whole wheat or corn tortillas for a healthier option.
- Shredded Cheddar Cheese – Offers a rich, hearty flavor; substitute with jack cheese or vegan cheese if desired.
- Shredded Mozzarella Cheese – Provides that gooey meltiness; feel free to use a dairy-free alternative.
For the Creamy Sauce
- Creamy Garlic Sauce – For that extra richness; a lighter yogurt-based sauce can be a healthier choice.
- Fresh Parsley – Optional garnish for color and freshness; it brightens up the dish both visually and flavor-wise!
Note
These ingredients will come together to create undeniably delicious Quick Cheesy Chicken Wraps that your family will beg for again and again!
Step‑by‑Step Instructions for Quick Cheesy Chicken Wrap
Step 1: Prepare Chicken
In a medium mixing bowl, combine the diced chicken with olive oil, garlic powder, onion powder, paprika, salt, and pepper. Stir well until the chicken is evenly coated in the seasoning mix. Set the mixture aside for about 5 minutes to enhance the flavors while you prepare your cooking surface.
Step 2: Cook Chicken
Heat a non-stick skillet over medium heat for approximately 2 minutes. Once hot, add the seasoned chicken to the pan, ensuring it lays flat and cooks evenly. Sauté for 6-8 minutes, stirring occasionally, until the chicken turns golden brown and reaches an internal temperature of 165°F (75°C). Remove from heat and let it cool slightly.
Step 3: Assemble Wraps
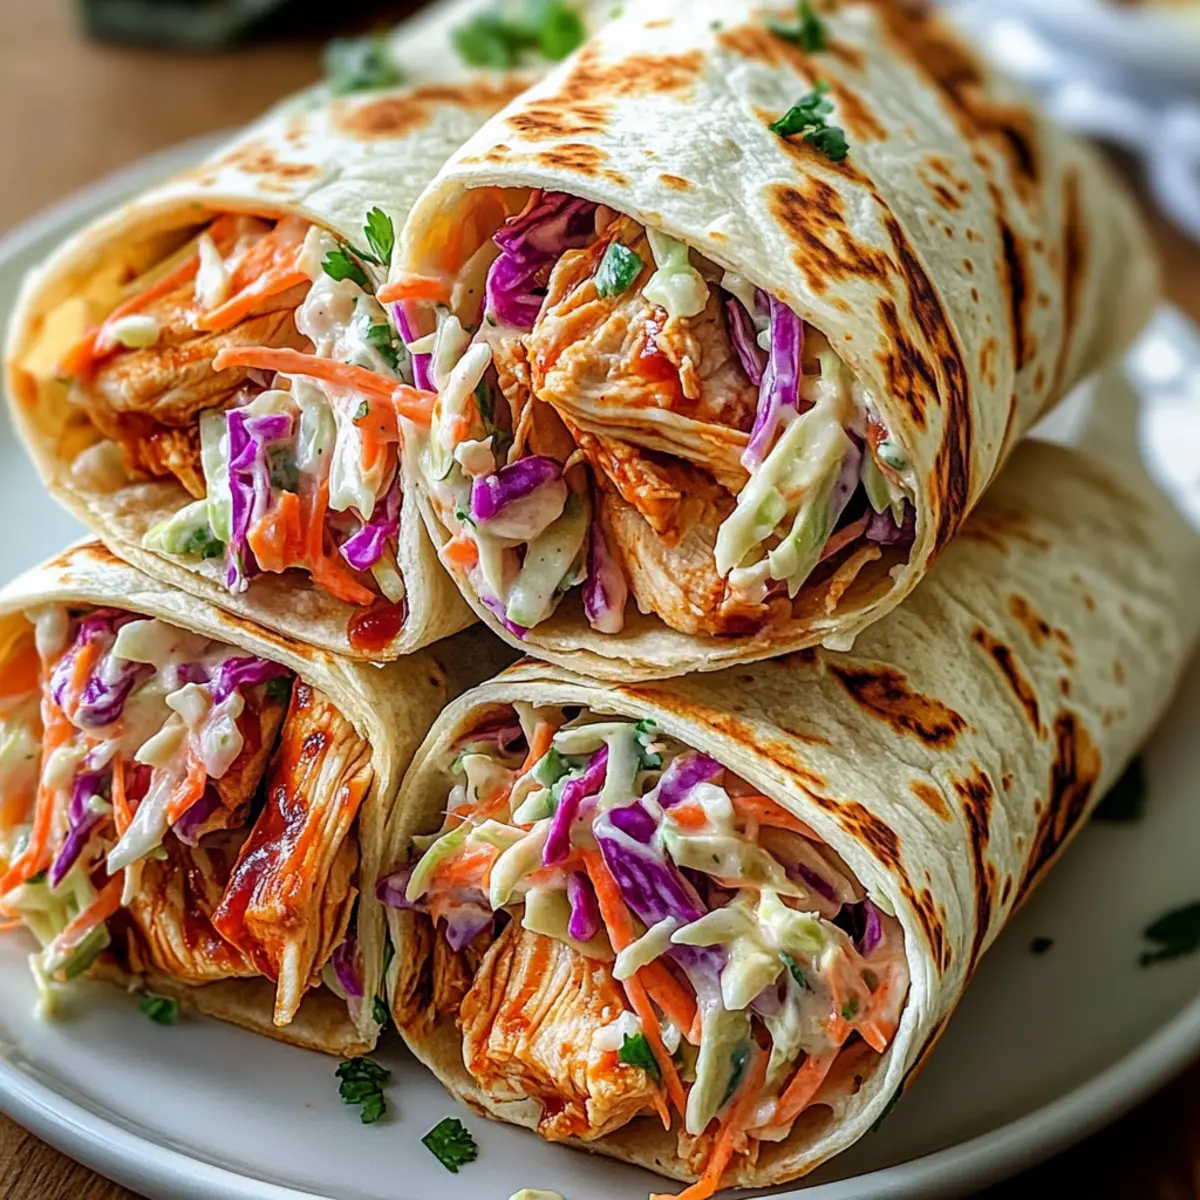
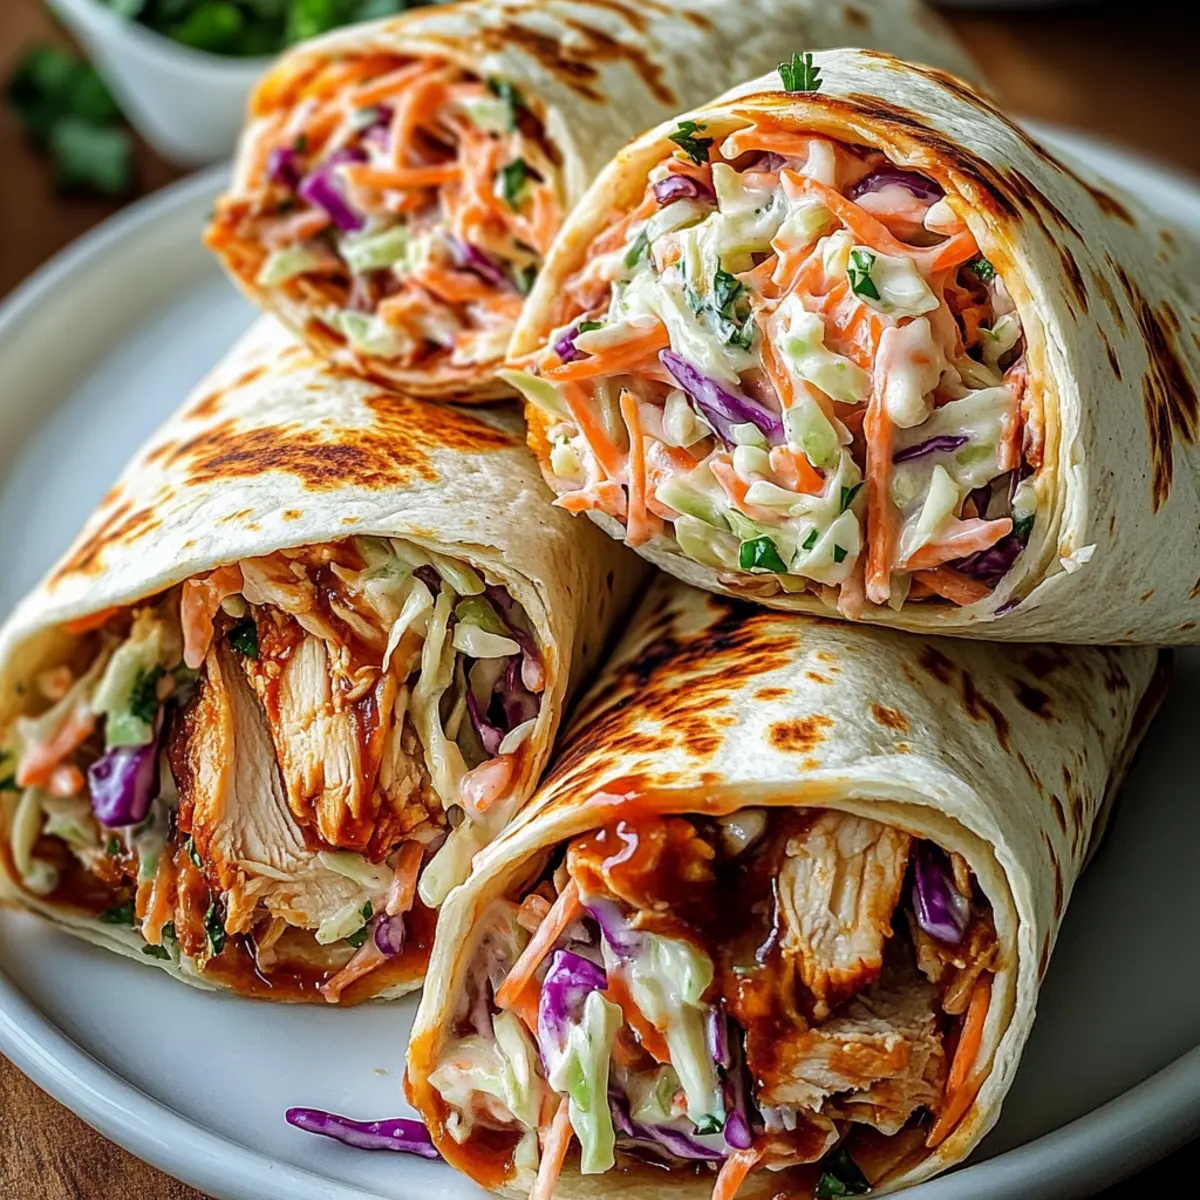
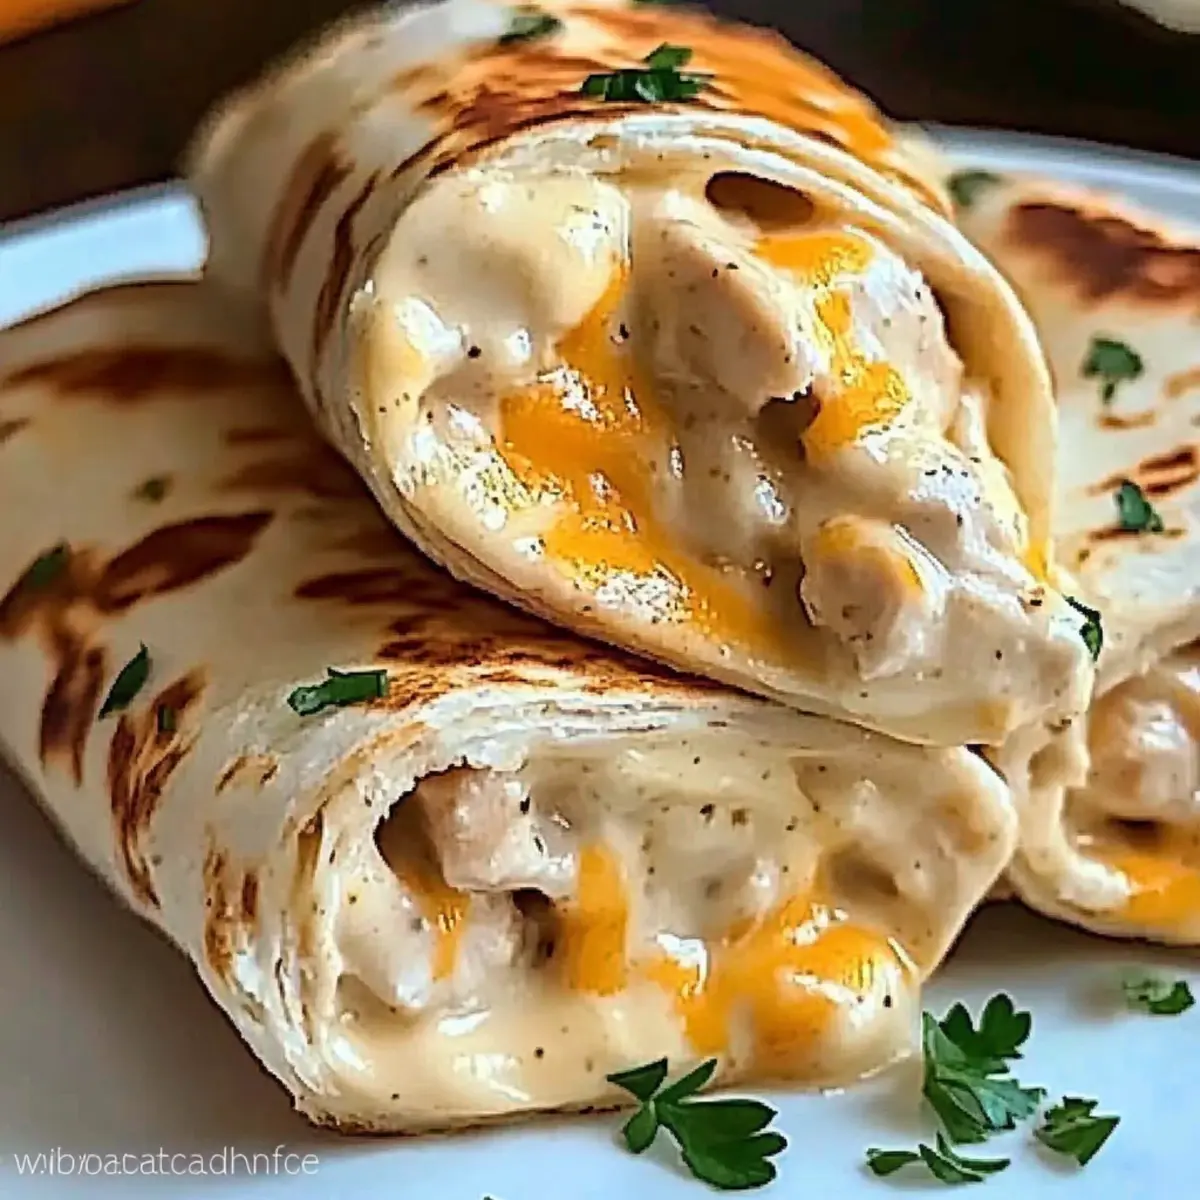
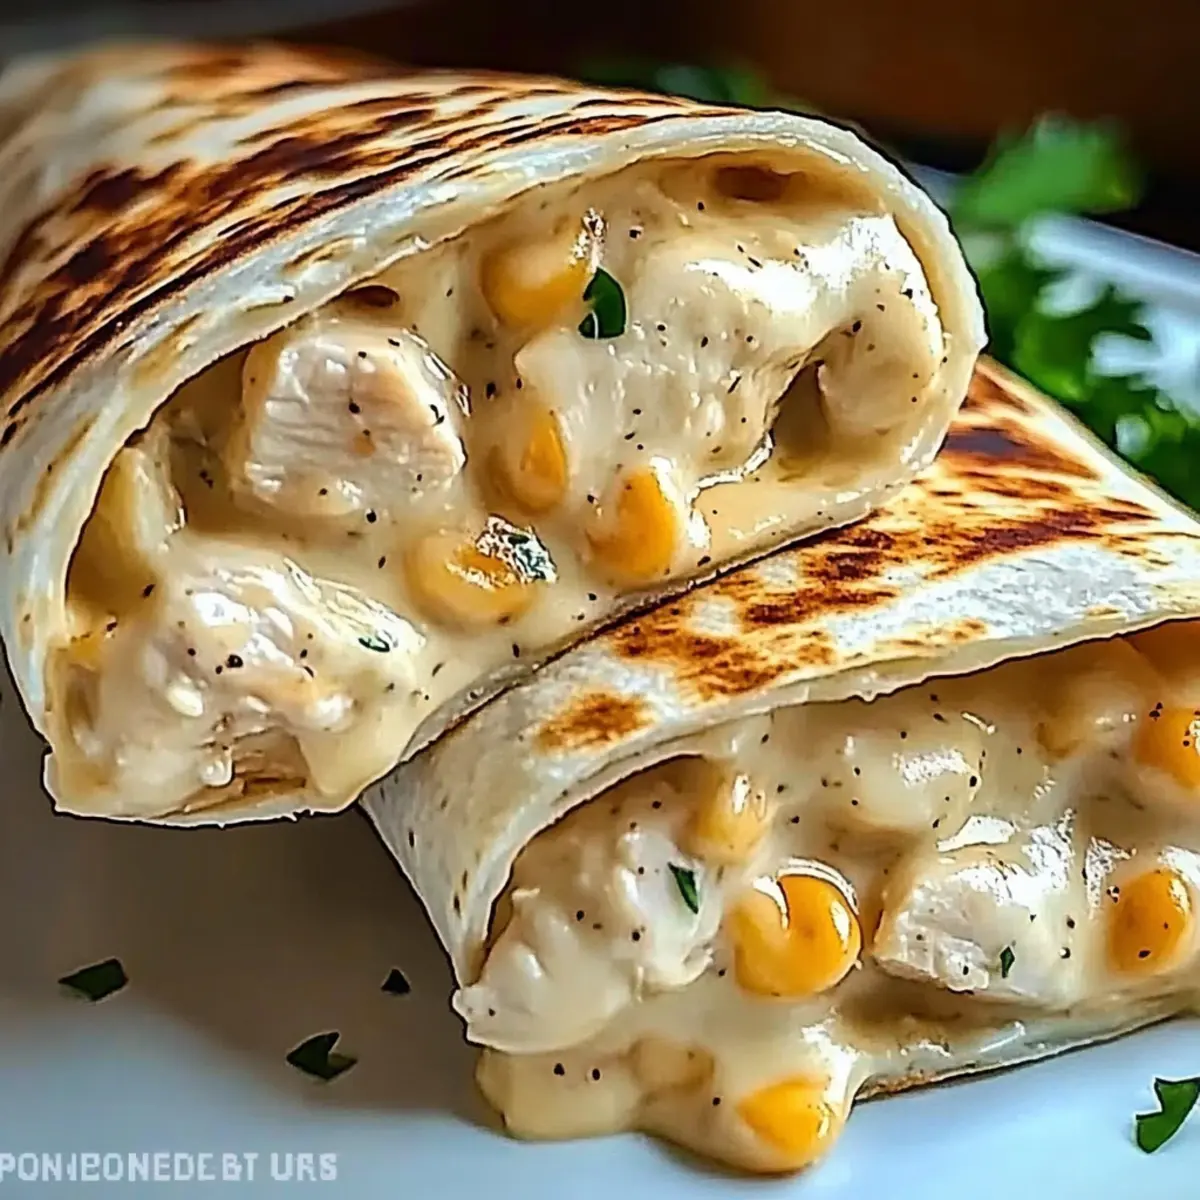
On a clean surface, lay out your flour tortillas flat. Start by spreading a thin layer of creamy garlic sauce over each tortilla, leaving a small border around the edges. Evenly distribute the cooked chicken mixture onto the tortillas, topping generously with both shredded cheddar and mozzarella cheese.
Step 4: Grill Wraps
Carefully fold the tortillas over the filling, creating a sealed pocket. Return the cleaned non-stick skillet to medium heat, and grill the wraps for 2-3 minutes on each side. Look for a crispy exterior and melted cheese to ensure the wraps are perfectly cooked and deliciously golden.
Step 5: Serve
Once grilled, transfer the wraps to a cutting board and let them rest for a minute for easy cutting. Slice each wrap in half diagonally for a lovely presentation. Optionally, garnish with fresh parsley for a touch of color, and serve your Quick Cheesy Chicken Wraps hot for the ultimate savory experience.
Make Ahead Options
These Quick Cheesy Chicken Wraps are an excellent choice for meal prep enthusiasts! You can season and cook the diced chicken up to 3 days in advance. Once cooled, refrigerate the chicken in an airtight container to keep it fresh. Additionally, you can prepare the creamy garlic sauce ahead of time—just store it in the fridge and use it within 5 days. When it's time to serve, simply assemble the wraps with the prepped chicken and sauce, then grill them in a non-stick skillet for 2-3 minutes per side until golden and crispy. This way, you'll have a satisfying meal ready with minimal effort, perfect for busy weeknights!
Quick Cheesy Chicken Wrap Variations
Feel free to explore these delightful twists to make your wraps even more exciting and personalized!
-
Cream Cheese Addition:
Add a thin layer of cream cheese for a rich, velvety texture that elevates the wraps. It's a simple addition that turns an ordinary meal into something extra special! -
Vegetable Swaps:
Substitute sautéed vegetables like bell peppers, onions, or mushrooms for a burst of color and nutrition. Mixing in veggies creates a flavor-packed experience the whole family can enjoy. -
Spicy Kick:
Use pepper jack cheese instead of cheddar for a spicy twist that adds extra warmth. Perfect for those who crave a little heat in their meals! -
Whole Grain Goodness:
Switch to whole wheat or corn tortillas for a healthier option. It gives the wraps a delightful texture while adding wholesome fiber to your meal. -
Garlic Lovers Unite:
If you're a garlic aficionado, fresh minced garlic can amplify the flavor in the creamy sauce. The result? A delightful, aromatic experience in every bite. -
Zesty Salsa Surprise:
Add a dollop of your favorite salsa for a burst of tanginess and extra dimensions of flavor. Pairing it with the cheesy filling creates an explosion of taste that brightens the wraps. -
Crunchy Extras:
Toss in some crispy lettuce or diced avocados just before rolling the wraps. This gives each bite a refreshing crunch that contrasts beautifully with the warm filling. -
Herbed Infusion:
Chop up fresh herbs like cilantro or basil to mix into the filling for a garden-fresh twist. It elevates the dish from simple wraps to a fragrant delight, reminiscent of sun-kissed gardens.
These variations are just the beginning—let your culinary creativity flow! If you enjoy these wraps, you might also love preparing Honey Garlic Chicken Thighs or try making some Chipotle Lime Chicken for a smoky flavor. Happy wrapping!
Storage Tips for Quick Cheesy Chicken Wraps
Fridge: Store leftover wraps in an airtight container, separating layers with parchment paper, for up to 3 days to maintain freshness.
Freezer: Wrap each cooled individual wrap in plastic wrap, then place them in a freezer bag for up to 2 months. This helps preserve flavor and texture.
Reheating: To reheat, thaw overnight in the fridge if frozen. Place wraps in a preheated oven at 350°F (175°C) for about 10-15 minutes or until heated through and crispy.
Make-Ahead: For convenience, the seasoned chicken can be cooked ahead of time and stored separately in the fridge. Assemble wraps just before serving for the best experience!
What to Serve with Quick Cheesy Chicken Wraps
Elevate your meal experience with delightful sides and pairings that complement these cheesy, gooey wraps.
-
Cucumber Salad: A refreshing mix of crisp cucumbers and tangy dressing, providing a light contrast to the richness of the wraps.
-
Sweet Potato Fries: Crispy, sweet, and slightly savory, these fries pair perfectly with the savory wraps, creating a satisfying contrast in taste and texture.
-
Roasted Veggies: Colorful roasted vegetables add a burst of flavor and nutrition, balancing the richness of the cheesy filling wonderfully.
-
Corn on the Cob: Grilled or boiled, buttery corn enhances the comfort food experience and is sure to delight everyone at the table.
-
Garlic Bread Sticks: Soft and cheesy, garlic bread sticks are deliciously indulgent, making them a perfect sidekick for dipping into any leftover garlic sauce!
-
Zesty Quinoa Salad: A light and nutritious quinoa salad with lemon and herbs adds brightness and freshness, making the meal well-rounded and nutritious.
-
Margaritas: Pair the meal with refreshing margaritas, adding a fun twist that complements the flavors of the wraps and enhances the social dining experience.
Each of these pairings combines textures and flavors that will elevate your Quick Cheesy Chicken Wrap experience, making it a meal to remember!
Expert Tips for Quick Cheesy Chicken Wraps
-
Chicken Choice: Use breast or thigh meat for the juiciness and flavor that make these wraps shine. Avoid overcooking to keep the chicken tender.
-
Tortilla Tips: When selecting tortillas, opt for larger ones for easy wrapping. Avoid whole grain if you prefer softer options, as they can be chewier.
-
Don’t Overfill: Stick to recommended amounts of filling to prevent bursting during grilling. An overstuffed wrap will make a mess!
-
Customize Flavor: Mixing in fresh veggies like bell peppers or onions can enhance texture and nutrition. Just sauté them with the chicken for a delicious twist.
-
Serving Ideas: Pair your wraps with a light salad or fries, complementing the rich flavors while balancing the meal. These Quick Cheesy Chicken Wraps will be a hit!
Quick Cheesy Chicken Wraps Recipe FAQs
What type of chicken is best for these wraps?
Absolutely! For juicy and flavorful wraps, I recommend using either chicken breast or thigh meat. Thigh meat often provides more moisture, which keeps the wraps from drying out during cooking. If you prefer leaner meat, go with breast, ensuring it remains tender by not overcooking it.
How should I store leftover wraps?
Very well! To keep your leftover Quick Cheesy Chicken Wraps fresh, store them in an airtight container and separate layers with parchment paper. They can last in the fridge for up to 3 days. When you're ready to enjoy them, just reheat by following the reheating instructions provided to keep that crispy texture!
Can I freeze the wraps?
Of course! To freeze your wraps, first let them cool completely. Then, wrap each one tightly in plastic wrap and place them in a freezer bag. They can be stored for up to 2 months. When ready to eat, simply thaw them overnight in the fridge, then reheat in the oven for that delightful warm crunch.
What if my tortillas are too chewy after cooking?
If the tortillas turn out chewy, it might be due to overcooking or using a thicker tortilla. For softer tortillas, try selecting thinner flour tortillas. Also, avoid overfilling, which can cause them to cook unevenly. If chewy, place the wrap in a preheated oven for a few minutes, covered with foil to help steam them back to softness.
Can I make this recipe dairy-free or vegan?
Absolutely! To make Quick Cheesy Chicken Wraps dairy-free, opt for dairy-free cheese alternatives and use a lighter yogurt-based sauce instead of the creamy garlic sauce. You can also swap in plant-based protein like tempeh or grilled vegetables to keep it delicious and satisfying.
How can I incorporate more vegetables into the wraps?
Very easily! To add more veggies, sauté bell peppers, onions, or mushrooms along with the chicken. Simply toss them into the pan after the chicken is cooked for about 4-5 minutes until tender, then layer them on your wraps. Mixing in fresh spinach or shredded carrots is another fantastic way to boost nutrition!
Melt-in-Your-Mouth Quick Cheesy Chicken Wrap Delight
Ingredients
Equipment
Method
- In a medium mixing bowl, combine the diced chicken with olive oil, garlic powder, onion powder, paprika, salt, and pepper. Stir well until evenly coated and set aside for 5 minutes.
- Heat a non-stick skillet over medium heat for around 2 minutes. Add the seasoned chicken to the pan and sauté for 6-8 minutes until golden brown and cooked through.
- Lay out the tortillas flat and spread a thin layer of creamy garlic sauce over each, then evenly distribute the cooked chicken and top with cheddar and mozzarella cheese.
- Fold the tortillas over the filling to create a sealed pocket and grill them on medium heat for 2-3 minutes on each side until crispy and cheese is melted.
- Transfer the wraps to a cutting board, let them rest for a minute, slice them in half, garnish with fresh parsley, and serve hot.