As I stood in my kitchen, a whirlwind of uneaten bananas and a crisper packed with greens caught my eye. What if I transformed these seemingly mundane ingredients into a vibrant bowl that could kick-start my day? Enter the Green Protein Smoothie Bowl—my go-to solution for those mornings that need a little extra energy boost. Packed with creamy avocado and sweet mango, this recipe is both gluten-free and dairy-free, ensuring that everyone can indulge in its tropical goodness. It’s exceptionally quick to whip up, making it the ideal breakfast or a refreshing snack that leaves you feeling nourished and satisfied. Excited to dive into the details of crafting this nutrient-packed delight? Let’s blend up something special!
Why is this smoothie bowl a game changer?
Vibrant Colors: This Green Protein Smoothie Bowl is not just good for you; it’s a feast for the eyes, with a bright and cheerful appearance.
Quick & Easy: Whip it up in minutes! Just blend, pour, and top—perfect for busy mornings or post-workout snacks.
Nutrient-Packed: Loaded with healthy fats, protein, and fiber, this bowl will keep you fuller longer while fueling your day.
Customizable: Feel free to mix and match fruits with options like blueberries or peaches to suit your taste or seasonal availability.
Dairy-Free Delight: It fits seamlessly into vegan, gluten-free, or dairy-free diets without compromising an ounce of flavor. Pair it with a refreshing Chocolate Cherry Smoothie for a delightful treat!
Crowd-Pleasing: Serve it to family and friends, and watch everyone enjoy this delicious and nutritious dish without any complaints!
Green Protein Smoothie Bowl Ingredients
• A deliciously vibrant mix awaits!
For the Smoothie
- Coconut Milk – Provides creaminess and a hint of sweetness; almond milk or oat milk can also work beautifully.
- Baby Spinach – A nutritional powerhouse that adds greens without overwhelming the flavor; kale can be a great substitute.
- Frozen Mango – Adds a luscious sweetness and a tropical taste; try frozen pineapple or banana for a delightful twist.
- Frozen Zucchini Slices – Enhances the creamy texture and boosts fiber; feel free to omit if you don’t have it on hand.
- Frozen Avocado – Delivers healthy fats and a dreamy creaminess; fresh avocado can also work; adjust as needed.
- Vanilla Protein Powder – Increases protein content, making this smoothie bowl satisfying; use plant-based protein for a vegan alternative or skip it for a lighter option.
For the Toppings
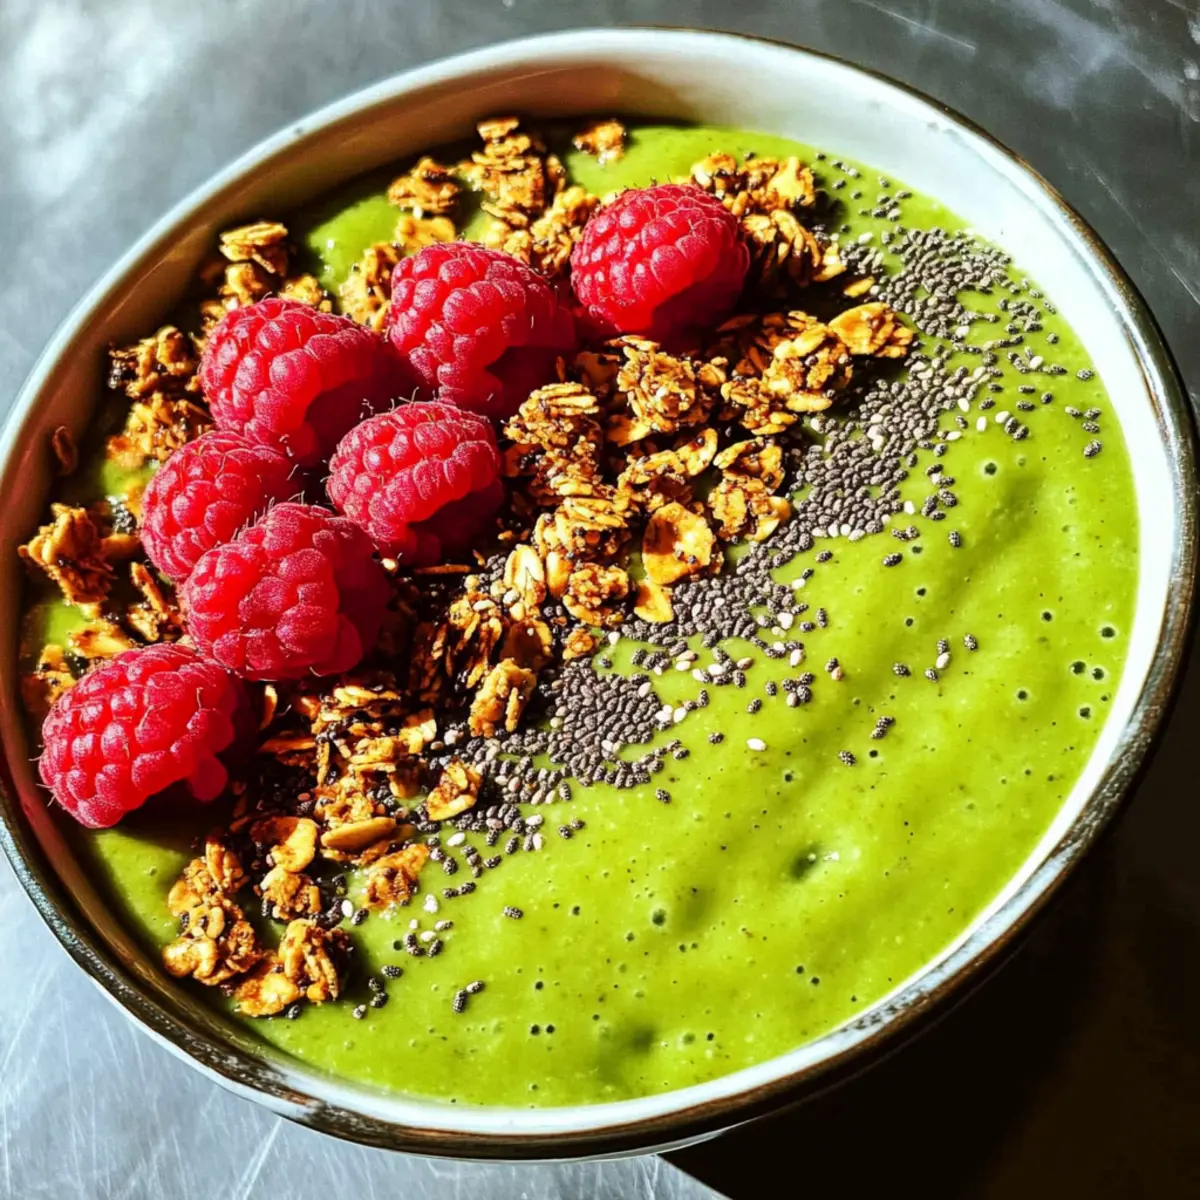
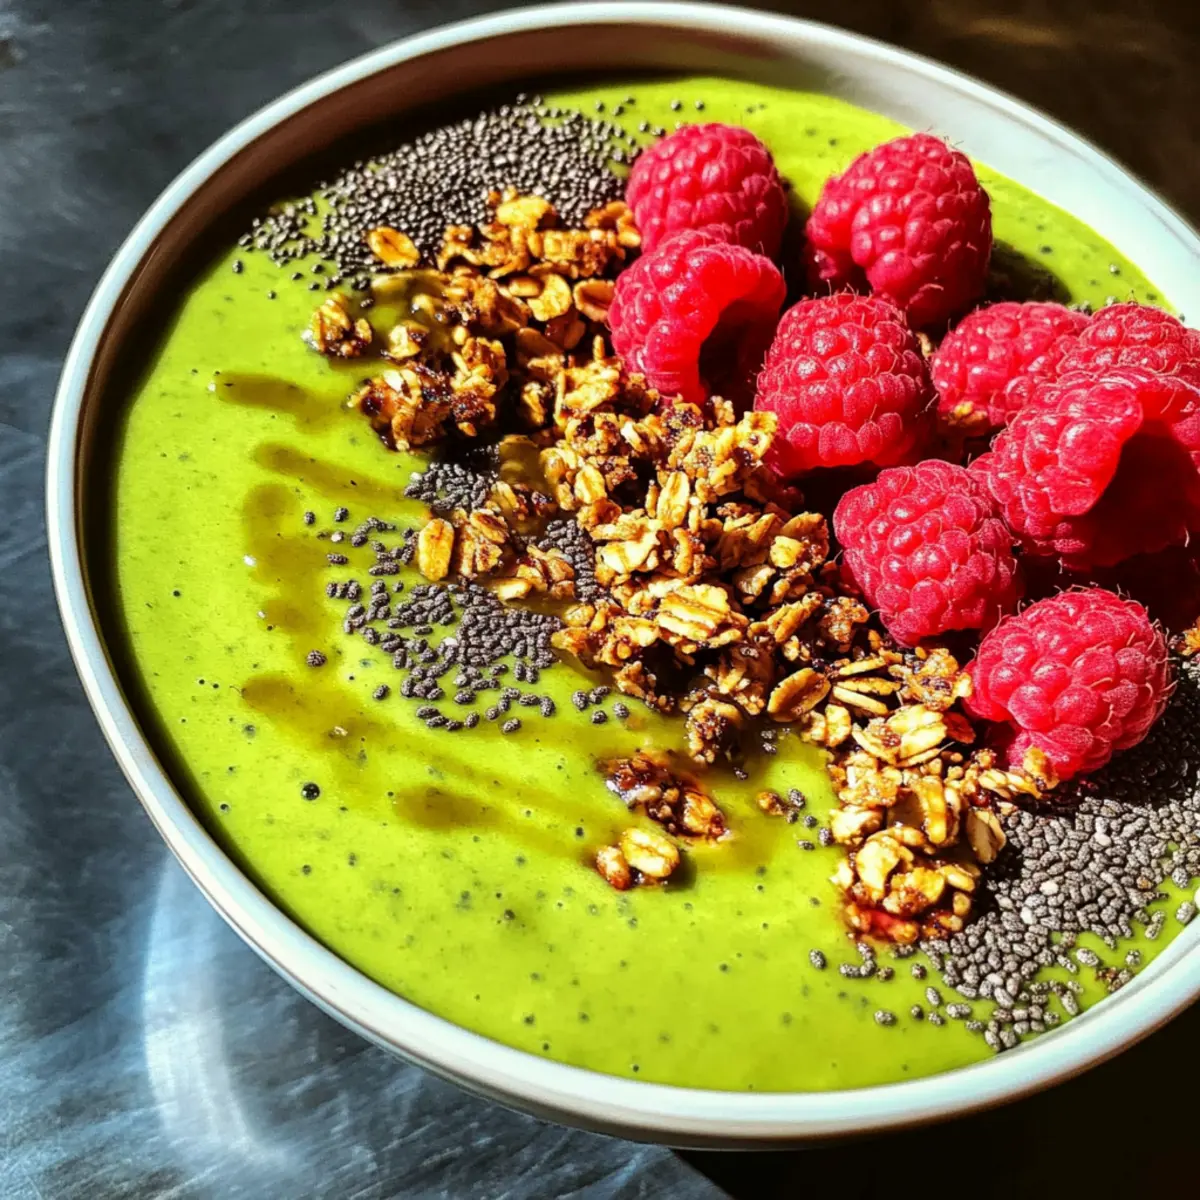
- Chia Seeds – Boost nutrition and add a satisfying crunch; sprinkle generously!
- Raspberries – Provide a burst of flavor and visual appeal, harmonizing wonderfully with the green base.
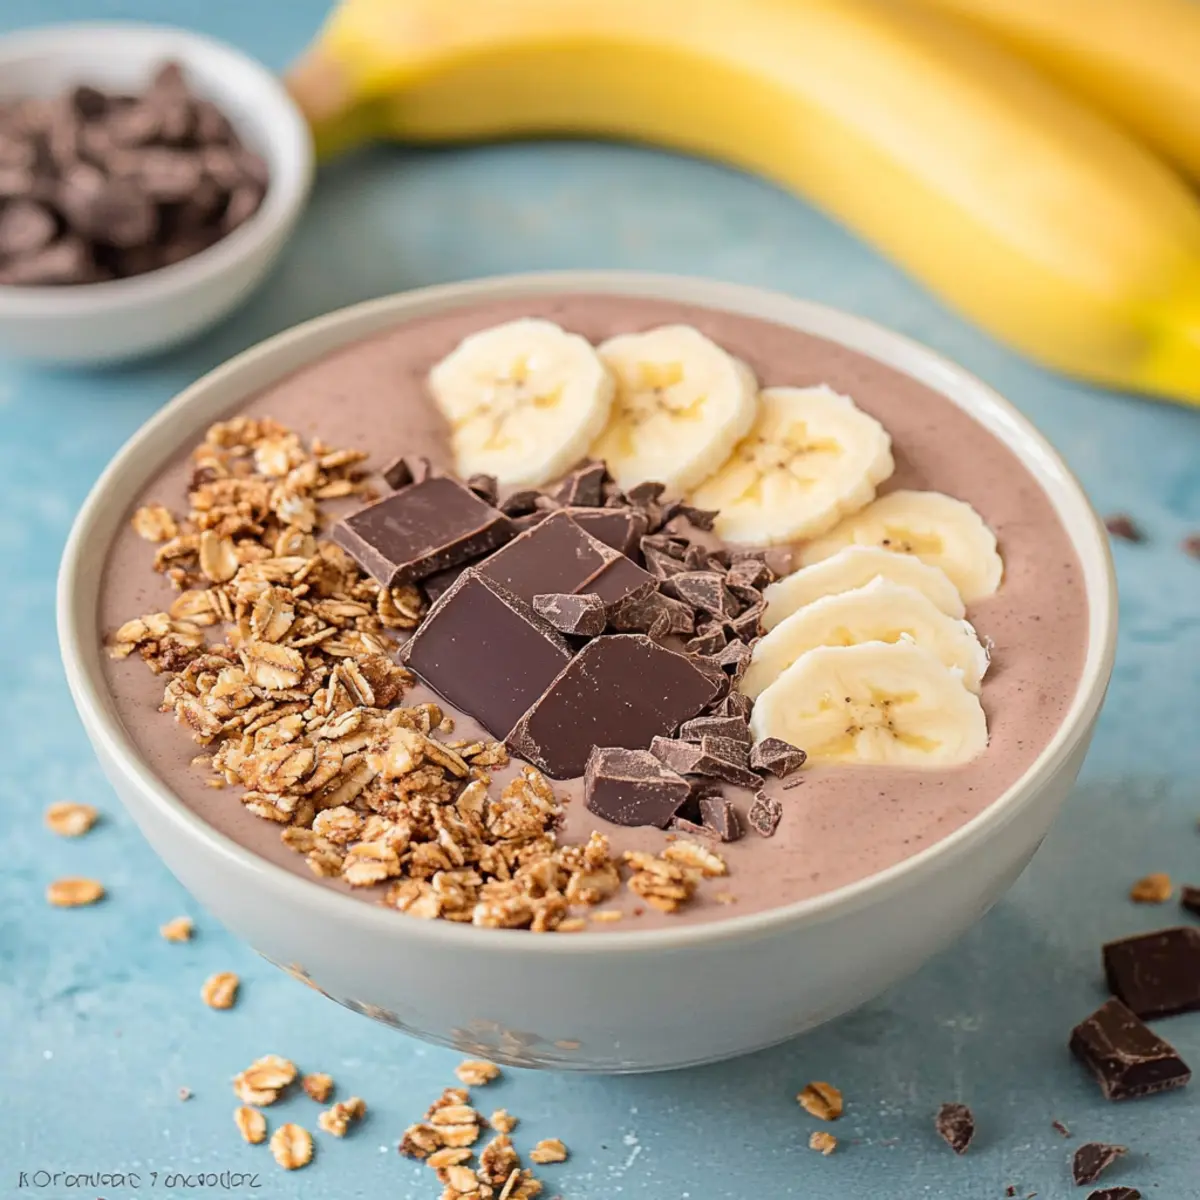
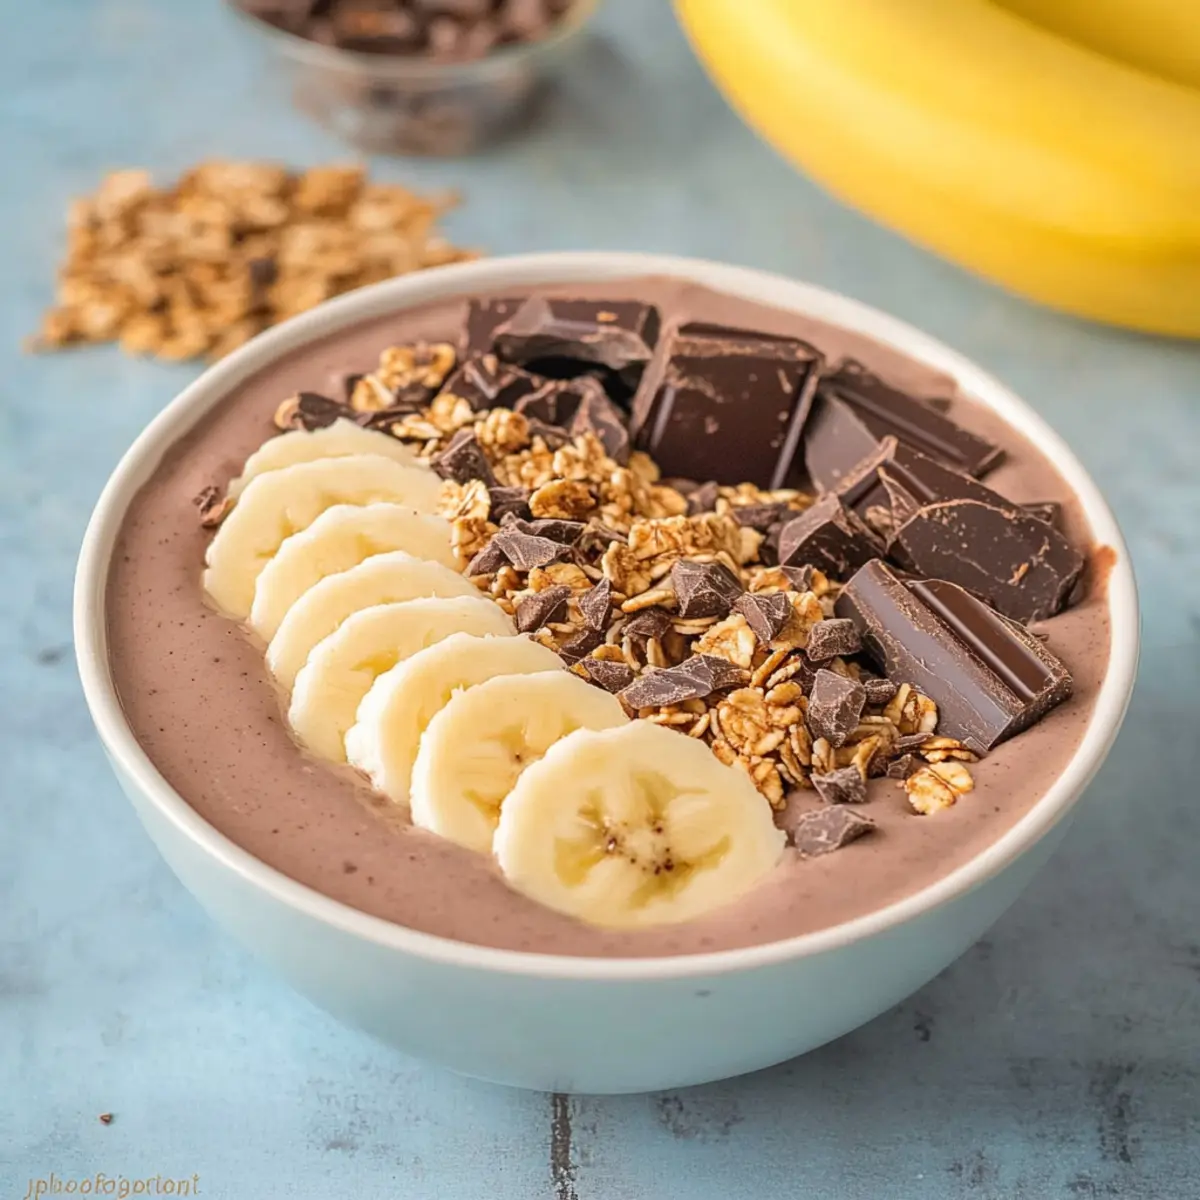
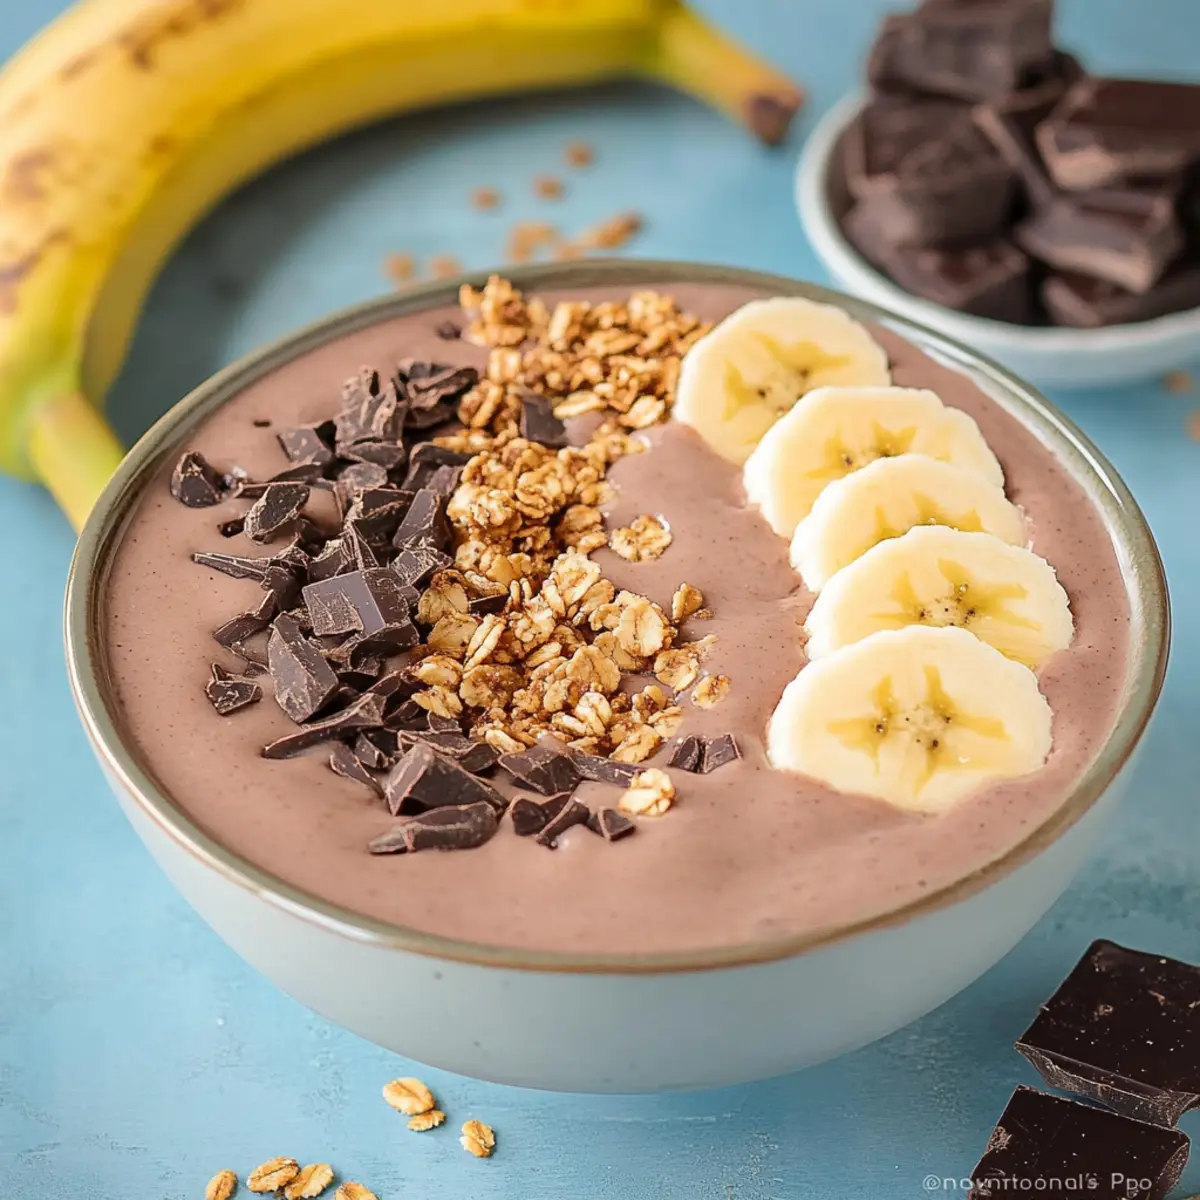
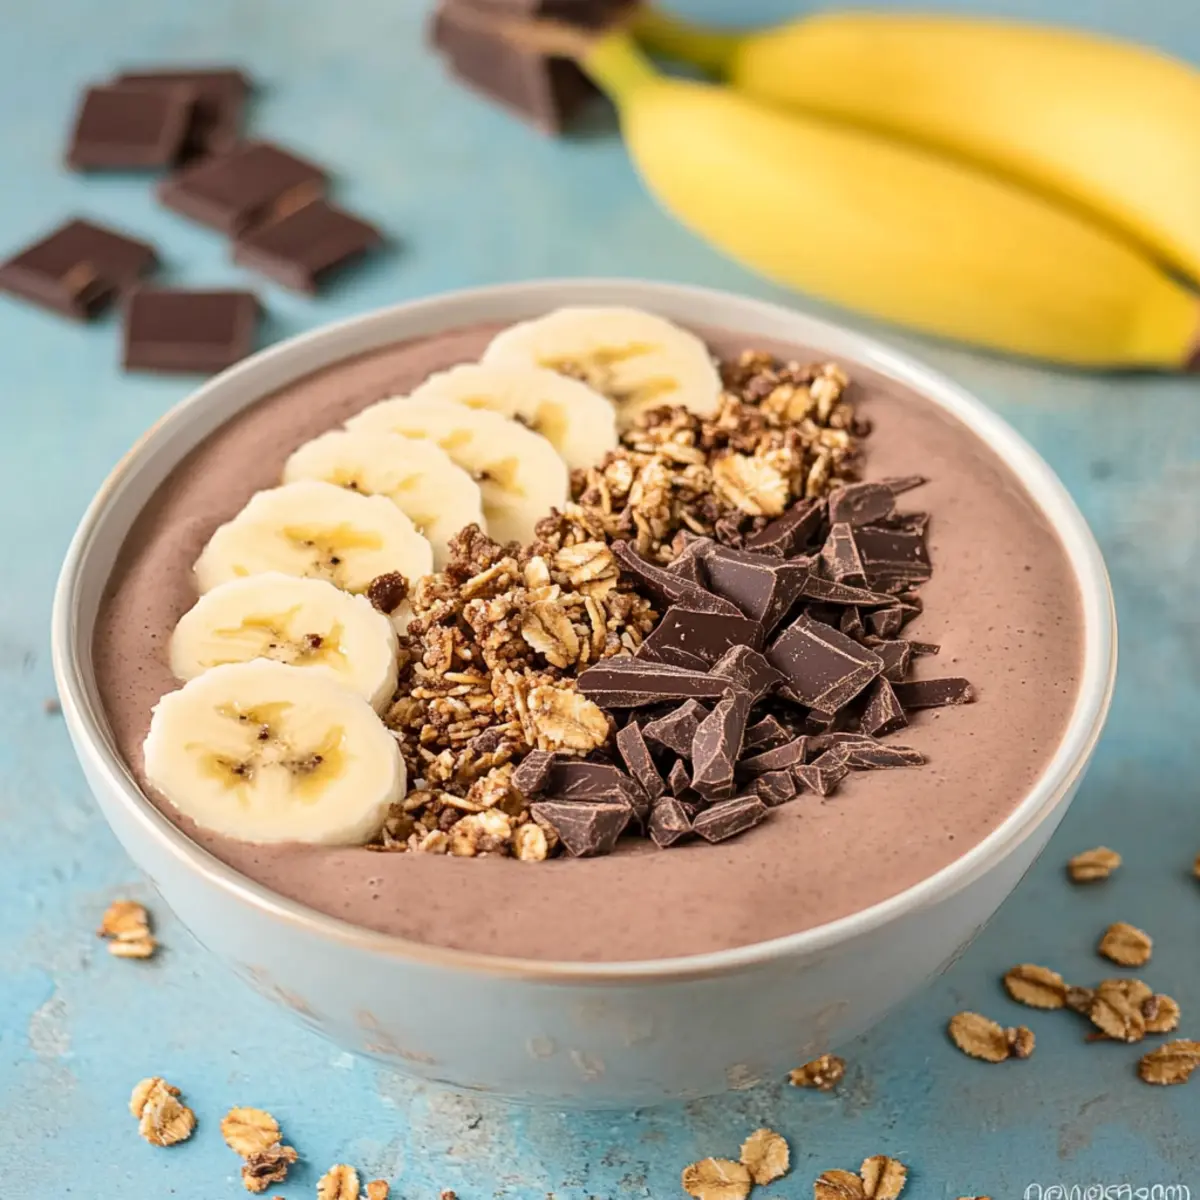
- Granola – Adds a lovely crunch for texture; opt for gluten-free granola if desired.
- Nuts – Use your favorite nuts for extra protein and a hearty feel.
- Bananas – Slice them up for added sweetness and creaminess; they never disappoint!
- Yogurt – Drizzle a dairy-free yogurt on top for an extra creamy element and pleasing tang.
Embrace the magic of this Green Protein Smoothie Bowl, and feel free to let your creativity shine with toppings that you love!
Step‑by‑Step Instructions for Green Protein Smoothie Bowl
Step 1: Blend the Base Ingredients
Start by adding 1 cup of coconut milk to a high-speed blender, followed by 1 cup of baby spinach, 1 cup of frozen mango, 1/2 cup of frozen zucchini slices, 1/2 cup of frozen avocado, and 1 scoop of vanilla protein powder. Secure the lid tightly and blend on high for 30-45 seconds, until the mixture is smooth and creamy, with a vibrant green hue.
Step 2: Check the Consistency
After blending, pause to check the consistency of your Green Protein Smoothie Bowl. If it's too thick for your liking, add a little more coconut milk, about 2 tablespoons at a time, then blend again for around 10 seconds. The goal is a luscious, thick texture that will hold up beautifully when poured into a bowl.
Step 3: Pour into a Serving Bowl
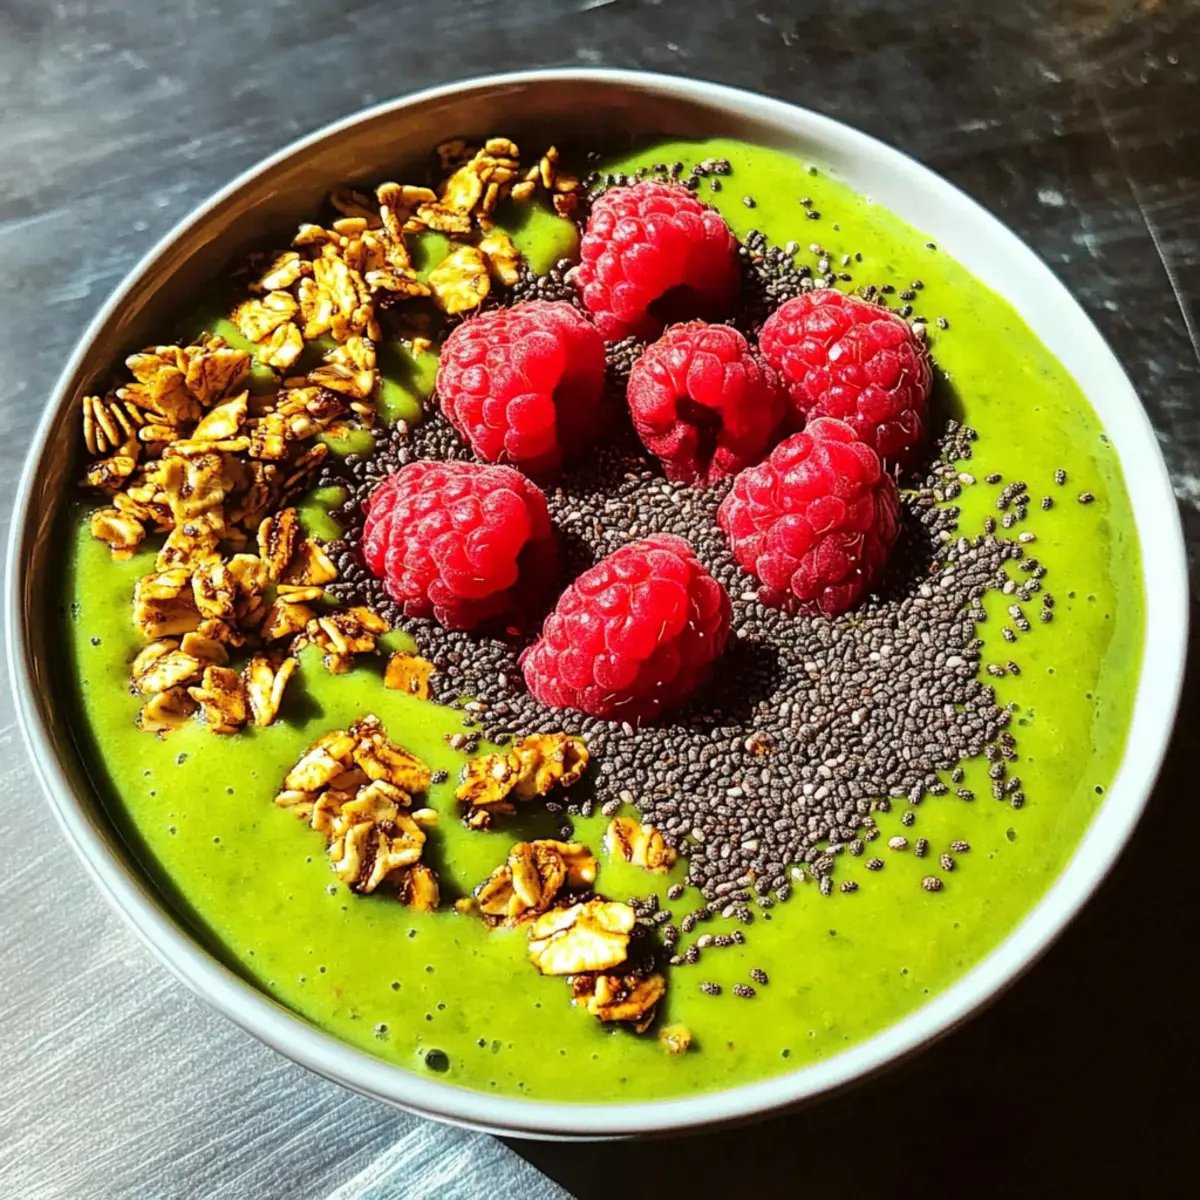
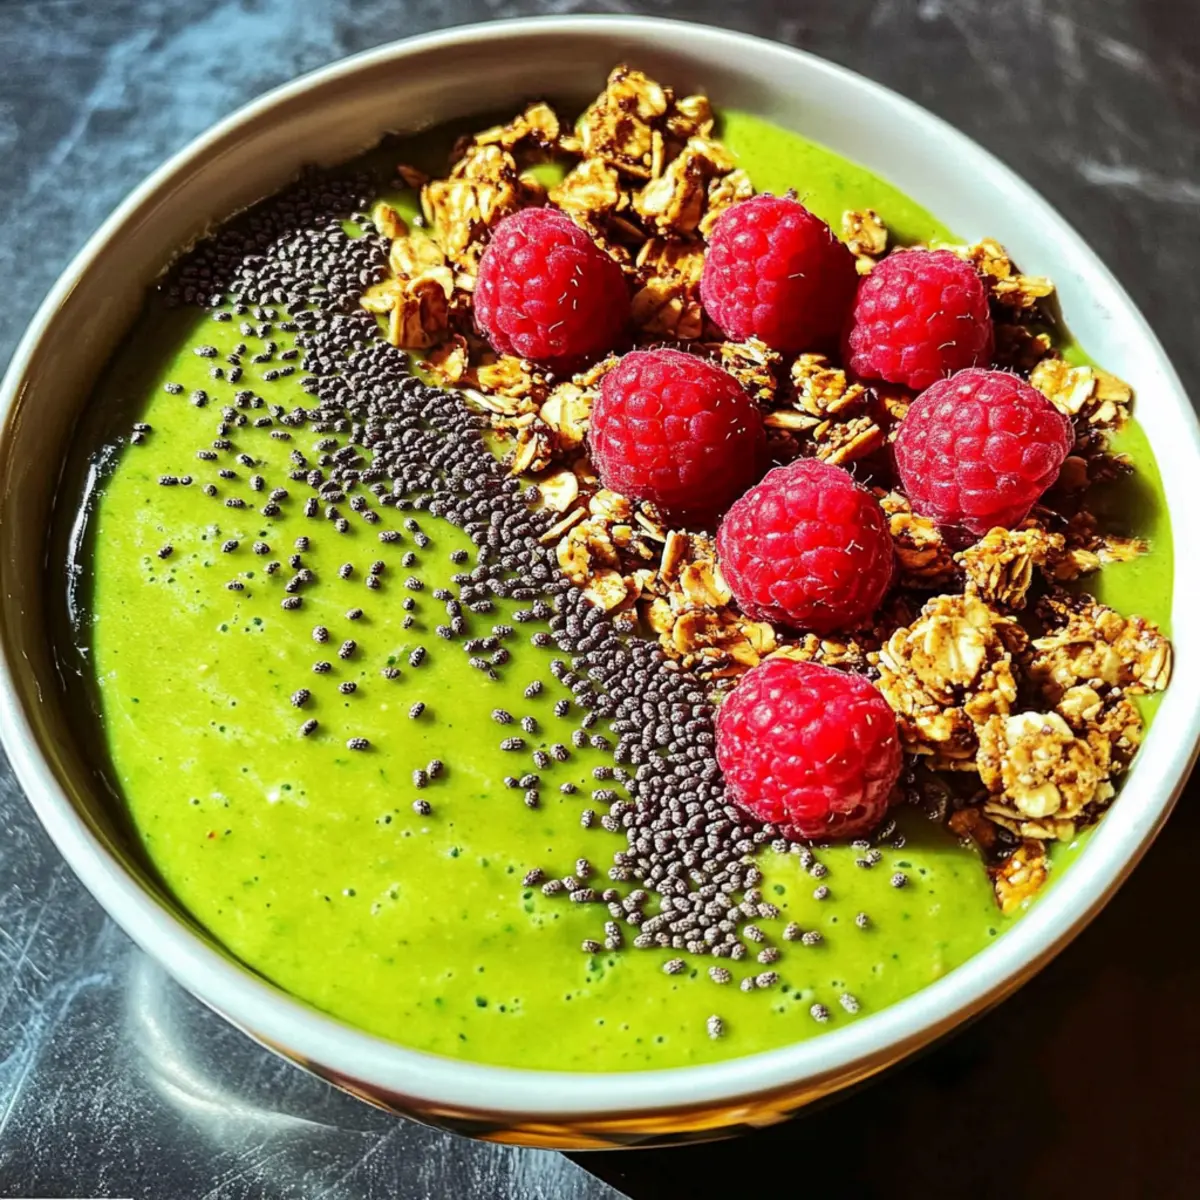
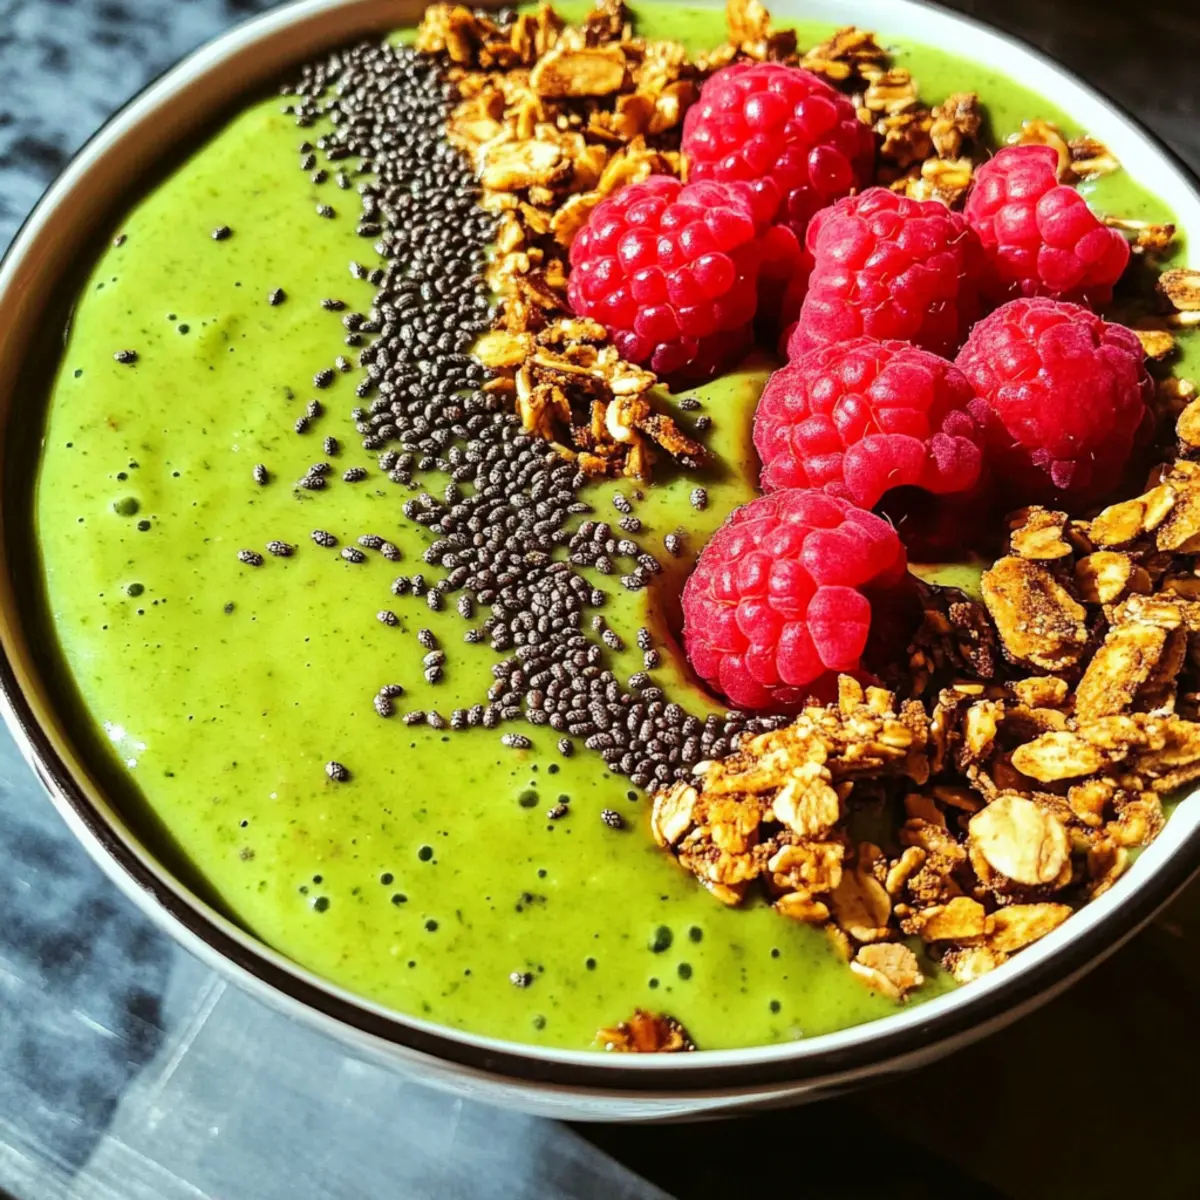
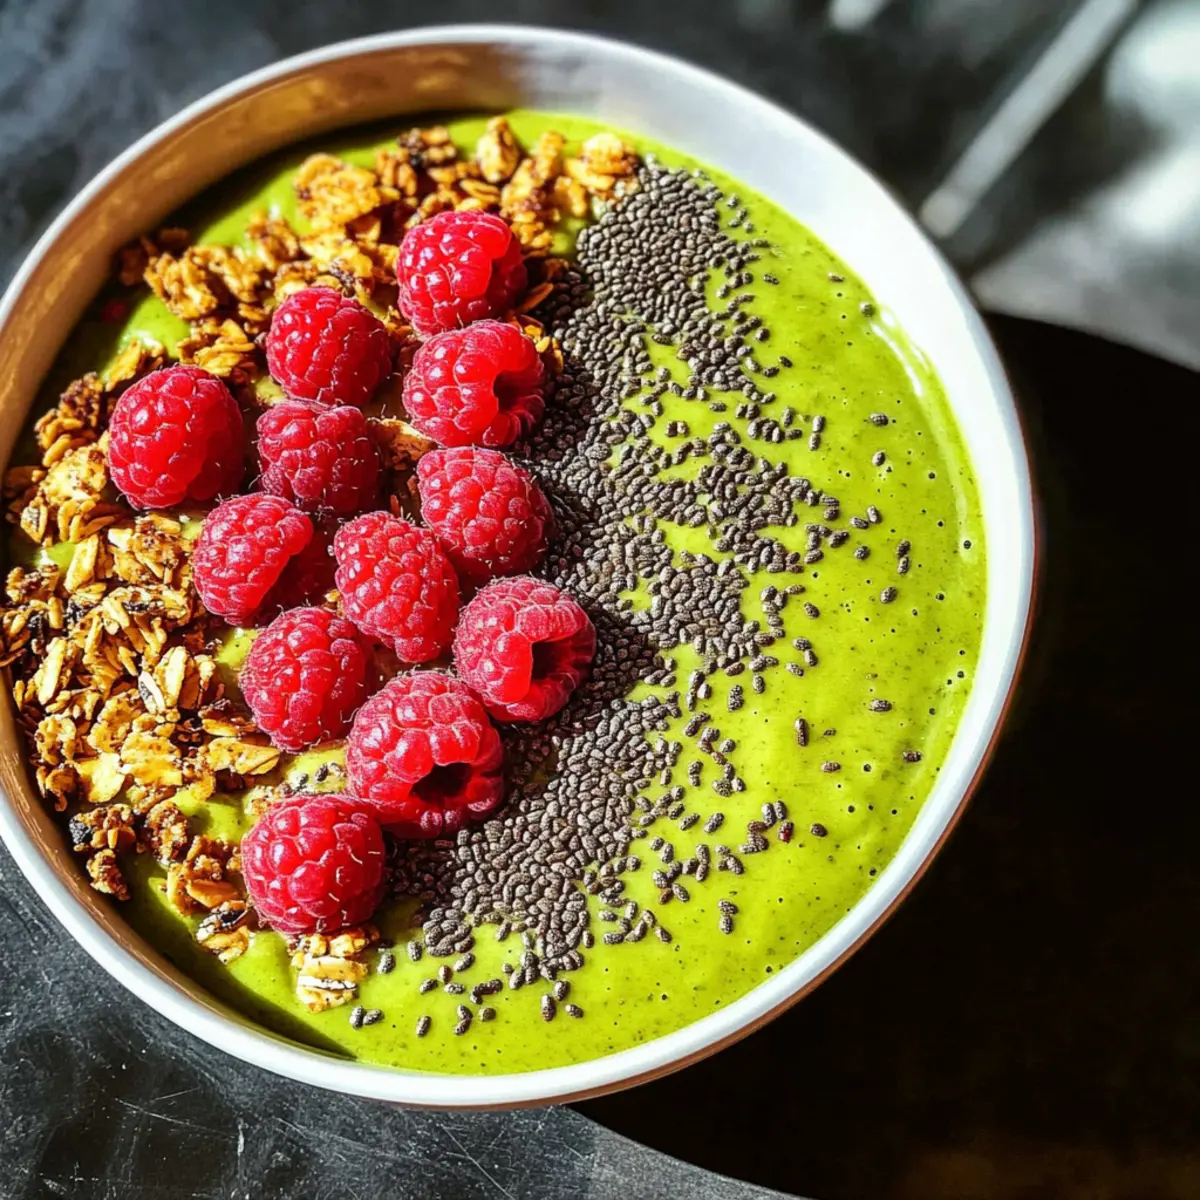
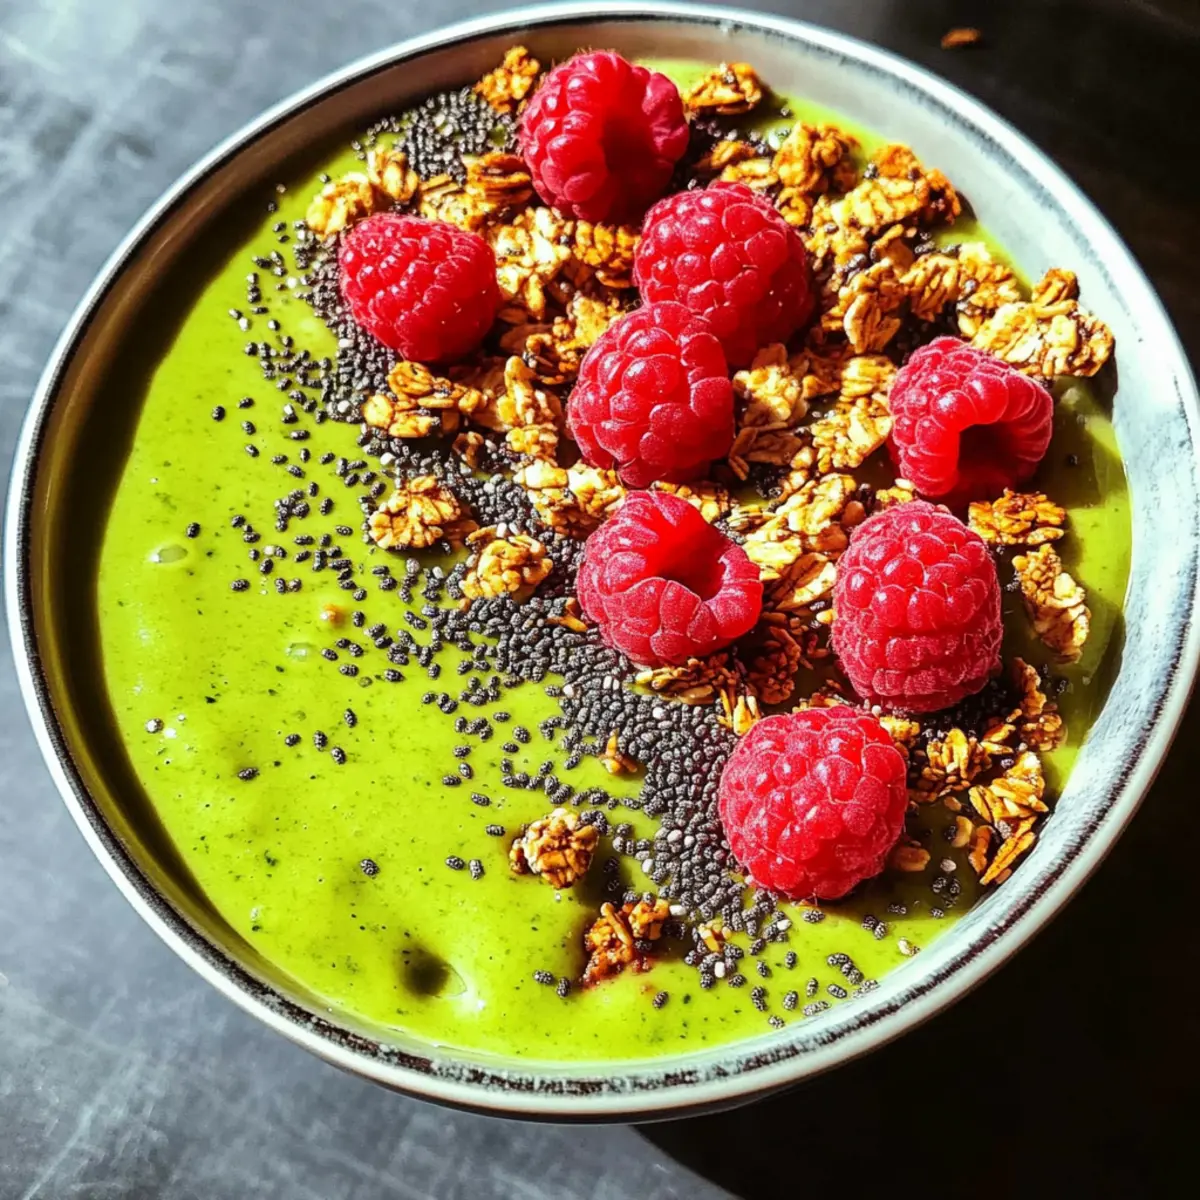
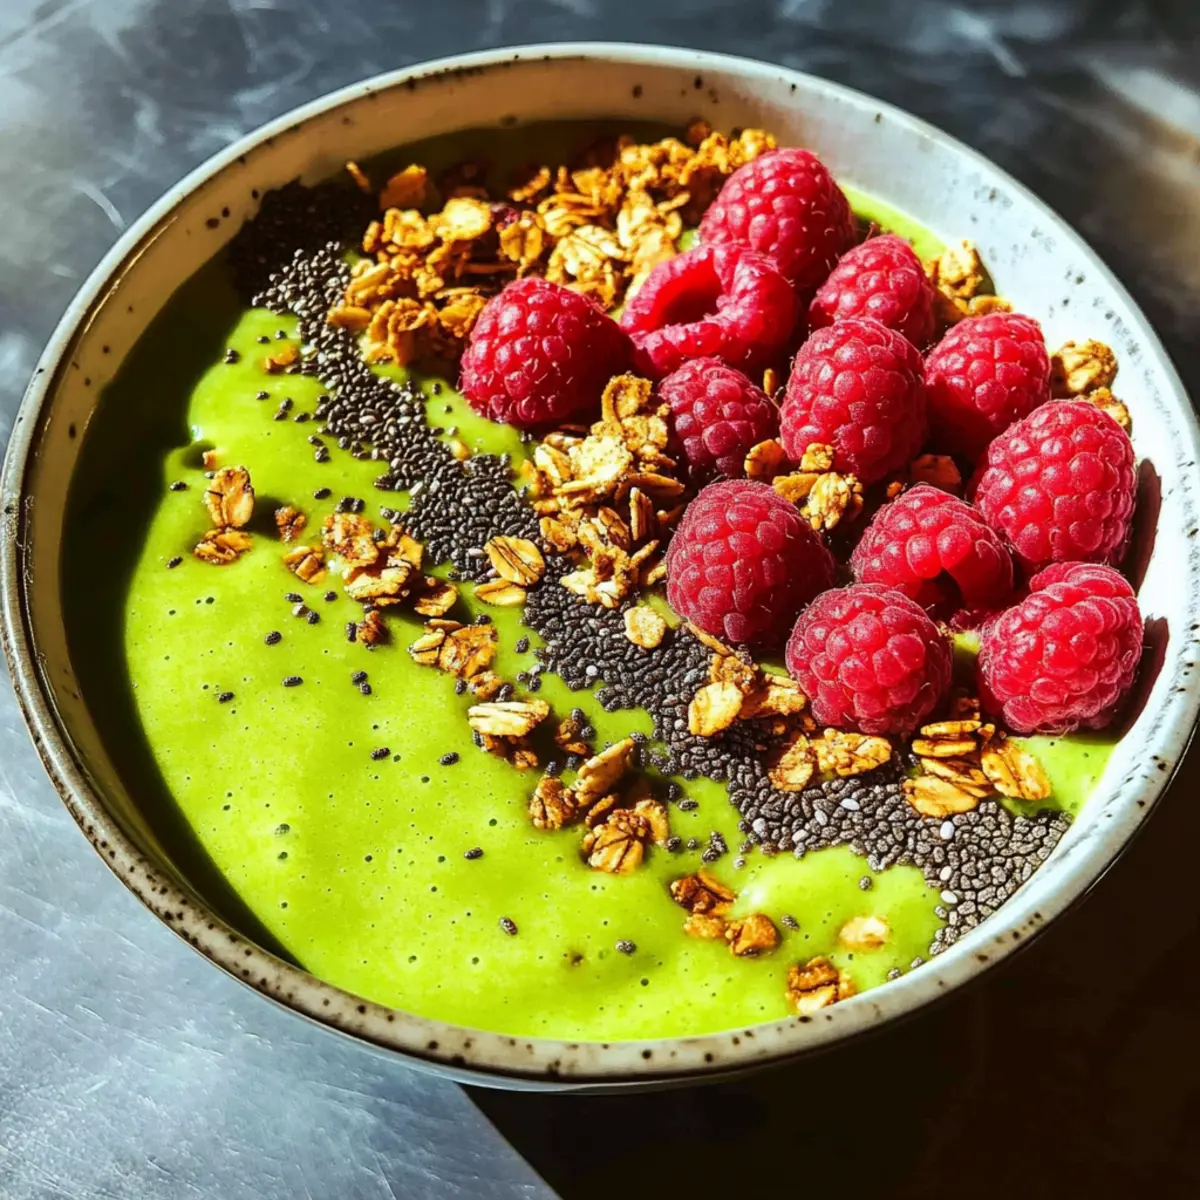
Once your smoothie has reached the desired creamy consistency, carefully pour it into your favorite bowl. Use a rubber spatula if necessary to scrape down the sides of the blender and ensure you don’t waste any of this delicious green goodness. The vibrant color will be a feast for the eyes as you prepare to add your toppings.
Step 4: Add Toppings for Texture and Flavor
Now comes the fun part—adding toppings to your Green Protein Smoothie Bowl! Sprinkle a tablespoon of chia seeds for a nutritional boost, followed by a handful of fresh raspberries for a pop of color and flavor. Add a generous sprinkle of granola, a few banana slices, and if desired, a dollop of dairy-free yogurt to create a delightful mix of textures.
Step 5: Serve Immediately
Your Green Protein Smoothie Bowl is ready to be savored! Enjoy it immediately to maintain the perfect texture. Grab a spoon and dig into the creamy, nutrient-packed bowl, relishing every bite of this quick and healthy meal, perfect for breakfast or a refreshing snack.
Expert Tips for the Best Green Protein Smoothie Bowl
-
Choose Quality Ingredients: Fresh, ripe fruits and high-quality protein powder make all the difference in flavor and nutrition. Opt for organic when possible!
-
Perfect Texture: To achieve a creamy consistency, ensure your blender is powerful enough to handle frozen ingredients. Don't hesitate to adjust the coconut milk amount for desired thickness.
-
Avoid Overloading: Stick to recommended quantities for each ingredient to prevent a watery smoothie bowl. Too much liquid can dilute the vibrant flavors of your green protein smoothie bowl.
-
Prep Ahead: For busy mornings, pre-portion your smoothie ingredients in freezer bags. Just grab a bag, blend, and enjoy!
-
Topping Variety: Don't be afraid to experiment with different toppings each time you make your smoothie bowl! Seasonal fruits, nuts, and seeds can give you a new experience.
-
Immediate Enjoyment: Enjoy your smoothie bowl right after preparation to maintain optimal texture and freshness. If storing leftovers, re-blend with a bit of coconut milk before serving again.
Make Ahead Options
These Green Protein Smoothie Bowls are perfect for meal prep, saving you precious time on busy mornings! You can blend the smoothie base (coconut milk, spinach, mango, zucchini, avocado, and protein powder) up to 24 hours in advance and store it in an airtight container in the refrigerator. To maintain its delicious quality, give it a good shake before serving; if it's thickened, add a splash of coconut milk and re-blend for a creamy consistency. You can also prepare and portion out your toppings, like chia seeds and granola, in advance so everything is ready to go when you're ready to indulge in this nutritious treat. Enjoying a nutritious breakfast has never been easier!
Green Protein Smoothie Bowl Variations
Feel free to get creative with your smoothie bowl to make it uniquely yours!
-
Dairy-Free Delight: Substitute the coconut milk with almond or oat milk for a different creamy flavor.
-
Tasty Greens: Swap baby spinach for kale or swiss chard for a heartier taste while keeping it nutritious.
-
Frozen Fruit Fun: Replace frozen mango with frozen pineapple or mixed berries for a different tropical vibe.
-
Zucchini Option: If frozen zucchini isn’t on hand, simply omit it; your bowl will still be delicious without it.
-
Avocado Switch: Fresh avocado can replace frozen avocado; just use more if you prefer a creamier texture.
-
Flavor Boost: Add a tablespoon of nut butter for extra creaminess and a protein punch that will keep you full longer.
-
Bowl Toppings Twist: Try topping with shredded coconut or pomegranate seeds for an unexpected crunch and vibrant flavor.
-
Protein Variation: Use your favorite plant-based protein powder or try a chocolate flavor for a delicious chocolaty twist; it pairs perfectly with the greens!
The flexibility of this recipe allows you to enjoy a different experience each time! If you're feeling adventurous, you can also check out my refreshing Pitaya Smoothie Bowl or indulge in the delightful layers of flavor from my Lemon Ricotta Protein Pancakes. Get blending for a creatively satisfying breakfast!
How to Store and Freeze Green Protein Smoothie Bowl
-
Room Temperature: It's best to avoid keeping the smoothie bowl at room temperature, as it can quickly lose its freshness and texture.
-
Fridge: Leftovers can be stored in an airtight container in the refrigerator for up to 24 hours. For best results, re-blend with a splash of coconut milk before serving to restore creaminess.
-
Freezer: If you want to extend its life, pour the smoothie mixture into ice cube trays or freezer bags and freeze for up to a month. Thaw in the fridge overnight or blend straight from frozen for a chilly treat.
-
Reheating: Since this is a cold dish, there's no need to reheat it. Just give it a good blend if it's been frozen or stored to bring back that delightful texture of your Green Protein Smoothie Bowl.
What to Serve with Creamy Green Protein Smoothie Bowl
Elevate your meal experience with delightful pairings that enhance the nourishing essence of this creamy bowl.
-
Toasted Whole Grain Bread: Its nutty flavor and crunchy texture make a perfect companion to your smoothie bowl, providing a satisfying crunch.
-
Tropical Fruit Salad: A refreshing mix of pineapple, kiwi, and passion fruit complements the smoothie’s tropical notes, adding brightness and zing.
-
Vegan Overnight Oats: Creamy oats topped with nuts and berries can add a hearty element, creating a balanced and nourishing breakfast spread.
-
Crispy Roasted Chickpeas: For a protein-packed munch, these crunchy bites bring a savory contrast that’s both satisfying and nutritious.
-
Herbal Tea: A light peppermint or chamomile tea would harmonize well, offering a soothing beverage option to balance the vibrant flavors of your bowl.
-
Nut Butter Energy Balls: These bites of goodness provide an extra energy boost, and their rich, nutty flavor perfectly complements the smoothie’s creaminess.
-
Dairy-Free Yogurt Parfait: Layered with granola and fresh fruits, this parfait adds a delightful crunch and a touch of creaminess, marrying well with the smoothie bowl’s texture.
-
Lemon Water: Infused with fresh herbs like mint, this refreshing drink cleanses the palate and harmonizes beautifully with the vibrant flavors of your smoothie.
Green Protein Smoothie Bowl Recipe FAQs
How do I choose the ripeness of my ingredients?
Absolutely! When selecting your fruits and greens, aim for bright, unblemished produce. Choose ripe avocados that yield slightly to gentle pressure, and mangoes that have a sweet aroma and give a little when pressed. For greens like baby spinach, look for crisp leaves that are vibrant without any dark spots.
What’s the best way to store leftovers?
To store leftover Green Protein Smoothie Bowl, transfer the mixture into an airtight container and refrigerate. It’s best if consumed within 24 hours to maintain flavor and texture. Just before serving, give it a re-blend with a splash of coconut milk to refresh its creamy consistency.
Can I freeze the smoothie bowl?
Yes! To freeze your Green Protein Smoothie Bowl, pour the mixture into ice cube trays or freezer-safe bags. It can be frozen for up to 3 months. When you're ready, simply thaw overnight in the fridge or blend straight from frozen if you want an ultra-cold treat!
What if the smoothie bowl is too thick?
No worries! If your smoothie mixture turns out too thick, you can easily adjust it. Begin by adding 2 tablespoons of coconut milk, then blend for another 10 seconds. Repeat this process until you reach your desired creamy consistency. Remember, a little liquid goes a long way!
Are there any ingredient substitutions for allergies?
Very much so! If you or someone you're serving has allergies, consider using nut-free milk alternatives in place of coconut milk, like oat milk or hemp milk. If nut allergies are a concern, skip the nuts in the toppings and opt for seeds such as pumpkin seeds or sunflower seeds for crunch without worry.
Is this smoothie bowl pet-friendly?
While the Green Protein Smoothie Bowl is loaded with healthy ingredients for us, it’s best not to share it with pets. Ingredients like avocado can be toxic to dogs, so stick to pet-friendly treats for your furry friends!
Energizing Green Protein Smoothie Bowl for a Fresh Start
Ingredients
Equipment
Method
- Start by adding 1 cup of coconut milk to a high-speed blender, followed by 1 cup of baby spinach, 1 cup of frozen mango, 1/2 cup of frozen zucchini slices, 1/2 cup of frozen avocado, and 1 scoop of vanilla protein powder. Secure the lid tightly and blend on high for 30-45 seconds, until the mixture is smooth and creamy.
- After blending, check the consistency. If it's too thick, add a little more coconut milk, about 2 tablespoons at a time, and blend again for around 10 seconds.
- Once your smoothie has reached the desired consistency, carefully pour it into your favorite bowl.
- Now add toppings: sprinkle a tablespoon of chia seeds, a handful of fresh raspberries, a generous sprinkle of granola, a few banana slices, and a dollop of dairy-free yogurt.
- Your Green Protein Smoothie Bowl is ready to be enjoyed immediately for the best texture.