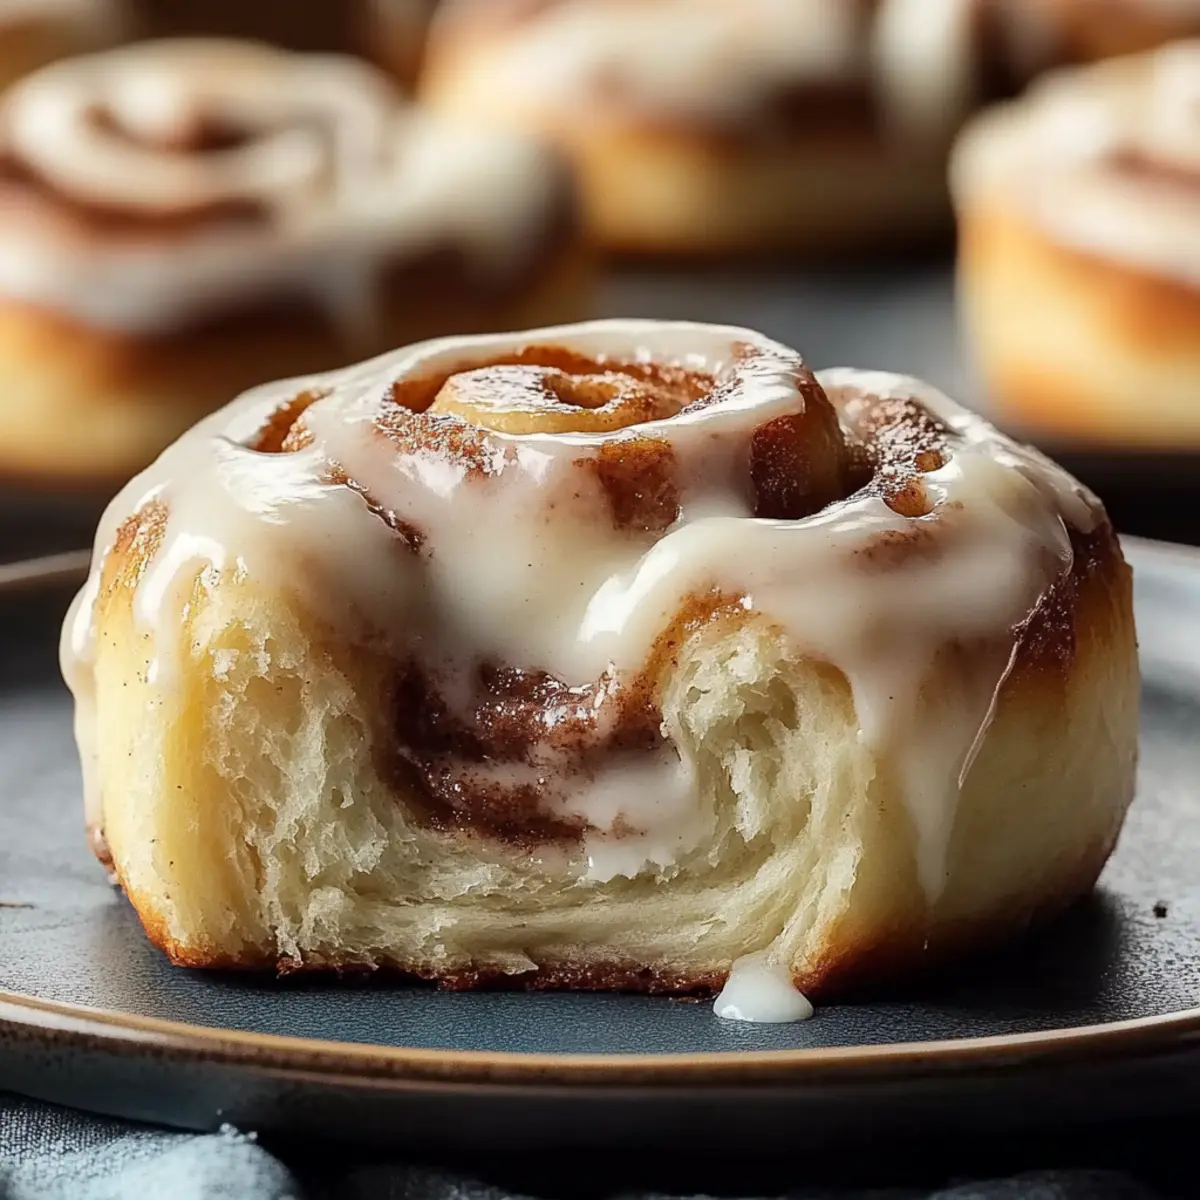
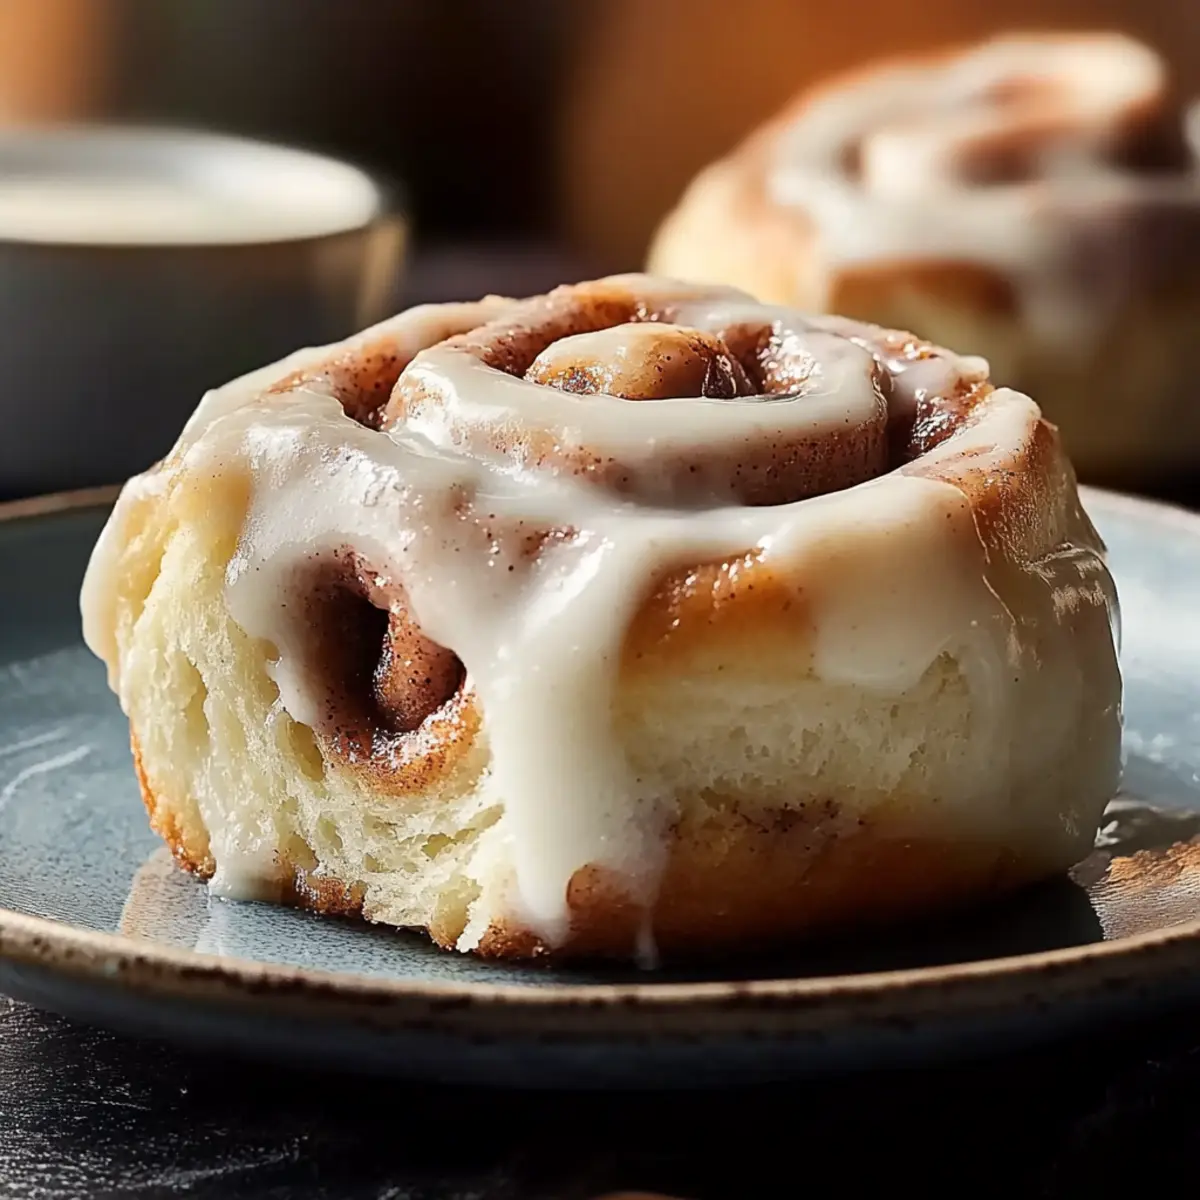
The moment I cracked open the oven door, I was greeted by the divine smell of cinnamon swirling through my kitchen—a scent that instantly transports me to my childhood. This Cinnamon Rolls Recipe is my secret weapon for turning any ordinary day into a cozy celebration, perfect for breakfast, brunch, or a sweet snack. Not only are these rolls soft, fluffy, and irresistibly gooey, but they also require minimal effort, making them a delightful treat for both novice bakers and seasoned pros. Whether you're hosting a weekend gathering or simply indulging yourself, these homemade cinnamon rolls promise a melt-in-your-mouth experience that will leave everyone asking for seconds. Ready to fill your home with that heavenly aroma? Let’s roll!
Why Are These Cinnamon Rolls Irresistible?
Unmatched Gooeyness: These cinnamon rolls are oozing with sweetness in every bite, giving you that delightful melt-in-your-mouth experience.
Simple to Make: Even if you're a beginner, this recipe makes it easy to impress friends and family with minimal fuss.
A Versatile Treat: Enjoy these rolls for breakfast, brunch, or as a sweet snack with your favorite coffee or tea!
Make-Ahead Convenience: Plan your mornings effortlessly by prepping the rolls the night before—wake up to fresh-baked bliss!
Satisfying Aroma: Just one whiff of cinnamon wafting through your home will elevate your mood and create the perfect cozy atmosphere, inviting everyone to gather around.
Don't forget to check out my Pumpkin Cinnamon Roll recipe for a festive twist on a classic!
Cinnamon Rolls Recipe Ingredients
Here’s everything you need to create the most irresistible cinnamon rolls!
For the Dough
- Whole Milk – Provides moisture and softness to the dough; warm to about 110°F to activate yeast.
- Active Dry Yeast – A leavening agent that helps the dough rise; ensure it blooms by sprinkling over warm milk.
- Granulated Sugar – Sweetens the dough and filling; essential for browning during baking.
- Eggs – Provide structure and richness; use one whole egg and an additional yolk for added tenderness.
- Unsalted Butter – Adds flavor and moisture to the dough (melted) and filling, contributing to that gooey center.
- All-Purpose Flour – Main structural component of the dough; can substitute with bread flour for a chewier texture.
- Salt – Enhances flavor and strengthens the dough.
For the Filling
- Brown Sugar – Adds rich sweetness and deeper flavor to the filling, enhancing the overall experience.
- Ground Cinnamon – The key flavor for the filling, imbuing warmth and a characteristic taste.
For the Frosting
- Cream Cheese – The base for the frosting; provides tanginess and creaminess to balance the sweetness.
- Powdered Sugar – Sweetens and thickens the frosting to perfection, making it irresistible on warm rolls.
With this Cinnamon Rolls Recipe, you can create bakery-quality rolls that promise a melt-in-your-mouth experience with every bite!
Step‑by‑Step Instructions for Cinnamon Rolls Recipe
Step 1: Prepare the Dough
Warm the whole milk to about 110°F to activate the yeast, then sprinkle the active dry yeast and a tablespoon of granulated sugar over it. Allow it to bloom for 5-10 minutes until frothy. In a mixing bowl, combine the melted unsalted butter, one whole egg, an additional egg yolk, flour, and salt. Mix until combined, then knead the dough for 7-8 minutes until smooth and elastic.
Step 2: First Rise
Grease a large bowl with a little melted butter or oil and place the kneaded dough inside, turning to coat. Cover the bowl with a clean kitchen towel and let it rise in a warm area for 60-90 minutes, or until the dough has doubled in size. You’ll know it’s ready when it springs back slightly when gently poked.
Step 3: Make Filling
While the dough is rising, prepare the cinnamon filling. In a small bowl, combine melted butter, brown sugar, and ground cinnamon to form a thick paste. Mix until smooth and cohesive, making sure it's well combined to ensure each roll has that sweet, gooey center. Set this delicious mixture aside as you wait for the dough to rise.
Step 4: Shape Rolls
Once the dough has risen, punch it down gently to release air and turn it onto a lightly floured surface. Roll it out into an 18x12-inch rectangle, ensuring even thickness. Spread the prepared cinnamon filling evenly across the dough, leaving a small border around the edges. Tightly roll the dough into a log, then slice into 12 equal pieces using a sharp knife or dental floss.
Step 5: Second Rise
Grease a baking pan and place the sliced cinnamon rolls next to each other, cut sides up. Cover the pan with a towel and let the rolls rise for another 30-45 minutes until puffy. As they rise, preheat your oven to 375°F, ensuring a hot environment for baking that perfect Cinnamon Rolls Recipe.
Step 6: Bake
Once the rolls have risen and look beautifully puffy, place them in the preheated oven. Bake for 20-25 minutes, or until they are golden brown on top and the centers are cooked through. Check for doneness at around 20 minutes, and keep an eye on them to avoid overbaking.
Step 7: Prepare Frosting
While the rolls cool for a few minutes, make the frosting. In a bowl, beat together cream cheese and softened unsalted butter until smooth and creamy. Gradually add powdered sugar and a splash of vanilla extract, mixing until well combined and fluffy. This creamy topping will balance the sweetness of your cinnamon rolls perfectly.
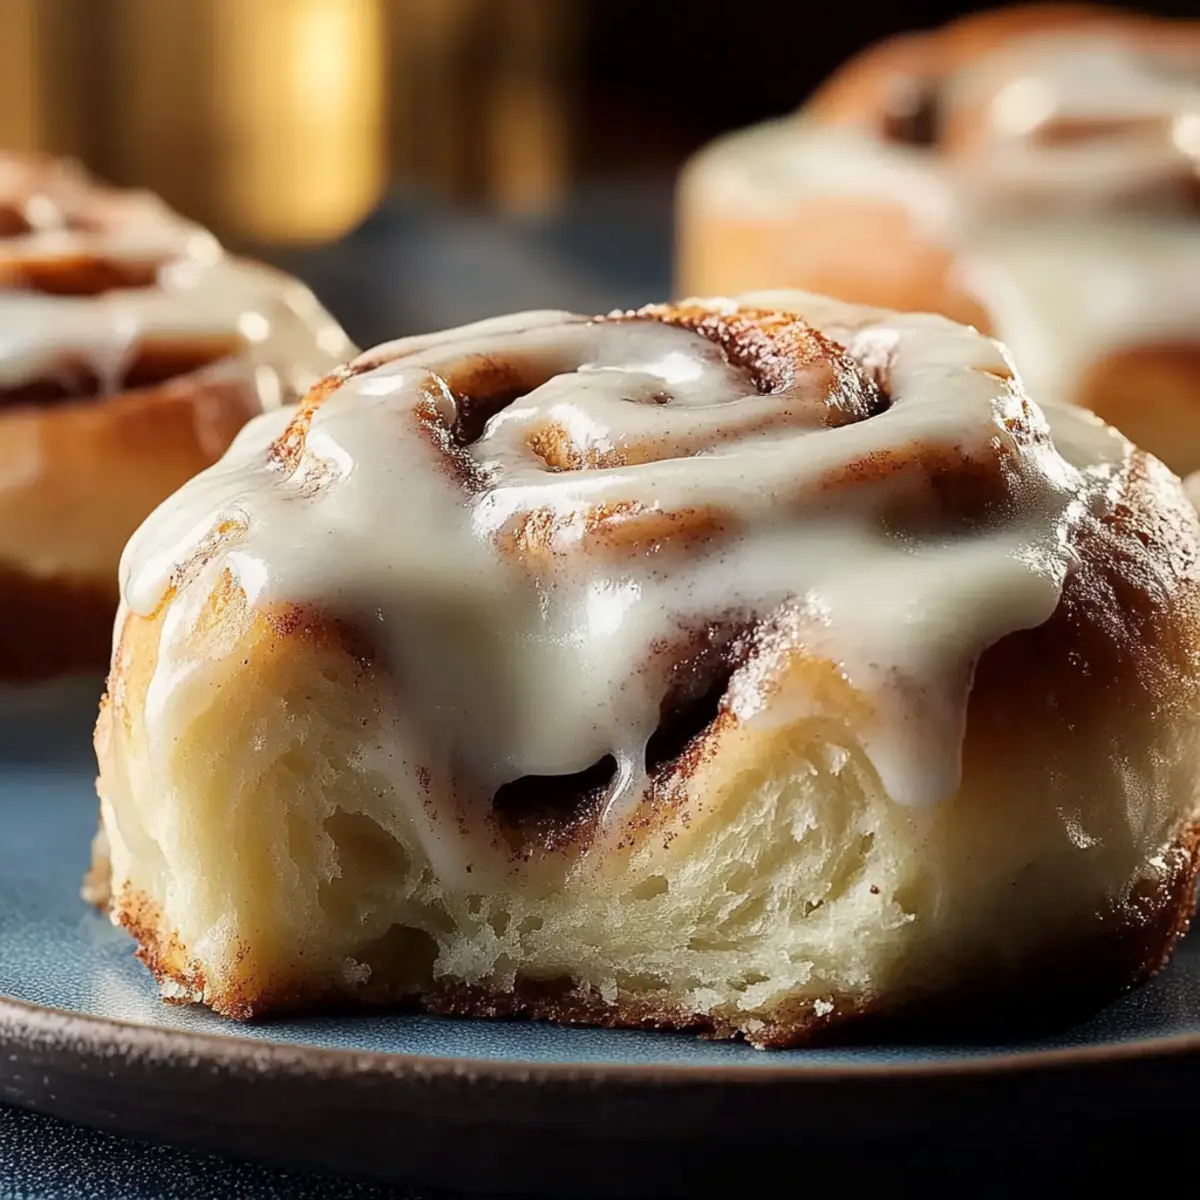
Step 8: Frost and Serve
Once the cinnamon rolls are slightly cooled, generously spread the cream cheese frosting over the top while they're still warm. This allows the frosting to melt slightly into the rolls, creating a deliciously gooey topping. Serve your warm, frosted cinnamon rolls and watch as everyone enjoys this delightful homemade Cinnamon Rolls Recipe!
What to Serve with Ultimate Homemade Cinnamon Rolls
Elevate your cinnamon roll experience by pairing them with delightful accompaniments that will make your meal truly special.
- Fresh Fruit Salad: A medley of vibrant fruits adds a refreshing contrast to the rich sweetness of cinnamon rolls, making for a balanced breakfast.
- Scrambled Eggs: Fluffy, soft scrambled eggs provide protein and creaminess, pleasantly offsetting the gooeyness of the rolls.
- Savory Breakfast Potatoes: Crispy, seasoned potatoes bring a satisfying crunch and hearty texture that complements the soft rolls perfectly.
- Maple Syrup Drizzle: A pour of warm maple syrup over your cinnamon rolls enhances their sweetness, creating a luxurious brunch treat.
- Coffee or Tea: A steaming cup of coffee or your favorite tea enhances the cozy ambiance, providing a delightful contrast to the sweet rolls.
- Creamy Yogurt Parfait: Layered with granola and berries, yogurt adds a tangy twist that balances the sweetness of your gooey cinnamon rolls.
- Whipped Cream Topping: Light and airy whipped cream, lightly sweetened, can take your cinnamon rolls to the next level of indulgence.
- Homemade Hot Chocolate: A rich cup of hot chocolate envelops you in warmth, creating a comforting pairing with the gooey cinnamon rolls.
Storage Tips for Cinnamon Rolls Recipe
Room Temperature: Store leftover cinnamon rolls in an airtight container at room temperature for up to 3 days to maintain their softness and gooeyness.
Fridge: If you want to keep them fresh for longer, refrigerate the rolls for up to a week. Just ensure they're in an airtight container to prevent drying out.
Freezer: For longer storage, freeze the cinnamon rolls in a single layer, then transfer to a freezer bag for up to 3 months. They can be thawed overnight in the fridge before reheating.
Reheating: To enjoy your cinnamon rolls warm, simply wrap them in foil and heat in a 350°F oven for about 10-15 minutes, or microwave for 15-20 seconds until warmed through.
Cinnamon Rolls Recipe Variations
Feel free to get creative with this cinnamon rolls recipe and make it your own with these delightful twists!
-
Flavorful Dough: Swap regular sugar for brown sugar in the dough for added depth and warmth. The subtle difference will enhance the overall flavor profile beautifully.
-
Nutty Delight: Add chopped nuts like walnuts or pecans into the filling for a delightful crunch. This adds an unexpected textural element that pairs perfectly with the gooey cinnamon swirl.
-
Chocolate Chip Surprise: Sprinkle chocolate chips in the filling for a sweet, indulgent upgrade. The melty chocolate melds beautifully with the cinnamon, creating an irresistibly gooey treat.
-
Fruit Fusion: Incorporate fresh or dried fruit, such as raisins or chopped apples, into the filling. The fruity notes provide a refreshing twist that balances the rich flavors of cinnamon and sugar.
-
Decadent Frosting: Mix in a splash of maple syrup or vanilla extract into the cream cheese frosting for an extra flavor boost. This small addition will elevate the frosting, making it even more tempting!
-
Pumpkin Spice Twist: For a seasonal variation, add pumpkin puree to the dough and a sprinkle of pumpkin pie spice to the filling. Fall flavors will embrace you with every delectable bite! Speaking of pumpkin, you might also enjoy my Pumpkin Cinnamon Roll recipe for a festive treat.
-
Spicy Kick: If you love a bit of heat, add a pinch of cayenne or chili powder to the filling. This surprising twist will electrify your taste buds and leave everyone guessing!
-
Glaze Variations: Instead of traditional cream cheese frosting, drizzle the rolls with a simple glaze made from powdered sugar and milk for a lighter option. This keeps the rolls sweet without overwhelming their natural flavors.
Whatever you choose, each variation promises to enhance your homemade cinnamon rolls while satisfying your unique cravings!
Expert Tips for Cinnamon Rolls Recipe
-
Yeast Activation: Always ensure your yeast blooms properly in warm milk; a bubbly, foamy texture means it's good to use, vital for a successful rise.
-
Flour Measurement: Avoid excess flour during kneading by measuring accurately. Use the spoon and level method for soft, fluffy rolls.
-
Rolling Technique: Roll the dough tightly to lock in the filling, preventing it from spilling out during baking and creating beautiful spirals.
-
Cover Tightly: When letting dough rise, cover it well to prevent it from drying out, which can cause uneven textures in your cinnamon rolls.
-
Taste Testing: Don’t shy away from tasting your filling! Adjust sugar or cinnamon based on your preference for sweetness and spice.
-
Storage Tips: For longer freshness, store leftover cinnamon rolls in an airtight container at room temperature for up to 3 days, or refrigerate for longer enjoyment.
Make Ahead Options
These Cinnamon Rolls Recipe are perfect for busy mornings and can be easily prepared ahead of time! You can shape the rolls and refrigerate them up to 24 hours before baking. Simply follow the recipe until you've cut the rolls, then place them in a greased pan, cover tightly with plastic wrap, and refrigerate. To ensure they rise properly, remove them from the fridge and let them sit at room temperature for about 30-60 minutes before baking. This method keeps them just as delicious and fluffy while saving you time on hectic mornings, allowing you to enjoy fresh, warm cinnamon rolls with minimal effort!
Cinnamon Rolls Recipe FAQs
What type of milk is best for the cinnamon rolls?
For the best results in this Cinnamon Rolls Recipe, I recommend using whole milk. It provides the necessary moisture and richness that contributes to a soft and fluffy dough. If you don't have whole milk on hand, 2% milk will also work, though it may yield slightly less rich rolls.
How long can I store leftover cinnamon rolls?
Store leftover cinnamon rolls in an airtight container at room temperature for up to 3 days. If you want them to last longer, refrigerate them for up to a week. Just ensure the container is sealed tightly to keep them from drying out!
Can I freeze cinnamon rolls?
Absolutely! To freeze your cinnamon rolls, let them cool completely after baking. Place them in a single layer on a baking sheet and freeze until solid. Once frozen, transfer them to a freezer bag and store for up to 3 months. When you’re ready to enjoy, thaw them overnight in the fridge, then heat them gently in the oven or microwave.
What if my dough doesn’t rise?
If your dough doesn’t rise, it could be due to inactive yeast. Ensure you're using fresh, active dry yeast that blooms properly in warm milk. After sprinkling yeast over the milk, look for a foamy texture within 5-10 minutes. If it’s not frothy, you may need to start over with fresher yeast.
Can I make these cinnamon rolls ahead of time?
Definitely! You can prepare the dough and roll it into shape the night before. After cutting them into rolls, place them in a greased baking dish, cover tightly, and store in the refrigerator overnight. In the morning, let them rise at room temperature for about 30-45 minutes before baking—perfect for holiday mornings!
Are these rolls suitable for those with allergies?
This Cinnamon Rolls Recipe contains common allergens including eggs, dairy, and gluten. If you or your guests have allergies, I recommend experimenting with dairy-free milk, egg substitutes like flaxseed meal, and gluten-free flour blends. However, keep in mind that the texture and flavor may vary slightly from the original recipe.
Cinnamon Rolls Recipe - Soft, Gooey, and Irresistibly Homemade
Ingredients
Equipment
Method
- Warm the whole milk to about 110°F to activate the yeast, then sprinkle the active dry yeast and a tablespoon of granulated sugar over it. Allow it to bloom for 5-10 minutes until frothy.
- In a mixing bowl, combine the melted unsalted butter, one whole egg, an additional egg yolk, flour, and salt. Mix until combined, then knead the dough for 7-8 minutes until smooth and elastic.
- Grease a large bowl with a little melted butter or oil and place the kneaded dough inside, turning to coat. Cover the bowl with a clean kitchen towel and let it rise in a warm area for 60-90 minutes, or until the dough has doubled in size.
- While the dough is rising, prepare the cinnamon filling. In a small bowl, combine melted butter, brown sugar, and ground cinnamon to form a thick paste.
- Once the dough has risen, punch it down gently to release air and turn it onto a lightly floured surface. Roll it out into an 18x12-inch rectangle.
- Spread the prepared cinnamon filling evenly across the dough, leaving a small border around the edges. Tightly roll the dough into a log, then slice into 12 equal pieces.
- Grease a baking pan and place the sliced cinnamon rolls next to each other. Cover the pan with a towel and let the rolls rise for another 30-45 minutes until puffy.
- As they rise, preheat your oven to 375°F.
- Once the rolls have risen, place them in the preheated oven. Bake for 20-25 minutes, or until golden brown.
- While the rolls cool, make the frosting by beating together cream cheese and softened unsalted butter until smooth. Gradually add powdered sugar and mix until well combined.
- Once the cinnamon rolls are slightly cooled, generously spread the cream cheese frosting over the top.