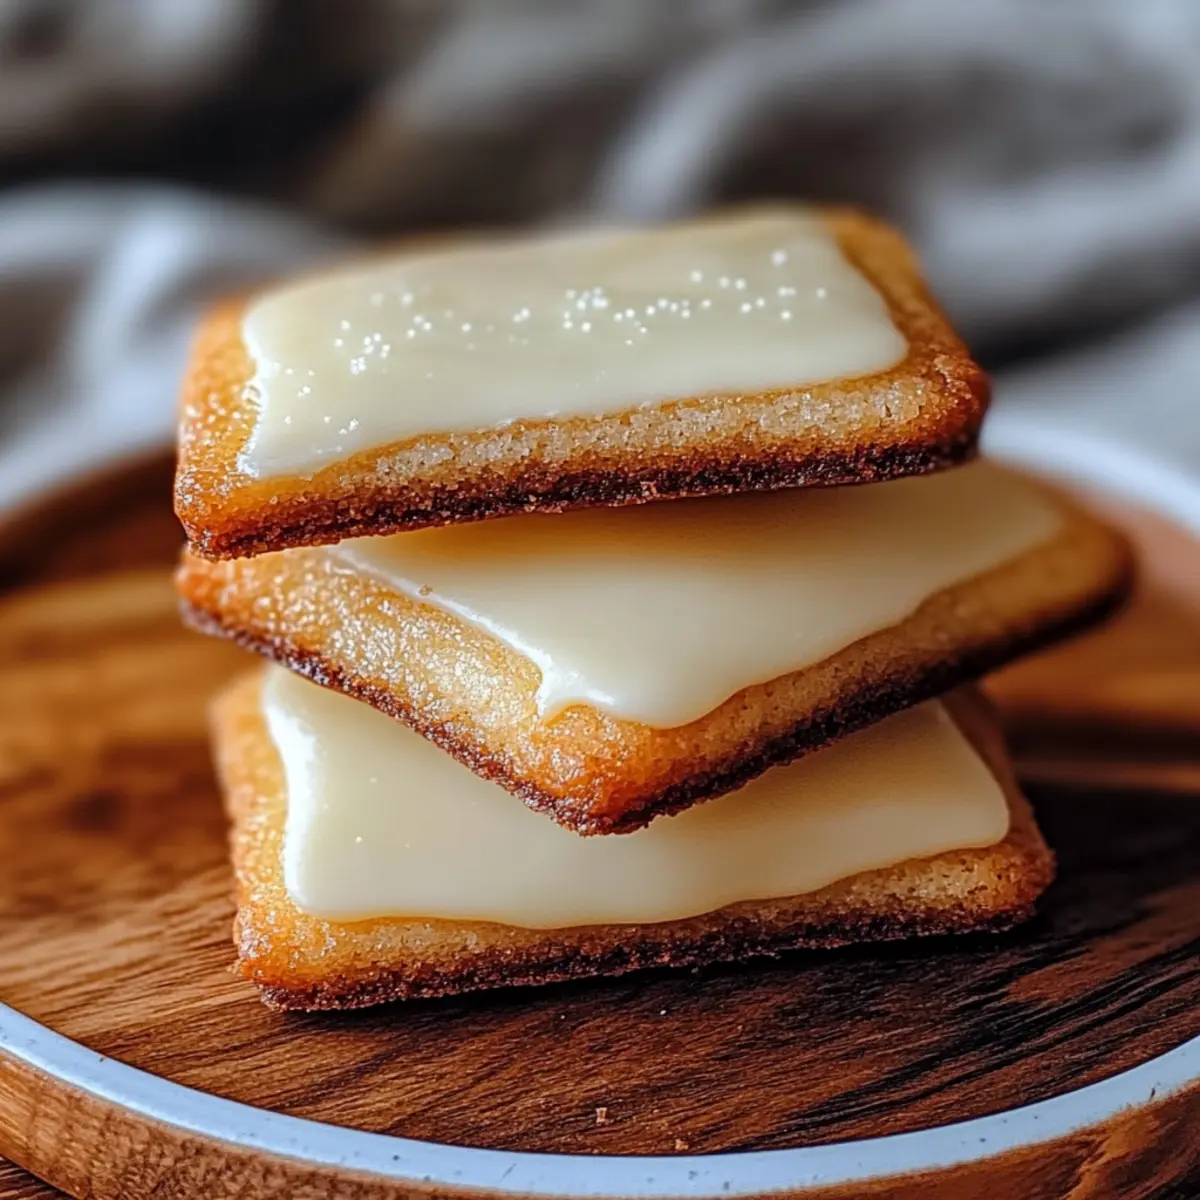
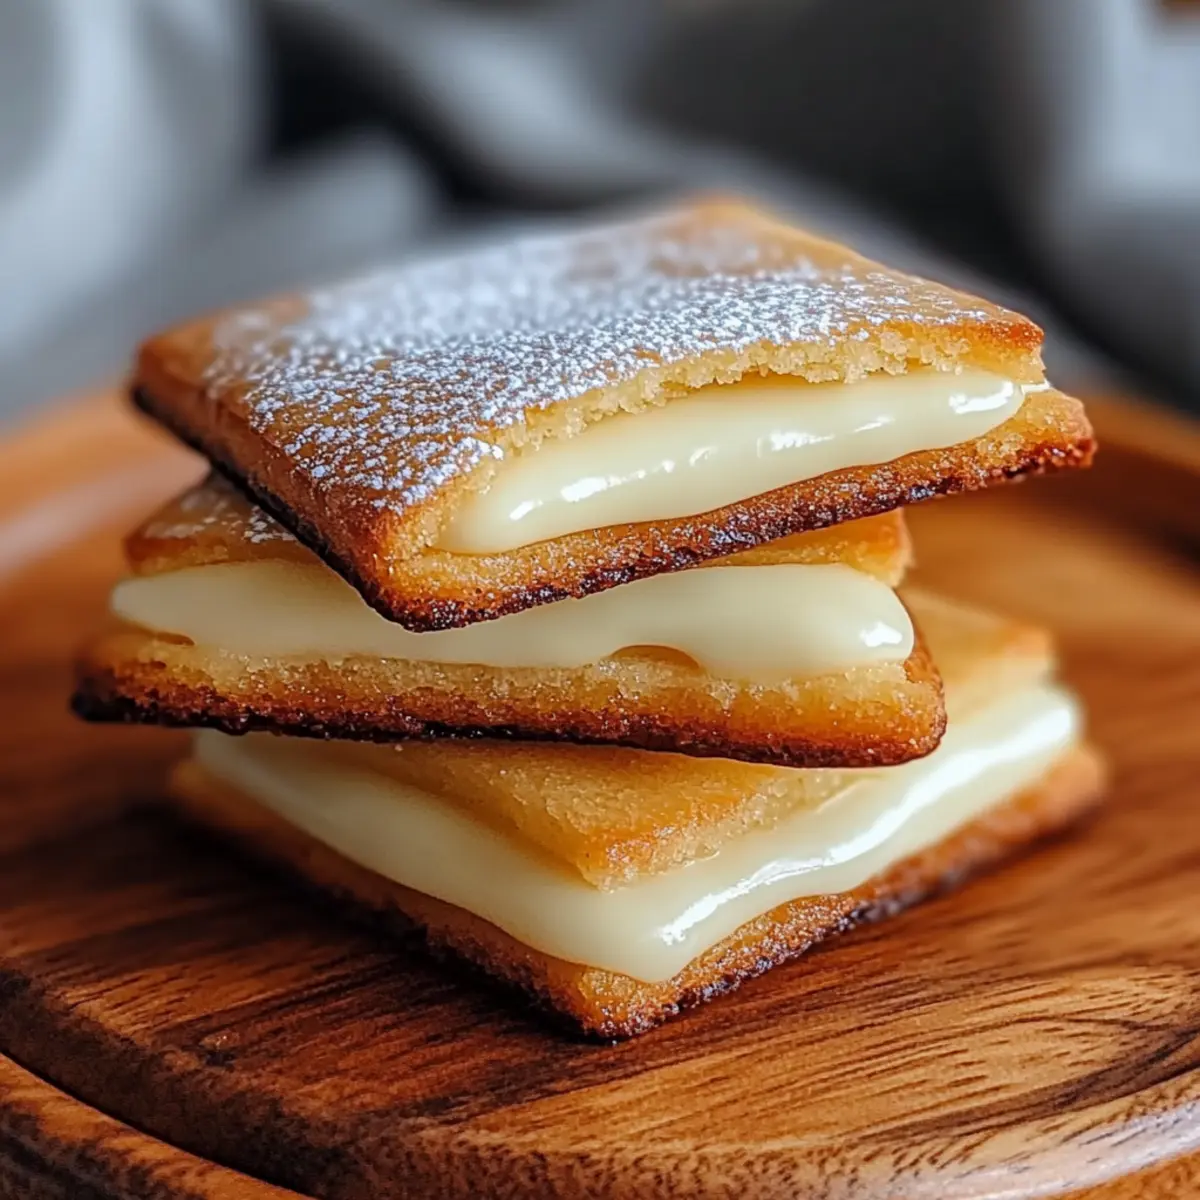
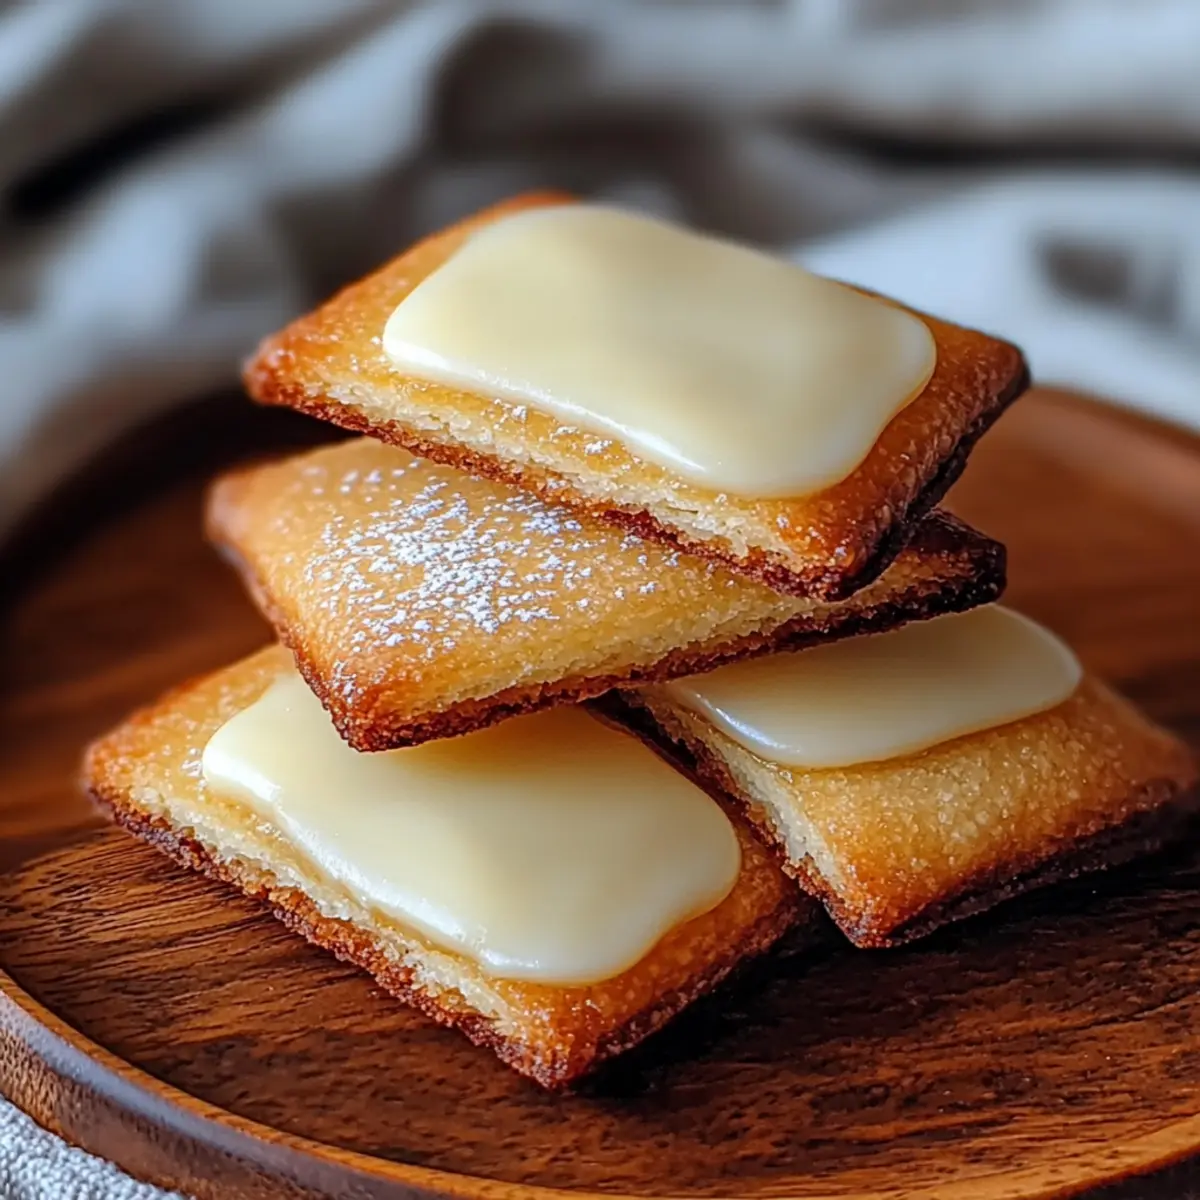
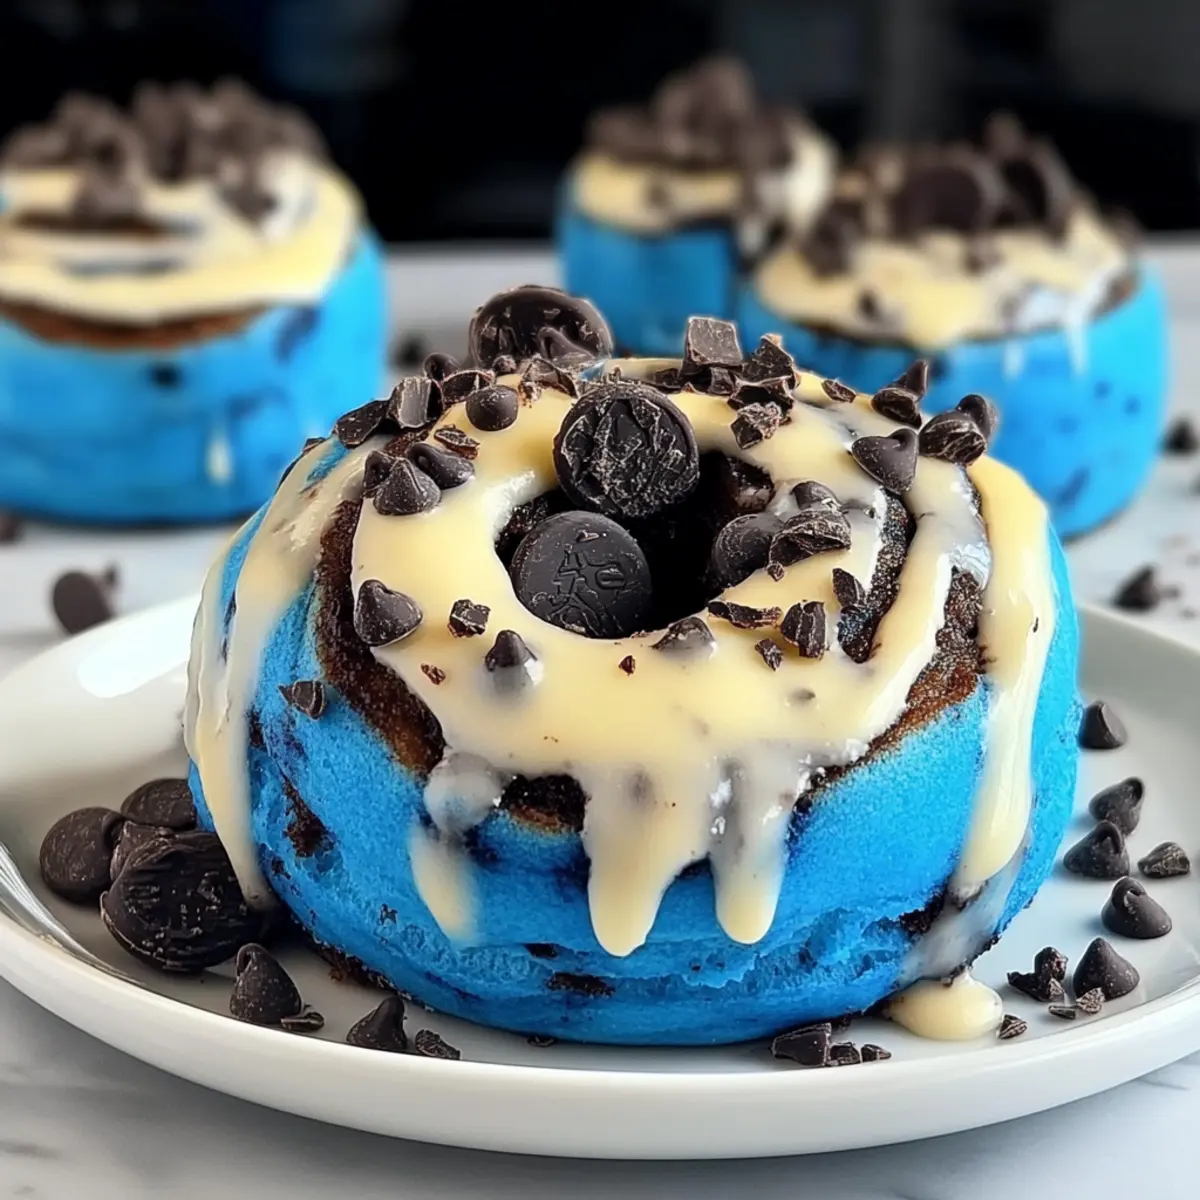
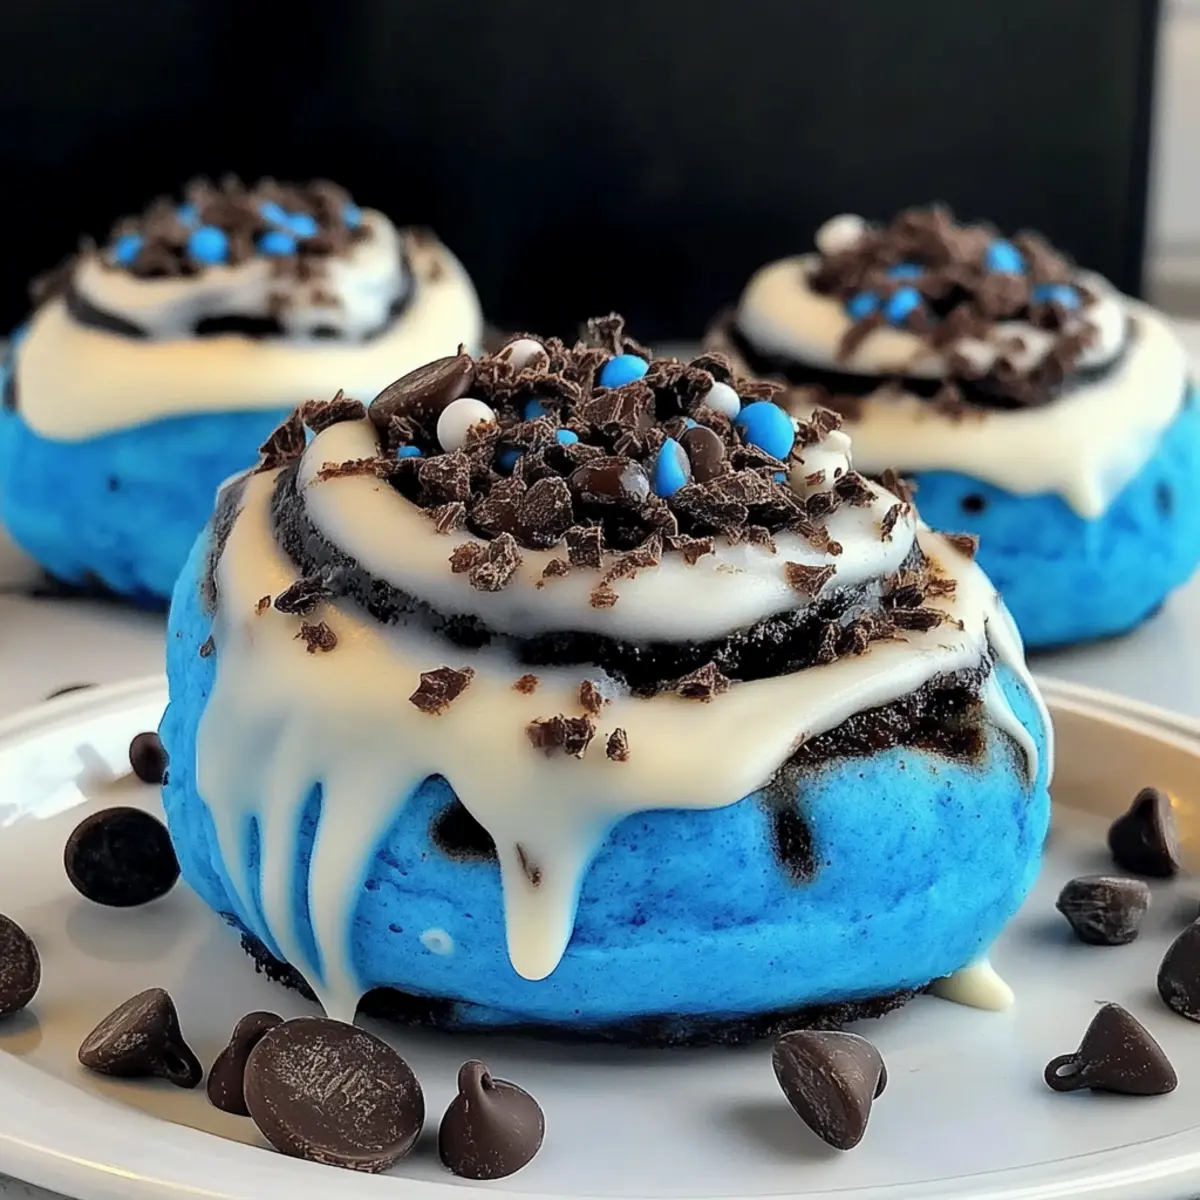
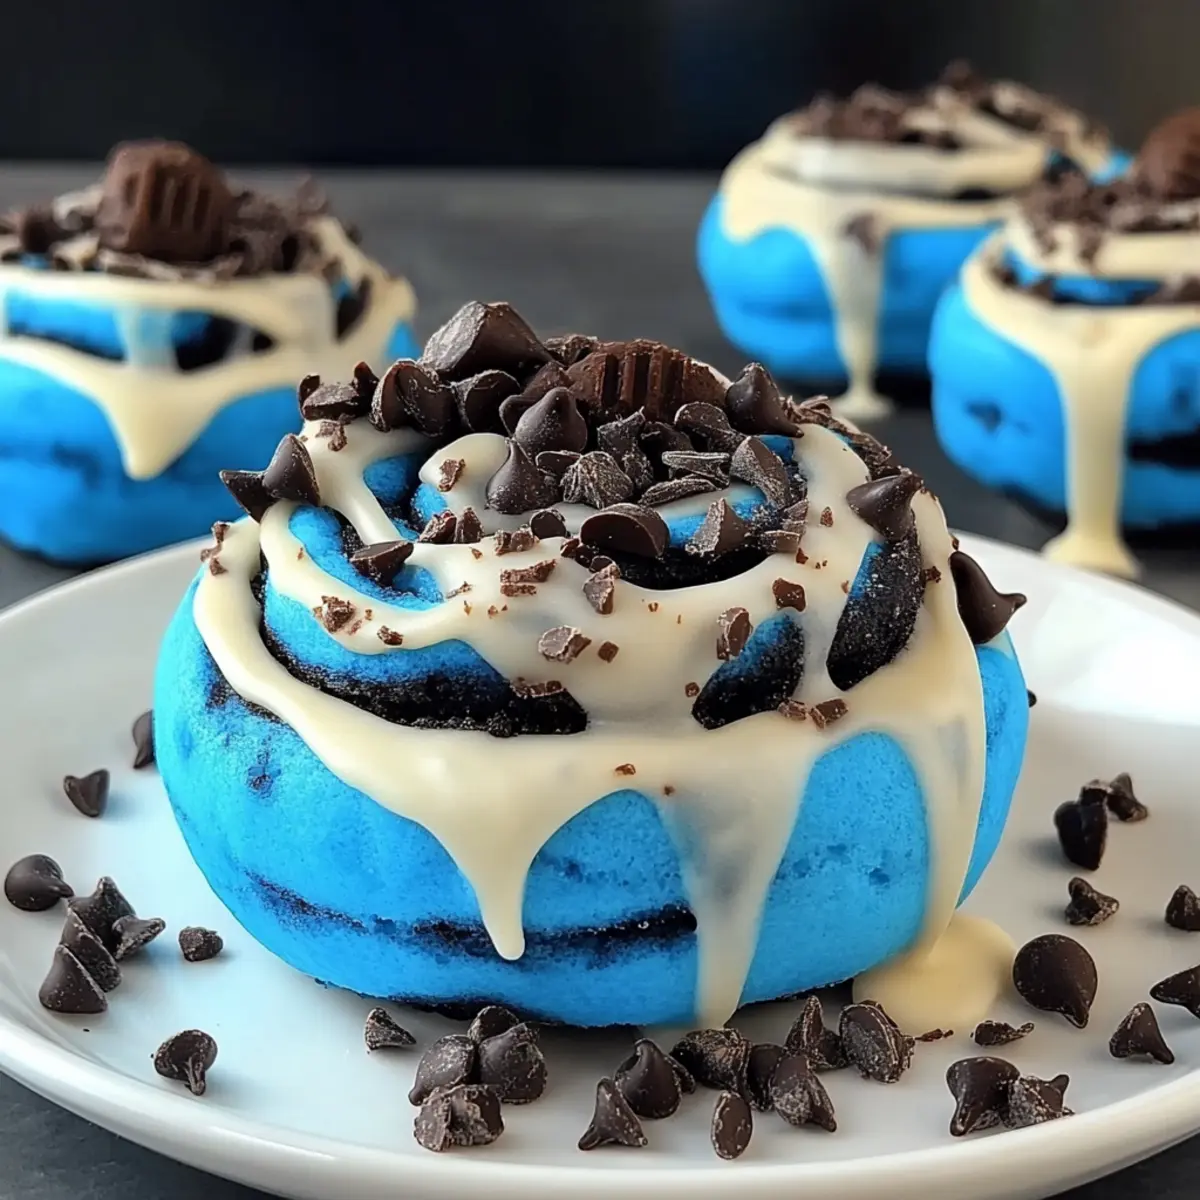
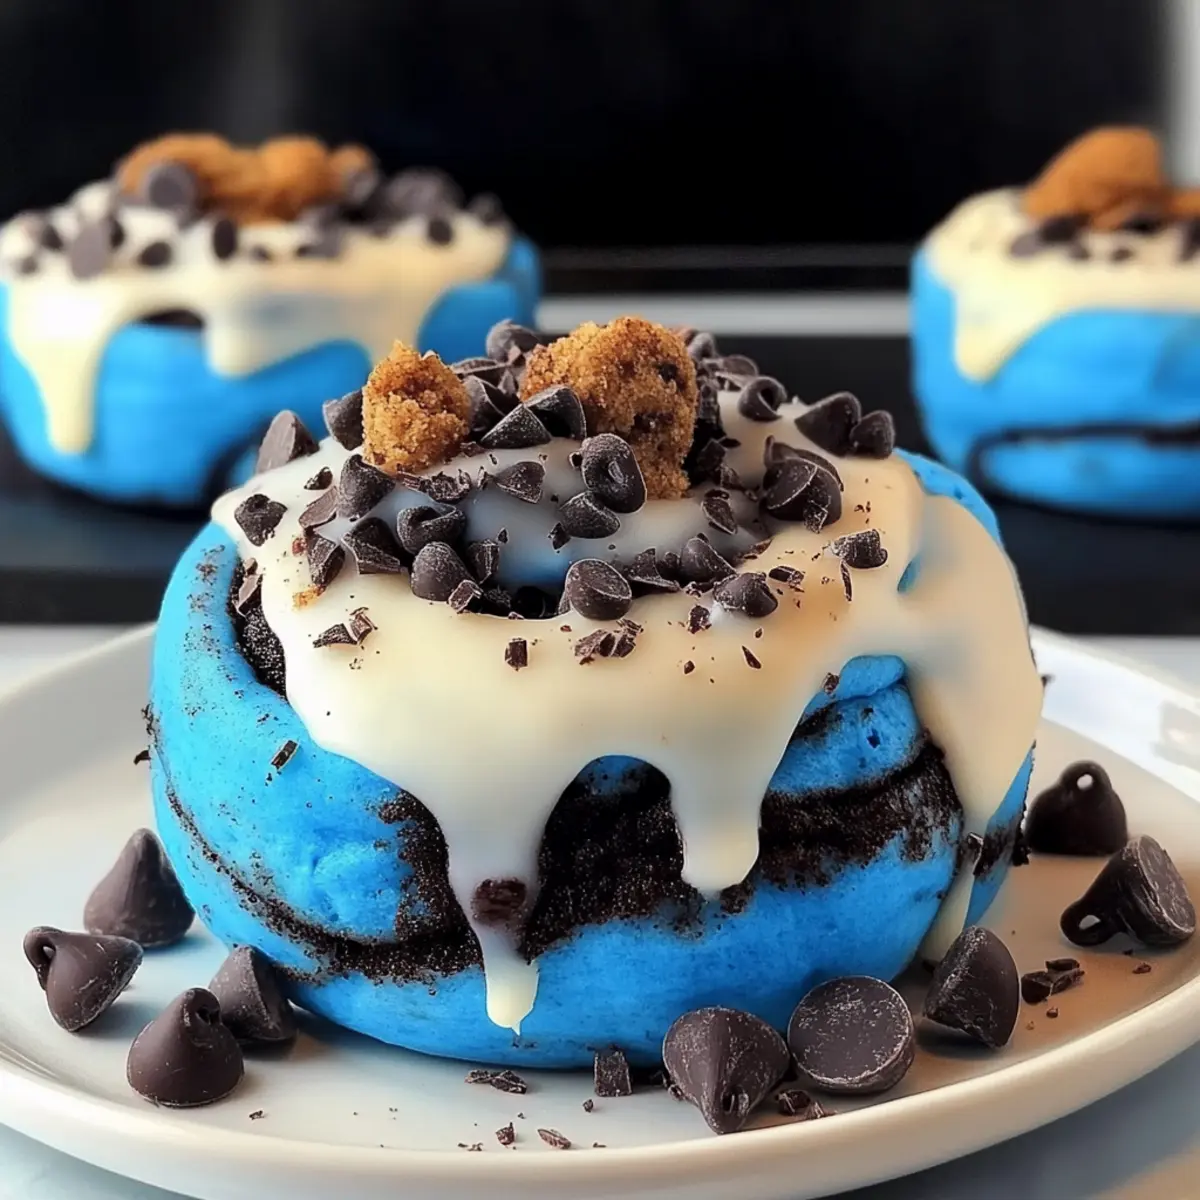
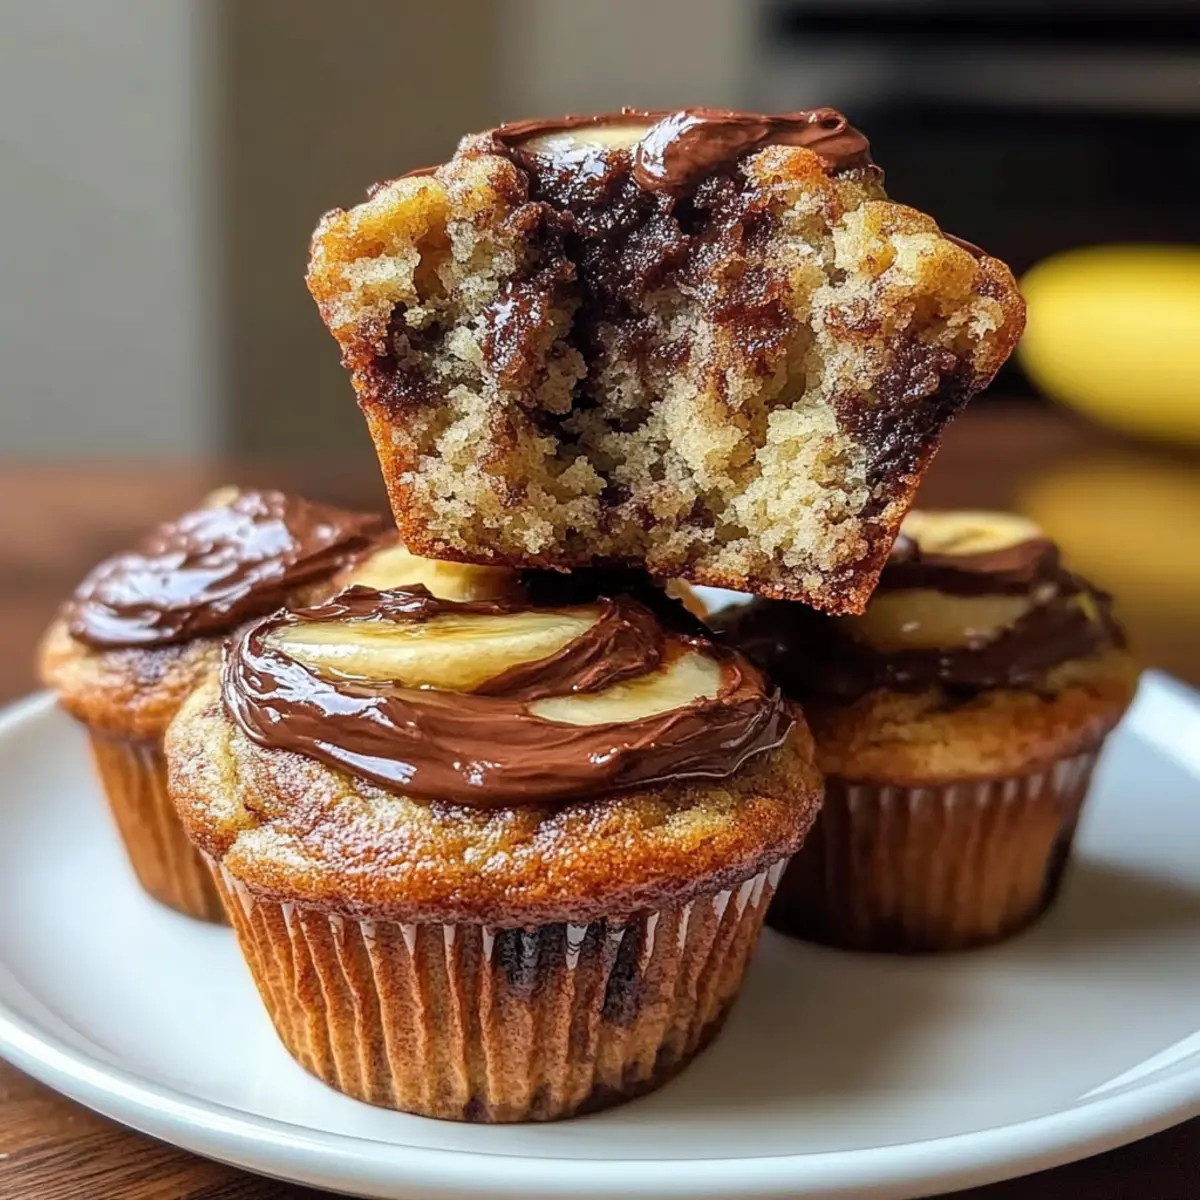
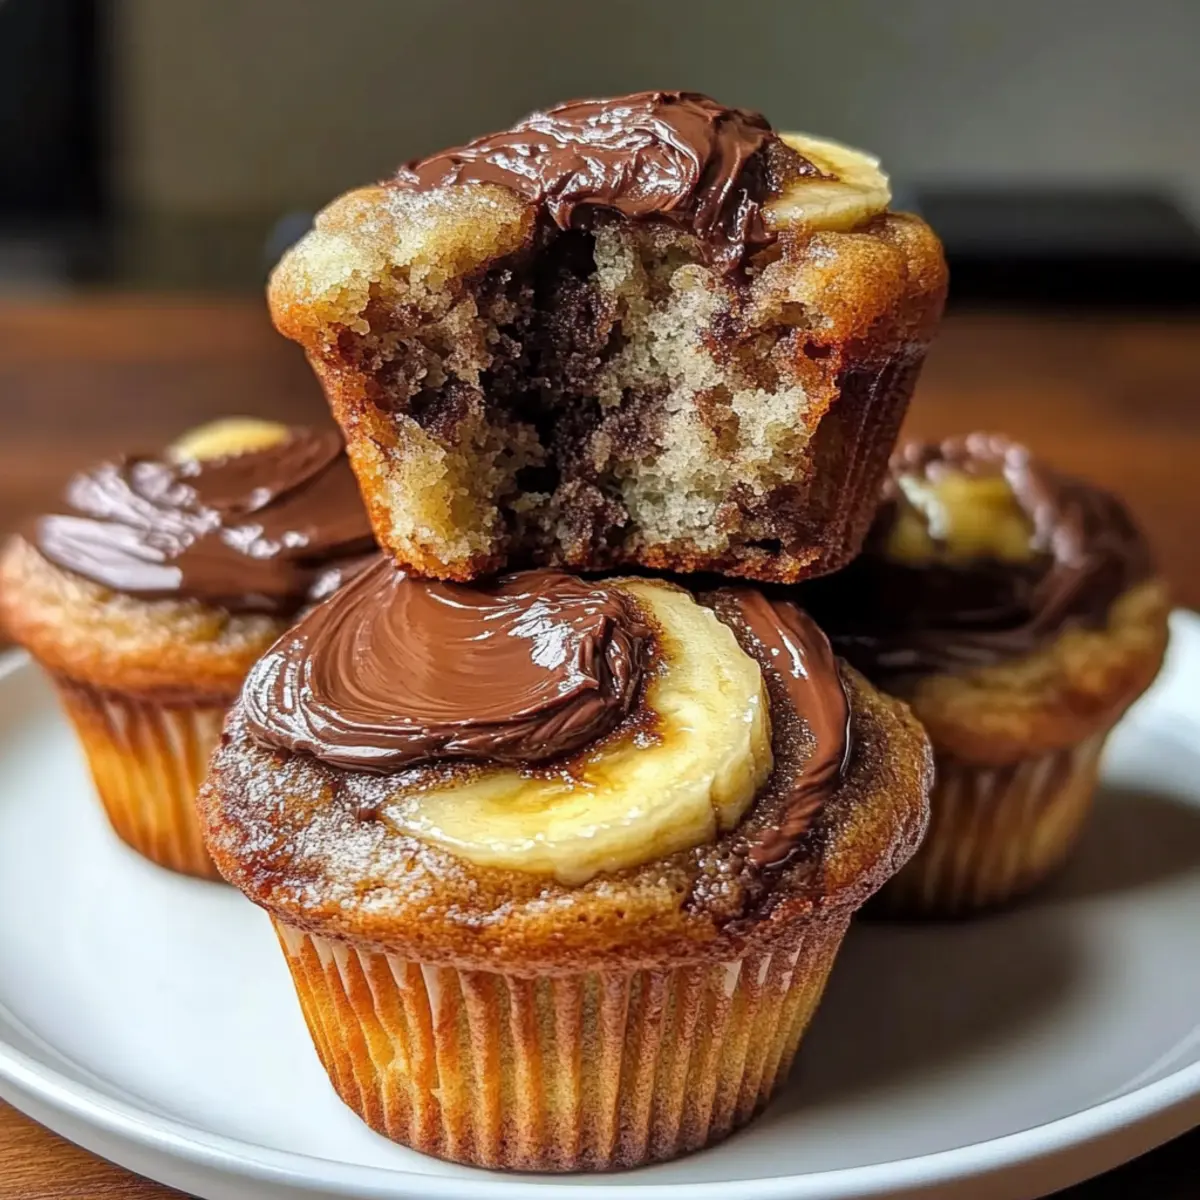
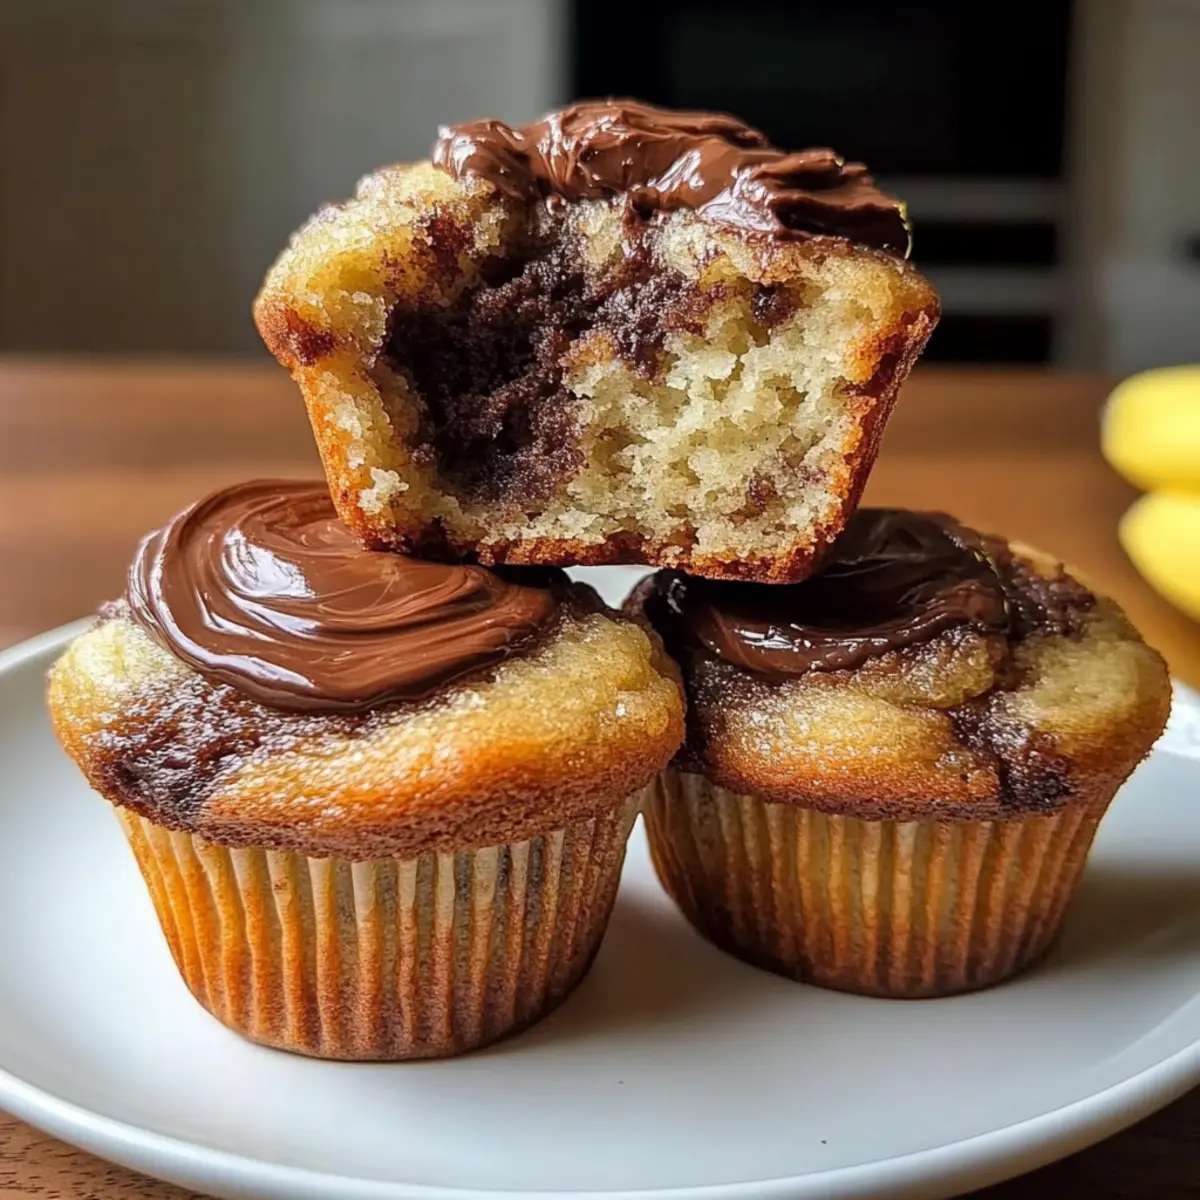
Every Saturday morning, the kitchen fills with the warm, inviting scents of baking muffins, promising a delightful start to the weekend. Today, I’m excited to share my Nutella Banana Swirl Muffins—an indulgent treat that marries creamy Nutella and the natural sweetness of ripe bananas. These muffins are not only incredibly easy to whip up in just 35 minutes, but they also offer a unique twist on traditional breakfast fare that will make your family smile. Perfect for busy weekdays or leisurely brunches, they are sure to become a crowd favorite. Ready to dive into this delightful recipe and elevate your breakfast game?

Why are these muffins a game-changer?
Quick and Easy: With just 35 minutes from start to finish, you can enjoy these delicious Nutella Banana Swirl Muffins any day of the week!
Indulgent Flavor: The combination of rich Nutella and sweet bananas creates a heavenly taste that will have everyone asking for seconds.
Perfect for Any Occasion: Whether it's a weekend brunch or a busy weekday breakfast, these muffins fit seamlessly into your schedule.
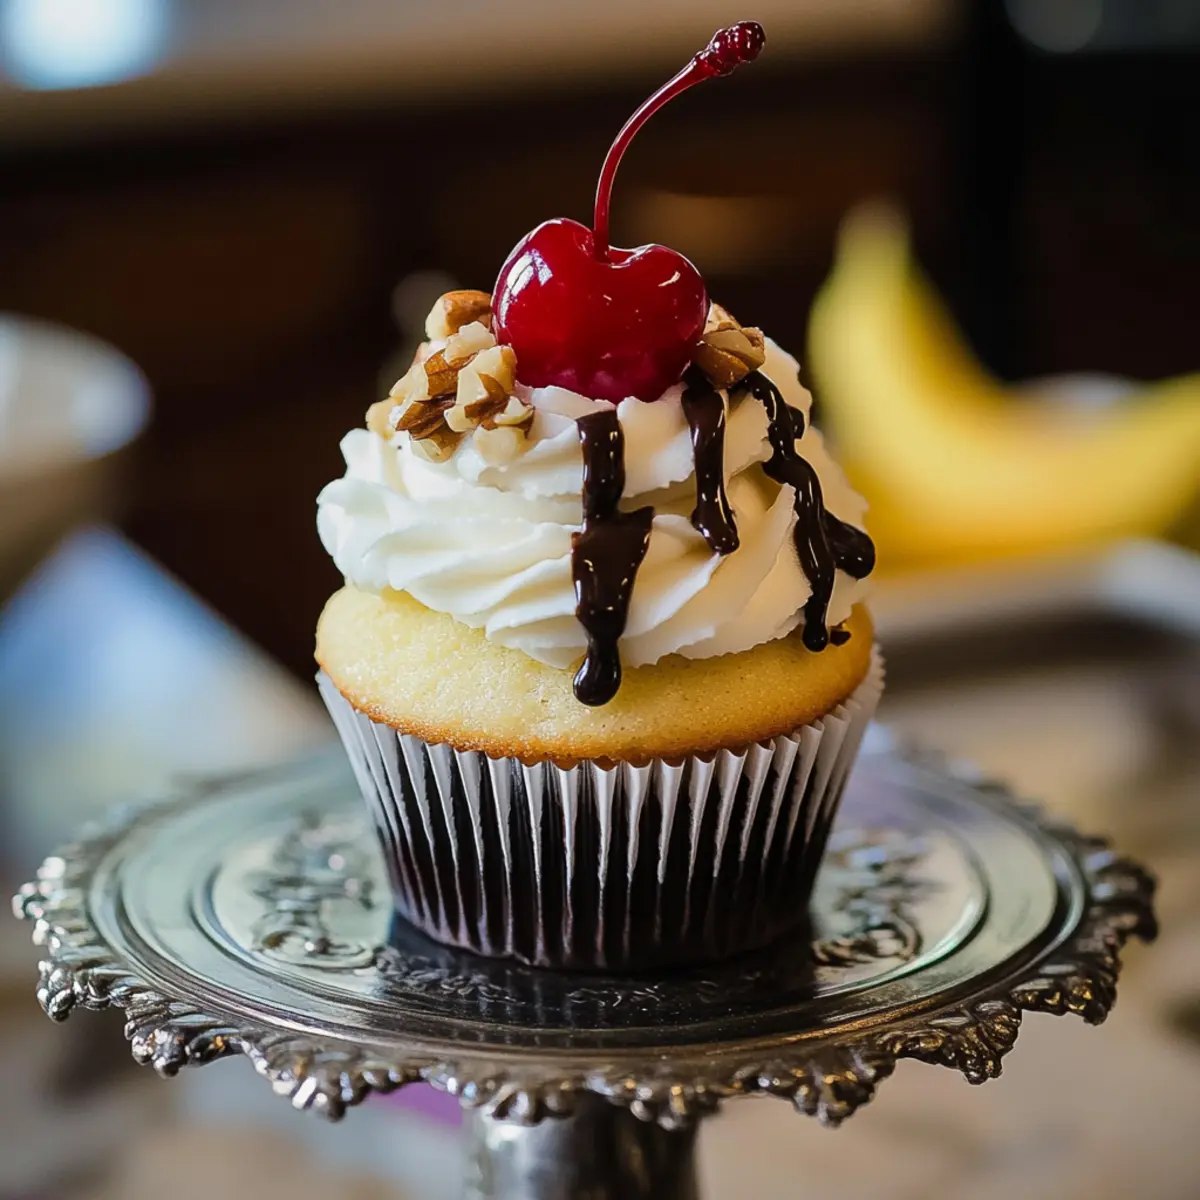
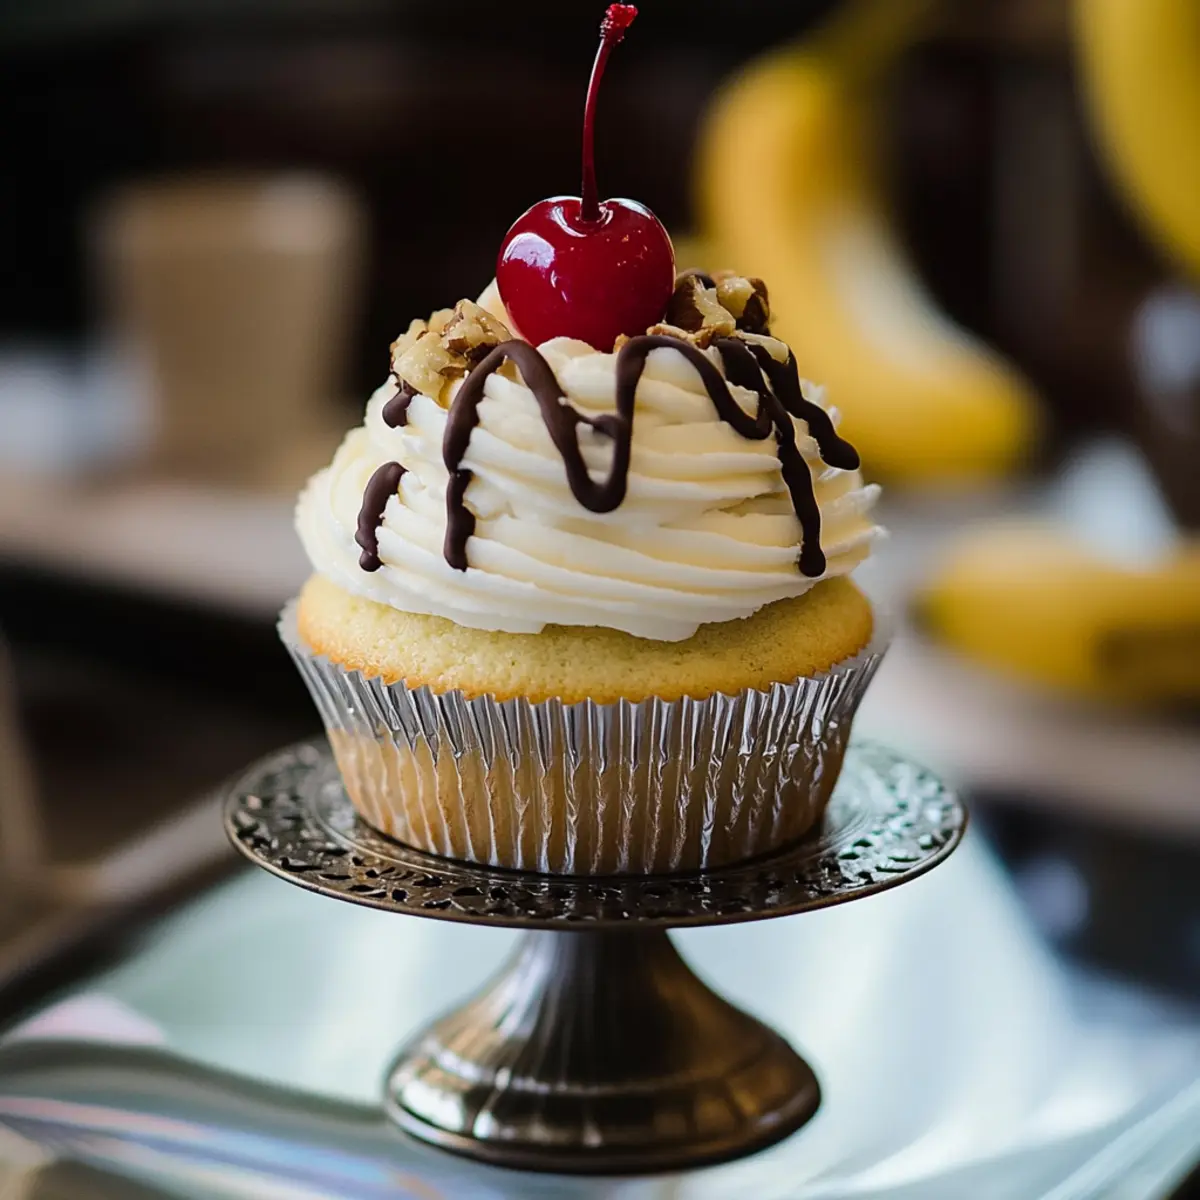
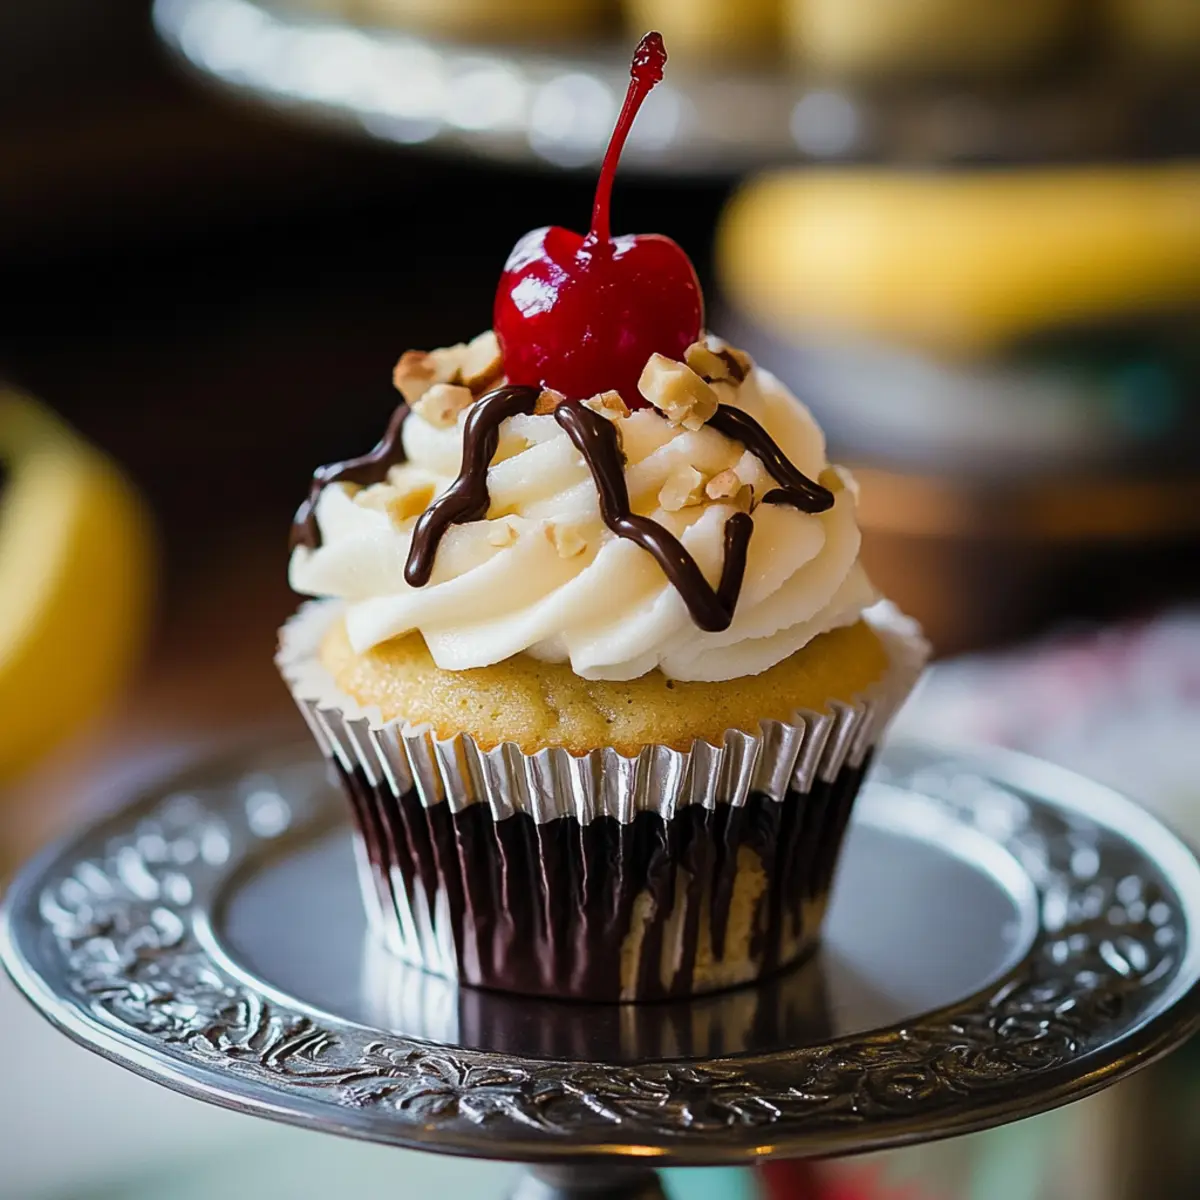
Customizable Delight: Add your favorite mix-ins, like walnuts or chocolate chips, to personalize the flavors—just like in my other recipes, such as the Breakfast Banana Split!
Crowd-Pleaser: With their mouthwatering appearance and delightful taste, these muffins are guaranteed to impress family and friends. Enjoy them warm with coffee or milk for an unforgettable experience!
Nutella Banana Swirl Muffin Ingredients
For the Muffin Batter
• Ripe Bananas – Choose very ripe ones for maximum sweetness and moisture.
• Melted Butter – This adds richness and binds the ingredients together.
• Baking Soda – It serves as a leavening agent to ensure your muffins are fluffy.
• Salt – Just a pinch enhances the overall flavor perfectly.
• Sugar – Sweetens the batter; feel free to adjust to your taste.
• Large Egg (beaten) – It provides structure and moisture that helps the muffins rise.
• Vanilla Extract – Adds a wonderful aromatic sweetness to the mix.
• All-Purpose Flour – The main ingredient for structure; can be swapped with gluten-free flour if desired.
• Nutella – Adds a rich chocolate-hazelnut flavor; warm slightly if too firm to swirl easily.
Optional Mix-Ins
• Chopped Walnuts – Add a delightful crunch and nutty flavor to the muffins.
• Chocolate Chips – For extra indulgence, fold in some chocolate chips alongside Nutella.
Enjoy this indulgent recipe of Nutella Banana Swirl Muffins that will surely elevate your breakfast experience!
Step‑by‑Step Instructions for Nutella Banana Swirl Muffins
Step 1: Preheat the Oven
Begin by preheating your oven to 350°F (175°C). While the oven heats up, prepare a muffin tin by lining it with paper liners or lightly greasing each cavity with cooking spray. This ensures that your delicious Nutella Banana Swirl Muffins won’t stick, allowing for easy removal after baking.
Step 2: Mash the Bananas
In a large mixing bowl, take your ripe bananas and mash them thoroughly with a fork until you achieve a smooth consistency. This usually takes about 2 minutes. Once mashed, pour in the melted butter, and stir well until combined. You want the mix to be smooth and creamy, forming the perfect base for your muffins.
Step 3: Add Wet Ingredients
Next, incorporate the baking soda, salt, and sugar into the banana-butter mixture. Mix until fully combined before adding the beaten egg and vanilla extract. Stir this mixture for another minute until everything is smooth and fully incorporated, creating a sweet and fragrant batter that will be the foundation of your Nutella Banana Swirl Muffins.
Step 4: Fold in the Flour
Gently fold in the all-purpose flour to the wet mixture using a spatula or wooden spoon. Be careful not to overmix; you want to stop as soon as there are no more streaks of flour visible. This technique helps maintain the light and fluffy texture of the muffins while ensuring they rise beautifully in the oven.
Step 5: Layer the Batter
Spoon half of the muffin batter into each cavity of the prepared muffin tin, filling them about two-thirds full. Using a small spoon, create a little well in the center of each portion, then add a generous teaspoon of Nutella into each well. This step is where the magic of Nutella Banana Swirl Muffins begins, offering that decadent chocolate-hazelnut flavor.
Step 6: Swirl the Nutella
Next, use a toothpick or a butter knife to gently swirl the Nutella into the batter. Aim for a marbled effect; be gentle to avoid having the Nutella sink to the bottom and ensure each muffin has a hint of that rich flavor. This swirling process not only enhances the taste but also looks enticing once baked.
Step 7: Bake the Muffins
Carefully place the muffin tin into the preheated oven and bake for 18-20 minutes. Keep an eye on them as they bake; you’ll know they're done when a toothpick inserted into the center of the muffins comes out clean or with just a few moist crumbs. The tops should be lightly golden and spring back when gently pressed.
Step 8: Cool Before Serving
Once baked, remove the muffin tin from the oven and let it rest for about 5 minutes. This cooling time allows the muffins to set properly. Carefully transfer the muffins to a wire rack to cool completely. Enjoy the warm, inviting aroma of your Nutella Banana Swirl Muffins as they cool, anticipating the deliciousness to come!
Expert Tips for Nutella Banana Swirl Muffins
-
Use Ripe Bananas: Make sure you choose very ripe bananas for the best flavor and natural sweetness in your Nutella Banana Swirl Muffins.
-
Gentle Mixing: Avoid overmixing the batter once you add the flour; this keeps your muffins light and fluffy—perfect for a delightful morning treat.
-
Nutella Temperature: If your Nutella is too firm, warm it slightly in the microwave to make it easier to swirl into the batter without sinking.
-
Swirl Tactfully: Use a toothpick or knife to create a gentle swirl; swirling too hard may cause the Nutella to settle at the bottom of the muffins.
-
Customized Mix-Ins: Feel free to add chopped walnuts or chocolate chips to elevate the flavor and texture of your Nutella Banana Swirl Muffins for a personal twist.
Nutella Banana Swirl Muffins Variations
Feel free to experiment with these delightful twists that will make your Nutella Banana Swirl Muffins even more exciting!
-
Nut-Free Option: Swap Nutella for sunflower seed butter for a nut-free alternative that still delivers a creamy richness.
-
Vegan Version: Replace the egg with a flaxseed egg and use plant-based butter for a deliciously tailored treat.
-
Dairy-Free Delight: Use coconut oil in place of melted butter and ensure your Nutella is dairy-free for a plant-friendly muffin.
-
Berry Boost: Add a handful of fresh blueberries or raspberries to the batter for a burst of fruity flavor!
-
Extra Indulgent: Mix in mini chocolate chips along with the Nutella for a double dose of chocolatey goodness that everyone will love.
-
Spiced Up: Incorporate a teaspoon of cinnamon or nutmeg into the batter for a warm, comforting flavor that enhances the richness of the banana and Nutella.
-
Banana Bread Hybrid: Use the same ingredients but bake in a loaf pan instead of a muffin tin for a banana bread twist—great for slicing and sharing.
-
Fruity Swirls: Fold in a spoonful of fruit preserves, like strawberry or raspberry, alongside the Nutella for a flavorful marbling that surprises.
These variations promise to elevate your baking adventure. Pair your muffins with a refreshing fruit salad or enjoy them alongside a cozy cup of coffee for a perfect morning moment!
Make Ahead Options
These Nutella Banana Swirl Muffins are perfect for meal prep enthusiasts! You can mash the ripe bananas and mix in the melted butter, baking soda, salt, and sugar up to 24 hours in advance and refrigerate the mixture. On the day you plan to bake, simply add the beaten egg and vanilla extract, fold in the flour, and assemble the muffins as directed. You can also scoop the batter into the muffin tin and refrigerate (covered) up to 3 hours prior to baking, ensuring they stay just as delicious. When you're ready to bake, follow the swirling and baking steps, and enjoy café-style muffins without the early morning rush!
Storage Tips for Nutella Banana Swirl Muffins
Room Temperature: Store the muffins in an airtight container at room temperature for up to 3 days to maintain their moist texture and delicious flavor.
Freezer: If you want to enjoy these indulgent muffins later, freeze them in a zip-top bag for up to 3 months. Be sure to label the bag with the date!
Reheating: To reheat, pop a muffin in the microwave for about 10-15 seconds for a quick treat, or place them in a preheated oven at 350°F (175°C) for 5-10 minutes for a freshly baked taste.
Thawing: If frozen, let the muffins thaw at room temperature for about 30 minutes before reheating, allowing that irresistible Nutella flavor to shine through.
What to Serve with Nutella Banana Swirl Muffins
These delightful muffins bring joy to your breakfast table, inviting cozy moments filled with love and laughter.
-
Fresh Fruit Salad: Bright and refreshing, a mix of seasonal fruits contrasts beautifully with the rich muffins, adding a touch of lightness to your meal.
-
Greek Yogurt Parfait: Creamy yogurt layered with granola and berries complements the muffins' sweetness, creating a balanced and nutritious start to your day.
-
Coffee: The robust flavor of freshly brewed coffee enhances the rich chocolate-hazelnut notes of the muffins, making each bite even more delightful.
-
Vanilla Ice Cream: For a truly indulgent treat, serve warm muffins with a scoop of vanilla ice cream, creating a comforting combination that feels like dessert for breakfast.
-
Honey Drizzle: A simple drizzle of honey over the muffins elevates their sweetness and adds a touch of floral flavor that enhances the banana notes.
-
Milk: Classic and comforting, a glass of cold milk pairs perfectly with these muffins, making for a nostalgic and satisfying breakfast experience.
Nutella Banana Swirl Muffins Recipe FAQs
What is the best way to select ripe bananas for the muffins?
Absolutely! Look for bananas that are heavily speckled with brown or even completely brown. These bananas will be sweet and soft, perfect for imparting that delicious natural flavor into your Nutella Banana Swirl Muffins.
How should I store leftover Nutella Banana Swirl Muffins?
You can store these muffins in an airtight container at room temperature for up to 3 days. Keeping them sealed helps retain their moistness and flavor, making them perfect for enjoying at breakfast or as a snack!
Can I freeze Nutella Banana Swirl Muffins? How?
Yes, you certainly can! To freeze your muffins, place them in a zip-top bag once they have completely cooled, making sure to remove as much air as possible. They can be frozen for up to 3 months. For the best taste, label the bag with the date so you know when to enjoy them!
What should I do if my muffins sink in the middle after baking?
Very! If your muffins sink in the middle, it might be due to overmixing the batter, which can lead to a dense texture and prevent them from rising. Make sure you gently fold the flour until just combined and not to overbake to ensure that delicious puffiness!
Are Nutella Banana Swirl Muffins suitable for those with nut allergies?
While these muffins contain Nutella, which is made with hazelnuts, you can substitute it with a nut-free spread such as sunflower seed butter for a similar creamy texture. Just keep in mind that the flavor will differ slightly, but it will still be delicious!
Nutella Banana Swirl Muffins That Make Mornings Magical
Ingredients
Equipment
Method
- Preheat your oven to 350°F (175°C). Prepare a muffin tin by lining it with paper liners or greasing it.
- Mash the ripe bananas in a large bowl until smooth. Stir in the melted butter until well combined.
- Incorporate the baking soda, salt, and sugar into the mixture. Then add the beaten egg and vanilla extract, mixing until smooth.
- Gently fold in the all-purpose flour until there are no more streaks of flour visible. Do not overmix.
- Spoon half of the muffin batter into each muffin tin cavity, then add Nutella into each well.
- Gently swirl the Nutella into the batter using a toothpick or knife to achieve a marbled effect.
- Bake for 18-20 minutes, or until a toothpick comes out clean. The tops should be golden.
- Let the muffins cool in the tin for about 5 minutes before transferring them to a wire rack to cool completely.