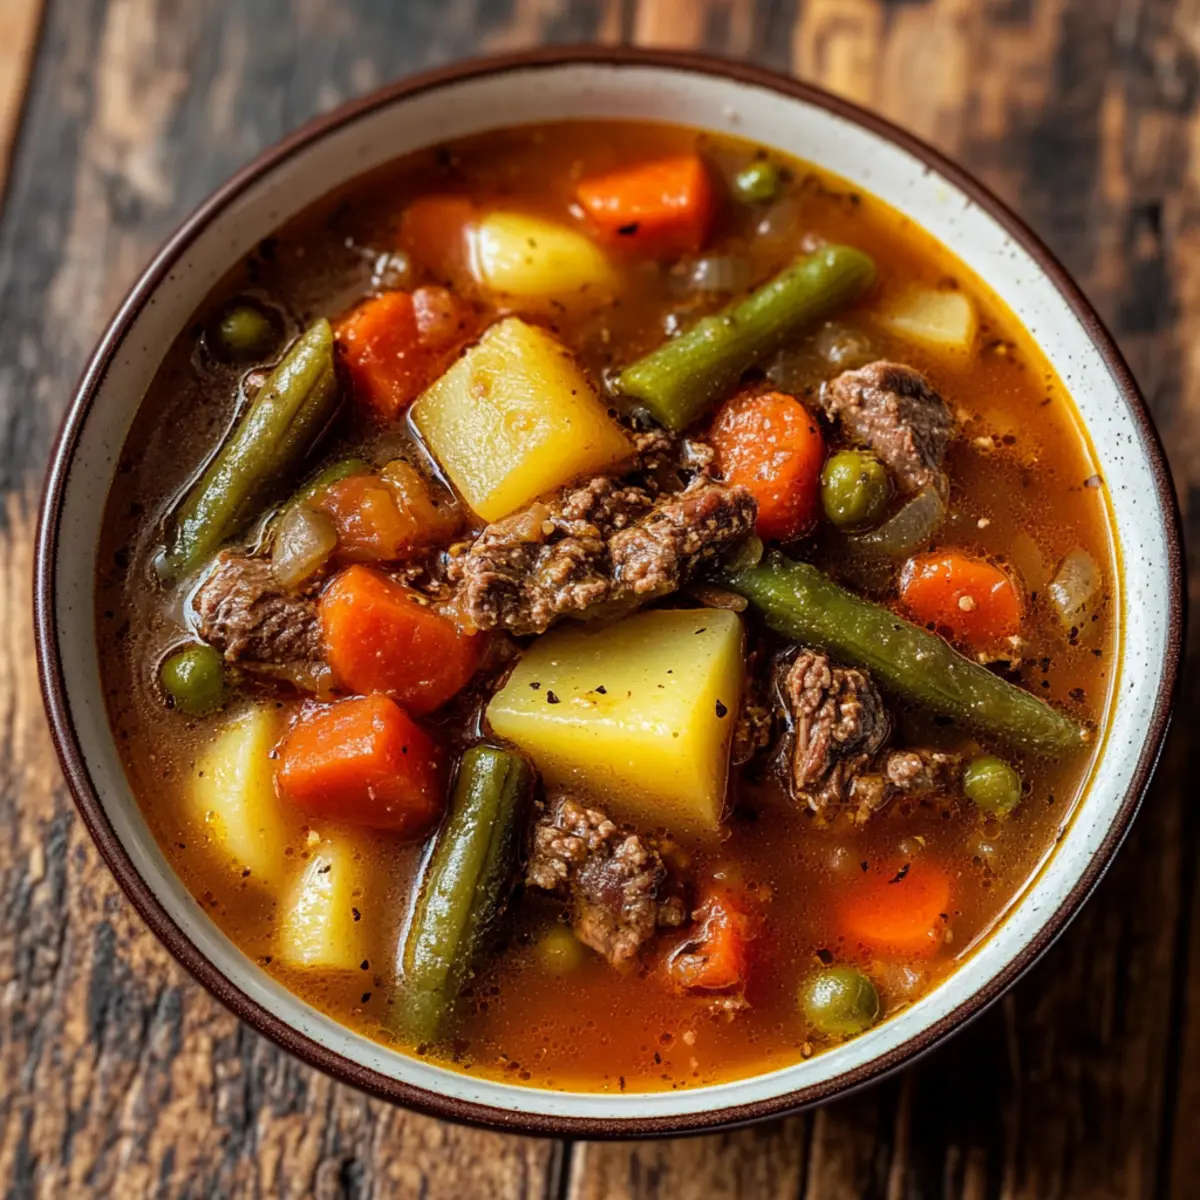
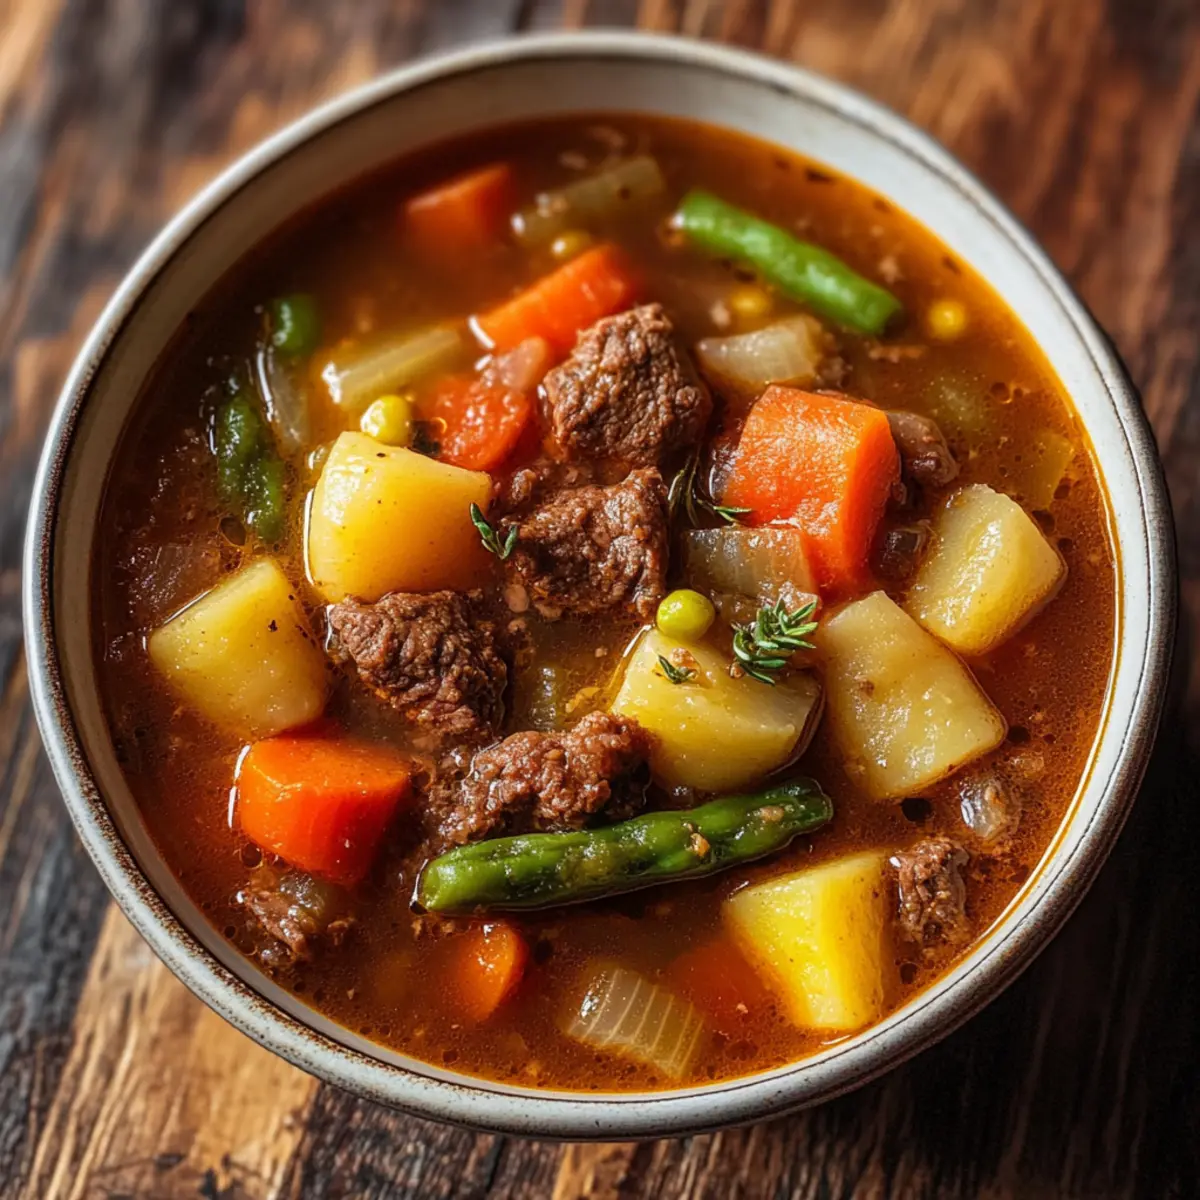
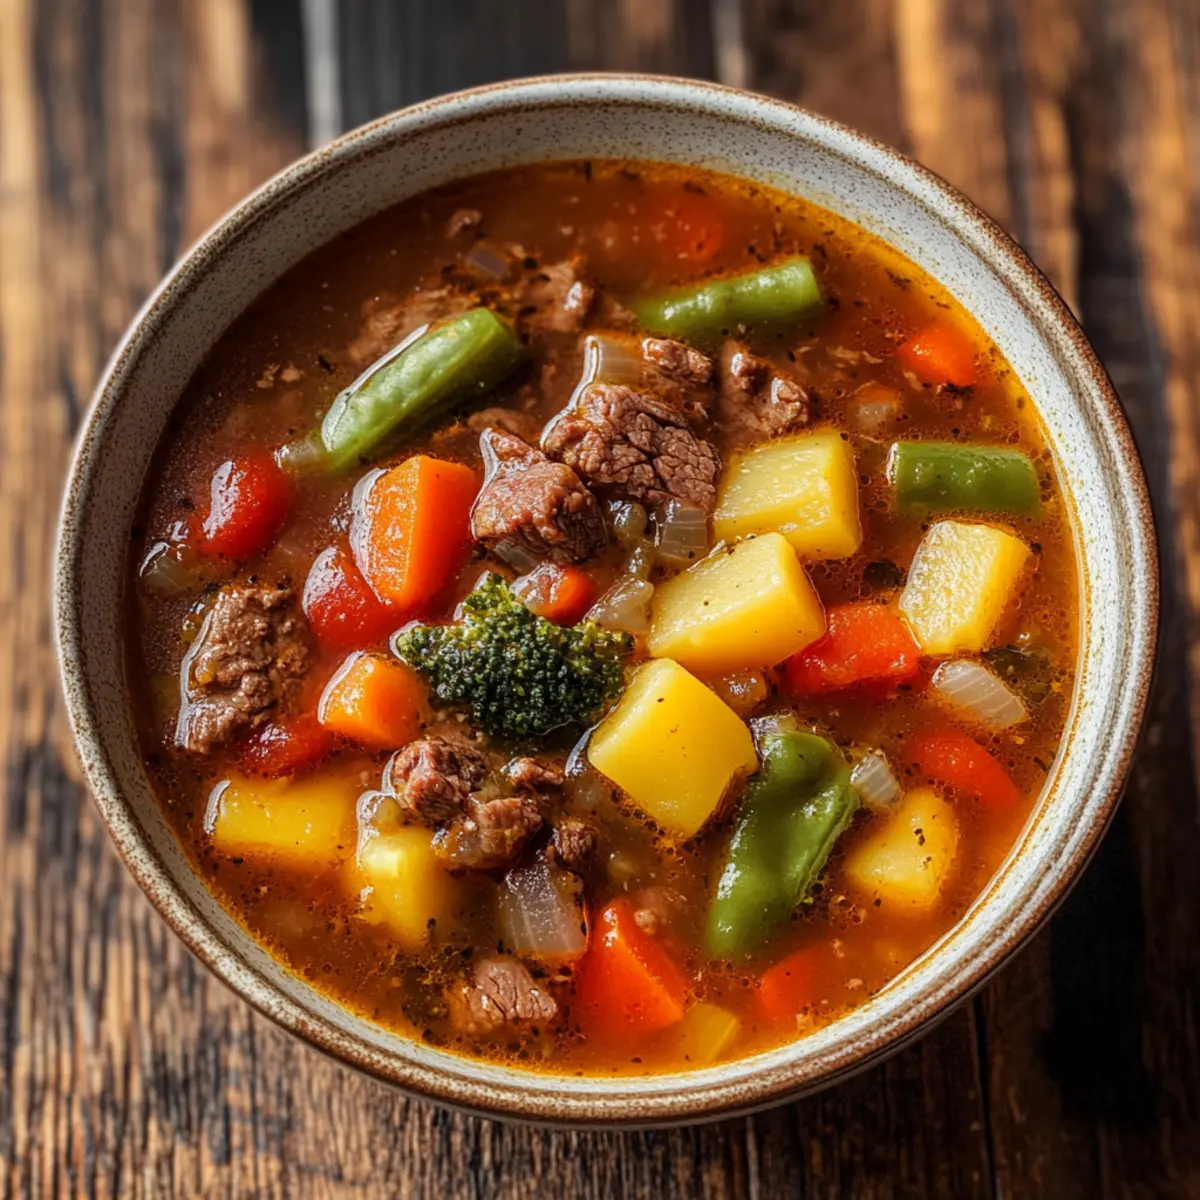
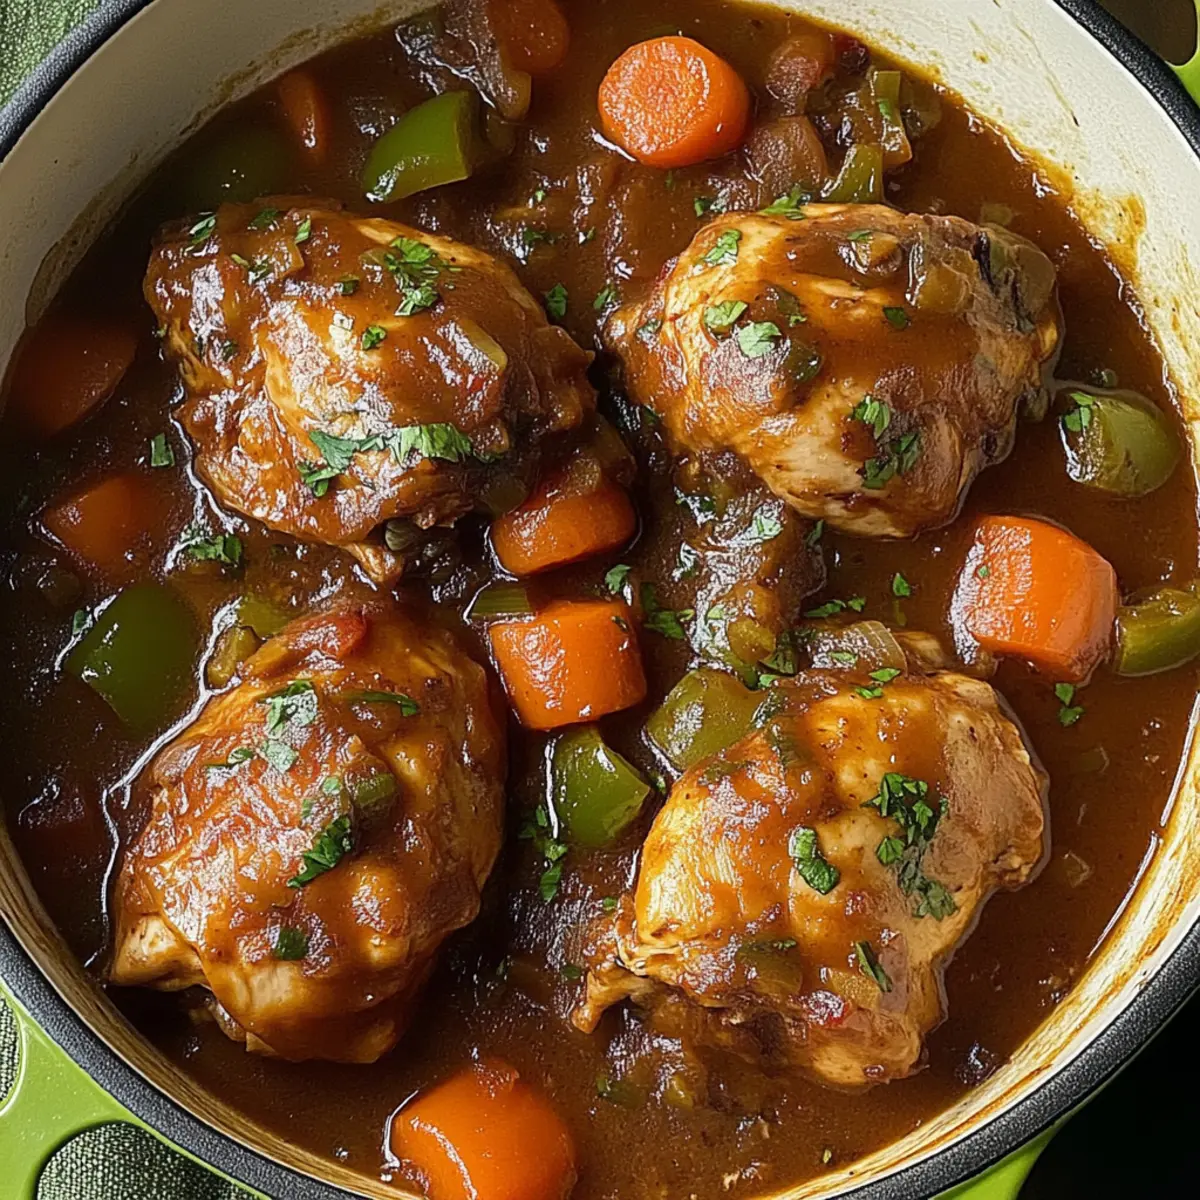
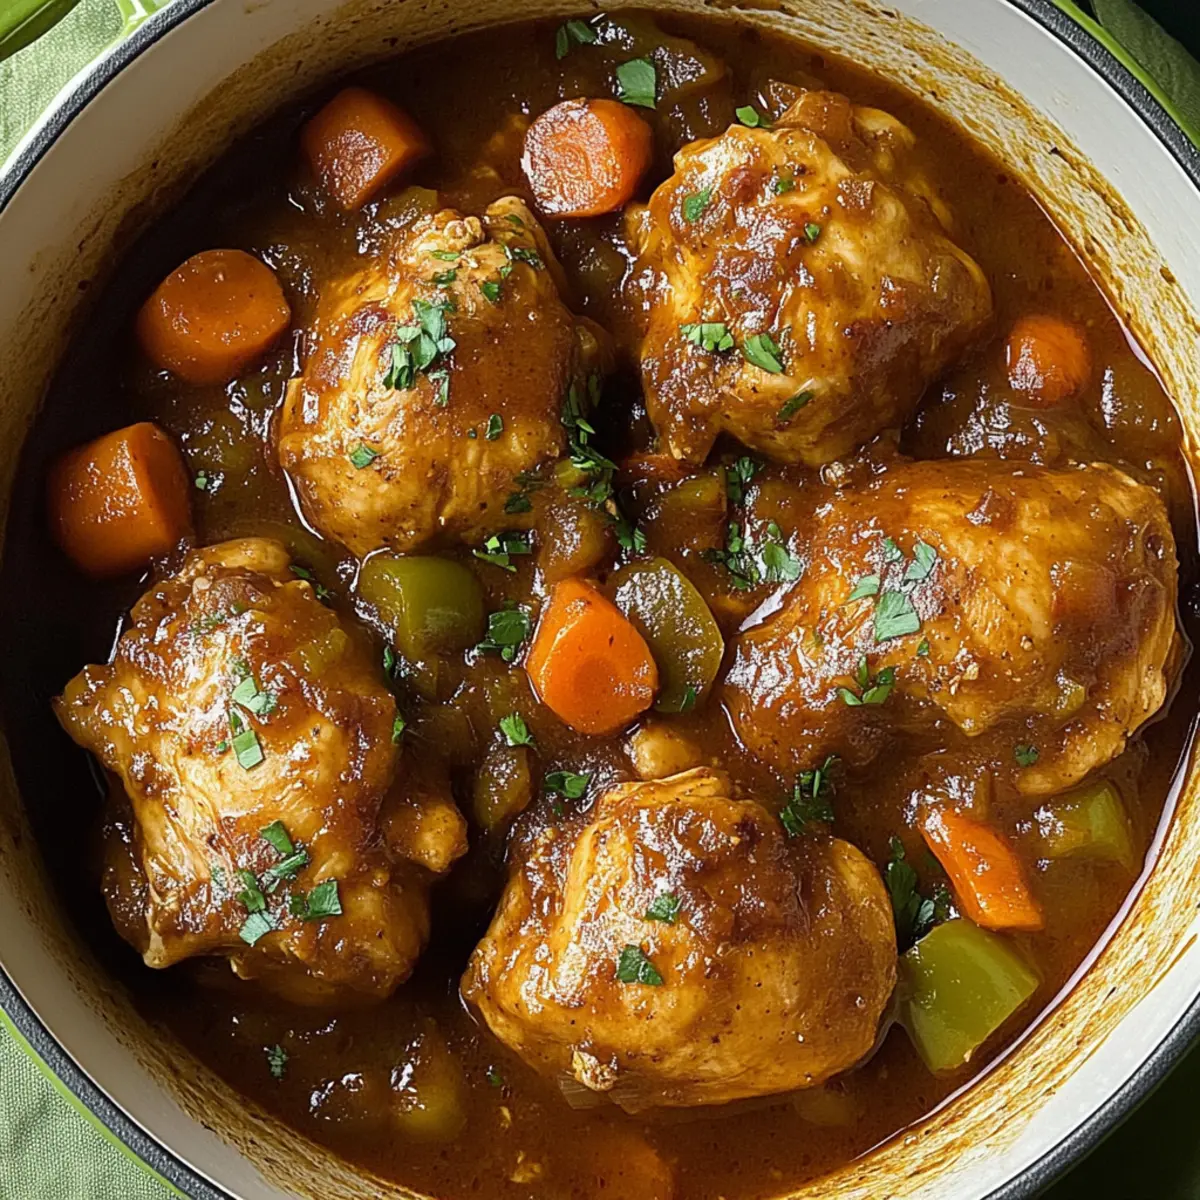
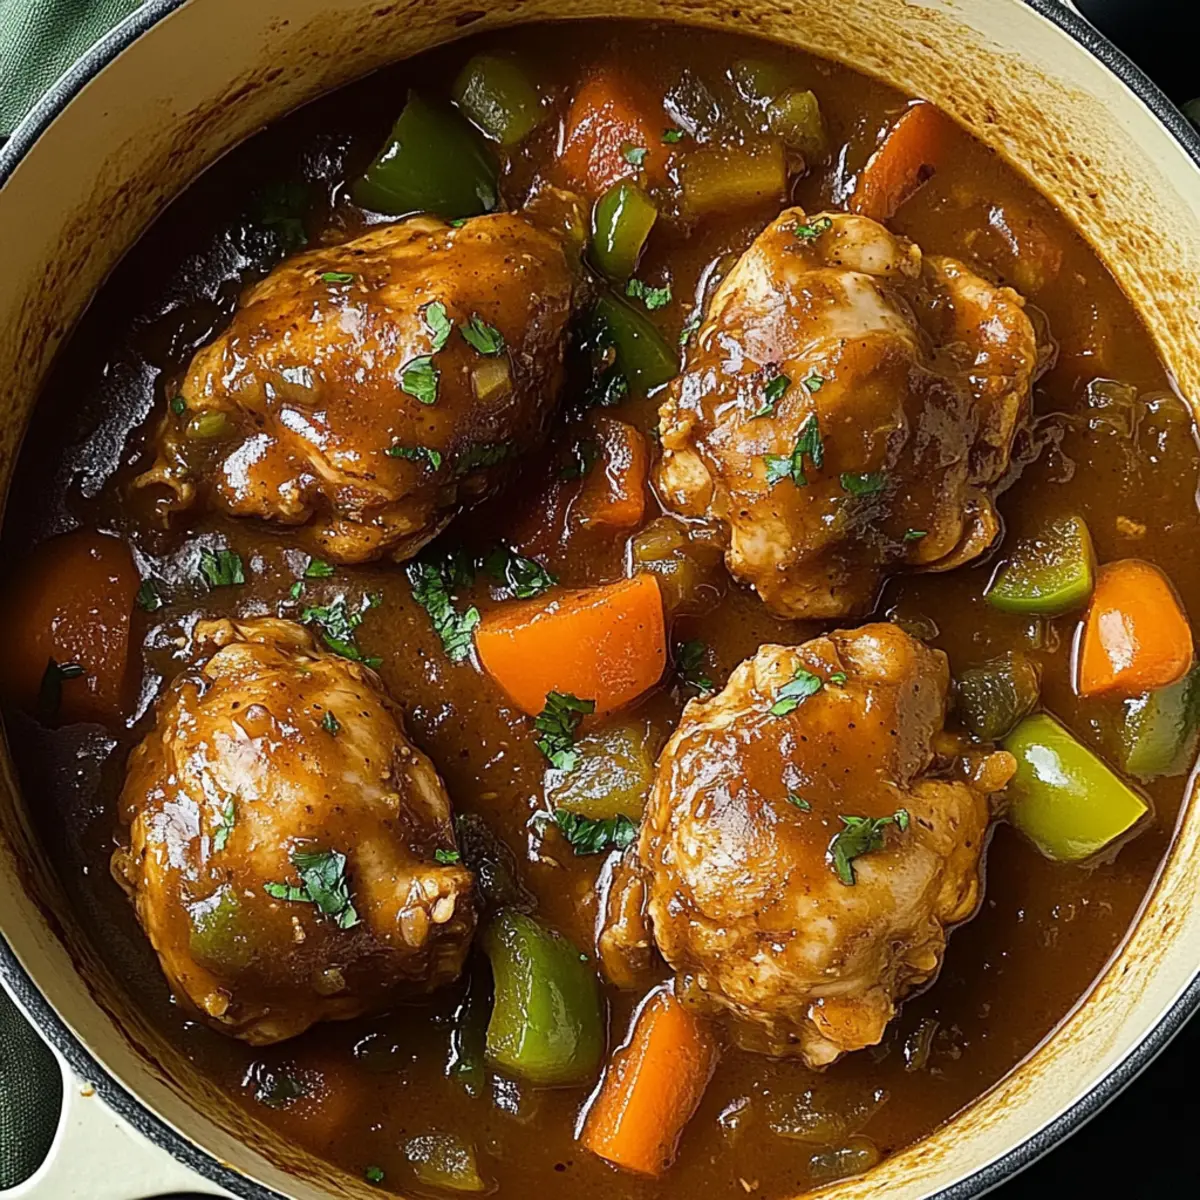
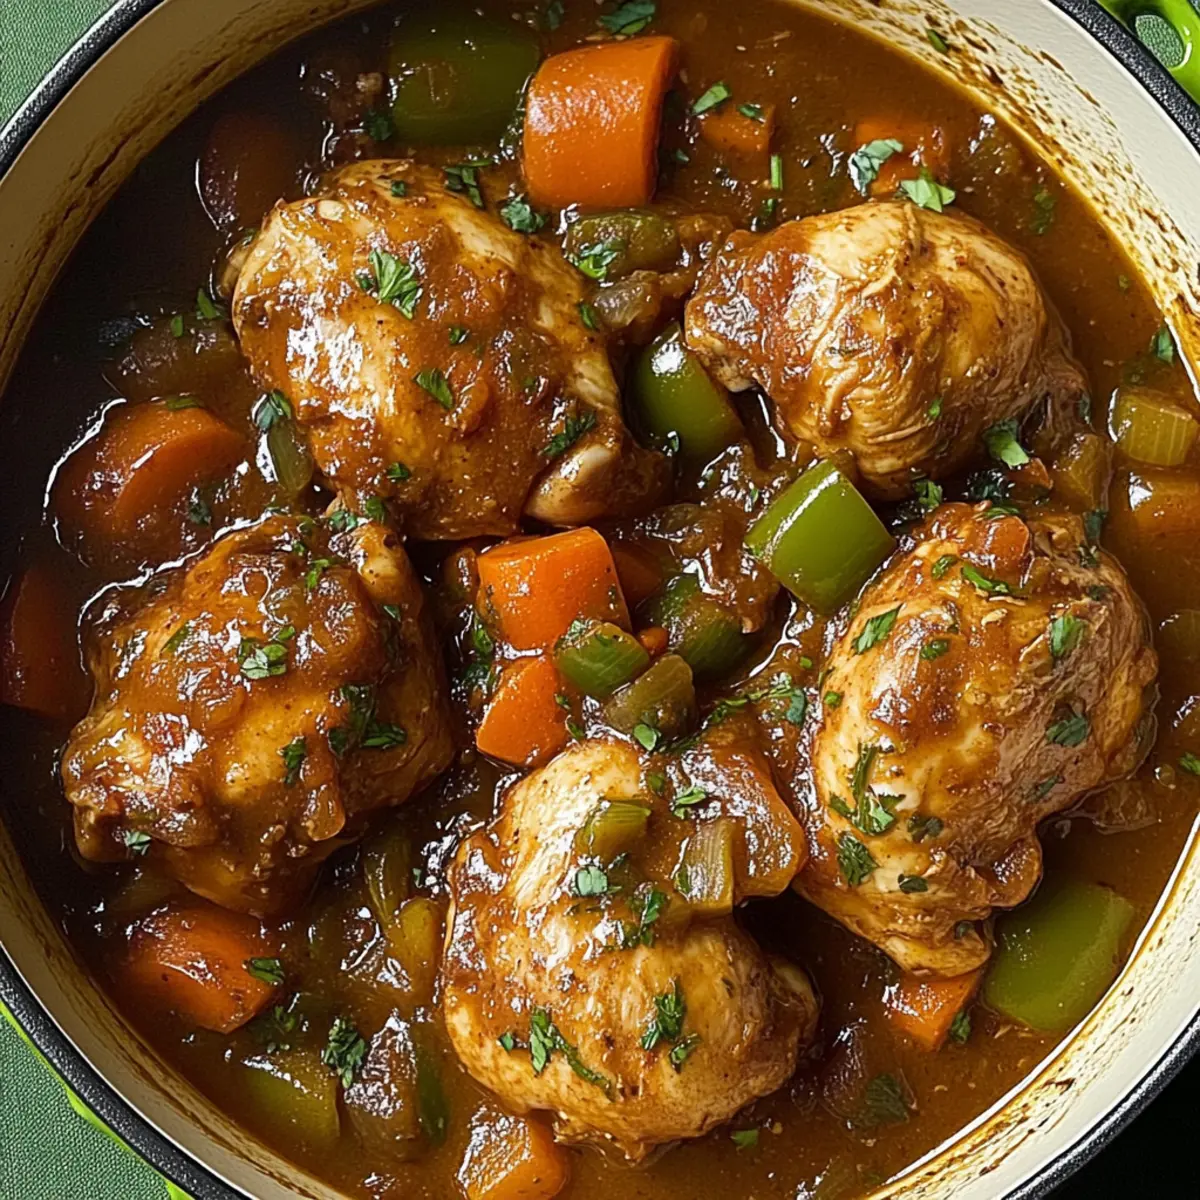
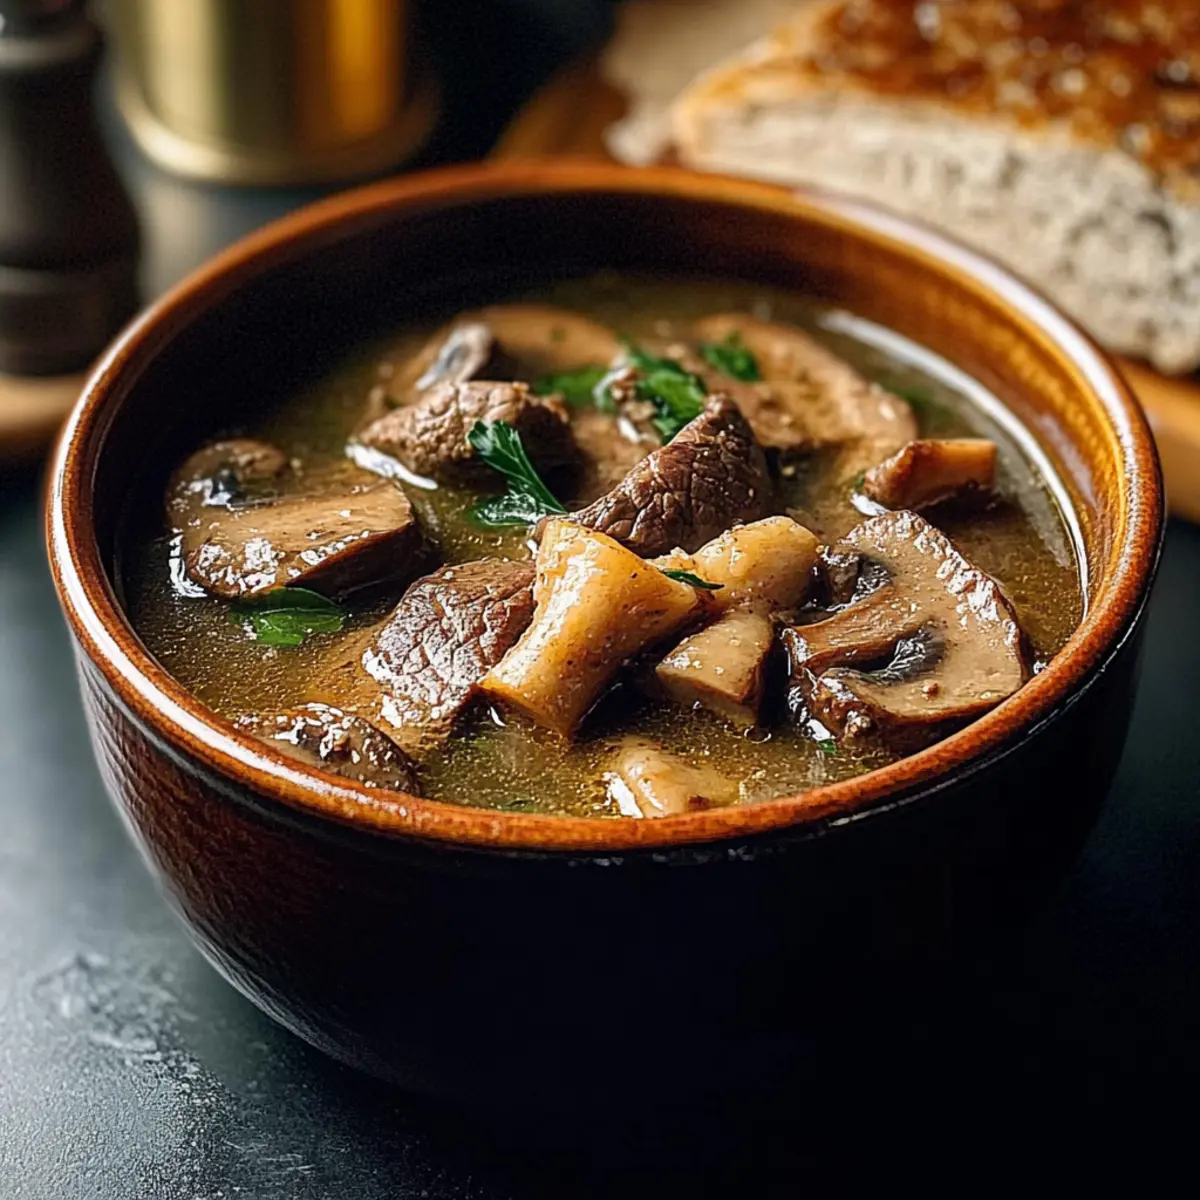
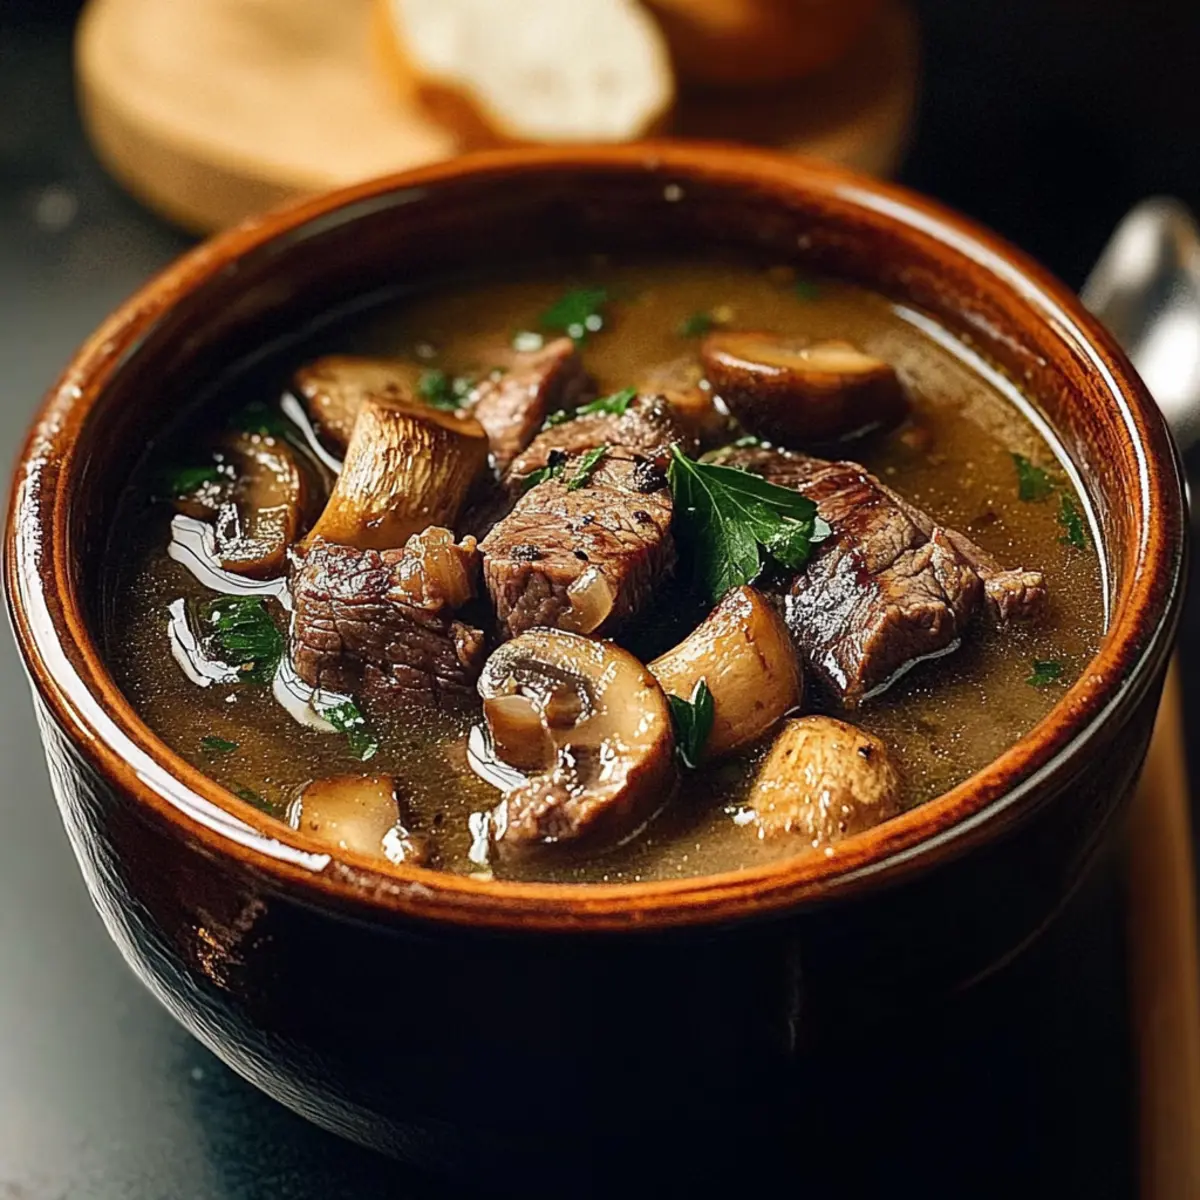
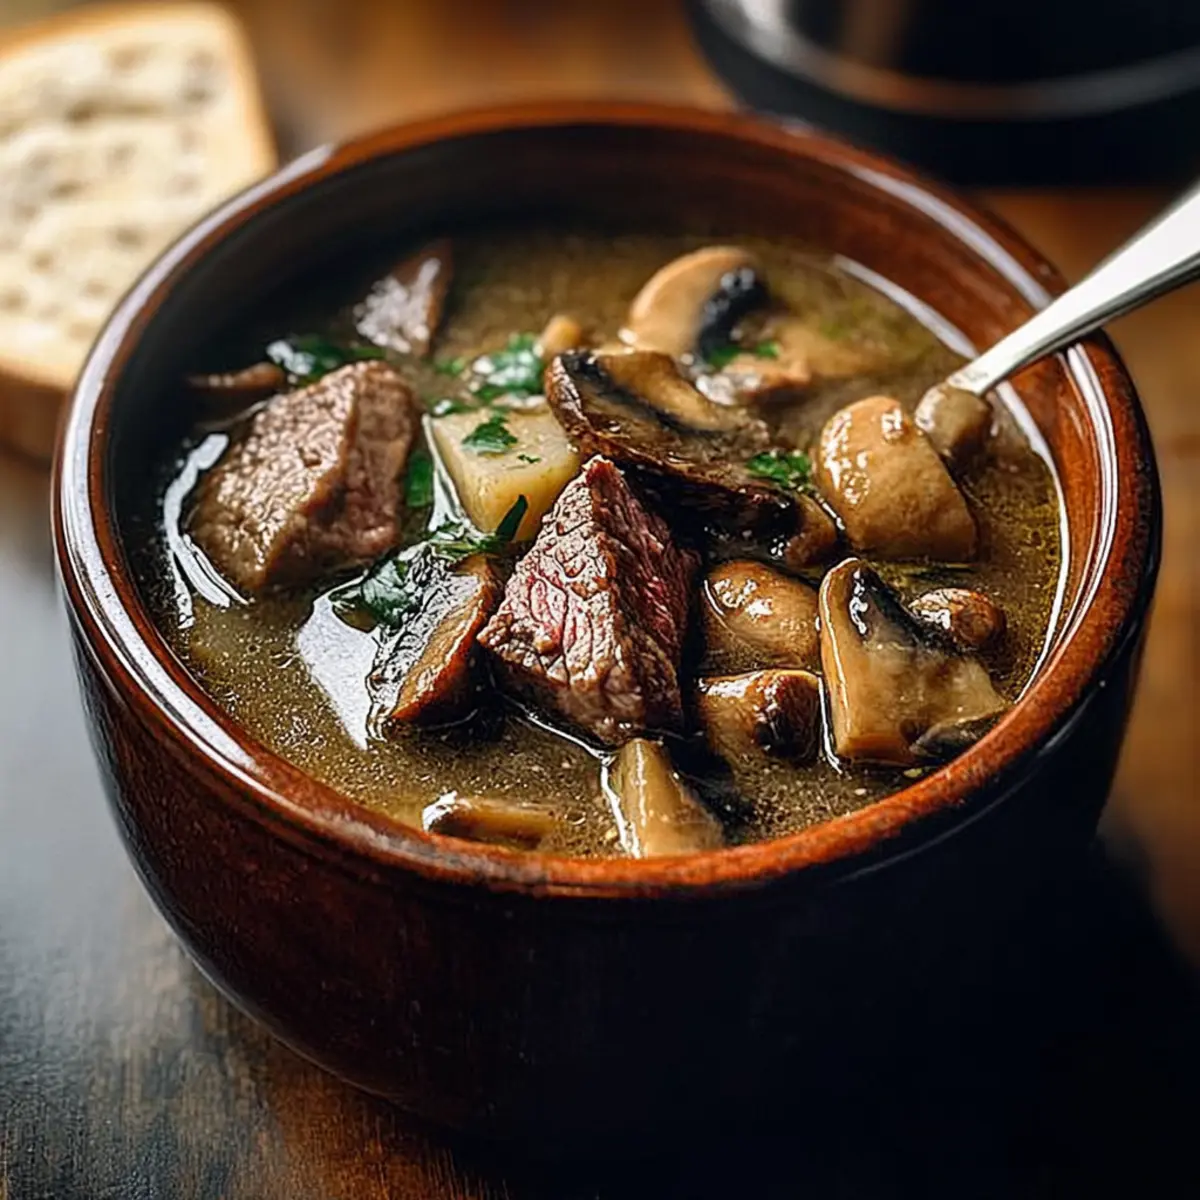
You know that feeling when the first chill of autumn hits? It sparks an instant craving for cozy comfort food, and nothing embodies that desire quite like a steaming bowl of Hearty Steak and Ale Soup with Mushrooms. This recipe is a game-changer for weeknight dinners, delivering rich flavors and the tender goodness of ribeye steak without requiring hours in the kitchen. With its savory broth enhanced by a splash of ale, this dish promises to warm both your heart and soul. Plus, it’s incredibly adaptable—swap out ingredients or adjust seasonings to suit your taste or dietary needs. Ready to discover how to whip up this cozy masterpiece? Let’s dive in!
Why is Steak and Ale Soup Irresistible?
Heartwarming Comfort: There’s nothing like curling up with a bowl of rich, savory soup on a chilly evening. This hearty Steak and Ale Soup with Mushrooms perfectly captures that comforting feeling, with tender ribeye and earthy mushrooms in every spoonful.
Versatile Delights: You can easily adapt the recipe to fit your pantry, swapping ribeye for chuck roast or using gluten-free cornstarch. It’s a meal that fits your lifestyle!
Quick & Easy: With simple steps and under an hour of cooking, this recipe transforms your weeknight dinner routine.
Crowd-Pleaser: Whether for family or friends, it’s a sure hit that’ll get everyone raving about your culinary skills—serve it with warm crusty bread for a complete feast!
For more comforting meals, check out my delicious Bratwurst Peppers Onions or Skillet Pasta Feta.
Steak and Ale Soup with Mushrooms Ingredients
For the Soup Base
• Ribeye Steak – Provides rich and beefy flavor; opt for high-quality cuts for the best taste.
• Onions – Adds sweetness and depth to the broth; yellow onions are recommended.
• Mushrooms – Contributes earthiness and texture; choose cremini or button mushrooms for great results.
• Garlic – Enhances flavor complexity; fresh minced garlic is preferred.
For Coating and Flavor
• Flour – For coating the steak for a crispy crust; substitute cornstarch to make it gluten-free.
• Ale – Imparts unique earthy flavors; a quality ale like "Fat Tire" elevates the dish. Non-alcoholic beer works as a substitute too.
• Beef Stock – The foundation of the soup; homemade or store-bought is perfect for richness.
For Seasoning
• Dried Herbs (Thyme, etc.) – Adds flavor infusion; adjust quantities to suit your palate.
• Salt & Pepper – Essential for seasoning; taste to adjust according to preference.
This delightful Steak and Ale Soup with Mushrooms is sure to make your weeknight meal feel special, bringing warmth and comfort to your table.
Step‑by‑Step Instructions for Steak and Ale Soup with Mushrooms
Step 1: Prepare Ingredients
Start by cubing the ribeye steak into bite-sized pieces, ensuring uniformity for consistent cooking. Chop the onions and mushrooms, and mince the garlic. Gather your ingredients together, as having everything prepped will streamline the cooking process and set you up for success while making this delightful Steak and Ale Soup with Mushrooms.
Step 2: Sear Steak
In a large pot, heat a tablespoon of oil over medium-high heat until shimmering. Season the cubed ribeye steak with salt, pepper, and a light dusting of flour for a crispy crust. Add the steak to the pot, searing it for about 4-5 minutes until browned on all sides. Once seared, remove the steak and set it aside, keeping the flavorful remnants in the pot.
Step 3: Sauté Aromatics
In the same pot, reduce the heat to medium and add a little more oil if needed. Toss in the chopped onions, mushrooms, and minced garlic, sautéing for about 5-7 minutes. Stir occasionally until the onions turn translucent and the mushrooms soften, releasing their earthy aroma. This step creates a fragrant base for your Steak and Ale Soup with Mushrooms.
Step 4: Deglaze with Ale
Pour in a cup of quality ale, such as "Fat Tire," scraping up the browned bits from the bottom of the pot. This deglazing step enhances the soup's flavor and depth. Allow the ale to simmer for about 2-3 minutes, letting the alcohol evaporate and the flavors meld together before proceeding to the next step.
Step 5: Combine & Simmer
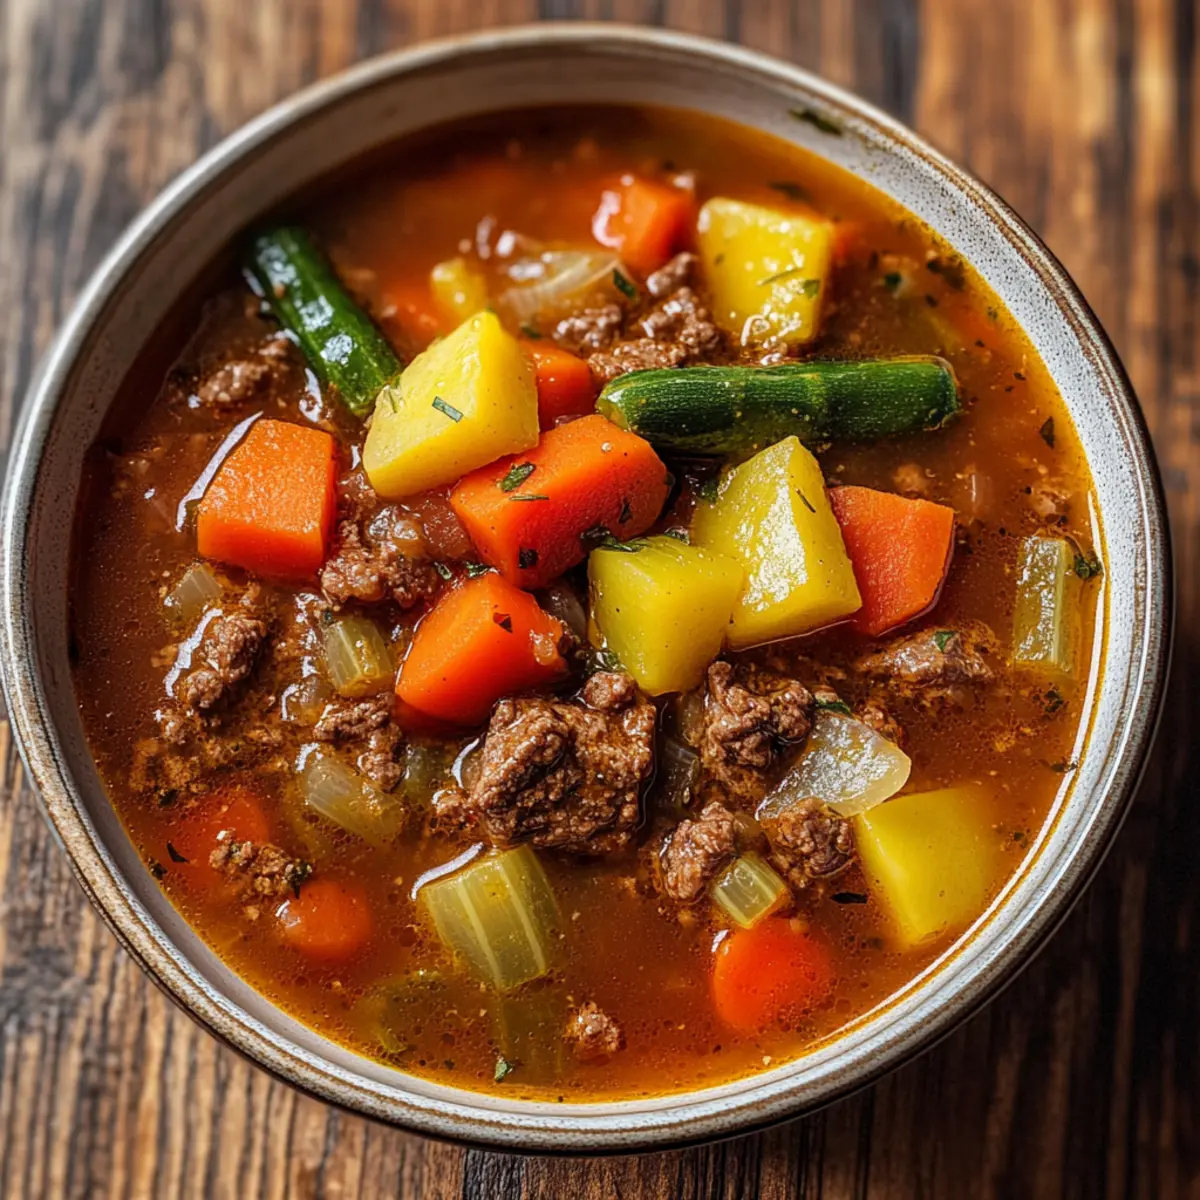
Return the seared steak to the pot, along with 4 cups of beef stock, dried herbs, salt, and pepper. Stir everything together, raise the heat until it reaches a gentle boil, then reduce to low. Simmer uncovered for roughly 45 minutes, allowing the soup to thicken while the flavors develop into a rich, hearty broth of Steak and Ale Soup with Mushrooms.
Step 6: Adjust Seasoning
After simmering, taste your soup and adjust the seasoning with more salt and pepper if needed. If you prefer, you can also add a pinch of additional herbs to enhance the flavor. Serve the soup hot, garnished with fresh herbs or accompanied by crusty bread for dipping, completing your cozy meal experience.
Steak and Ale Soup with Mushrooms Variations
Feel free to unleash your creativity and customize this delightful soup to suit your taste and dietary needs.
- Gluten-Free: Substitute the flour with cornstarch to make the soup gluten-free without sacrificing flavor. Simply mix cornstarch with a bit of water to create a slurry before adding it to the pot.
- Different Meats: Swap ribeye steak for chuck roast or stew meat for a more budget-friendly option. Just remember to adjust the cooking time to ensure those proteins become tender and flavorful.
- Mushroom-Free: If mushrooms aren’t your thing, try using diced potatoes for a lovely hearty texture instead; they’ll soak up the delicious broth beautifully.
- Bolder Flavor: Enhance the flavor by adding a splash of Worcestershire sauce or a teaspoon of smoked paprika for a smoky undertone; this adds an extra layer of richness that elevates the dish.
- Vegetarian Version: For a meat-free variation, replace the beef stock with vegetable broth and add lentils or chickpeas for protein, making a filling vegetarian soup. Pair it with some Grilled Balsamic Steak Salad for a wholesome meal.
- Herb Infusion: Experiment with fresh herbs like rosemary or parsley in place of or in addition to dried herbs. Fresh herbs can bring a burst of freshness and complexity to your soup that’s absolutely delightful.
- Extra Creamy: For a richer finish, swirl in a dollop of crème fraîche or heavy cream just before serving for extra indulgence; this makes each spoonful feel luxurious.
As you explore these variations, remember to embrace the joy of cooking. It’s your kitchen, your flavors—make this recipe uniquely yours!
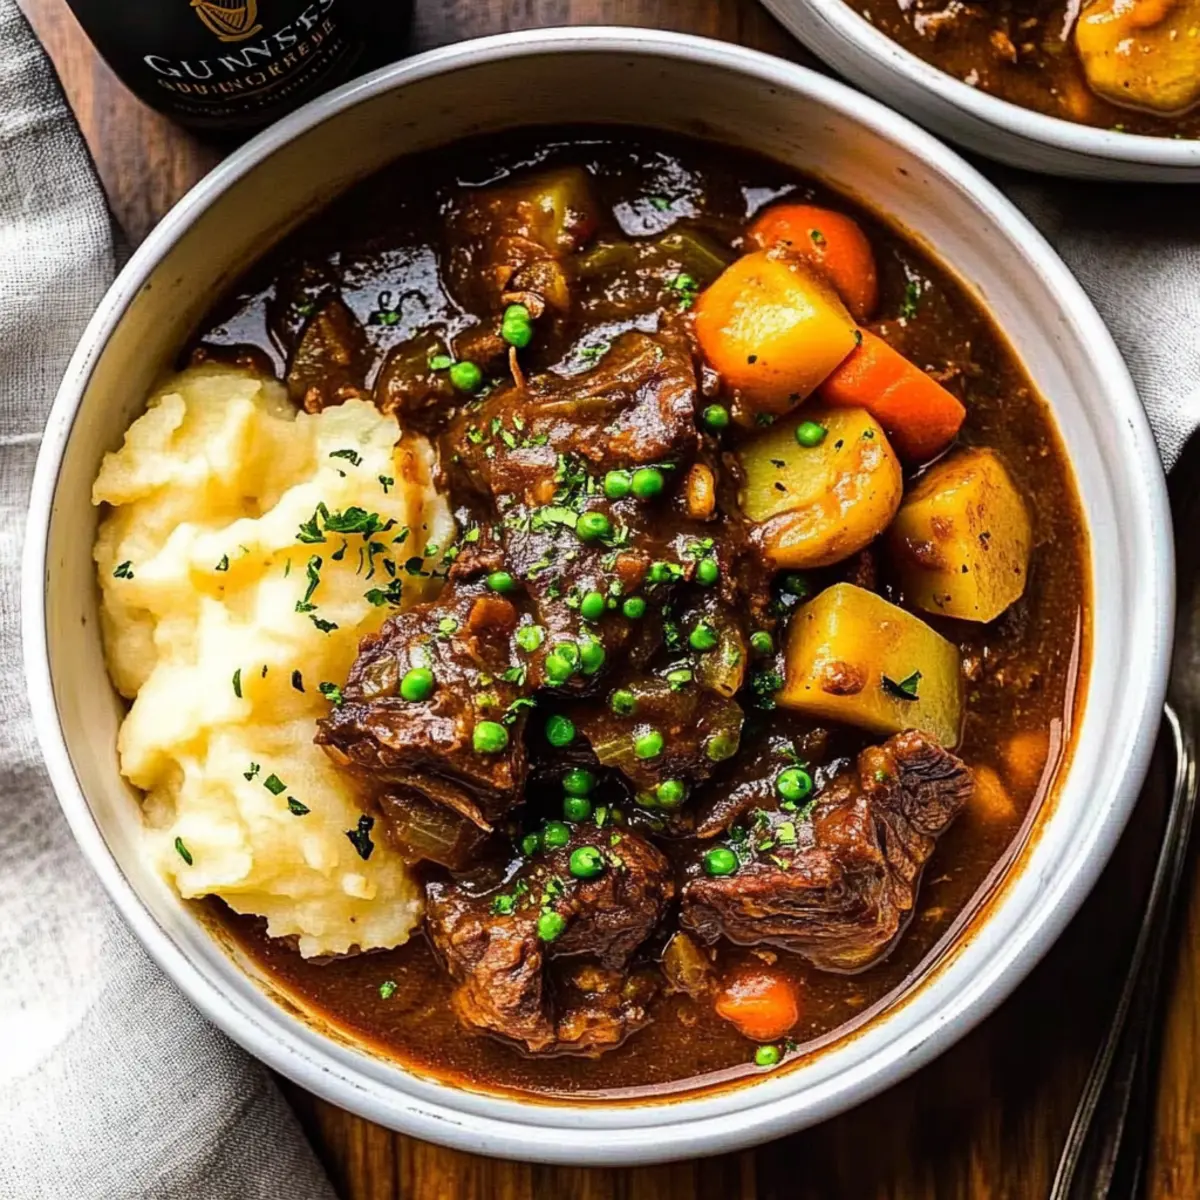
What to Serve with Hearty Steak and Ale Soup with Mushrooms
There’s nothing like enjoying a warm, comforting meal paired with delightful sides that enhance each delicious bite.
- Crusty Bread: Perfect for dipping, the crunchy exterior and soft inside complements the hearty soup, soaking up all the rich flavors.
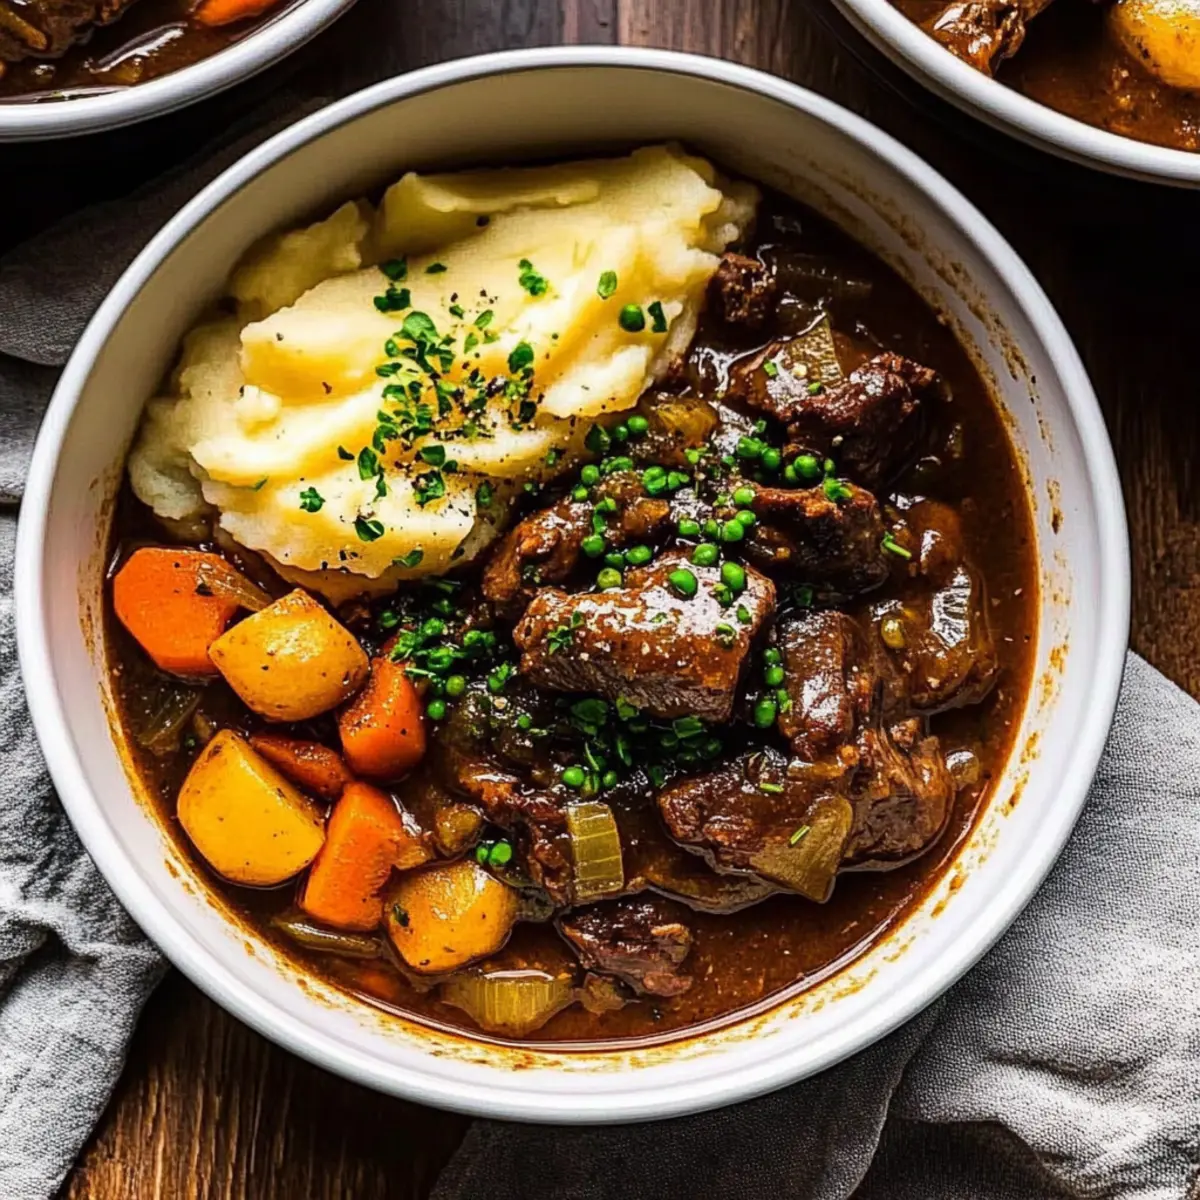
- Mashed Potatoes: Creamy and buttery mashed potatoes provide a smooth texture contrast, absorbing the savory broth beautifully.
- Garlic Bread: Crispy with a hint of garlic, it adds a deliciously fragrant element, making each meal feel more indulgent.
- Salad with Vinaigrette: A refreshing green salad brings a crisp, zesty bite that balances the richness of the soup, showcasing seasonal veggies.
- Roasted Root Vegetables: Sweet and earthy, they add a rustic charm while enhancing the comfort of the meal with their caramelized flavors.
- Cheddar Biscuits: Flaky and cheesy, these mouthwatering biscuits pair perfectly with the soup, making dinner feel like a special occasion.
- Red Wine: A glass of robust red wine, like a Merlot or Cabernet Sauvignon, beautifully complements the savory notes in the Steak and Ale Soup.
- Chocolate Cake: For dessert, a rich chocolate cake rounds out the meal, offering a sweet contrast to the hearty soup experience.
How to Store and Freeze Steak and Ale Soup with Mushrooms
Fridge: Store your delicious Steak and Ale Soup with Mushrooms in an airtight container for up to 3 days. Allow it to cool completely before sealing to maintain freshness.
Freezer: For longer storage, freeze the soup in freezer-safe containers or bags for up to 2 months. Leave some space at the top of the container as the soup will expand when frozen.
Reheating: When ready to enjoy, thaw the soup in the fridge overnight, and reheat gently on the stove or in the microwave until heated through. Stir frequently to maintain creaminess and even heating.
Tip: If the soup thickens in the fridge or freezer, add a splash of beef stock or water while reheating to reach your desired consistency.
Expert Tips for Steak and Ale Soup
Quality Ingredients Matter: Use the best ribeye steak for rich flavor; fresh vegetables can elevate the whole dish.
Cornstarch Substitution: If you’re going gluten-free, mix cornstarch with water to create a slurry before adding it to the soup for perfect thickening.
Avoid Overcooking: When returning the seared steak to the pot, warm it through instead of cooking it further to maintain its tenderness.
Flavor Depth: Don’t forget to scrape the bottom of the pot when deglazing with ale; that fond is packed with flavor for your Steak and Ale Soup with Mushrooms.
Taste as You Go: Keep tasting during the cooking process to adjust seasoning to your liking; everyone's tastebuds are different!
Make Ahead Options
This Hearty Steak and Ale Soup with Mushrooms is a fantastic option for meal prep, saving you time for those busy weeknights! You can chop the onions, mushrooms, and mince garlic up to 24 hours in advance and store them in the refrigerator. Additionally, you can sear the ribeye steak beforehand and refrigerate it for up to 3 days. When you're ready to enjoy your soup, simply follow the final steps: sauté the prepped aromatics, deglaze with ale, combine all ingredients, and simmer. Keeping the components separate helps maintain their freshness and flavor, ensuring that your soup is just as delicious when you serve it!
Steak and Ale Soup with Mushrooms Recipe FAQs
What type of steak should I use for the best flavor?
For optimal richness, I recommend using high-quality ribeye steak. Ribeye provides a deep, beefy flavor and tender texture that truly elevates the soup. If you prefer an alternative, chuck roast can work, but keep in mind that it may require longer cooking time to become tender.
How long can I store the soup in the fridge?
Your Steak and Ale Soup with Mushrooms can be safely stored in an airtight container in the refrigerator for up to 3 days. To maintain its delicious flavor, make sure the soup cools completely before sealing it up.
Can I freeze this soup?
Absolutely! You can freeze your Steak and Ale Soup with Mushrooms for up to 2 months. Just be sure to use freezer-safe containers or bags, and leave a little room at the top to allow for expansion as it freezes.
What should I do if my soup turns out too thick after refrigerating or freezing?
No worries! If you find that the soup is too thick upon reheating, simply add a splash of beef stock or water to reach your desired consistency. Gently stir while reheating to ensure it heats evenly.
Are there any dietary considerations I should be aware of?
Yes! If you have dietary restrictions, you can easily adapt this recipe. To make it gluten-free, substitute the flour used to coat the steak with cornstarch and ensure your ale or beer is gluten-free as well. Always check labels for allergens if cooking for others.
How can I enhance the flavor of my soup?
For an extra boost, consider adding a bay leaf during the simmering stage or tossing in fresh herbs like parsley or thyme before serving. Experimenting with these additions can really personalize your Steak and Ale Soup with Mushrooms!

Irresistible Steak and Ale Soup with Mushrooms for Cozy Nights
Ingredients
Equipment
Method
- Start by cubing the ribeye steak into bite-sized pieces, ensuring uniformity for consistent cooking. Chop the onions and mushrooms, and mince the garlic.
- In a large pot, heat a tablespoon of oil over medium-high heat until shimmering. Season the cubed ribeye steak with salt, pepper, and a light dusting of flour. Add the steak to the pot, searing it for about 4-5 minutes until browned on all sides.
- In the same pot, reduce the heat to medium and add a little more oil if needed. Toss in the chopped onions, mushrooms, and minced garlic, sautéing for about 5-7 minutes.
- Pour in a cup of quality ale, scraping up the browned bits from the bottom of the pot. Allow the ale to simmer for about 2-3 minutes.
- Return the seared steak to the pot, along with 4 cups of beef stock, dried herbs, salt, and pepper. Stir everything together, raise the heat until it reaches a gentle boil, then reduce to low.
- After simmering, taste your soup and adjust the seasoning with more salt and pepper if needed. Serve the soup hot, garnished with fresh herbs or accompanied by crusty bread.