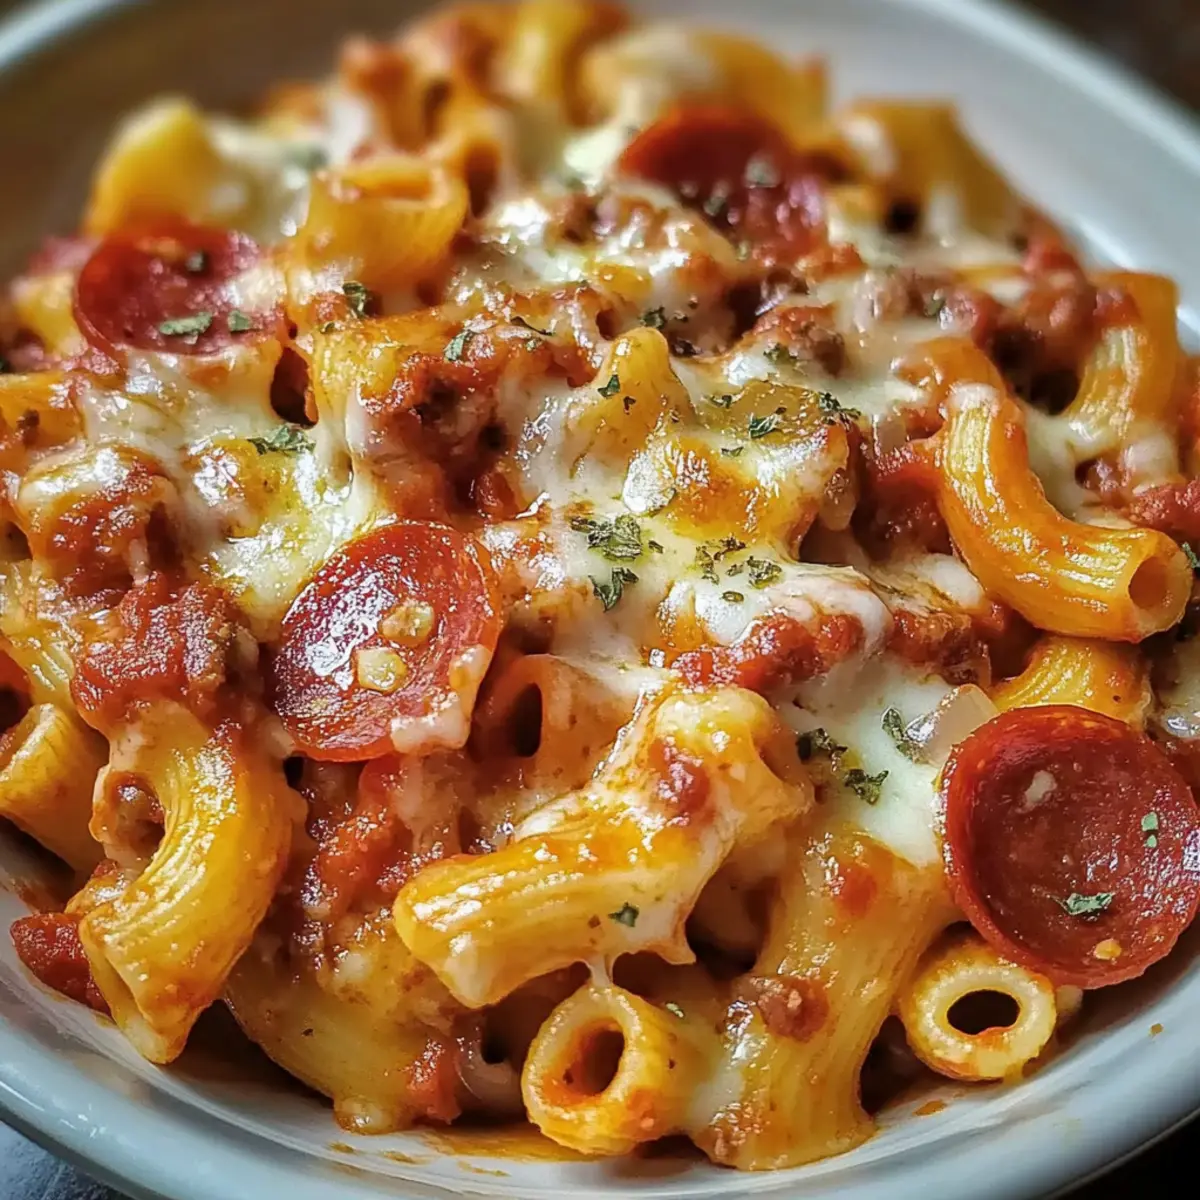
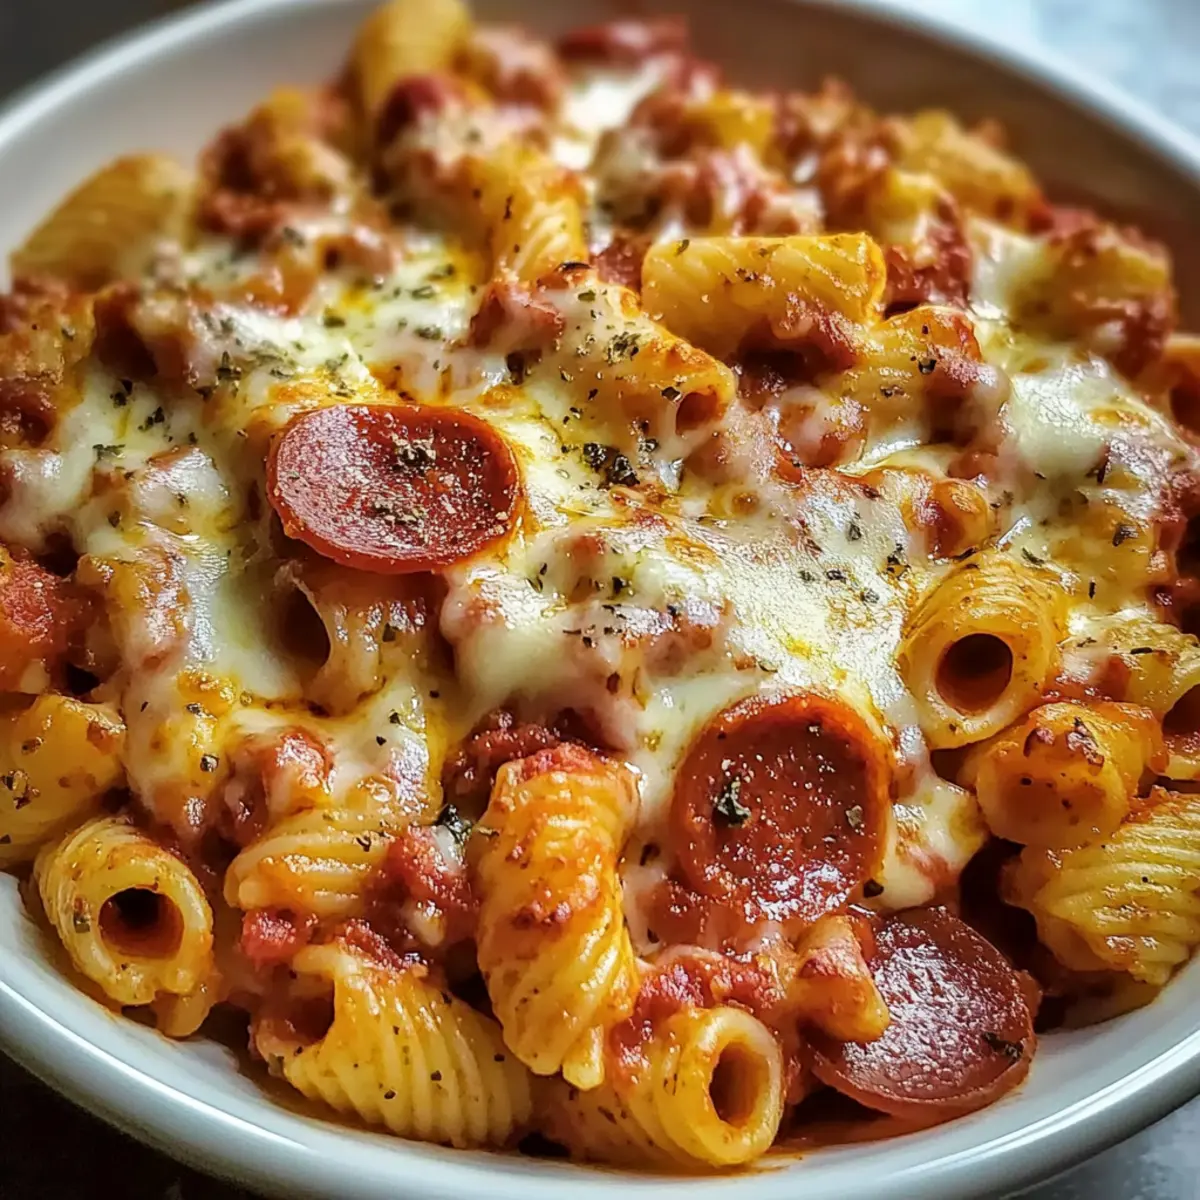
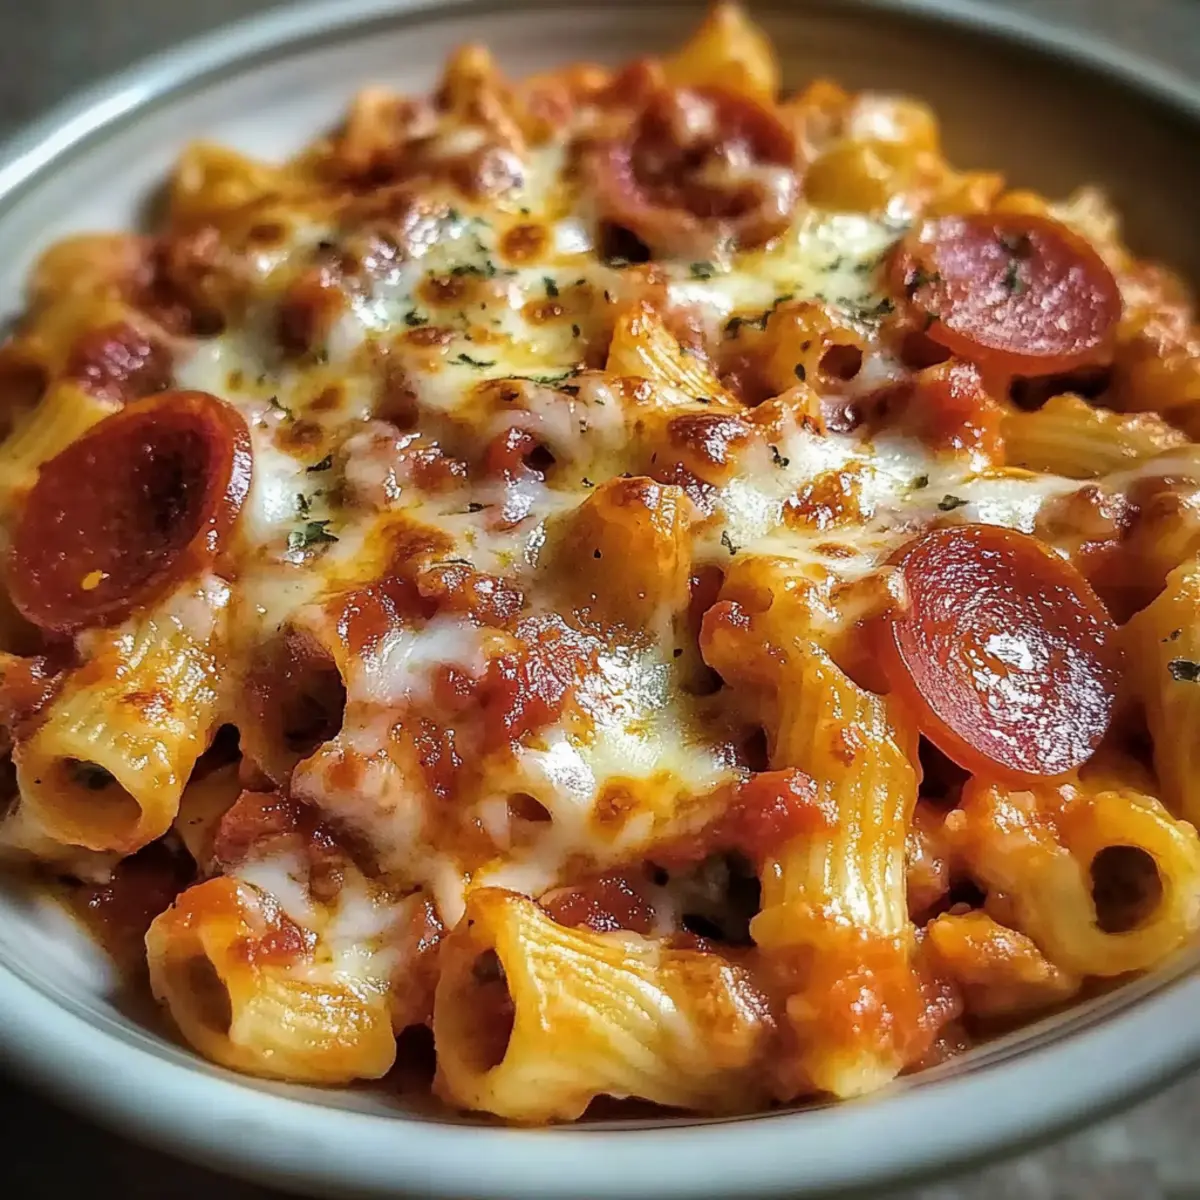
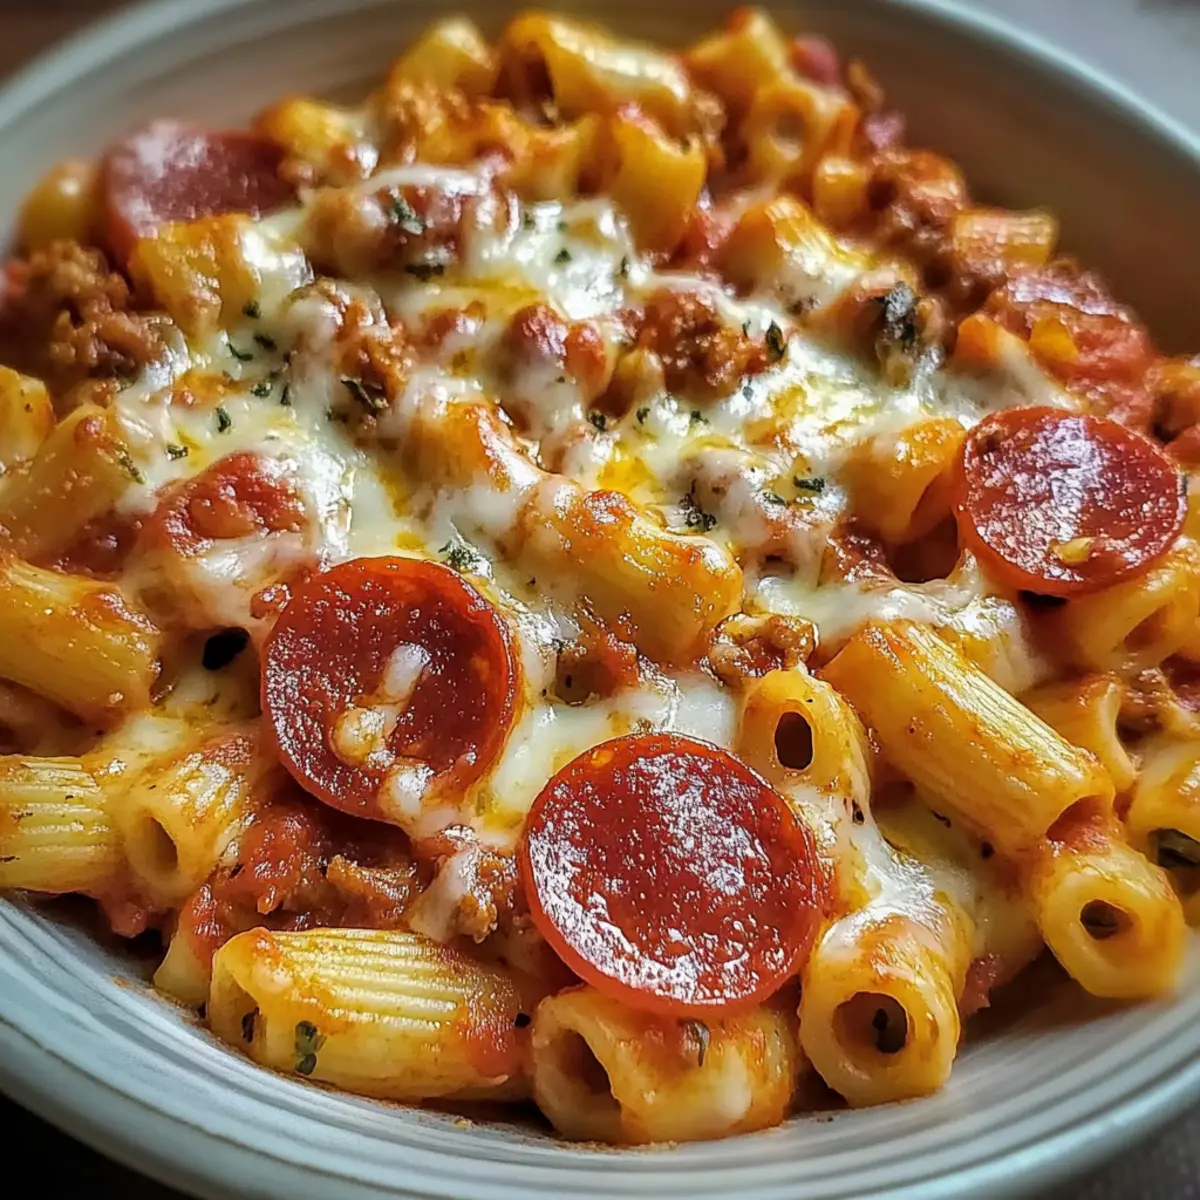
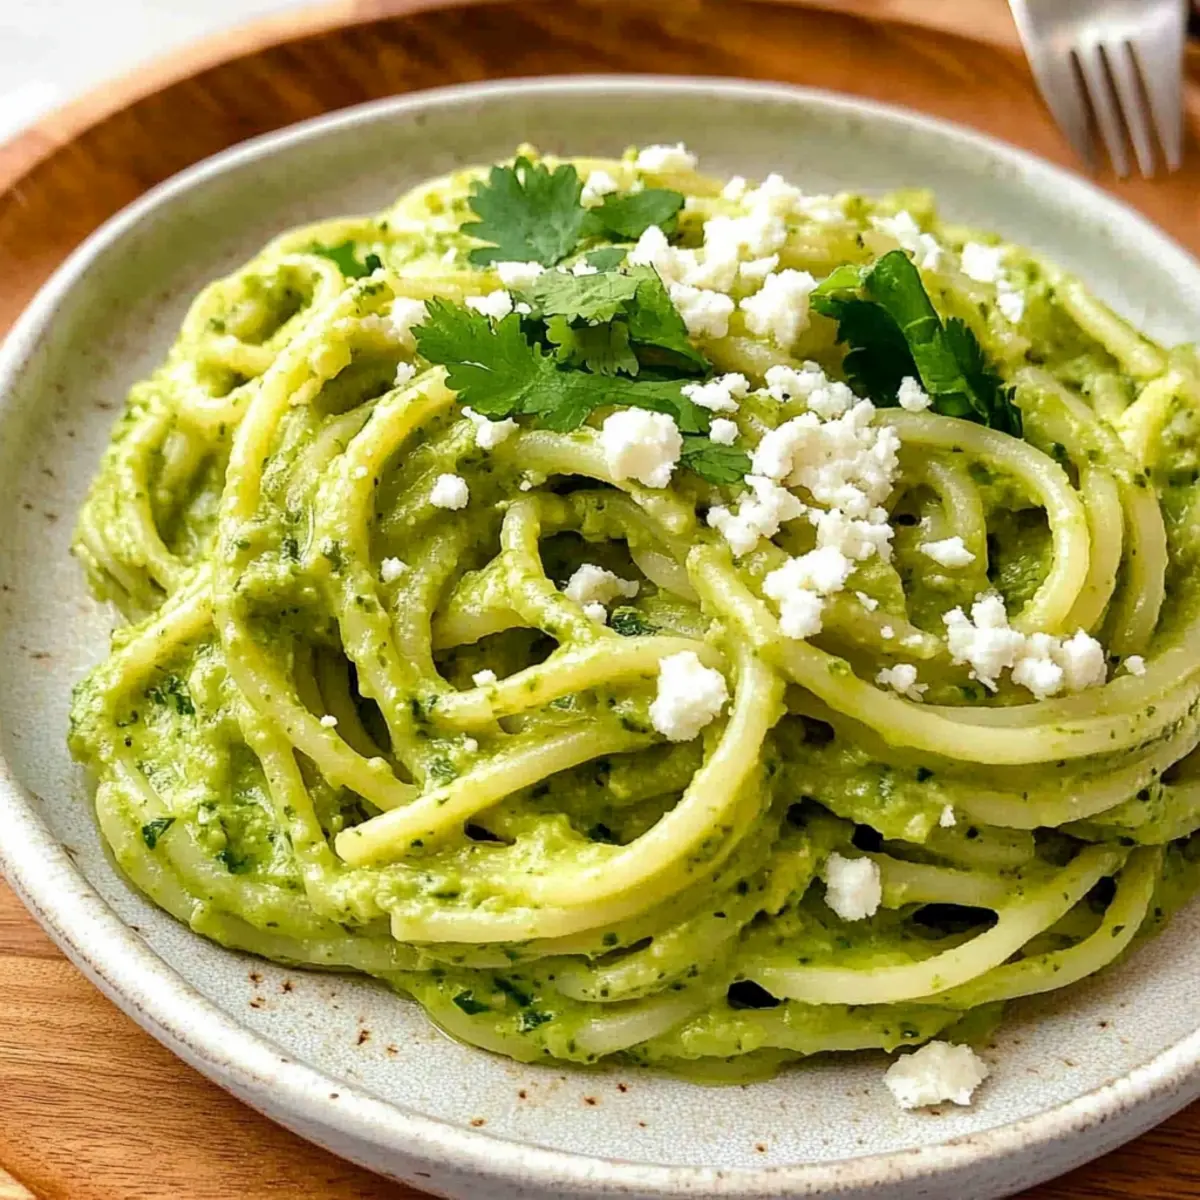
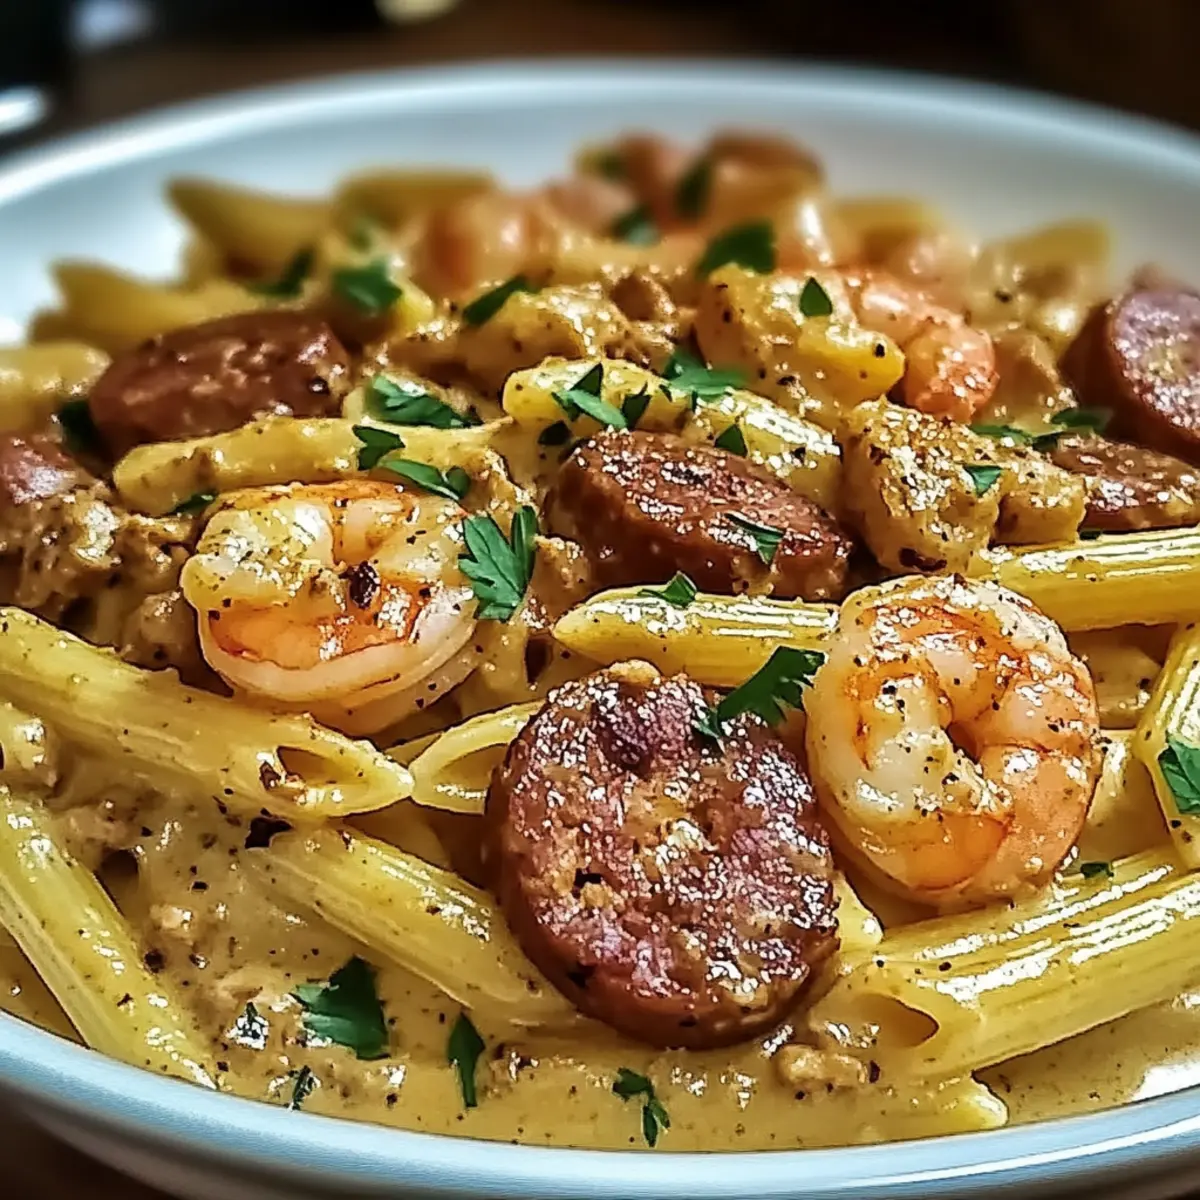
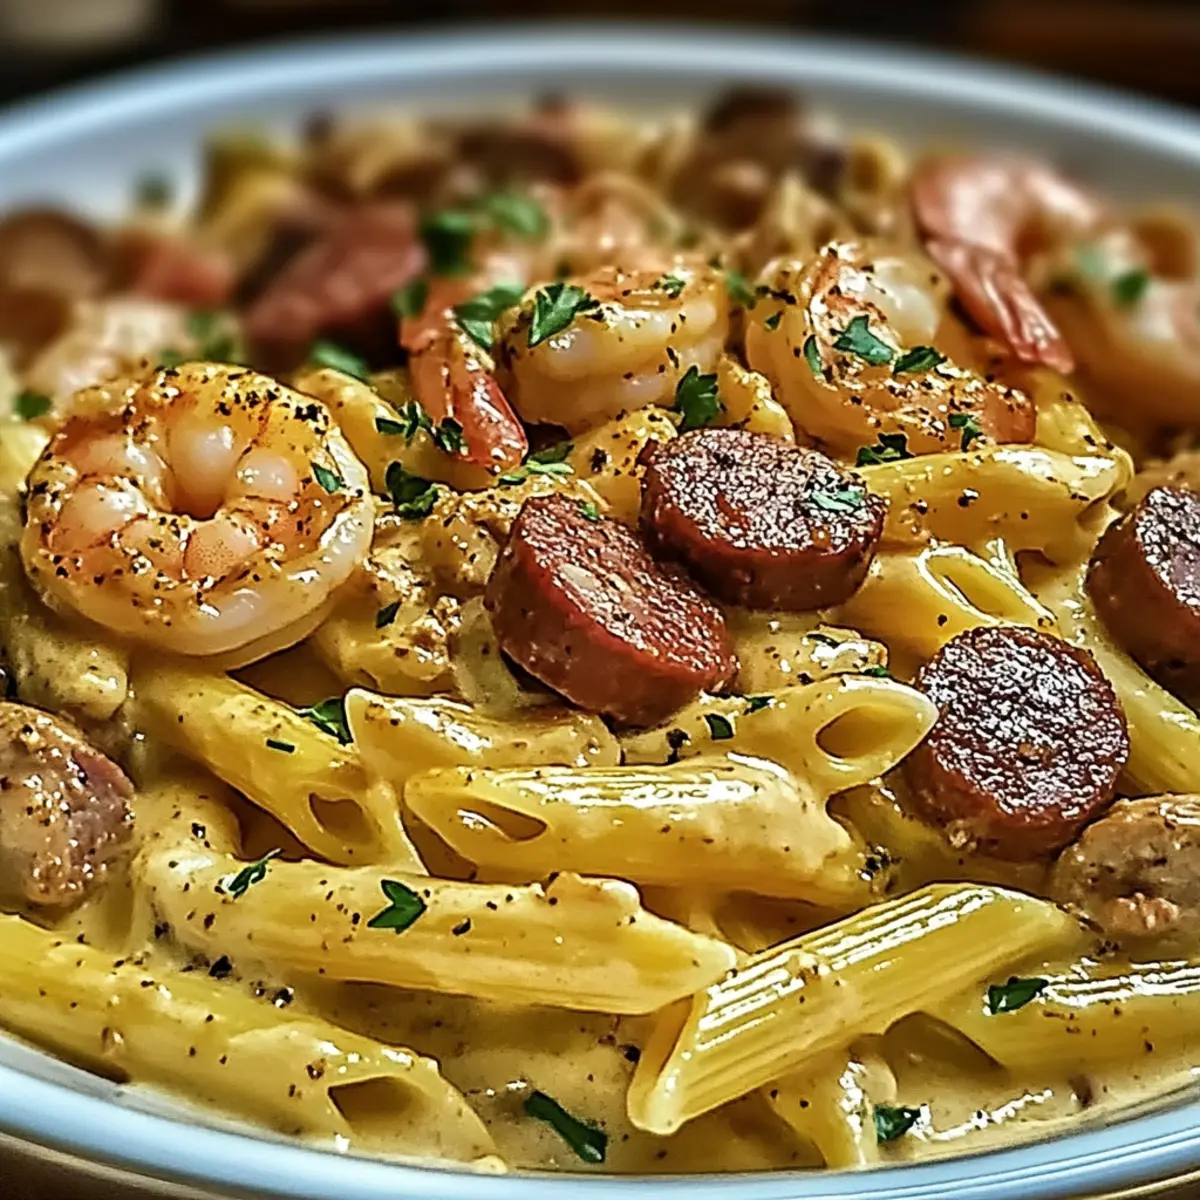
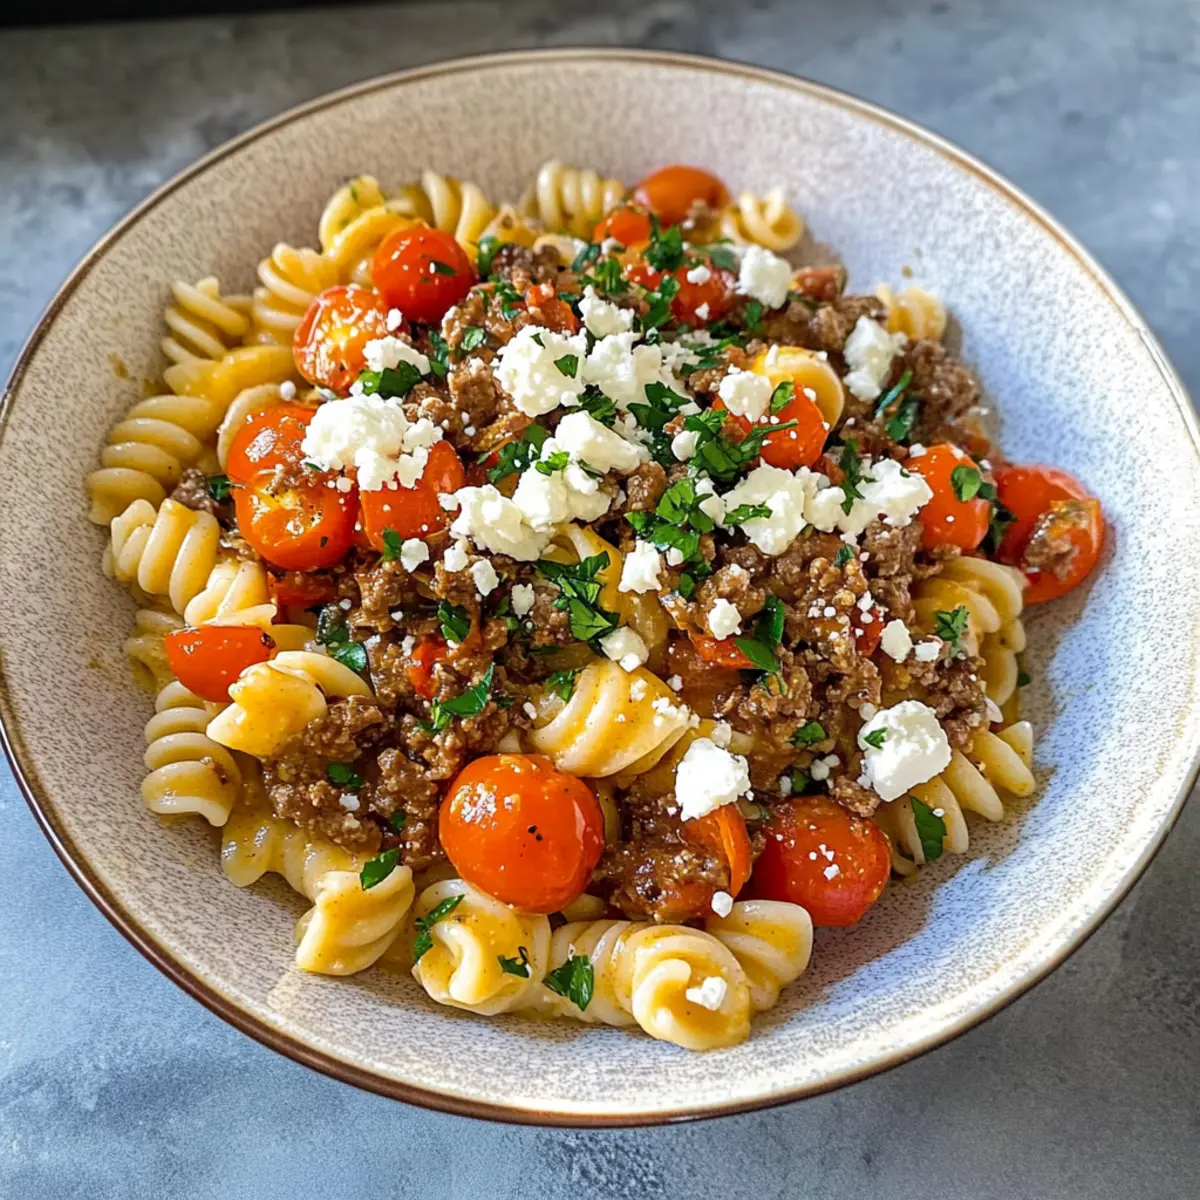
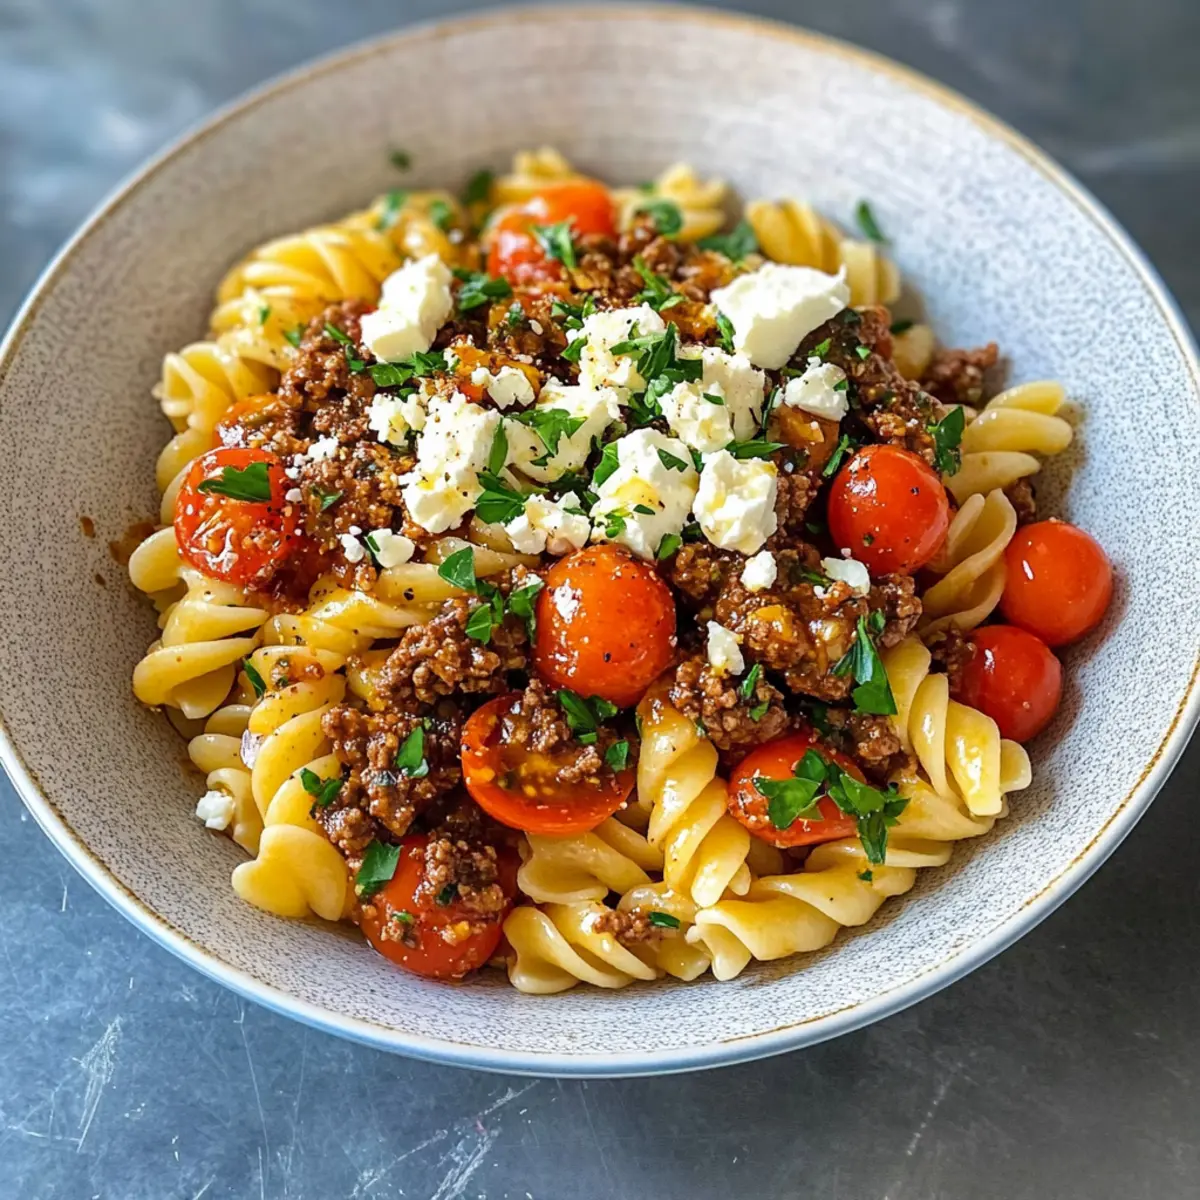
As I sat down with a steaming plate of Anna Paul's Viral Turkish Pasta, the warmth wrapped around me like a cozy blanket. This dish beautifully intertwines creamy garlic yogurt and spiced ground beef, all drizzled with rich paprika butter—an exquisite comfort food that’s almost impossible to resist. What I love most about this recipe is its ability to deliver a hearty meal in a snap, making it perfect for those busy weeknights when you still want something delicious. Plus, its vibrant flavors are sure to impress even the pickiest guests! Are you ready to elevate your dinner game with this unforgettable Turkish delight?
Why is this pasta a must-try?
Comforting, Rich Flavor: The combination of creamy garlic yogurt and spiced ground beef creates a symphony of taste that will warm your heart.
Quick & Easy: This recipe is ideal for busy evenings, bringing comfort food to your table in under 30 minutes.
Versatile Ingredients: With simple substitutions like using ground turkey or omitting cheese, you can easily adapt the dish to your preferences.
Crowd-Pleasing Appeal: Impress family and friends alike with this vibrant meal that looks as beautiful as it tastes.
Cultural Twist: Experience the flavors of Turkey with every bite, adding a global flair to your dinner rotation.
Whether you're enjoying a cozy night in or hosting a dinner party, Anna Paul's Viral Turkish Pasta promises to be a delightful addition to your culinary collection!
Anna Paul's Viral Turkish Pasta Ingredients
-
For the Garlic Yogurt
-
Greek yogurt – Provides creaminess and tang; substitute with plain yogurt for a lighter option.
-
Garlic – Adds aromatic flavor; use roasted garlic for a milder sweetness.
-
Lemon juice – Brightens the yogurt mix; lime juice can serve as a substitute.
-
Salt – Enhances flavor; adjust based on personal taste.
-
For the Spiced Beef
-
Ground beef – The hearty protein base; ground lamb or turkey is an excellent alternative.
-
Yellow onion – Adds sweetness and depth of flavor when sautéed; shallots can be used if preferred.
-
Sweet paprika – Infuses warmth and color; smoked paprika can add a different flavor profile.
-
Garlic powder – Provides an additional depth of garlic flavor; use fresh garlic as a substitute, adjusting to taste.
-
Cumin – Offers an earthy note; omit if unpreferred or substitute with coriander.
-
Tomato paste – Adds richness and umami; tomato sauce can be used as a lighter substitute.
-
Pepper – Adds heat and balance; adjust according to preference.
-
Butter – Creates a silky texture in the paprika sauce while adding flavor; can be replaced with olive oil for a lighter option.
-
For Assembly
-
Cooked pasta (fusilli/penne) – Serves as the base for the dish; any textured pasta works well to hold the sauce.
-
Cherry tomatoes – Freshness and color as toppings; any small tomato variety can be used.
-
Fresh parsley – Adds brightness and color; substitute with other fresh herbs like cilantro or basil.
-
Feta cheese – Provides saltiness and texture; any crumbled cheese like goat cheese can offer a tangy kick.
Dive into the delightful world of Anna Paul's Viral Turkish Pasta—you won’t be disappointed!
Step‑by‑Step Instructions for Anna Paul's Viral Turkish Pasta
Step 1: Prepare Garlic Yogurt
In a small bowl, combine 1 cup of Greek yogurt, 2 grated cloves of garlic, 1 tablespoon of lemon juice, and a pinch of salt. Mix everything together until smooth and creamy. Set the garlic yogurt aside, allowing the flavors to meld together while you prepare the rest of the dish.
Step 2: Cook Spiced Beef
Heat a large skillet over medium heat and add a drizzle of oil. Once hot, sauté 1 diced yellow onion until it becomes translucent, about 3–5 minutes. Stir in 1 tablespoon of sweet paprika, 1 teaspoon of garlic powder, and 1 teaspoon of cumin, toasting them for 2 minutes until fragrant. Add 1 pound of ground beef, breaking it apart and cooking until browned, approximately 10 minutes. Season with salt, pepper, and 2 tablespoons of tomato paste; simmer for another 2-3 minutes.
Step 3: Make Paprika Butter
While the beef simmers, melt 3 tablespoons of butter in a small saucepan over low heat. Once melted, stir in an additional tablespoon of sweet paprika until it is bubbling gently. Remove the saucepan from heat and let it sit, allowing the flavors to develop while you assemble the pasta.
Step 4: Assemble Dish
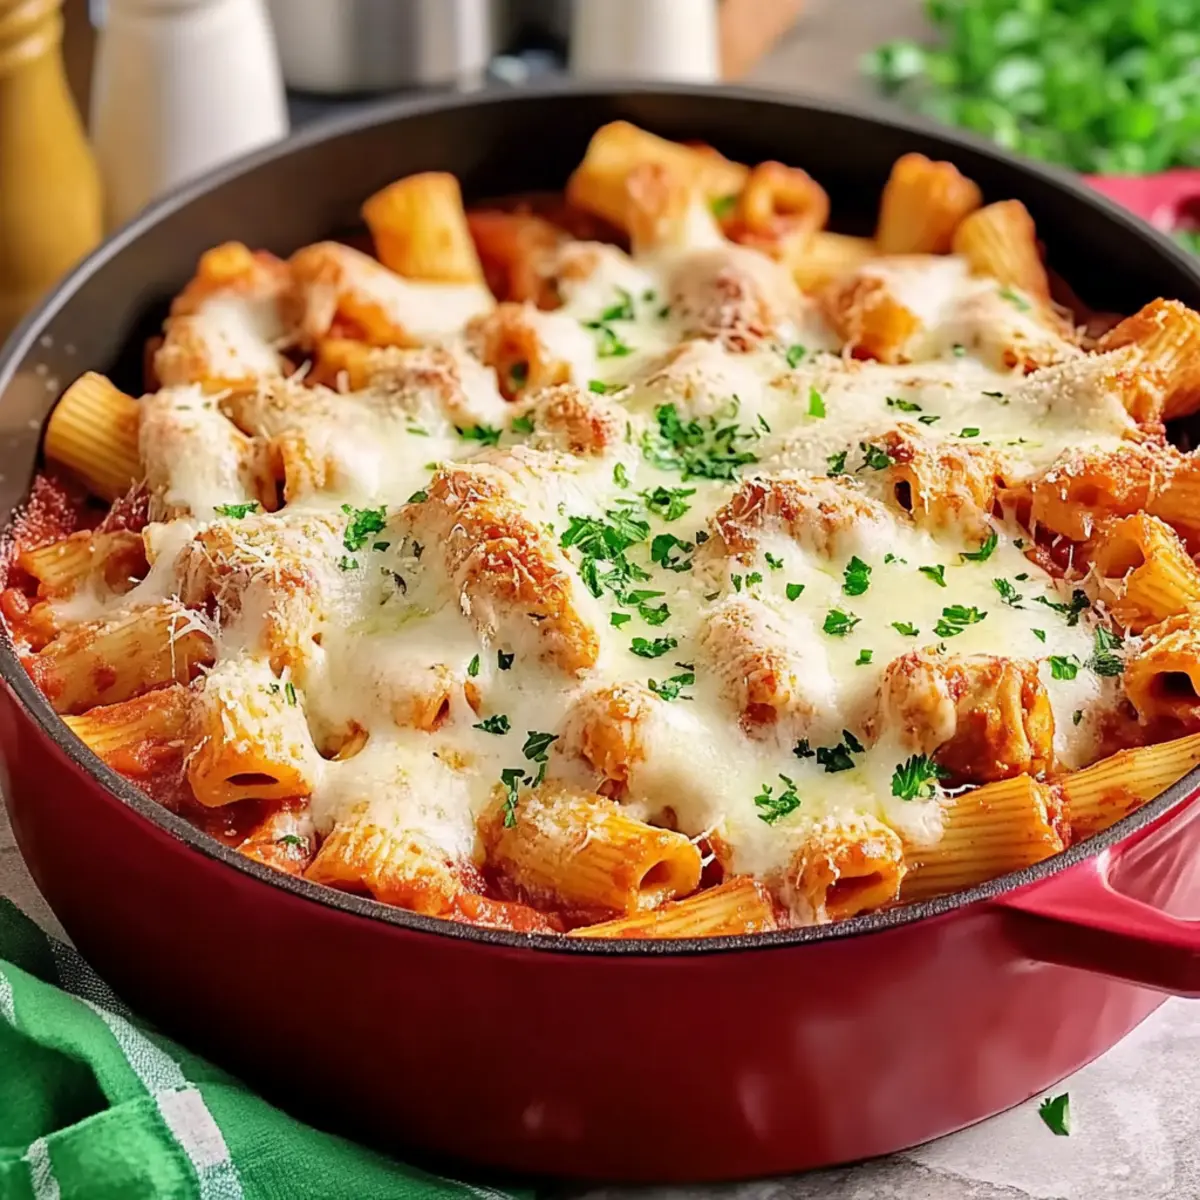
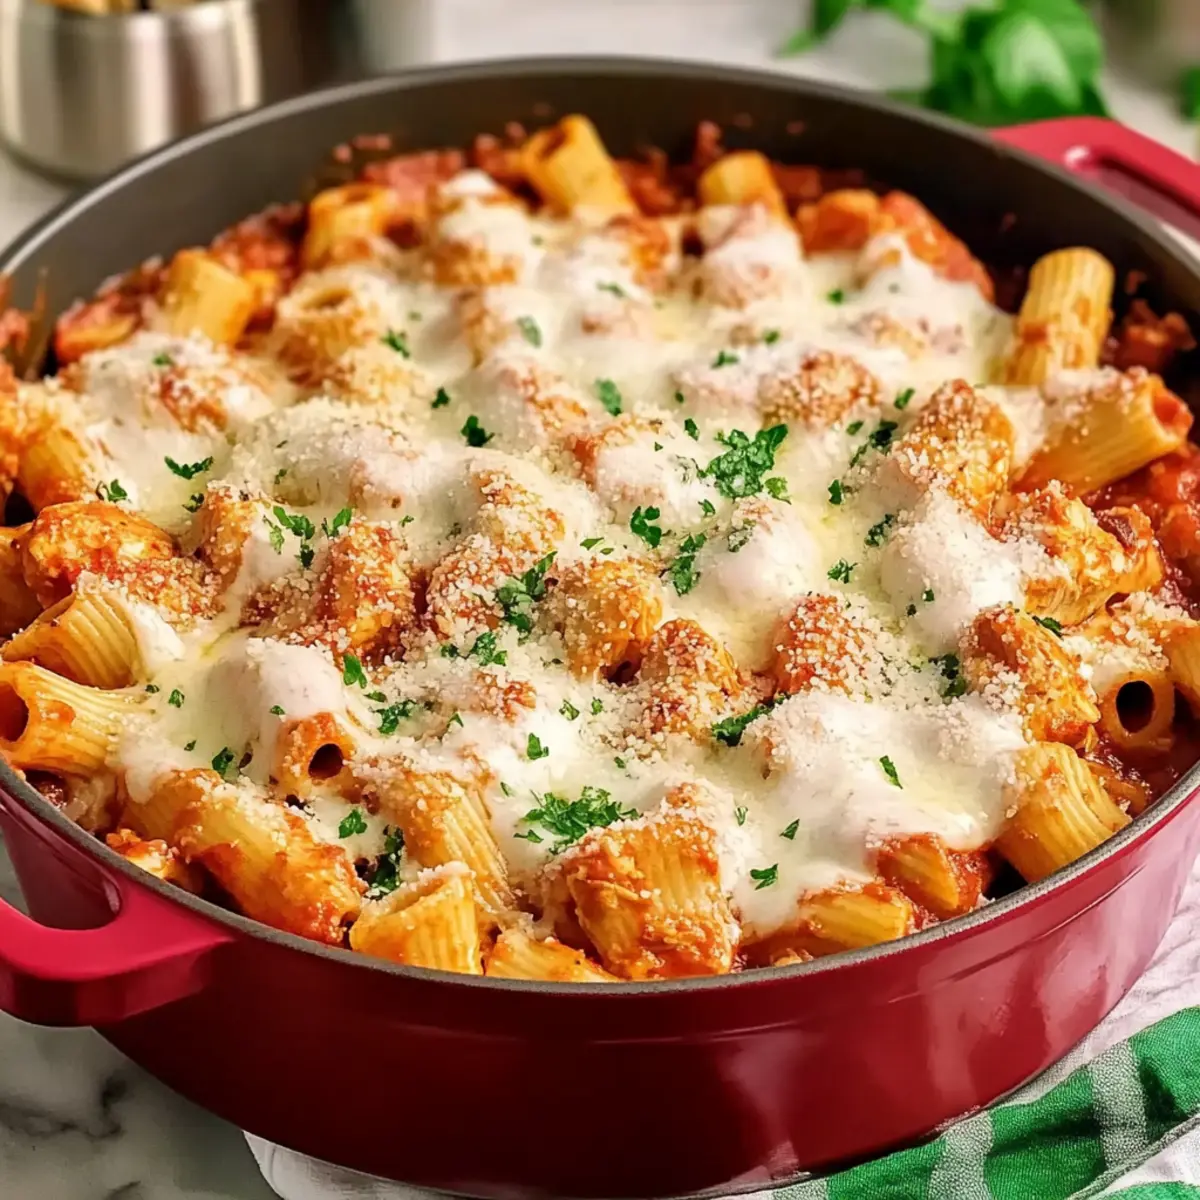
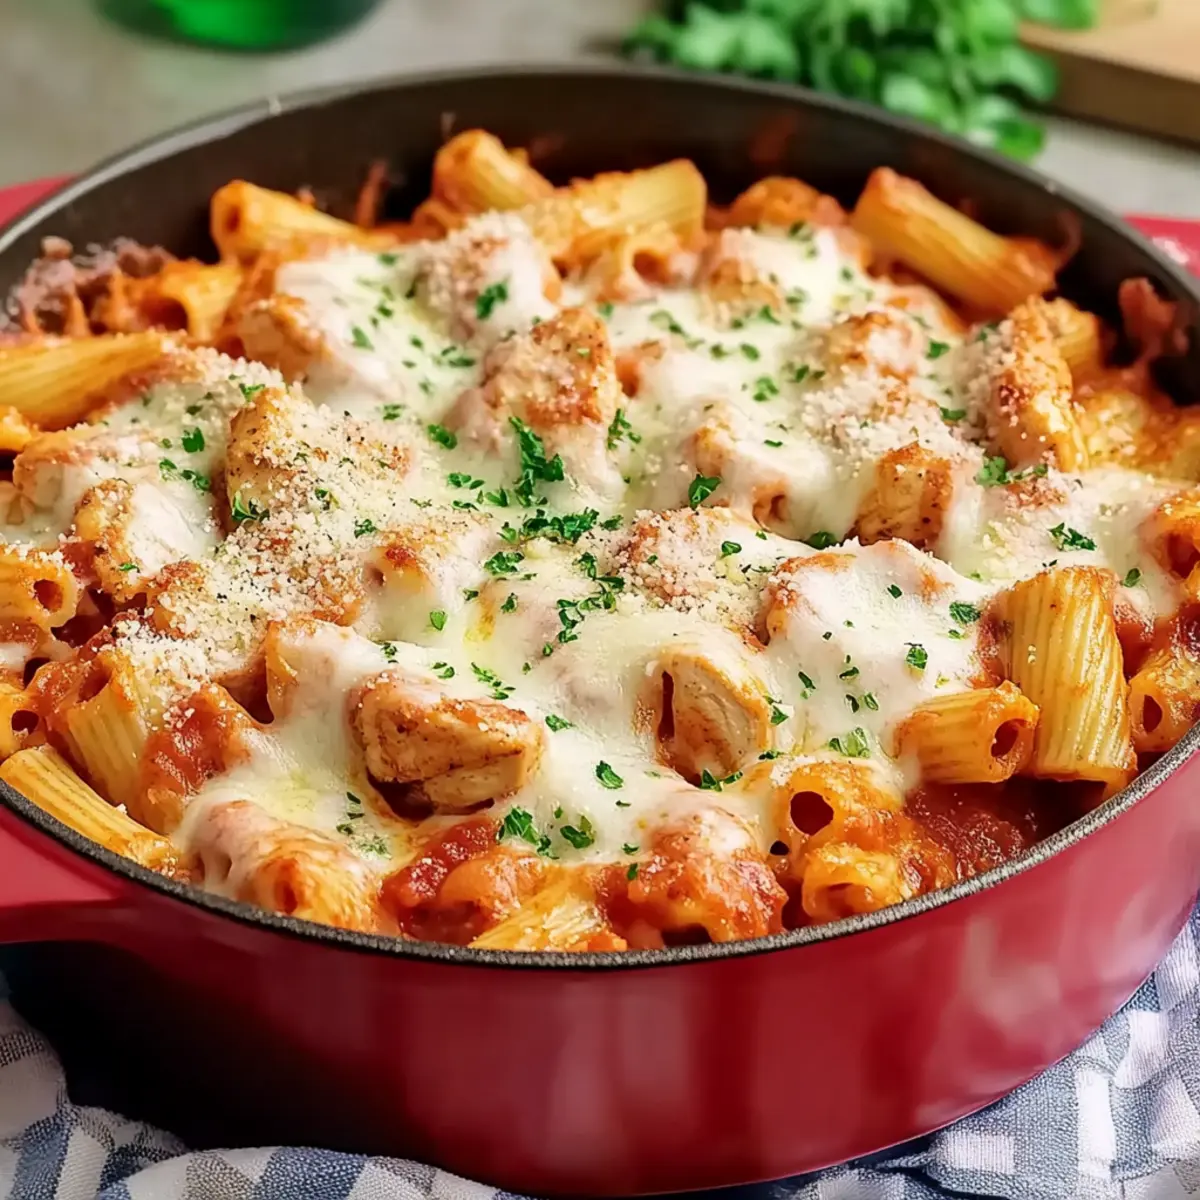
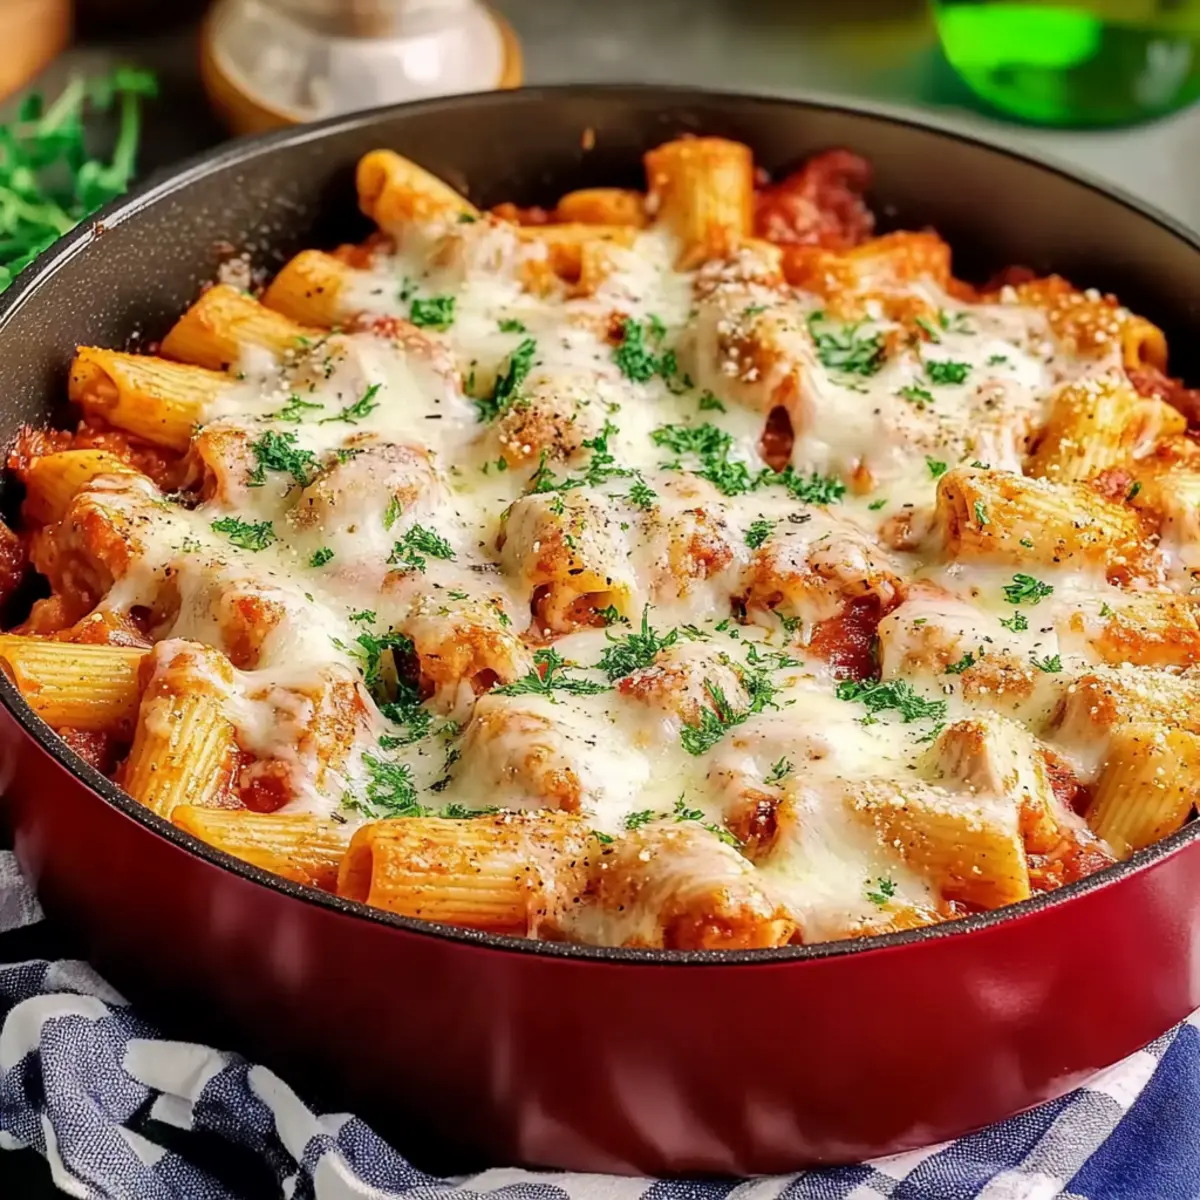
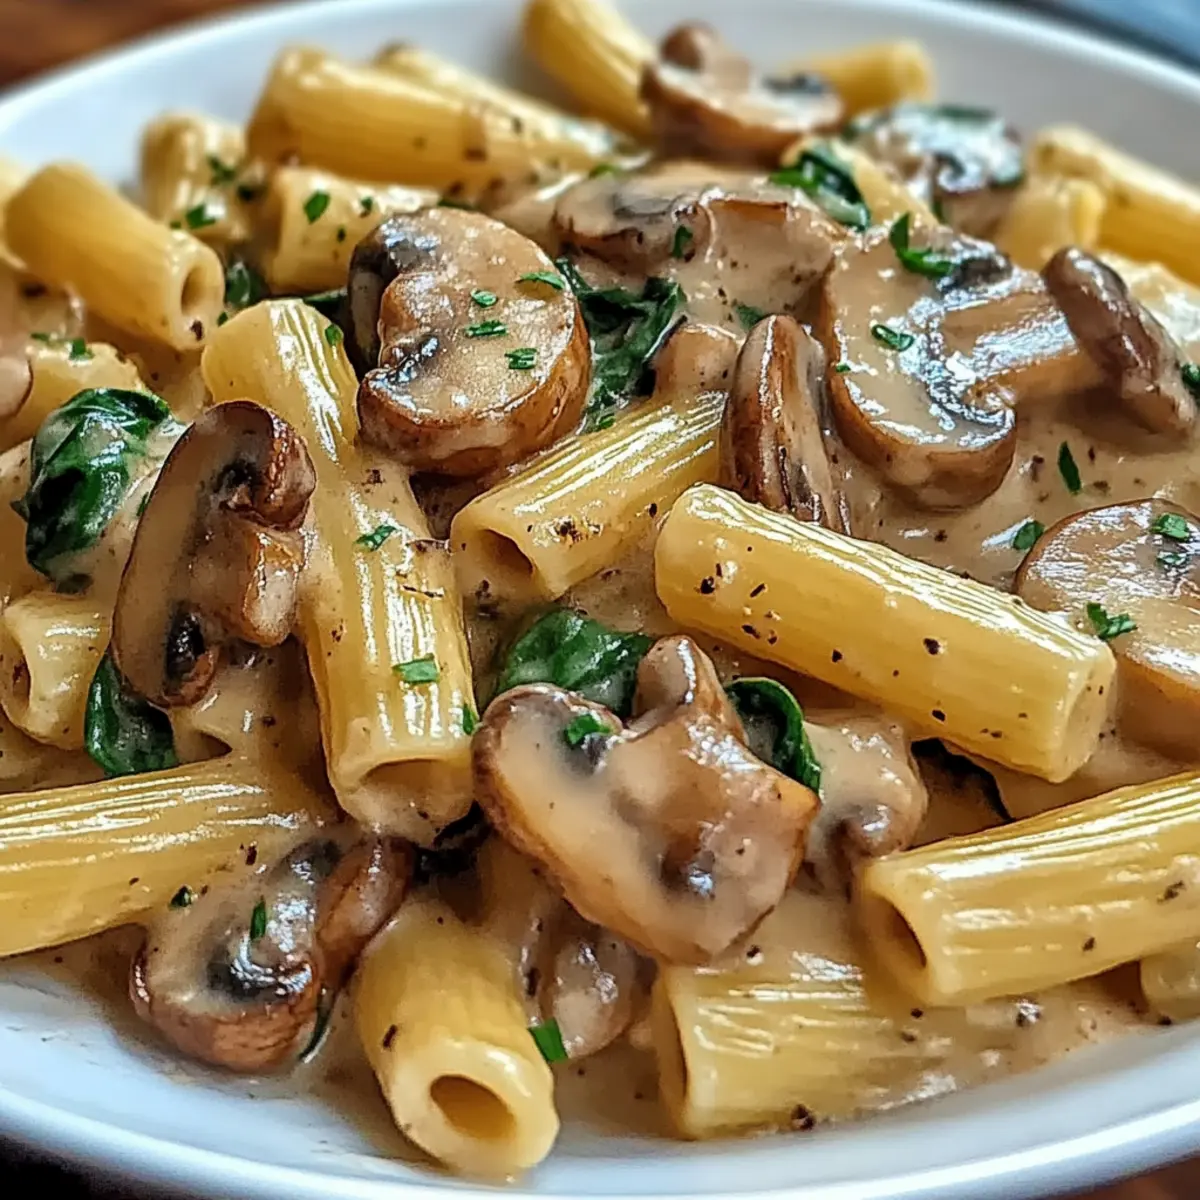
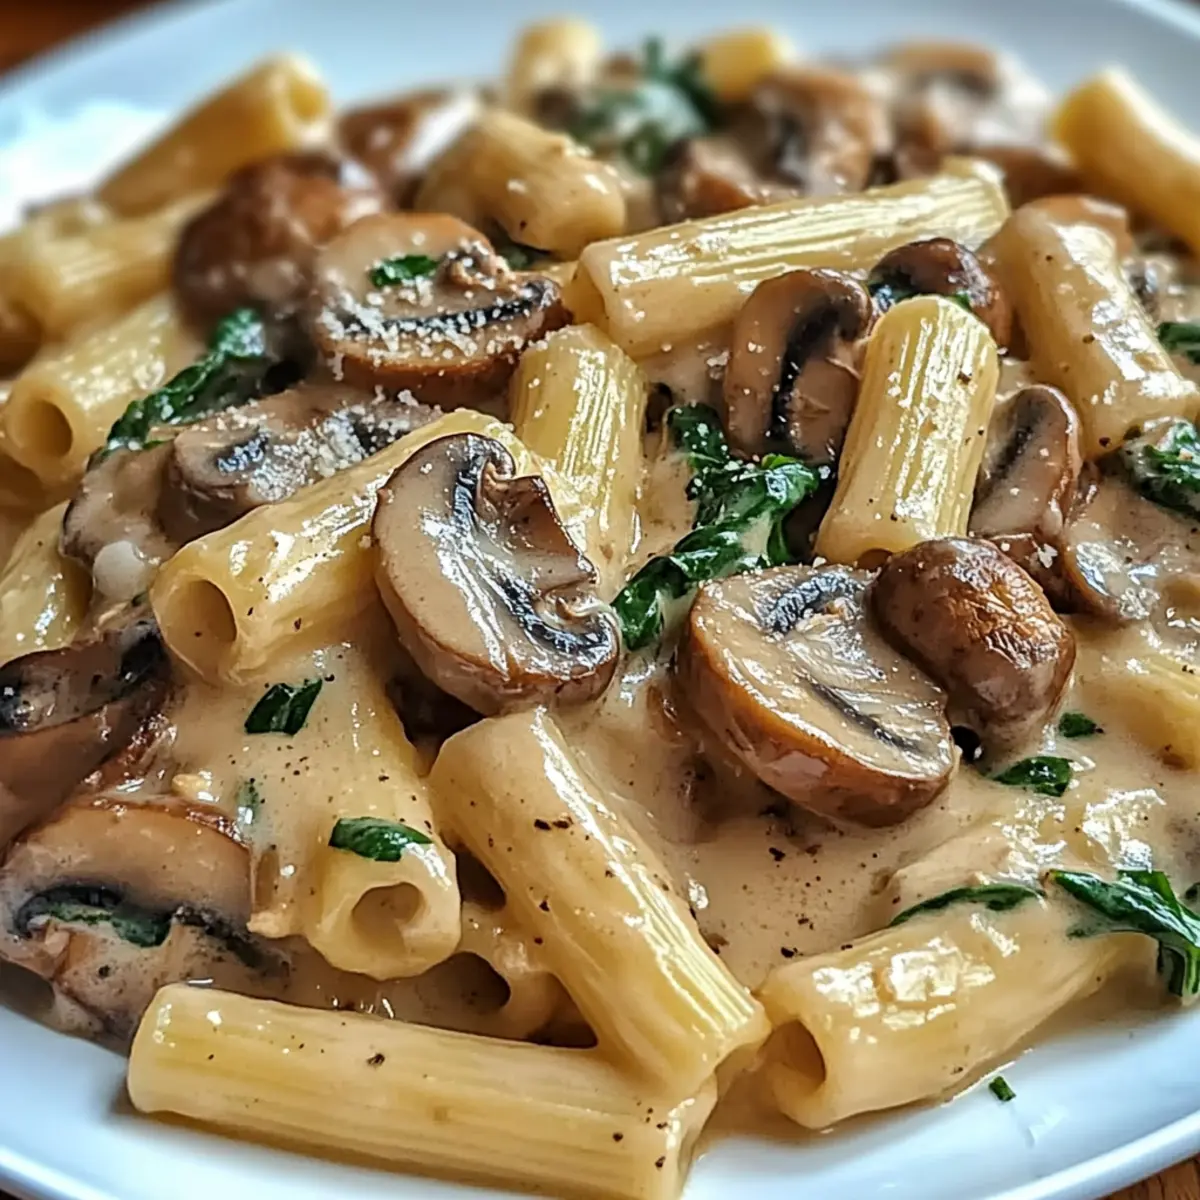
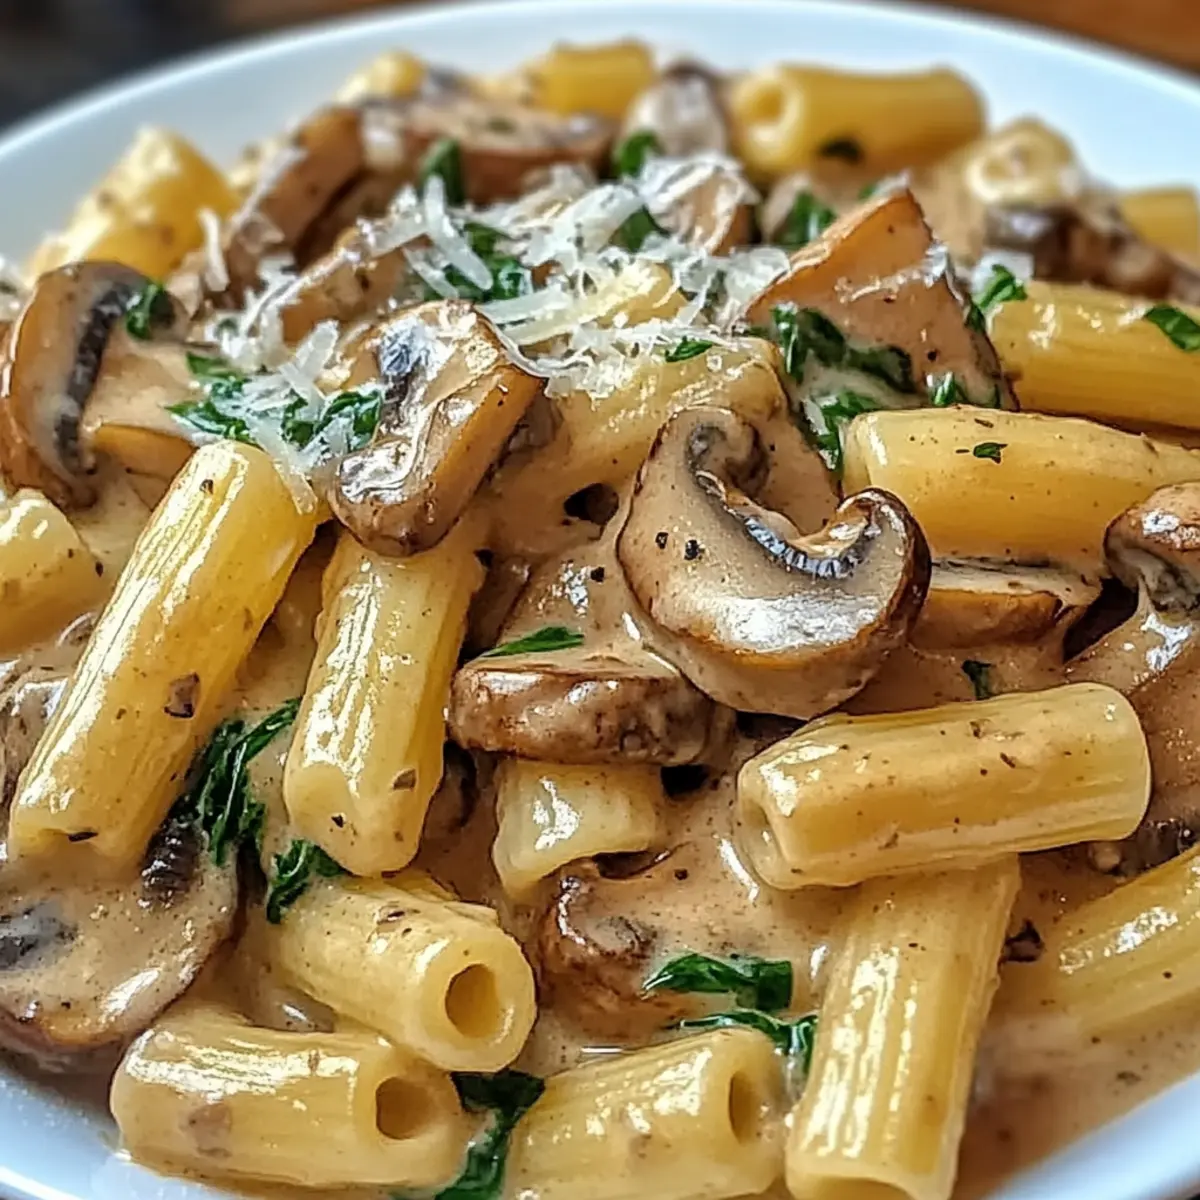
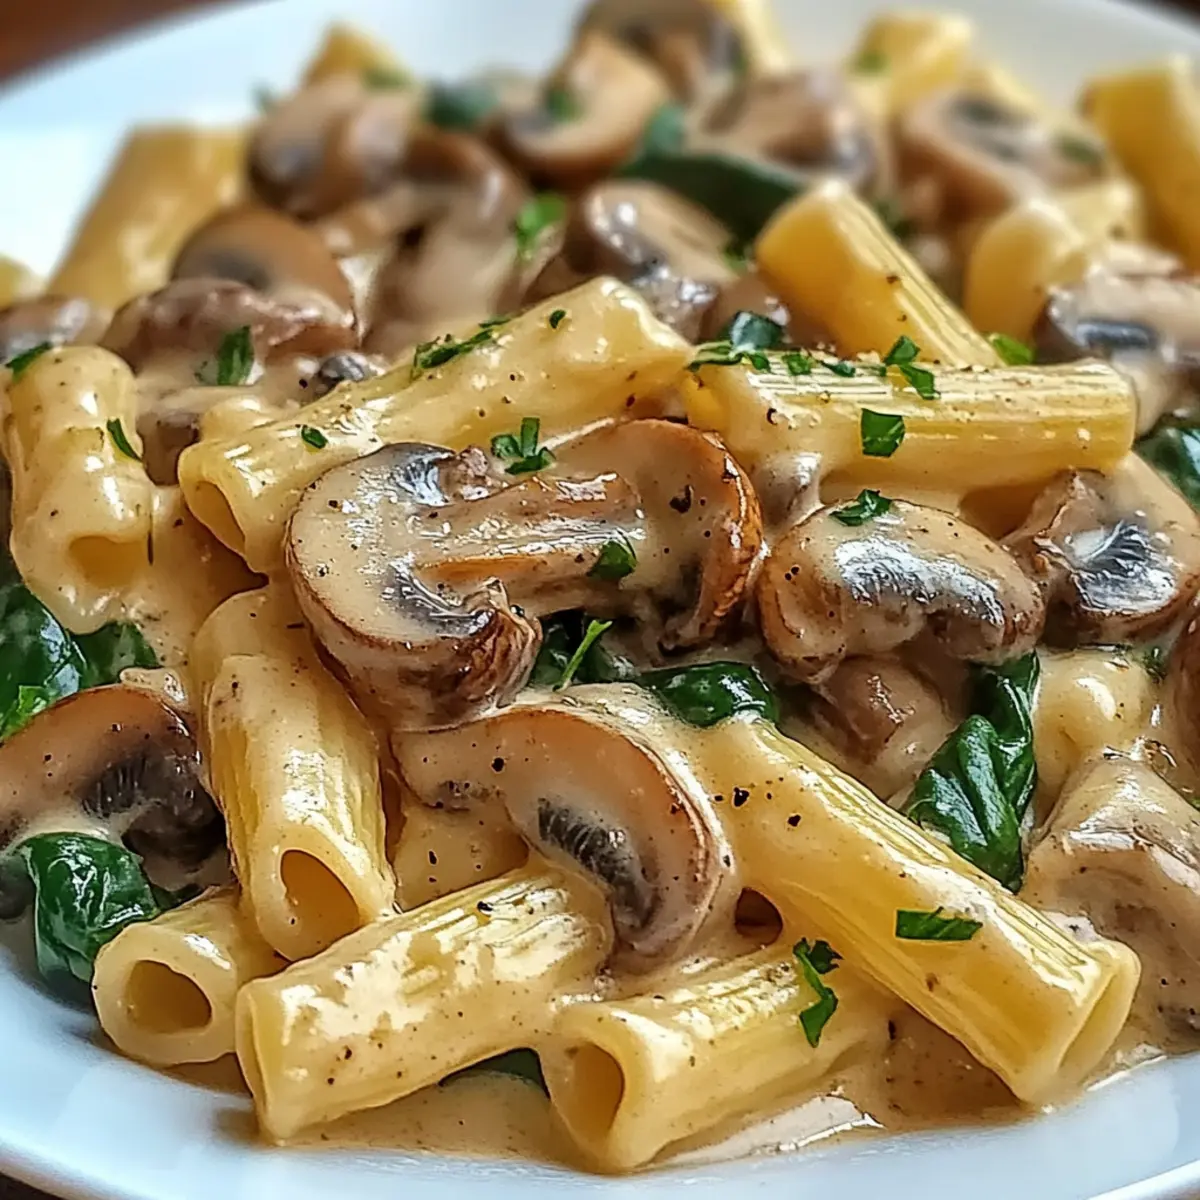
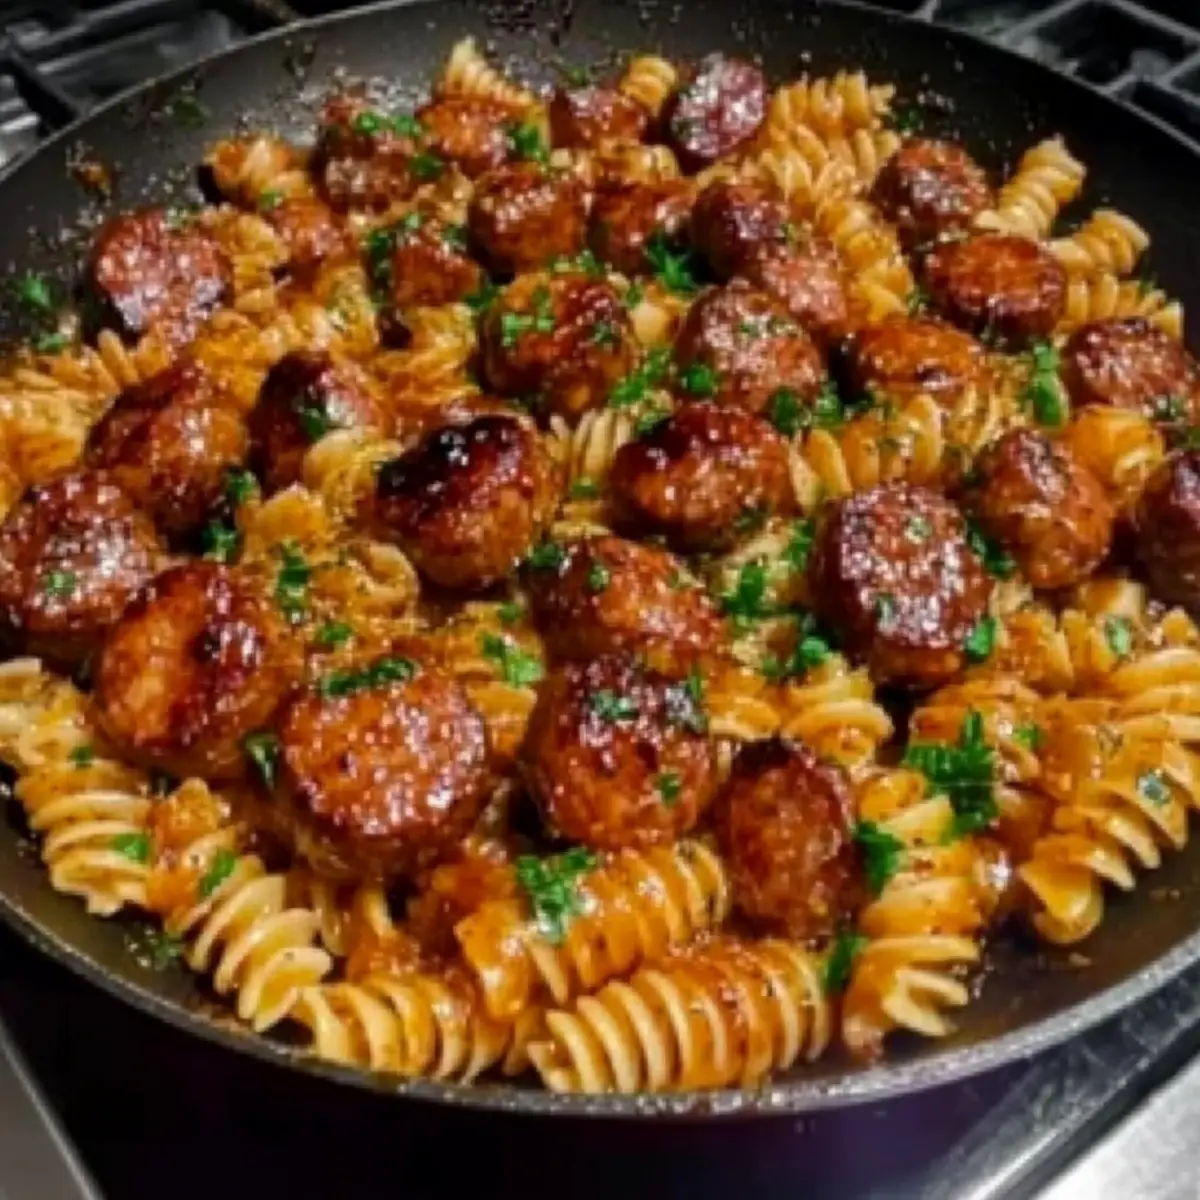
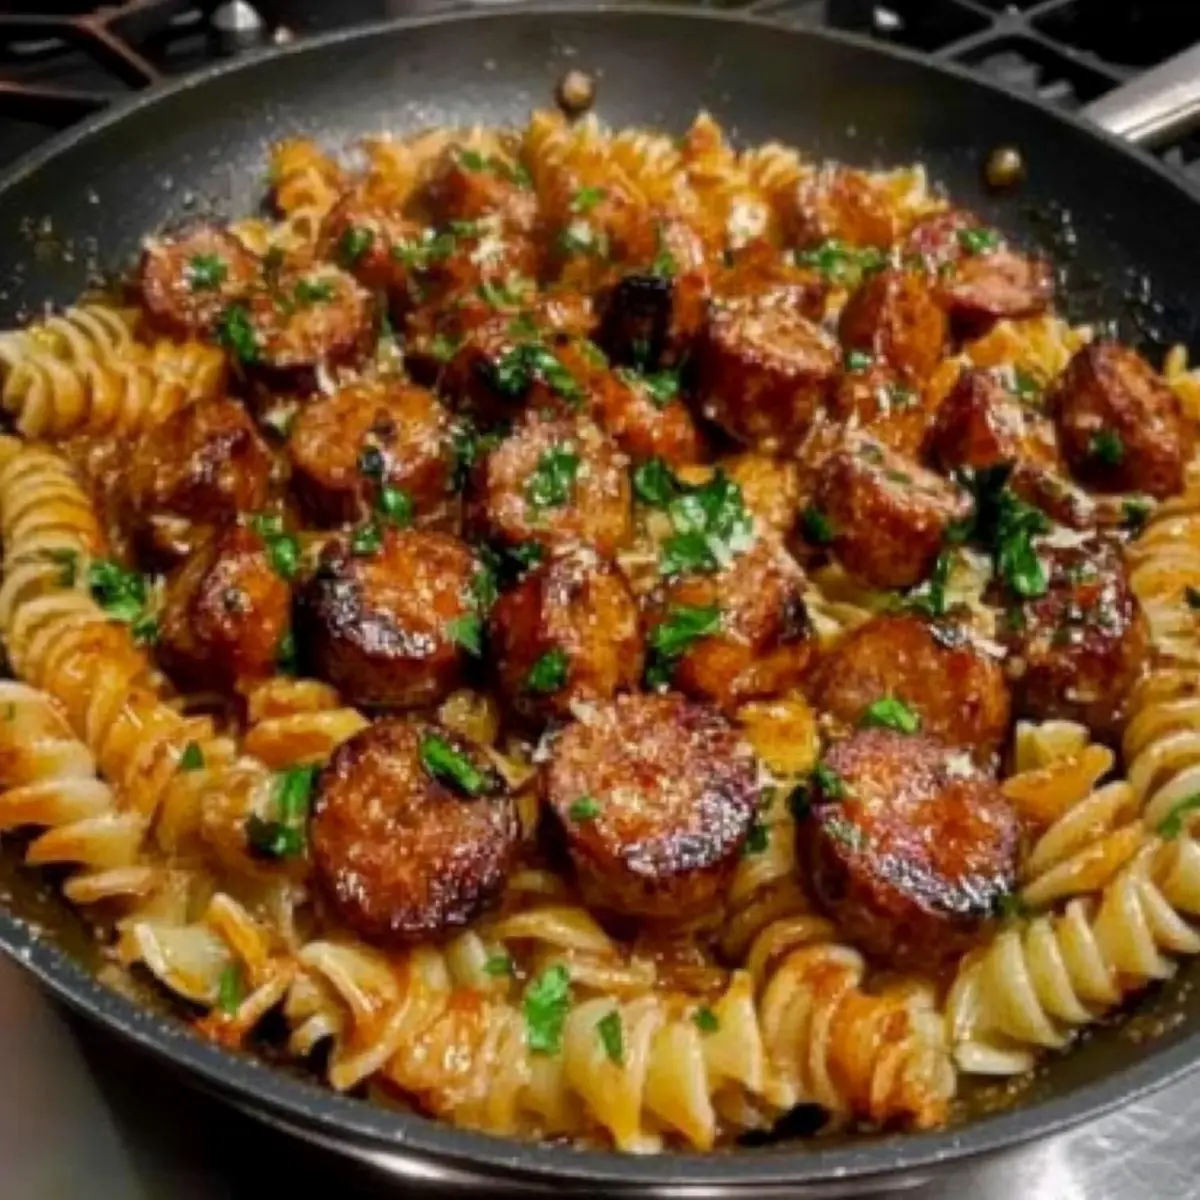
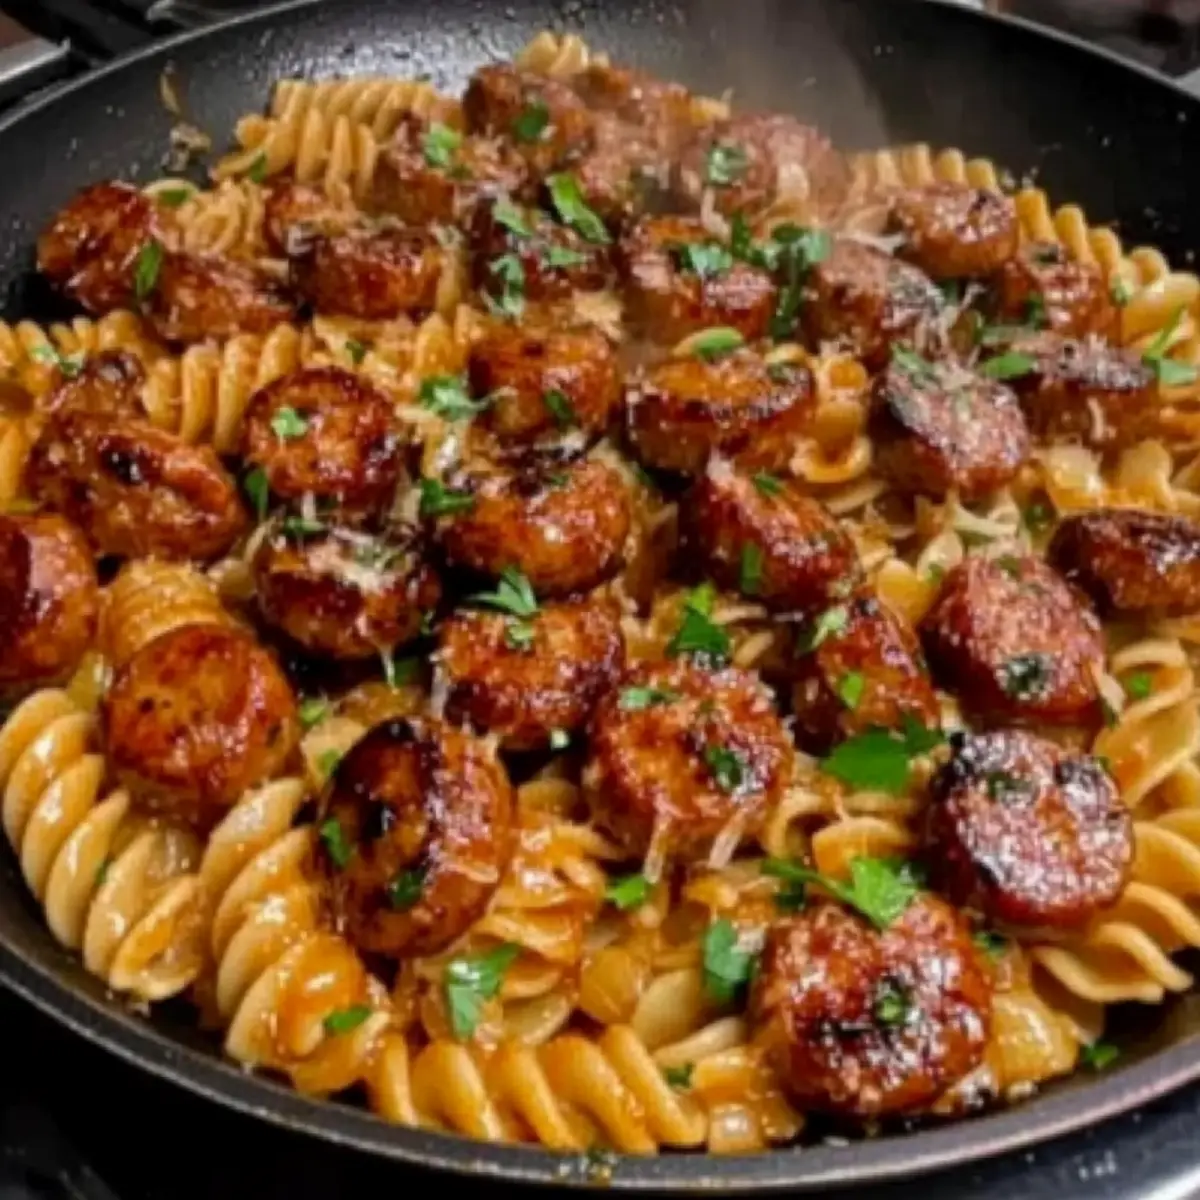
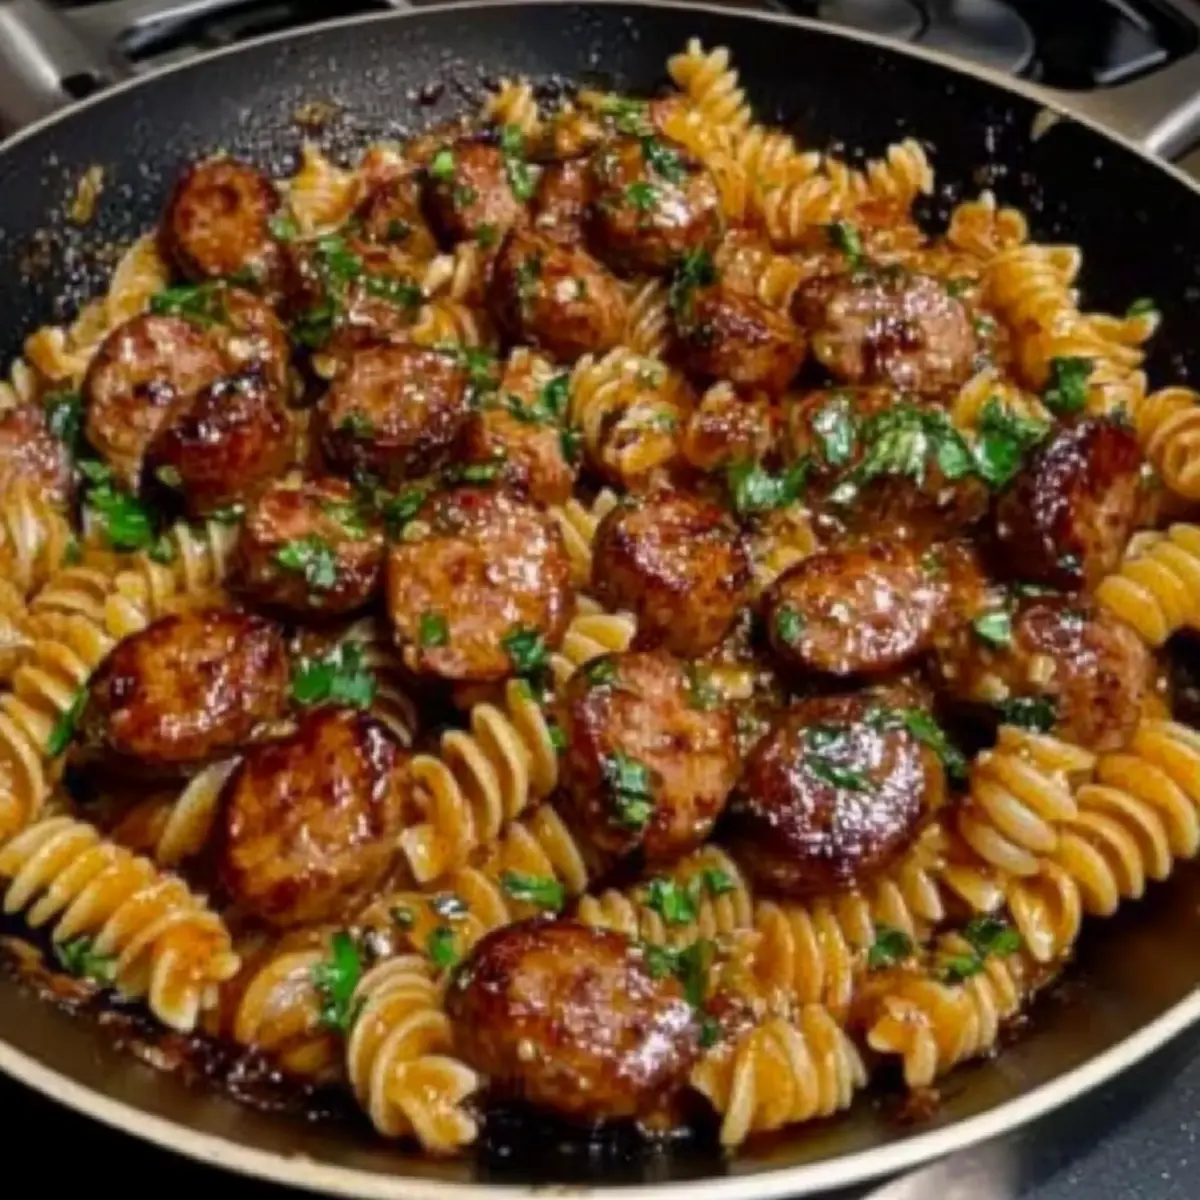
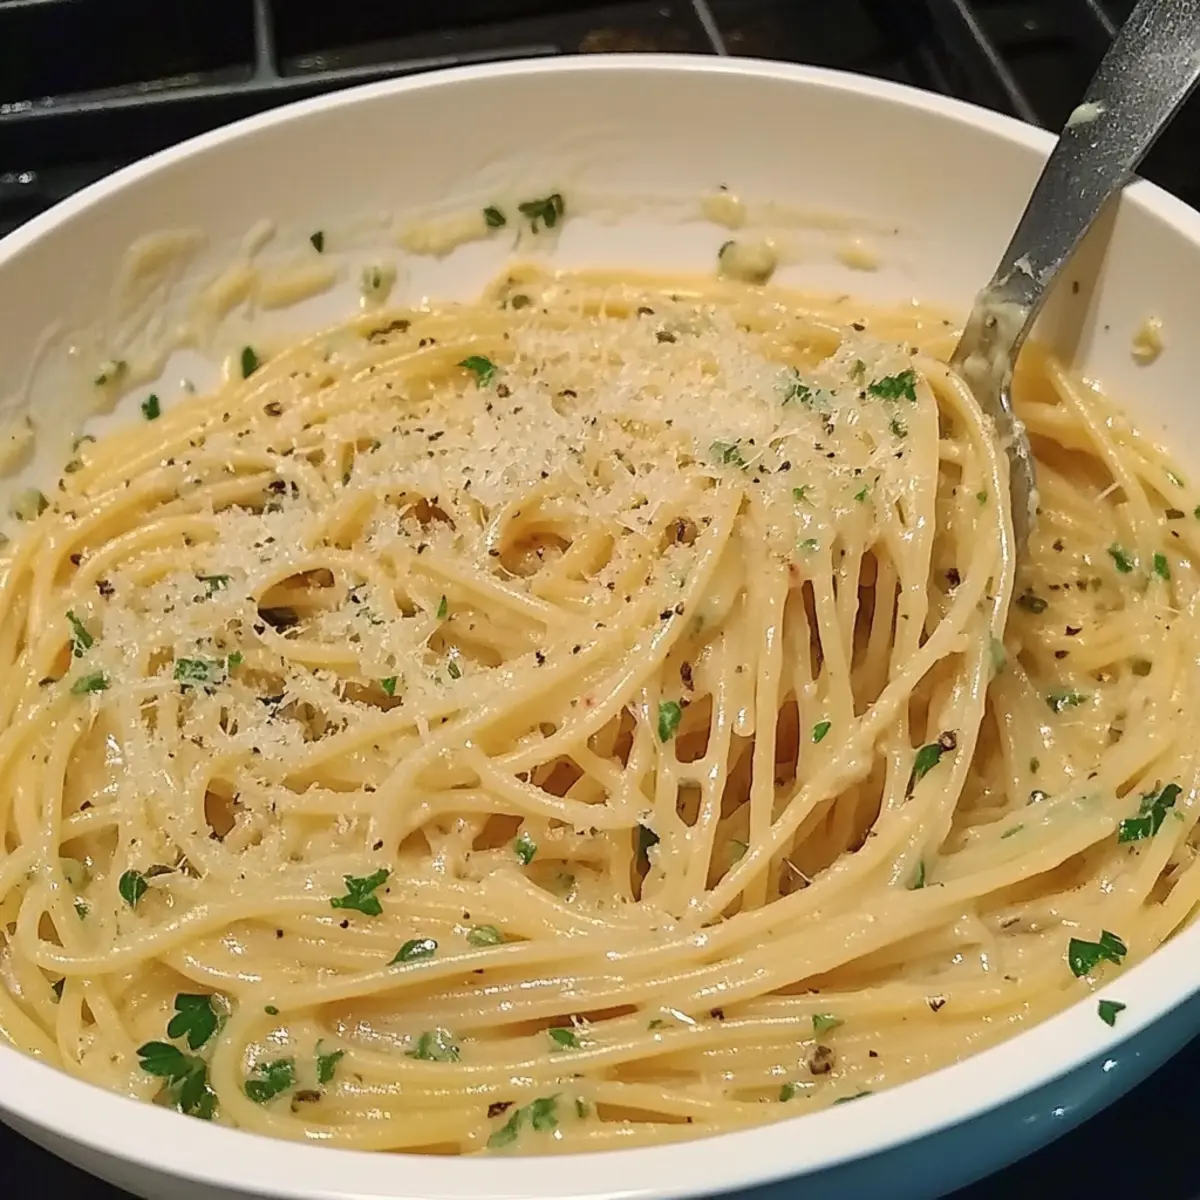
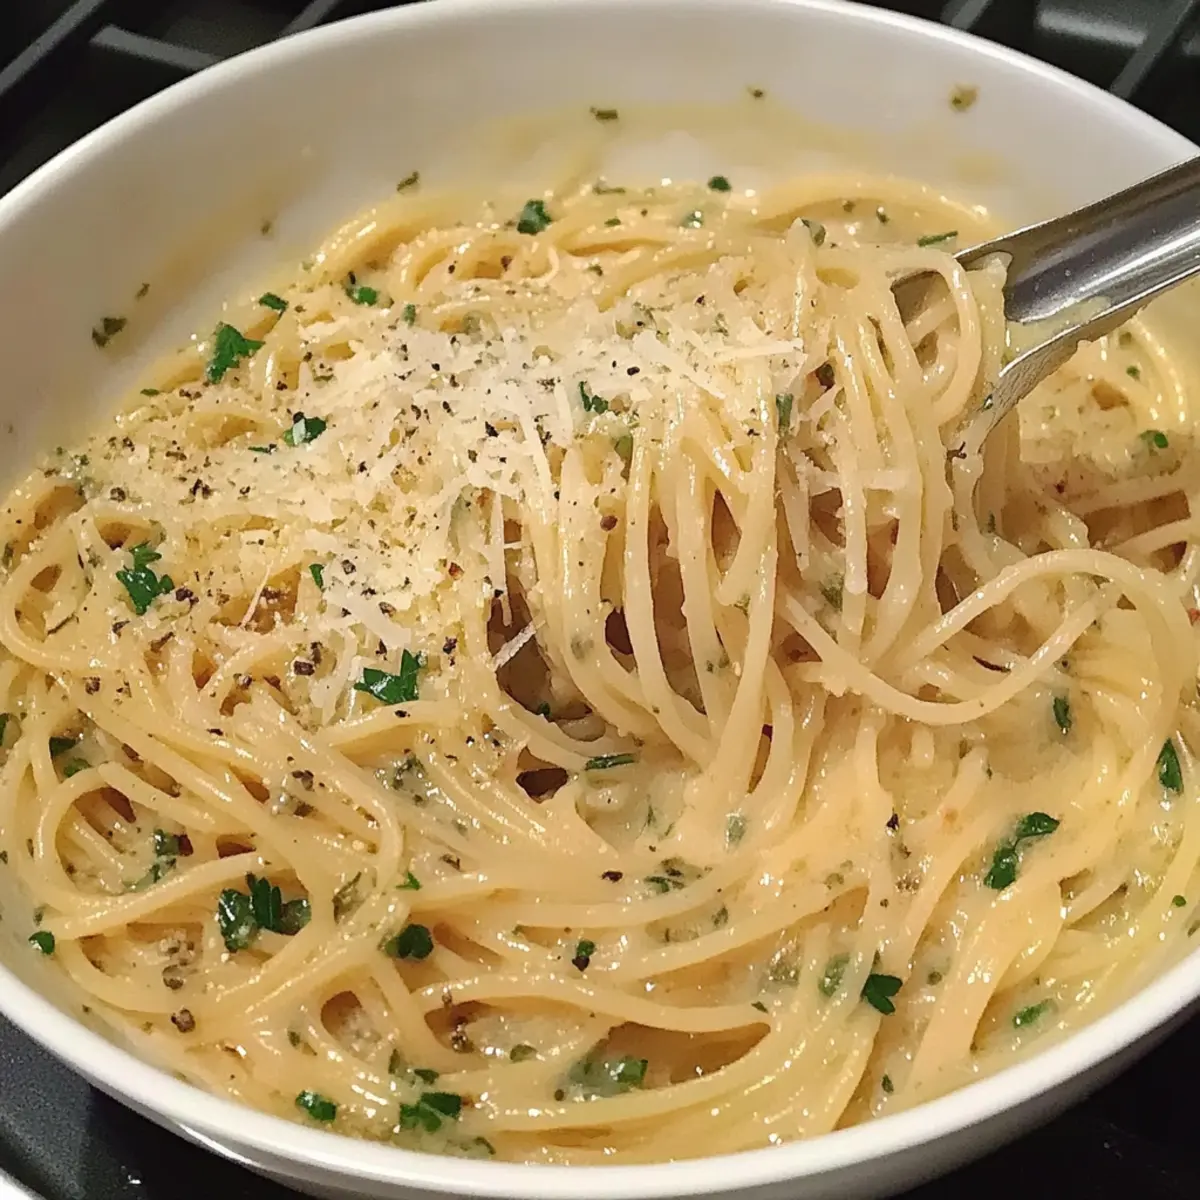
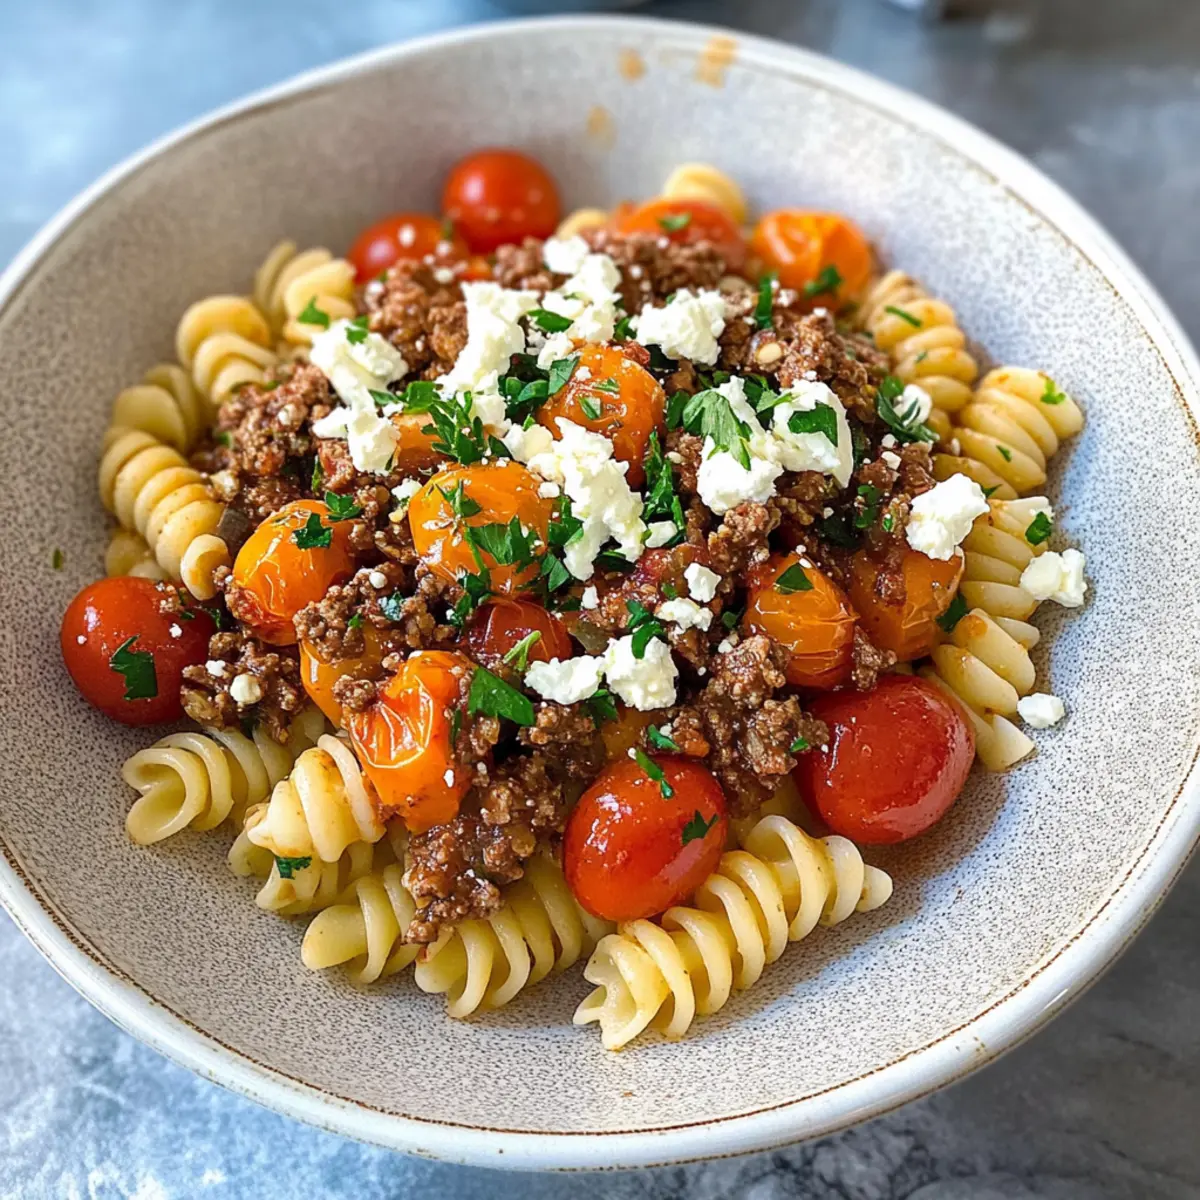
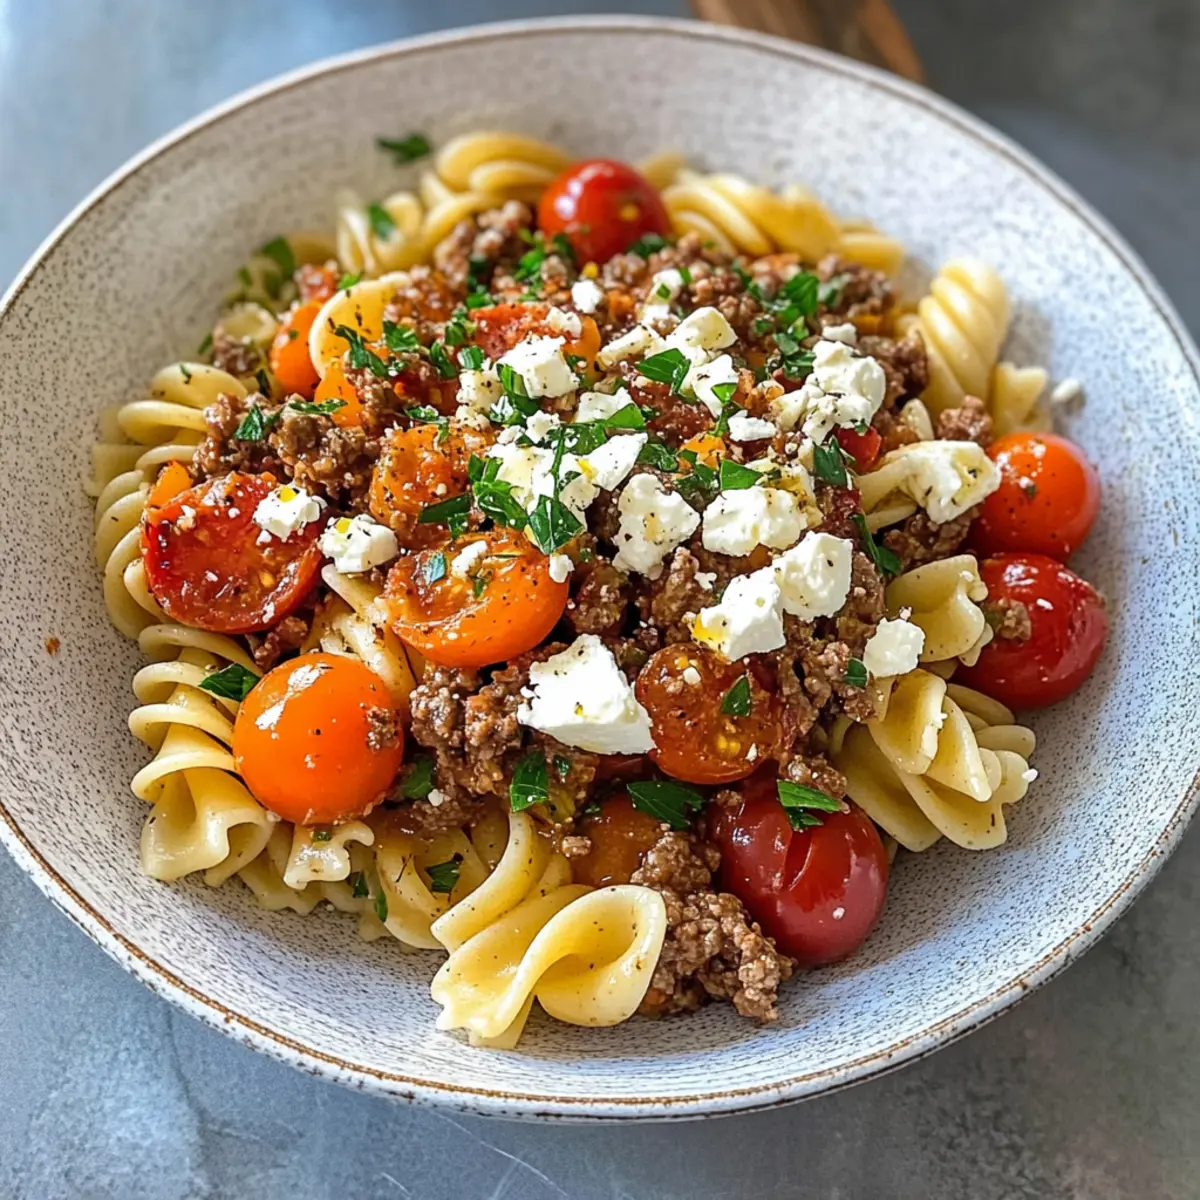
In a large serving bowl, combine the cooked pasta (about 12 ounces of fusilli or penne) with the spiced beef mixture, tossing to coat evenly. Top the pasta with the creamy garlic yogurt, and drizzle the paprika butter generously over the entire dish.
Step 5: Add Toppings
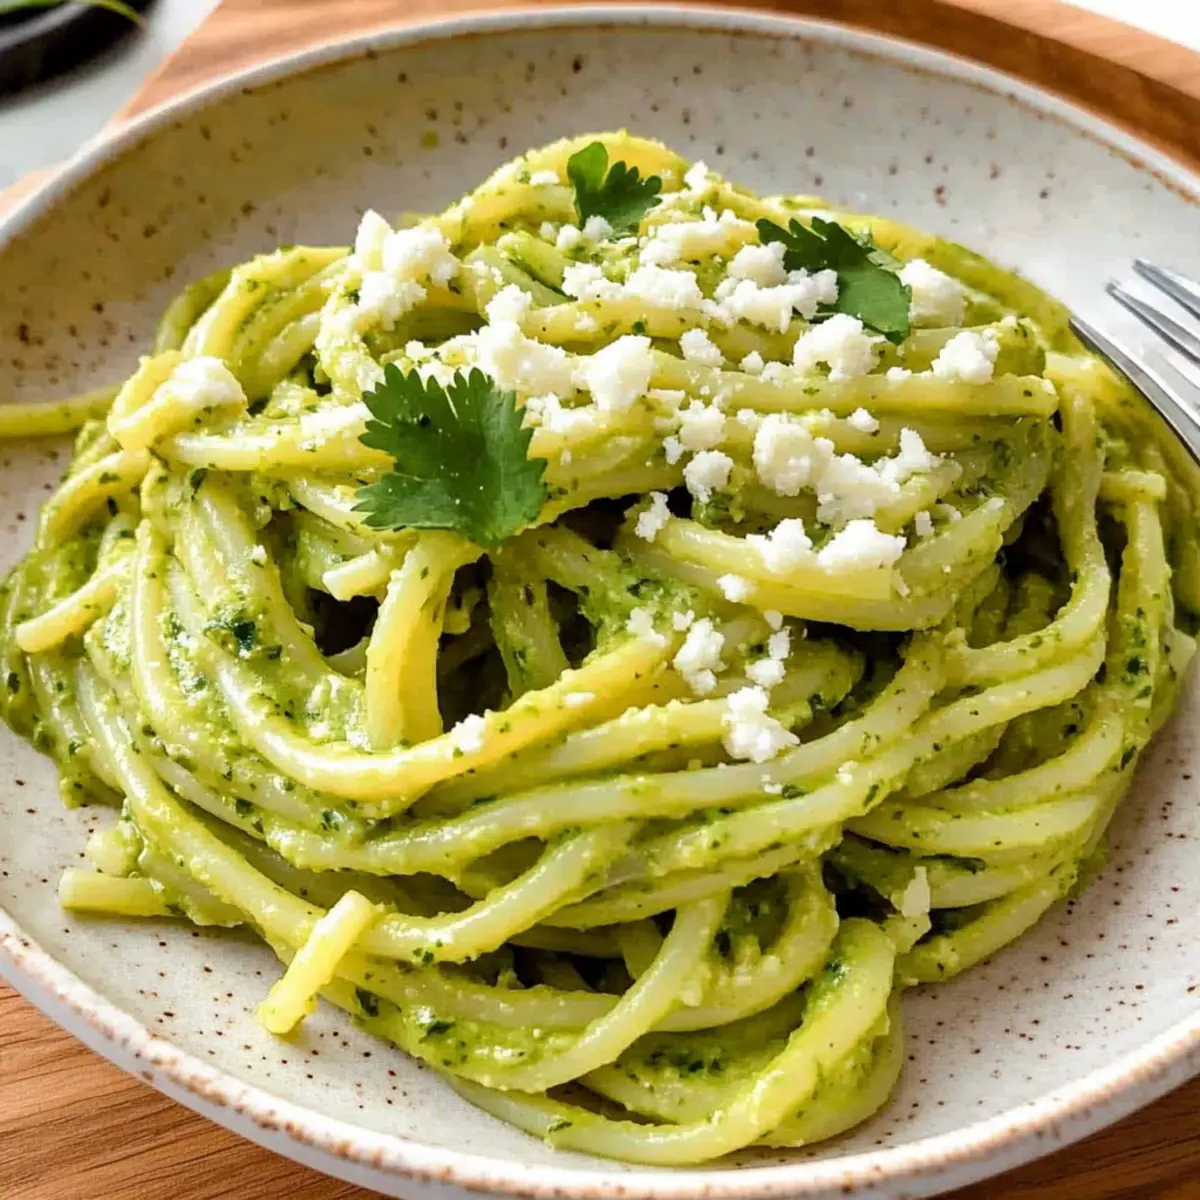
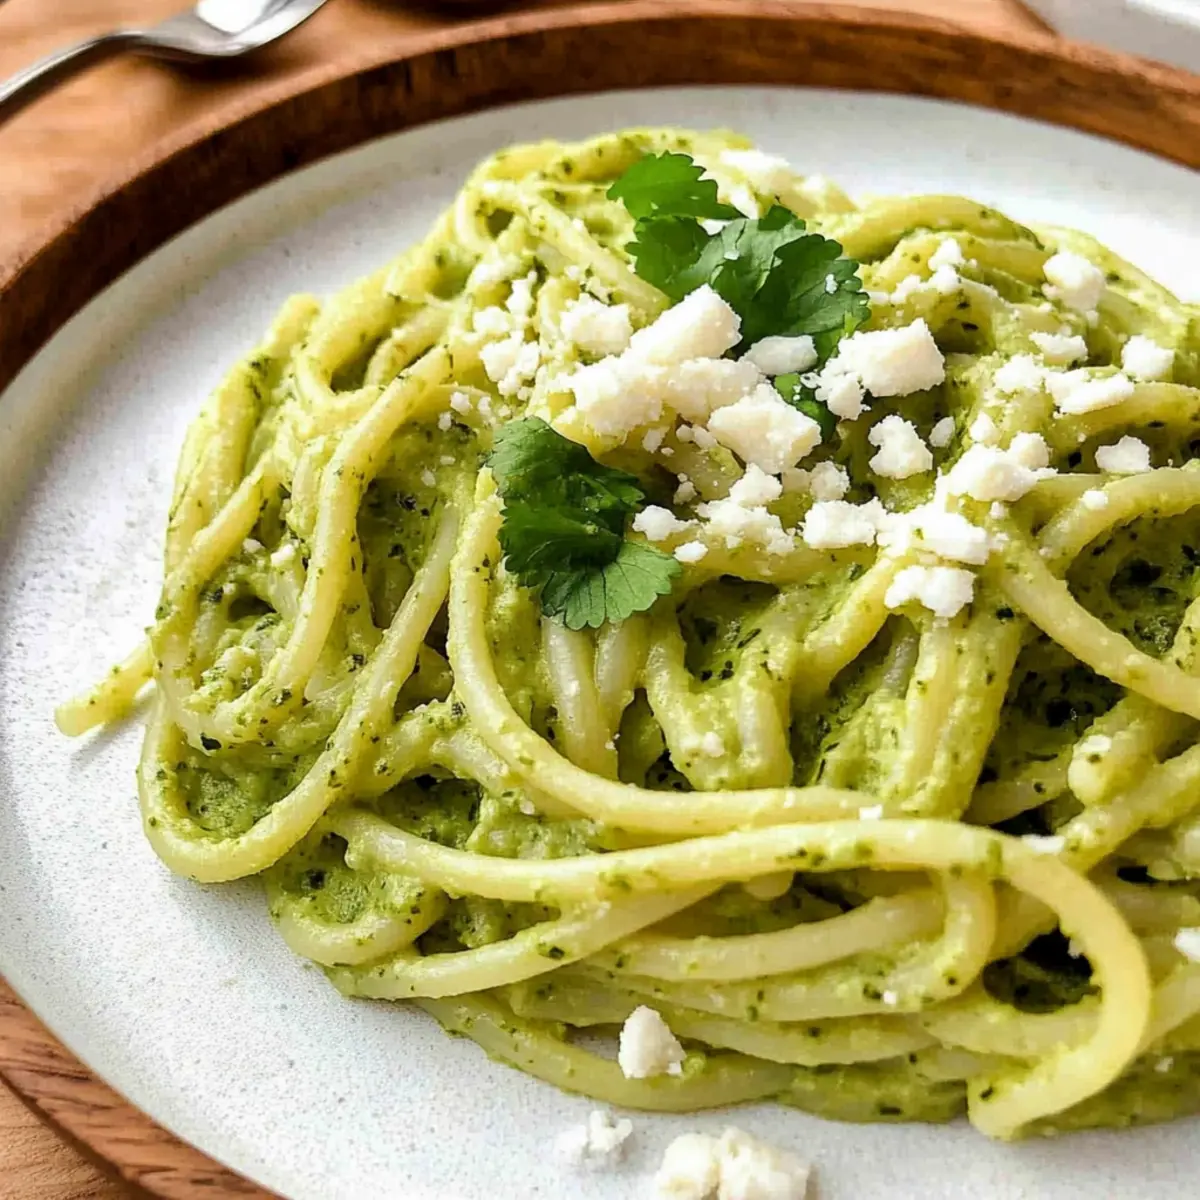
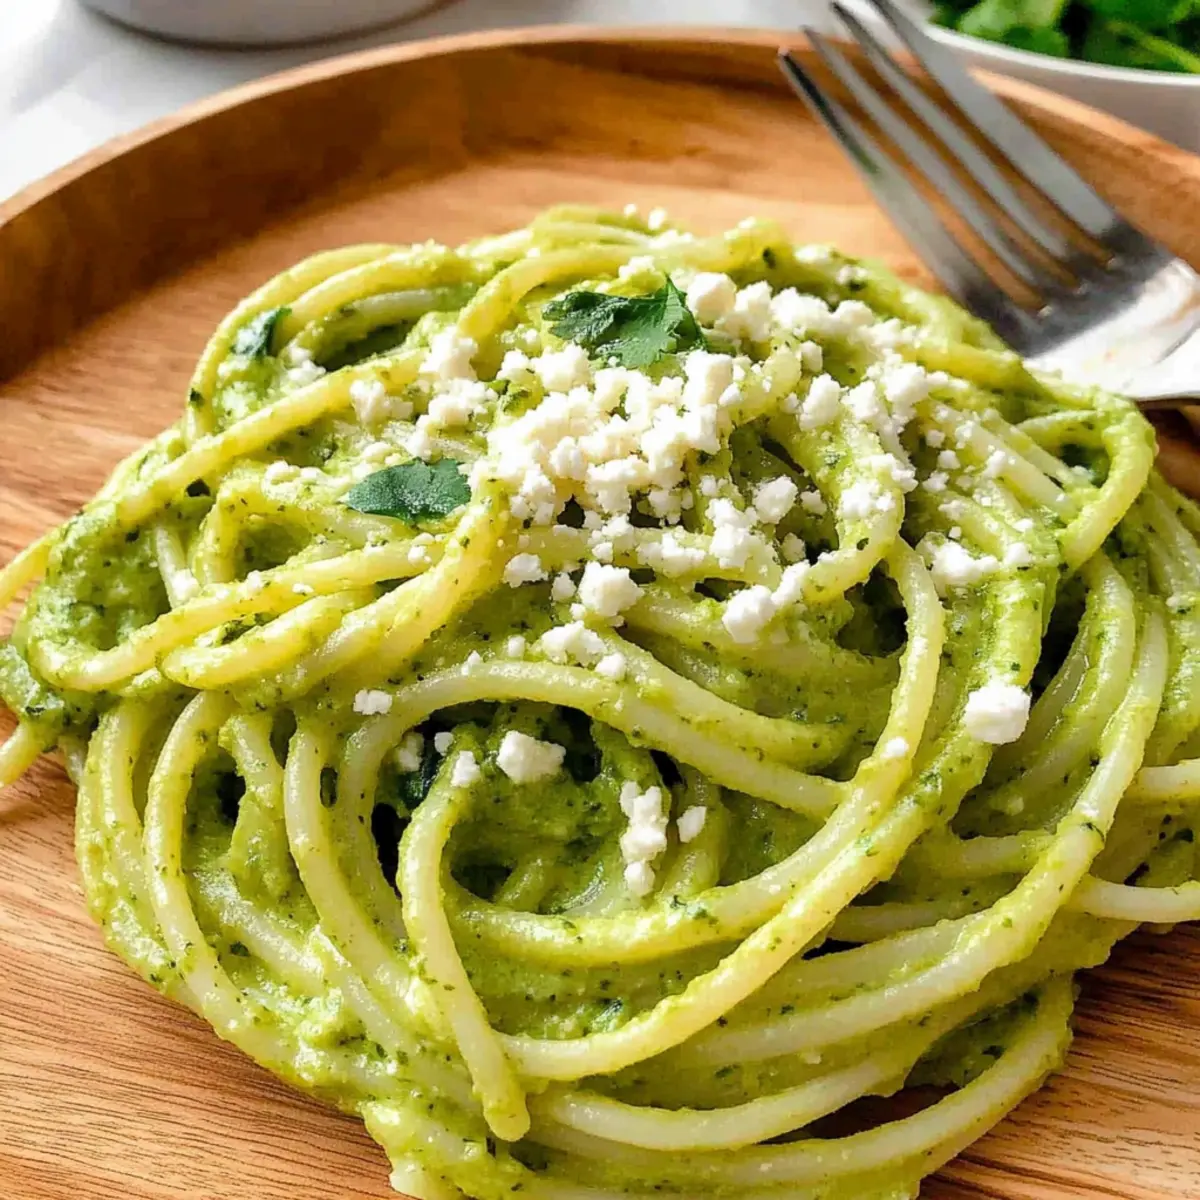
Finish off Anna Paul's Viral Turkish Pasta by adding halved cherry tomatoes, crumbled feta cheese, and a sprinkle of freshly chopped parsley for brightness. These toppings provide added flavor and color, making the dish as visually appealing as it is delicious.
Step 6: Serve Warm
Serve the pasta warm to appreciate the creamy garlic yogurt and the rich spiced beef fully. Gather your loved ones around the table and enjoy this comforting, flavorful meal that’s bound to impress!
Expert Tips for Anna Paul's Viral Turkish Pasta
-
Mind the Garlic: Use fresh garlic for an aromatic punch; overcooking it can lead to bitterness. Roasted garlic offers a sweeter alternative.
-
Beef Browning: Ensure the ground beef is well-browned for deep flavor. Avoid overcrowding the pan, as this can cause steaming instead of browning.
-
Yogurt Creaminess: Let the garlic yogurt sit for at least 10 minutes before serving; it enhances the flavors and gives a creamier texture.
-
Season Gradually: When seasoning the beef, add salt slowly. Remember that feta cheese adds saltiness, so taste as you go.
-
Easy Cleanup Tips: Prep your ingredients ahead and use one large skillet for cooking. This cuts down on dishes and makes for a quicker cleanup after enjoying your Anna Paul's Viral Turkish Pasta!
How to Store and Freeze Anna Paul's Viral Turkish Pasta
-
Fridge: Store leftovers in an airtight container for up to 3 days. For best texture, keep the garlic yogurt and beef mixture separate from the pasta until ready to eat.
-
Freezer: You can freeze the spiced beef mixture for up to 2 months. Thaw it in the fridge overnight before reheating to restore its flavor and consistency.
-
Reheating: To reheat, warm the beef mixture in a skillet over medium heat and add a splash of water or broth for moisture. Heat the pasta separately and combine with the beef before serving.
-
Texture Preservation: Avoid freezing the garlic yogurt, as it may separate upon thawing; prepare it fresh for the best flavor and creaminess when enjoying Anna Paul's Viral Turkish Pasta.
Variations & Substitutions for Anna Paul's Viral Turkish Pasta
Customize your cooking experience by exploring these delightful twists that will elevate your pasta!
-
Dairy-Free: Swap Greek yogurt with coconut yogurt for a similar creamy texture with a tropical flair. The subtle sweetness pairs surprisingly well with the spices!
-
Vegetarian: Substitute ground beef with lentils or textured vegetable protein. Cooking these with spices will provide the same hearty satisfaction without the meat.
-
Pasta Variety: Use whole wheat or gluten-free pasta to fit different dietary preferences. The flavors will shine through on any base, making it equally comforting.
-
Herb Infusion: Add chopped fresh mint or dill to the yogurt for a refreshing twist. These herbs brighten the dish, giving it a daring yet delightful flavor profile.
-
Spicy Kick: Incorporate crushed red pepper flakes or a dash of cayenne pepper when cooking the beef. This will elevate the spice levels for those who love a bit of heat!
-
Veggie Boost: Toss in sautéed spinach, bell peppers, or zucchini for added nutrition. You can mix these vegetables directly into the beef mixture or layer them on top for a vibrant presentation.
-
Alternative Toppings: Experiment with toppings by using olives or roasted nuts instead of feta cheese. This offers a delightful crunch, while olives pack a briny punch that complements the dish.
-
Sour Cream Substitute: If Greek yogurt isn't available, plain sour cream works beautifully as a substitute in the sauce. It’s tangy and provides that creamy mouthfeel that you crave.
When savoring Anna Paul's Viral Turkish Pasta, consider pairing it with Skillet Pasta Sun or dive into a fresh side salad to complete your meal. These variations ensure that each plate remains special and unforgettable!
What to Serve with Anna Paul's Viral Turkish Pasta
The delightful balance of flavors in this dish sets the stage for various tasty sides that enhance your dining experience.
-
Crispy Garlic Bread: Perfect for scooping up the creamy yogurt sauce, garlic bread adds a satisfying crunch to your meal.
Enhancing your dining experience, freshly baked garlic bread can soak up every last bit of flavor, making it a favorite. -
Simple Green Salad: A refreshing mix of greens and a light vinaigrette will balance the rich flavors of the pasta and keep the meal light.
With a crisp texture and zesty dressing, this salad adds a burst of freshness that's hard to resist. -
Roasted Vegetables: Roasted seasonal vegetables bring earthiness and a bit of char that pairs beautifully with the savory beef.
An array of colorful veggies like bell peppers and zucchini will complement the richness of the dish while adding vibrant colors. -
Tzatziki Sauce: A cool, creamy dip made with yogurt, cucumber, and herbs nicely contrasts the warm pasta for a refreshing bite.
Serve it on the side for dipping or drizzling, enhancing the meal with Mediterranean flair. -
Sparkling Water with Lemon: A chilled spritz of lemon offers a bright, refreshing cleanse between bites of the rich pasta.
This beverage elevates your dining experience, ensuring you stay hydrated and feeling light as you enjoy each decadent morsel. -
Baklava: End your meal on a sweet note with this flaky pastry and honey dessert, perfectly balancing the savory notes of your dinner.
Each bite of baklava offers a delightful sweetness and nutty crunch that rounds out your gastronomic journey through Turkey.
Make Ahead Options
These Anna Paul's Viral Turkish Pasta is perfect for busy home cooks who want to save time during the week! You can prepare the garlic yogurt and spiced beef mixture up to 24 hours in advance. Simply mix the yogurt, garlic, lemon juice, and salt, then refrigerate it, ensuring the lid is sealed tightly to maintain its creamy texture. For the beef, cook it as directed, cool completely, and store in an airtight container in the fridge. When you’re ready to enjoy, cook the pasta fresh and combine everything together for a meal that’s just as delicious as when made fresh. This way, you can savor a comforting dish with minimal effort on busy evenings!
Anna Paul's Viral Turkish Pasta Recipe FAQs
What type of yogurt should I use for the garlic mixture?
Using Greek yogurt adds a lovely creaminess and tang to your dish. If you're looking for a lighter option, plain yogurt works well too. Just remember that Greek yogurt offers a thicker texture which complements the pasta beautifully!
How can I store leftovers of Anna Paul's Viral Turkish Pasta?
Absolutely! Store leftovers in an airtight container in the fridge for up to 3 days. I recommend keeping the garlic yogurt, spiced beef, and pasta separately to maintain the best texture upon reheating.
Can I freeze the spiced beef mixture?
Yes, you can! The spiced beef mixture can be frozen for up to 2 months. To freeze, let it cool completely, then transfer it to a freezer-safe container or bag. When you're ready to enjoy it again, simply thaw it in the fridge overnight before reheating.
What should I do if my pasta sticks together when reheating?
To prevent sticking, add a splash of water or broth while reheating the pasta in a skillet over medium heat. Stir occasionally and if needed, you can drizzle a bit of olive oil to help loosen it up. This should help restore its desired texture.
Are there any dietary alternatives I should consider?
Definitely! If you're looking to make this dish dairy-free, feel free to omit the feta cheese or substitute it with a vegan cheese alternative. Additionally, for a protein alternative, ground turkey or lamb can be delicious substitutes for the ground beef.
How do I know if my garlic is fresh for the yogurt?
Look for firm, plump cloves without any dark spots or sprouts. Fresh garlic should have a strong aroma. If the cloves are soft or you notice any mold, it’s best to discard them. Fresh garlic will elevate the flavor of your garlic yogurt beautifully!
Anna Paul's Viral Turkish Pasta: A Creamy Comfort Delight
Ingredients
Equipment
Method
- In a small bowl, combine Greek yogurt, grated garlic, lemon juice, and salt. Mix until smooth and creamy. Set aside.
- Heat a large skillet over medium heat and sauté diced onion until translucent, about 3–5 minutes. Stir in paprika, garlic powder, and cumin; toast for 2 minutes. Add ground beef, cooking until browned, about 10 minutes. Season with salt, pepper, and tomato paste; simmer for another 2–3 minutes.
- Melt butter in a small saucepan over low heat and stir in paprika until bubbling gently. Remove from heat.
- In a large serving bowl, combine cooked pasta with the spiced beef mixture, tossing to coat. Top with creamy garlic yogurt and drizzle with paprika butter.
- Finish with halved cherry tomatoes, crumbled feta, and a sprinkle of parsley.
- Serve warm to appreciate the flavors.