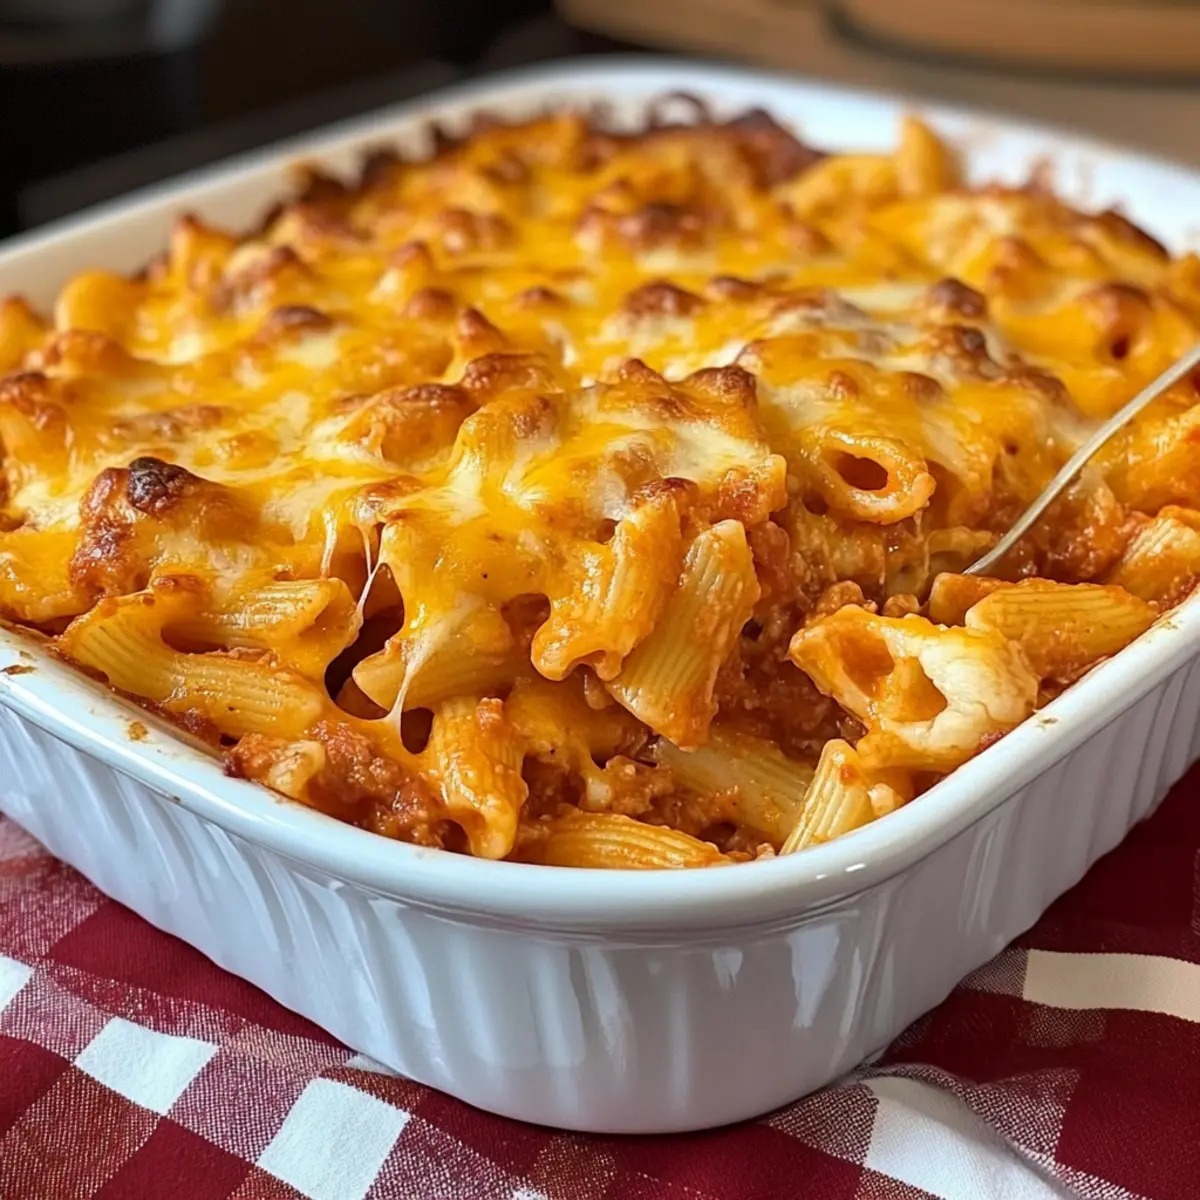
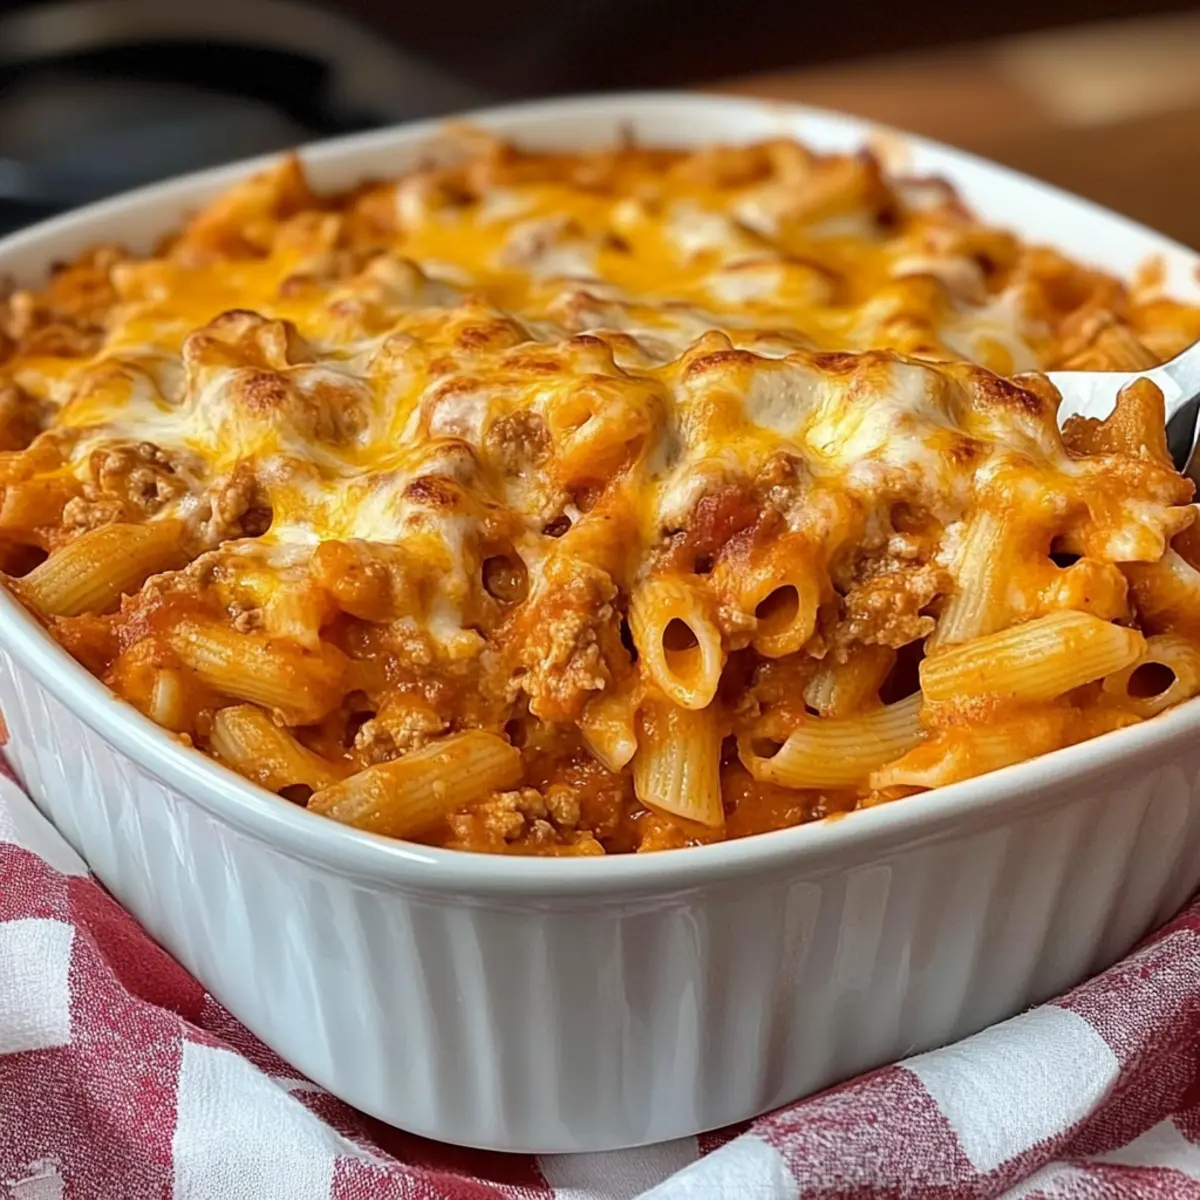
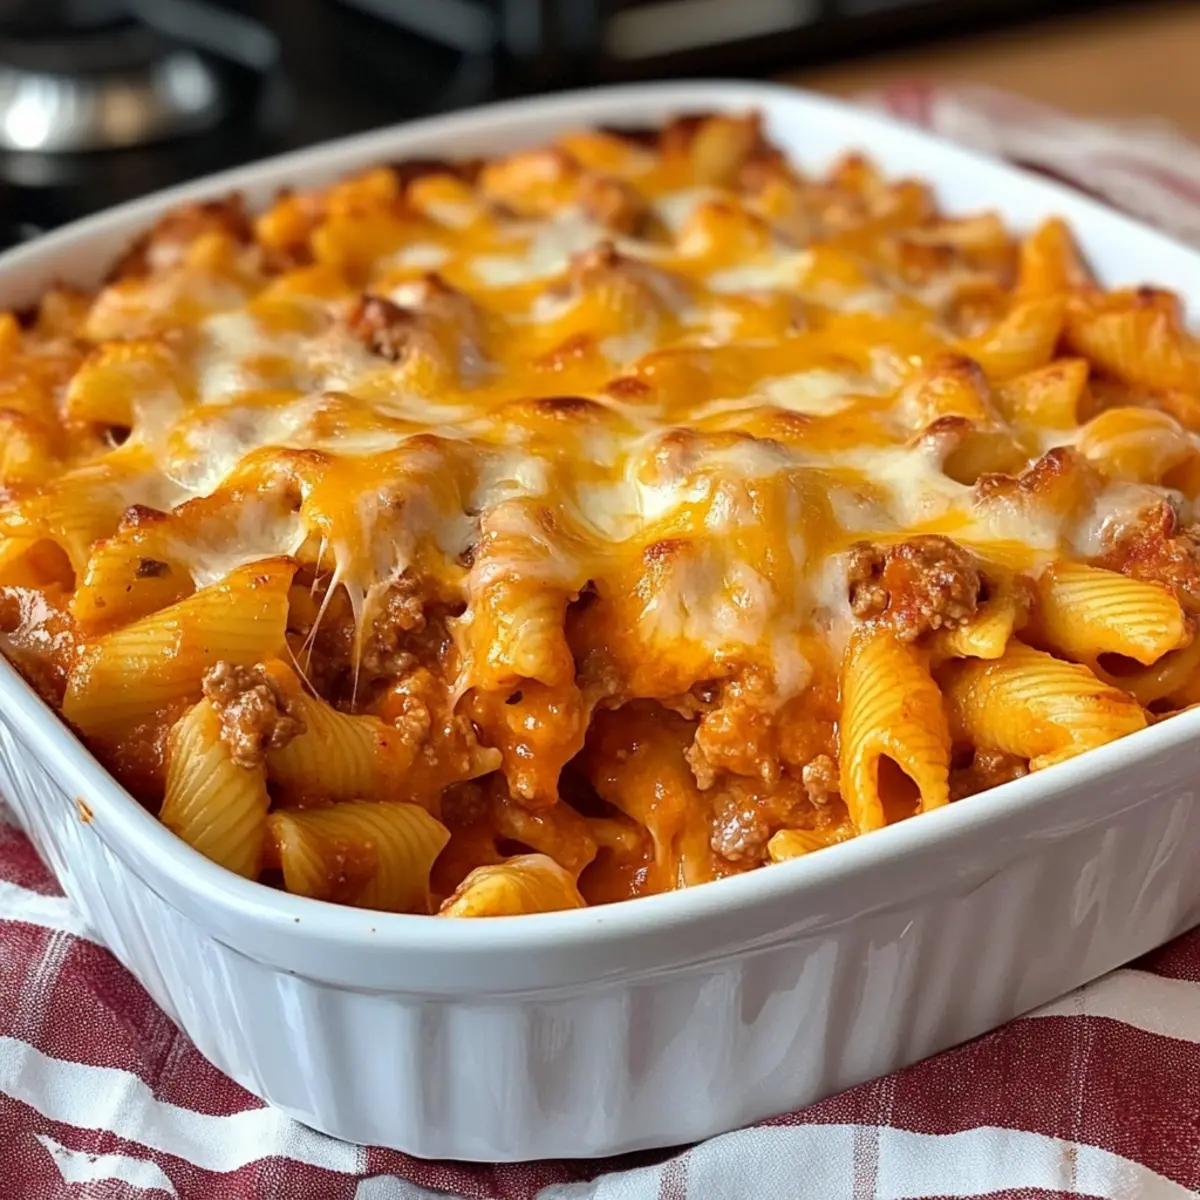
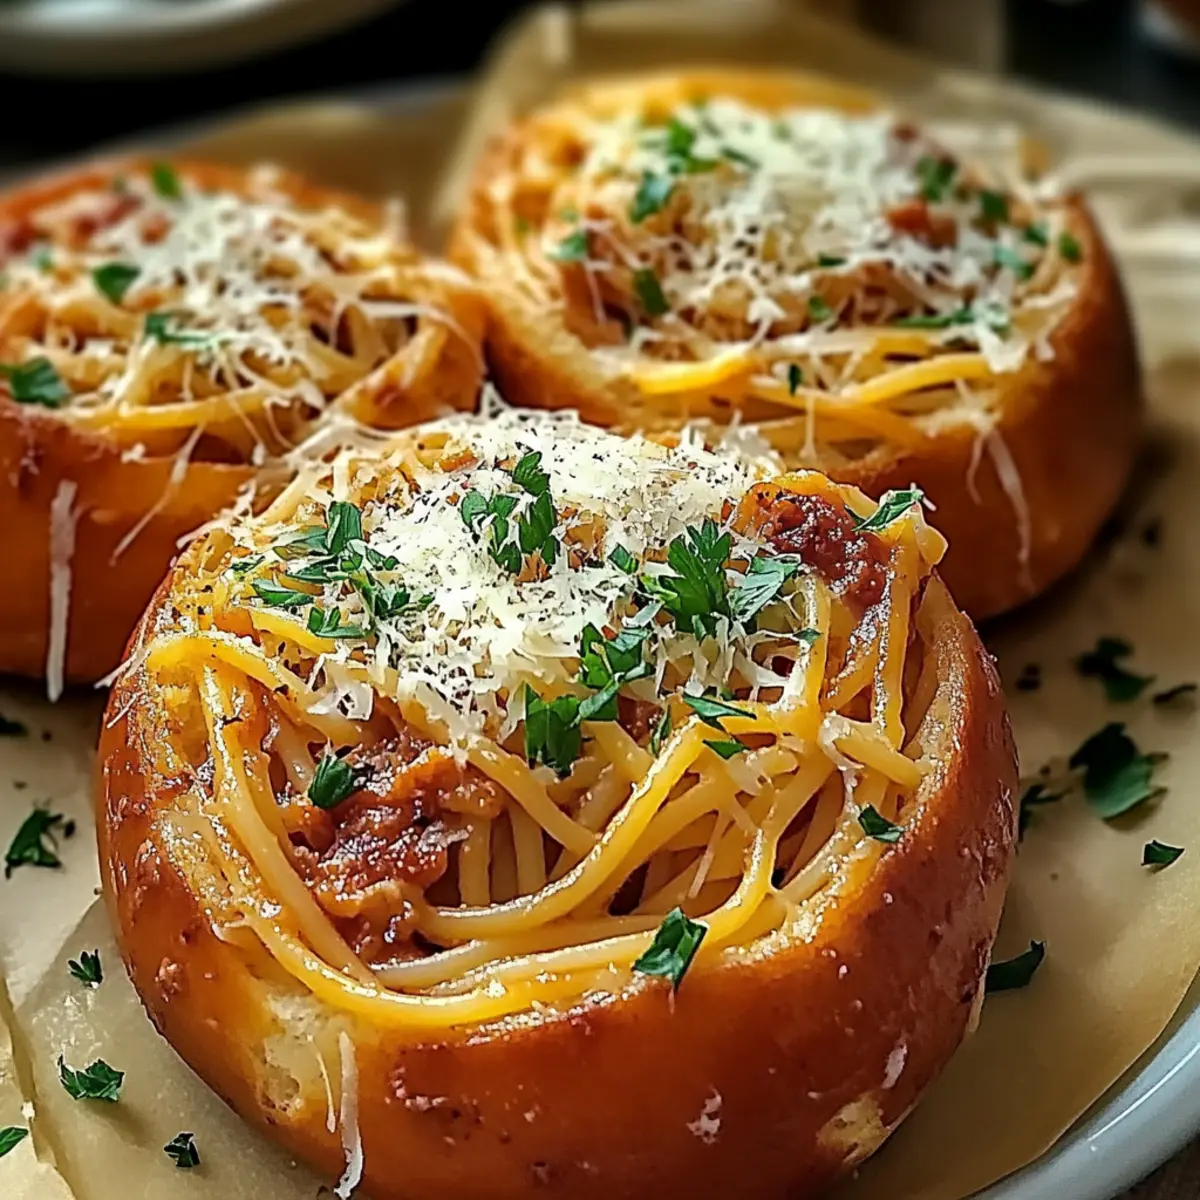
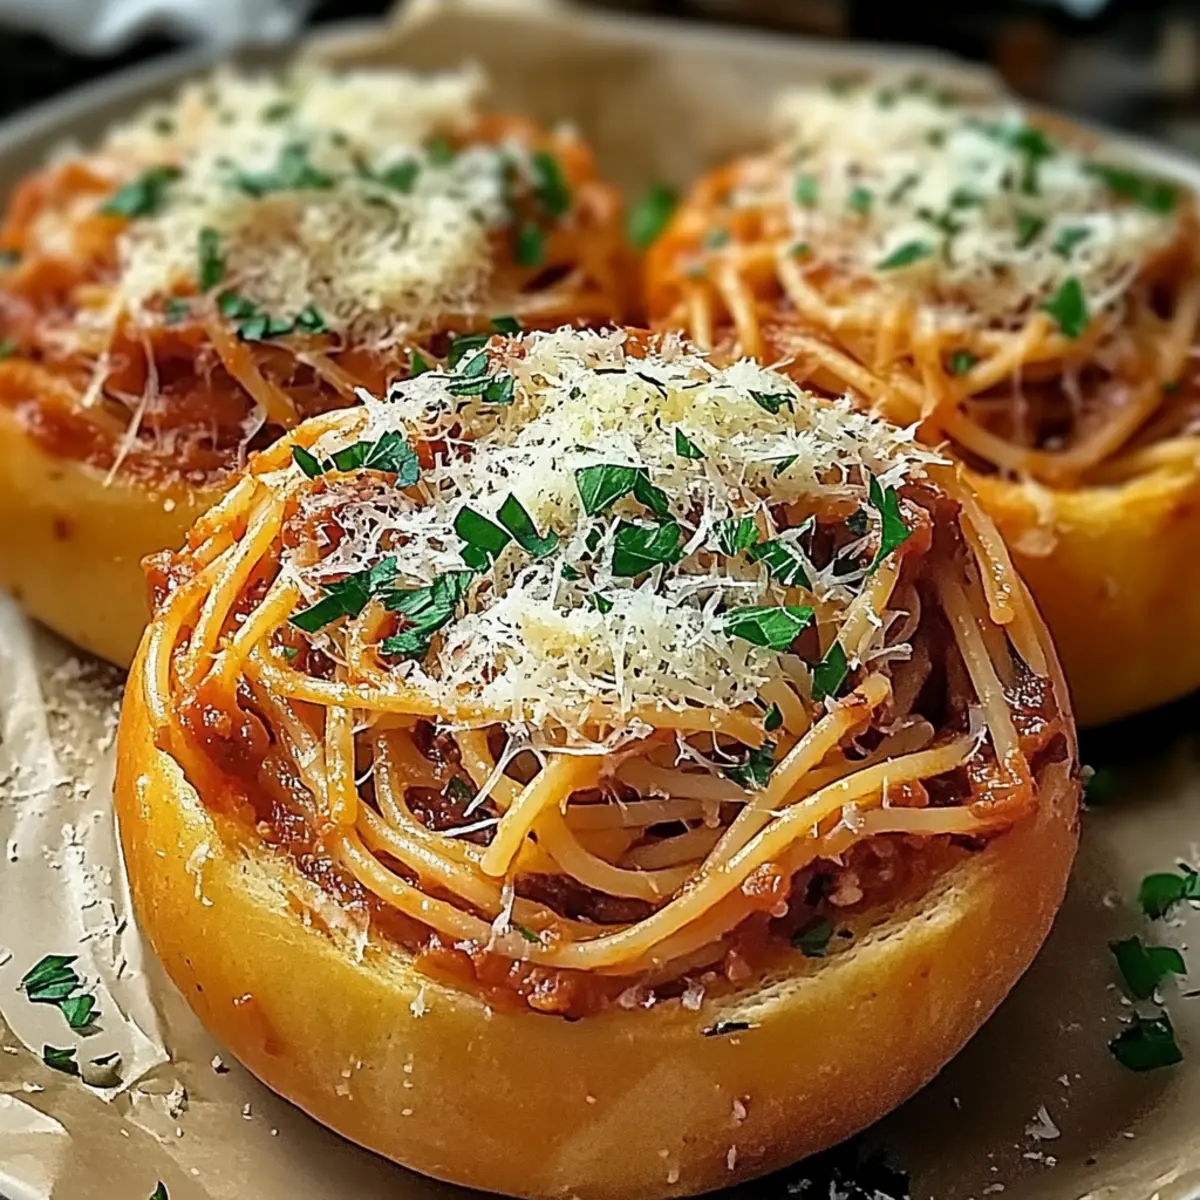
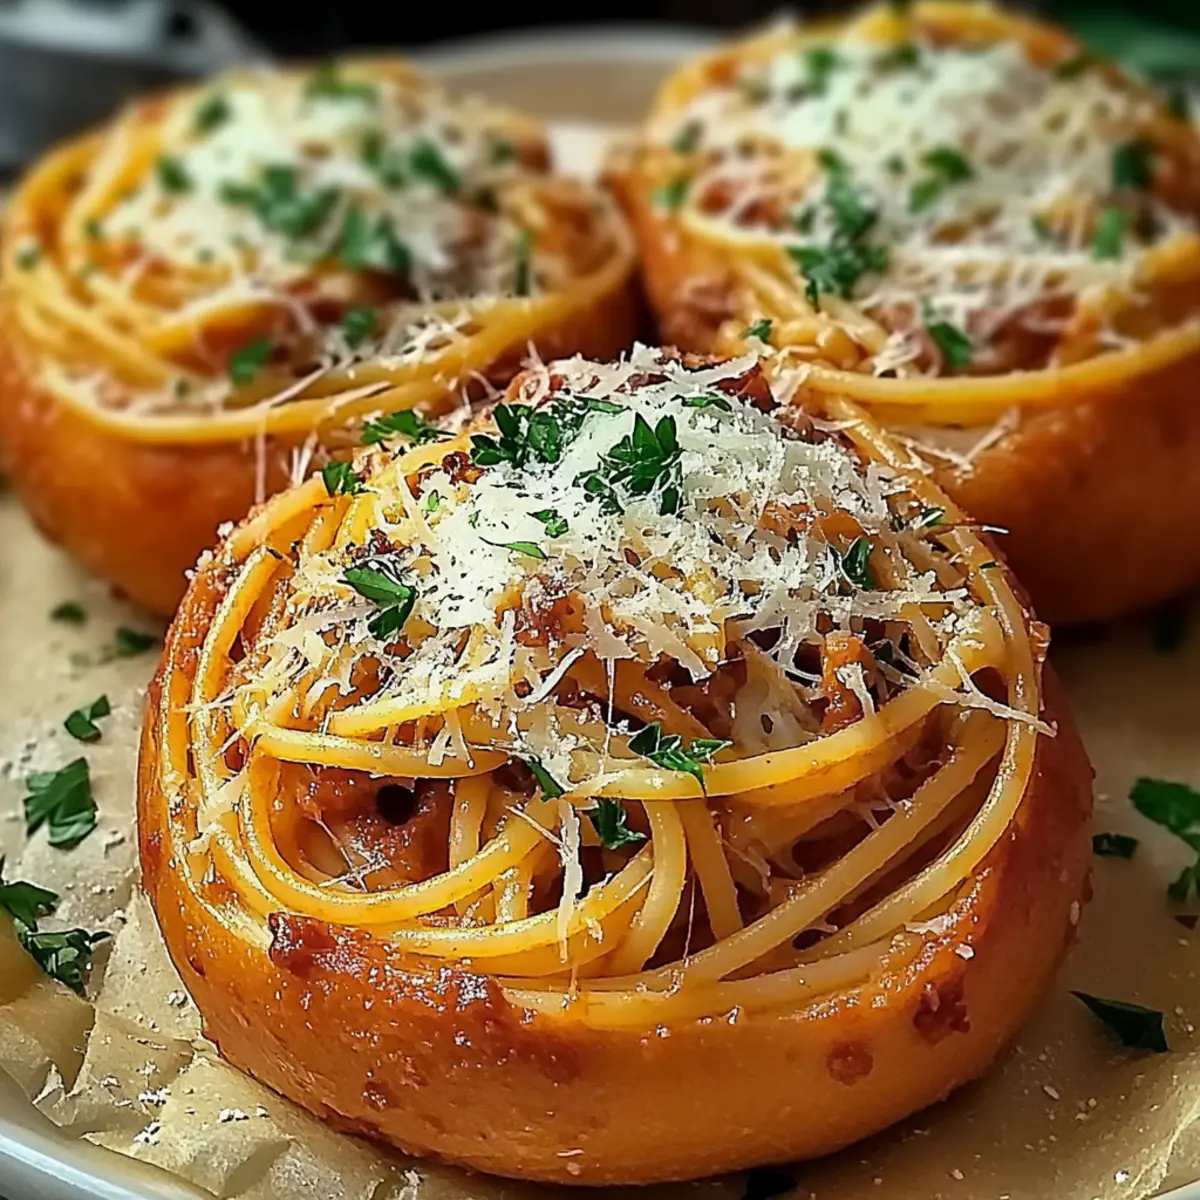
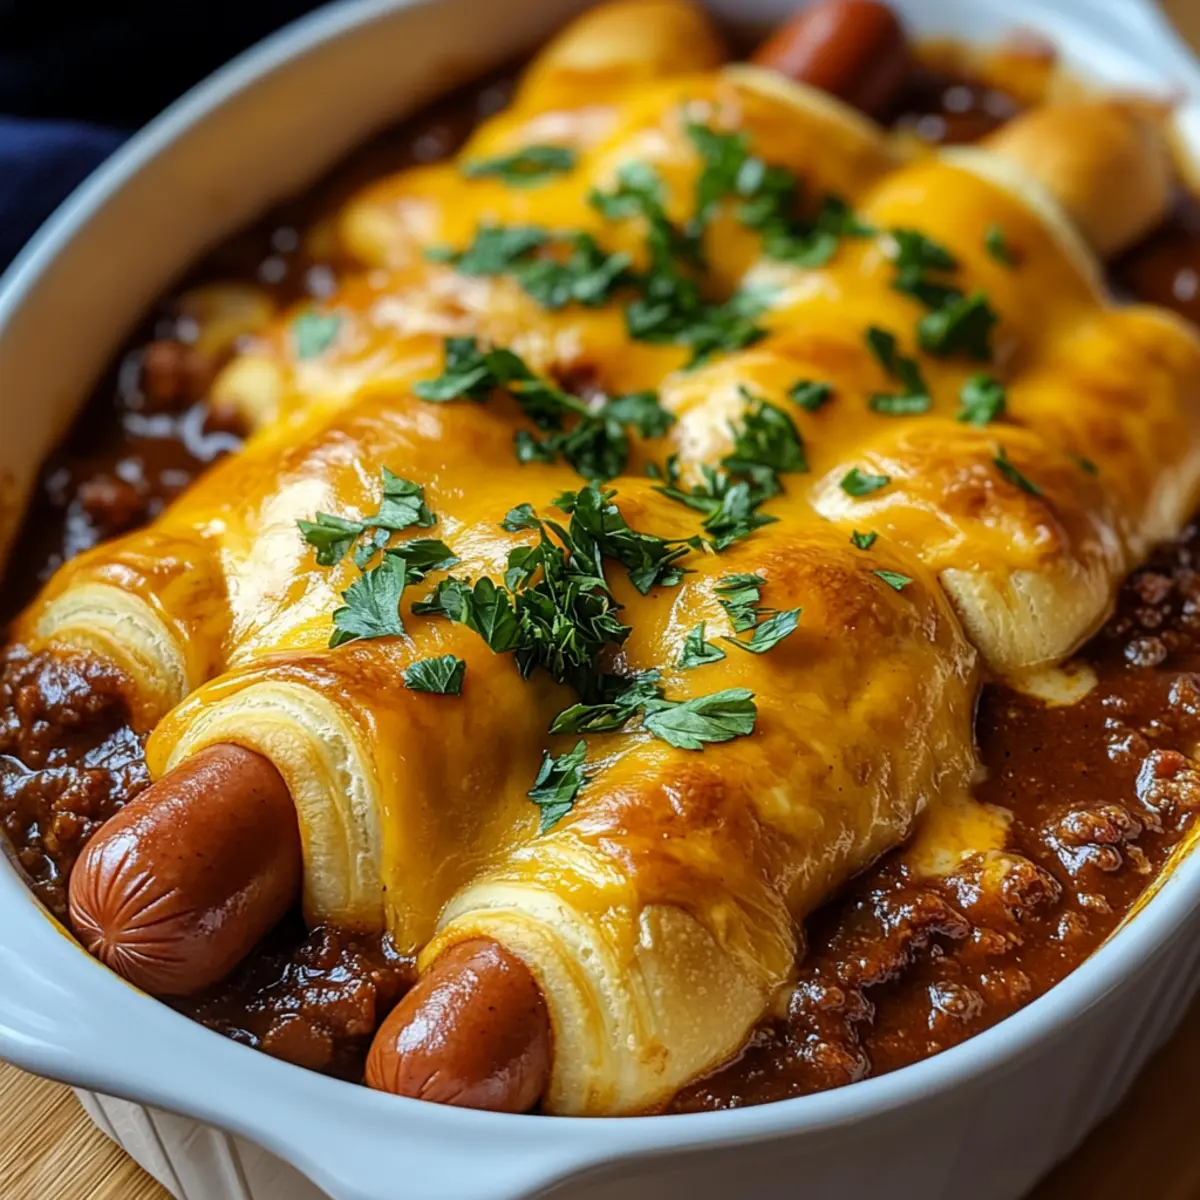
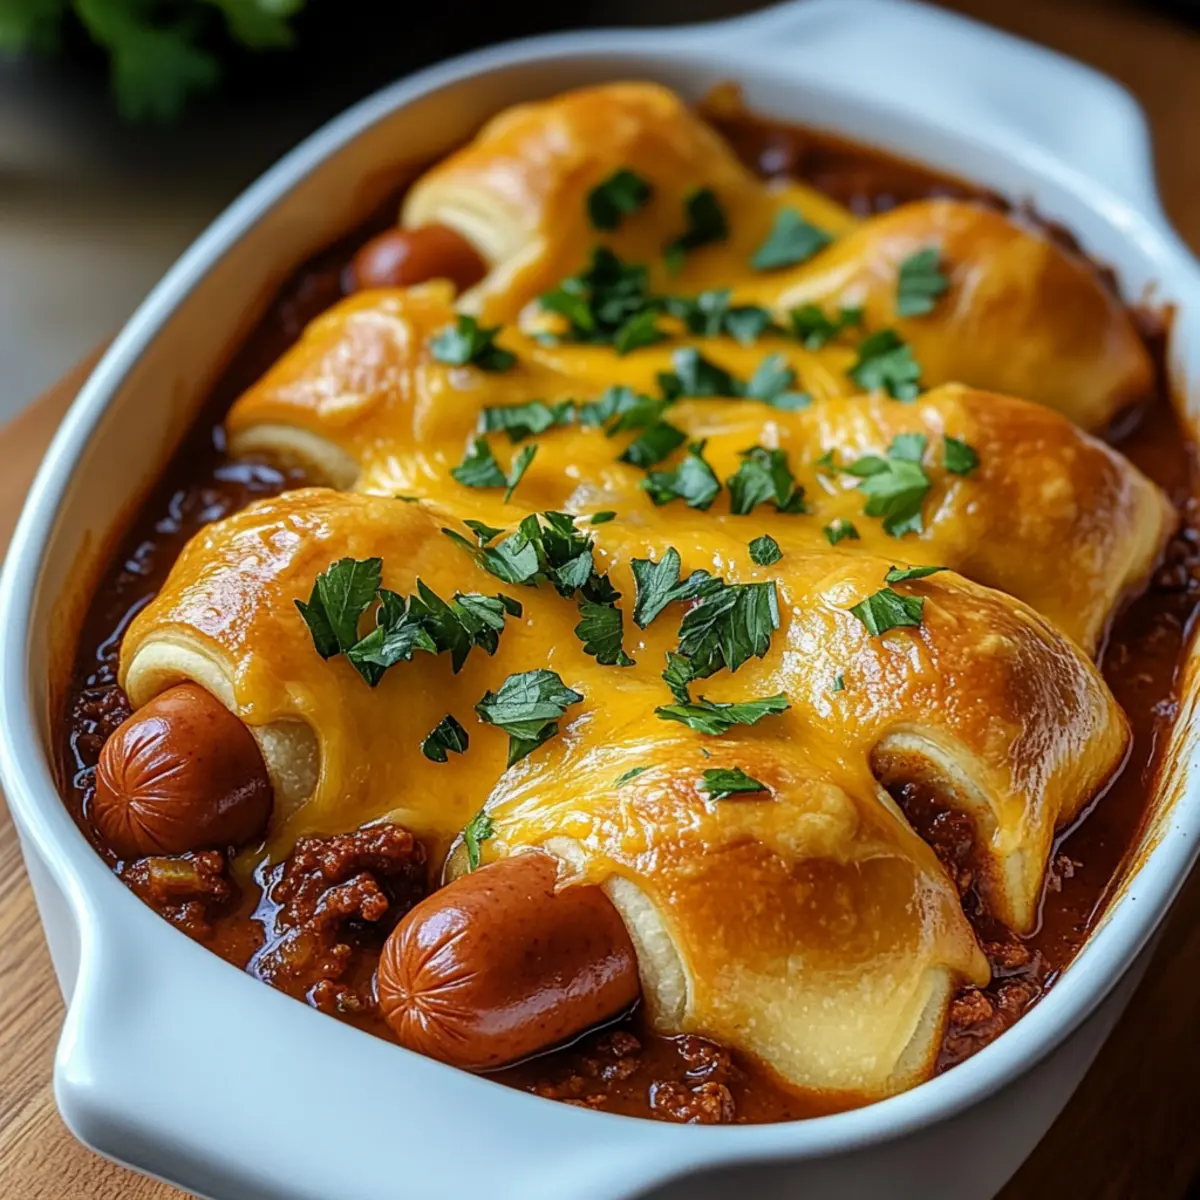
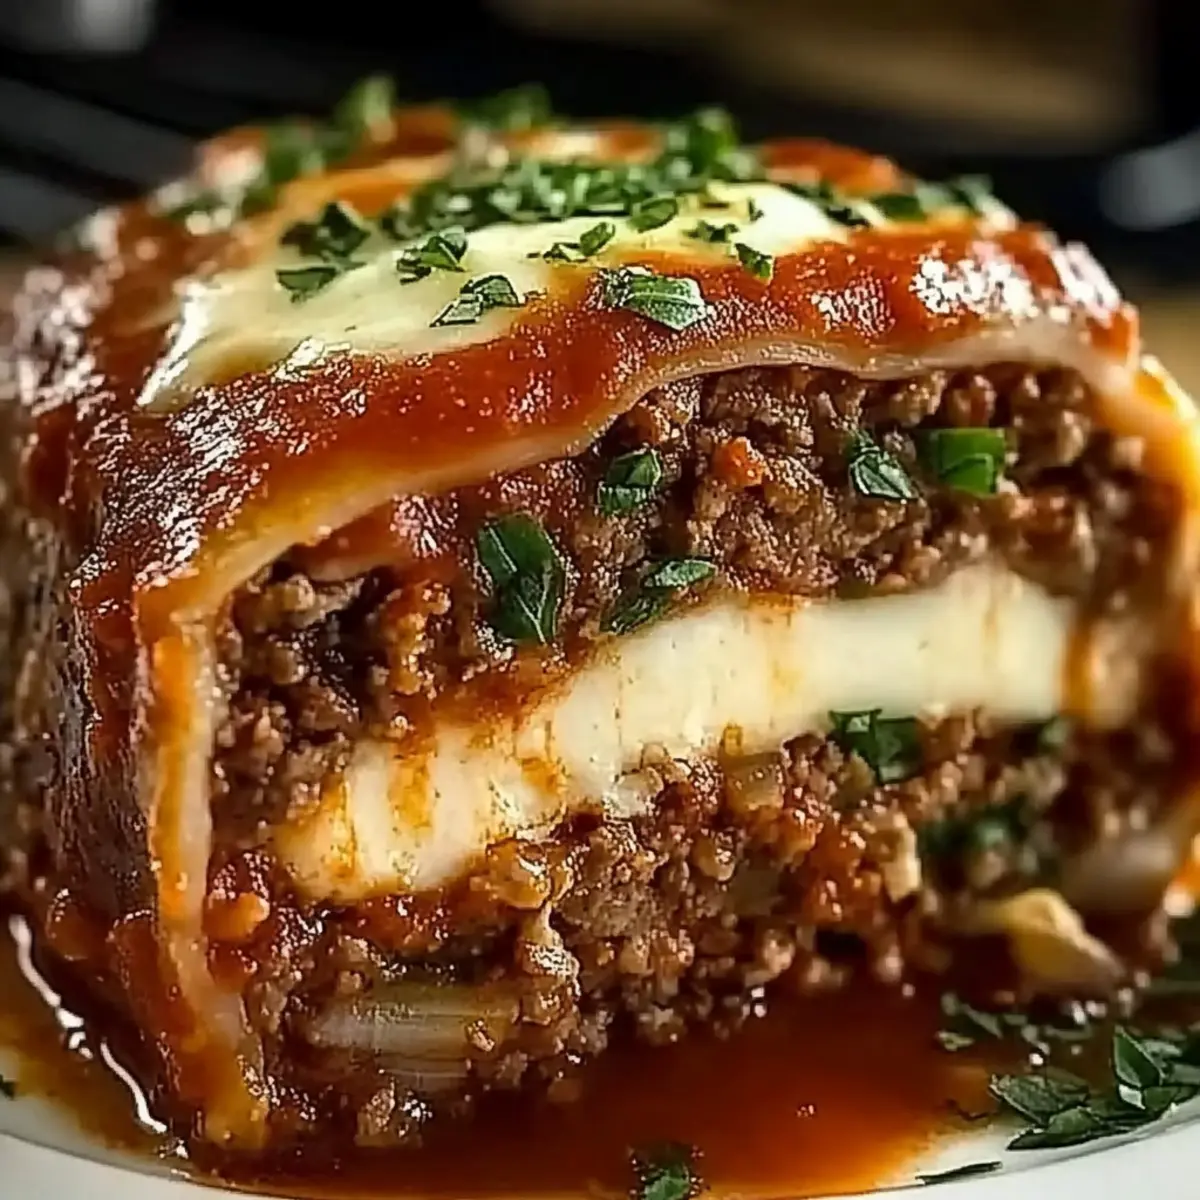
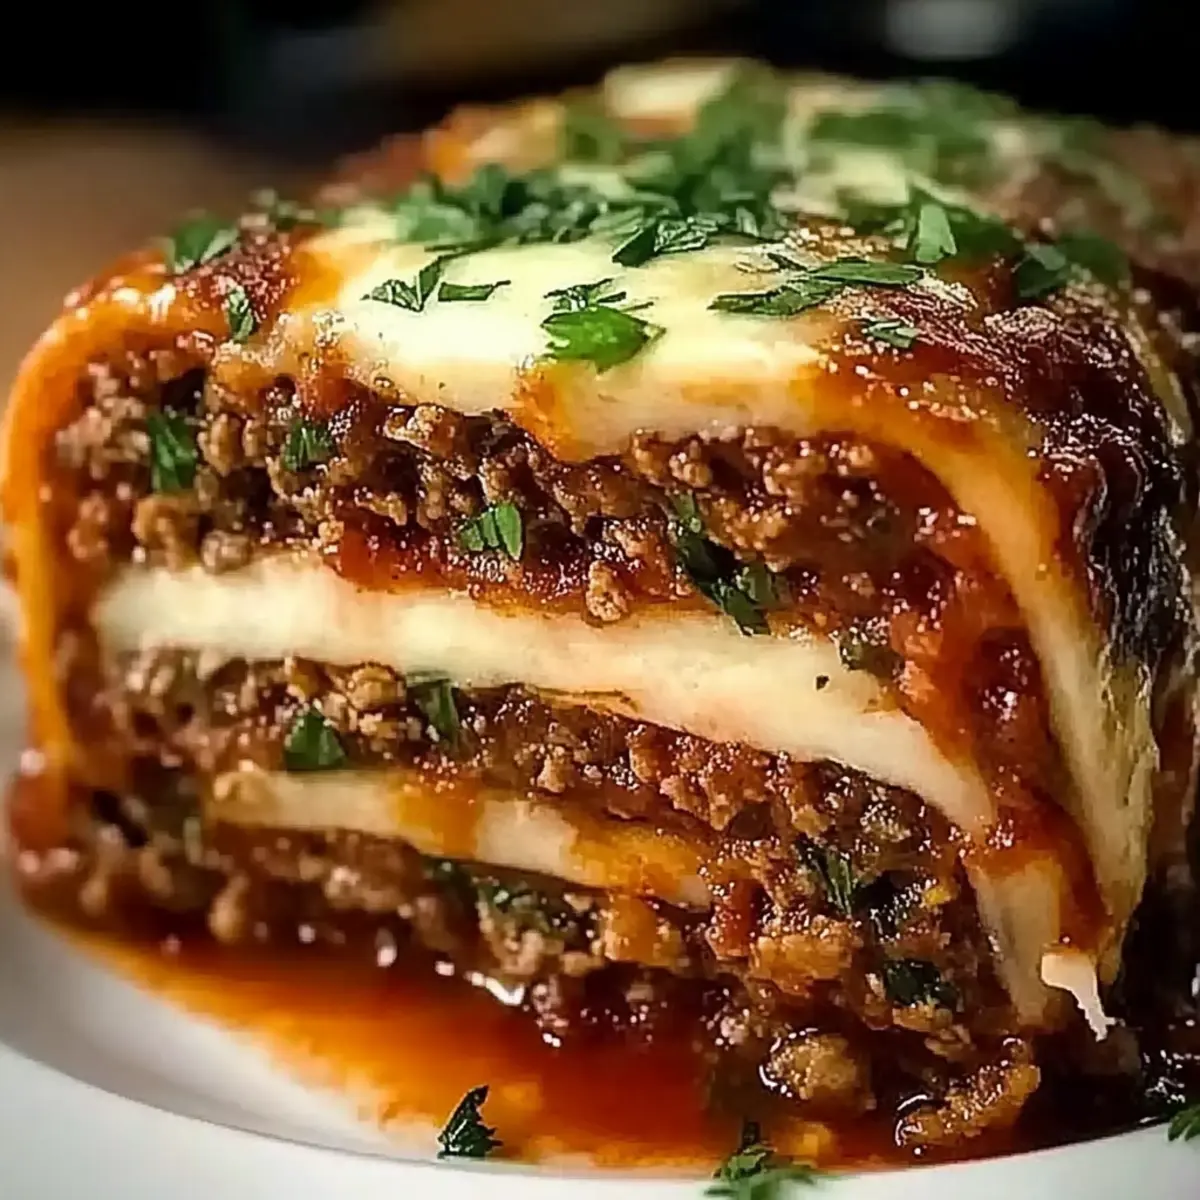
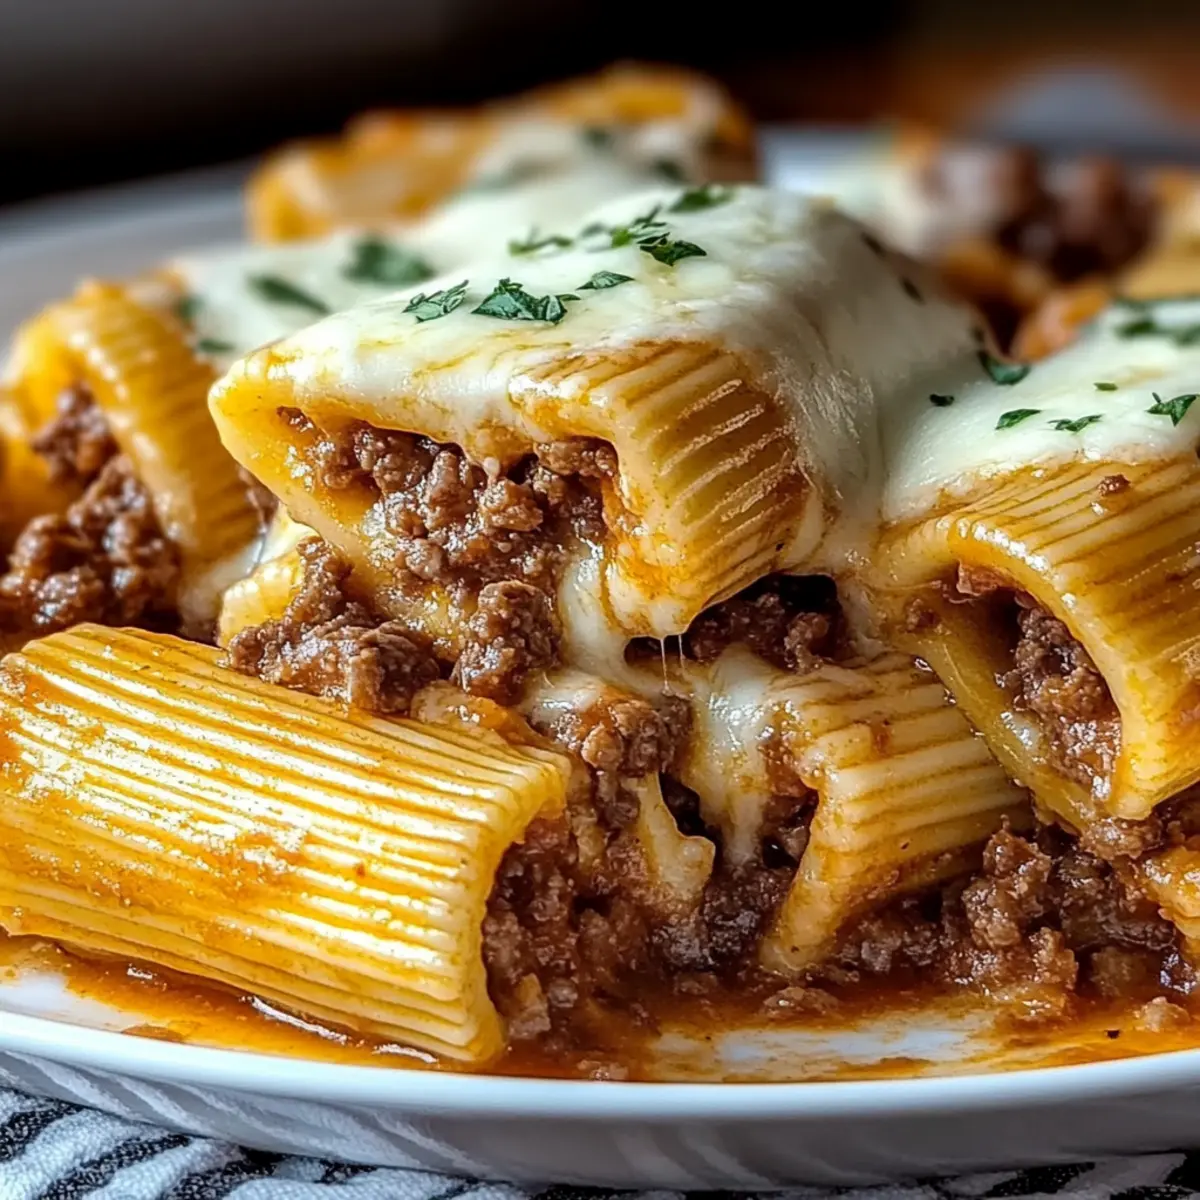
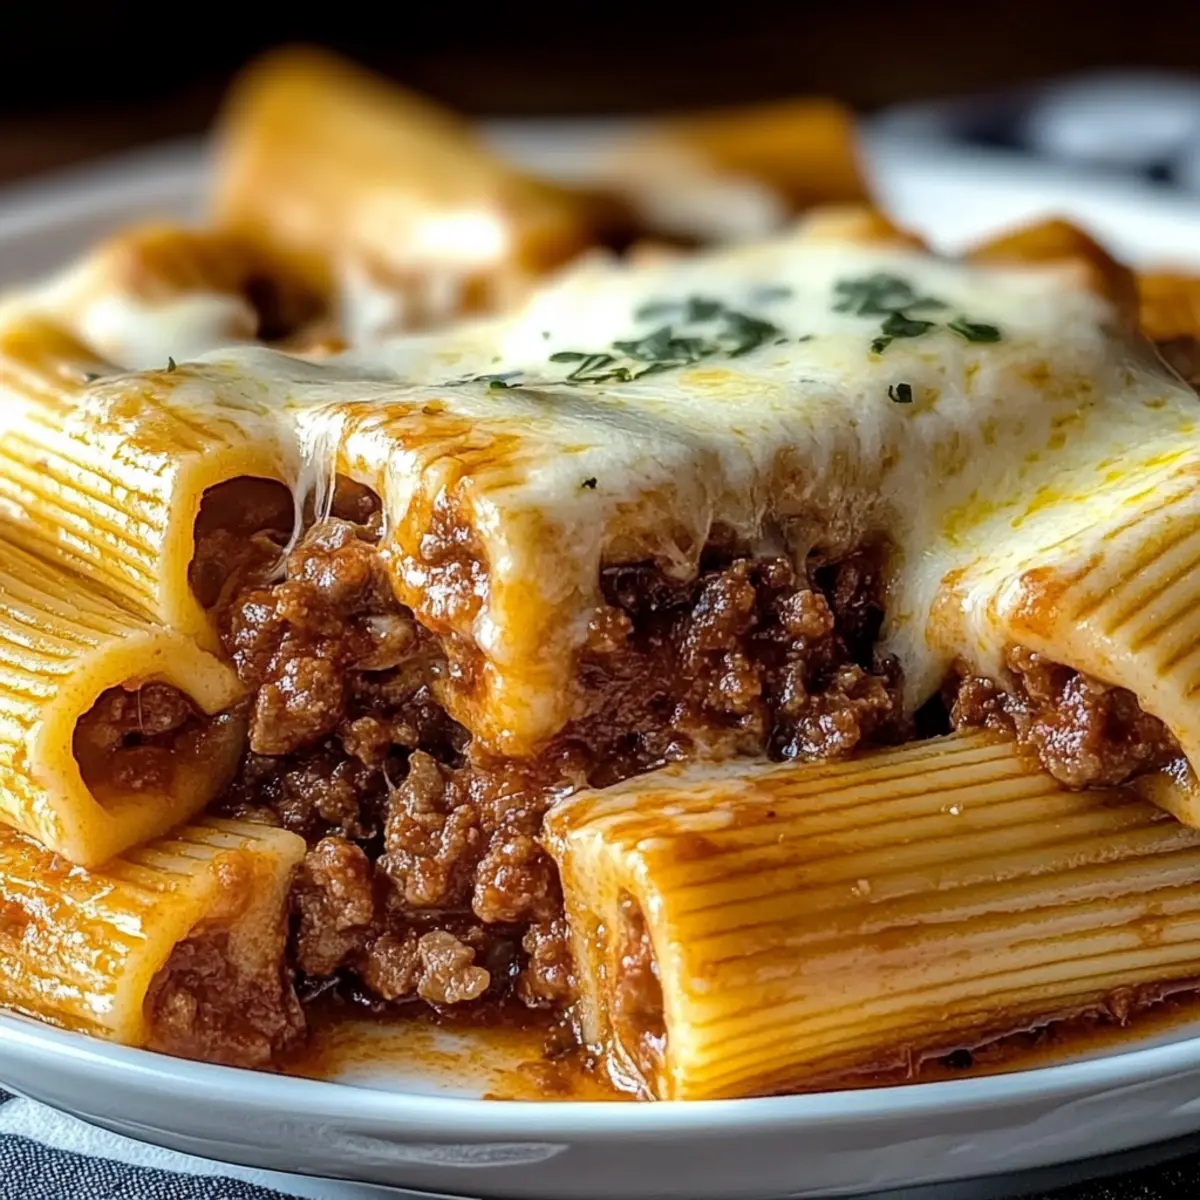
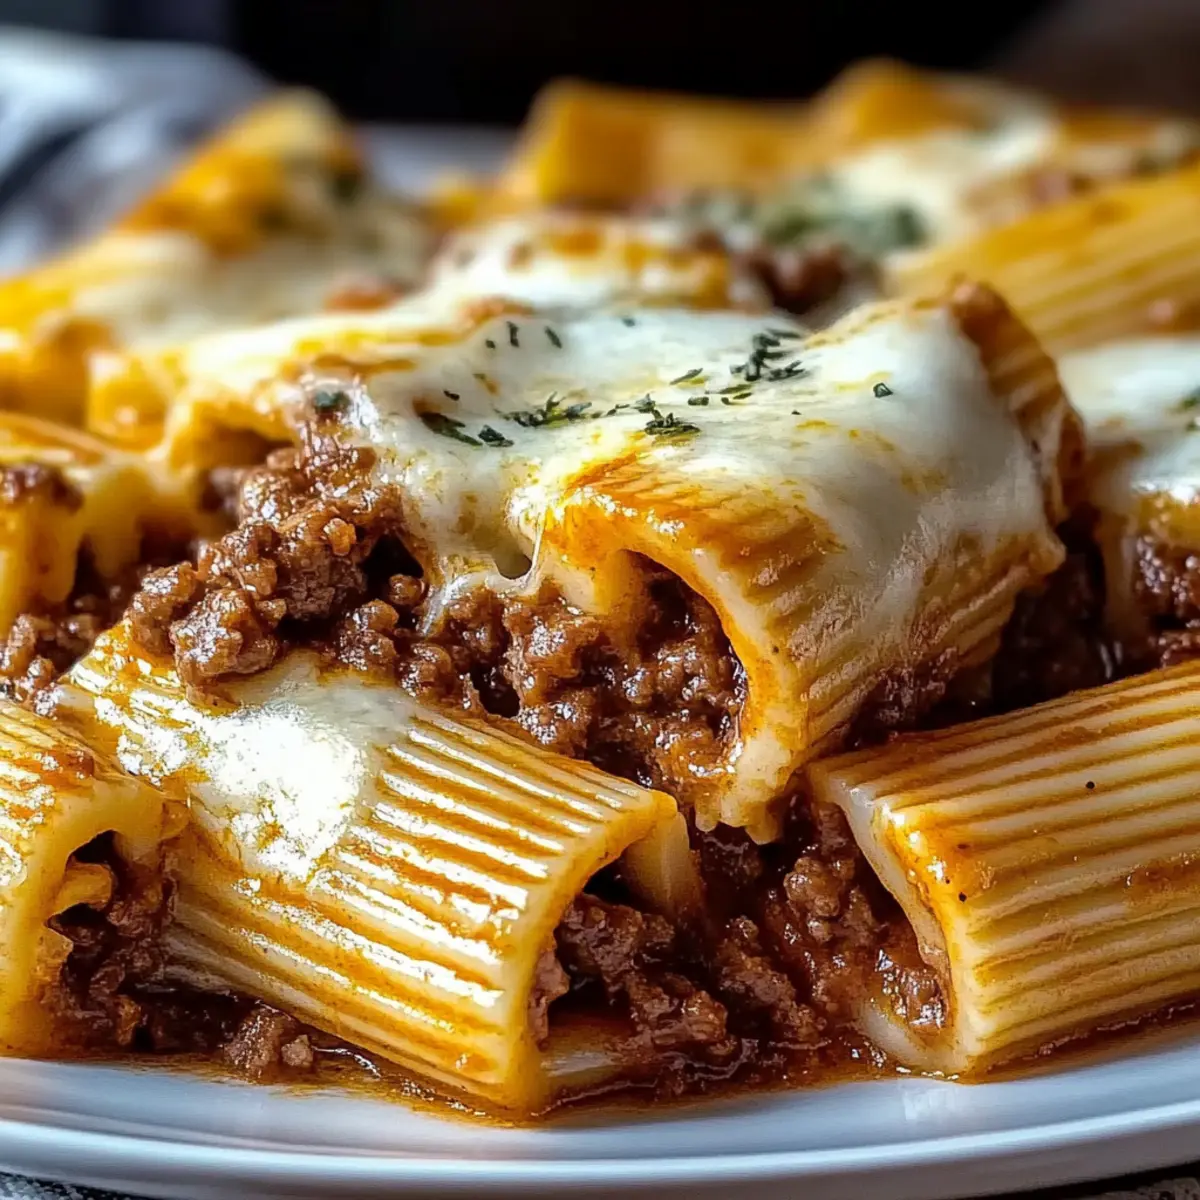
As I pulled the bubbling casserole from the oven, the warm aroma of Italian spices wafted through my kitchen, wrapping me in a comforting embrace. This Baked Rigatoni Stuffed with Beef Ragu & Mozzarella is more than just a meal; it’s a celebration of homemade goodness perfect for those cozy evenings when you want to gather around the table with loved ones. With its hearty filling and golden, gooey cheese topping, this recipe strikes the perfect balance between being an effortless crowd-pleaser and a delightful comfort food. It's surprisingly simple to make, ideal for novice cooks and seasoned chefs alike who are keen to swap out fast food for something truly nourishing. Ready to discover how to bring this Italian classic to your dinner table? Let's dive in!
Why is this Baked Rigatoni Special?
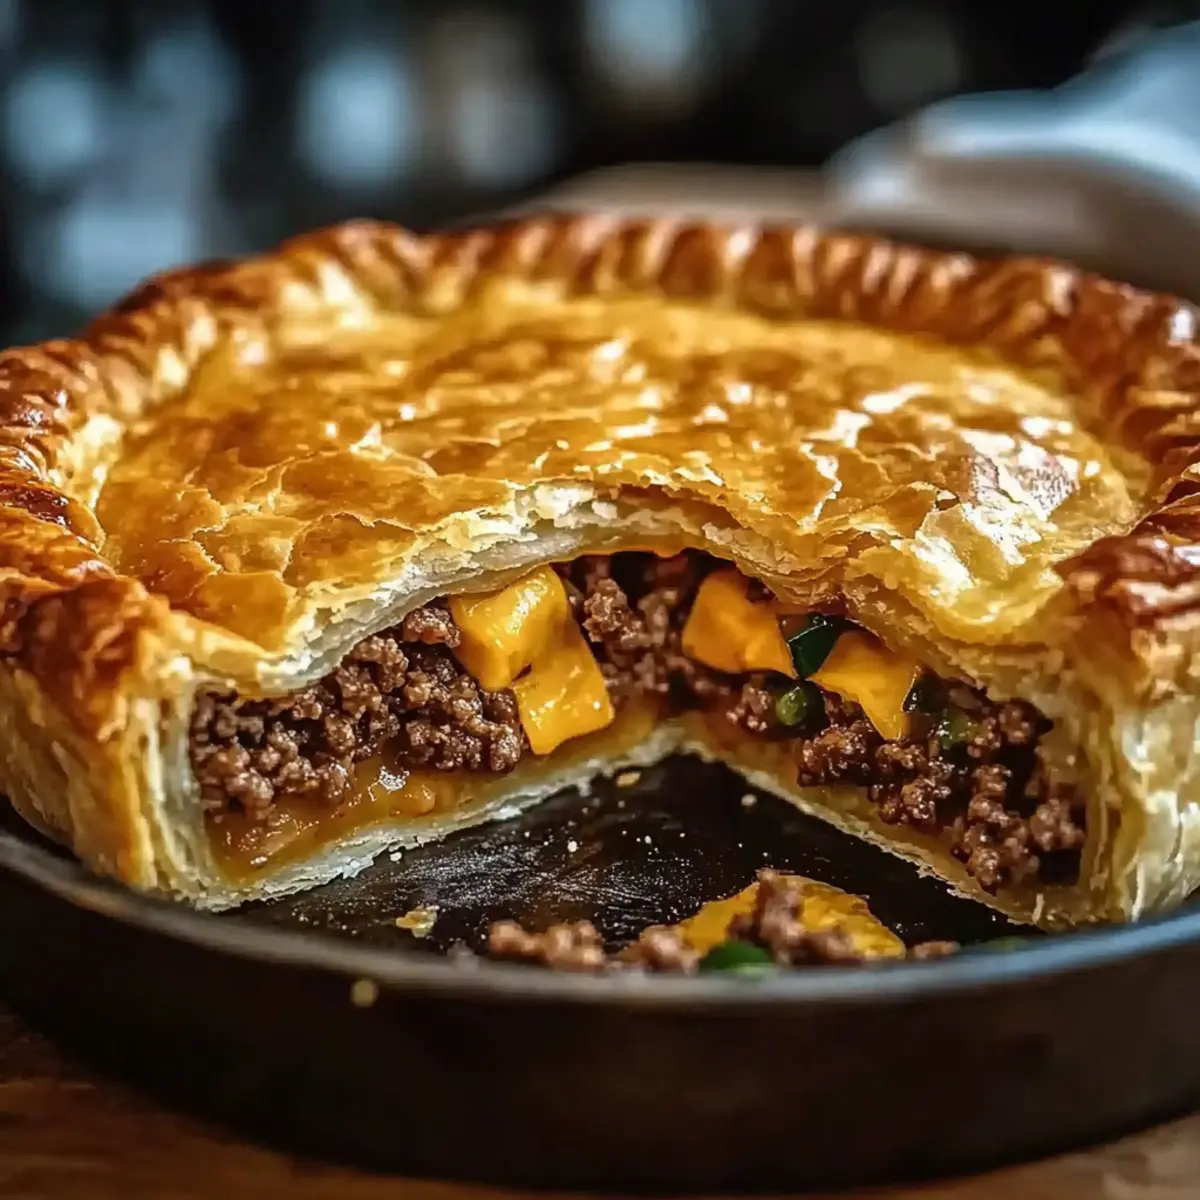
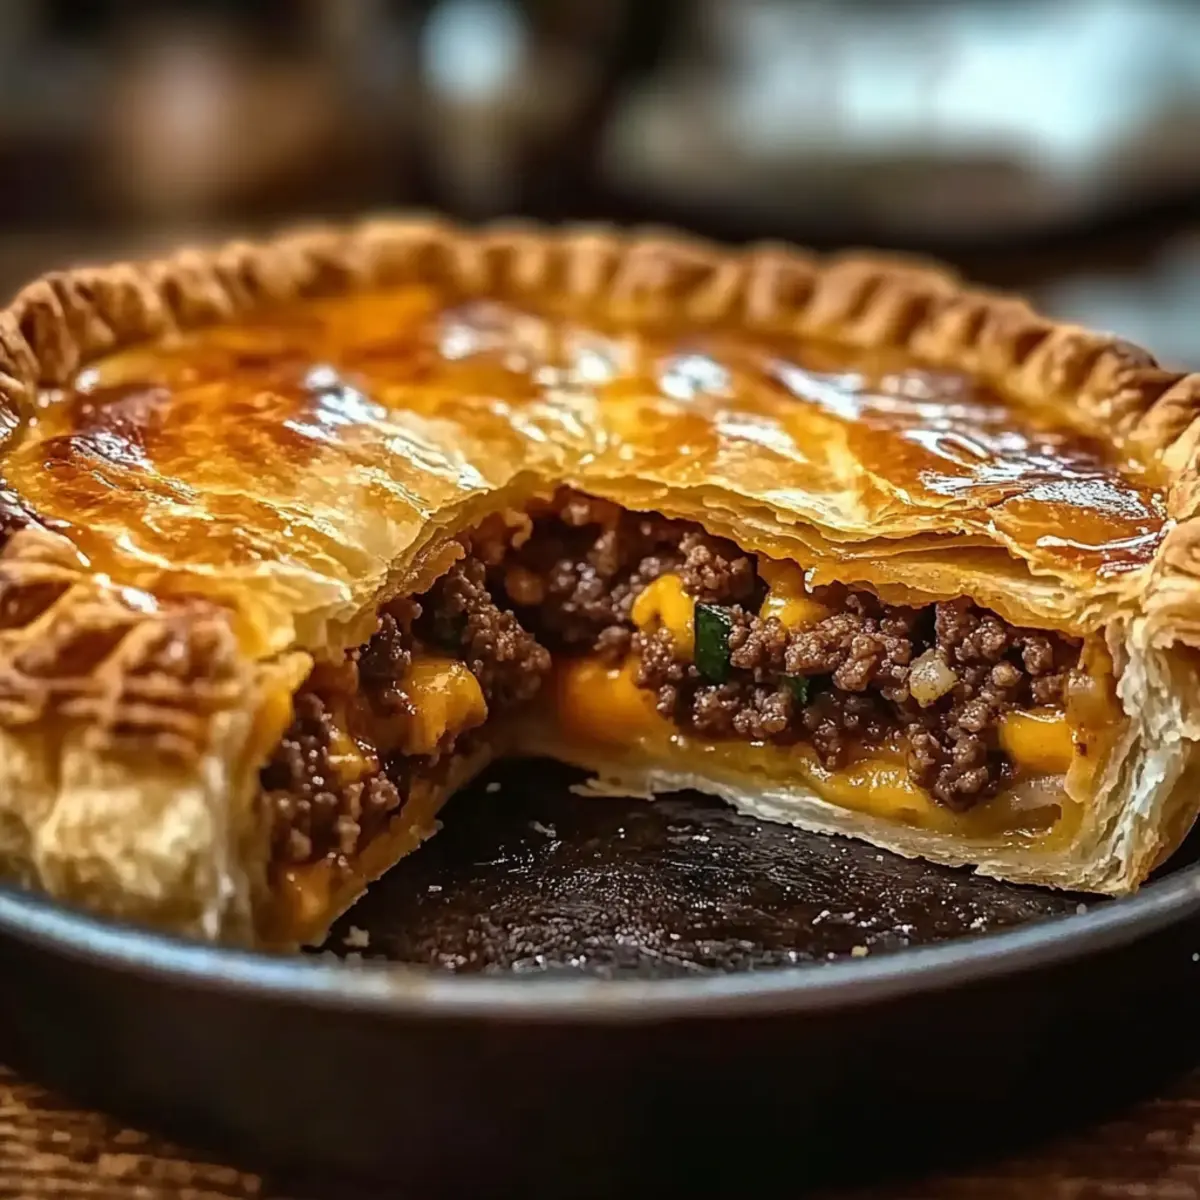
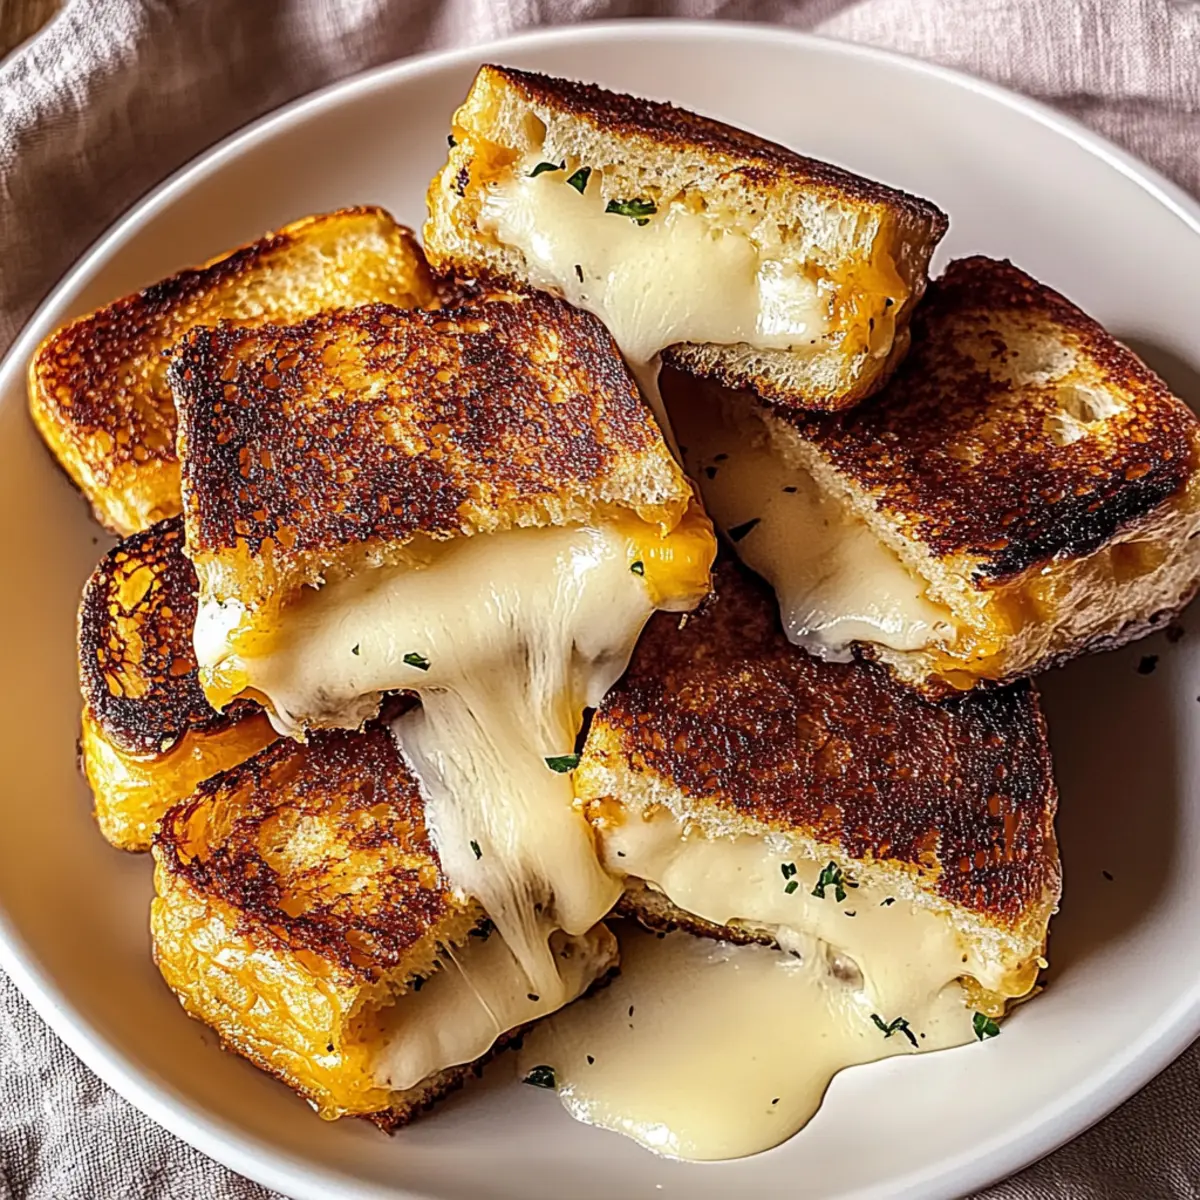
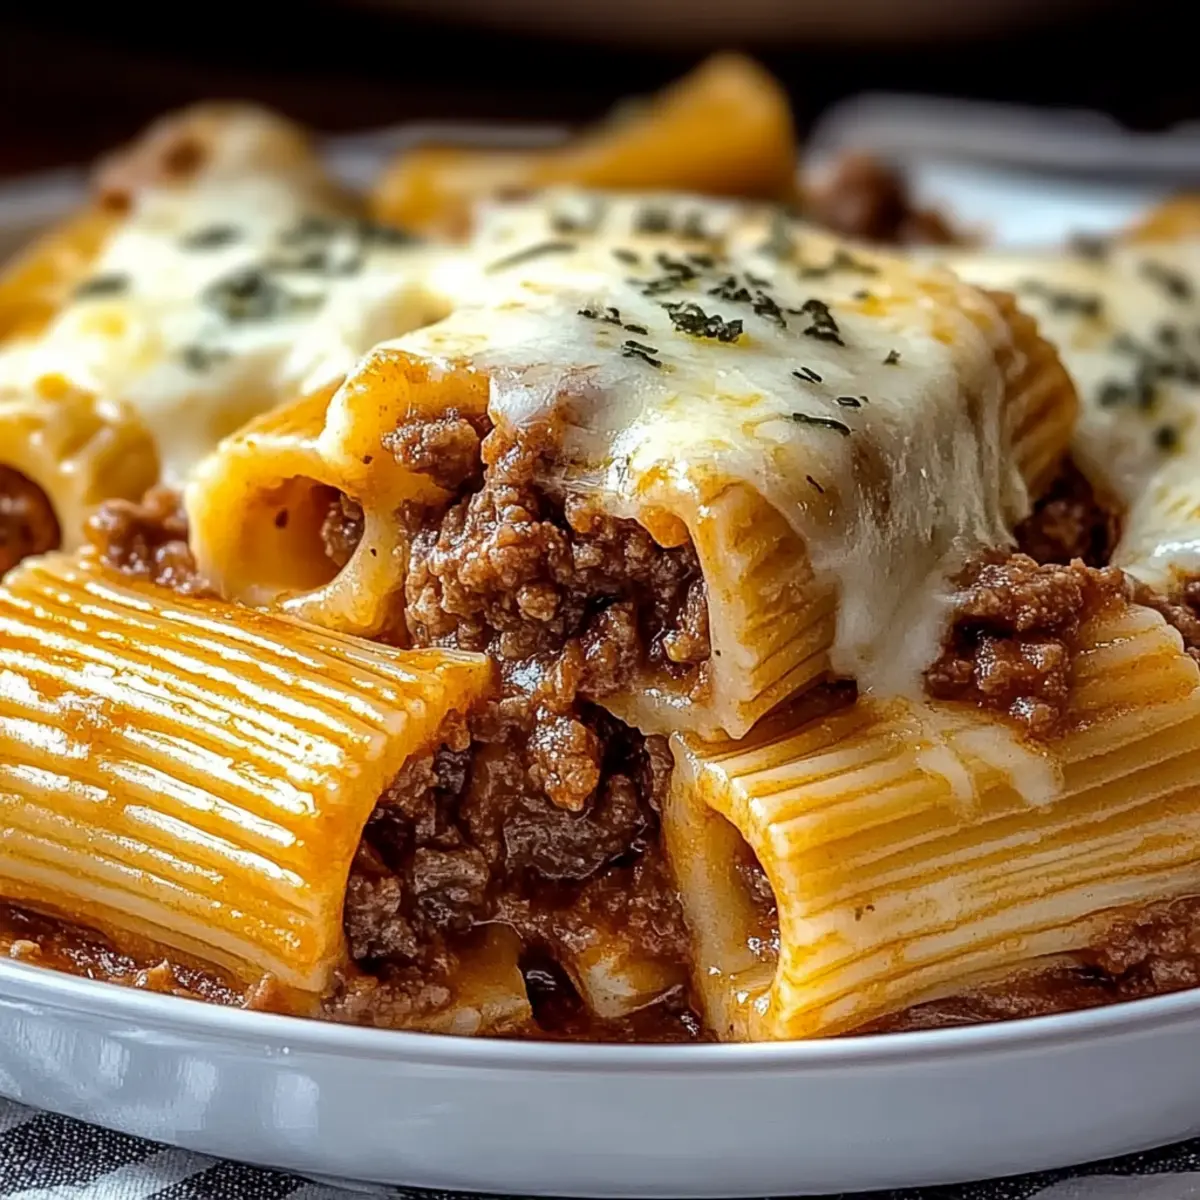
Comforting, Hearty Dish: This baked rigatoni is a true hug in pasta form, filled with rich beef ragu and melted mozzarella that will warm your soul.
Effortless Preparation: With simple steps and easily attainable ingredients, even beginner cooks can create this masterpiece without stress.
Crowd Favorite: Perfect for family gatherings or cozy dinners with friends, it's sure to please everyone at the table—no leftovers guaranteed!
Versatile Options: Want a lighter dish? Substitute ground beef with ground turkey, or sneak in some veggies like spinach for added nutrition.
Time-Saver: This dish can be made ahead, so you can spend more time with your guests and less time in the kitchen. Pair it with a fresh salad or some garlic bread, and you'll have a complete meal that feels both indulgent and nourishing.
Add a touch of Italy to your weeknight dinner with this comforting delight—your taste buds will thank you!
Baked Rigatoni Stuffed with Beef Ragu & Mozzarella Ingredients
For the Sauce
- Olive Oil – Adds healthy fat for sautéing and flavor enhancement; use canola or vegetable oil as a substitute.
- Onion – Provides a sweet base flavor; yellow onion is preferred, but shallots could work in a pinch.
- Garlic – Enhances aroma and flavor depth; fresh garlic is best, but garlic powder can suffice in emergencies.
- Ground Beef – Main protein source providing richness; consider ground turkey or chicken for a lighter option.
- Tomato Paste – Concentrates tomato flavor and adds depth; tomato sauce can be used if tomato paste is unavailable.
- Crushed Tomatoes – Forms the base of the ragu; any canned crushed tomatoes will work, though fresh tomatoes can be used while requiring longer cook time.
- Broth (or Apple Cider Vinegar) – Adds moisture and flavor complexity; beef broth is recommended, while vegetable broth or water are alternatives.
- Oregano & Thyme – Herbs that infuse aroma and flavor into the dish; Italian seasoning can serve as an all-in-one substitute.
- Salt & Pepper – Essential for seasoning and enhancing flavors; adjust to your personal taste.
For the Pasta
- Rigatoni – Pasta that holds the filling; you can substitute with other large pasta shapes like ziti or shells.
For the Topping
- Mozzarella Cheese – The primary melting cheese for the topping; substitute with provolone or gouda for a different flavor.
- Parmesan Cheese – Adds salty, nutty flavor to the dish; consider Pecorino Romano for a sharper taste.
- Fresh Parsley – For garnish, adding freshness and color; fresh basil makes a great alternative if preferred.
With these ingredients at your fingertips, you're ready to transform your kitchen into an Italian haven with this comforting Baked Rigatoni Stuffed with Beef Ragu & Mozzarella!
Step‑by‑Step Instructions for Baked Rigatoni Stuffed with Beef Ragu & Mozzarella
Step 1: Heat the Oil
Begin by heating 2 tablespoons of olive oil in a large skillet over medium heat. Once the oil shimmers, add 1 diced yellow onion and sauté it until it becomes translucent, about 3-4 minutes. The aroma will be truly inviting as the onion softens, setting the stage for the flavorful Baked Rigatoni Stuffed with Beef Ragu & Mozzarella.
Step 2: Sauté Garlic and Beef
Next, stir in 2 minced garlic cloves and cook for an additional minute until fragrant. Then, add 1 pound of ground beef, breaking it up with a spoon, and cook until browned and fully cooked, about 5-7 minutes. Ensure the beef is nicely browned to deepen the flavor of the ragu, an essential component of your delicious baked rigatoni.
Step 3: Add the Tomato Base
Once the beef is cooked, stir in 2 tablespoons of tomato paste, followed by 1 can (28 ounces) of crushed tomatoes and 1 cup of beef broth. Season the mixture with 1 teaspoon of oregano, 1 teaspoon of thyme, salt, and pepper to taste. Let this simmer uncovered for 20-25 minutes on medium-low heat, stirring occasionally until it thickens to a robust ragu consistency.
Step 4: Prepare the Rigatoni
While the sauce simmers, bring a large pot of salted water to a rolling boil. Cook 12 ounces of rigatoni until al dente, according to package instructions, usually about 8-10 minutes. Drain the pasta and allow it to cool slightly, ensuring the rigatoni holds its shape when it comes time to stuff these delightful tubes for the Baked Rigatoni Stuffed with Beef Ragu & Mozzarella.
Step 5: Stuff the Rigatoni
Using a piping bag or a small spoon, carefully fill each rigatoni with the beef ragu mixture. Make sure the pasta is generously packed, but handle it gently to avoid tearing, creating a hearty and satisfying filling that will elevate your baked dish to new heights.
Step 6: Assemble in the Baking Dish
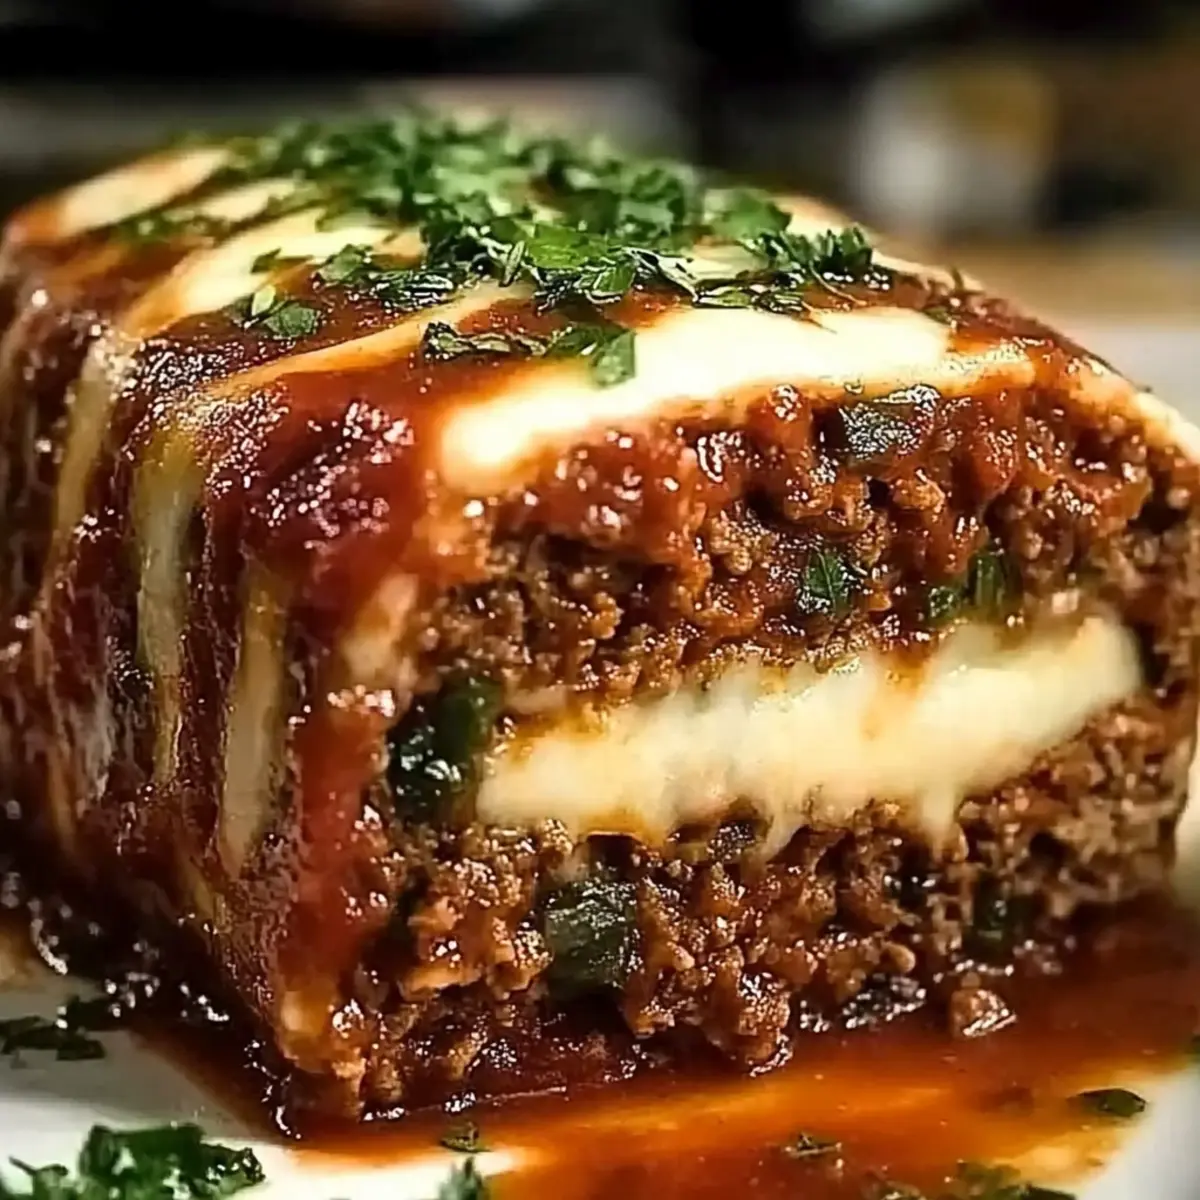
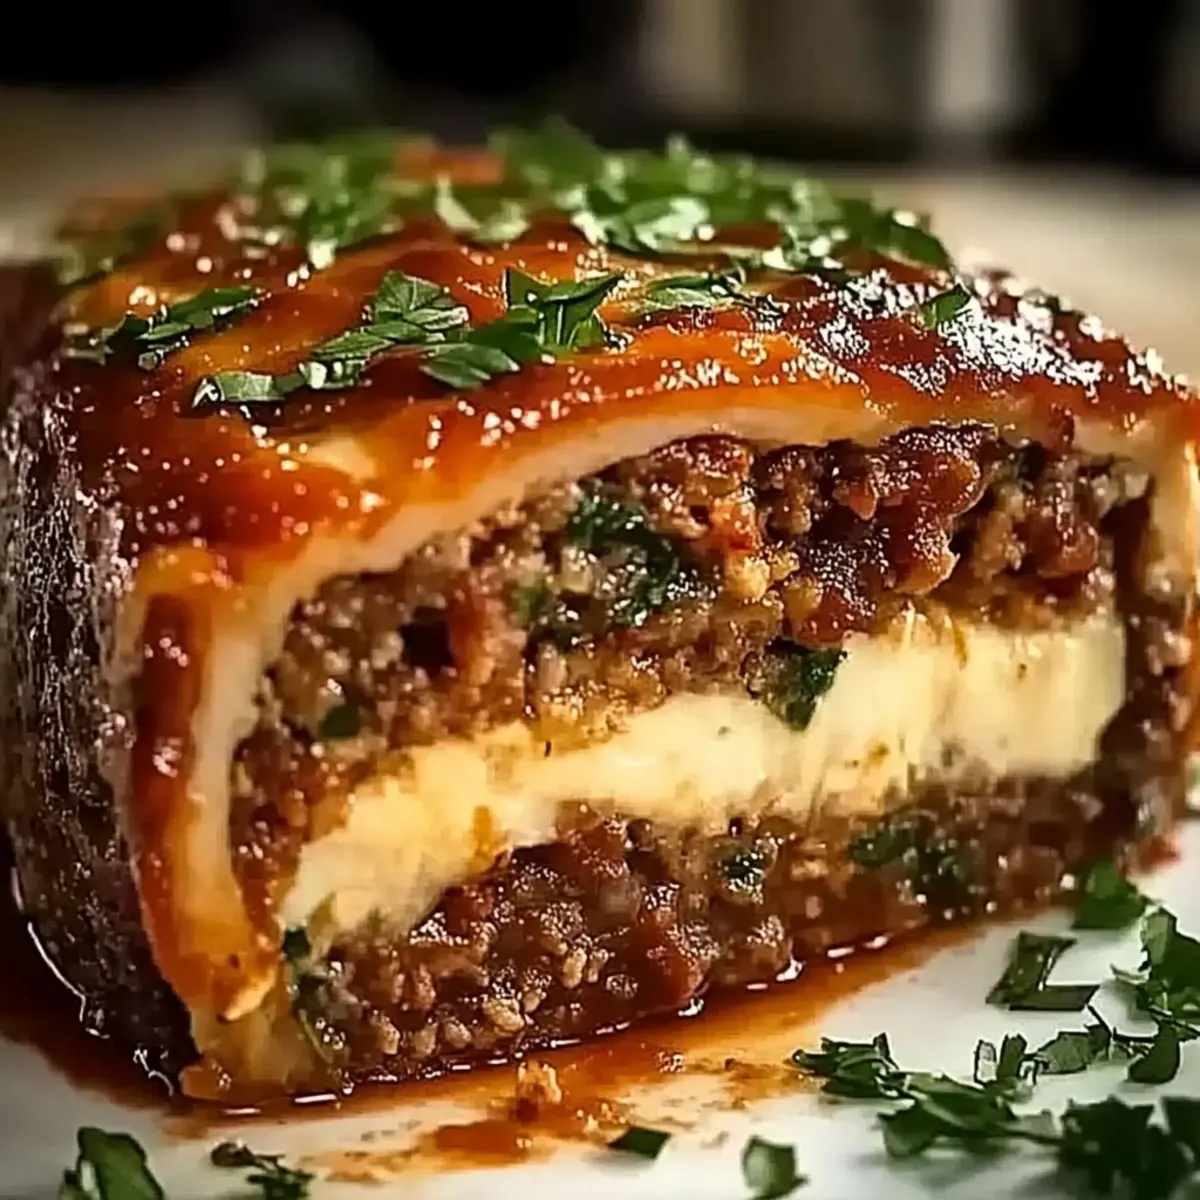
Preheat your oven to 375°F (190°C). Lightly grease a baking dish with olive oil, then arrange the stuffed rigatoni in a single layer. Once arranged, top the pasta with 2 cups of shredded mozzarella cheese and ½ cup of grated Parmesan cheese, ensuring an even layer that will melt into a gooey masterpiece.
Step 7: Bake to Perfection
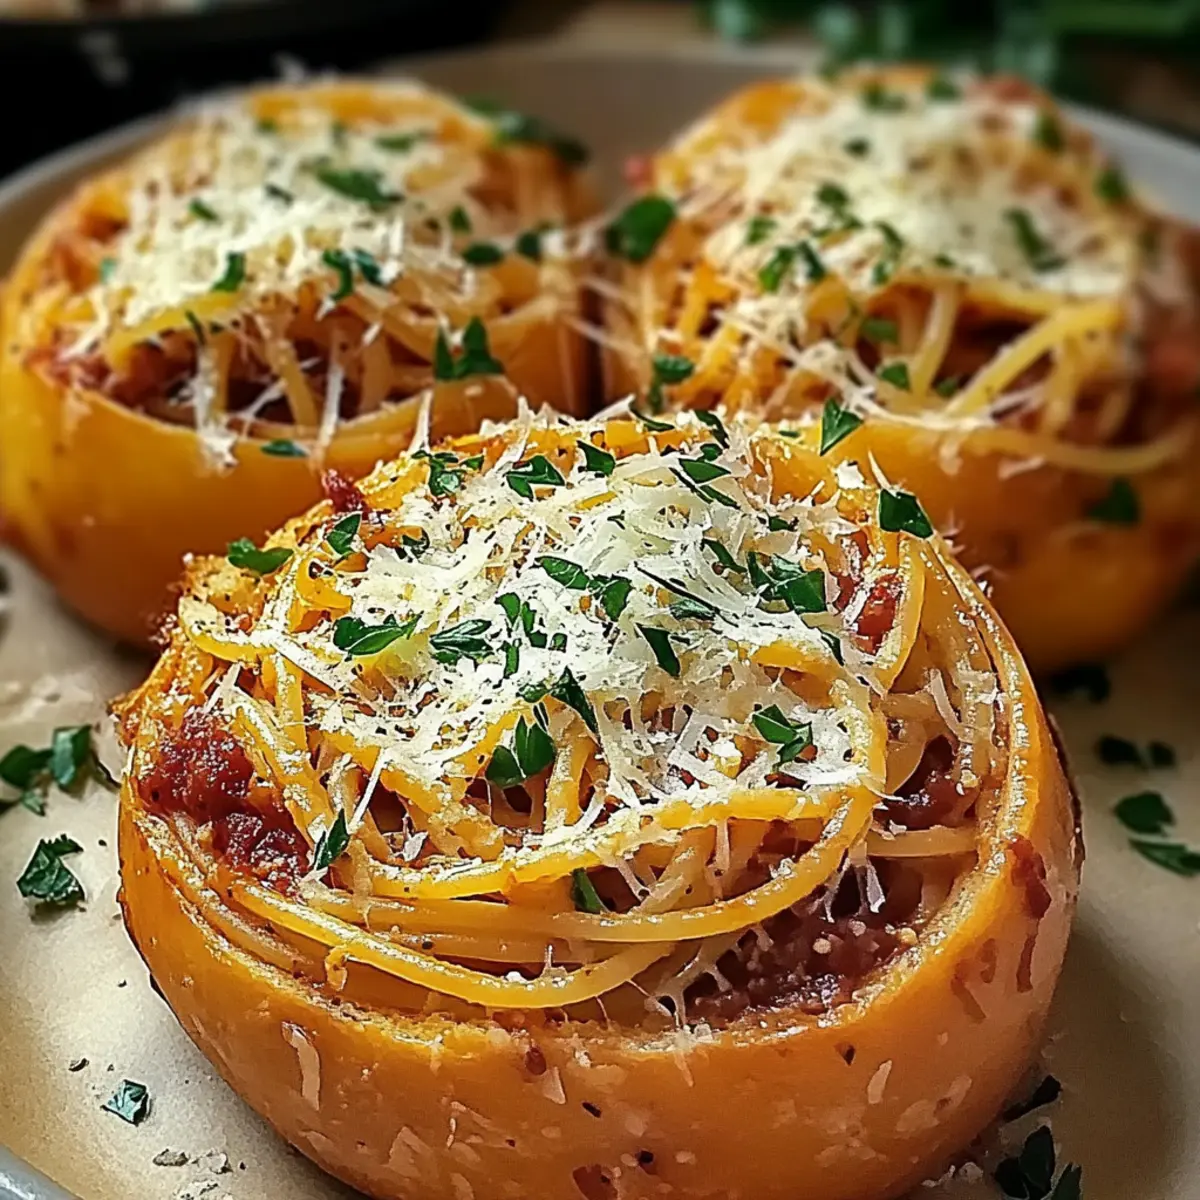
Place your assembled Baked Rigatoni Stuffed with Beef Ragu & Mozzarella into the preheated oven. Bake for 20-25 minutes, or until the cheese is bubbling and golden brown on top. The enticing aroma will fill your kitchen, inviting everyone to gather for a comforting meal.
Step 8: Garnish and Serve
Once baked, allow the rigatoni to cool for a few minutes before garnishing with freshly chopped parsley. Serve hot, and don’t forget to pair this delightful dish with garlic bread or a refreshing salad to complete your comforting family dinner.
Baked Rigatoni Variations & Substitutions
Feel free to let your culinary creativity shine and customize this delicious dish to suit your taste!
- Lighter Option: Swap ground beef for ground turkey or chicken to lighten up the dish without sacrificing flavor.
- Veggie Boost: Add sautéed spinach, mushrooms, or zucchini into the ragu for a nutritious punch, making it more wholesome.
- Cheese Swap: Experiment with different cheeses like gouda or fontina instead of mozzarella for a unique flavor twist.
- Spicy Kick: Sprinkle red pepper flakes into the ragu for a lovely heat that elevates the dish beyond the ordinary.
- Herb Variety: Try using fresh basil or oregano instead of dried herbs for a vibrant, garden-fresh flavor.
- Pasta Alternatives: If rigatoni isn't your favorite, penne or large shells can hold the delectable filling just as well.
- Creamy Texture: Stir in a dollop of ricotta cheese into the ragu for added creaminess—a simple way to create a richer dish.
- Flavor Infusion: Consider adding a splash of red wine to the ragu; it'll deepen the flavors and give a charming twist to your sauce.
These variations not only allow for unique personal touches but also keep the spirit of comfort food alive. And if you find yourself inspired, why not pair it with a side of sweet potatoes with black beans or some delectable herby ricotta stuffed peppers? The possibilities are endless!
Make Ahead Options
These Baked Rigatoni Stuffed with Beef Ragu & Mozzarella are perfect for meal prep, allowing you to savor homemade comfort on busy nights! You can prepare the beef ragu up to 24 hours in advance; simply let it cool, then store it in an airtight container in the refrigerator. Additionally, you can stuff the rigatoni several hours ahead of time. Assemble the dish before baking, cover tightly with foil, and refrigerate it for up to 3 days. To finish, just pop it in the preheated oven and bake until the cheese is bubbling and golden, ensuring you enjoy a meal just as delicious as if it were made fresh!
Expert Tips for Baked Rigatoni
-
Careful Stuffing: Handle the rigatoni gently while stuffing to prevent tearing, ensuring a perfectly packed filling that retains its delicious flavors.
-
Cheese Distribution: Spread the mozzarella and Parmesan evenly over the pasta to promote even melting, creating a lovely golden crust atop your baked rigatoni.
-
Pasta Cooking Time: Avoid overcooking the rigatoni before baking; undercooking ensures it maintains a firm bite and doesn't become mushy during baking.
-
Cooling Period: Let the dish cool for a few minutes after baking; this helps the rigatoni set and makes for easier serving.
-
Creative Variations: Don’t hesitate to experiment with different ingredients; swapping ground beef for turkey or adding veggies like spinach can give your baked rigatoni a delightful twist!
Storage Tips for Baked Rigatoni Stuffed with Beef Ragu & Mozzarella
Fridge: Store any leftovers in an airtight container for up to 3–4 days to maintain freshness and flavor.
Freezer: You can freeze your baked rigatoni for up to 2 months. Wrap it tightly in plastic wrap and aluminum foil to prevent freezer burn.
Reheating: To enjoy your Baked Rigatoni Stuffed with Beef Ragu & Mozzarella, reheat in the oven at 350°F (175°C) for about 20–25 minutes until warmed through and cheese is bubbly.
Make-Ahead: Prepare the rigatoni ahead of time and assemble everything in the baking dish. Cover and refrigerate overnight; just pop it in the oven when you're ready to serve!
What to Serve with Baked Rigatoni Stuffed with Beef Ragu & Mozzarella
Create a delightful dining experience by pairing this hearty dish with complementary sides and beverages that elevate your meal.
-
Garlic Bread: The crunchy, buttery exterior of garlic bread adds a comforting texture, perfect for soaking up the rich ragu. It’s classic and beloved—a must-have at the table!
-
Simple Green Salad: A fresh salad with mixed greens, cherry tomatoes, and a light vinaigrette will balance the richness of the rigatoni. The crispness of the vegetables adds a refreshing contrast.
-
Roasted Vegetables: Opt for seasonal veggies like zucchini and bell peppers, lightly seasoned and roasted. Their caramelized sweetness pairs beautifully with the robust flavors of the beef ragu.
-
Caesar Salad: The creamy dressing and crunchy croutons of a Caesar salad bring a rich, tangy flavor that complements the savory pasta. It’s an indulgent addition for a full meal.
-
Wine Pairing: A glass of Chianti or a light red wine enhances the Italian flair while accentuating the dish's flavors. The tannins of the wine work harmoniously with the beef ragu.
-
Dessert Suggestion: End your meal with a light dessert like panna cotta or tiramisu. Both desserts offer a sweet finish without being too heavy, making them ideal after a hearty main course.
-
Stuffed Mushrooms: Rich, savory stuffed mushrooms can serve as an appetizer or side dish to enhance the Italian theme and add an extra layer of flavor to your meal celebration.
By thoughtfully selecting sides and drinks, you'll create a memorable meal around your Baked Rigatoni Stuffed with Beef Ragu & Mozzarella, ensuring everyone leaves the table satisfied.
Baked Rigatoni Stuffed with Beef Ragu & Mozzarella Recipe FAQs
How do I choose the best ingredients for my Baked Rigatoni?
Absolutely! For the best flavor, select ripe tomatoes if you're using fresh ones; they should be vibrant red without dark spots. When picking ground beef, choose a lean blend (80/20) for a nice balance of flavor and tenderness. Fresh herbs like parsley or basil should look bright and fragrant—avoid any wilted or discolored leaves for optimal freshness.
What’s the best way to store leftover Baked Rigatoni?
I recommend placing any leftovers into an airtight container and storing them in the refrigerator. They will stay fresh for about 3-4 days. For longer storage, freeze individual portions wrapped tightly with plastic wrap and then aluminum foil. This can keep them safe for up to 2 months, ensuring you always have a comforting meal on hand!
Can I freeze Baked Rigatoni? How should I do it?
Yes, you can freeze Baked Rigatoni Stuffed with Beef Ragu & Mozzarella! First, let it cool completely to room temperature. Then, slice it into individual portions or leave it whole, and wrap tightly in plastic wrap and aluminum foil to protect against freezer burn. Allow it to thaw overnight in the fridge before reheating, and bake at 350°F (175°C) for about 20-25 minutes to warm thoroughly and get that cheese bubbling again.
What should I do if my pasta is overcooked?
If you accidentally overcook the rigatoni while boiling, don’t worry! The key is to try not to overbake the dish. If you can, keep the baking time shorter and check your rigatoni for doneness frequently. If it starts to feel too soft, reduce the oven time. In the future, aim to cook the pasta just until al dente, about 2 minutes less than the package instructions, so it holds its shape beautifully after baking.
Are there any dietary considerations for Baked Rigatoni?
Very! If you have dietary restrictions, consider using ground turkey or chicken as a lean substitute for beef. Additionally, if you need a gluten-free option, you can use gluten-free pasta—just ensure that it’s a suitable shape for stuffing. Always check labels for cheese and broth to accommodate any lactose intolerance or allergies.
Can I make this dish in advance?
You bet! Prepare the beef ragu a day ahead and store it separately in the fridge. You can also stuff the rigatoni and place it in the baking dish, then cover tightly with plastic wrap. Keep it refrigerated overnight, and when you're ready to serve, just pop it in the oven straight from the fridge—just be sure to add a few extra minutes to the baking time if it’s cold. This way, you spend more time with your guests!
Baked Rigatoni Stuffed with Beef Ragu & Mozzarella Bliss
Ingredients
Equipment
Method
- Heat the olive oil in a large skillet over medium heat. Add diced onion and sauté until translucent, about 3-4 minutes.
- Stir in minced garlic and cook for an additional minute. Add ground beef and cook until browned, about 5-7 minutes.
- Stir in tomato paste, crushed tomatoes, and beef broth. Season with oregano, thyme, salt, and pepper. Let simmer for 20-25 minutes.
- In a large pot, bring salted water to boil. Cook rigatoni until al dente, about 8-10 minutes. Drain and cool.
- Stuff each rigatoni with beef ragu mixture using a piping bag or spoon.
- Preheat oven to 375°F (190°C). Grease baking dish and arrange stuffed rigatoni in a single layer. Top with mozzarella and parmesan.
- Bake for 20-25 minutes until cheese is bubbling and golden brown.
- Allow to cool for a few minutes before garnishing with chopped parsley. Serve hot.