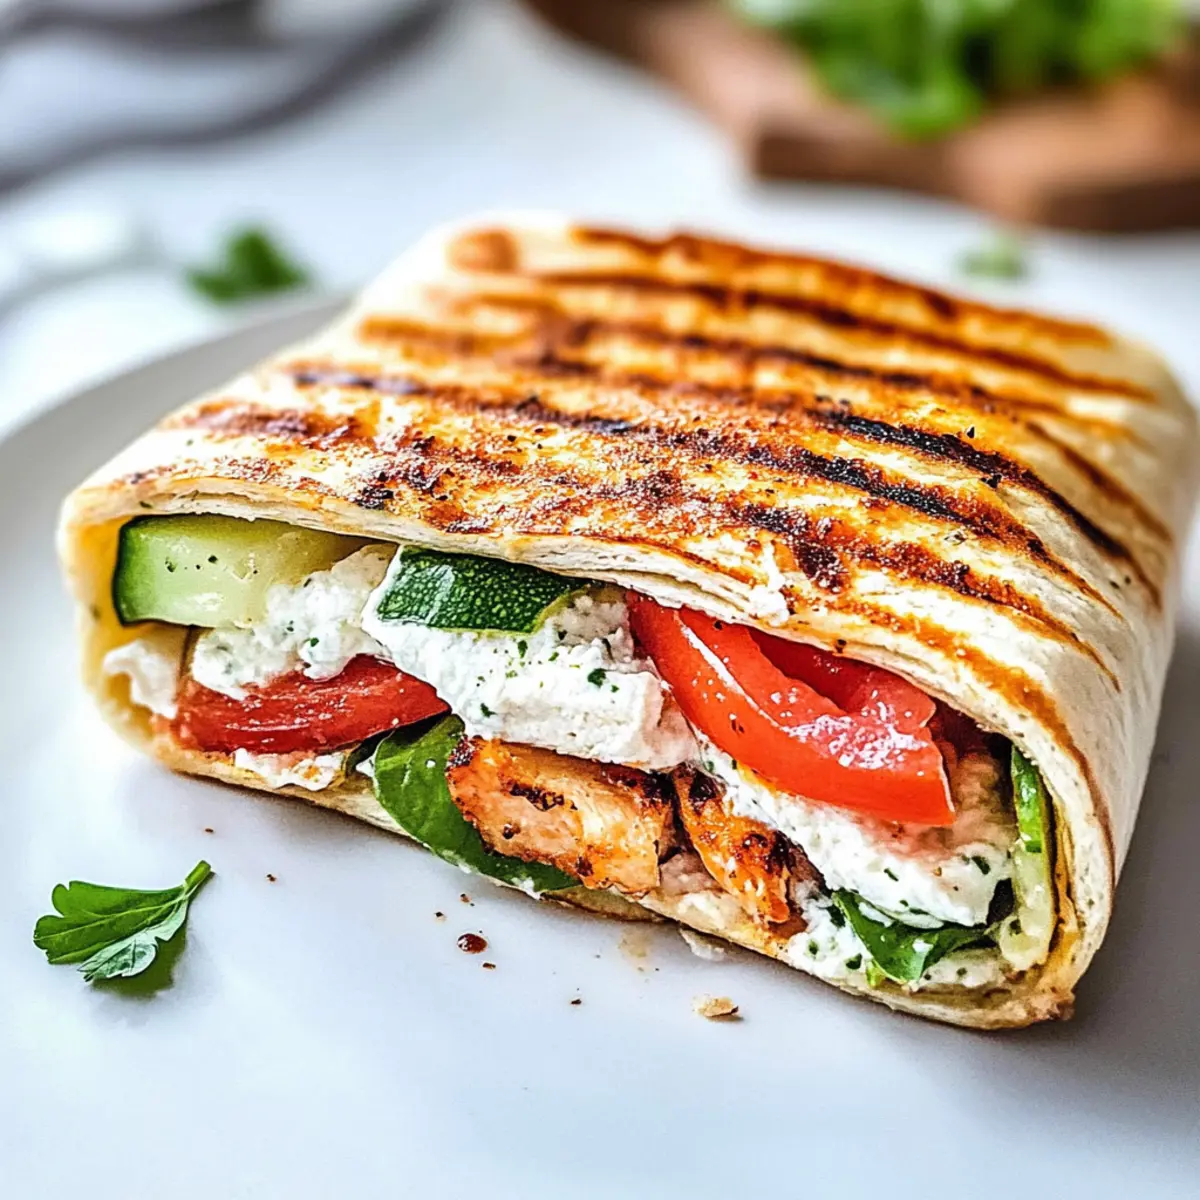
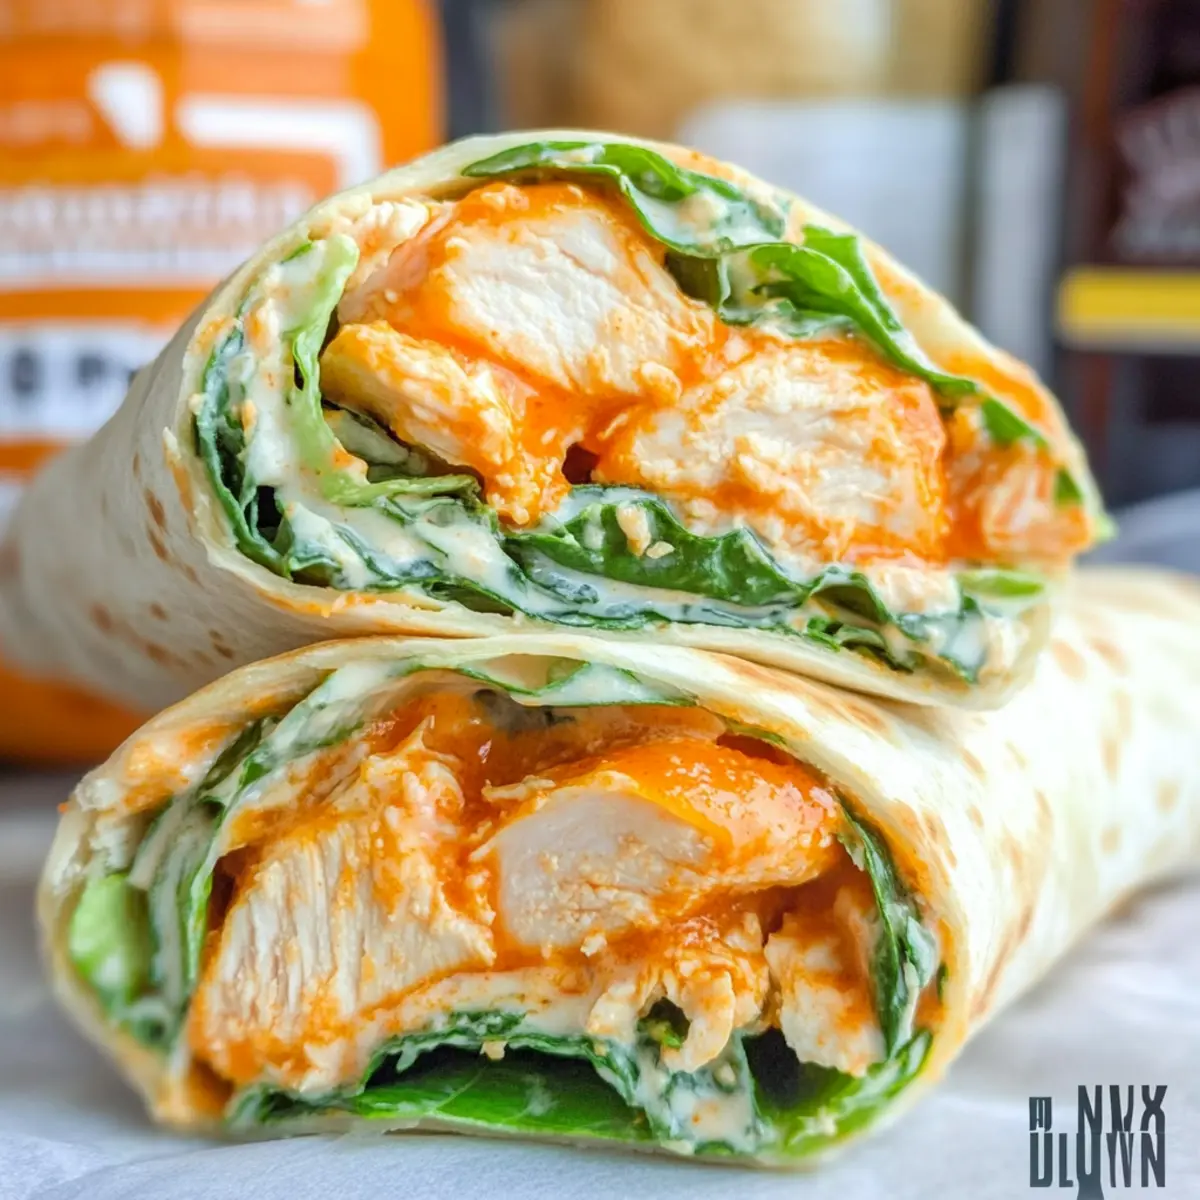
With a little inspiration from my favorite American comfort foods, I found a way to transform a humble lunch into something truly special: spicy Buffalo Chicken Caesar Salad Wraps. This quick and tasty meal combines the zing of buffalo chicken with the refreshing crunch of Caesar salad, all cozy in a soft tortilla. Not only are these wraps perfect for a speedy lunch prep, but they also elevate your mid-day meal from routine to remarkable, proving that homemade can be as easy as it is delicious. Whether you're seeking a new favorite for busy weekdays or a fun twist on classic flavors, this recipe is sure to brighten your table. Are you ready to spice up your lunch game?

Why Choose Buffalo Chicken Caesar Salad Wraps?
Quick and Easy: Whip these wraps together in just minutes, making them perfect for busy weekdays or unexpected guests.
Flavor Explosion: The fiery buffalo chicken balanced with creamy Caesar dressing makes every bite a flavor adventure.
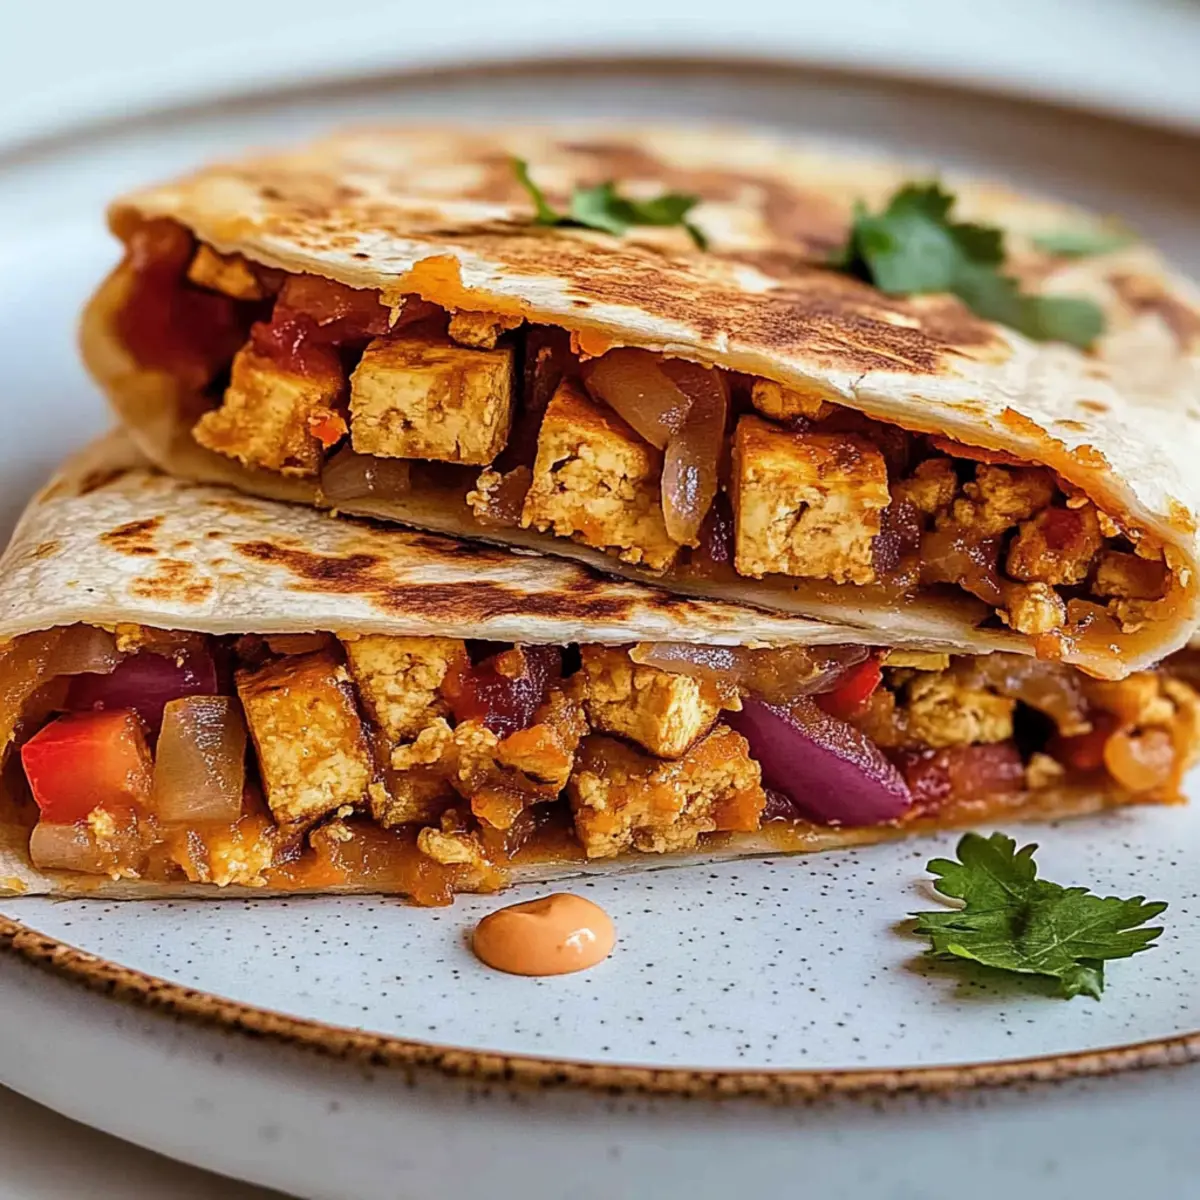
Versatile Base: Use whatever tortilla you have on hand or swap the chicken for tofu for a lighter option.
Crowd-Pleasing Fun: These wraps are sure to impress at lunch gatherings or family meals, offering something for everyone.
Nutrient-Packed: With lean protein and fresh greens, they keep your energy levels up without resorting to fast food.
Elevate your lunch with these lively Buffalo Chicken Caesar Salad Wraps – an easy choice that doesn’t skimp on taste! If you’re looking for more quick meals, consider trying my Crock Pot Chicken or Chipotle Lime Chicken for diverse flavors to keep your meal prep exciting.
Buffalo Chicken Caesar Salad Wraps Ingredients
• Here’s everything you need to create the perfect Buffalo Chicken Caesar Salad Wraps!
For the Wrap
- Burrito Flour Tortillas – The ideal base for wrapping everything together; swap for whole wheat for extra fiber.
- Chopped Romaine Lettuce – Offers a fresh crunch that balances the spiciness; any leafy greens like spinach are a great substitute.
For the Dressing
- Caesar Dressing – Provides creaminess and flavor; go for homemade or use a tasty store-bought option like Ken’s Steakhouse.
- Buffalo Sauce – Delivers that fiery kick; adjust the heat level by varying the amount used, or create your own homemade version for a personal touch.
For the Filling
- Cooked, Diced Fried Chicken Tenders – The main protein that brings the wraps to life; leftover grilled chicken or pre-cooked options like air-fried nuggets make great alternatives.
- Grated Parmesan Cheese – Adds a savory richness; substitute with any shredded cheese you prefer for a different flavor experience.
Now you’re all set to bring these fantastic Buffalo Chicken Caesar Salad Wraps to life! Grab your ingredients and let the fun begin!
Step‑by‑Step Instructions for Buffalo Chicken Caesar Salad Wraps
Step 1: Prepare the Chicken
In an air fryer, heat the cooked, diced fried chicken tenders at 400°F for 8–10 minutes until crispy and golden. While they’re cooking, prepare a large mixing bowl. Once the chicken is hot, carefully toss it in your favorite buffalo sauce, adjusting the amount according to your spice preference until well-coated and vibrant.
Step 2: Mix the Salad
While your buffalo chicken is cooling slightly, wash and chop the romaine lettuce into bite-sized pieces. In a separate bowl, add the chopped romaine and drizzle on the Caesar dressing. Mix gently until all the lettuce is evenly coated, creating a fresh and crisp salad base for your Buffalo Chicken Caesar Salad Wraps.
Step 3: Warm the Tortillas
To make wrapping easier, lightly microwave the burrito flour tortillas for about 30 seconds. This will soften them, making them pliable while preventing them from tearing. Keep an eye on them so they don’t overheat. Once warm, lay them flat on a clean countertop, ready for filling.
Step 4: Assemble the Wraps
In the center of each tortilla, place approximately 1 cup of the dressed romaine, spreading it out lightly to create an even base. Make sure there’s enough space at the edges for folding. This balance of crisp lettuce and creamy dressing is essential for the perfect Buffalo Chicken Caesar Salad Wraps.
Step 5: Add the Buffalo Chicken
Next, spoon the buffalo chicken mixture directly on top of the dressed romaine, spreading it evenly to cover the salad. This layering adds delicious flavor and ensures every bite of your wrap is deliciously spicy. Take a moment to admire the vibrant colors before proceeding to the next step.
Step 6: Sprinkle with Cheese
Sprinkle a generous amount of grated Parmesan cheese over the buffalo chicken for added flavor and richness. The cheese will combine beautifully with the buffalo chicken and Caesar dressing, resulting in an irresistible wrap. This step also enhances the visual appeal of your finished Buffalo Chicken Caesar Salad Wraps.
Step 7: Roll the Tortillas
To wrap your creations, start by folding in the sides of each tortilla before gently rolling it away from you, creating a tight seal. Make sure to keep the filling tucked in well as you roll. If desired, slice the finished wraps diagonally for easy serving, revealing the colorful layers inside.
Step 8: Serve and Enjoy
Your Buffalo Chicken Caesar Salad Wraps are now ready to be enjoyed! You can serve them immediately for a warm, satisfying meal, or wrap them in foil for a quick lunch on the go. Pair with fresh fruit or a light salad for a complete meal experience that’s as nutritious as it is tasty.
Expert Tips for Buffalo Chicken Caesar Salad Wraps
-
Quality Ingredients: Use high-quality packaged ingredients for enhanced flavor in your Buffalo Chicken Caesar Salad Wraps. Fresh produce and premium sauces can make a difference.
-
Heat Adjustment: Don’t forget to adjust the amount of buffalo sauce according to your spice tolerance. Start with less and add more if you prefer a hotter wrap!
-
Chicken Prep: Ensure all pre-cooked chicken is heated thoroughly before serving for optimal taste and safety. Overcooked chicken can become dry, so monitor it closely.
-
Filling Balance: When assembling, don’t overload the wraps with filling. Too much can make them hard to roll and eat, so stick to recommended portions.
-
Wrap Storage: To keep your wraps fresh prior to serving, wrap them tightly in foil or plastic wrap. This prevents drying out and maintains their delightful texture.
How to Store and Freeze Buffalo Chicken Caesar Salad Wraps
Fridge: Keep any leftover wraps tightly wrapped in foil or plastic wrap in the fridge for up to 3 days. This helps maintain their freshness and prevents them from drying out.
Freezer: If you want to freeze the wraps, individually wrap them in foil and place them in an airtight container. They can be frozen for up to 2 months.
Reheating: To enjoy, thaw overnight in the fridge, then reheat in the microwave for 30-45 seconds or in an air fryer at 350°F for about 5 minutes until heated through.
Make-Ahead: These Buffalo Chicken Caesar Salad Wraps can be assembled a few hours in advance. Just be sure to store them properly to keep everything crisp and fresh!
What to Serve with Buffalo Chicken Caesar Salad Wraps
Elevate your lunchtime experience with delightful pairings that complement the bold flavors of your wraps!
-
Fresh Fruit Salad: This colorful mix of seasonal fruits adds a refreshing sweetness, balancing the spicy buffalo chicken beautifully.
-
Crispy Sweet Potato Fries: The sweetness of these oven-baked fries offers a enjoyable contrast to the spiciness of the wraps, making each bite satisfying.
-
Italian Pasta Salad: A cold, tangy pasta salad brings vibrant Mediterranean flavors that harmonize with the creamy Caesar dressing in your wraps.
-
Garlic Breadsticks: Soft, warm breadsticks brushed with buttery garlic complement the rich taste of the wraps, perfect for dipping in extra buffalo sauce.
-
Classic Coleslaw: This crunchy slaw’s tangy vinegar dressing contrasts nicely with the creamy elements, adding a delightful crunch with every bite.
-
Sparkling Lemonade: A refreshing and bubbly drink, its citrus notes will cleanse the palate and enhance the flavors of your zesty wraps.
Think about adding a few of these sides to round out your meal and create a lunchtime spread that is as vibrant as it is delicious!
Make Ahead Options
These Buffalo Chicken Caesar Salad Wraps are perfect for busy home cooks looking to save time during hectic weekdays! You can prepare the buffalo chicken mixture and dressed romaine lettuce up to 24 hours in advance, storing them separately in airtight containers in the refrigerator to maintain freshness. When ready to serve, simply warm the tortillas for about 30 seconds in the microwave, then layer the prepped ingredients before rolling. This way, you’ll enjoy delicious wraps that are just as flavorful and satisfying without any last-minute fuss. Prepping ahead not only saves time but ensures you have a delightful, homemade meal waiting for you!
Buffalo Chicken Caesar Salad Wraps Variations
Feel free to get creative and personalize these wraps to your liking, transforming them into your perfect lunchtime delight!
-
Turkey Substitute: Use shredded turkey instead of chicken for a delicious twist; it’s a great way to repurpose leftovers!
-
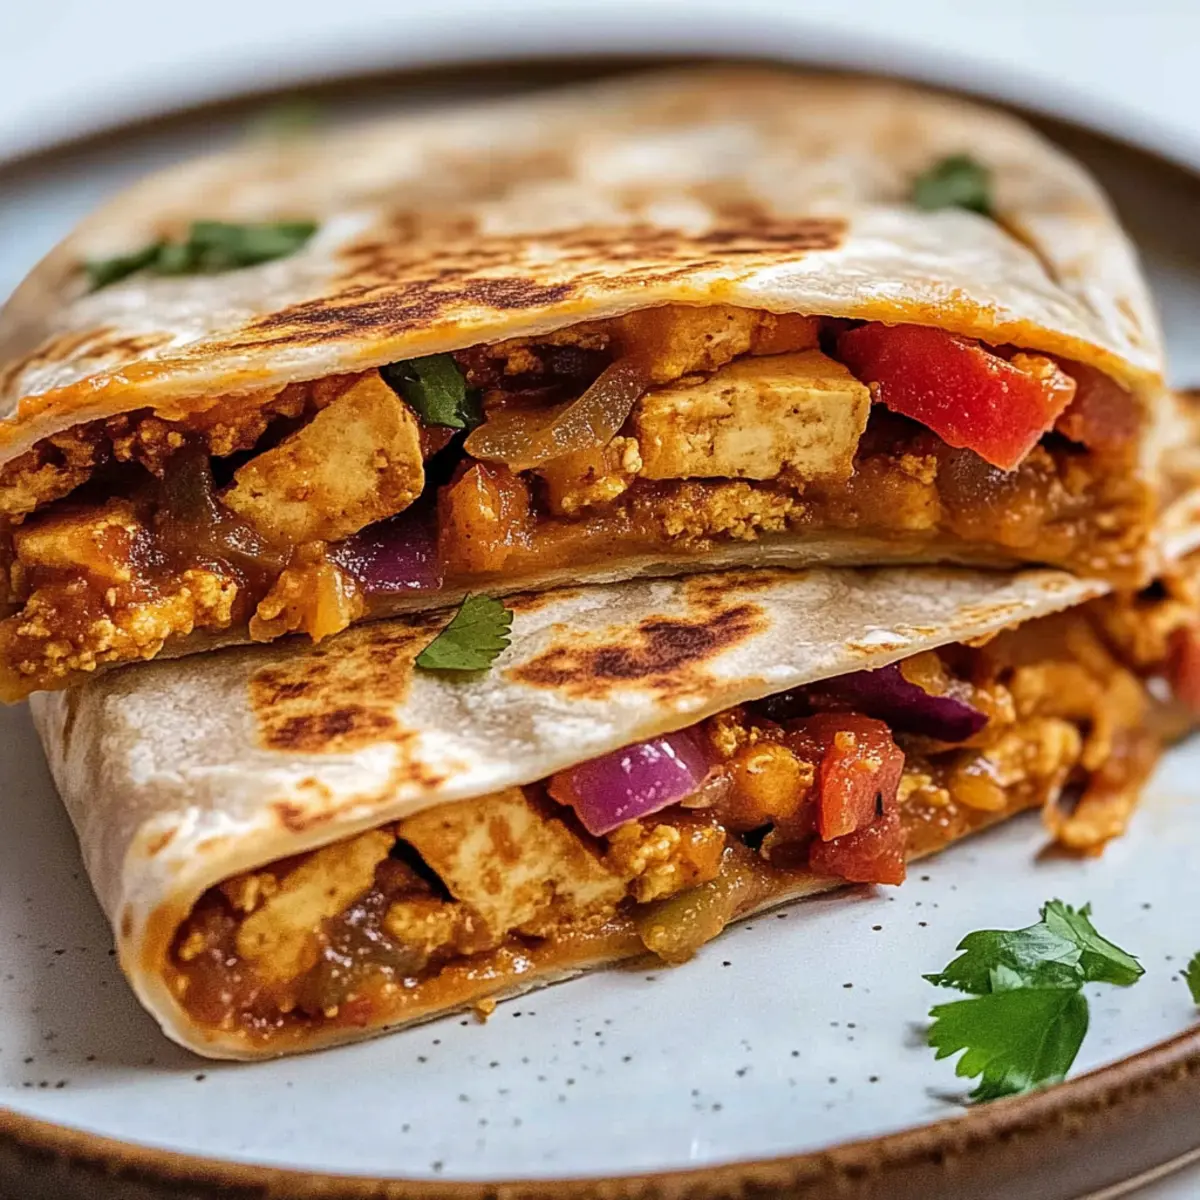
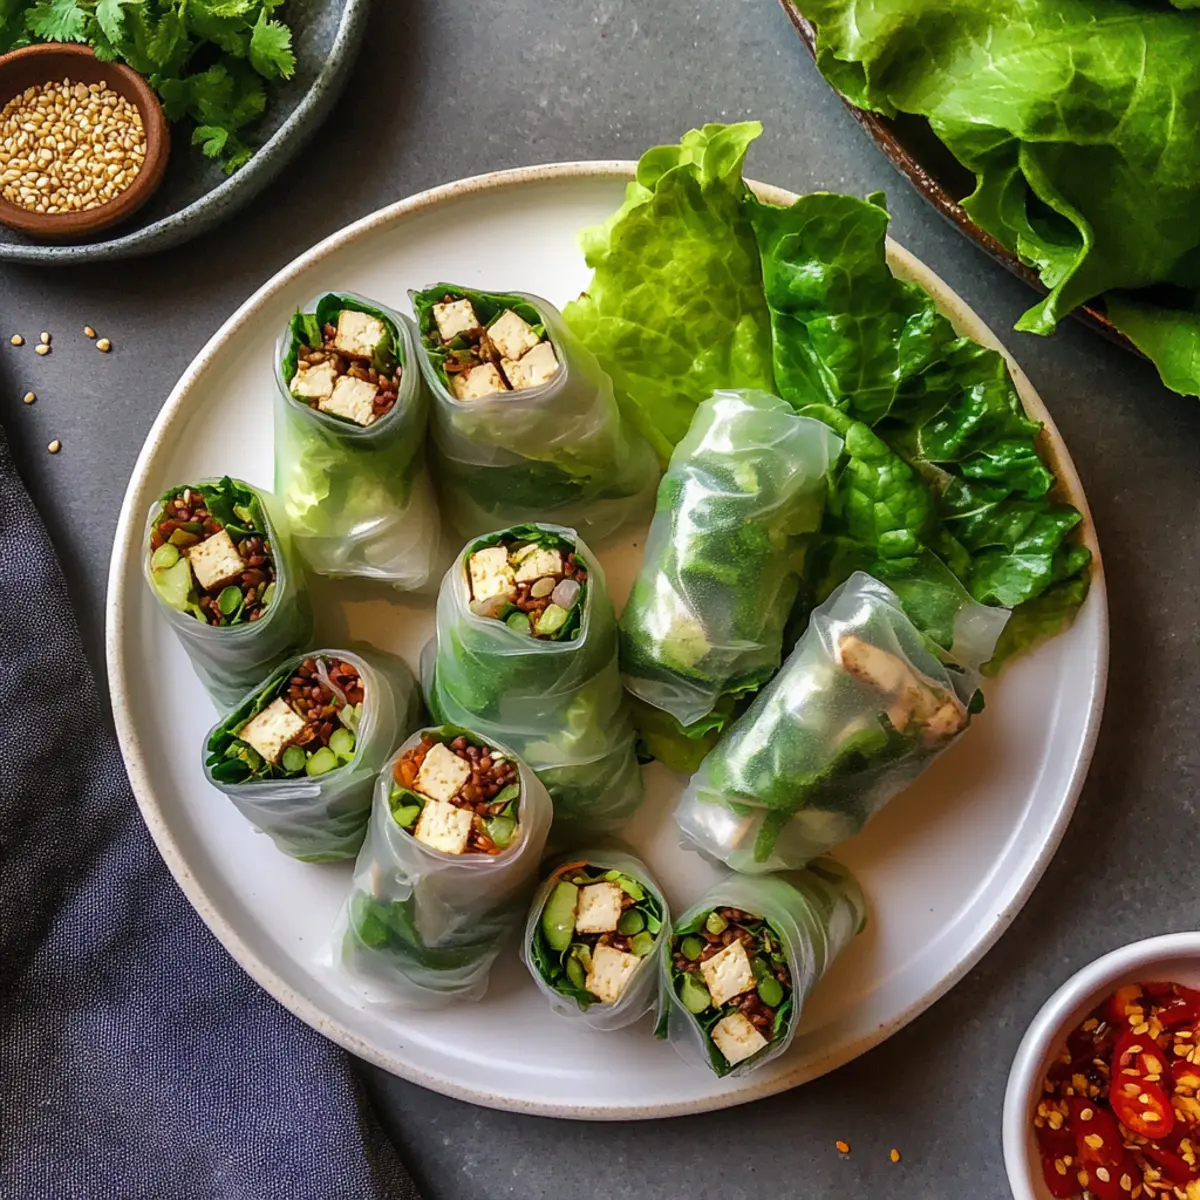
Tofu Delight: Swap in grilled or sautéed tofu for a vegetarian-friendly protein that absorbs flavors beautifully.
-
Vegetable Boost: Add sautéed bell peppers, zucchini, or diced cucumbers for extra crunch and nutrients, making every bite even more colorful.
-
Different Dressings: Try using ranch or blue cheese dressing instead of Caesar to explore new flavor profiles; each variation brings its charm!
-
Spicy Additions: For an extra kick, layer in sliced jalapeños or a drizzle of hot sauce; it packs a spicy punch that heat lovers will adore!
While experimenting, think about how textures combine. For example, the added crunch from fresh vegetables really elevates the wrap, giving it delightful layers of flavor and satisfying crunch comparable to my tangy Chicken Salad with Apples.
-
Grated Cheese Swap: Experiment with different cheeses like feta or pepper jack; their unique profiles can enhance the overall taste.
-
Whole Wheat Wraps: Opt for whole wheat or spinach tortillas for added fiber, bringing both health benefits and a slight change in flavor to your meal.
Each variation allows for customization, ensuring you can enjoy Buffalo Chicken Caesar Salad Wraps just the way you like them. Happy cooking!

Buffalo Chicken Caesar Salad Wraps Recipe FAQs
How do I choose ripe ingredients for my wraps?
Absolutely! When selecting romaine lettuce, look for crisp, dark-green leaves without any wilting. For tortillas, choose ones that are soft and pliable with no visible tears or dark spots. Fresh ingredients always elevate the flavor and texture of your Buffalo Chicken Caesar Salad Wraps!
What are the best storage methods for my wraps?
To keep your wraps fresh, store any leftovers tightly wrapped in foil or plastic wrap, and place them in the fridge. They’ll stay good for up to 3 days. Keeping them tightly sealed helps prevent drying out while you enjoy your flavorful lunch!
Can I freeze Buffalo Chicken Caesar Salad Wraps?
Very! To freeze your wraps, individually wrap each one in foil and place them in an airtight container or freezer bag. They can last up to 2 months in the freezer. When you're ready to eat, simply thaw them overnight in the fridge and give them a quick reheat in the microwave or air fryer for the best texture.
What if my wraps are too full to roll properly?
No worries! If you find your wraps overflowing, simply redistribute the filling evenly or use a larger tortilla. You can also try rolling tightly from one side, tucking in the edges as you go, which helps contain all that delicious goodness. Adjusting your portion sizes will make the assembling process easier!
Are there any dietary considerations I should keep in mind?
Yes! If you’re serving anyone with food allergies, check the dressing and sauce for common allergens like dairy and gluten. For an alternative, toss some shredded tofu or grilled veggies into the mix for a tasty vegetarian twist. Keep your friends and family well-fed and happy!
How long do these wraps last in the fridge?
These tasty wraps can be stored in the fridge for up to 3 days. However, it's best to consume them sooner rather than later to enjoy that fresh crunch of the salad and the spicy kick from the buffalo chicken. Keep them wrapped well to maintain their flavor and texture!

Buffalo Chicken Caesar Salad Wraps That Make Lunch Exciting
Ingredients
Equipment
Method
- In an air fryer, heat the cooked, diced fried chicken tenders at 400°F for 8–10 minutes until crispy and golden. Toss in buffalo sauce when hot.
- Wash and chop the romaine lettuce into bite-sized pieces. Drizzle on the Caesar dressing and mix until evenly coated.
- Lightly microwave the burrito flour tortillas for about 30 seconds to soften them.
- In the center of each tortilla, place 1 cup of the dressed romaine, spreading it lightly.
- Spoon the buffalo chicken mixture on top of the dressed romaine, spreading it evenly.
- Sprinkle a generous amount of grated Parmesan cheese over the buffalo chicken.
- Fold in the sides of each tortilla and gently roll it away from you, creating a tight seal.
- Serve the wraps immediately or wrap in foil for a quick lunch on the go.