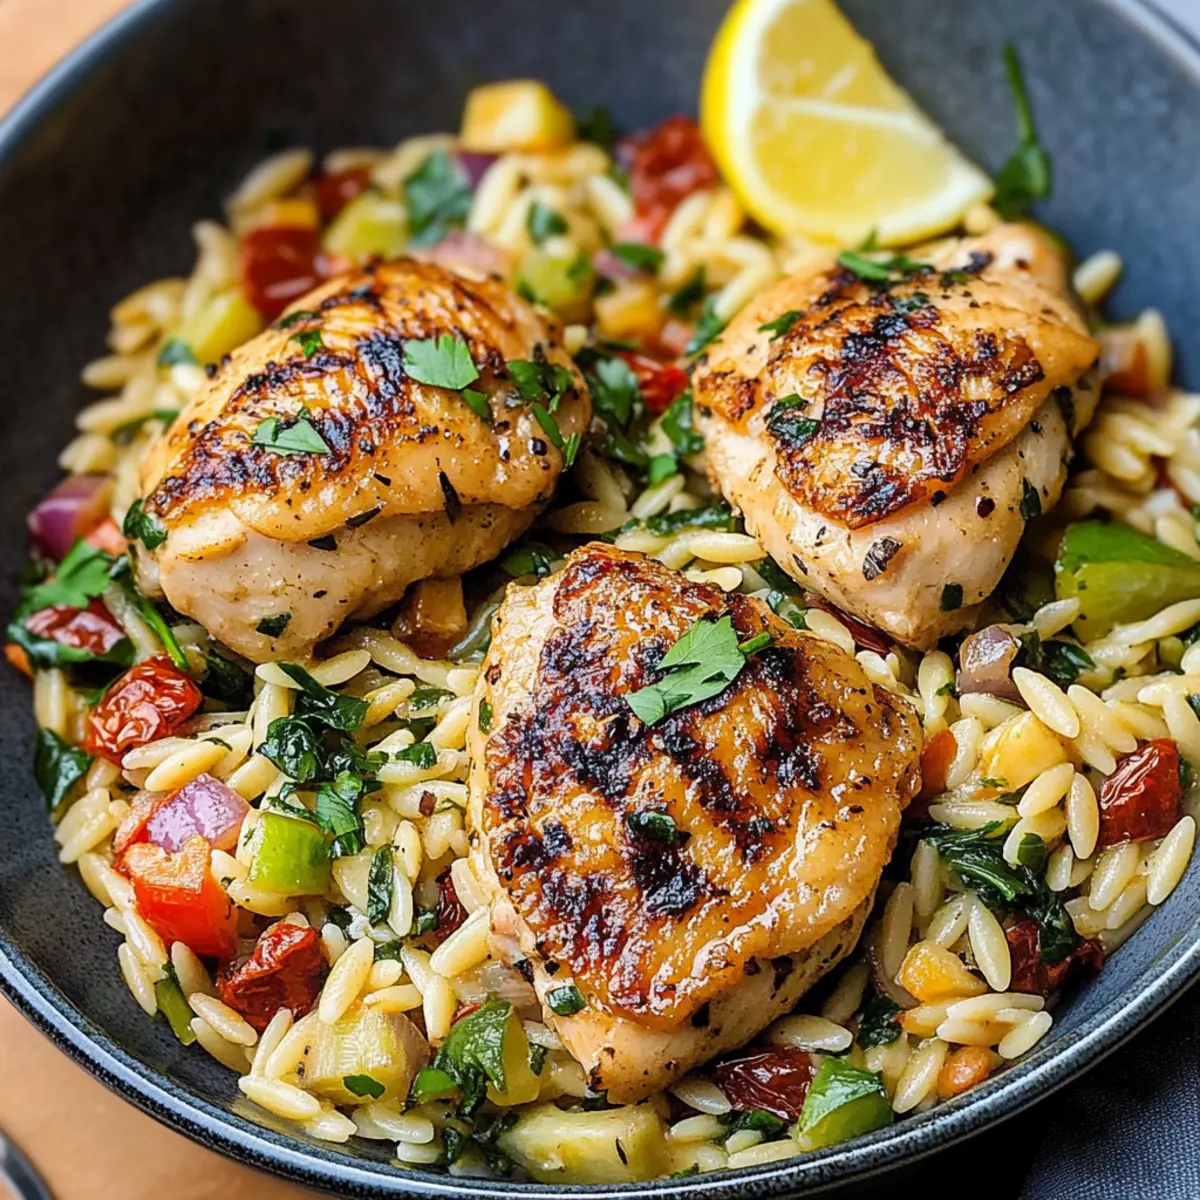
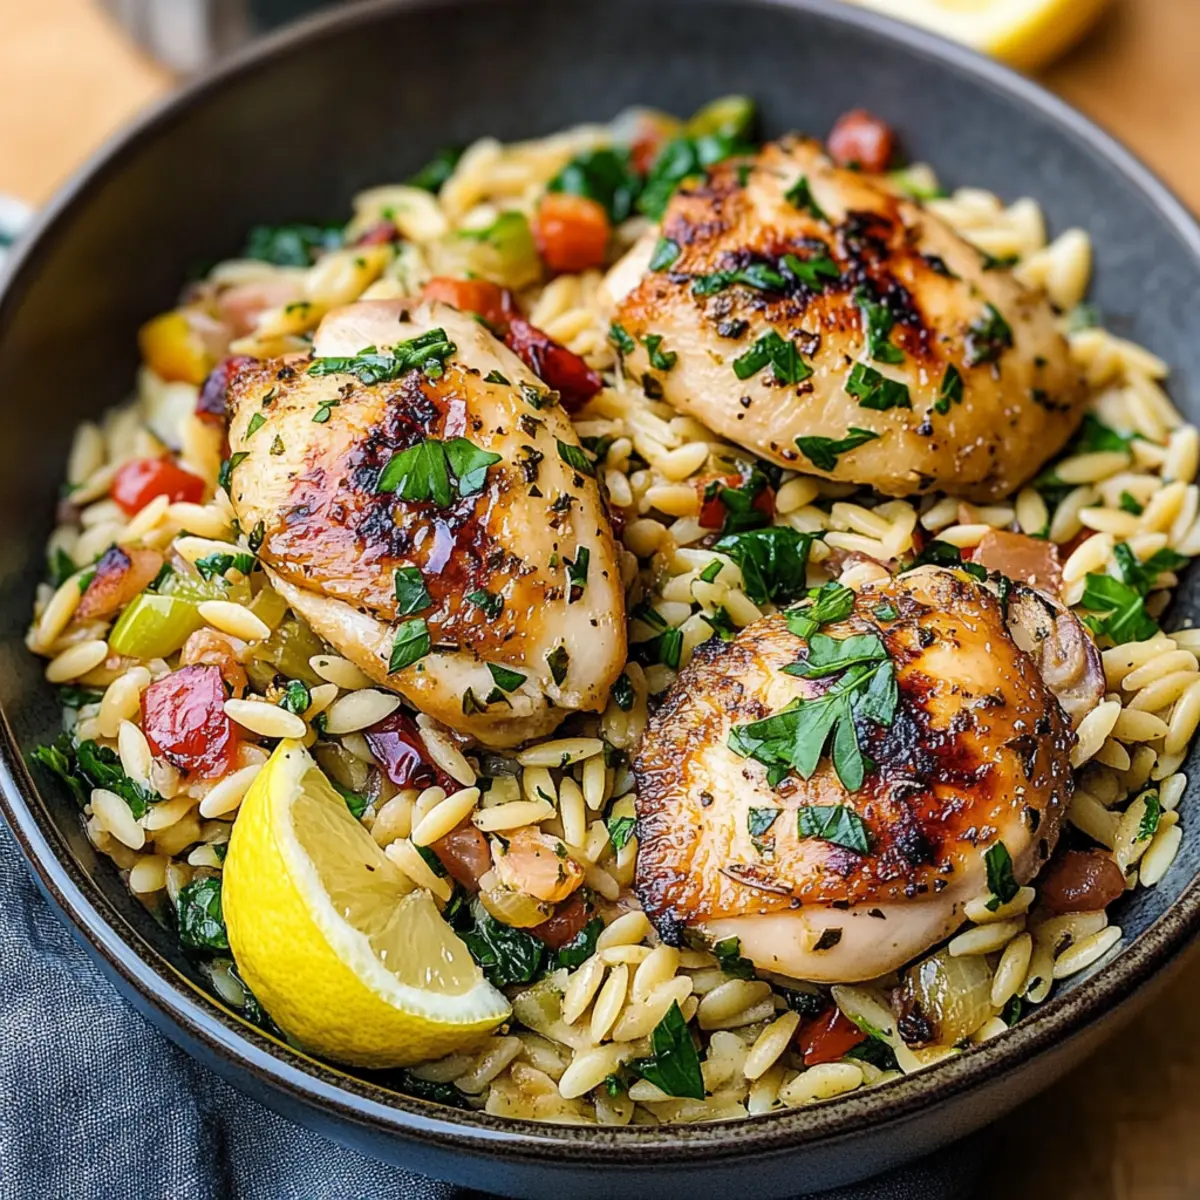
As I stood in my kitchen, the fragrant aroma of garlic and olive oil wafted through the air, instantly transporting me to the sun-kissed shores of the Mediterranean. That’s the beauty of this Flavorful Mediterranean Chicken Orzo—a delightful blend of tender chicken, hearty orzo pasta, and vibrant vegetables, bringing a taste of the coast right to your dinner table. Not only is this dish a feast for the senses, but it’s also a quick, weeknight-friendly meal that’s nourishing enough to impress your guests. With a few simple ingredients, you’ll whip up a comforting, healthy dinner that perfectly embodies the Mediterranean diet. Ready to savor a symphony of flavors? Let’s dive into this delicious recipe!
Why is Mediterranean Chicken Orzo a Must-Try?
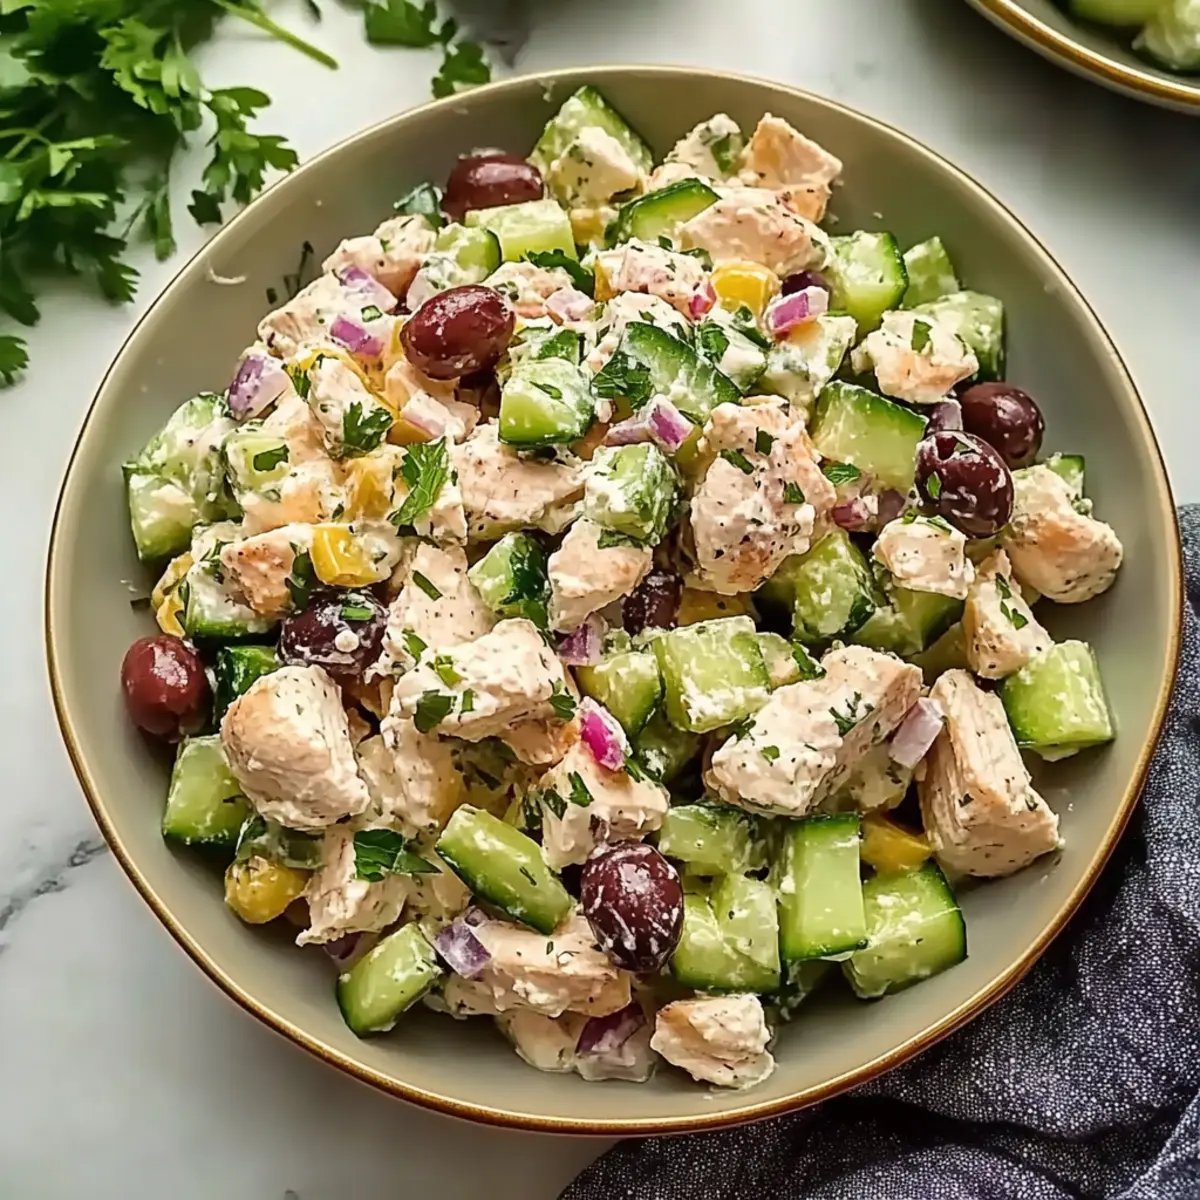
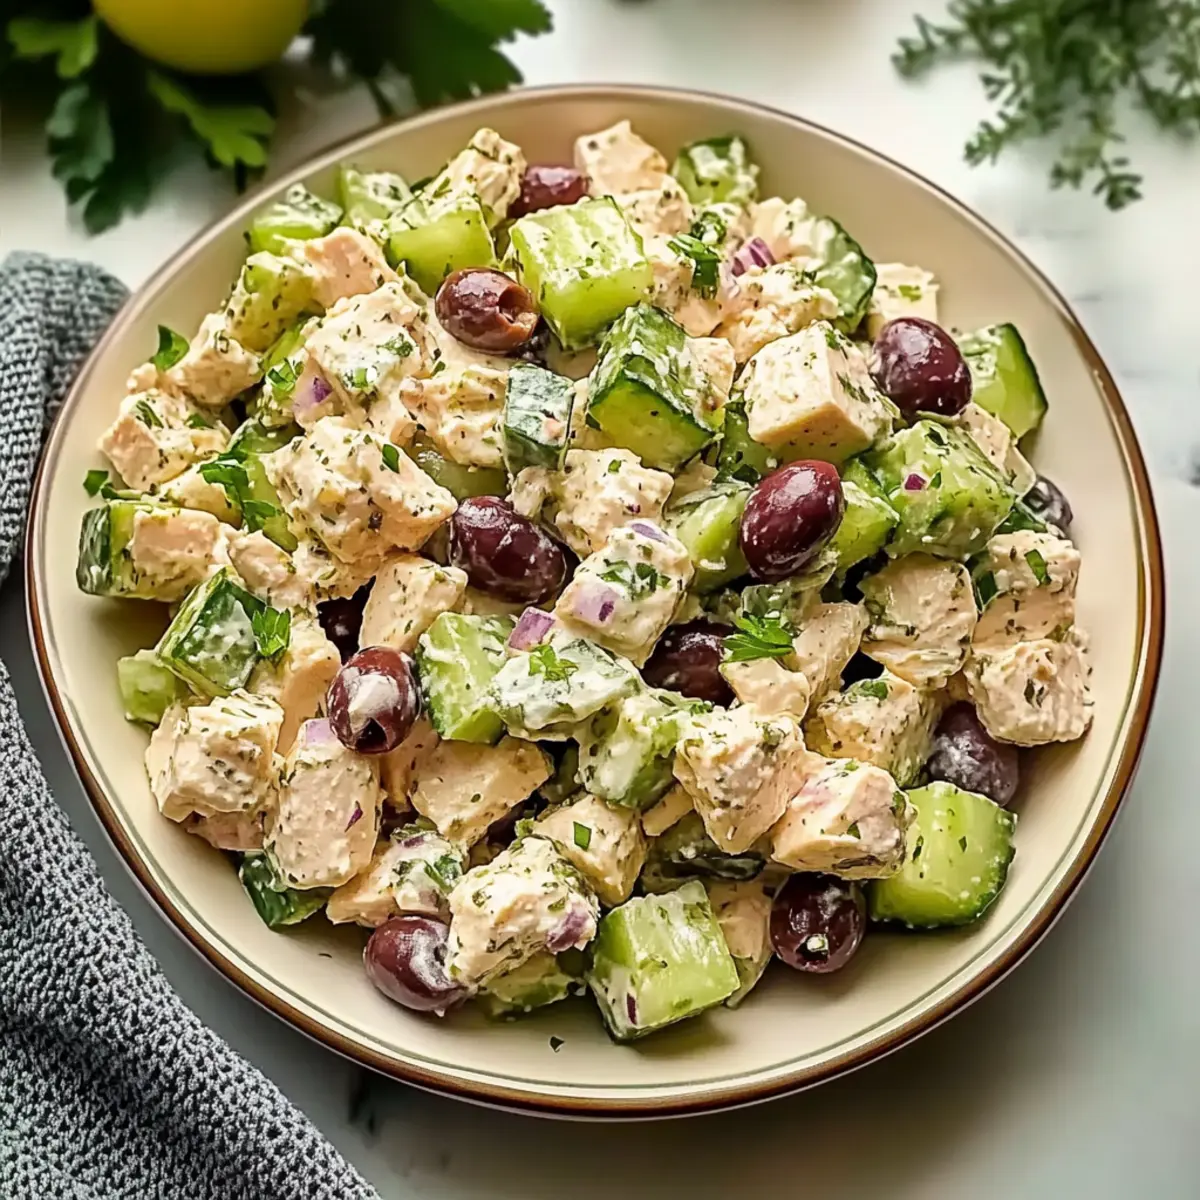
Simplicity, this recipe is a breeze to make, perfect for busy evenings when you crave a delicious, healthy meal. Flavor explosion, the vibrant combination of sun-dried tomatoes, spinach, and zesty lemon will tantalize your taste buds. Versatile, switch up orzo for brown rice or opt for gluten-free options to suit your dietary needs. Impressive presentation, serve it garnished with fresh parsley and lemon wedges for a touch of elegance. Plus, it’s a crowd-pleaser—pair it with a refreshing side like Cucumber Blueberry Feta Salad and you'll have guests raving! Dive in and experience the delightful flavors of the Mediterranean.
Flavorful Mediterranean Chicken Orzo Ingredients
Unlock the secret to this wholesome dish with these key ingredients!
For the Chicken
- Chicken Thighs – Succulent and juicy, they hold up wonderfully in this dish; substitute with chicken breasts if you prefer a leaner option.
For the Orzo Base
- Orzo Pasta – This tiny pasta adds a perfect chewy texture; you can swap it with brown rice for a different flavor and extra fiber.
For the Vegetables
- Spinach – Bursting with nutrients, it adds a delightful pop of color; feel free to replace it with kale for a more robust taste.
- Sun-Dried Tomatoes – Their tangy sweetness enhances the overall flavor; fresh tomatoes can be used in a pinch, but won't pack the same punch.
For the Zing
- Lemon Juice – The bright acidity lifts the dish; lime juice can also substitute well if needed.
For Cooking
- Olive Oil – Essential for cooking and rich in healthy fats; avocado oil is a great alternative if you want to switch things up.
For Seasoning
- Herbs (e.g., parsley, oregano) – Fresh herbs impart a fragrant flavor; dried herbs can work too if fresh isn’t available.
Now that you have everything you need, let’s get ready to create a deliciously Flavorful Mediterranean Chicken Orzo that’s sure to impress!
Step‑by‑Step Instructions for Flavorful Mediterranean Chicken Orzo
Step 1: Heat the Oil and Cook the Chicken
In a large skillet, heat 2 tablespoons of olive oil over medium-high heat until shimmering. Add the chicken thighs, seasoned with salt and pepper, and cook for 5–7 minutes on each side, or until they’re beautifully golden brown and cooked through. Ensure an internal temperature of 165°F for safe consumption. Transfer the chicken to a plate and let it rest while you prepare the vegetables.
Step 2: Sauté the Vegetables
In the same skillet, add another splash of olive oil, if needed, and bring the heat to medium. Toss in the chopped sun-dried tomatoes and fresh spinach, sautéing for 3–4 minutes until the spinach wilts and the tomatoes soften. Stir frequently to combine all the flavors, ensuring that nothing sticks to the bottom of the pan while the vibrant colors come alive.
Step 3: Add the Orzo
Once the spinach is wilted, it’s time to bring in the orzo! Add 2 cups of cooked orzo pasta into the skillet, mixing it with the sautéed vegetables. Cook for 2–3 minutes, stirring well to combine all the ingredients. The orzo should soak up the delightful flavors from the vegetables while staying soft and al dente, creating a hearty base for your Flavorful Mediterranean Chicken Orzo.
Step 4: Combine Everything Together
Squeeze in the juice of one lemon, infusing the dish with that zesty brightness. Next, return the chicken thighs to the skillet, nesting them on top of the orzo. Gently toss everything together, allowing the lemon juice to coat the ingredients and accentuating the Mediterranean flavors. Cook for an additional 2 minutes until everything is heated through and aromatic.
Step 5: Serve and Garnish
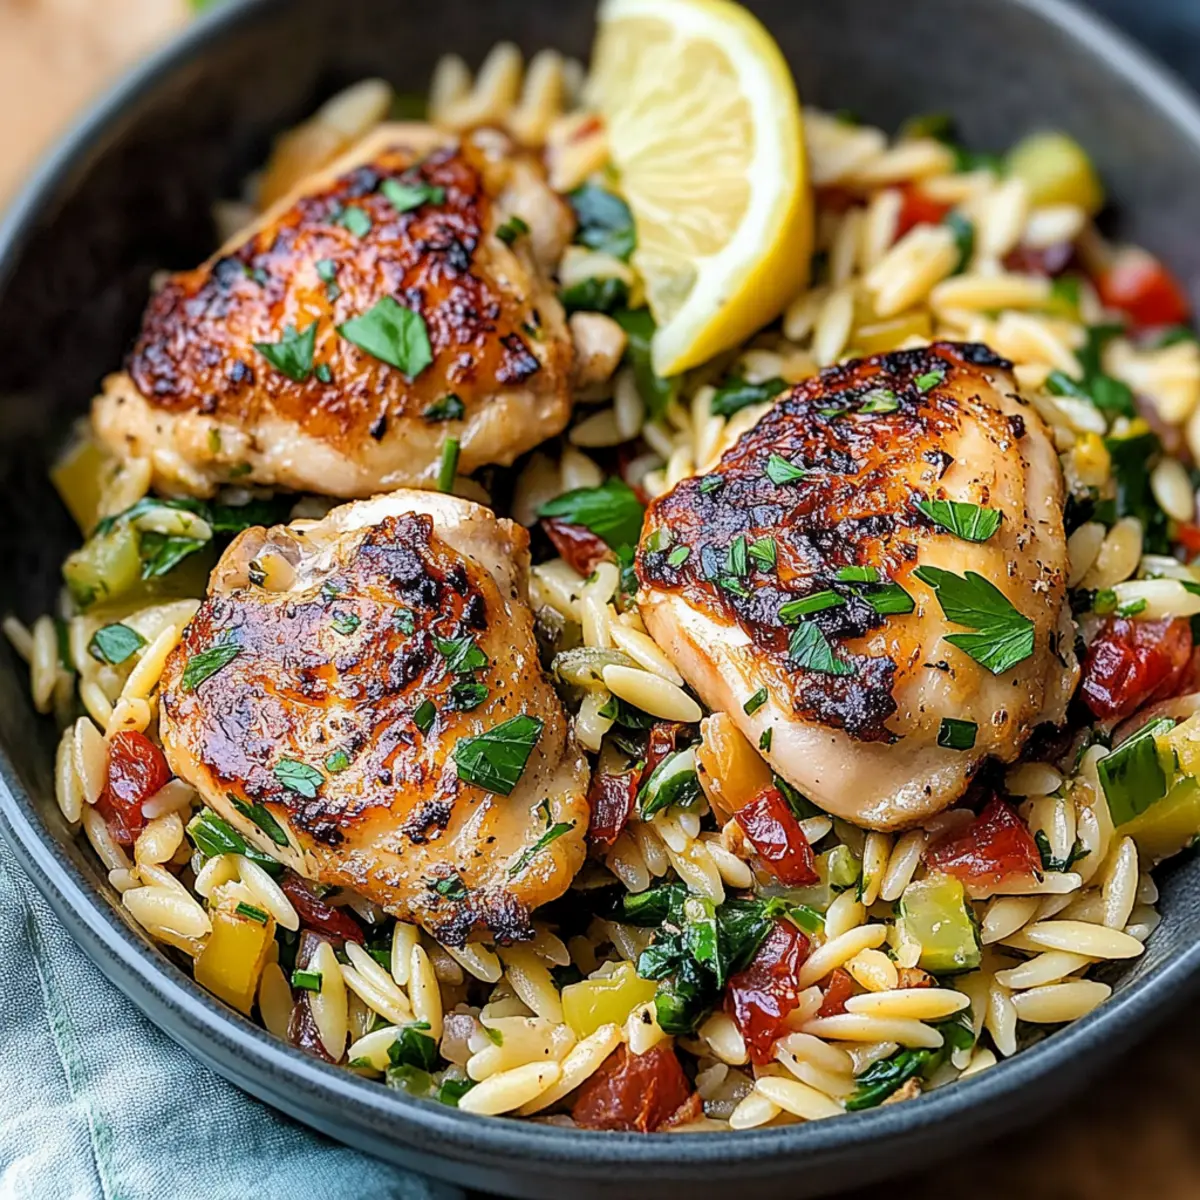
Scoop the flavorful chicken and orzo mixture onto a shallow platter for an impressive presentation. Garnish with freshly chopped parsley and a few lemon wedges for a burst of color and flavor. This final touch not only elevates your dish's appearance but adds freshness, making your Flavorful Mediterranean Chicken Orzo a feast for both the eyes and the palate!
Expert Tips for Flavorful Mediterranean Chicken Orzo
-
Perfect Chicken Texture: Ensure chicken thighs are cooked until golden brown and reach an internal temperature of 165°F for juiciness without dryness.
-
Swap Wisely: If using brown rice instead of orzo for a gluten-free version, increase cooking time slightly and soak rice beforehand to enhance texture.
-
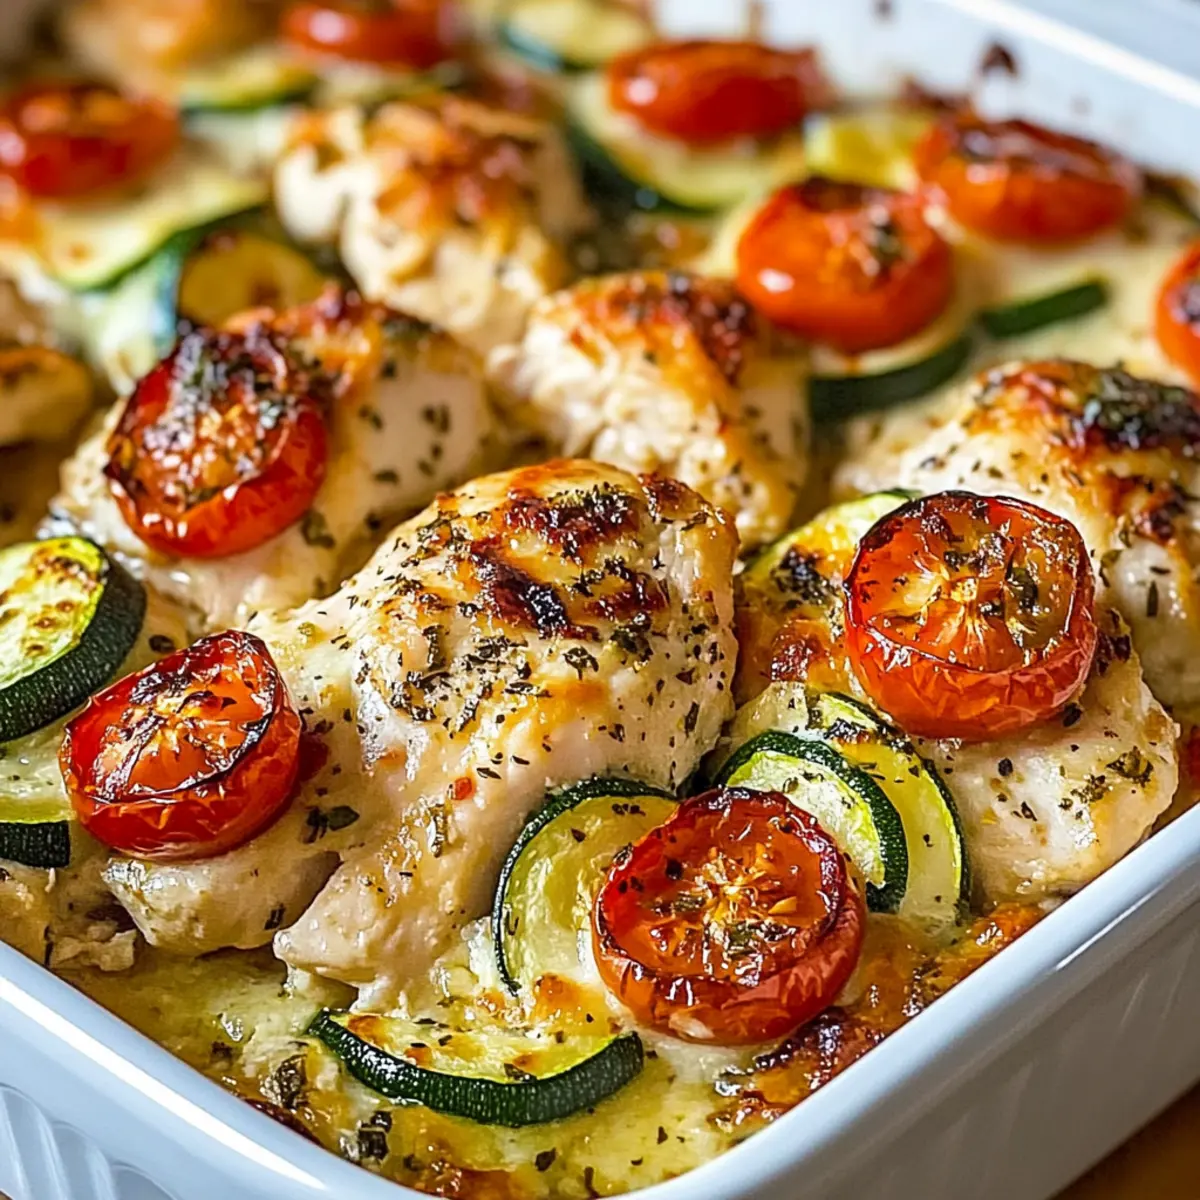
Veggie Power: Customize by adding bell peppers or zucchini along with spinach for extra nutrients and variety. Just sauté them until tender.
-
Freshness Matters: Use fresh herbs whenever possible for that vibrant flavor; dried herbs can work but won't match the freshness of parsley or oregano.
-
Mind the Leftovers: Store any extra in an airtight container for up to 3 days, adding a splash of broth when reheating to keep the dish from drying out.
-
Limit Oil Splash: When sautéing, add oil incrementally to control oiliness; start with a small amount and only add more as needed for flavor.
How to Store and Freeze Flavorful Mediterranean Chicken Orzo
Fridge: Store leftovers in an airtight container for up to 3 days to maintain freshness. Reheating is best done gently on the stove or in the microwave with a splash of broth to prevent drying out.
Freezer: For longer storage, freeze portions in airtight containers for up to 2 months. To reheat, thaw in the fridge overnight and warm on the stove, adding a bit of broth or water to enhance moisture.
Make-Ahead: Prepare the orzo and vegetables in advance, storing them separately in the fridge for up to 2 days before serving. Combine just before enjoying to keep everything fresh.
Serving Tip: When reheating, consider garnishing with fresh parsley and a squeeze of lemon for an instant flavor boost!
Flavorful Mediterranean Chicken Orzo Variations
Feel free to get creative and make this dish uniquely yours with these tantalizing twists!
- Gluten-Free: Use gluten-free orzo for a delicious option that keeps the flavors intact without the gluten.
- Extra Veggies: Toss in bell peppers or zucchini for an enhanced nutrient profile and extra color.
- Spicy Kick: Add a pinch of red pepper flakes to the sauté for a delightful hint of heat that awakens the taste buds.
- Herb Swap: Replace parsley with fresh basil or mint for a refreshing change that still delivers delightful Mediterranean notes.
- Citrus Twist: Substitute lime juice in place of lemon for a different yet vibrant citrus flavor that brightens up the dish.
- Savory Add-In: Mix in crumbled feta before serving for a tangy flavor boost that complements the dish beautifully.
- Protein Switch: Swap chicken for shrimp or chickpeas for a new texture and flavor experience that’s equally satisfying.
- Creamy Delight: Stir in a dollop of Greek yogurt before serving for a creamy element that balances the zesty toppings.
If you’re in the mood for more Mediterranean flavors, why not try serving this dish alongside a refreshing cucumber blueberry feta salad? Or perhaps incorporate some zesty Chipotle Lime Chicken for a bit of variation. Эехplore ways to make this recipe truly your own!
Make Ahead Options
These Flavorful Mediterranean Chicken Orzo are perfect for busy home cooks looking to save time during the week! You can prepare the chicken and sauté the vegetables up to 24 hours in advance, storing them separately in airtight containers in the refrigerator to maintain quality. The cooked orzo can also be stored with a splash of olive oil to prevent sticking. When you're ready to enjoy your meal, simply reheat the chicken and vegetables in a pan, add the orzo, and finish with lemon juice. This method keeps your dish just as delicious and fresh while offering you a delightful dinner with minimal effort!
What to Serve with Flavorful Mediterranean Chicken Orzo
Enhance your dining experience with delightful sides and drinks that perfectly complement this nourishing dish.
-
Warm Pita Bread: Soft and pillowy, pita is perfect for scooping up orzo and adds a comforting touch.
-
Cucumber Blueberry Feta Salad: This refreshing salad offers a crisp contrast with crunchy cucumbers and sweet blueberries, balancing the orzo's richness beautifully.
-
Tzatziki Sauce: Creamy and herby, this yogurt-based sauce brings a cool element that pairs wonderfully alongside the warm, flavorful orzo.
-
Roasted Vegetables: A medley of bell peppers, zucchini, and eggplant adds earthy sweetness and vibrant colors that emphasize the Mediterranean theme.
-
Hummus: Smooth and flavorful, hummus serves as an excellent spread, inviting you to enjoy the dish with added zest and creaminess.
-
Lemonade or Iced Tea: Quench your thirst with refreshing lemonade or iced tea, both brightening your palate after every bite of the savory orzo.
Flavorful Mediterranean Chicken Orzo Recipe FAQs
How do I choose ripe ingredients for Mediterranean Chicken Orzo?
Absolutely! When selecting your chicken thighs, you want them to feel firm and springy, with no discoloration. For spinach, look for vibrant green leaves without any dark spots or wilting, while sun-dried tomatoes should appear plump and aromatic. Fresh lemons should feel heavy for their size, indicating juiciness.
What is the best way to store leftovers?
The more the merrier! To store your Flavorful Mediterranean Chicken Orzo properly, transfer it to an airtight container and refrigerate for up to 3 days. Just remember to reheat gently on the stovetop or in the microwave, adding a splash of broth if it seems a little dry. This helps in retaining that delightful flavor!
Can I freeze Mediterranean Chicken Orzo?
Definitely! If you want to save some for later, divide your chicken orzo into individual portions and place them in airtight containers. It can be frozen for up to 2 months. To reheat, thaw in the fridge overnight and warm it gently on the stove with a bit of broth or water to maintain moisture.
What are some common troubleshooting tips for Mediterranean Chicken Orzo?
Very! If you find your orzo is sticky or clumpy, it might be due to overcooking or not rinsing your pasta after boiling. For the best texture, cook it al dente and toss it with a little olive oil. If your dish lacks flavor, consider adding more fresh herbs or a pinch of salt at the end, as this can really elevate the overall taste!
Are there any dietary considerations I should be aware of?
Absolutely! This dish can easily be made gluten-free by using gluten-free orzo or swapping the orzo for brown rice. If you have any allergies, make sure to check that the sun-dried tomatoes don’t contain additives and use fresh herbs that are safe for your dietary needs. Always consult with your physician if you're unsure about any ingredients!
How can I modify the ingredients for a healthier twist?
Certainly! For a lighter dish, consider using skinless chicken breasts instead of thighs as they have less fat. You can also increase the vegetable content by adding bell peppers or zucchini to the sauté. If you're looking for extra fiber, using brown rice instead of orzo not only adds a nutritional boost, but also offers a different texture.

Deliciously Flavorful Mediterranean Chicken Orzo for Dinner
Ingredients
Equipment
Method
- Heat olive oil in a large skillet over medium-high heat. Cook chicken thighs seasoned with salt and pepper until golden brown.
- Add sun-dried tomatoes and spinach to the skillet and sauté until the spinach wilts.
- Stir in cooked orzo pasta with the vegetables and mix well.
- Squeeze lemon juice and return chicken to the skillet. Toss everything together and cook for an additional 2 minutes.
- Serve the chicken and orzo mixture garnished with parsley and lemon wedges.