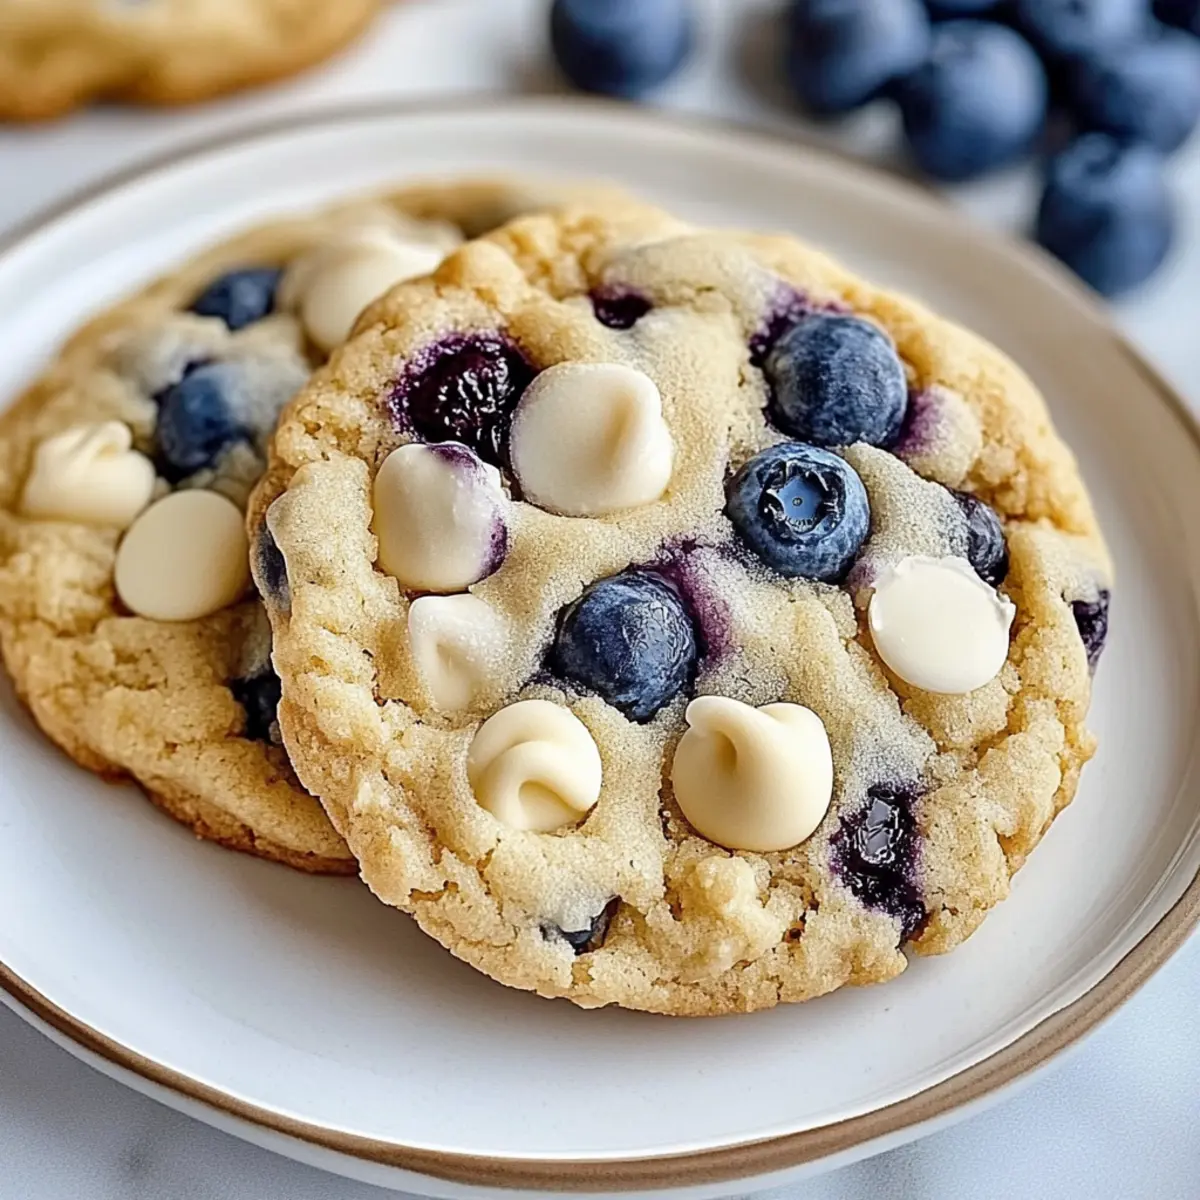
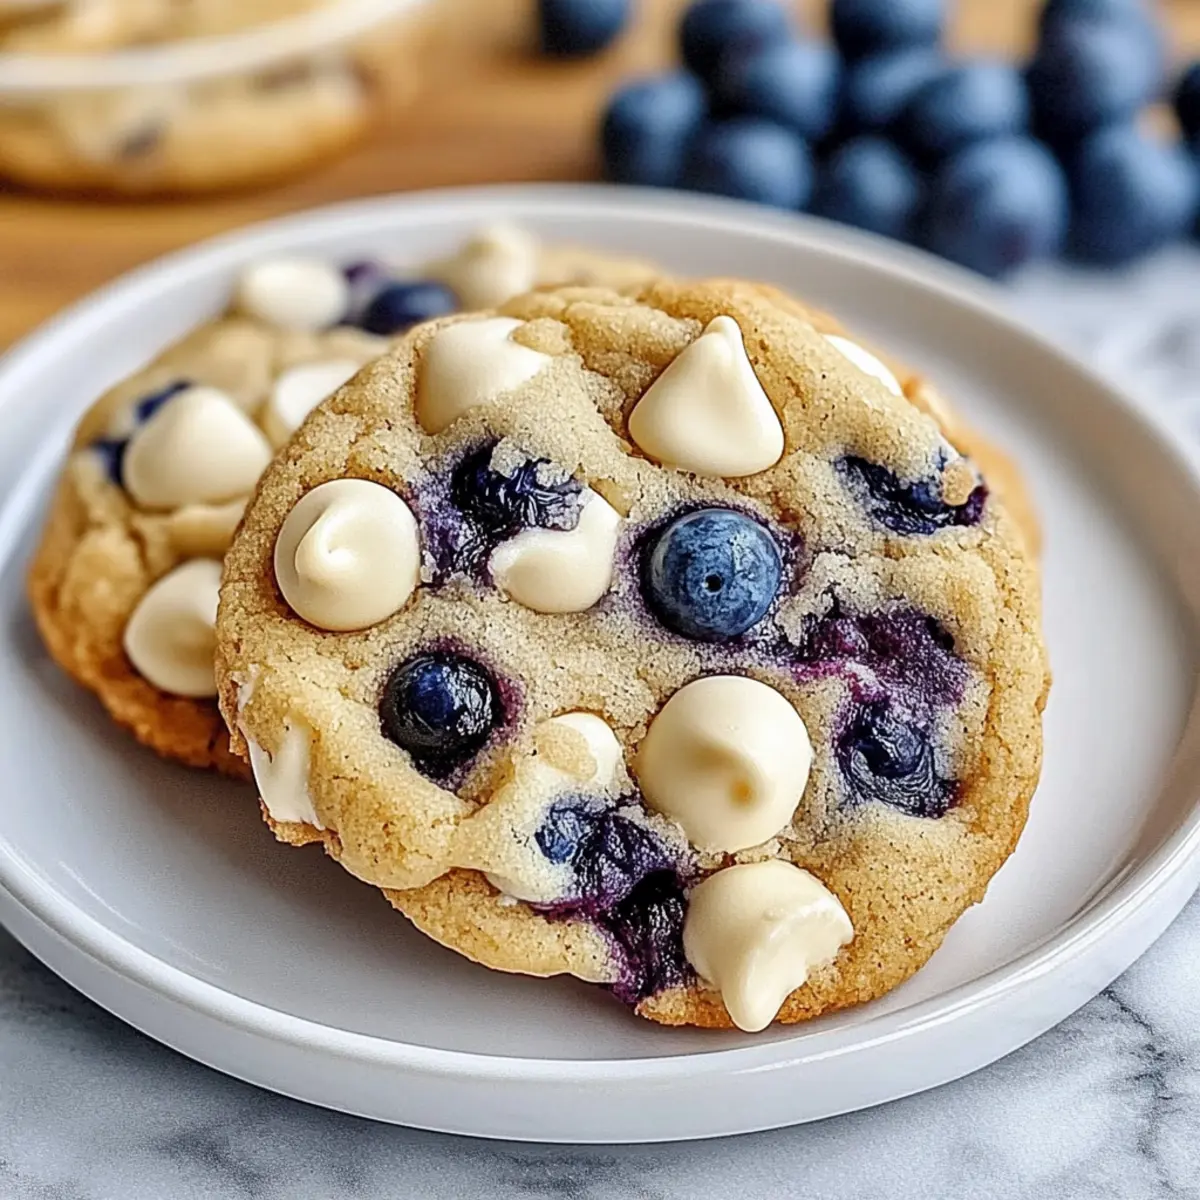
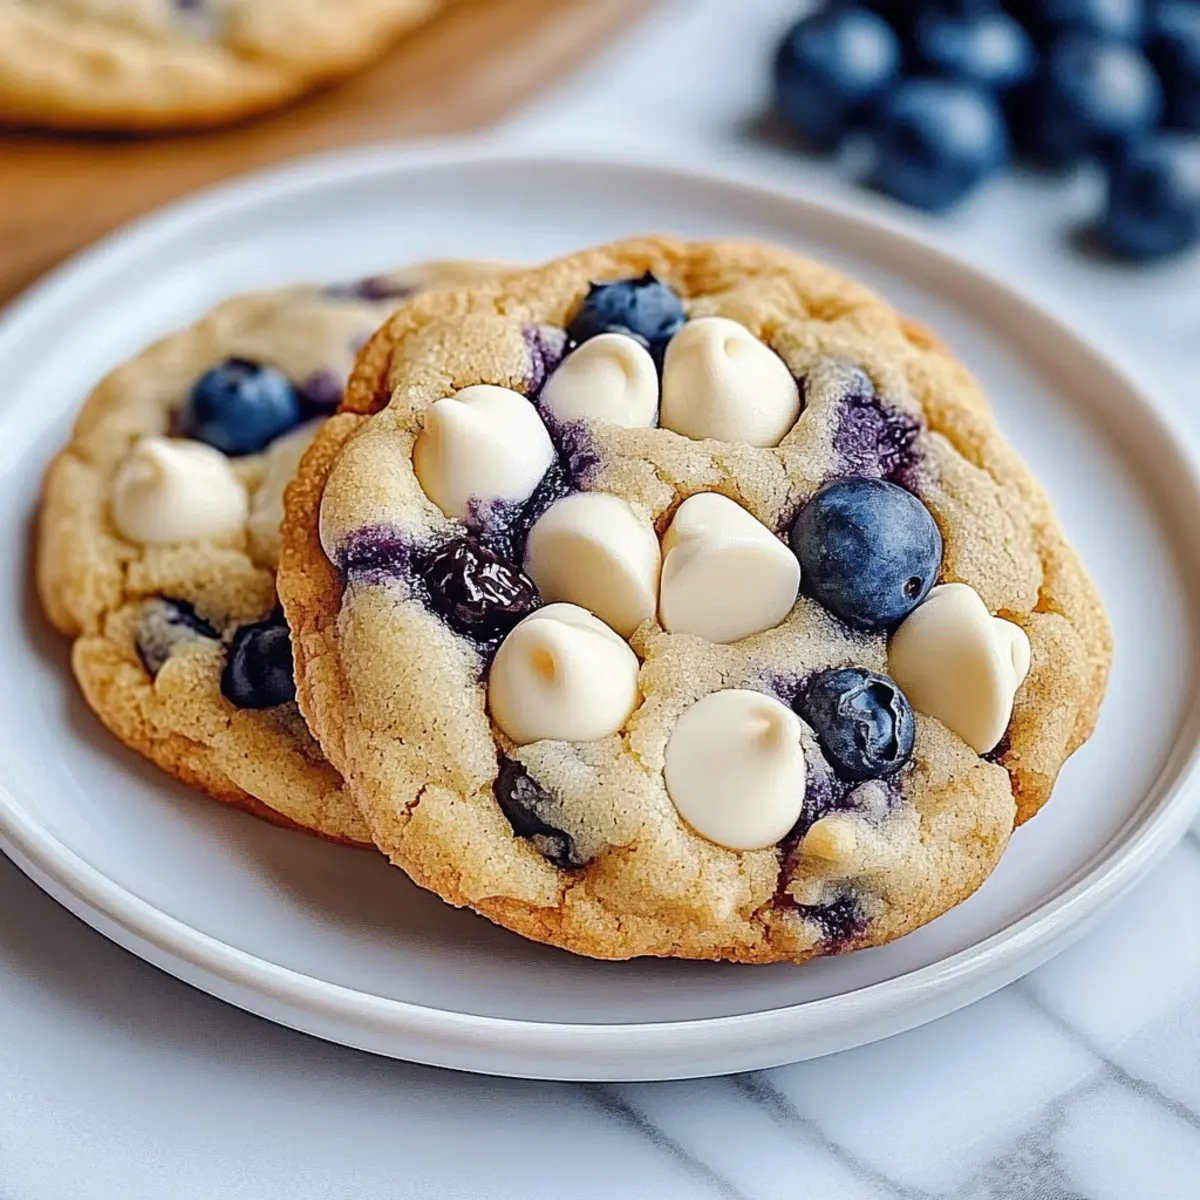
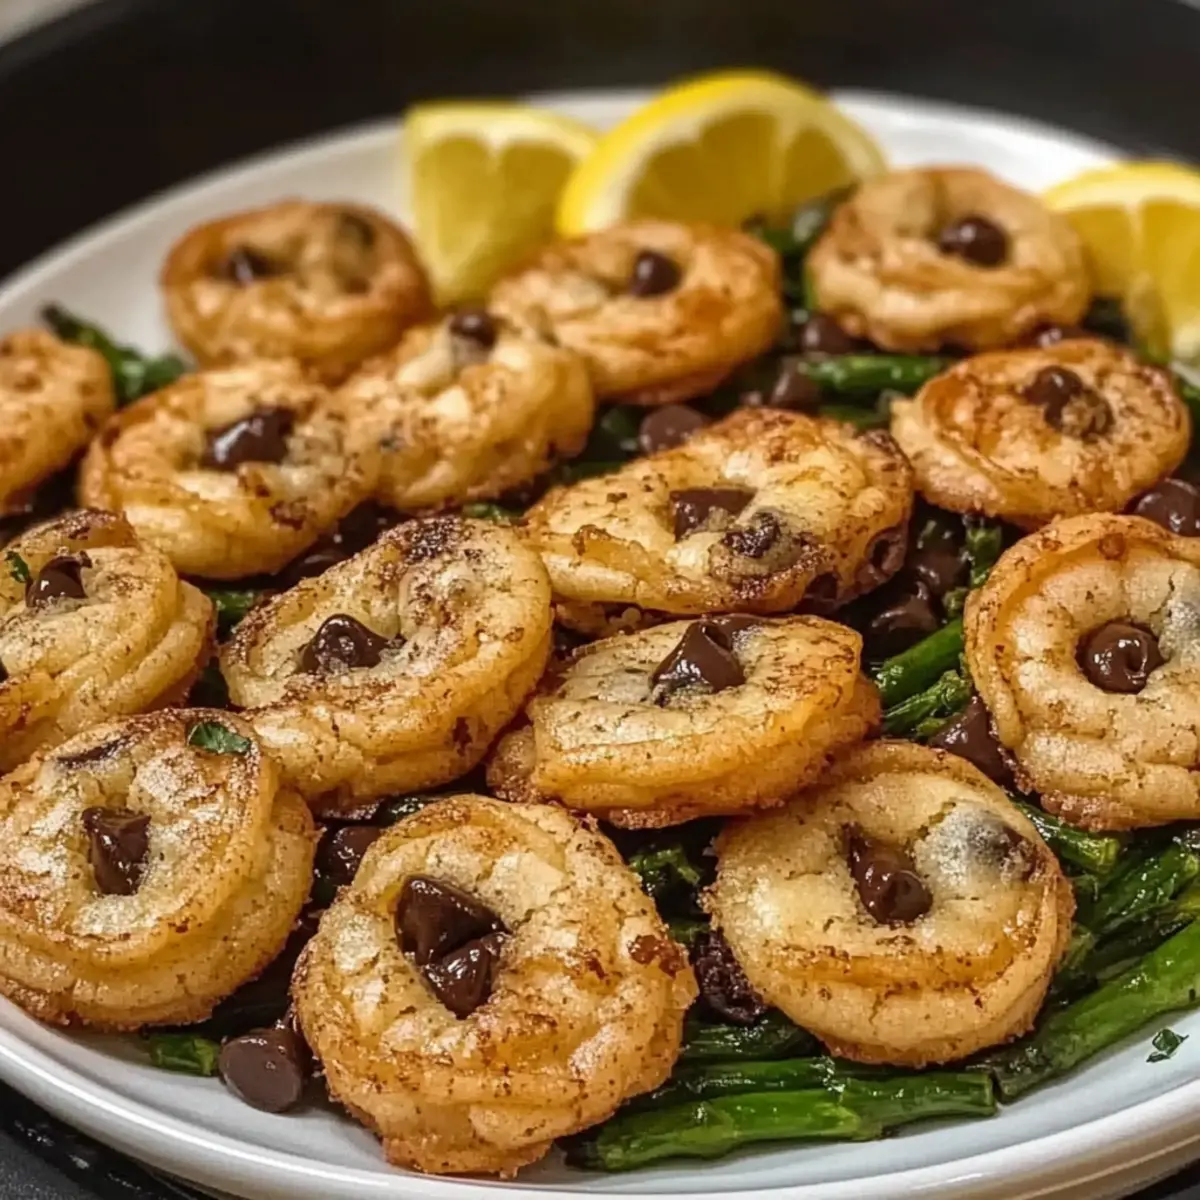
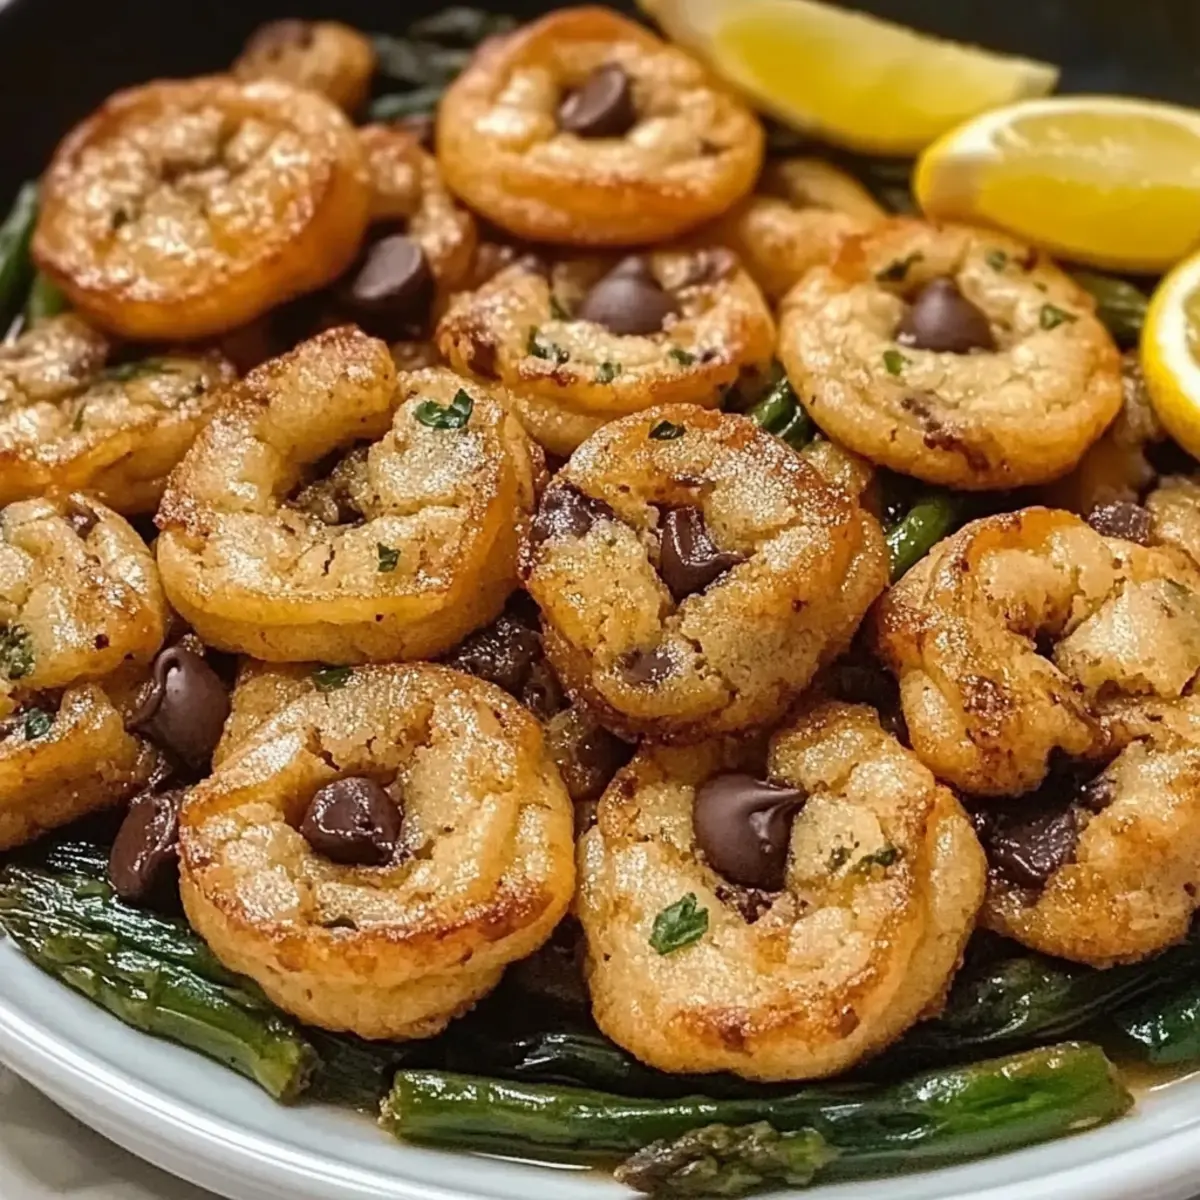
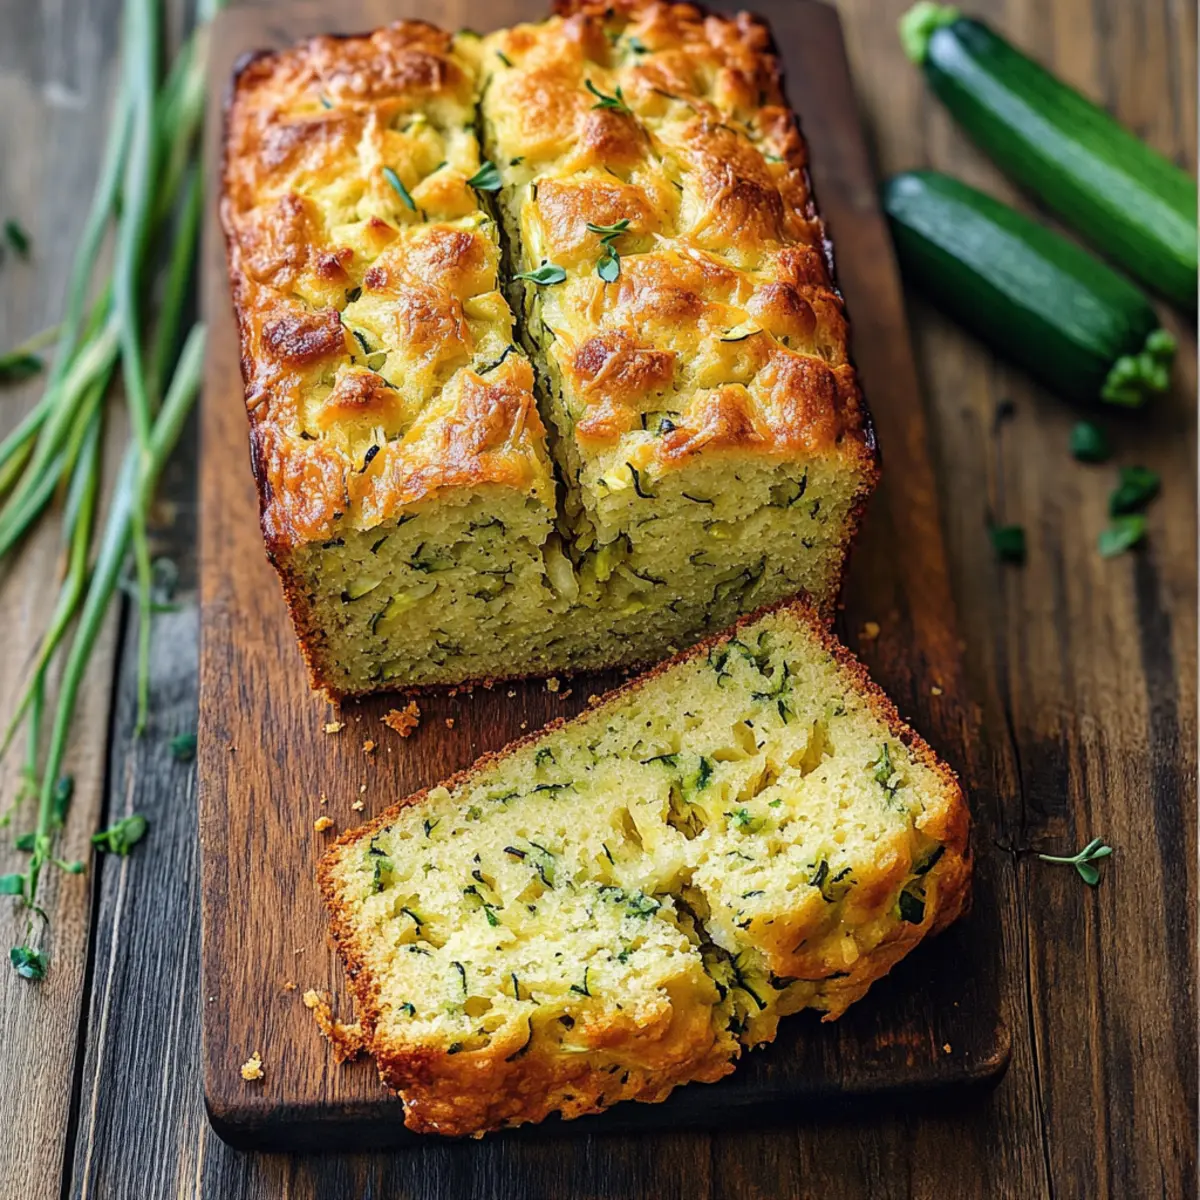
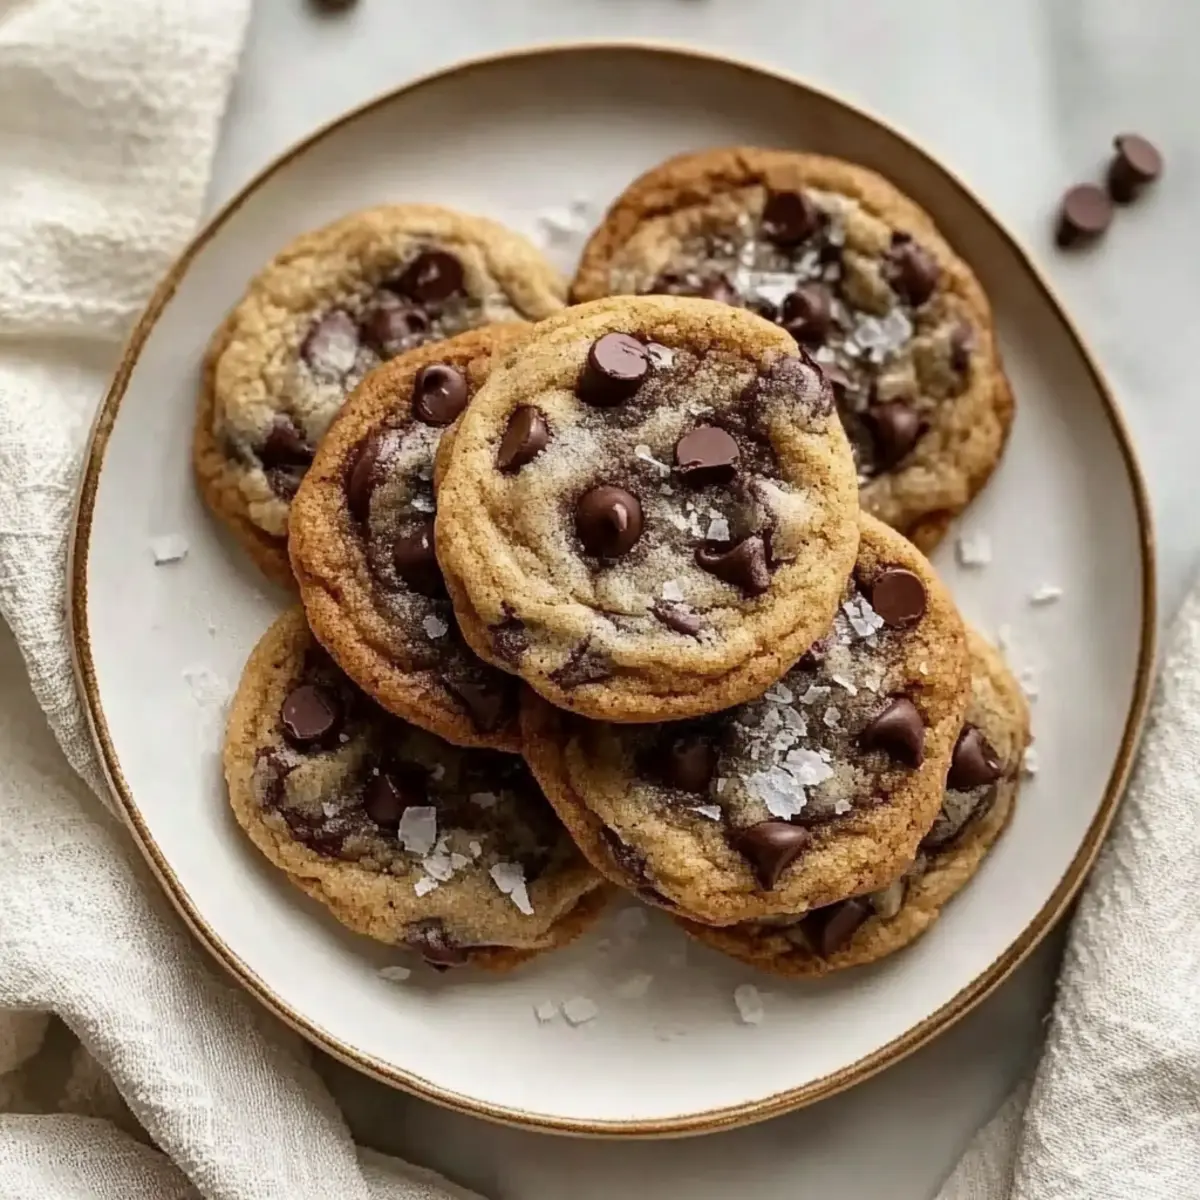
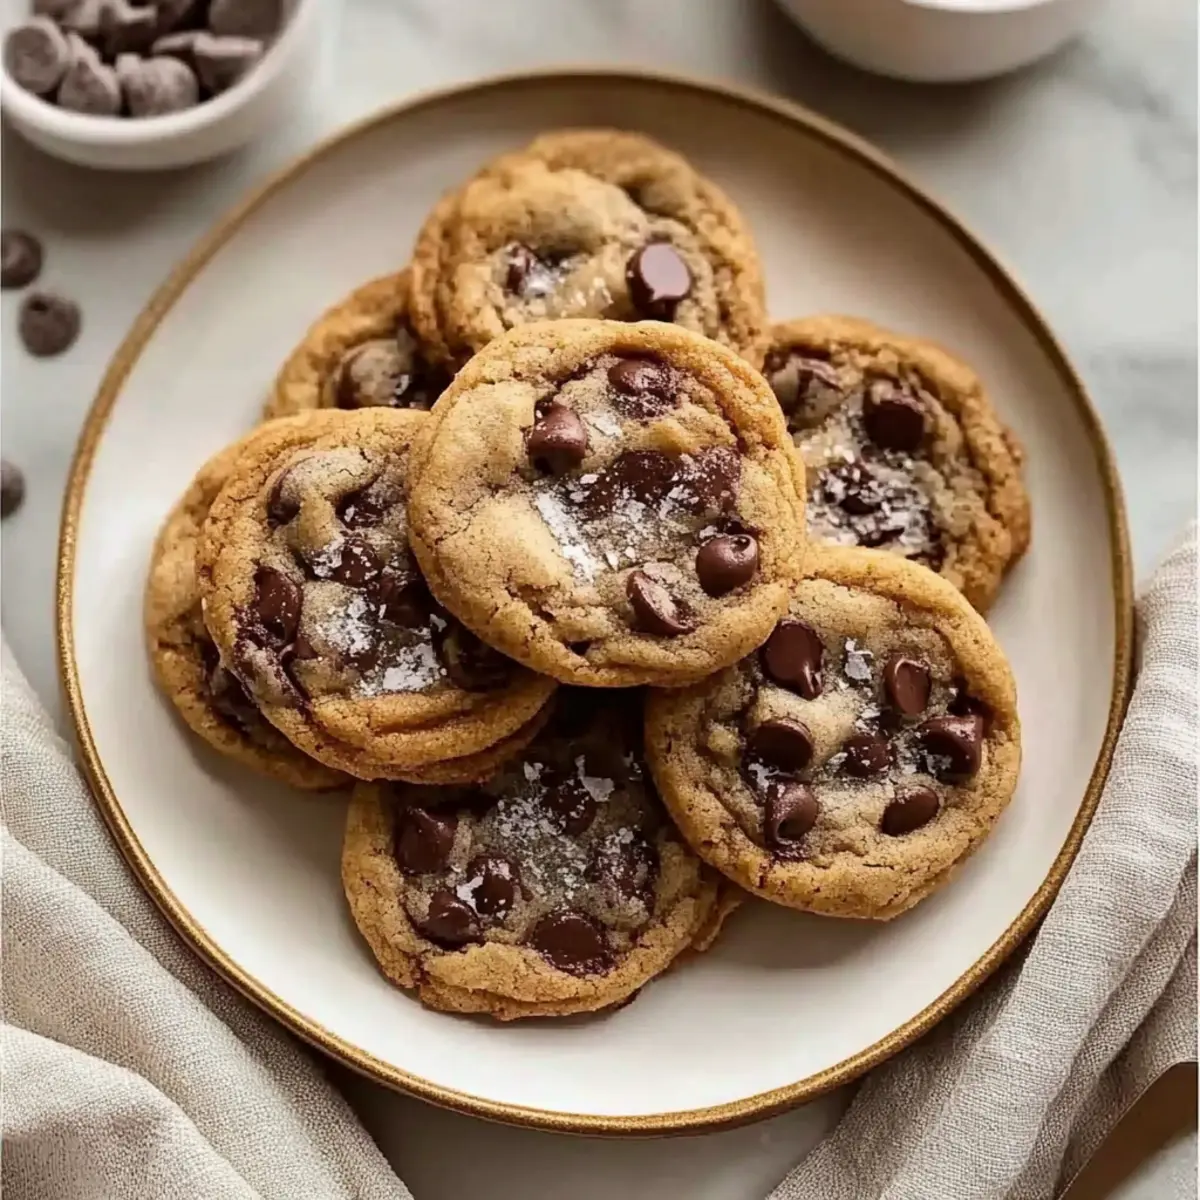
It was one of those mornings when I opened the pantry and spotted a bunch of overripe bananas looking back at me, begging for attention. Instead of letting them languish into smoothie fodder, I decided to whip up a batch of Classic Banana Bread Chocolate Chip Cookies that would transform them into a comforting treat. These delightful cookies merge the beloved flavors of banana bread with gooey chocolate chips, and the best part? They come together in just 30 minutes! Quick and easy to make, they not only satisfy your sweet tooth but also make use of those neglected bananas, turning potential waste into a delicious snack. Whether you're prepping for an afternoon pick-me-up or hoping to impress friends, these cookies are perfect for any occasion. Curious how to bring this delightful blend to life in your kitchen? Let's dive into the recipe!

Why are these cookies irresistible?
Quick, delightful treat: Whipping up these Banana Bread Chocolate Chip Cookies takes just 30 minutes, making them an easy go-to for satisfying sweet cravings.
Perfect for overripe bananas: Transform those neglected bananas into a tasty snack that’s guaranteed to impress your family and friends.
Rich, comforting flavors: The combination of banana and chocolate creates a flavor profile that you’ll crave over and over again!
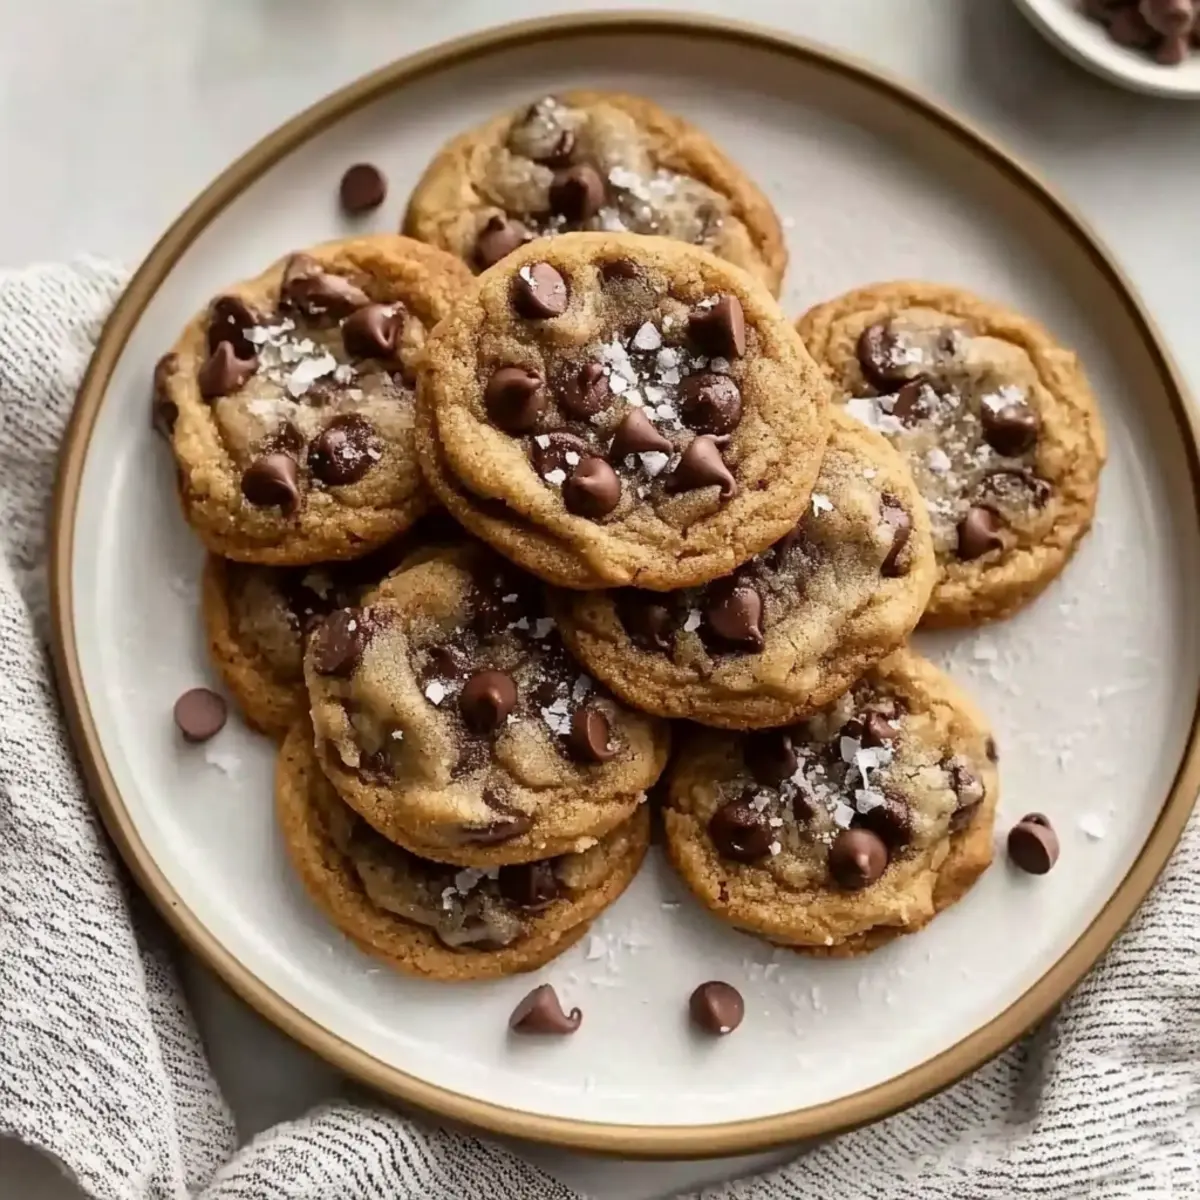
Chewy texture: Enjoy the delightful contrast of a chewy center and crispy edges, reminiscent of traditional banana bread but in cookie form.
Versatile snacking: Whether paired with a glass of milk or enjoyed as a quick breakfast alongside yogurt and fruit, these cookies fit right in anytime.
Banana Bread Chocolate Chip Cookies Ingredients
Get ready to make a delightful treat!
For the Cookie Dough
- Bananas – Ripe, well-speckled bananas add the sweetest flavor for the best cookies.
- Vegetable Oil – Ensures moist cookies; you can swap this for melted butter if desired.
- Brown Sugar – Adds sweetness and keeps cookies moist—choose C&H for consistency.
- Egg Yolk – Acts as a binding agent, enriching without making the cookies too cake-like.
- Vanilla Extract – Enhances the overall flavor; always go for pure vanilla for the best results.
- All-Purpose Flour – Provides structure and bulk; King Arthur brand is a great option for reliable outcomes.
- Baking Soda – Leavening agent; ensure it's fresh for optimal rise.
- Cinnamon & Nutmeg – These spices bring warmth and depth; adjust to your taste for extra flavor.
- Salt – Balances sweetness and enhances all the flavors in the cookies.
- Chocolate Chips – Semi-sweet chocolate brings delightful pockets of sweetness, Ghirardelli is recommended for a richer taste.
Optional Add-ins
- Chopped Nuts – Adding walnuts or pecans gives a lovely crunch to your cookies.
- Applesauce – For a lower-fat alternative, replace half the oil with unsweetened applesauce.
- Dark or White Chocolate Chips – Experiment with different chocolate types for unique flavor profiles in these Banana Bread Chocolate Chip Cookies!
Step‑by‑Step Instructions for Banana Bread Chocolate Chip Cookies
Step 1: Preheat Oven
Begin by preheating your oven to 350°F (175°C). This ensures that the Banana Bread Chocolate Chip Cookies bake evenly, achieving that perfect chewy texture. While the oven heats up, line a baking sheet with parchment paper to prevent sticking and make for easy clean-up later on.
Step 2: Combine Dry Ingredients
In a medium bowl, whisk together the all-purpose flour, baking soda, cinnamon, nutmeg, and salt until well combined. This step is crucial as it evenly distributes the leavening agents and spices, enhancing the overall flavor of your cookies. Set this mixture aside while you prepare the wet ingredients.
Step 3: Mash Bananas
In a large mixing bowl, take your ripe bananas and mash them with a fork until mostly smooth, leaving some lumps for texture. This should take about 1-2 minutes. The natural sweetness from the bananas is key for your Banana Bread Chocolate Chip Cookies, so choose well-speckled ones for the best flavor.
Step 4: Mix in Oil and Sugar
Add the vegetable oil and brown sugar to the mashed bananas, mixing vigorously with a whisk for about 2 minutes. The mixture should become fluffy and well-blended, creating a rich base for your cookies. This step is essential in ensuring your cookies remain moist and flavorful.
Step 5: Incorporate Egg Yolk and Vanilla
Next, stir in the egg yolk and vanilla extract, mixing until fully combined. This will enrich the batter and enhance the aroma of your Banana Bread Chocolate Chip Cookies. You want the batter to be smooth and well-integrated, setting a solid foundation for your cookie dough.
Step 6: Fold in Dry Ingredients
Gradually fold the dry ingredient mixture into the banana batter using a spatula. Be careful not to overmix; you want to combine everything until just incorporated, resulting in a soft and tender dough. Overmixing can lead to tougher cookies, so work gently here.
Step 7: Add Chocolate Chips
Gently fold in the semi-sweet chocolate chips to the dough until they are evenly distributed. These delicious chunks will melt slightly while baking, adding pockets of sweetness to your Banana Bread Chocolate Chip Cookies. Make sure every scoop of dough has some chocolate goodness.
Step 8: Let Dough Rest
Allow the dough to rest for about 15 minutes. This hydration period prevents the cookies from spreading too much while baking and helps them achieve a perfectly chewy texture. During this time, you can tidy up your workspace and enjoy the sweet smell of the batter.
Step 9: Scoop onto Baking Sheet
Using a cookie scoop or tablespoon, portion out golf ball-sized amounts of dough onto the prepared baking sheet, spacing them about 2 inches apart. This gives them room to spread and ensures that each cookie bakes evenly, resulting in those delectable, chunky Banana Bread Chocolate Chip Cookies.
Step 10: Bake the Cookies
Place the baking sheet in the preheated oven and bake for 10-11 minutes. Look for the edges to be set while the centers appear slightly underdone; they will continue to firm up out of the oven. This way, you retain that delightful chewiness every time you indulge.
Step 11: Cool on Baking Sheet
After baking, allow the cookies to cool on the baking sheet for 5 minutes. This resting period is important as it lets them firm up, making it easier to transfer them. Afterward, use a spatula to carefully transfer the cookies to a wire rack to cool completely.
Expert Tips for Banana Bread Chocolate Chip Cookies
-
Use Ripe Bananas: Ensure your bananas are very ripe with lots of brown spots for maximum sweetness and easy mashing. Underripe bananas can result in less flavorful cookies.
-
Don't Overmix: Mix your dough gently when combining wet and dry ingredients. Overmixing can lead to tough cookies instead of the soft, chewy texture you desire.
-
Fresh Baking Soda: Always check that your baking soda is fresh before using. Old baking soda won't provide the proper rise, affecting the overall texture of your Banana Bread Chocolate Chip Cookies.
-
Monitor Baking Time: Keep a close eye on baking time; cookies should be slightly underdone in the center. They will continue to cook from residual heat on the baking sheet, ensuring they remain soft and chewy.
-
Rest the Dough: Allow the cookie dough to rest for 15 minutes before scooping. This hydration period helps prevent excessive spreading during baking, yielding thicker cookies.
Make Ahead Options
These Banana Bread Chocolate Chip Cookies are perfect for meal prep and make life easier on those busy weeknights! You can prepare the cookie dough up to 24 hours in advance. Just mix the ingredients up to the resting step, then cover the bowl tightly with plastic wrap and refrigerate. This allows the flavors to meld beautifully. When you're ready to bake, scoop the dough onto a baking sheet and bake straight from the fridge, adding a minute to the baking time to ensure they are cooked perfectly. For longer storage, you can also freeze the dough balls individually for up to 3 months. Just remember to let them thaw at room temperature for about 15 minutes before baking to get that amazing chewy texture in your Banana Bread Chocolate Chip Cookies!
What to Serve with Classic Banana Bread Chocolate Chip Cookies
These cookies are a delicious starting point for a delightful gathering or cozy family night.
- Glass of Milk: A classic pairing that enhances the cookies' sweetness and complements the chocolate beautifully.
- Fresh Fruit Salad: A vibrant mix of seasonal fruits adds a refreshing crunch, balancing the rich flavors of the cookies.
- Yogurt Parfait: Layer creamy yogurt with granola and sliced bananas for a wholesome treat that echoes the banana flavor.
- Coffee or Espresso: The bold notes of coffee play off the sweetness, offering an energizing kick alongside your cookies.
- Ice Cream Scoop: Top cookies with a scoop of vanilla ice cream for an indulgent dessert that will satisfy any sweet craving.
- Nutty Granola: Sprinkle some nutty granola over yogurt or simply enjoy it on its own for an extra crunch with similar flavor notes.
- Chocolate Milkshake: For those who can't get enough chocolate, a creamy milkshake creates a delicious double dose of indulgence.
- Chia Seed Pudding: This trendy dessert provides a nutritious and creamy counterpoint to the chewy cookies, keeping things light yet satisfying.
How to Store and Freeze Banana Bread Chocolate Chip Cookies
Airtight Container: Store cookies in an airtight container at room temperature for up to 5 days. This ensures they remain fresh and chewy for your snacking delight.
Freezer: For extended storage, freeze the cookies for up to 3 months. Place parchment paper between layers to avoid sticking.
Thawing: To enjoy frozen cookies, thaw at room temperature for a few hours. Alternatively, bake frozen dough balls directly, adding 1-2 minutes to the baking time for the perfect treat.
Reheating: If you prefer your cookies warm, pop them in the microwave for 10-15 seconds to bring back that gooey chocolate goodness.
Banana Bread Chocolate Chip Cookies Variations
Get ready to discover how to personalize these cookies and make them your own!
- Lower-Fat Option: Substitute half of the oil with unsweetened applesauce for a healthier twist without sacrificing flavor.
- Nutty Crunch: Mix in chopped nuts like walnuts or pecans for a delightful crunch. The added texture complements the soft, chewy cookie beautifully.
- Chocolate Variations: Swap semi-sweet chocolate chips for dark or white chocolate to explore new flavor realms. Each type enhances the cookie in its unique way!
- Spiced Up: Add a dash of ground ginger or cloves for an extra layer of warmth. Your kitchen will be filled with a comforting aroma!
- Peanut Butter Twist: Fold in a few tablespoons of creamy peanut butter for a rich and nutty flavor that pairs wonderfully with bananas.
- Sea Salt Finish: Sprinkle a pinch of flaky sea salt on top before baking for a sweet-salty finish. It's a small touch that elevates the cookie experience!
- Coconut Love: Mix in shredded coconut for a tropical vibe. The coconut pairs surprisingly well with chocolate and banana for a fun flavor combo.
- Chili Kick: For the adventurous, incorporate a pinch of cayenne pepper to add a subtle heat that beautifully contrasts the sweet chocolate.
Don't forget to pair these cookies with a glass of milk or a scoop of vanilla ice cream—much like our delicious Eggnog Cookies Soft or indulge in the rich flavors found in German Chocolate Poke for a sweet feast!
Banana Bread Chocolate Chip Cookies Recipe FAQs
What type of bananas should I use for this recipe?
Absolutely! For the best Banana Bread Chocolate Chip Cookies, use very ripe bananas with plenty of brown spots. These bananas are sweeter and easier to mash, giving your cookies that rich banana flavor. Underripe bananas may lead to less flavor and sweetness in your cookies.
How should I store these cookies?
Very simple! Store your Banana Bread Chocolate Chip Cookies in an airtight container at room temperature for up to 5 days. This helps keep them fresh and chewy, perfect for snacking. If you want to keep them longer, you can freeze the cookies for up to 3 months.
Can I freeze the cookie dough?
Yes, you can! To freeze banana bread chocolate chip cookie dough, portion it into golf ball-sized amounts and place them on a baking sheet to freeze until solid. Then, transfer the dough balls to a freezer-safe bag, placing parchment paper between layers to prevent sticking. These frozen cookie balls can be baked straight from the freezer—just add an extra minute or two to the baking time for delicious cookies anytime!
What if my cookies spread too much while baking?
Don’t worry, it can happen to the best of us! If your cookies spread too much, check a few things. First, ensure your butter or oil measurement is accurate. Too much can lead to excess spreading. Also, resting the dough for 15 minutes helps with thickness, as does checking the freshness of your baking soda, which is crucial for proper rise.
Can I make these cookies gluten-free?
Absolutely! To make gluten-free Banana Bread Chocolate Chip Cookies, simply substitute all-purpose flour with a 1:1 gluten-free flour blend. I recommend brands like Bob’s Red Mill or King Arthur. Keep in mind that the texture might change slightly, but you’ll still get those delicious banana and chocolate flavors!
Are these cookies safe for dogs?
Actually, it’s best to avoid giving Banana Bread Chocolate Chip Cookies to dogs due to the chocolate and sugar content, which can be harmful to them. If your furry friend is looking for a treat, consider making a dog-friendly cookie recipe instead!
Decadent Banana Bread Chocolate Chip Cookies in 30 Minutes
Ingredients
Equipment
Method
- Preheat your oven to 350°F (175°C). Line a baking sheet with parchment paper.
- In a medium bowl, whisk together flour, baking soda, cinnamon, nutmeg, and salt.
- In a large mixing bowl, mash ripe bananas with a fork until mostly smooth.
- Add vegetable oil and brown sugar to the bananas, whisking for about 2 minutes until fluffy.
- Stir in the egg yolk and vanilla extract until fully combined.
- Gradually fold the dry ingredient mixture into the banana mixture until just incorporated.
- Fold in the chocolate chips gently until evenly distributed.
- Allow the dough to rest for about 15 minutes.
- Scoop golf ball-sized amounts of dough onto the baking sheet, spacing them 2 inches apart.
- Bake in the preheated oven for 10-11 minutes until edges are set and centers are slightly underdone.
- Allow the cookies to cool on the baking sheet for 5 minutes before transferring to a wire rack.