
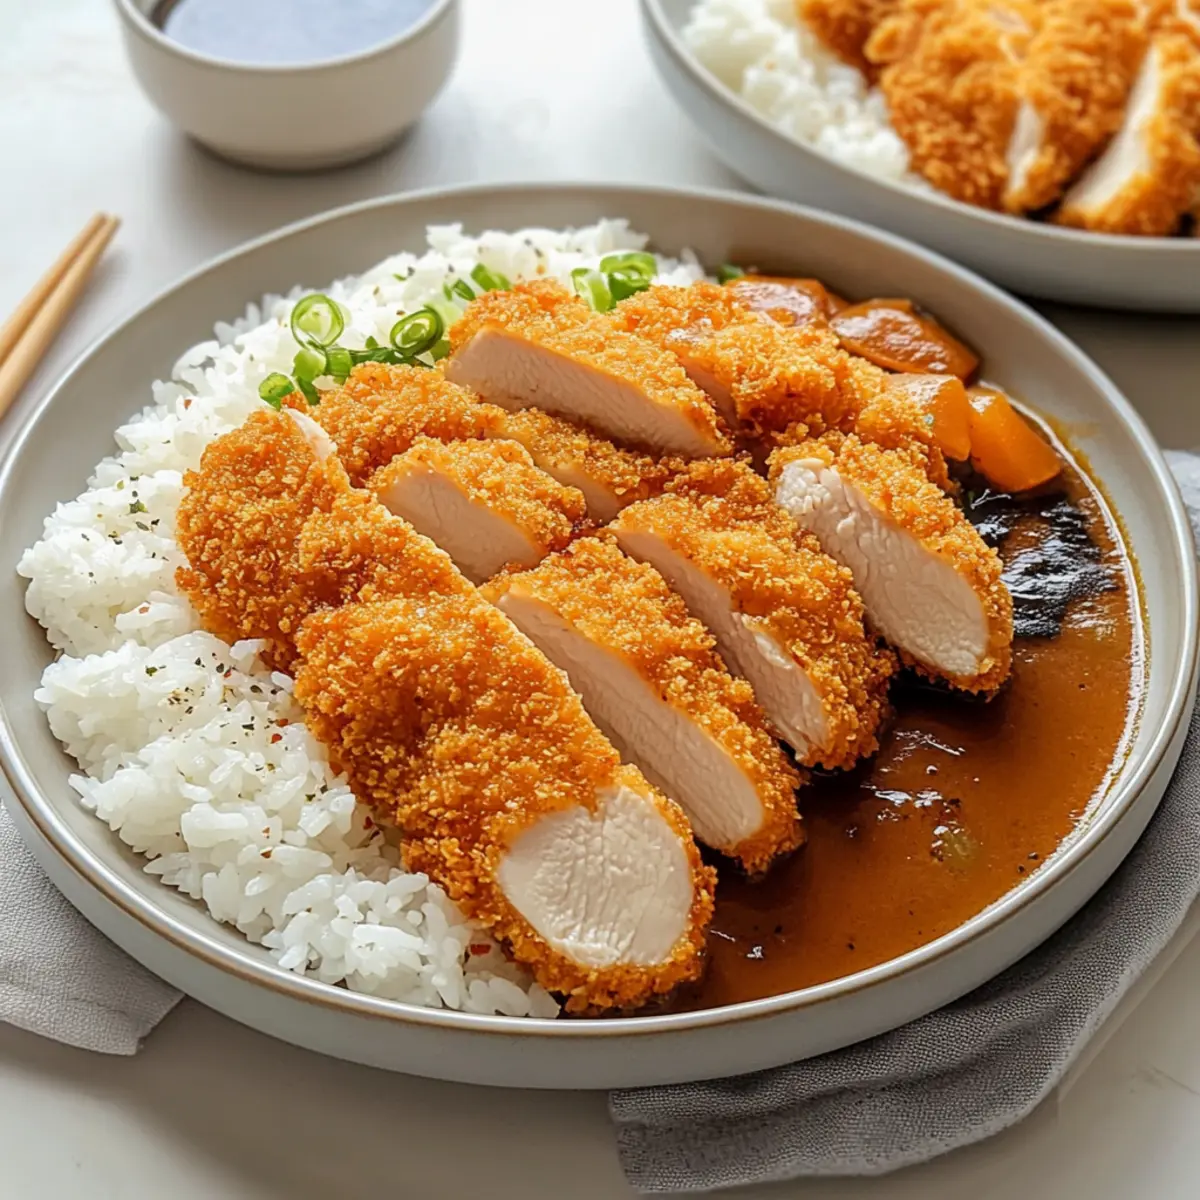
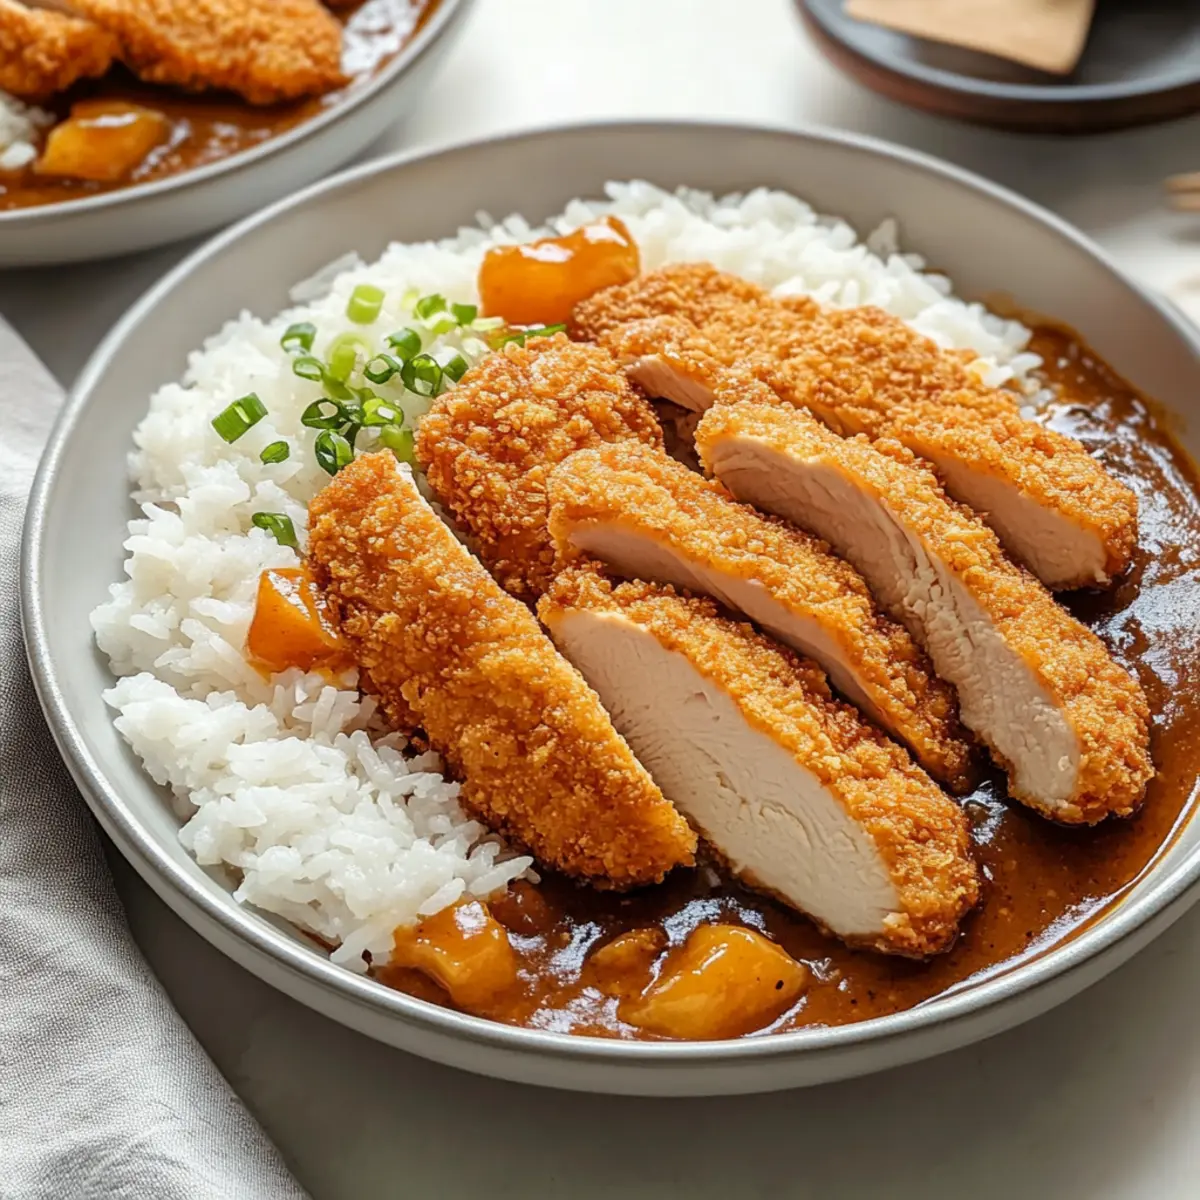
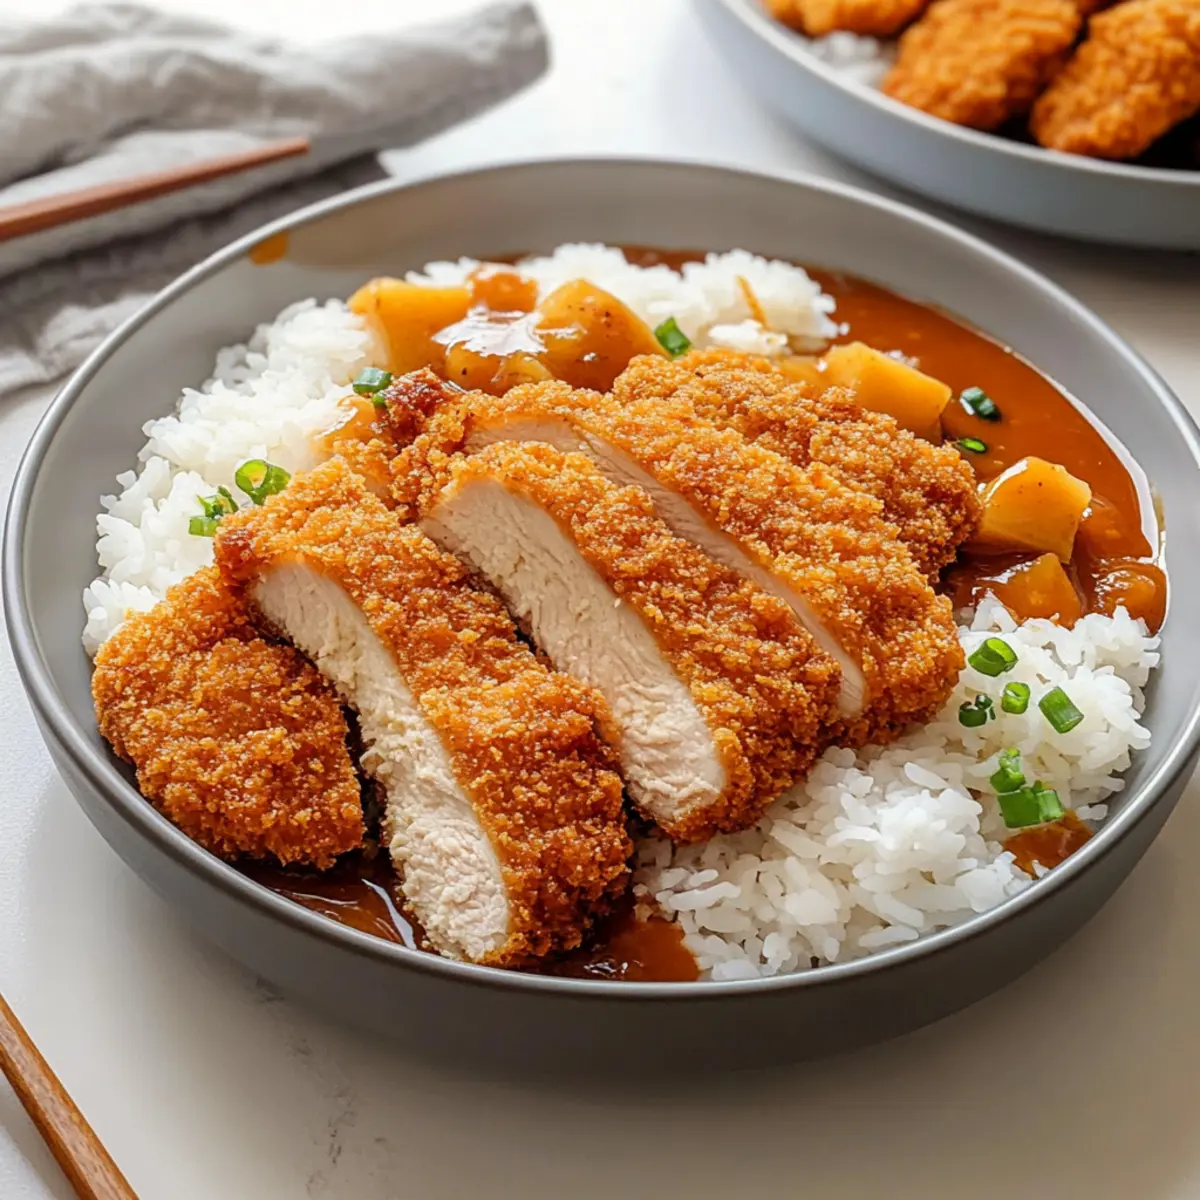
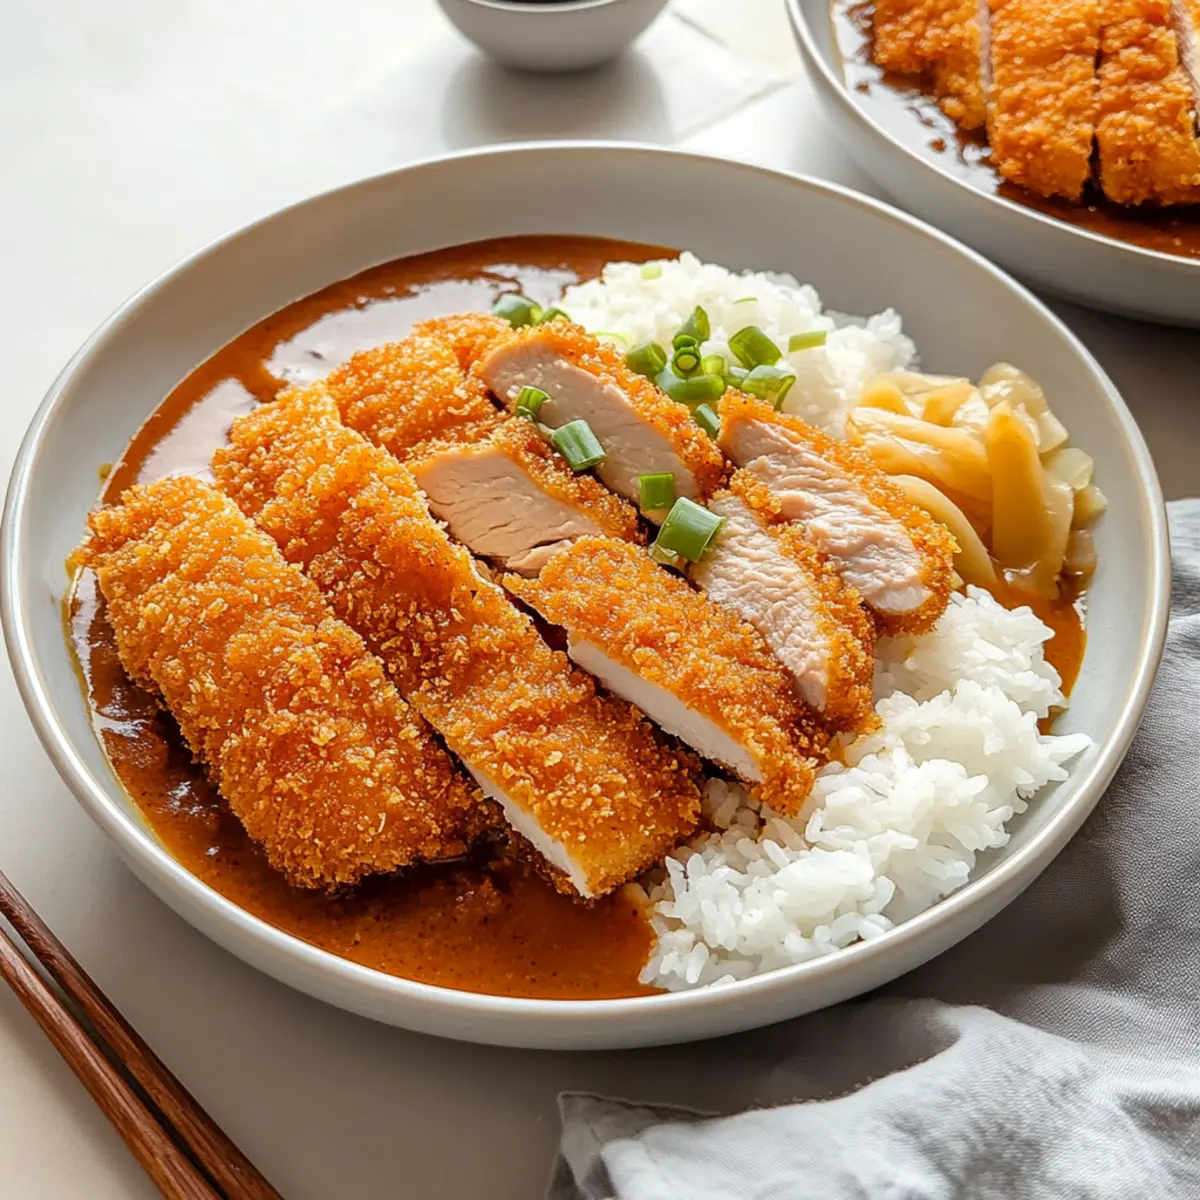
As I stood in my kitchen, the rich aroma of sautéing onions and spices filled the air, transporting me straight to the bustling streets of Tokyo. There’s something magical about Japanese Katsu Curry—this dish, with its crispy panko-breaded chicken and a delectable curry sauce, feels like a warm hug on a rainy day. Not only is it a delightful comfort food, but it’s also incredibly versatile, letting you switch up proteins from chicken to pork or even tofu for a vegetarian twist. If you're someone who craves homemade meals that are both satisfying and easy to prepare, you’re in for a treat with this Japanese Katsu Curry recipe. Ready to dive into a bowl of pure joy? Let’s get cooking!
Why Will You Love Japanese Katsu Curry?
Comforting Tradition: This recipe brings the cozy flavors of Japan right into your home kitchen.
Endless Variations: Whether you prefer chicken, pork, or even tofu, this dish offers something for everyone.
Quick & Easy: You'll spend less time in the kitchen and more time enjoying a delicious meal with loved ones.
Rich, Savory Sauce: The curry sauce blends sweet and umami flavors seamlessly, elevating each bite above ordinary comfort food.
Crispy Perfection: With its light and crunchy panko crust, the chicken is a texture sensation you'll crave over and over again.
Once you try this Japanese Katsu Curry, you might even find yourself inspired to explore other fusion recipes like Chickpea Spinach Curry or a comforting take on Italian classics!
Japanese Katsu Curry Ingredients
Get ready to create a comforting bowl of Japanese Katsu Curry with this essential ingredient list!
-
For the Chicken
-
Boneless Skinless Chicken Breasts – The star of your dish; tenderize for even cooking.
-
Salt – Enhances flavor; sea salt is a great choice for extra depth.
-
Black Pepper – Adds warmth to the chicken.
-
All-Purpose Flour – Your breading agent; gluten-free flour works as a substitute.
-
Egg – Binds the panko to the chicken; try a flax egg for a vegan option.
-
Panko Breadcrumbs – Provides that irresistible crunch; regular breadcrumbs work, but the texture won't be as good.
-
Vegetable Oil – For frying; choose any neutral oil you like.
-
For the Curry Sauce
-
Japanese Curry Roux – The heart of your curry sauce; choose mild or spicier versions to suit your taste.
-
Yellow Onion – Adds natural sweetness; shallots can be milder substitutes.
-
Russet Potato – Brings heartiness to the dish; Yukon Gold potatoes maintain their shape better.
-
Carrot – Adds sweetness and a pop of color; parsnips can be substituted.
-
Garlic – Enhances the flavor; adjust the amount based on your preference.
-
Red Apple – Natural sweetness that perfectly balances the curry; pears or extra honey are good alternatives.
-
Chicken Stock – The base liquid for a rich sauce; vegetable broth works for vegetarian versions.
-
Water – Adjusts the sauce consistency; use as needed.
-
Soy Sauce – Adds that umami flavor; tamari is a gluten-free option.
-
Honey – Sweetens your curry; substitute with maple syrup for a vegan touch.
-
For Serving
-
Cooked White Rice – The essential base; feel free to use brown rice for added nutrition.
Now that you have the ingredient breakdown for your Japanese Katsu Curry, you're all set to create a dish that warms the heart and pleases the palate! Happy cooking!
Step‑by‑Step Instructions for Japanese Katsu Curry
Step 1: Prepare Chicken
Begin by butterflying each chicken breast, ensuring they are even in thickness, around ½ inch. Use a meat mallet to pound the chicken gently, then season both sides generously with salt and black pepper. This preparation step is essential for achieving juicy and flavorful chicken in your Japanese Katsu Curry.
Step 2: Breading Process
Set up a breading station with three shallow dishes—one with all-purpose flour, another with a beaten egg, and the last filled with panko breadcrumbs. Coat each piece of chicken first in the flour, shaking off excess, then dip in the egg, and finally, press into the panko until fully covered. This crispy layer is crucial for the perfect texture of your katsu.
Step 3: Fry Chicken
In a large skillet or frying pan, heat vegetable oil to 340°F (170°C) over medium-high heat. Carefully place the breaded chicken into the hot oil, frying for 3-4 minutes on each side until they turn a beautiful golden brown. Keep an eye on them to prevent burning, and then transfer the fried chicken to a wire rack to drain excess oil.
Step 4: Make Curry Sauce
In a separate large pot, heat olive oil over medium heat. Add diced onion and minced garlic, sautéing until fragrant and translucent, about 5 minutes. Next, stir in the diced carrot and potato, cooking for an additional 3-4 minutes. The base of flavor is developing beautifully, preparing you for the rich sauce of your Japanese Katsu Curry.
Step 5: Add Liquid Ingredients
Once your vegetables are sautéed, pour in the chicken stock and a bit of water, then add the soy sauce, honey, and grated red apple. Bring the mixture to a gentle boil, then reduce heat and let it simmer for about 10 minutes. This allows the flavors to meld together, creating a savory and slightly sweet curry sauce.
Step 6: Add Curry Roux
After your vegetables have softened, break apart the Japanese curry roux into pieces and stir it into the pot. Allow the mixture to simmer for another 15 minutes, stirring occasionally until the sauce thickens to your desired consistency. This roux is the secret ingredient that gives your Japanese Katsu Curry its depth and richness.
Step 7: Serve
Slice the crispy fried chicken into strips and serve it over a generous portion of fluffy cooked white rice. Ladle the warm, thick curry sauce over the chicken and rice, making sure everyone gets a taste of that comforting flavor. You’ve created a beautiful plate of Japanese Katsu Curry ready to be enjoyed!
What to Serve with Japanese Katsu Curry?
Cozy up your dinner table with delightful accompaniments that elevate your Japanese feast to the next level.
-
Steamed Broccoli: This crunchy green vegetable adds a fresh pop of color and nutrition, balancing the rich curry perfectly.
-
Pickled Vegetables: The tangy crunch of pickled cucumbers or radishes cuts through the savory sauce, adding brightness and contrast.
-
Miso Soup: Warm and comforting, this traditional Japanese soup is a soothing side that complements the umami flavors of katsu curry.
-
Japanese Cucumber Salad: A refreshing salad with a sweet and tangy dressing offers a crisp texture that enhances the overall meal experience.
-
Fried Egg: A runny yolk on top of your katsu curry creates an indulgent sauce that enriches each bite; a delightful twist on presentation.
-
Green Tea: Serving unsweetened green tea elevates the flavors, cleansing the palate while adding a lovely, calming note to your meal.
-
Gyoza: These delicious pan-fried dumplings bring a savory element to your table, pairing beautifully with the crispy katsu.
Enjoy mixing and matching these sides to create your perfect Japanese dinner experience!
Make Ahead Options
These Japanese Katsu Curry components are perfect for meal prep, allowing you to enjoy this delicious dish with minimal effort during busy weeknights! You can bread the chicken and store it in an airtight container for up to 24 hours in the refrigerator to save time. The curry sauce can also be made ahead and refrigerated for up to 3 days—just let it cool completely before sealing. When you're ready to serve, simply fry the chicken and reheat the sauce over low heat, adding a splash of water if necessary to reach your desired consistency. This way, you’ll have a comforting, homemade katsu curry that's just as delicious as when made fresh!
How to Store and Freeze Japanese Katsu Curry
- Fridge: Store leftover Japanese katsu curry and chicken in separate airtight containers for up to 3 days. This helps maintain the chicken's crunchiness while keeping the curry flavorful.
- Freezer: For longer storage, freeze the chicken and curry separately in airtight containers or freezer bags for up to 3 months. Thaw overnight in the fridge before reheating.
- Reheating: Reheat the chicken in a hot oven or air fryer to restore its crispiness. Gently heat the curry on the stovetop or in the microwave until bubbling, then serve over fresh rice.
- Serving Tip: Enjoy your stored katsu curry with freshly cooked rice for a delightful meal, just like when it was first made!
Expert Tips for Japanese Katsu Curry
-
Perfect Chicken: Tenderize your chicken well for even cooking and juiciness. This step helps prevent dryness when frying.
-
Right Temperature: Use a thermometer to keep the oil at 340°F (170°C). This ensures a crispy katsu without being greasy.
-
Cooling Method: Drain fried chicken on a wire rack. This prevents steam from making your katsu soggy, keeping that perfect crunch.
-
Even Veggie Cuts: Chop vegetables into uniform 1-inch pieces for consistent cooking. This ensures all ingredients are tender and flavorful.
-
Separate Storage: For leftovers, store the curry and chicken separately. This keeps the chicken crispy when you reheat your delicious Japanese Katsu Curry.
Japanese Katsu Curry Variations & Substitutions
Feel free to get creative and make this comforting dish your own with these fun twists and substitutions!
- Pork Alternative: Swap out chicken for pork loin, which offers a juicy alternative with a slightly different flavor profile.
- Vegan Option: Use tofu instead of chicken for a delicious plant-based version that soaks up all that savory curry goodness.
- Meat Medley: Combine chicken and shrimp for a surf and turf twist that adds different textures and flavors to each bite.
- Dairy-Free: Substitute regular soy sauce with a gluten-free option like tamari, ensuring it fits all dietary needs.
- Extra Veggies: Stir in an array of veggies such as bell peppers or snap peas for a colorful and healthy addition. The more, the merrier in this dish!
- Spice It Up: Choose a spicier curry roux for a fiery kick that will appeal to those who enjoy a bit of heat with their comfort food.
- Baked Option: Instead of frying, consider baking the breaded chicken in the oven for a healthier twist while still achieving that crispy texture.
- Fruit Twist: Add a dash of coconut milk for a creamy, tropical note or introduce some diced pineapple for an unexpected burst of sweetness.
With all these delightful variations, you're well on your way to making this Japanese Katsu Curry recipe your very own! Whether you want to experience a unique taste, try making a lighter dish, or explore new flavors, there's always room for creativity in the kitchen. You might even find yourself inspired to whip up a side like Chickpea Spinach Curry that pairs beautifully with your katsu!
Japanese Katsu Curry Recipe FAQs
How do I choose the right chicken for Katsu Curry?
Absolutely! When selecting chicken for your Japanese Katsu Curry, look for boneless, skinless chicken breasts that feel firm but not tough. Fresh chicken should have a light pink color with minimal visible fat. If you're considering substitutes, pork cutlets or pressed tofu are great alternatives that keep the essence of the dish intact.
How should I store leftover Katsu Curry and chicken?
For the best results, store leftover Japanese Katsu Curry and fried chicken separately in airtight containers. This method preserves the chicken's crispy texture and allows the curry to maintain its rich flavor. They can stay fresh in the fridge for up to 3 days, making it easy to enjoy your delicious meal later!
Can I freeze Japanese Katsu Curry?
Yes, you can! To freeze your Japanese Katsu Curry, allow it to cool completely and then transfer the curry and chicken into separate, freezer-safe containers or bags. This prevents freezer burn and keeps everything fresh for up to 3 months. When ready to enjoy, simply thaw in the fridge overnight and reheat the curry on the stovetop, and for the chicken, use an oven or air fryer to re-crisp.
What should I do if my curry sauce is too thin?
If your Japanese Katsu Curry sauce is thinner than expected, don’t worry—it’s fixable! You can create a slurry by mixing 1 tablespoon of cornstarch with 2 tablespoons of cold water. Slowly stir this mixture into the simmering curry until it thickens to your desired consistency. Remember to let it simmer for a few more minutes to cook off the starchiness.
Are there any dietary considerations for Katsu Curry?
Very well! If you're accommodating dietary restrictions or allergies, there are several options. To make a gluten-free version, use gluten-free panko breadcrumbs and tamari instead of soy sauce. For those avoiding animal products, try substituting chicken with pressed tofu or vegetables like eggplant, and use vegetable broth in place of chicken stock. Just be mindful of cross-contamination if cooking for pets or those with allergies.
What's the best way to reheat the fried chicken for Katsu Curry?
To restore your crispy fried chicken for your Japanese Katsu Curry, preheat your oven to 400°F (200°C) or use an air fryer. Place the chicken on a wire rack or directly on a baking tray, and heat for about 10-15 minutes until hot and crisp. This technique ensures your chicken returns to that perfect golden crunch without drying out!
Japanese Katsu Curry: Your New Comfort Food Classic
Ingredients
Equipment
Method
- Butterfly each chicken breast and pound to even thickness, season with salt and pepper.
- Set up a breading station with flour, beaten egg, and panko, and coat each chicken piece.
- Heat oil to 340°F (170°C) in a skillet, fry chicken for 3-4 minutes each side until golden brown.
- In a pot, heat olive oil, sauté onion and garlic, then add carrot and potato for additional cooking.
- Add chicken stock, water, soy sauce, honey, and grated apple, simmer for 10 minutes.
- Stir in broken Japanese curry roux and simmer for another 15 minutes until thickened.
- Slice fried chicken, serve over rice, and ladle curry sauce on top.

Leave a Reply