As I stood in my kitchen, the tantalizing aroma of herbs wafting through the air, I found myself dreaming about a gathering of friends, laughter filling the room, and an irresistible appetizer that would steal the show—Tortellini Party Snacks. These delightful, bite-sized treats are not only quick to whip up but also adaptable to satisfy every taste bud at your table. Picture tender, cheese-filled tortellini tossed with vibrant seasonings and served with a variety of dipping sauces; it’s a true celebration of flavors! Versatile and fun, these finger foods are perfect for any occasion, whether it’s a cozy night in or lively get-together. Curious about how to impress your guests with this gourmet twist on simple ingredients? Let’s dive in!
Why Are Tortellini Party Snacks So Irresistible?
Simplicity makes these snacks a breeze to prepare, requiring minimal cooking skills for delicious results. Versatile by nature, you can customize them with various dipping sauces like pesto or marinara, ensuring everyone leaves satisfied. Crowd-Pleasing and flavorful, they cater to both kids and adults, making them ideal for any gathering. Plus, they're a time-saver, letting you whip up an impressive appetizer in no time—perfect for spontaneous get-togethers! Want to explore more creative options? Check out other delicious finger foods in our entertaining section for a complete appetizer spread!
Tortellini Party Snacks Ingredients
Here's everything you need to create these delightful bites!
For the Tortellini
- Tortellini – Choose fresh or frozen, as both options work beautifully for these irresistible Tortellini Party Snacks.
For the Seasoning
- Italian Herbs – A mix of oregano, basil, and thyme elevates the flavor; feel free to swap with garlic powder for a different twist.
- Parmesan Cheese (optional) – Adds a creamy richness; omit or substitute with nutritional yeast for a vegan-friendly option.
For the Dipping Sauces
- Marinara Sauce – A classic choice that complements the tortellini's savory profile and gives a burst of tanginess.
- Pesto – Bright and aromatic, this sauce adds a herby kick that enhances the overall flavor experience.
- Alfredo Sauce – Rich and creamy, perfect for those who enjoy a decadent dip with their snacks.
Feel free to mix and match these ingredients to craft your perfect Tortellini Party Snacks!
Step‑by‑Step Instructions for Tortellini Party Snacks
Step 1: Cook the Tortellini
Start by bringing a large pot of salted water to a rolling boil. Add fresh or frozen tortellini and cook according to package instructions, about 3 to 5 minutes for fresh and 7 to 9 minutes for frozen, until they are al dente and float to the surface. Drain the tortellini and let them cool for a few minutes in a colander.
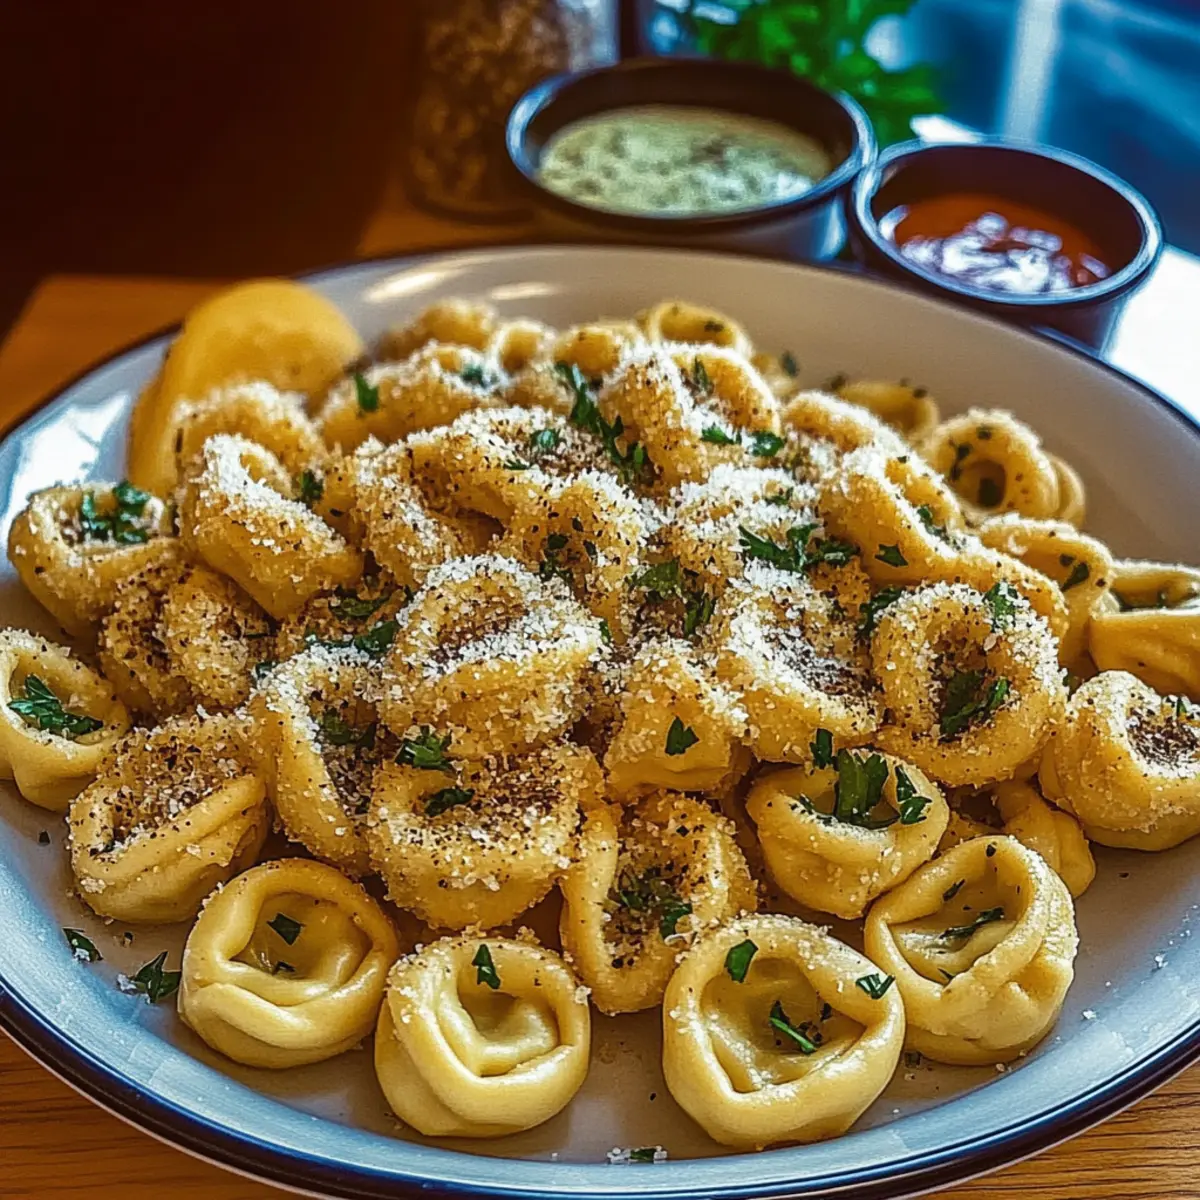
Step 2: Season the Tortellini
Transfer the slightly cooled tortellini into a large mixing bowl. Sprinkle Italian herbs generously over the tortellini and add optional grated Parmesan cheese for extra flavor. Carefully toss the mixture to ensure the seasonings coat the tortellini evenly, giving them a flavorful kick that makes these Tortellini Party Snacks unforgettable.
Step 3: Arrange for Serving
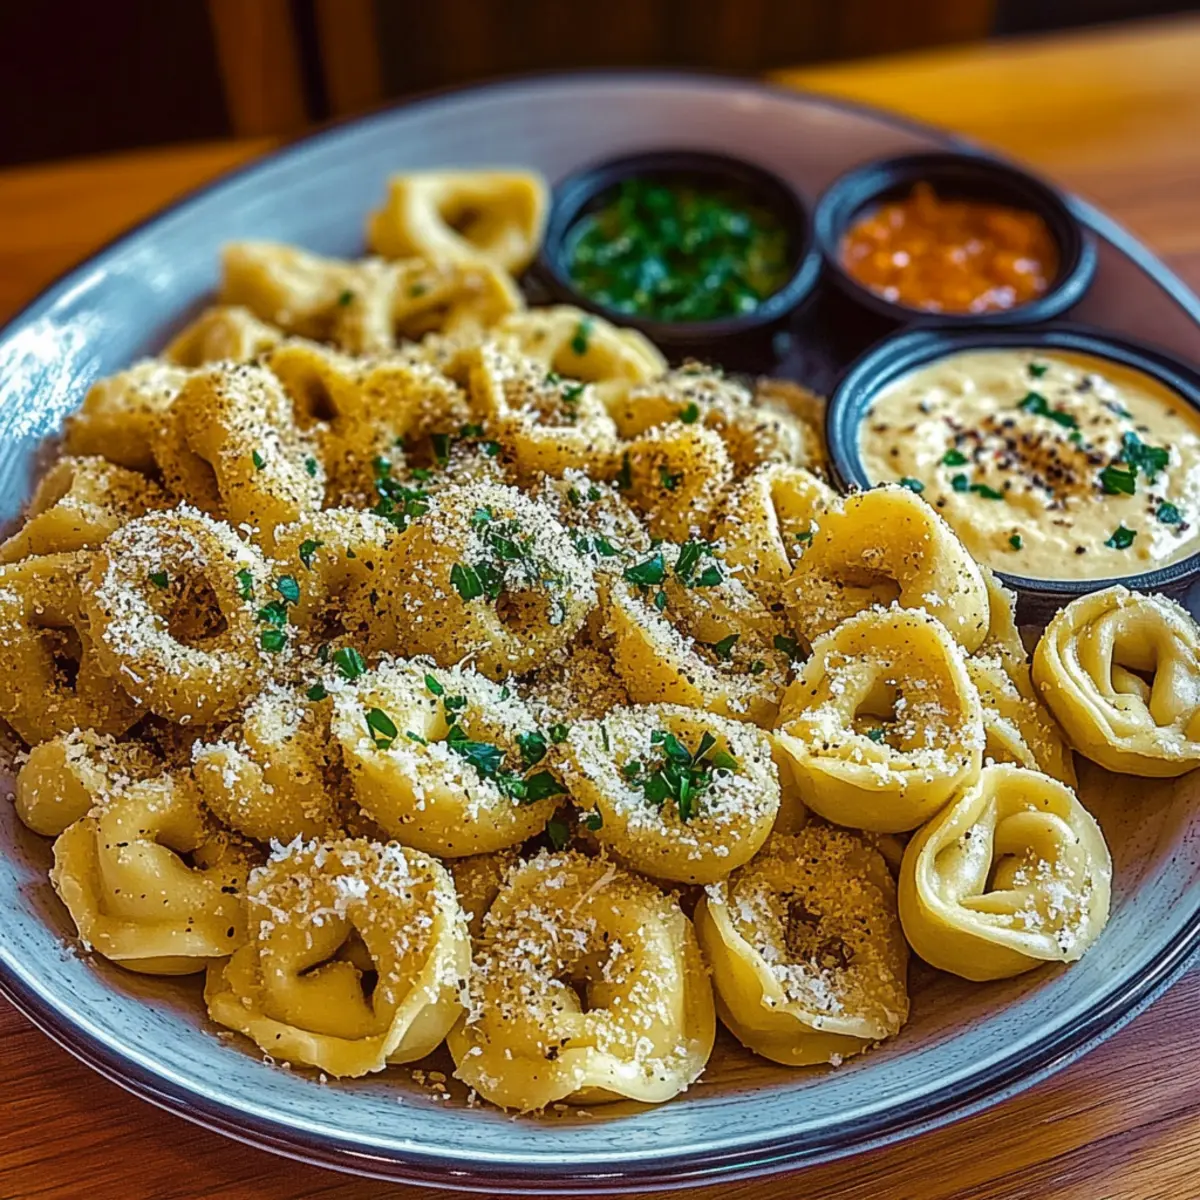
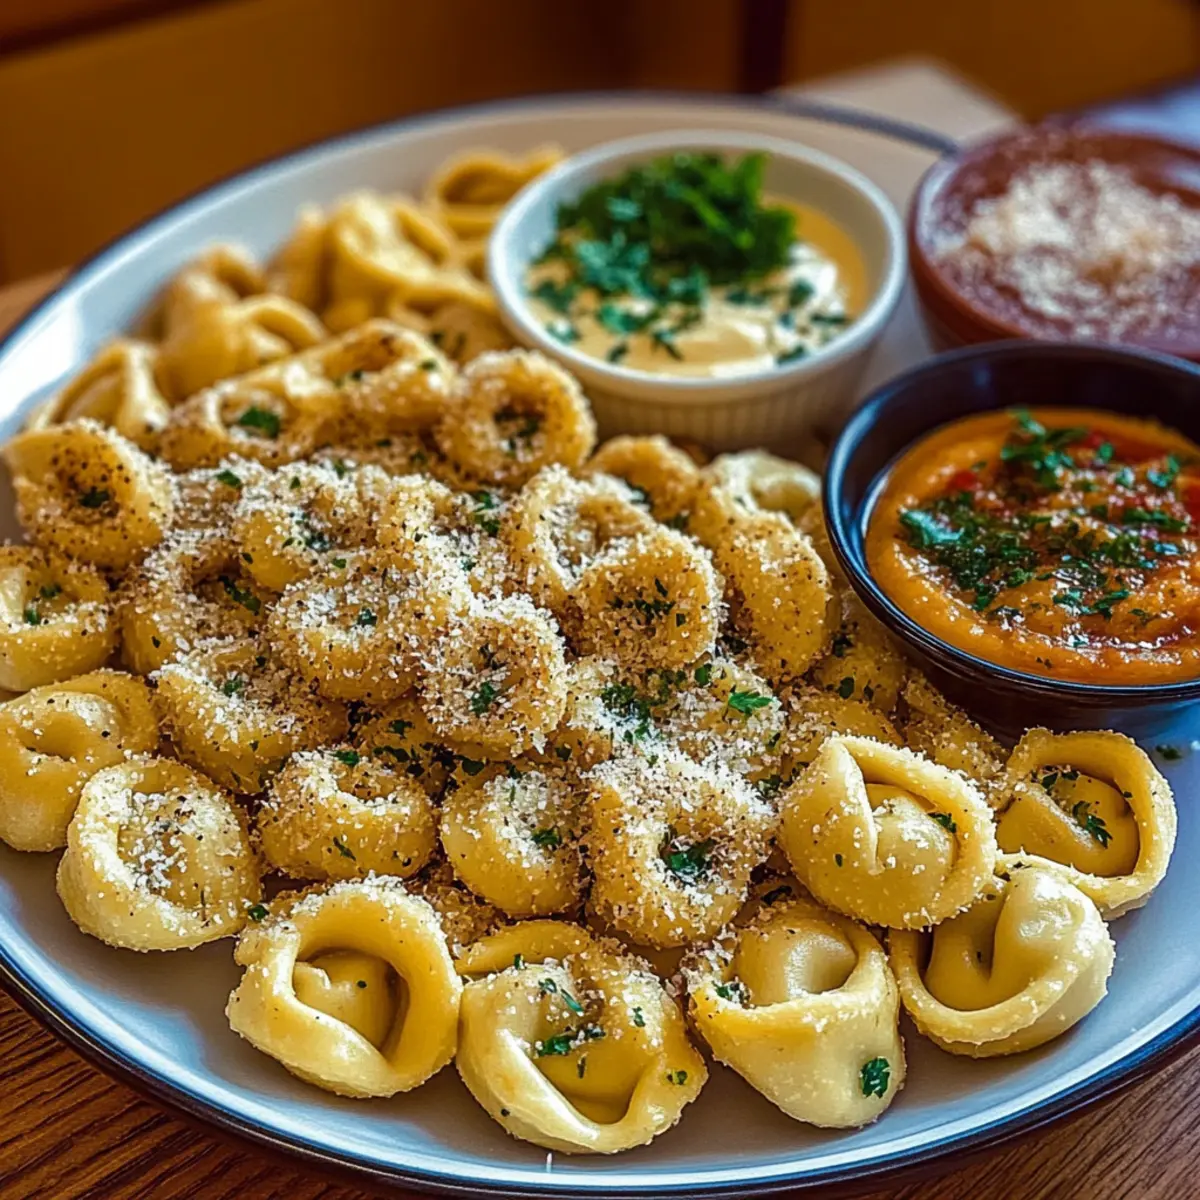
Prepare a vibrant platter or serving tray by spreading the seasoned tortellini in a single layer or arranging them on skewers with colorful vegetables. This not only adds visual appeal but also makes them easy to pick up. Set the platter alongside an array of tasty dipping sauces like marinara, pesto, and Alfredo for your guests to enjoy.
Step 4: Final Touches
To elevate your Tortellini Party Snacks, add a sprinkle of freshly chopped herbs or a dash of crushed red pepper to the platter for a pop of color and extra flavor. Serve immediately while the tortellini are warm, inviting your guests to indulge in these delightful bites while the aromas of the seasonings fill the air.
Tortellini Party Snacks Variations
Feel free to jazz up your Tortellini Party Snacks with these delicious twists that will make them even more special!
-
Gluten-Free: Use gluten-free tortellini made from rice or chickpeas for a friendly adaptation without compromising flavor. You'll find that the textures remain delightful and satisfying!
-
Veggie-Packed: Incorporate cooked spinach, sun-dried tomatoes, or roasted bell peppers into the tortellini mix for a colorful and nutrient-rich addition. These vibrant extras not only enhance flavor but also bring a lovely visual appeal to your platter.
-
Spicy Kick: Add crushed red pepper flakes or a dash of cayenne pepper to the seasoning mix. This will infuse your tortellini with a delightful kick that will excite the taste buds of those who appreciate heat!
-
Creamy Twist: Opt for a creamy garlic aioli or a zesty lemon-tahini sauce instead of standard dipping sauces to elevate the flavor profile. This twist adds a gourmet touch that will leave your guests raving.
-
Cheesy Variety: Mix in different cheeses like goat cheese, feta, or smoked mozzarella into your tortellini before baking for a richer experience. Each cheese brings its unique flavor, turning simple tortellini into a cheese lover's dream.
-
Herb-Infused Oils: Drizzle with fragrant herb oil, like basil or rosemary-infused olive oil, just before serving for an aromatic finish that complements the tortellini beautifully. It's a subtle touch that makes a big difference!
-
Pesto Varieties: Experiment with different types of pesto like sun-dried tomato or arugula pesto to add unique flavors to each party. This allows guests to explore new tastes while enjoying their beloved tortellini.
-
Nutty Garnish: Sprinkle toasted pine nuts or chopped walnuts on the tortellini right before serving. This adds a satisfying crunch and a nutty flavor that contrasts beautifully with the tender pasta.
Consider trying various finger foods alongside these flavorful Tortellini Party Snacks to create a delightful spread that suits all palates!
Make Ahead Options
These Tortellini Party Snacks are perfect for meal prep enthusiasts! You can cook the tortellini a day in advance to save time on the day of your gathering. After cooking, let the tortellini cool, then toss them with the Italian herbs and any optional Parmesan cheese, and refrigerate in an airtight container for up to 3 days. This way, the flavors meld beautifully without losing quality. When ready to serve, simply arrange the tortellini on a platter and add your favorite dipping sauces. Their tender texture will remain just as delicious, ensuring your guests enjoy every bite!
How to Store and Freeze Tortellini Party Snacks
Fridge: Store leftover Tortellini Party Snacks in an airtight container for up to 3 days. Make sure they’re cooled completely before sealing to maintain their texture.
Freezer: If you have cooked tortellini left, freeze them in a single layer on a baking sheet, then transfer to a freezer-safe bag for up to 2 months.
Reheating: To reheat, simply microwave for 30-60 seconds or bake at 350°F (175°C) for about 10 minutes until heated through. Enjoy a quick snack without sacrificing flavor!
Make-Ahead: Prepare the tortellini ahead of time and keep them in the fridge. Reheat before serving, or savor them at room temperature for a delightful party treat.
Expert Tips for Tortellini Party Snacks
-
Well-Drained Tortellini: Ensure tortellini are thoroughly drained after cooking to prevent a soggy texture. Excess water can dilute the flavor of your Tortellini Party Snacks.
-
Season Generously: Don’t be shy with your herbs! A robust sprinkle of Italian herbs enhances the overall taste, ensuring every bite is packed with flavor.
-
Serve Warm: For the best experience, serve your Tortellini Party Snacks warm. This helps to bring out the delicious aromas and makes the cheese filling even more delightful.
-
Dipping Sauce Variety: Offer a selection of dipping sauces to keep your guests excited. A mix of marinara, pesto, and creamy Alfredo allows everyone to find their favorite.
-
Taste Before Serving: Always taste the seasoned tortellini before serving. Adjust the herbs or cheese according to your personal preference for a perfect finish.
What to Serve with Tortellini Party Snacks
Imagine a beautiful spread that complements your bite-sized delights, bringing together flavors and textures to enchant your guests.
-
Crisp Garden Salad: Bright, fresh greens add a refreshing crunch that balances the savory tortellini, making each bite feel light and vibrant.
-
Garlic Breadsticks: Warm, buttery breadsticks create a perfect textural contrast. Dipped in marinara, they elevate your appetizer experience to a whole new level.
-
Cheesy Spinach Dip: Creamy and rich, this spinach dip offers a opulent pairing, inviting guests to spread it on crispy chips or fresh veggies.
-
Roasted Vegetable Platter: Colorful roasted veggies infuse the meal with heartiness and nutrients, providing a delightful array of flavors that complement the tortellini.
-
Sparkling Lemonade: A zesty beverage that enhances the tasting journey, the citrus notes refresh your palate between bites of cheese-filled goodness.
-
Chocolate-Dipped Fruit: Finish on a sweet note with an assortment of berries and bananas dipped in decadent chocolate. It’s a delightful contrast to the savory snacks.
-
Italian Wine Pairing: A fruity Chianti or crisp Pinot Grigio pairs beautifully, enhancing the flavors of your tortellini while setting an inviting, cozy atmosphere for gathering.
Creating a full meal around your Tortellini Party Snacks allows you to indulge in a myriad of flavors that delight all the senses. Enjoy!

Tortellini Party Snacks Recipe FAQs
How do I choose the best tortellini?
Absolutely! For the best Tortellini Party Snacks, opt for either fresh or frozen tortellini. Fresh tortellini usually offers a delightful chewy texture and flavor, while frozen is convenient and tends to have a longer shelf life. Check for any damage or freezer burn if using frozen, and ensure that the package is sealed tightly for freshness.
How should I store leftover tortellini snacks?
After enjoying your delicious tortellini treats, store any leftovers in an airtight container in the fridge for up to 3 days. Make sure they are completely cool before storing to prevent moisture buildup, which can make them soggy. You can also enjoy them cold or warm them up, depending on your preference!
Can I freeze the tortellini after cooking?
Yes! You can freeze your leftover tortellini snacks for up to 2 months. Here’s how: First, spread the cooked tortellini in a single layer on a baking sheet and freeze them until solid. Then, transfer the frozen tortellini to a freezer-safe bag, removing as much air as possible. When you're ready to use them, just reheat them directly from the freezer using the microwave or a preheated oven at 350°F (175°C) for about 10 minutes.
What if my tortellini is too soggy after cooking?
No worries! If your tortellini ends up soggy, it could be due to overcooking or not draining properly. For the next batch, follow package instructions carefully, and once cooked, make sure to drain them thoroughly in a colander. You can also let them sit for a minute to allow any excess water to drip off before seasoning. If they are still too soft, try incorporating them straight into a dish like soup or a pasta primavera where they’ll benefit from more texture.
Are these snacks suitable for gluten-free diets?
Yes! You can absolutely enjoy Tortellini Party Snacks with gluten-free options. Many brands offer gluten-free tortellini made from rice or alternative flours. Just be sure to check the ingredients for any additional allergens, and use certified gluten-free dipping sauces to keep everything safe for those with dietary restrictions. The flavor will still be fantastic!
Tortellini Party Snacks: Bite-Sized Joy for Any Gathering
Ingredients
Equipment
Method
- Step 1: Cook the Tortellini. Boil salted water, add tortellini, and cook for 3-5 minutes if fresh or 7-9 minutes if frozen until al dente. Drain and cool lightly.
- Step 2: Season the Tortellini. In a mixing bowl, combine tortellini with Italian herbs and Parmesan cheese, tossing to coat.
- Step 3: Arrange for Serving. Spread seasoned tortellini on a platter or arrange on skewers with vegetables. Serve with dipping sauces.
- Step 4: Final Touches. Add fresh herbs or crushed red pepper before serving warm.