
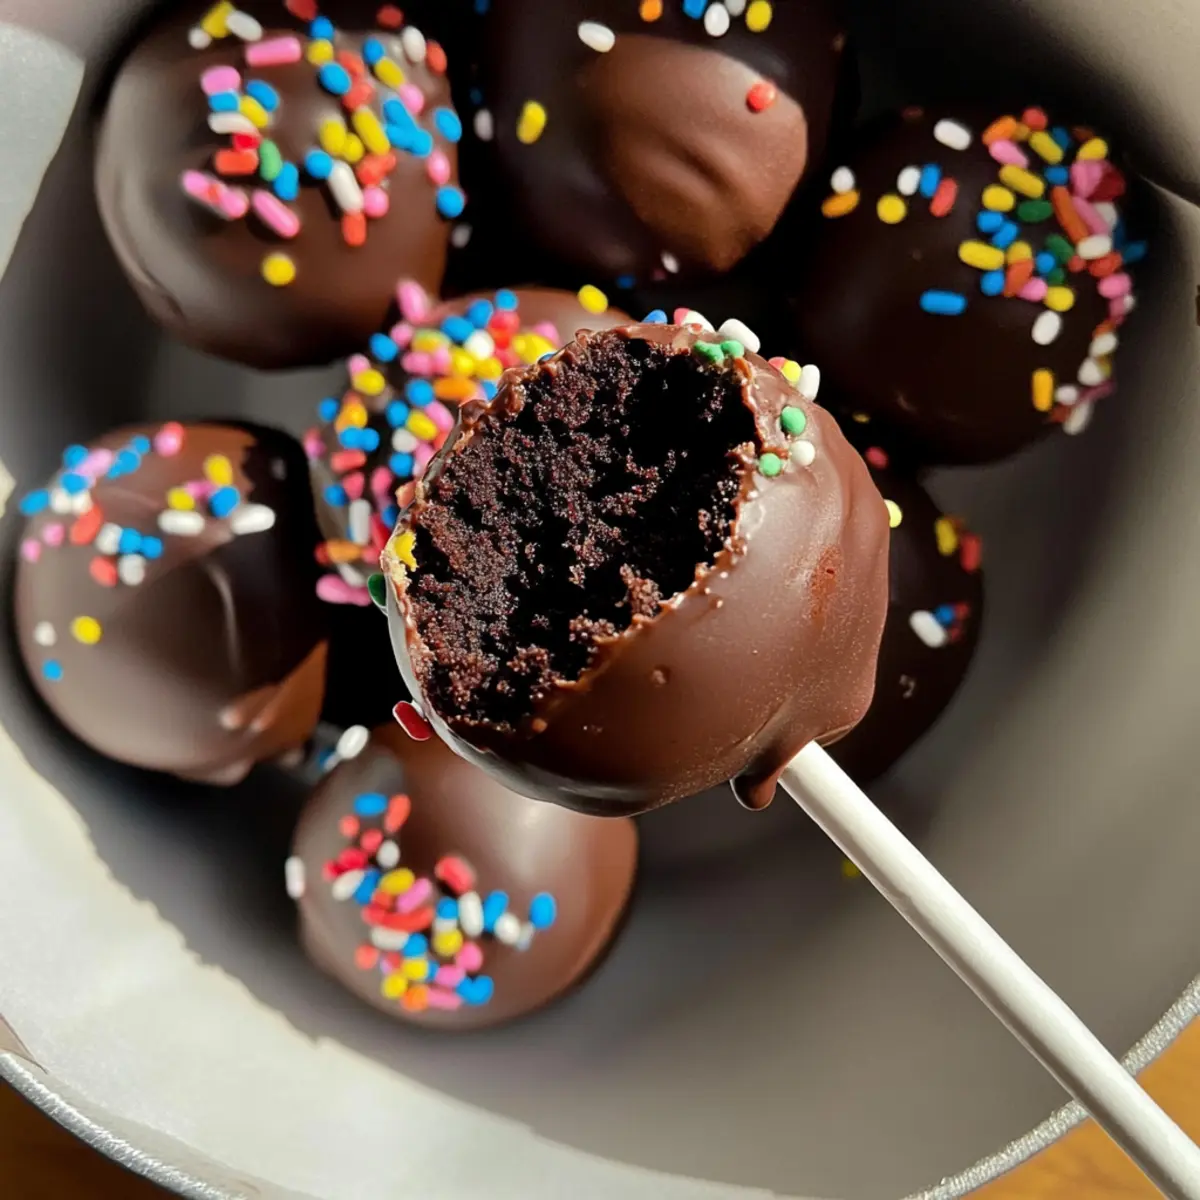
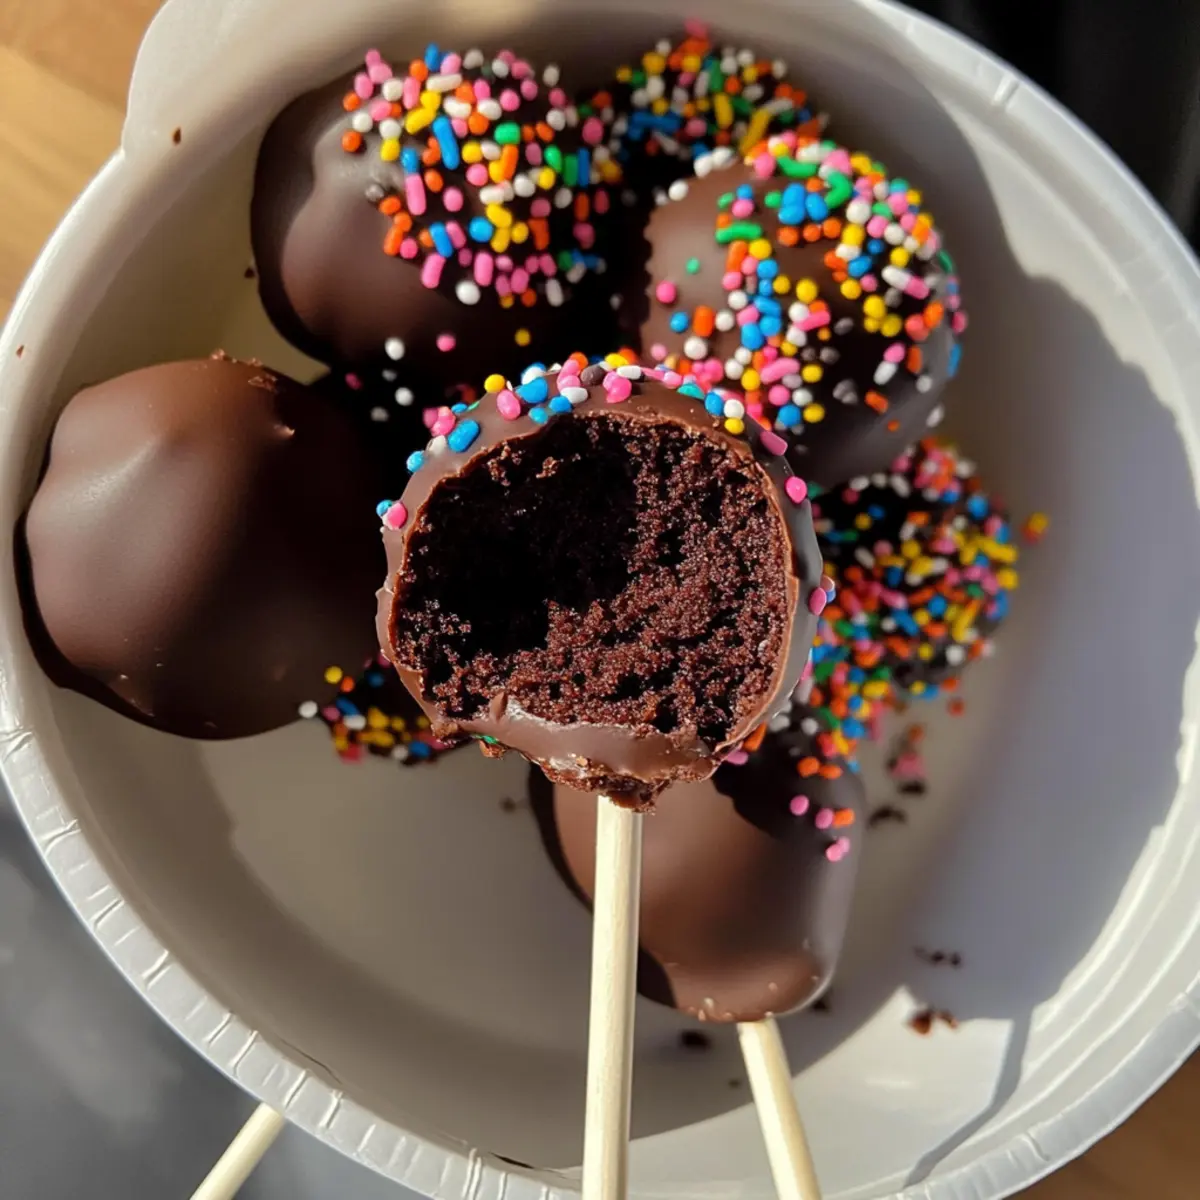
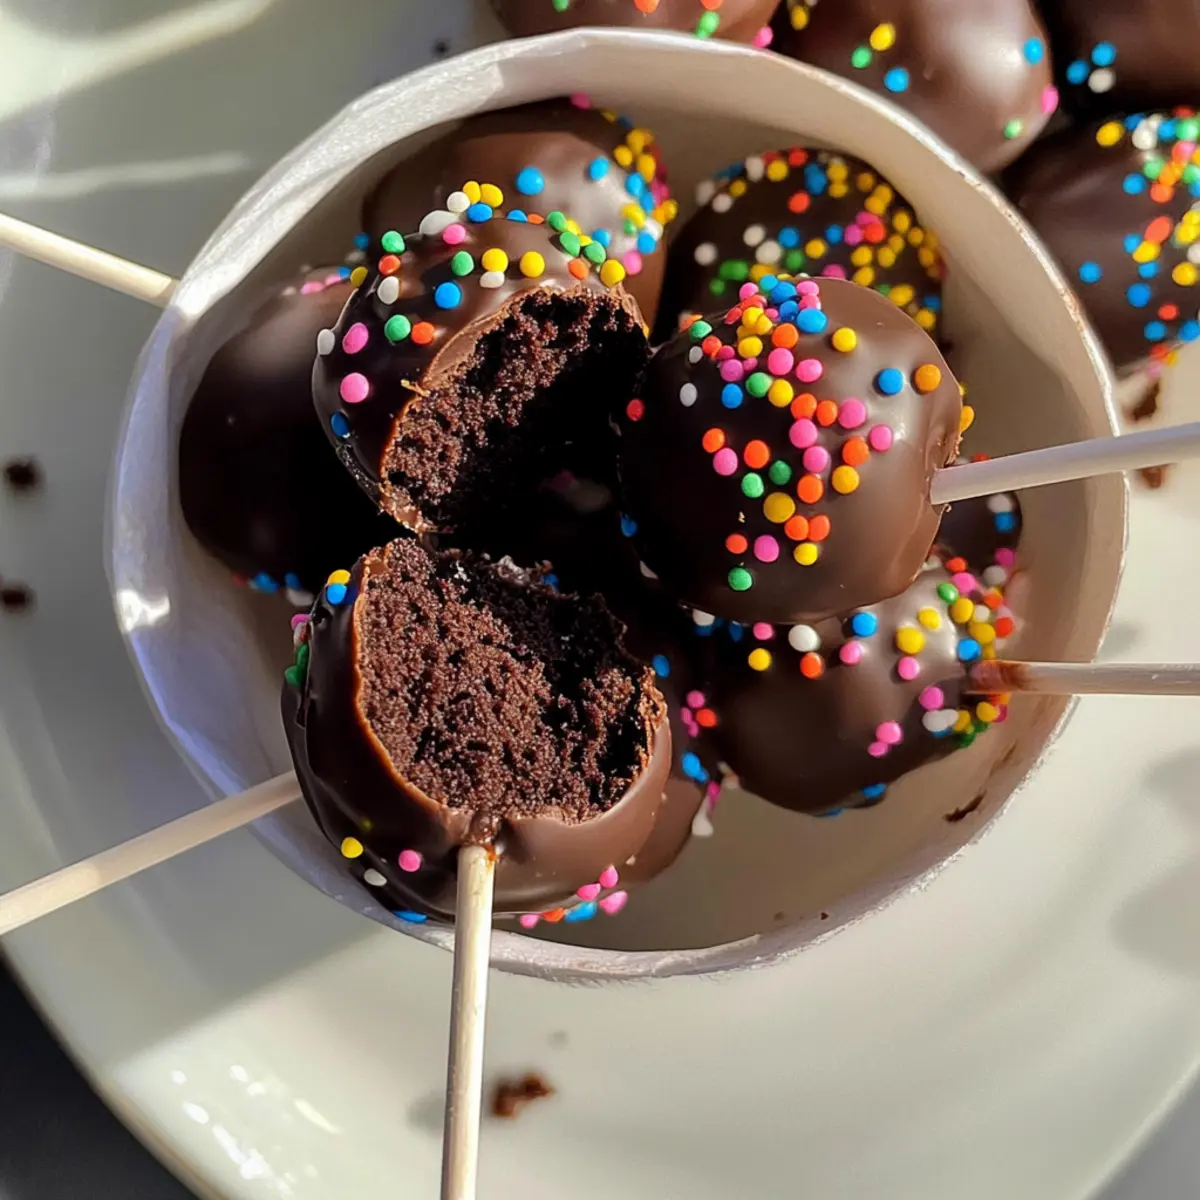
As I reached into the box of leftovers, I found myself staring at the last few uneaten slices of a decadent chocolate cake. Instead of opting for another boring slice, I decided to transform it into something truly special—Chocolate Cake Pops! These little bites of joy offer the perfect solution for using up that cake while satisfying your sweet tooth at the same time. Not only are they fun and easy to make, but they also come adorned with a luscious cream cheese frosting that adds a delightful twist and keeps them wonderfully moist. Ideal for parties or just because, these pops are sure to bring a smile to anyone’s face. What’s your favorite way to enjoy chocolate?
Why Are Chocolate Cake Pops So Loved?
Irresistible Treat: These delightful chocolate cake pops are a fun twist on traditional desserts, making them impossible to resist!
Quick and Easy: Designed for simplicity, this recipe utilizes a chocolate cake mix that saves you time while still delivering a rich flavor.
Crowd-Pleasing: Perfect for parties, gatherings, or a sweet treat just for you—everyone will love these scrumptious bites!
Versatile Toppings: Customize with your choice of sprinkles or crushed nuts for that extra flair, and you can even try using flavored extracts for unique twists! If you're looking for more delicious dessert ideas, don't miss out on these Chocolate Pudding Cake recipes for a creamy finish.
Make Ahead: Bake and chill them in advance, allowing for a stress-free treat when hosting or celebrating special occasions.
Chocolate Cake Pops Ingredients
For the Cake Base
• Chocolate Cake Mix – Main structure that provides the cake base; any brand works, but substituting water for milk enhances richness.
• Salted Butter – Adds richness and moisture; ensure it’s softened to room temperature for easy mixing.
For the Frosting
• Plain Cream Cheese – Provides creaminess and flavor in the frosting; remember to soften it for easy blending.
• Vanilla Extract – Flavor enhancer for frosting; opt for pure vanilla for the best results.
• Powdered Sugar – Adds sweetness and structure to the frosting; adjust the quantity to suit your desired sweetness.
For the Coating
• Chocolate Melting Wafers – Creates a smooth outer shell for the pops; ensure they’re melted just right for easy dipping.
• Sprinkles – Decorative addition that adds crunch and color; customize to match your occasion or personal preference.
These Chocolate Cake Pops are more than just a treat; they’re a delicious way to use up leftover cake!
Step‑by‑Step Instructions for Chocolate Cake Pops
Step 1: Bake the Cake
Preheat your oven to the temperature indicated on your chocolate cake mix package. Prepare the cake mix according to the instructions, substituting water with milk for a richer flavor if desired. Pour the batter into a greased cake pan and bake until a toothpick inserted in the center comes out clean, usually about 25-30 minutes. Let the cake cool completely on a wire rack.
Step 2: Make Frosting
While the cake cools, make the cream cheese frosting. In a large mixing bowl, blend together the softened butter, plain cream cheese, and vanilla extract using an electric mixer. Gradually add in the powdered sugar, mixing until the frosting is smooth and creamy. Set the frosting aside as you prepare the cake for the pops.
Step 3: Combine Cake and Frosting
Once the cake has cooled, crumble it into a large bowl, ensuring there are no large chunks left. Add 1 cup of the prepared cream cheese frosting to the crumbled cake, mixing with your hands until it forms a dough-like consistency. This mixture should hold together without being overly sticky. Cover the bowl with plastic wrap and chill in the refrigerator for 30-45 minutes to firm up.
Step 4: Form Cake Balls
After chilling, prepare a parchment-lined baking sheet. Use a cookie scoop or your hands to take about 1.5 tablespoons of the mixture and roll it into balls, placing each on the baking sheet. This step is essential to create the perfect shape for your chocolate cake pops, so ensure they are evenly formed. Chill the cake balls again for about 15 minutes while you melt the chocolate.
Step 5: Melt Chocolate
In a microwave-safe bowl, add your chocolate melting wafers. Heat them in the microwave in 30-second intervals, stirring in between until smooth and fully melted. Be careful not to overheat the chocolate, as it can cause it to seize. The chocolate should be warm and pourable, perfect for dipping your cake pops.
Step 6: Assemble Cake Pops
Take a cake ball from the refrigerator and dip the tip of a cake pop stick into the melted chocolate. Quickly insert the stick into the center of the cake ball, ensuring not to push it all the way through. Repeat this process for all the cake balls. This technique keeps the balls secure on the stick while you coat them in chocolate.
Step 7: Coat with Chocolate
Carefully dip each cake pop into the melted chocolate, rotating it to ensure full coverage and letting any excess chocolate drip off. This step is crucial for achieving that perfect, smooth finish. Before the chocolate hardens, sprinkle your choice of colorful sprinkles over the coated cake pops for a festive touch, if desired.
Step 8: Set the Pops
Place the finished cake pops upright in a block of Styrofoam or a cake pop stand to allow them to set properly. Let them cool at room temperature until the chocolate hardens, or refrigerate for about 10-15 minutes for a crunchier exterior. Once set, your delightful chocolate cake pops are ready to enjoy!
Chocolate Cake Pops Variations & Substitutions
Feel free to explore the endless possibilities for customizing your chocolate cake pops with these fun variations!
-
Flavor Swap: Use vanilla cake mix instead of chocolate for a different flavor base. The same delicious frosting will still pair beautifully!
-
Decadent Candy Coating: Substitute chocolate melting wafers with white chocolate or caramel melting wafers for a sweet surprise!
-
Nutty Surprise: Roll the coated pops in crushed nuts like almonds or hazelnuts for added texture and flavor. This nut crunch can elevate your cake pops and give them a delightful bite!
-
Creative Sprinkles: Use seasonal sprinkles to make your cake pops work for any occasion. From Halloween-themed to festive snowflakes, the options are endless!
-
Spicy Twist: Add a pinch of cinnamon or cayenne pepper to your frosting for a spicy kick! It adds an unexpected layer of flavor that will delight chocolate lovers.
-
Taste of the Tropics: Incorporate coconut flakes into your frosting for a tropical feel. Not only do they add flavor, but they also provide a fun texture to each cake pop.
-
Dairy-Free Delight: For a dairy-free version, swap out the cream cheese frosting with a vegan cream cheese or use coconut cream mixed with powdered sugar.
-
Double Chocolate Dream: Enhance the richness by adding mini chocolate chips to the cake mixture before rolling the balls. This extra chocolate hits the spot for true chocoholics!
These variations can help you tailor your chocolate cake pops to fit any event or personal taste. For more creative dessert ideas, check out these delectable Chocolate Poke Cake recipes that are sure to impress!
How to Store and Freeze Chocolate Cake Pops
Room Temperature: Chocolate cake pops can be stored at room temperature for up to 2 days in a cool, dry place, ideally in an airtight container to keep them fresh.
Fridge: Keep your chocolate cake pops in an airtight container in the fridge for up to 7 days. This helps maintain their moistness and adds a refreshing chill.
Freezer: For longer storage, freeze chocolate cake pops in a single layer on a baking sheet until firm, then transfer them to a freezer-safe bag or container. They can be frozen for up to 3 months.
Reheating: If enjoyed chilled, simply take them out of the fridge or freezer and allow them to sit at room temperature for about 10-15 minutes before serving for optimal taste.
Expert Tips for Perfect Chocolate Cake Pops
- Chill for Shape: Always chill the cake pop batter for 30-45 minutes. This helps maintain their shape when inserting sticks, preventing any sagging.
- Small Batches: Work in small batches when melting chocolate. This keeps it warm and easy to dip, avoiding any clumping or hardening.
- Proper Coating: Ensure each cake pop is fully coated with melted chocolate and let excess drip off. A smooth coat makes for a flawless finish!
- Avoid Overcrowding: When setting the pops, avoid overcrowding your cooling area. Air circulation is key for even cooling and a perfect hard shell.
- Customize Freely: Use flavored extracts in the frosting or candy melts in various colors for fun variations. Get creative with toppings and flavors while making your Chocolate Cake Pops!
Make Ahead Options
These Chocolate Cake Pops are perfect for meal prep enthusiasts! You can prepare the cake and cream cheese frosting up to 3 days in advance. Simply bake the cake, let it cool completely, and then crumble it before mixing it with the frosting. Store the mixture in the refrigerator for up to 24 hours to maintain its shape and flavor. When you’re ready to assemble, roll the chilled mixture into balls, insert the sticks, and coat them with melted chocolate. This ensures you save time on busy days while still enjoying deliciously fresh cake pops, just as delightful as when made on the spot!
What to Serve with Easy Chocolate Cake Pops
There's something truly magical about pairing these delightful bites with complementary flavors that enhances every experience.
- Vanilla Ice Cream: A classic pairing, the creaminess of vanilla ice cream balances the richness of the chocolate, creating a heavenly contrast.
- Fresh Berries: Juicy strawberries or raspberries add a bright, tart flavor that cuts through the sweetness of cake pops, refreshing your palate.
- Milkshake: For a fun twist, serve with a chocolate milkshake - the ultimate chocolate-loving indulgence that ties together your dessert theme.
- Espresso or Coffee: The rich, bold flavors of coffee pair beautifully with chocolate, enhancing the cake pops' flavors and providing a sophisticated touch.
- Whipped Cream: Light and airy, whipped cream adds a touch of elegance and can even be flavored with vanilla or almond for an exciting twist.
- Chocolate Dipping Sauce: Serve with a side of warm chocolate sauce for that extra indulgence; it’s perfect for dipping and adds double the chocolate delight!
- Nutty Biscotti: Crunchy, nutty biscotti offers a delightful texture contrast and pairs wonderfully with the fudgy interior of the cake pops.
- Sparkling Water or Lemonade: Refresh with citrusy sparkling drinks that cleanse the palate while adding a touch of fizz to your sweet treat experience.
- Cheesecake Bites: For a decadent dessert table, mini cheesecake bites alongside cake pops create a delightful variety sure to impress your guests!
Chocolate Cake Pops Recipe FAQs
How do I select the best chocolate cake mix for cake pops?
Absolutely! Any brand of chocolate cake mix will work, but for a richer flavor, I recommend substituting water with milk as indicated on the package. This small tweak adds a creamy depth to the cake.
What's the best way to store chocolate cake pops?
To keep your chocolate cake pops fresh, store them in an airtight container in the refrigerator for up to 7 days. This will help maintain their moisture and flavor. If you're keeping them at room temperature, they should be consumed within 2 days in a cool, dry spot.
Can I freeze chocolate cake pops?
Definitely! To freeze chocolate cake pops, first set them in a single layer on a baking sheet and freeze until firm. Then, transfer them to a freezer-safe bag or container. They can be frozen for up to 3 months. To enjoy, let them thaw in the fridge or at room temperature for about 10-15 minutes before serving.
What should I do if my chocolate keeps seizing during melting?
Very! If your chocolate seizes, it may have overheated. Try heating it in shorter 15-second intervals and stirring in between to ensure gentle melting. If it does seize, adding a small amount of vegetable oil can sometimes help to restore its smoothness.
Are chocolate cake pops safe for pets?
No, chocolate is harmful to pets, particularly dogs and cats. Ensure that your chocolate cake pops are stored safely out of reach from furry friends who might be tempted to snag a bite! Always check chocolate items if you're sharing with others who might have allergies or dietary restrictions.

Delightful Chocolate Cake Pops for Your Sweet Cravings
Ingredients
Equipment
Method
- Preheat your oven to the temperature indicated on your chocolate cake mix package. Prepare the cake mix according to the instructions, substituting water with milk for a richer flavor if desired. Pour the batter into a greased cake pan and bake until a toothpick inserted in the center comes out clean, usually about 25-30 minutes. Let the cake cool completely on a wire rack.
- While the cake cools, make the cream cheese frosting. In a large mixing bowl, blend together the softened butter, plain cream cheese, and vanilla extract using an electric mixer. Gradually add in the powdered sugar, mixing until the frosting is smooth and creamy. Set the frosting aside as you prepare the cake for the pops.
- Once the cake has cooled, crumble it into a large bowl, ensuring there are no large chunks left. Add 1 cup of the prepared cream cheese frosting to the crumbled cake, mixing with your hands until it forms a dough-like consistency. Cover the bowl with plastic wrap and chill in the refrigerator for 30-45 minutes.
- Prepare a parchment-lined baking sheet. Use a cookie scoop or your hands to take about 1.5 tablespoons of the mixture and roll it into balls, placing each on the baking sheet. Chill the cake balls again for about 15 minutes while you melt the chocolate.
- In a microwave-safe bowl, add your chocolate melting wafers. Heat them in the microwave in 30-second intervals, stirring in between until smooth and fully melted.
- Take a cake ball from the refrigerator and dip the tip of a cake pop stick into the melted chocolate. Quickly insert the stick into the center of the cake ball.
- Carefully dip each cake pop into the melted chocolate, rotating it to ensure full coverage. Before the chocolate hardens, sprinkle your choice of colorful sprinkles over the coated cake pops.
- Place the finished cake pops upright in a block of Styrofoam or a cake pop stand to allow them to set properly. Let them cool at room temperature until the chocolate hardens.


Leave a Reply