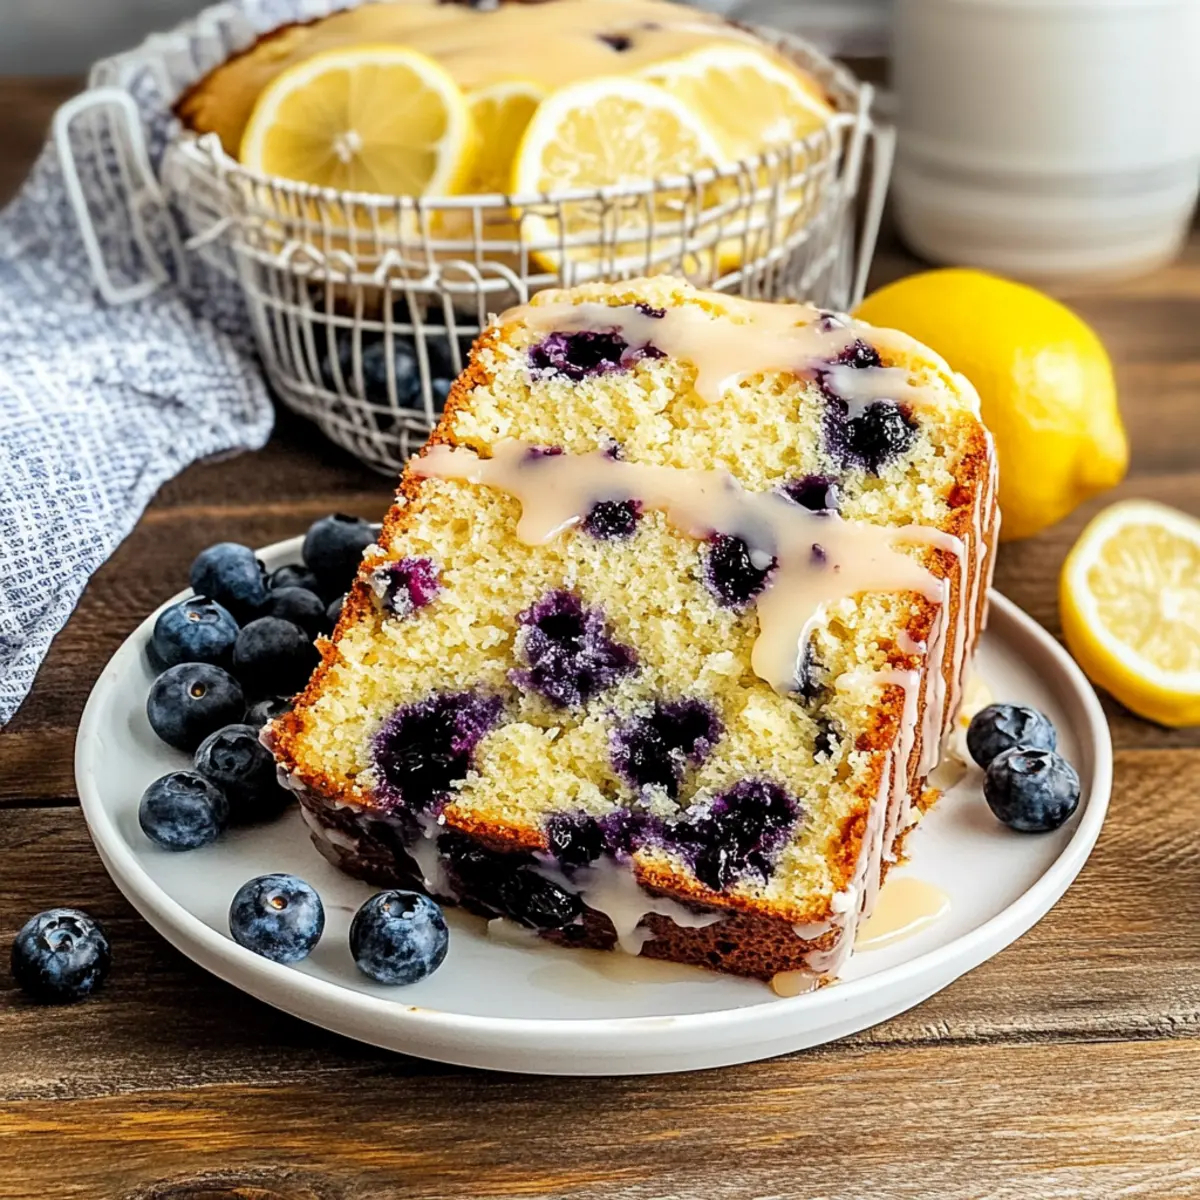
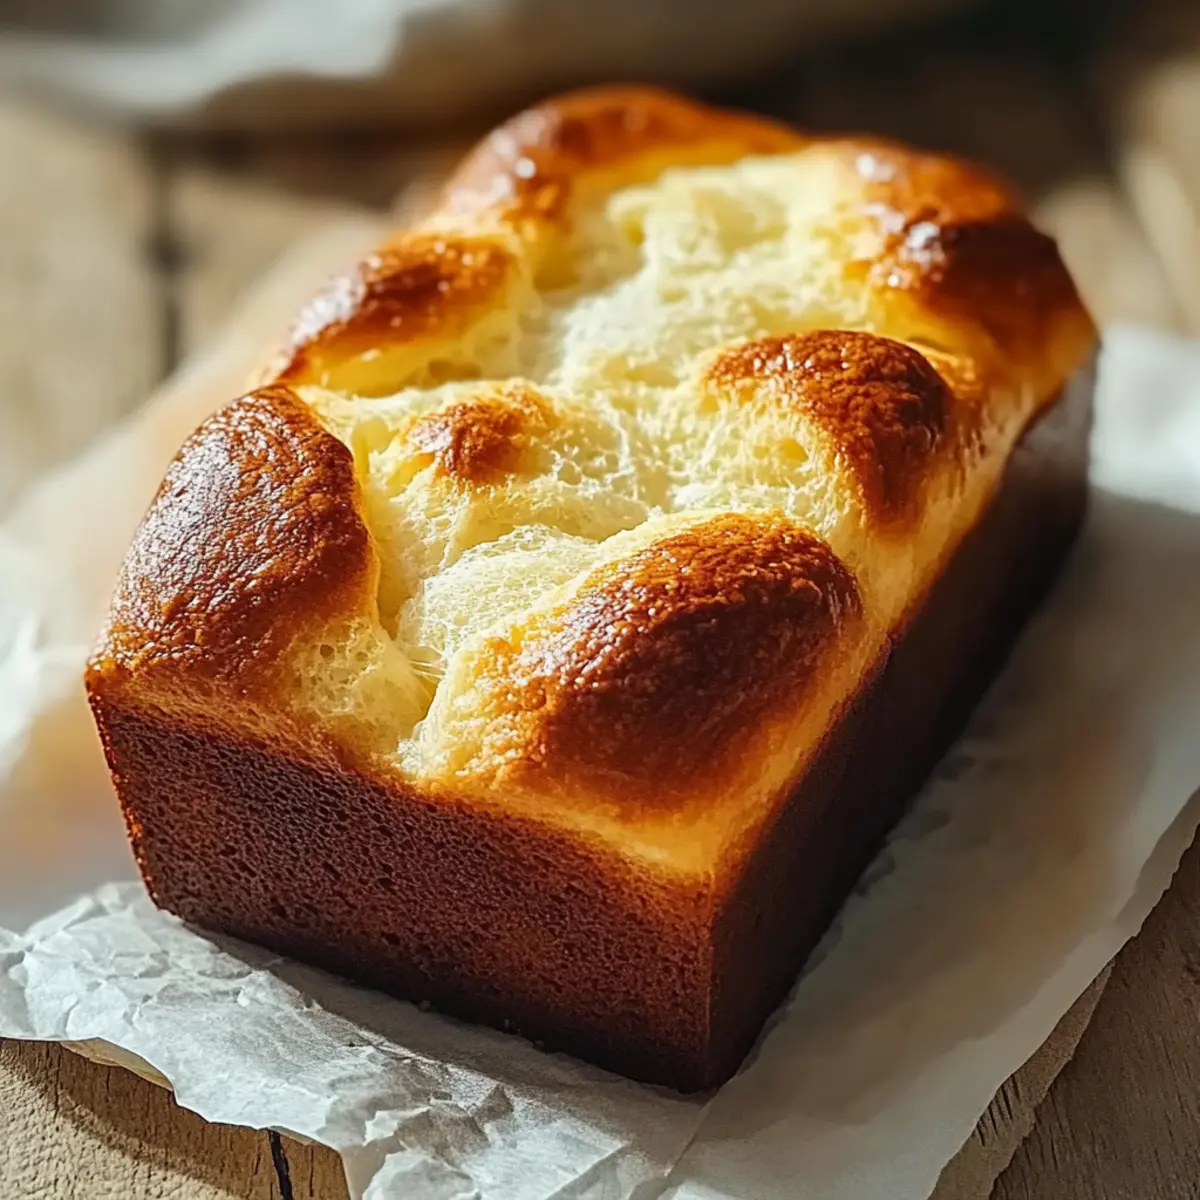
As I sliced into a freshly baked loaf, the warm aroma of cinnamon and sweet zucchini swirled around me, instantly bringing back memories of sunny backyard gatherings. This Moist Garden Zucchini Bread is more than just a delightful recipe; it’s a beautiful way to make the most of those garden-fresh zucchinis. Perfect for breakfast or a cozy coffee break, this easy zucchini bread transforms a simple vegetable into a light and tender snack that even the most skeptical will love. Not only is it versatile—with options for gluten-free and dairy-free adaptations—but it also packs in fiber and nutrients, making it a guilt-free indulgence. Ready to elevate your baking game with this simple yet irresistible recipe? Let’s dive in!

Why is this zucchini bread a must-try?
Moisture and Flavor: The essence of this bread lies in its moist texture, thanks to the fresh zucchini, which adds not only moisture but also a subtle sweetness.
Versatile Options: You can easily adapt this recipe for different diets with gluten-free or dairy-free alternatives, ensuring everyone can enjoy the goodness!
Quick and Easy: With simple ingredients and straightforward steps, this bread is perfect for busy days when you need a delicious snack without the fuss.
Nutritional Benefits: Packed with fiber and vitamins A and C, this light snack is a guilt-free treat that satisfies your cravings and supports your health.
Crowd-Pleasing Appeal: Whether served warm or toasted, it’s an inviting addition to breakfast or afternoon tea. For more delightful zucchini recipes, check out the Cheesy Zucchini Bake and Cornbread Breakfast Casserole for your next gathering!
Moist Garden Zucchini Bread Ingredients
• This deliciously moist garden zucchini bread is a must-try for all baking enthusiasts!
For the Batter
- Zucchini – Provides moisture and fiber; be sure to squeeze out excess water after grating for the best texture.
- All-Purpose Flour – Aids in structure; can be swapped with a gluten-free baking blend for a gluten-free option.
- Granulated Sugar – Adds sweetness and balances zucchini's flavor; you can reduce the amount for a less sweet loaf.
- Brown Sugar – Enhances flavor with a touch of molasses; can replace with all white sugar if preferred.
- Baking Soda – Acts as a leavening agent; ensure it's fresh for optimal rise.
- Baking Powder – Another leavening agent that contributes to a lighter texture.
- Salt – Balances sweetness and enhances overall flavors.
- Cinnamon – A warm spice that adds depth; try ground cardamom instead for a unique twist.
- Vegetable Oil/Applesauce – Adds moisture and richness; using applesauce decreases fat content.
- Eggs – Binds ingredients; using room temperature eggs improves batter mixing. You can use egg replacers for a vegan version.
Optional Add-Ins
- Nuts (Walnuts or Pecans) – Add crunch and flavor; chopped for easy incorporation.
- Chocolate Chips – For a touch of sweetness and indulgence; perfect for chocolate lovers!
Step‑by‑Step Instructions for Moist Garden Zucchini Bread
Step 1: Preheat and Prepare
Start by preheating your oven to 350°F (175°C). While the oven warms up, grab a 9x5-inch loaf pan and grease it generously with cooking spray or line it with parchment paper for easy removal after baking. This preparation ensures that your moist garden zucchini bread slides out effortlessly once baked.
Step 2: Grate the Zucchini
Wash and trim the ends of your zucchini, then grate it using a box grater. Once grated, place the zucchini in a clean kitchen towel or cheesecloth and twist it to squeeze out as much excess moisture as possible. This step is crucial for maintaining the texture of your moist garden zucchini bread, helping it bake perfectly without becoming soggy.
Step 3: Mix Dry Ingredients
In a large mixing bowl, whisk together your dry ingredients: all-purpose flour, granulated sugar, brown sugar, baking soda, baking powder, salt, and cinnamon. Make sure everything is well combined and the dry ingredients are lump-free; you want to create a solid base that will give your moist garden zucchini bread its wonderful structure and flavor.
Step 4: Combine Wet Ingredients
In a separate bowl, whisk together the eggs, vegetable oil (or applesauce), and the freshly squeezed zucchini. Ensure all components are blended well, as this mixture will add moisture and flavor to your bread. Using room temperature ingredients helps them combine more seamlessly, creating a cohesive batter for the best results.
Step 5: Combine Mixtures
Gradually add the wet mixture into the dry ingredients, using a spatula to fold everything together gently. Mix until just combined—be careful not to overmix, as this can make the bread dense. You’ll want a thick, lumpy batter that holds together but still has visible bits of zucchini throughout for that inviting appearance in your moist garden zucchini bread.
Step 6: Transfer to Pan
Pour the batter into your prepared loaf pan, using a spatula to smooth the top for an even bake. This helps ensure your moist garden zucchini bread will rise evenly, creating a beautiful, golden-brown loaf. Give the pan a gentle tap on the counter to release any air bubbles trapped in the batter, creating a more uniform texture.
Step 7: Bake to Perfection
Place the loaf pan in your preheated oven and bake for 50-60 minutes. Keep an eye on the bread, and check for doneness around the 50-minute mark by inserting a toothpick into the center; it should come out clean or with a few moist crumbs. This is the key to achieving that perfectly moist texture that makes this zucchini bread so delightful.
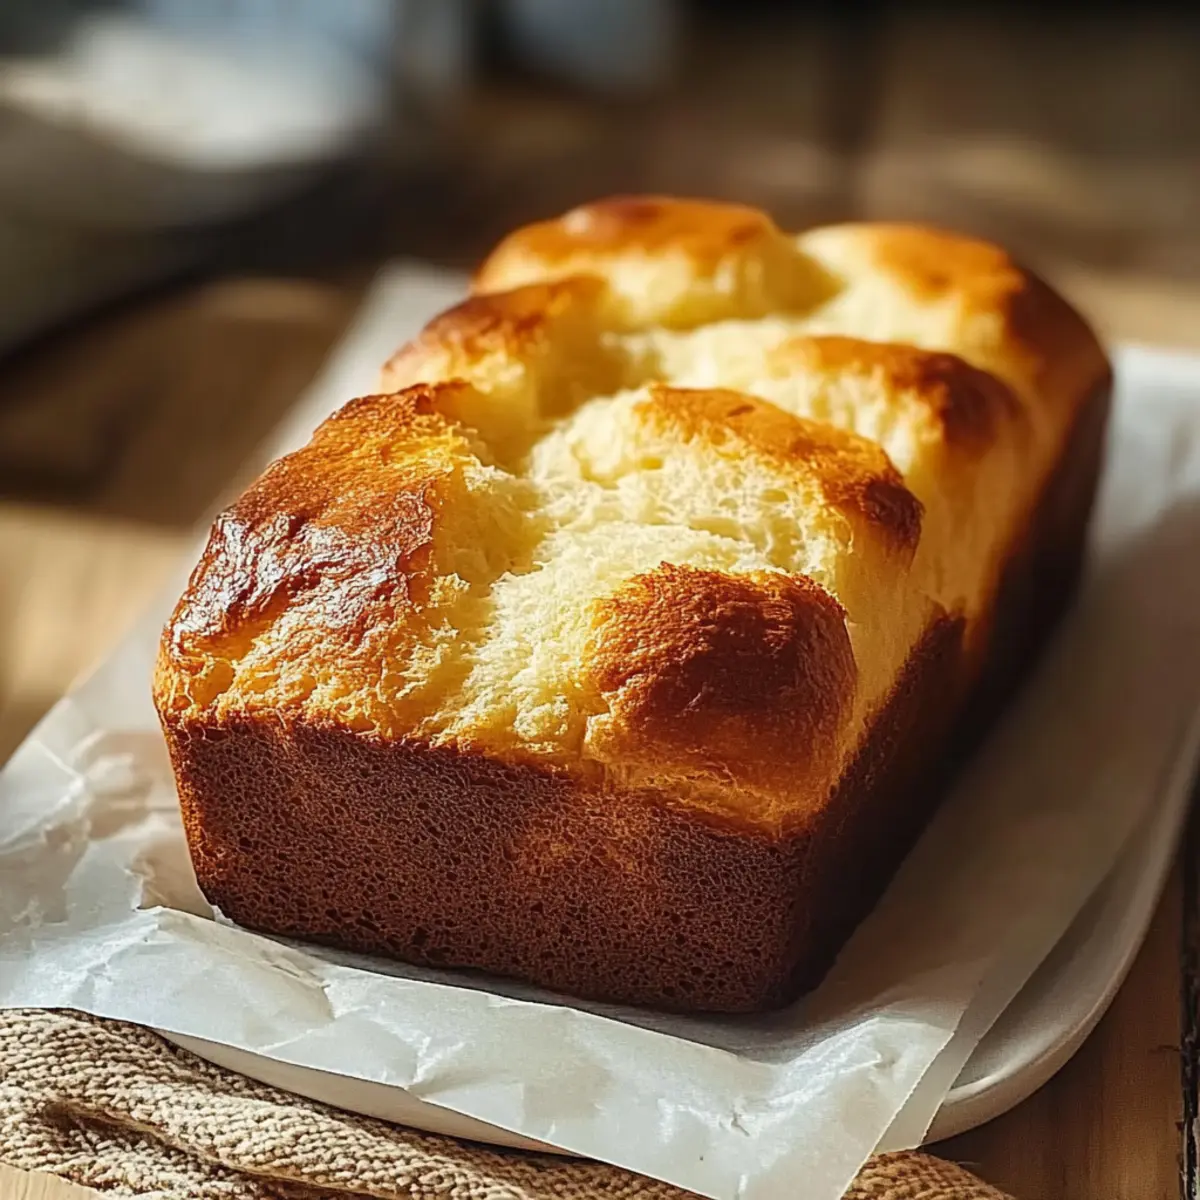
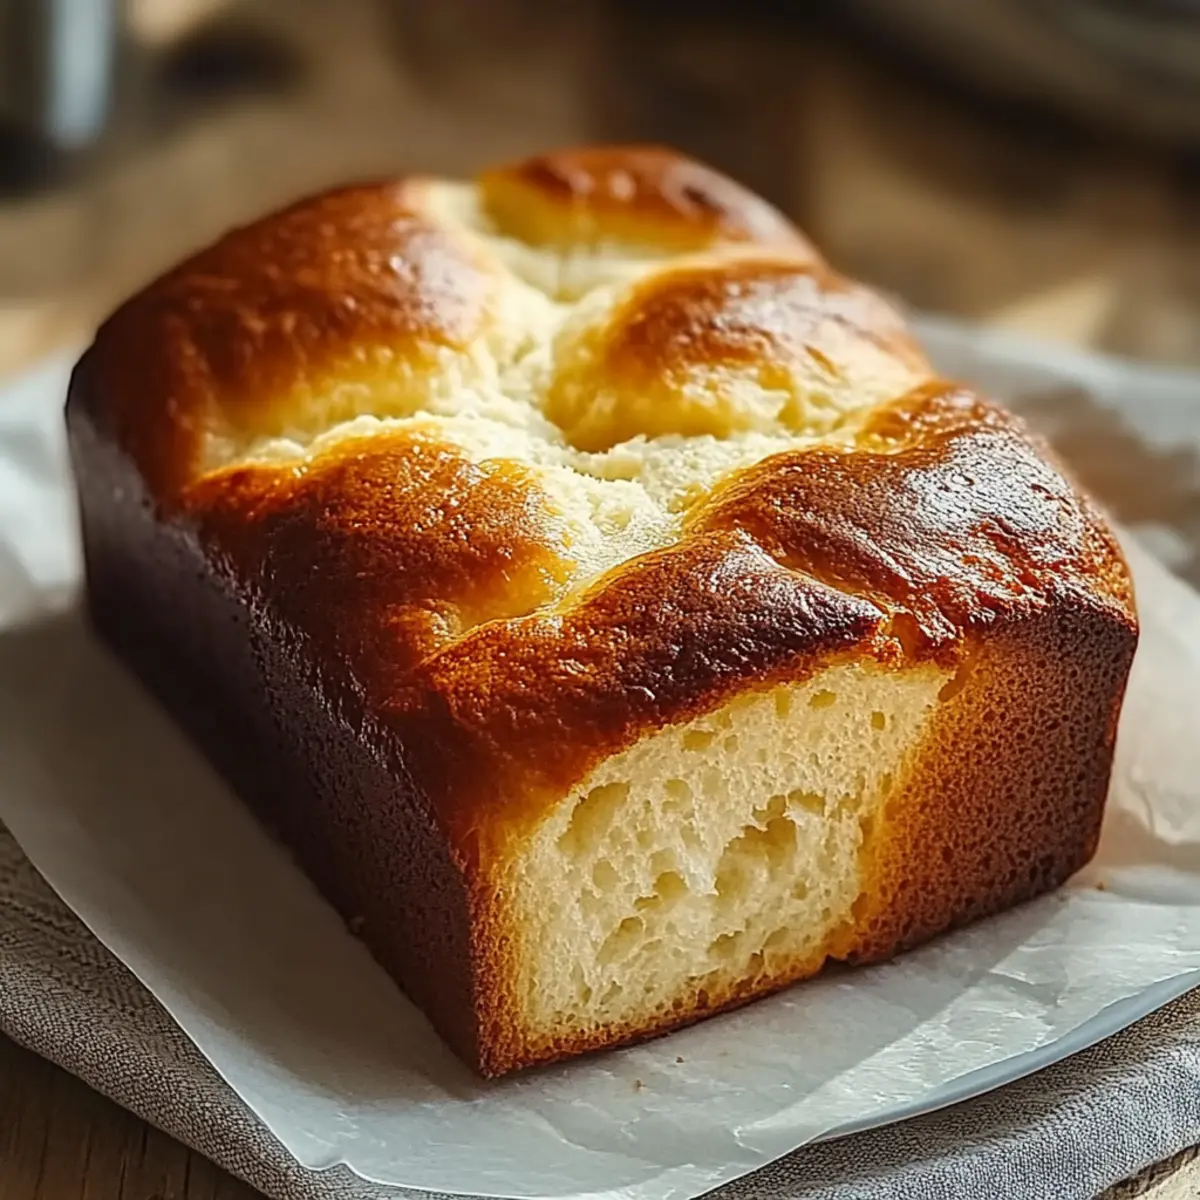
Step 8: Cool and Slice
Once the baking time is up, remove the loaf from the oven and let it cool in the pan for about 10-15 minutes. Then, transfer the bread onto a wire rack to cool completely. This cooling process is vital; it allows your moist garden zucchini bread to set properly so you can enjoy it sliced and will help achieve the ultimate tenderness in every bite.

Make Ahead Options
These Moist Garden Zucchini Bread loaves are fantastic for meal prep! You can prepare the batter up to 24 hours in advance and store it in the refrigerator. Just mix the dry ingredients (flour, sugars, baking soda, baking powder, salt, and spices) and the wet ingredients (eggs, oil, and zucchini) in separate bowls. Keep the dry ingredients stored tightly covered to maintain freshness. When you're ready to bake, simply combine the wet and dry ingredients and pour the batter into your prepared pan. This way, you'll enjoy the same wonderful flavors and texture while saving precious time on busy mornings! Plus, if you're looking to savor the bread later, it can be sliced and stored in the freezer for up to 3 months—just thaw and enjoy the deliciousness whenever you want!
Tips for the Best Moist Garden Zucchini Bread
-
Fresh Ingredients: Use fresh zucchini and check the expiration dates on baking powder and baking soda. Fresh ingredients yield the best rise and flavor in your moist garden zucchini bread.
-
Avoid Overmixing: Gently fold your wet and dry ingredients together. Overmixing can lead to dense bread—remember, a few lumps are perfectly fine!
-
Squeeze Effectively: Ensure you thoroughly squeeze out excess moisture from the grated zucchini. This prevents soggy bread and maintains texture.
-
Room Temperature Eggs: Using room temperature eggs in the batter allows for better incorporation, leading to a light and airy loaf. Take the eggs out ahead of time to warm up.
-
Even Baking: If the top of the bread browns too quickly, tent it loosely with foil to prevent burning while the inside finishes baking.
-
Cool Before Slicing: Let your zucchini bread cool completely before slicing to keep it moist. Cutting too early can lead to a crumbly texture.
How to Store and Freeze Moist Garden Zucchini Bread
Room Temperature: Wrap the cooled loaf tightly in plastic wrap to keep it fresh for 2-3 days. Store at room temperature, ensuring it's kept in a cool, dry place.
Fridge: For up to 1 week, refrigerate your wrapped zucchini bread. This helps maintain its moisture while prolonging its shelf life, especially in warmer climates.
Freezer: Slice the loaf and freeze individual pieces in airtight bags or containers for up to 3 months. Thaw at room temperature or pop into the toaster for a quick treat.
Reheating: Warm individual slices in the microwave for about 10-15 seconds or toast for a crispy exterior. Enjoy the delightful taste of your Moist Garden Zucchini Bread again!
What to Serve with Moist Garden Zucchini Bread?
This delightful zucchini bread pairs beautifully with a variety of dishes and drinks, creating a cozy, satisfying meal or snack experience.
-
Creamy Mashed Potatoes: The rich, creamy texture of mashed potatoes complements the lightness of zucchini bread, creating a comforting contrast. Pairing these two is like a warm hug on a plate!
-
Fresh Garden Salad: A crisp salad tossed with seasonal greens, cherry tomatoes, and a light vinaigrette adds a refreshing crunch, balancing the sweetness of the bread. The vibrant flavors keep your palate excited.
-
Herb-Infused Greek Yogurt: Spread this tangy dip on warm slices for a creamy, savory touch. With fresh herbs, it beautifully enhances the bread's flavor while adding protein to your snack.
-
Roasted Vegetable Medley: Roasting seasonal veggies caramelizes their natural sugars and brings a hearty touch, harmonizing with the subtle sweetness of the zucchini bread for a wholesome meal.
-
Warm Cinnamon Apples: Served warm, these tender apples echo the cinnamon notes in the bread, making for a comforting dessert-like finale. Imagine the sweet aroma wafting through your kitchen!
-
Honey Butter Spread: Whipped honey butter adds a creamy, sweet twist that perfectly complements the moistness of the zucchini bread. You'll find yourself savoring each bite!
-
Brewed Earl Grey Tea: This fragrant tea with notes of bergamot enhances the bread’s delightful spices, making it an ideal pairing for afternoon tea. Relax with a cup and indulge.
-
Vanilla Ice Cream: A scoop of creamy vanilla ice cream on the side creates a delightful contrast in temperature. The cool creaminess alongside the warm bread is pure bliss.
-
Chia Seed Pudding: A light and nutritious dessert option, chia pudding provides an enjoyable texture, making your snack feel indulgent yet healthy. Enjoy it with a dash of fruit on top!
-
Apple Cider Cocktail: A crisp, refreshing apple cider cocktail pairs wonderfully with the zucchini bread, adding a festive touch to any gathering while enhancing those autumn-inspired flavors.
Moist Garden Zucchini Bread Variations
Feel free to make this delightful zucchini bread your own with fun twists and substitutions that cater to your taste preferences!
- Gluten-Free: Substitute all-purpose flour with a gluten-free baking blend for a deliciously alternative option.
- Dairy-Free: Use almond milk or coconut yogurt in place of any dairy for those avoiding lactose.
- Nutty Delight: Add ½ cup of chopped walnuts or pecans for a delightful crunch that pairs beautifully with the soft texture of the bread.
- Chocolate Indulgence: Incorporate ½ cup of chocolate chips for a decadent treat that makes the perfect afternoon snack.
- Spice It Up: Swap out cinnamon with nutmeg or cardamom for a warm twist that elevates the flavor profile.
- Mini Muffins: Transform your loaf into miniature muffins by adjusting the baking time to 20-25 minutes—perfect for single servings!
- Adding Veggies: Toss in a shredded carrot or some grated apple for added sweetness and a hint of extra moisture.
- Heated Version: Spice up your loaf by adding diced jalapeños or chili flakes for a subtle kick that will make your taste buds dance!
For more ways to sneak zucchini into your meals, check out the comforting Cheesy Garlic Bread or warm up with a slice of Cornbread Breakfast Casserole. Enjoy exploring these creative variations!

Moist Garden Zucchini Bread Recipe FAQs
What should I look for when selecting zucchini?
Absolutely! Choose firm, shiny zucchinis with smooth skin, ideally around 6-8 inches long. Avoid any with dark spots or softness, as this indicates they're past their prime. Fresh zucchinis yield the best flavor and moisture for your bread.
How should I store leftover zucchini bread?
I recommend wrapping your cooled loaf tightly in plastic wrap and storing it at room temperature for 2-3 days. If you want it to last longer, refrigerate it for up to 1 week. This keeps your Moist Garden Zucchini Bread deliciously moist!
Can I freeze zucchini bread?
Absolutely! After slicing the loaf, individually wrap each piece in plastic wrap and place them in airtight bags or containers. It will keep well for up to 3 months. When you're ready to enjoy, just thaw at room temperature or pop slices in the toaster.
What if my zucchini bread didn't rise properly?
Very often, issues stem from expired baking soda or baking powder. Always double-check those ingredients for freshness before mixing. Also, be careful not to overmix the batter; it can make your bread dense. If the batter looks thick and lumpy, you’re on the right track!
Does zucchini bread contain allergens?
For those with dietary concerns, this Moist Garden Zucchini Bread can be easily adapted! You can use a gluten-free flour blend and swap eggs for flaxseed meal or commercial egg replacers for vegan options. Just be sure to check any add-ins, like nuts or chocolate chips, for specific allergens.
How can I enhance the flavor of my zucchini bread?
There are plenty of delightful ways to elevate your zucchini bread! Try adding a teaspoon of vanilla extract to your wet ingredients for extra depth. You can also toss in spices like nutmeg or even lemon zest for a new twist that complements the zucchini beautifully.

Moist Garden Zucchini Bread for a Irresistibly Tasty Snack
Ingredients
Equipment
Method
- Preheat your oven to 350°F (175°C) and grease a 9x5-inch loaf pan.
- Grate the zucchini and squeeze out excess moisture using a clean kitchen towel.
- In a large bowl, whisk together the dry ingredients: flour, granulated sugar, brown sugar, baking soda, baking powder, salt, and cinnamon.
- In a separate bowl, whisk together the eggs, vegetable oil (or applesauce), and zucchini.
- Gradually add the wet mixture to the dry ingredients and fold until just combined.
- Pour the batter into the prepared loaf pan and smooth the top.
- Bake for 50-60 minutes, checking for doneness with a toothpick.
- Remove from oven and cool in the pan for 10-15 minutes before transferring to a wire rack.