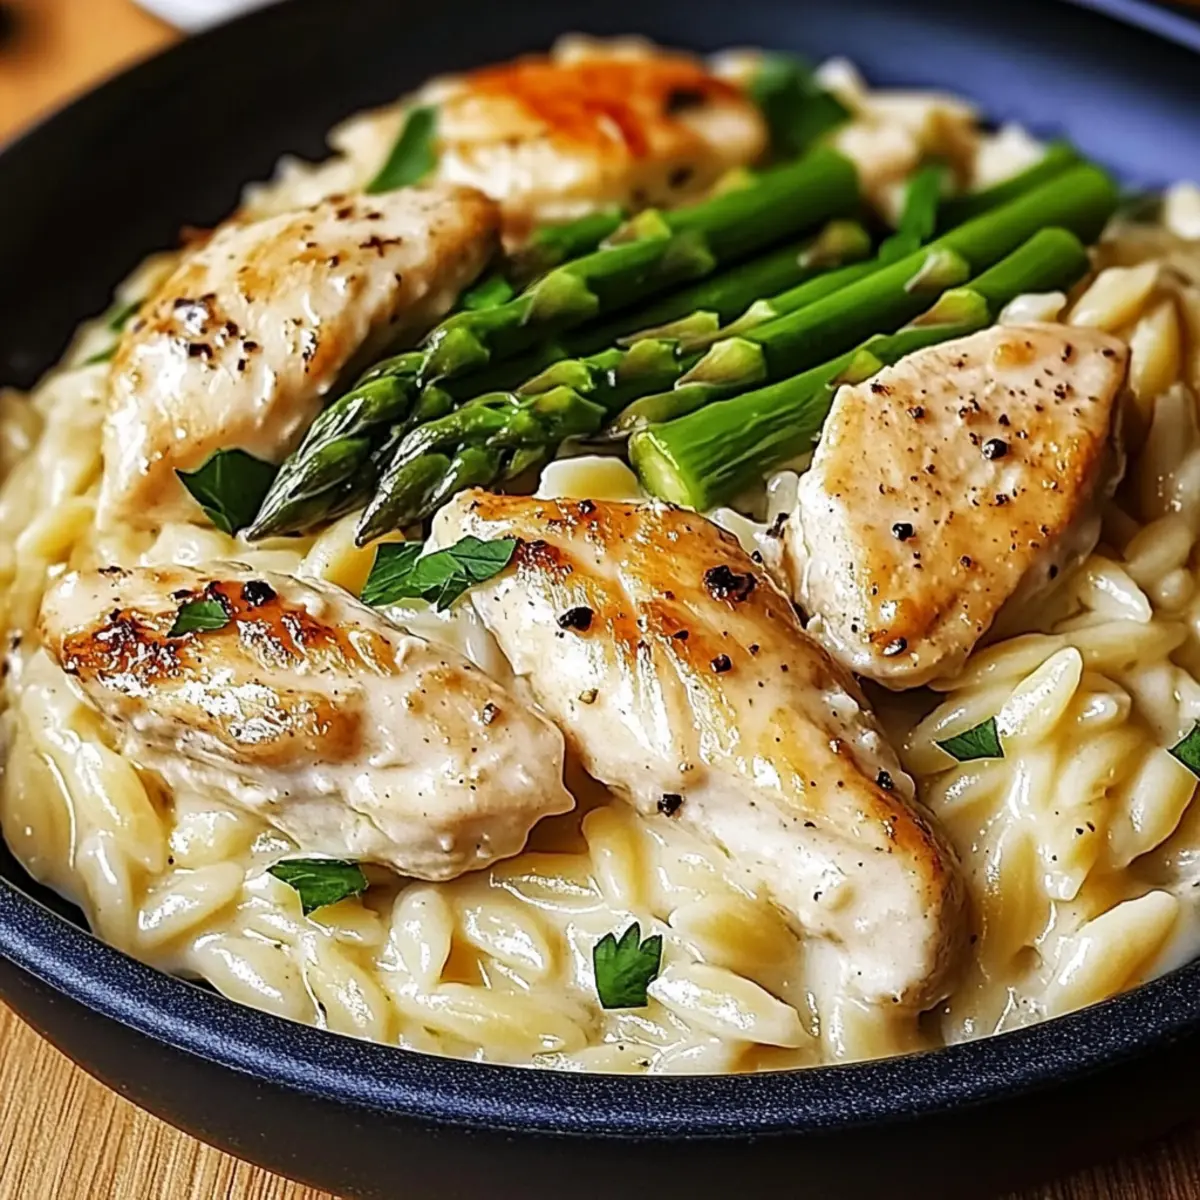
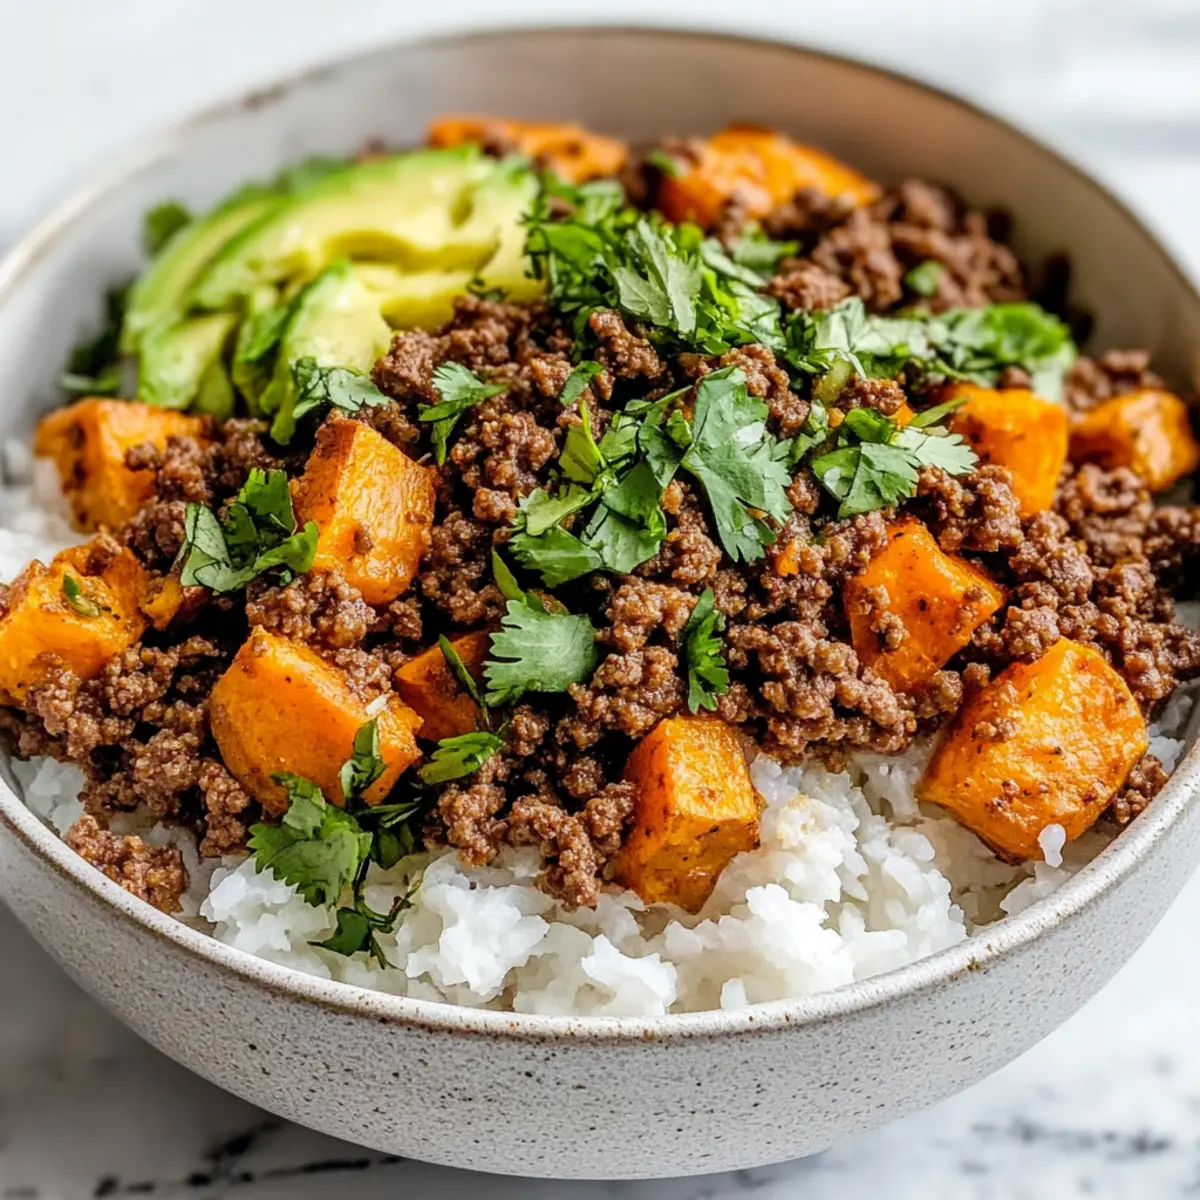
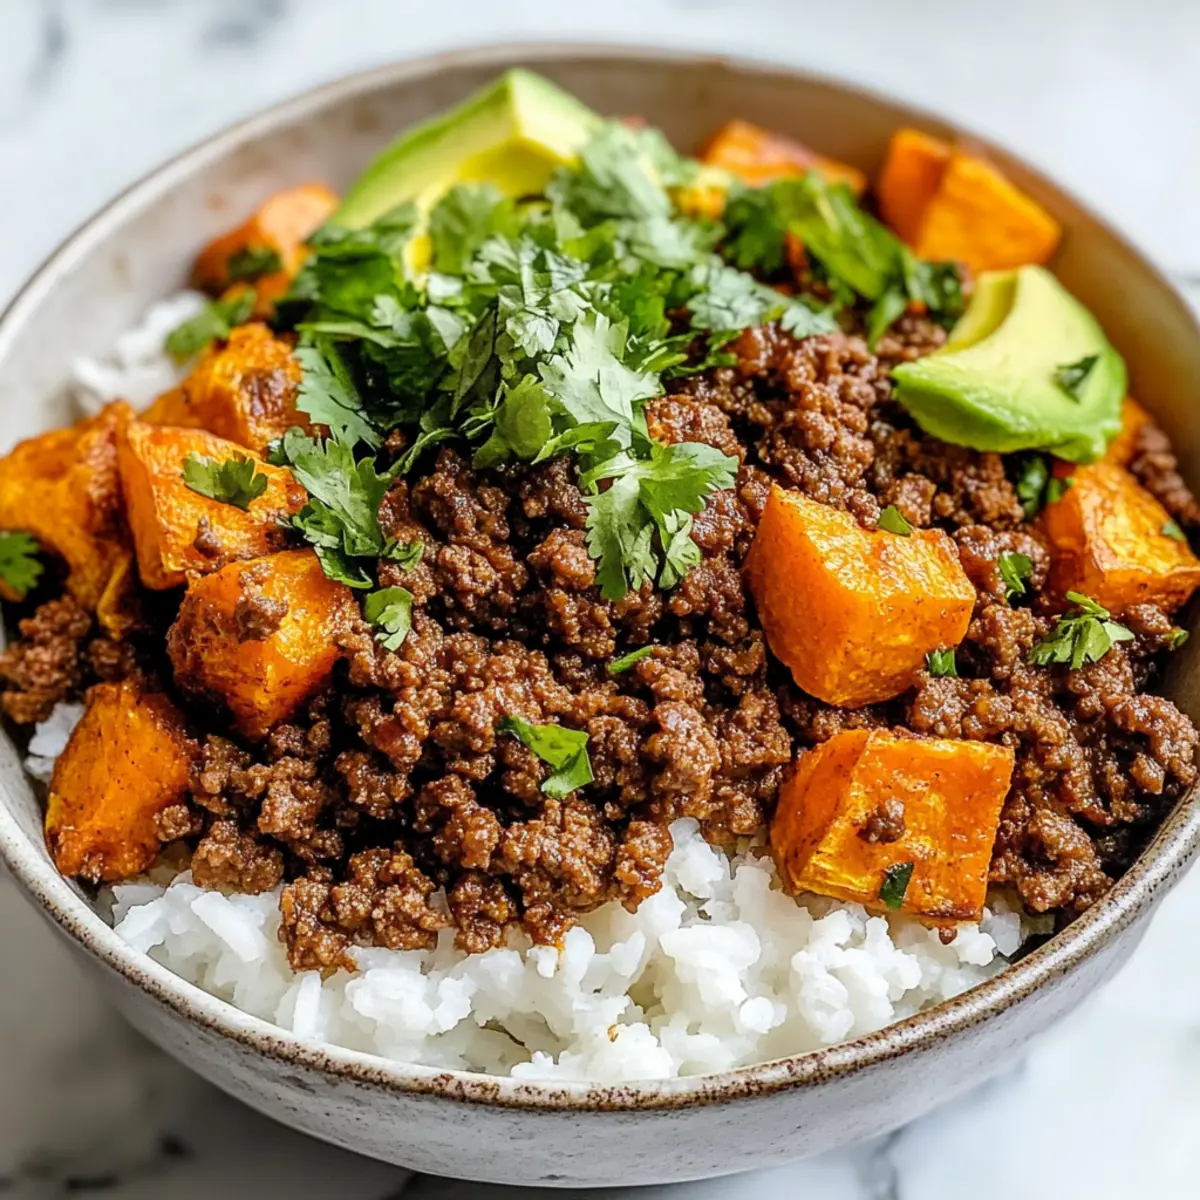
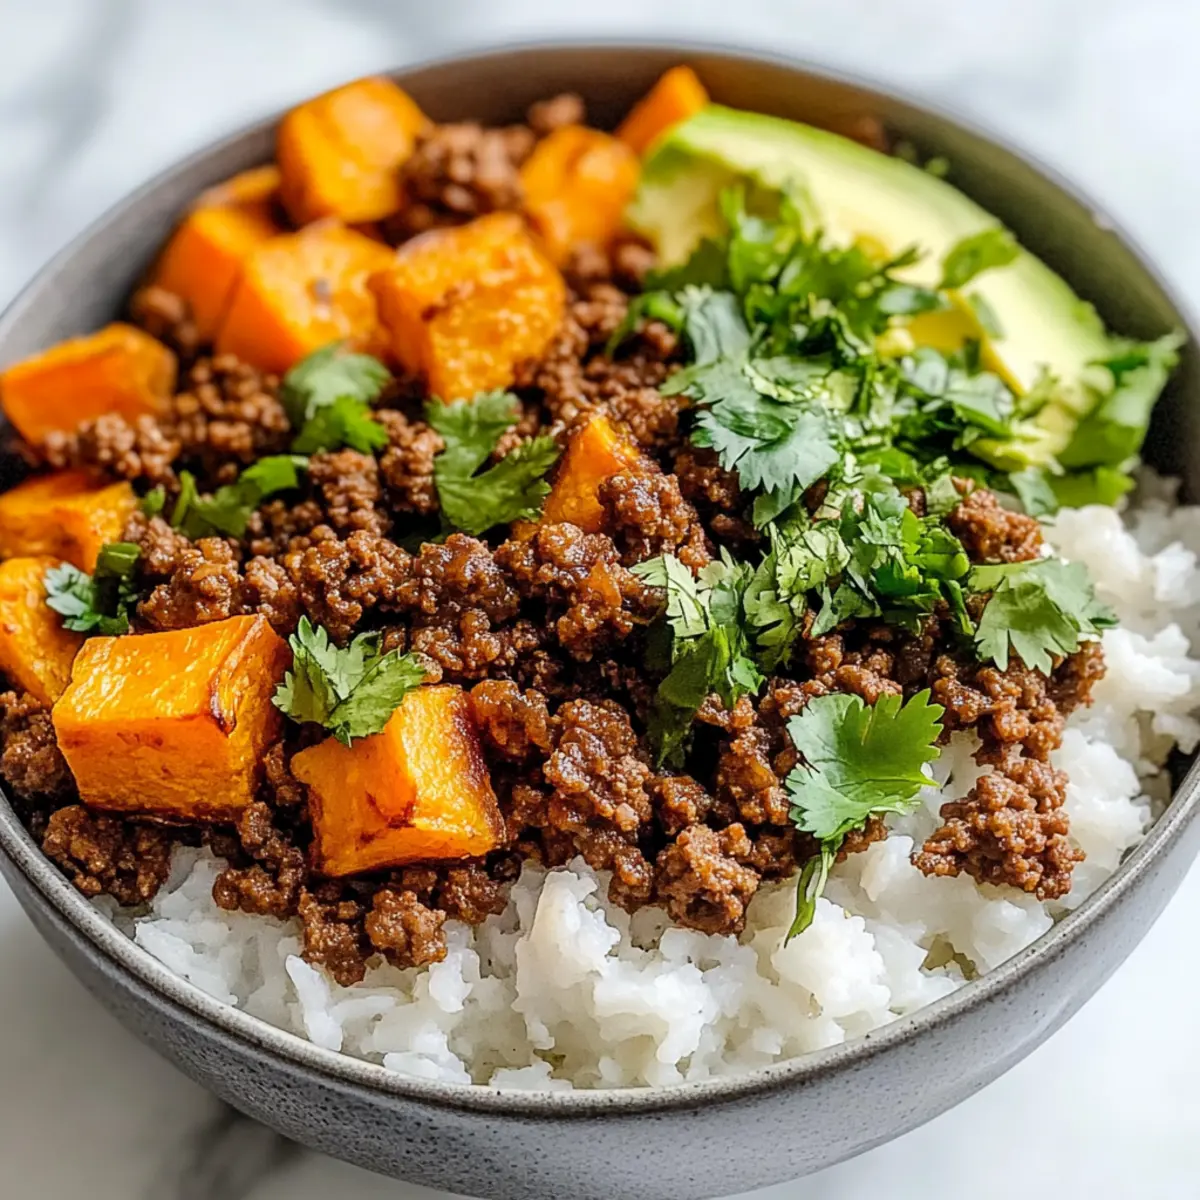
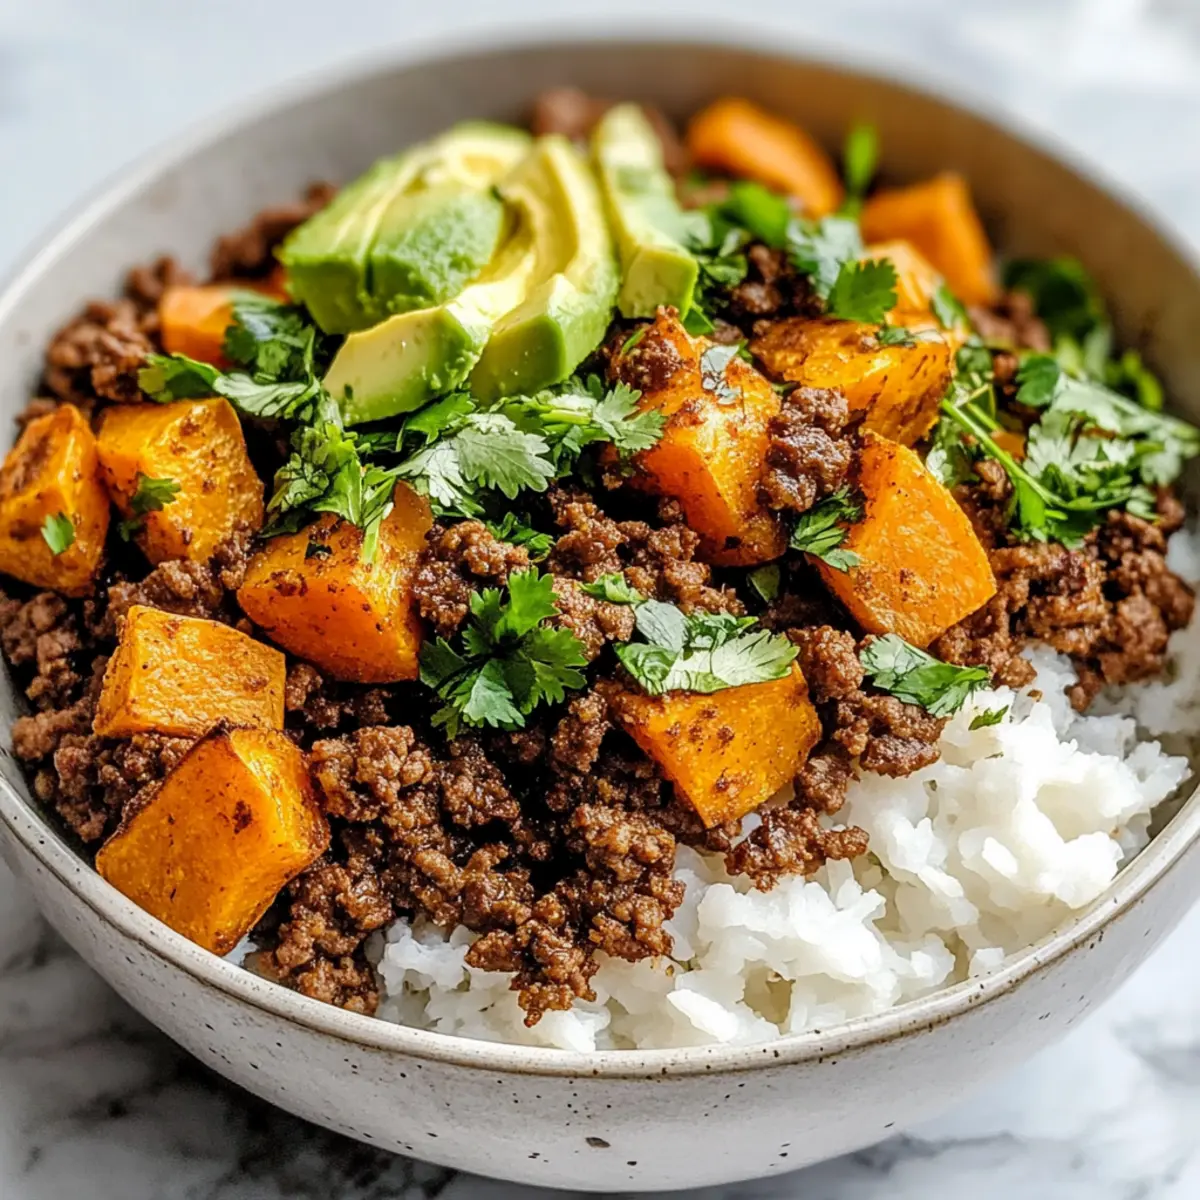
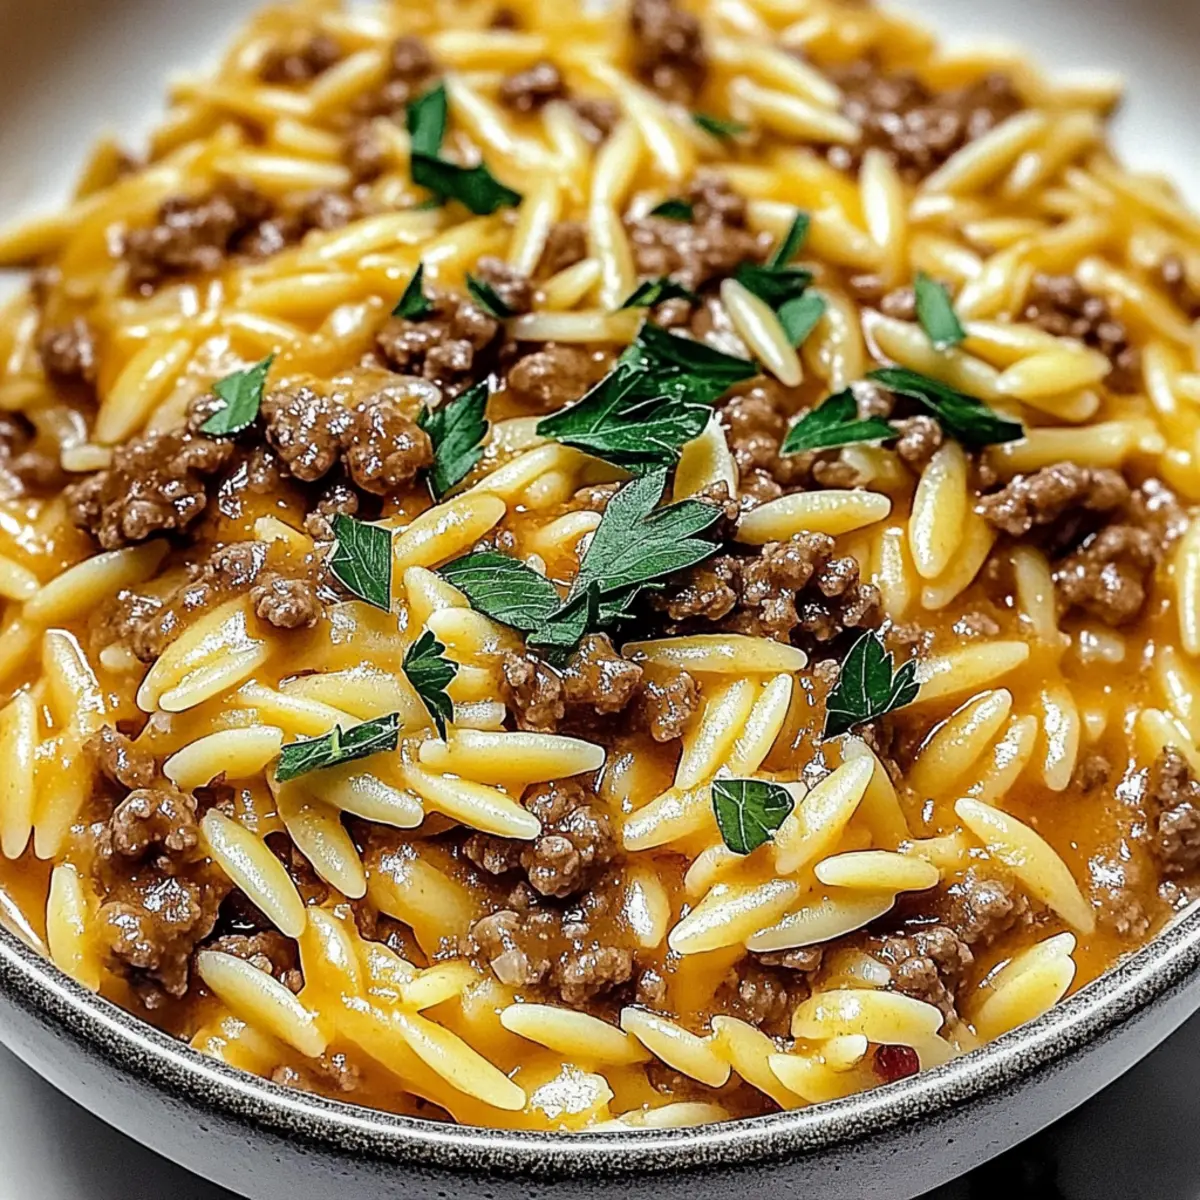
As I stirred the pot, the mouthwatering aroma of savory ground beef and sautéed onions filled my kitchen, drawing everyone in like a warm embrace. This Easy Ground Beef Orzo Recipe is a lifesaver for hectic weeknights, allowing you to whip up a hearty meal in just 30 minutes. It’s all made in one pot, meaning less cleanup and more time to savor the deliciousness with your loved ones. Not only is it a comforting dish, but it also offers plenty of customization options—swap in ground turkey for a lighter twist or toss in your favorite veggies to boost the nutrition. Curious about how to bring this delightful dish to life? Let’s dive into the details and transform your dinner routine!
Why is this dish a weeknight hero?
Quick and Easy: In just 30 minutes, you can create a satisfying meal that tastes like you spent hours in the kitchen.
One-Pot Wonder: Fewer dishes mean less cleanup time—perfect for busy lifestyles!
Customizable Delight: Easily adapt this recipe with ground turkey or your favorite veggies for a fresh spin.
Comfort Food Vibes: This dish combines hearty ingredients for a meal that feels like a warm hug. Whether you love classic flavors or want to experiment, this Easy Ground Beef Orzo is the perfect solution. Don’t forget to check out some other delicious recipes like Ground Beef Enchiladas or Spatchcock Chicken Flavor for more inspiration!
Easy Ground Beef Orzo Ingredients
For the Beef and Pasta
• Lean Ground Beef – Provides protein and richness; look for 80% lean for optimal flavor.
• Orzo Pasta – Acts as the base of the dish, cooking quickly and absorbing flavors beautifully.
• Onion – Adds sweetness and depth; choose a firm, blemish-free onion.
• Garlic – Enhances flavor with its pungent aroma; fresh is best.
For the Flavor Base
• Low-Sodium Beef Broth – Creates a hearty base without too much salt, making the Easy Ground Beef Orzo robust.
• Dried Oregano – Introduces earthy flavors; can be swapped with Italian seasoning if preferred.
• Salt and Pepper – Essential for balancing flavors; adjust to taste.
Feel free to explore variations like swapping the ground beef for turkey or a plant-based option or adding veggies like diced tomatoes or spinach for an extra nutritional boost!
Step‑by‑Step Instructions for Easy Ground Beef Orzo Recipe
Step 1: Sauté Aromatics
In a large skillet, heat 2 tablespoons of olive oil over medium heat. Once hot, add the chopped onion and sauté for about 5 minutes until it is translucent and soft, stirring occasionally. Then, stir in the minced garlic, cooking for an additional minute until fragrant, making your kitchen come alive with aromas that set the stage for the Easy Ground Beef Orzo.
Step 2: Brown the Meat
Next, add 1 pound of lean ground beef to the skillet, breaking it apart with a wooden spoon. Cook for 7-10 minutes, or until the beef is nicely browned and no longer pink, draining any excess fat if necessary. This step infuses the dish with rich flavor, which is essential for that hearty one-pot meal experience you’re after.
Step 3: Combine Ingredients
Stir in 1 cup of uncooked orzo pasta, 1 teaspoon of dried oregano, along with salt and pepper to taste. Mix everything thoroughly so that the orzo is well combined with the seasoned beef. The mixture should look savory and aromatic, indicating that the flavors are beginning to meld in your Easy Ground Beef Orzo.
Step 4: Add Broth
Pour in 4 cups of low-sodium beef broth, stirring to ensure all ingredients are evenly distributed. Raise the heat and bring the mixture to a gentle boil—this should take about 2-3 minutes. Once boiling, reduce the heat to low, cover the skillet, and let it simmer for 10-12 minutes until the orzo is tender and has absorbed most of the broth, creating a comforting base for your dish.
Step 5: Final Touches
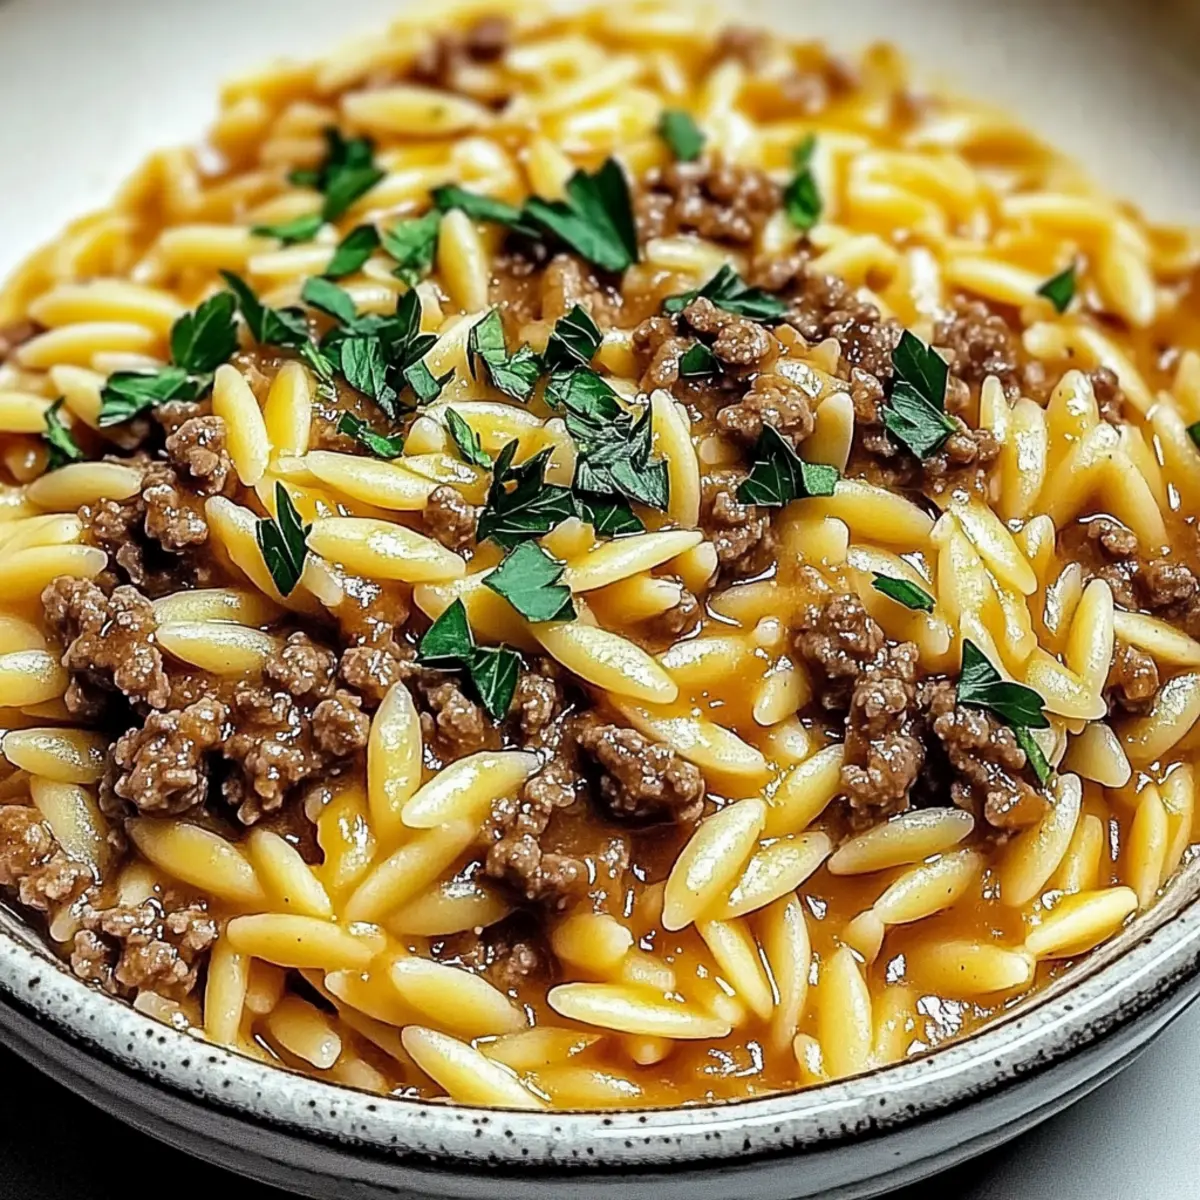
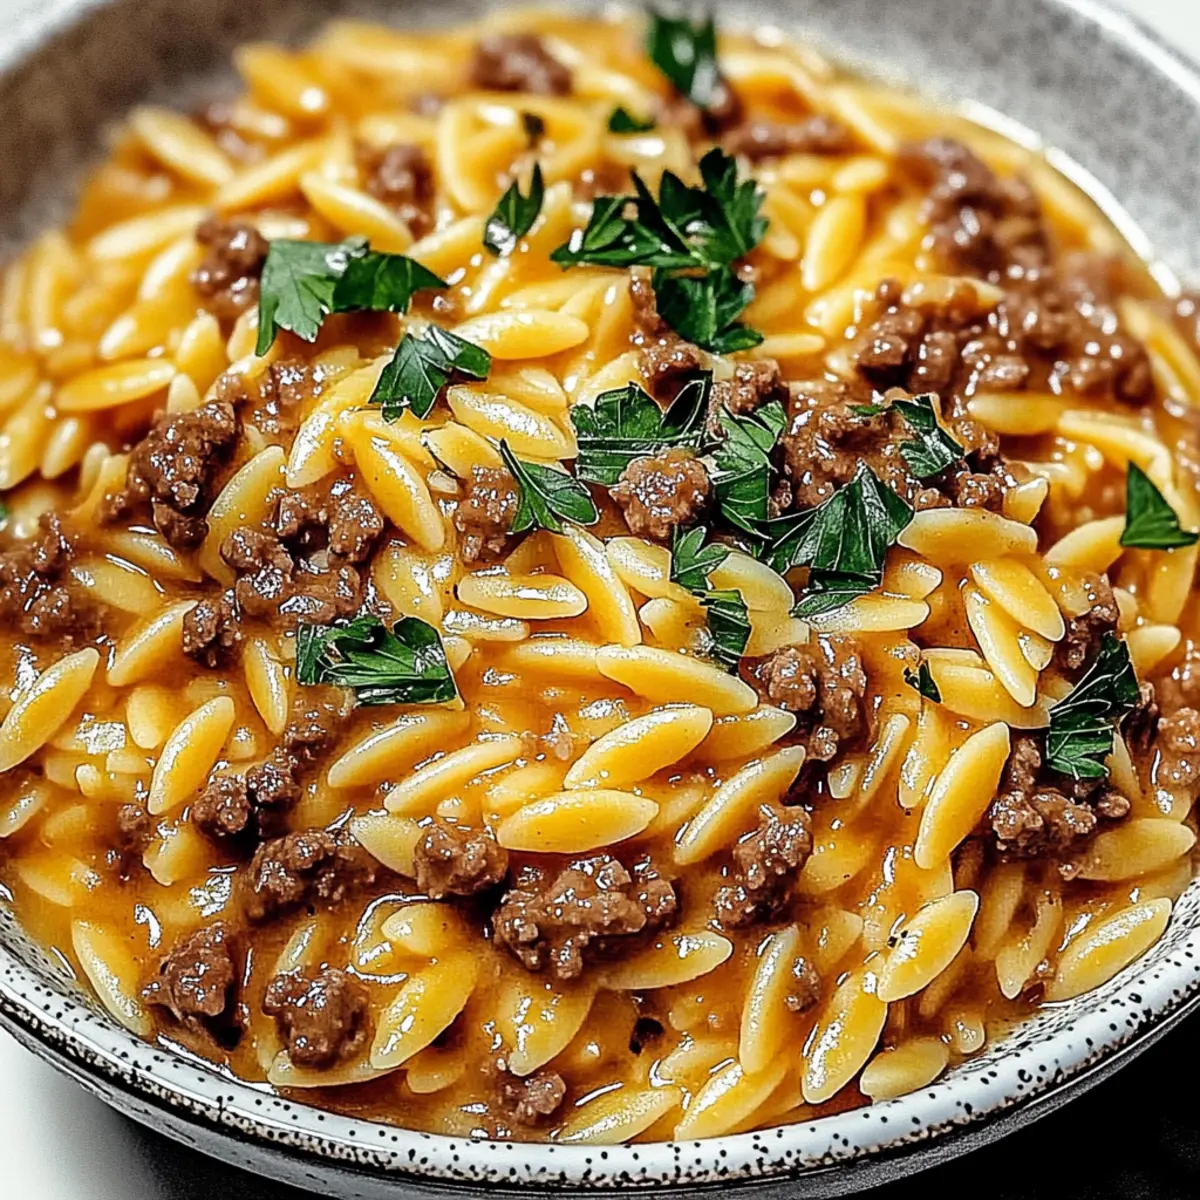
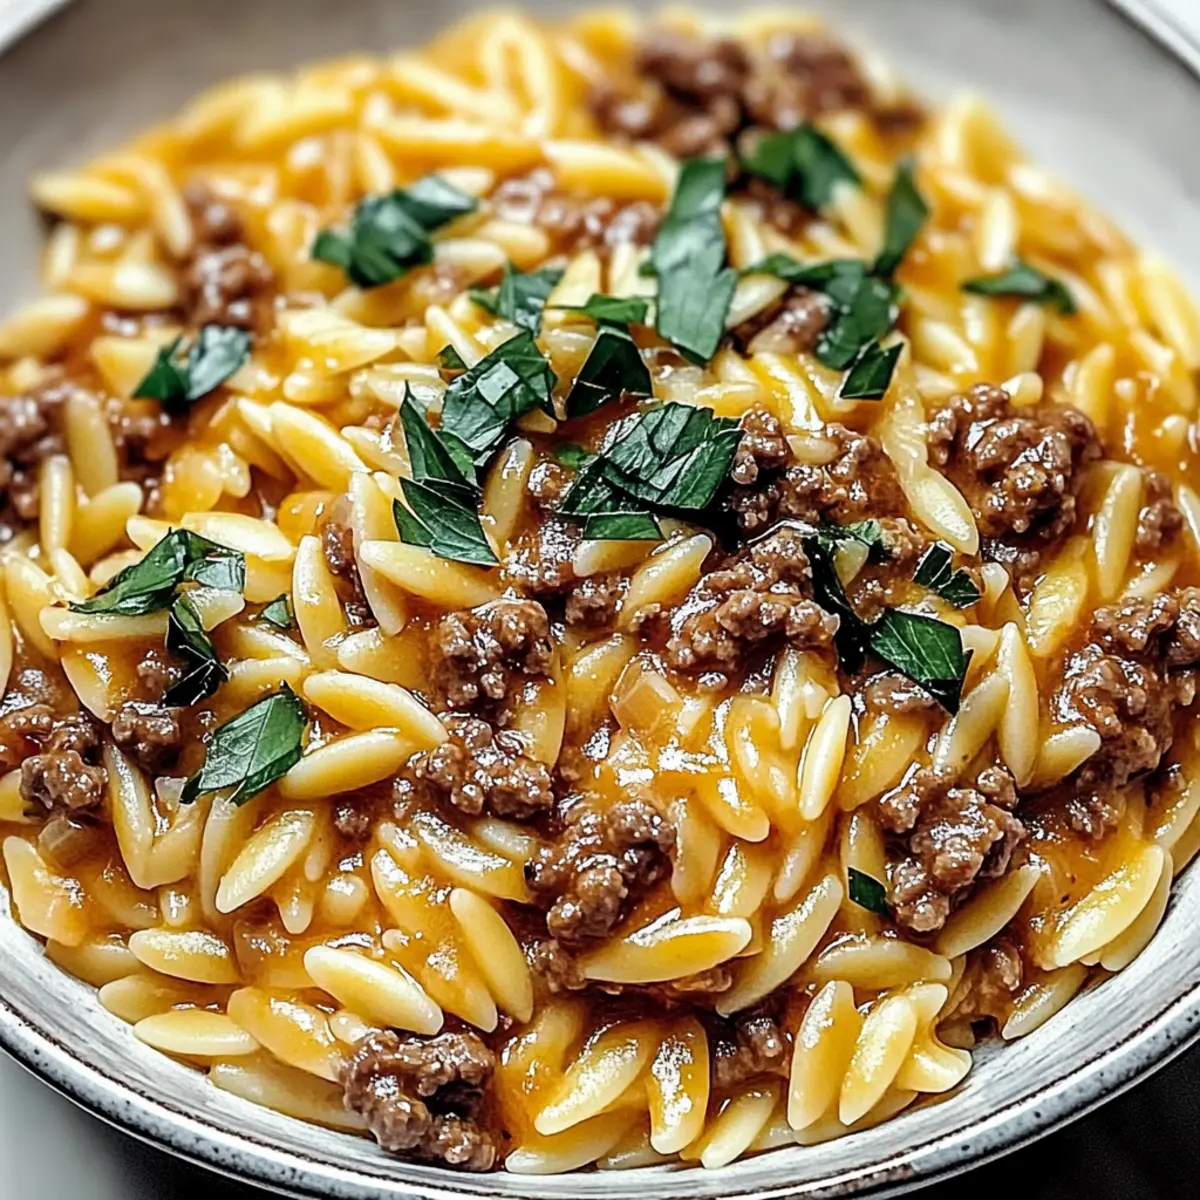
After the simmering time, remove the lid and stir the Easy Ground Beef Orzo gently to combine all ingredients. Check for seasoning, adding more salt and pepper if necessary. Serve hot, and feel free to garnish with fresh parsley or grated cheese for an extra touch of deliciousness, making your meal visually appealing and inviting.
Easy Ground Beef Orzo Variations
Feel free to let your creativity shine by customizing this dish to fit your taste and dietary preferences!
- Turkey Swap: Replace ground beef with lean ground turkey for a lighter version that’s just as hearty.
- Plant-Based: Use plant-based ground meat or lentils for a delicious vegetarian twist that maintains the dish's texture.
- Veggie Boost: Stir in diced tomatoes, spinach, or bell peppers for a burst of color and added nutrients, making every bite more vibrant.
- Cheesy Delight: Mix in your favorite cheese, such as mozzarella or Parmesan, at the end for a creamy finish that’s utterly comforting.
- Spice It Up: Add a pinch of red pepper flakes or a dash of hot sauce to spice things up and awaken your taste buds.
- Herb Variations: Swap out dried oregano for fresh basil or thyme for an aromatic twist that adds depth to your Easy Ground Beef Orzo.
- Broth Choices: Use vegetable broth instead of beef broth for a lighter flavor profile that still delivers on richness.
- Citrus Zing: A squeeze of lemon juice just before serving brightens the dish beautifully, cutting through the richness with refreshing acidity.
Looking to explore even more culinary delights? Don’t miss out on delicious options like Chicken Adobo Again for bold flavors or the savory allure of Spatchcock Chicken Flavor to inspire your next family dinner!
How to Store and Freeze Easy Ground Beef Orzo
Fridge: Store leftovers in an airtight container for up to 3 days. Make sure it's completely cool before sealing to prevent condensation.
Freezer: Wrap portions tightly in plastic wrap and then place in freezer bags for up to 2 months. Thaw in the refrigerator overnight before reheating.
Reheating: Gently reheat on the stovetop over low heat with a splash of beef broth to maintain moisture and revive the flavors of your Easy Ground Beef Orzo.
Room Temperature: It's best to avoid leaving out for more than 2 hours to ensure safety and freshness.
Make Ahead Options
These Easy Ground Beef Orzo recipe components are perfect for meal prep! You can sauté the onions and garlic up to 24 hours in advance; simply refrigerate them in an airtight container. Additionally, you can brown the ground beef up to 3 days ahead and store it in the fridge. When you're ready to serve, reheat the beef and aromatics in the skillet, add the uncooked orzo, broth, and seasonings, and let it simmer until the orzo is tender. This method keeps the flavors vibrant and ensures your dinner is just as delicious with minimal effort, making busy weeknights a breeze!
Expert Tips
• Quality Meat Matters: Choose good-quality lean ground beef for the best flavor and texture in your Easy Ground Beef Orzo recipe.
• Veggie Boost: Don’t hesitate to add diced tomatoes, spinach, or bell peppers for extra nutrients and color, brightening up your dish beautifully.
• Perfect Pasta: Keep an eye on the orzo as it cooks; you want it tender but not mushy. Stir occasionally to prevent sticking!
• Moisture Maintenance: When reheating leftovers, add a splash of beef broth. This keeps your Easy Ground Beef Orzo moist and delicious for a second serving.
• Herb Swaps: Feel free to customize flavors; rosemary or thyme can substitute oregano, adding a unique twist if desired.
What to Serve with Easy Ground Beef Orzo
Elevate your family dinner with a collection of sides that perfectly complement the cozy flavors of this one-pot wonder.
-
Garlic Bread: The crispy, buttery texture provides a delightful contrast to the tender orzo, enhancing each bite. Plus, who can resist a warm loaf?
-
Crispy Salad: A light, fresh salad with mixed greens, cherry tomatoes, and a zesty vinaigrette balances the richness of the Easy Ground Beef Orzo.
-
Roasted Vegetables: Seasonal veggies like zucchini, bell peppers, and carrots caramelize beautifully, adding sweetness and depth to your meal. They’re not just nutritious; they bring color and life to your table!
-
Cheesy Spinach Gratin: Creamy, cheesy goodness pairs excellently with a hearty dish like this. The rich, savory taste will have everyone reaching for seconds.
-
Creamy Mashed Potatoes: Fluffy potatoes topped with a hint of butter and a sprinkle of chives make a comforting addition that echoes the homey vibe of the Easy Ground Beef Orzo.
-
Red Wine: A glass of smooth, red wine elevates your dining experience while complementing the rich flavors of the beef and broth.
Easy Ground Beef Orzo Recipe FAQs
How do I select ripe ingredients for this recipe?
Absolutely! For the best flavor, look for firm, blemish-free onions. When selecting garlic, choose bulbs that are firm and not sprouted. A fresh head of garlic will elevate the dish, bringing out its rich flavors.
How long can I store leftovers in the fridge?
You can store this Easy Ground Beef Orzo in an airtight container in the refrigerator for up to 3 days. It’s essential to let it cool completely before sealing to prevent condensation, keeping the orzo delicious and fresh.
Can I freeze Easy Ground Beef Orzo?
Very! To freeze, wrap individual portions tightly in plastic wrap, and then place them in freezer bags. This method allows for easy meals later. It can be stored for up to 2 months. When you're ready to enjoy, thaw it in the refrigerator overnight before reheating.
What should I do if my orzo is too sticky while cooking?
No worries! If you find your orzo sticking together, ensure you're stirring occasionally during cooking to keep it from clumping. If this happens post-cooking, simply add a splash of beef broth or water while reheating, then stir gently to separate.
Are there any dietary considerations for this dish?
Absolutely! If you or loved ones have allergies, it's best to avoid any substitutions that could trigger them—I recommend using low-sodium beef broth if salt is a concern. For those looking for plant-based options, you can easily swap ground beef with lentils or a plant-based protein, making it versatile for all diets.
How can I enhance the flavor of my Easy Ground Beef Orzo?
Great question! While cooking, try adding a splash of Worcestershire sauce or some freshly grated cheese right before serving to deepen the flavor. Additionally, a sprinkle of fresh herbs like parsley or basil can brighten up the dish, adding a lovely finish.
Easy Ground Beef Orzo Recipe: A Cozy 30-Minute Wonder
Ingredients
Equipment
Method
- In a large skillet, heat 2 tablespoons of olive oil over medium heat. Add chopped onion and sauté for about 5 minutes until translucent.
- Add 1 pound of lean ground beef to the skillet and cook for 7-10 minutes until browned.
- Stir in 1 cup of uncooked orzo pasta, 1 teaspoon of dried oregano, along with salt and pepper to taste.
- Pour in 4 cups of low-sodium beef broth, raise heat to a gentle boil, then reduce heat to low and let simmer for 10-12 minutes.
- Remove lid and stir gently. Check for seasoning and serve hot, garnished with parsley or grated cheese.