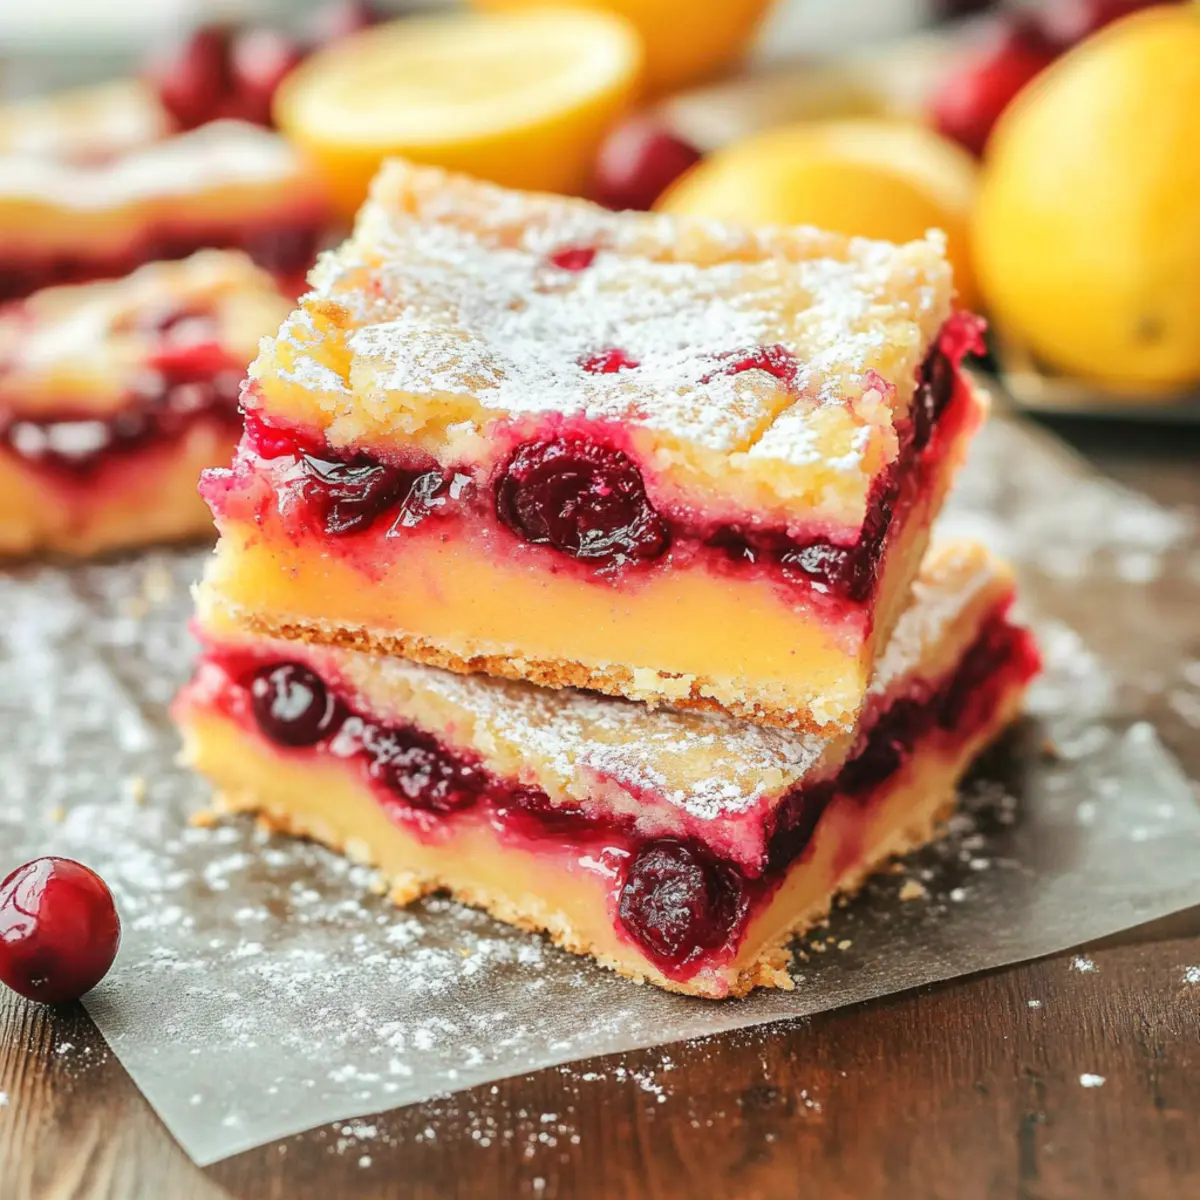
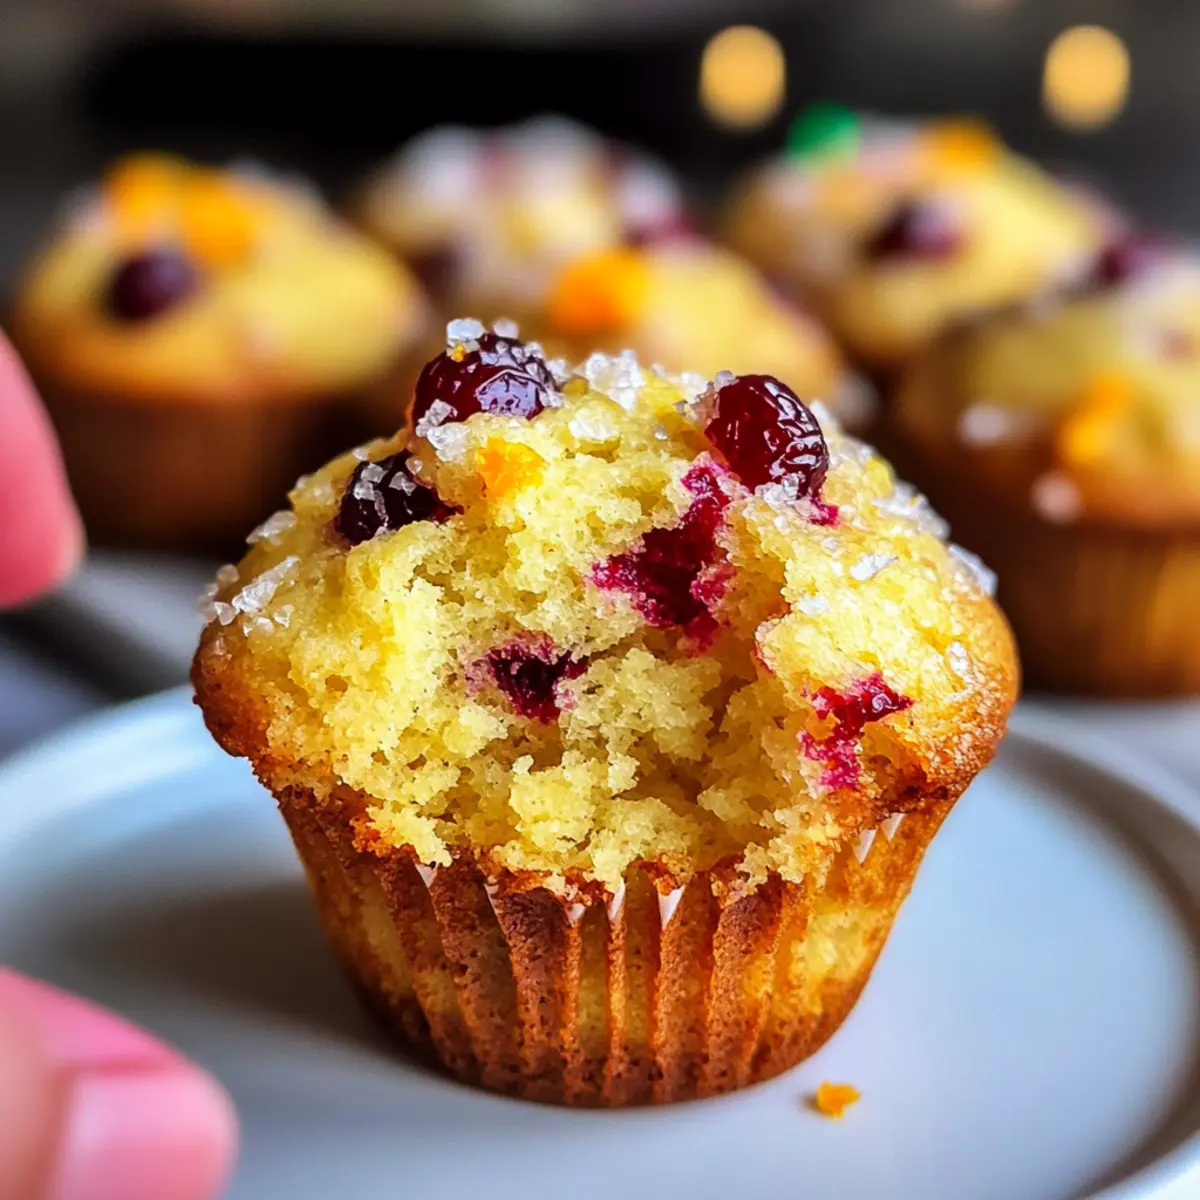
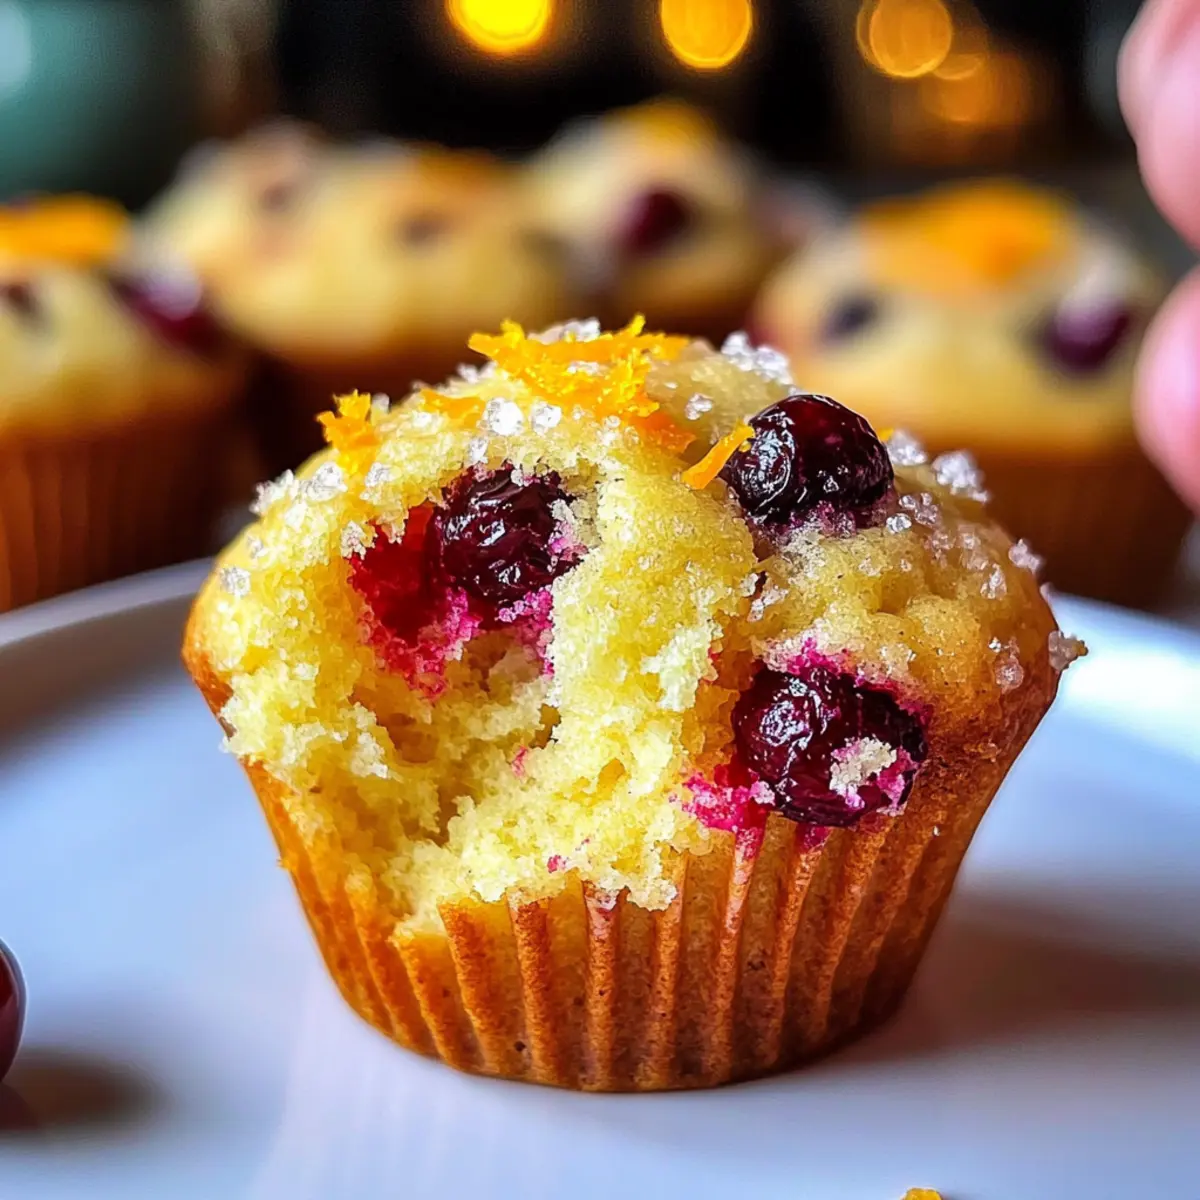
The minute I catch a whiff of freshly baked muffins, my heart skips a beat. There’s something incredibly inviting about the aroma of citrus and warm spices filling the kitchen, especially when it comes to these delightful Citrus Orange Cranberry Muffins. They combine the bright, zesty flavor of oranges with the tartness of cranberries, creating a breakfast experience that’s both refreshing and comforting. Best of all, these muffins require just one bowl and can be whipped up in no time—making them perfect for those hectic mornings or leisurely weekend brunches. If you’re looking for a make-ahead option to brighten your breakfast table, you’re in for a treat. Are you ready to embark on a citrusy adventure? Let’s dive into this easy recipe!
Why Are These Muffins a Must-Try?
Simplicity is key: With just one bowl, these Citrus Orange Cranberry Muffins can be whipped up in a flash, making them perfect for busy mornings. Bursting with flavor, the combination of tart cranberries and zesty orange creates a delightful breakfast experience. Versatility shines here; feel free to mix in your favorite nuts or substitute fruits. Make-ahead friendly, these muffins stay fresh for days and freeze beautifully, ensuring you’re always ready for a delicious treat. Whether paired with cream cheese or enjoyed plain, they’re bound to impress your family and friends!
Citrus Orange Cranberry Muffin Ingredients
These delicious Citrus Orange Cranberry Muffins are as simple as they are scrumptious!
For the Muffins
- All-Purpose Flour – Provides the structure; you can use whole wheat flour for a healthier twist.
- White Sugar – Adds sweetness; swap with coconut sugar or honey, just reduce the liquid slightly.
- Baking Powder – Acts as a leavening agent; ensure it's fresh to achieve the best rise.
- Baking Soda – Enhances browning and texture; if you don't have any, baking powder can substitute.
- Eggs – Acts as a binder while keeping the muffin moist; for vegan options, try flaxseed meal instead.
- Vegetable Oil or Unsalted Butter – Contributes to moisture; applesauce can be used for a lighter substitute.
- Milk – Adds flavor and moisture; non-dairy milk works wonderfully as an alternative.
- Vanilla Extract – Enhances the overall flavor; almond extract can bring a unique quality instead.
- Orange Extract (optional) – Intensifies the citrus flavor; feel free to leave it out if you don’t have any.
- Grated Orange Zest – Brings brightness; avoid using juice as it changes the muffin's moisture content.
- Cranberries (Fresh or Frozen) – Provides tartness and texture; blueberries can be an excellent substitute if needed.
- Coarse Sparkling Sugar – Offers a lovely crunchy topping; regular sugar works as well or simply skip it.
Bite into these muffins, and experience the zesty delight that makes them a breakfast essential. Perfectly moist and bursting with flavor, they will surely become a family favorite!
Step‑by‑Step Instructions for Citrus Orange Cranberry Muffins
Step 1: Prepare the Dry Ingredients
In a large bowl, whisk together the all-purpose flour, white sugar, baking powder, and baking soda until the mixture is smooth and lump-free, taking about 1-2 minutes. This flour blend will create the delightful structure for your Citrus Orange Cranberry Muffins, so ensure it’s well incorporated before moving forward.
Step 2: Combine the Wet Ingredients
Add the eggs, vegetable oil or melted butter, milk, vanilla extract, orange extract, and grated orange zest to the dry ingredients. Mix gently until just combined, avoiding over-mixing to keep the muffins light and fluffy. This process should take about 1 minute, and you’ll want to see a few small streaks of flour remaining for perfect texture.
Step 3: Incorporate the Cranberries
Gently fold in the cranberries, whether fresh or frozen, using a spatula to ensure they are evenly distributed throughout the batter without causing too much bleeding. This step is key as it preserves the beautiful balance of sweet and tart in your Citrus Orange Cranberry Muffins, leaving them with bursts of flavor.
Step 4: Prepare the Muffin Tin
Preheat your oven to 350°F (175°C) and prepare a muffin tin by greasing each cup with non-stick spray or lining with paper liners. This will prevent your muffins from sticking, allowing them to release easily after baking. Make sure the oven is hot before moving on to the next step for optimal baking.
Step 5: Fill the Muffin Cups
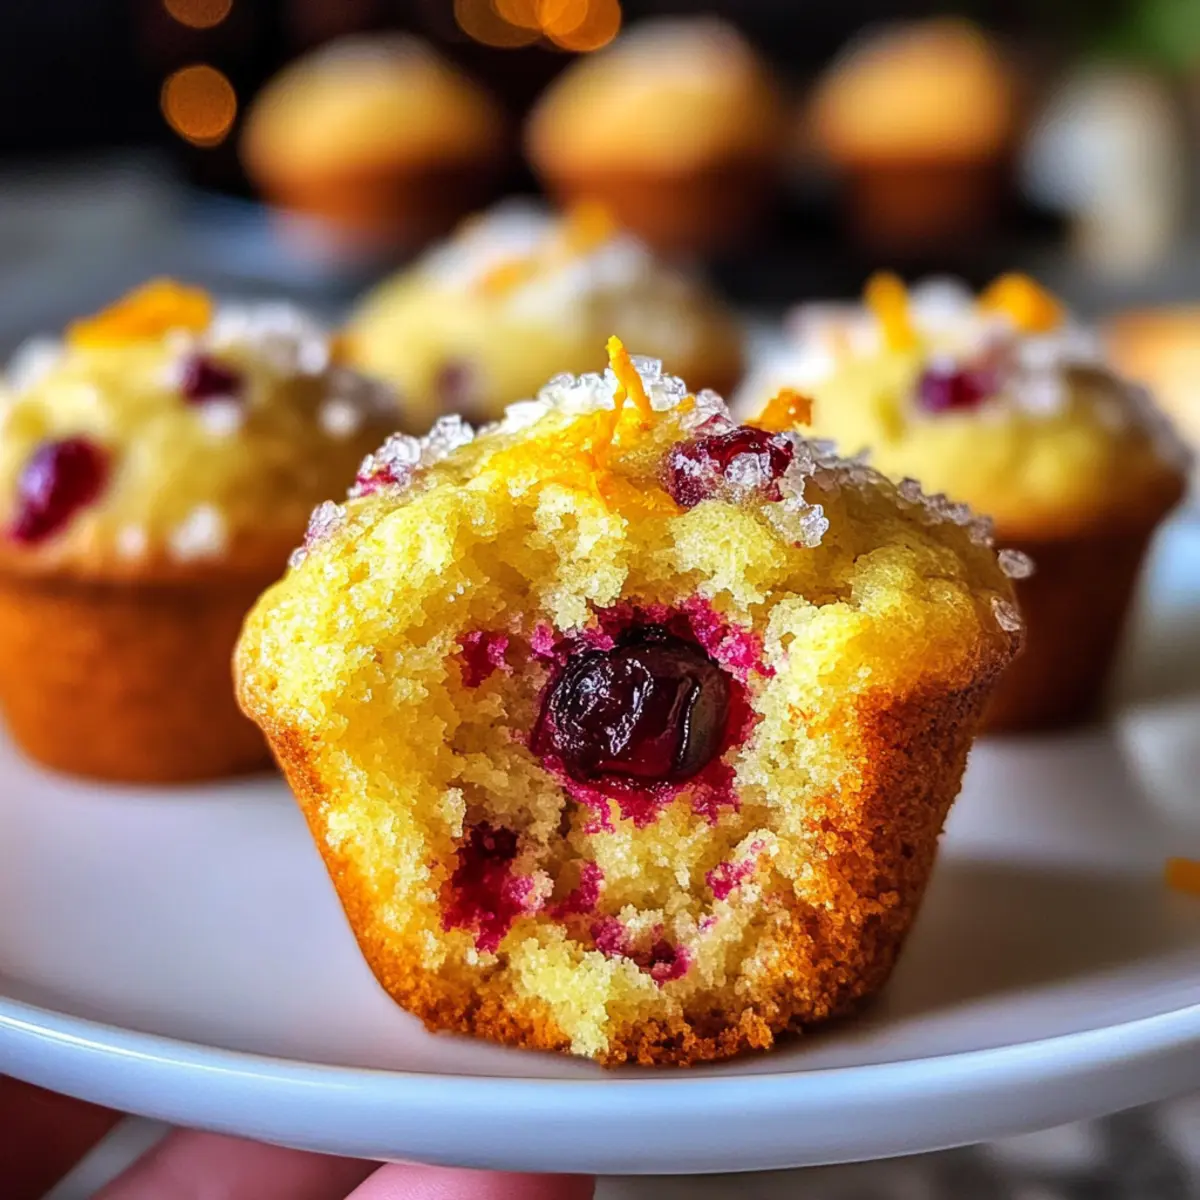
Divide the batter evenly among the prepared muffin cups, filling each about three-quarters full. Use a cookie scoop or a spoon to ensure even portions and a lovely domed shape when they bake. The batter's vibrant orange and cranberry colors will make your Citrus Orange Cranberry Muffins look simply inviting.
Step 6: Add Topping
Sprinkle coarse sparkling sugar over the top of each muffin before baking, which will create a delightful, crunchy crust. This extra touch adds both texture and a bit of sparkle, making your muffins look extra special and ready to impress at breakfast or brunch.
Step 7: Bake to Perfection
Place the muffin tin in the preheated oven and bake for 22-25 minutes, or until the tops are golden brown and a toothpick inserted into the center of a muffin comes out clean. Avoid opening the oven door in the first 15 minutes to help the muffins rise beautifully.
Step 8: Cool and Serve
Once baked, remove the muffin tin from the oven and allow the muffins to cool in the tin for 5-10 minutes. After they have cooled slightly, transfer them to a wire rack to cool completely. This step will keep them moist and enhance the flavors, making your Citrus Orange Cranberry Muffins irresistible!
Citrus Orange Cranberry Muffins Variations
Feel free to experiment and make these Citrus Orange Cranberry Muffins your own with exciting twists!
-
Whole Wheat: Substitute all-purpose flour with whole wheat flour for a heartier muffin that's still oh-so-delicious. You’ll get extra fiber without sacrificing taste.
-
Vegan Delight: Replace eggs with flaxseed meal and use non-dairy milk for a delightful vegan version. This keeps the muffins moist and fluffy, just like the original.
-
Nutty Addition: Mix in chopped walnuts or pecans for added crunch and flavor. The nutty aroma blends beautifully with the citrus, creating a taste sensation.
-
Citrus Swirl: Swap orange zest for lemon or lime zest for a bright spin on the classic flavor. The zesty tang from different citrus fruits adds a refreshing twist!
-
Mixed Berries: Use fresh or frozen blueberries instead of cranberries for a sweet and juicy variation. Each bite will be a burst of berry goodness alongside that aromatic citrus.
-
Dried Fruit Fusion: Trade cranberries for dried apricots or cherries for a delightful new texture. Dried fruits bring a chewier element that's sure to please your taste buds.
-
Spice It Up: Add a sprinkle of cinnamon or nutmeg to the batter for cozy, warm flavors. A hint of spice elevates the muffins, making them perfect for chilly mornings.
-
Zesty Glaze: Drizzle a simple orange or lemon glaze on top after baking for a sweet, citrusy finish. This adds a lovely shine and extra sweetness that will have everyone reaching for seconds!
If you love these variations, you might also enjoy my Breakfast Egg Muffins as a perfect complement to start your day right!
Storage Tips for Citrus Orange Cranberry Muffins
Room Temperature: Store your muffins in an airtight container at room temperature for up to 3 days to maintain their moisture and flavor.
Fridge: If you want to keep them longer, store in the fridge for up to a week. Let them come to room temperature before serving for the best taste.
Freezer: For longer storage, freeze individually wrapped muffins for up to 3 months. Thaw at room temperature or warm in the microwave for a quick breakfast treat.
Reheating: To enjoy them warm, reheat in the microwave for 10-15 seconds. This will restore their fluffy texture and enhance the delicious orange cranberry flavor.
What to Serve with Citrus Orange Cranberry Muffins?
Transform your breakfast or brunch into a delightful occasion with these perfect pairings!
- Creamy Butter: A classic choice, spreading some rich, creamy butter on these muffins provides a luscious contrast to their zesty flavor.
- Fresh Fruit Salad: Bright, sweet fruits add a refreshing touch, complementing the tartness of the cranberries while giving you a burst of juicy goodness.
Imagine enjoying these muffins alongside a vibrant bowl of fresh berries, oranges, and grapes. It creates a colorful presentation that appeals to both the eyes and the taste buds.
- Scrambled Eggs: Silky scrambled eggs introduce a savory element that balances the sweetness of the muffins beautifully, making it a perfect savory-sweet morning combo.
- Crispy Bacon: The crispy, salty bite of bacon enhances every bite of the muffins, providing an irresistible contrast to the sweet and tart flavor profile.
Pairing your Citrus Orange Cranberry Muffins with these options will ensure a breakfast feast that leaves everyone inspired and satisfied. Enjoy!
- Chai Tea: This spiced tea brings warmth and depth, highlighting the flavors of the muffins and creating a cozy experience any time of day.
- Maple Syrup Drizzle: A light drizzle of pure maple syrup adds a sweet finishing touch that perfectly harmonizes with the orange and cranberry flavors.
Make Ahead Options
These Citrus Orange Cranberry Muffins are perfect for meal prep lovers! You can prepare the dry ingredients (flour, sugar, baking powder, and baking soda) and store them in an airtight container for up to 3 days to save time during busy mornings. Additionally, you can also mix the wet ingredients and refrigerate them up to 24 hours in advance—this will help enhance the flavors while maintaining quality. When you’re ready to bake, just combine the wet and dry ingredients, gently fold in the cranberries, and proceed with baking as usual. This approach allows you to enjoy freshly baked muffins with minimal effort, making your mornings that much brighter!
Expert Tips for Citrus Orange Cranberry Muffins
-
Mixing Matters: Avoid over-mixing the batter; just stir until combined to keep your muffins light and fluffy.
-
Cranberry Prep: Toss cranberries in a tablespoon of flour before adding to the batter. This helps prevent them from sinking during baking.
-
Don't Peek: Resist the urge to open the oven for at least the first 15 minutes to maintain the muffins' rise and texture.
-
Cool Down: Allow muffins to cool for a bit in the pan before transferring them to a wire rack, ensuring they stay moist and delicious.
-
Storage Savvy: If making ahead, store them in an airtight container at room temperature or freeze them individually for easy access to your Citrus Orange Cranberry Muffins later.
Citrus Orange Cranberry Muffins Recipe FAQs
How do I choose ripe ingredients for my muffins?
When selecting cranberries, look for firm, plump berries without dark spots or shriveling. For the oranges, choose ones that feel heavy for their size and have a bright, smooth skin. Fresh, quality ingredients will significantly enhance the flavor and texture of your Citrus Orange Cranberry Muffins.
How should I store my muffins after baking?
To keep your Citrus Orange Cranberry Muffins fresh, store them in an airtight container at room temperature for up to 3 days. If you want to keep them longer, place them in the fridge for up to a week. Remember to allow them to come to room temperature before serving for the best taste experience!
Can I freeze my Citrus Orange Cranberry Muffins? How?
Absolutely! Freeze your muffins individually by wrapping each one in plastic wrap and placing them in a freezer-safe bag or container for up to 3 months. When you're ready to enjoy, simply thaw them at room temperature or pop them in the microwave for about 10-15 seconds for a fresh-out-of-the-oven taste.
What if my muffins sink in the middle while baking?
If your Citrus Orange Cranberry Muffins sink, it’s often due to overmixing the batter or not having enough leavening agent. Make sure to mix until just combined and check that your baking powder and soda are fresh. If they don't rise properly during baking, try not to open the oven door until the first 15 minutes to allow them to set.
Are these muffins suitable for special diets?
Yes, definitely! You can make them vegan by replacing eggs with flaxseed meal (1 tablespoon of flaxseed mixed with 2.5 tablespoons water per egg) and using non-dairy milk. For those with gluten sensitivities, substituting with gluten-free all-purpose flour can still yield delicious Citrus Orange Cranberry Muffins, giving everyone a chance to indulge in this delightful treat.
Can I use different fruits instead of cranberries?
Very! If cranberries aren’t available, feel free to swap them for blueberries or even diced apples for a different twist. Just remember that using fresh fruits may affect the moisture of your muffins, so adjust baking times if necessary. Enjoy exploring different flavors!
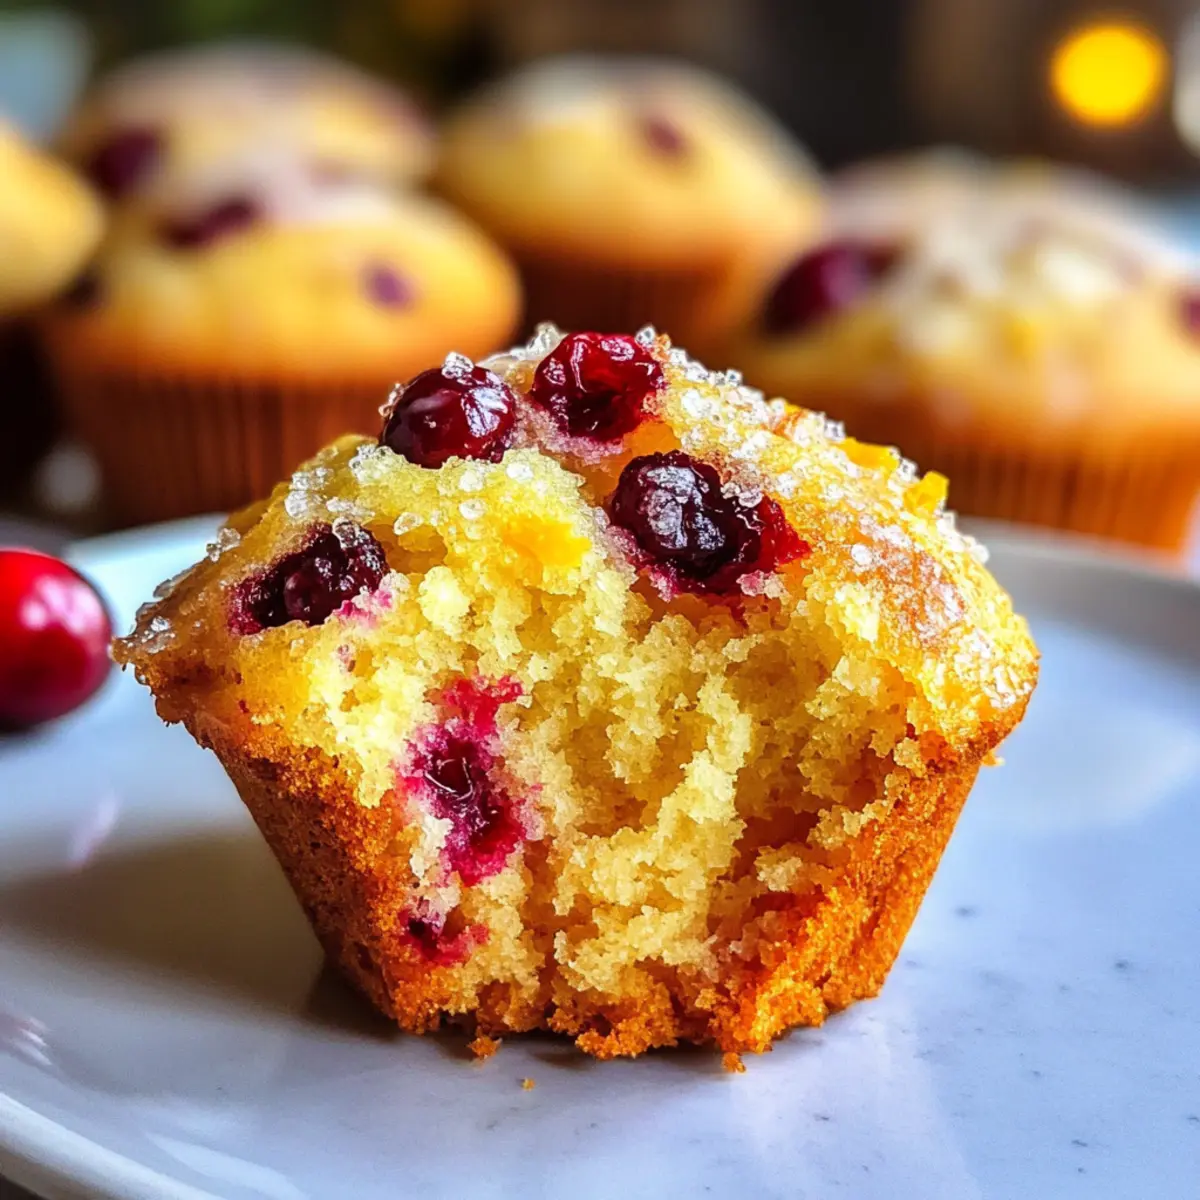
Citrus Orange Cranberry Muffins for Your Best Breakfast Ever
Ingredients
Equipment
Method
- In a large bowl, whisk together the all-purpose flour, white sugar, baking powder, and baking soda until the mixture is smooth and lump-free, taking about 1-2 minutes.
- Add the eggs, vegetable oil or melted butter, milk, vanilla extract, orange extract, and grated orange zest to the dry ingredients. Mix gently until just combined.
- Gently fold in the cranberries using a spatula to ensure they are evenly distributed throughout the batter.
- Preheat your oven to 350°F (175°C) and prepare a muffin tin by greasing each cup.
- Divide the batter evenly among the prepared muffin cups, filling each about three-quarters full.
- Sprinkle coarse sparkling sugar over the top of each muffin before baking.
- Place the muffin tin in the preheated oven and bake for 22-25 minutes or until golden brown.
- Once baked, remove the muffin tin from the oven and allow the muffins to cool in the tin for 5-10 minutes.