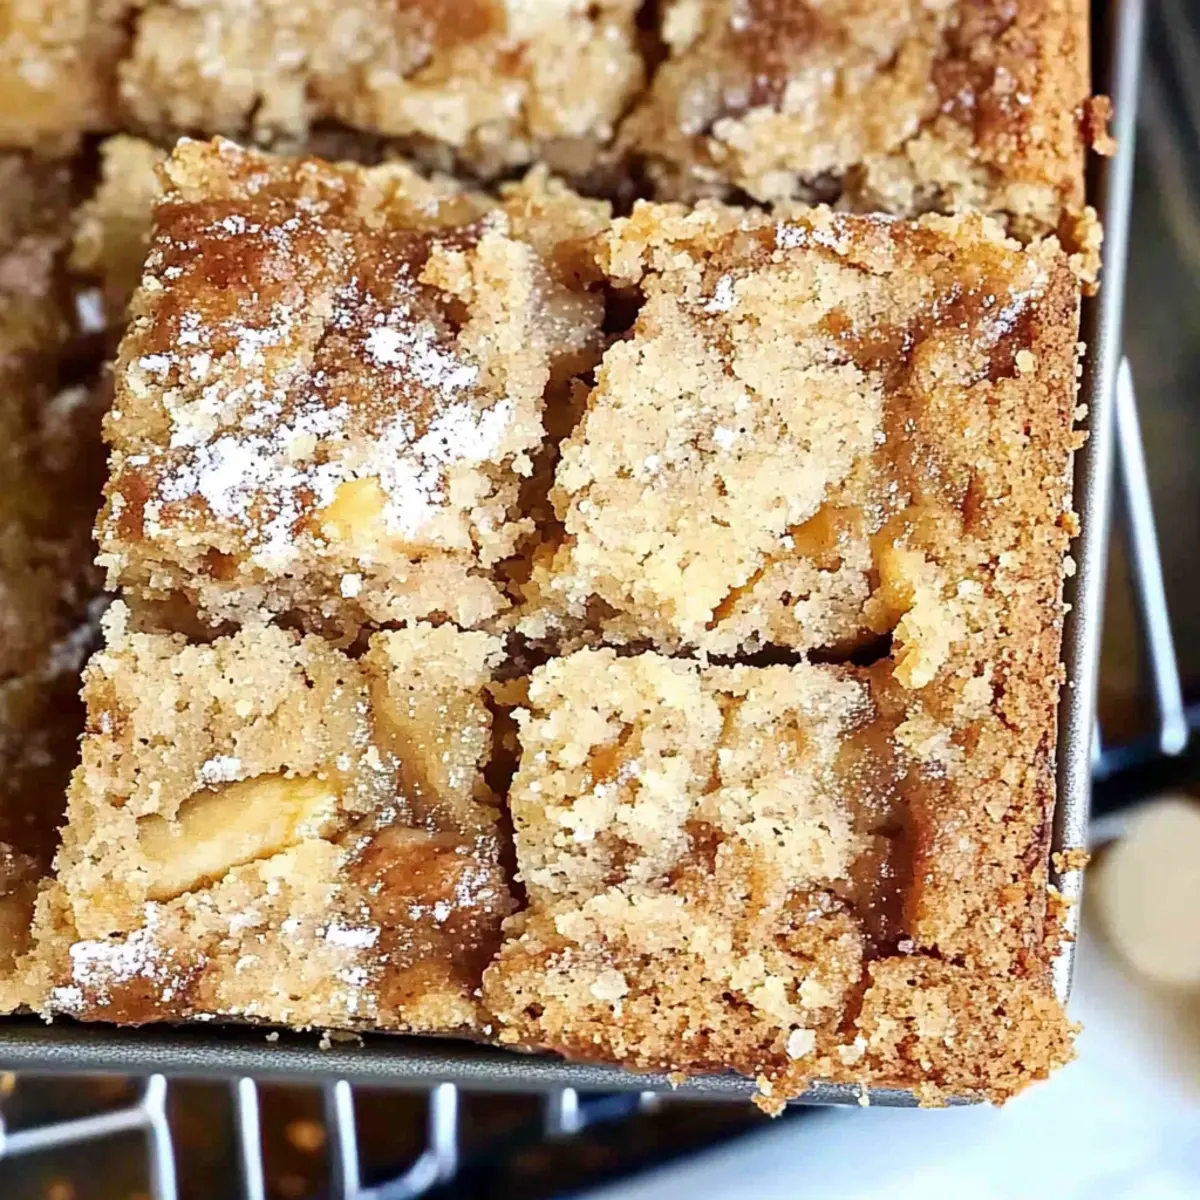
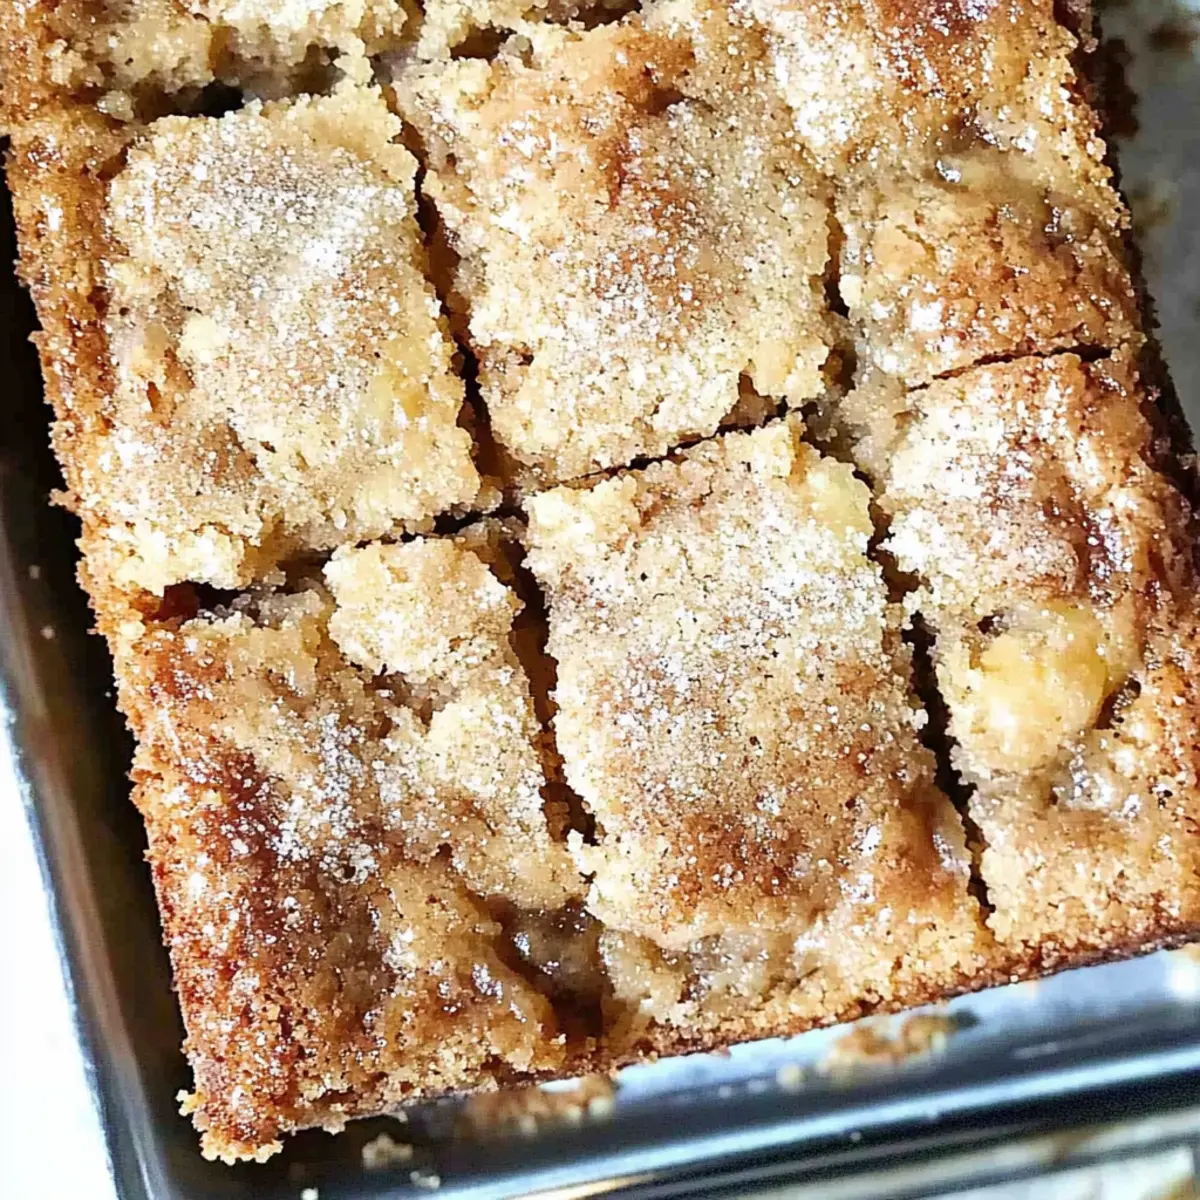
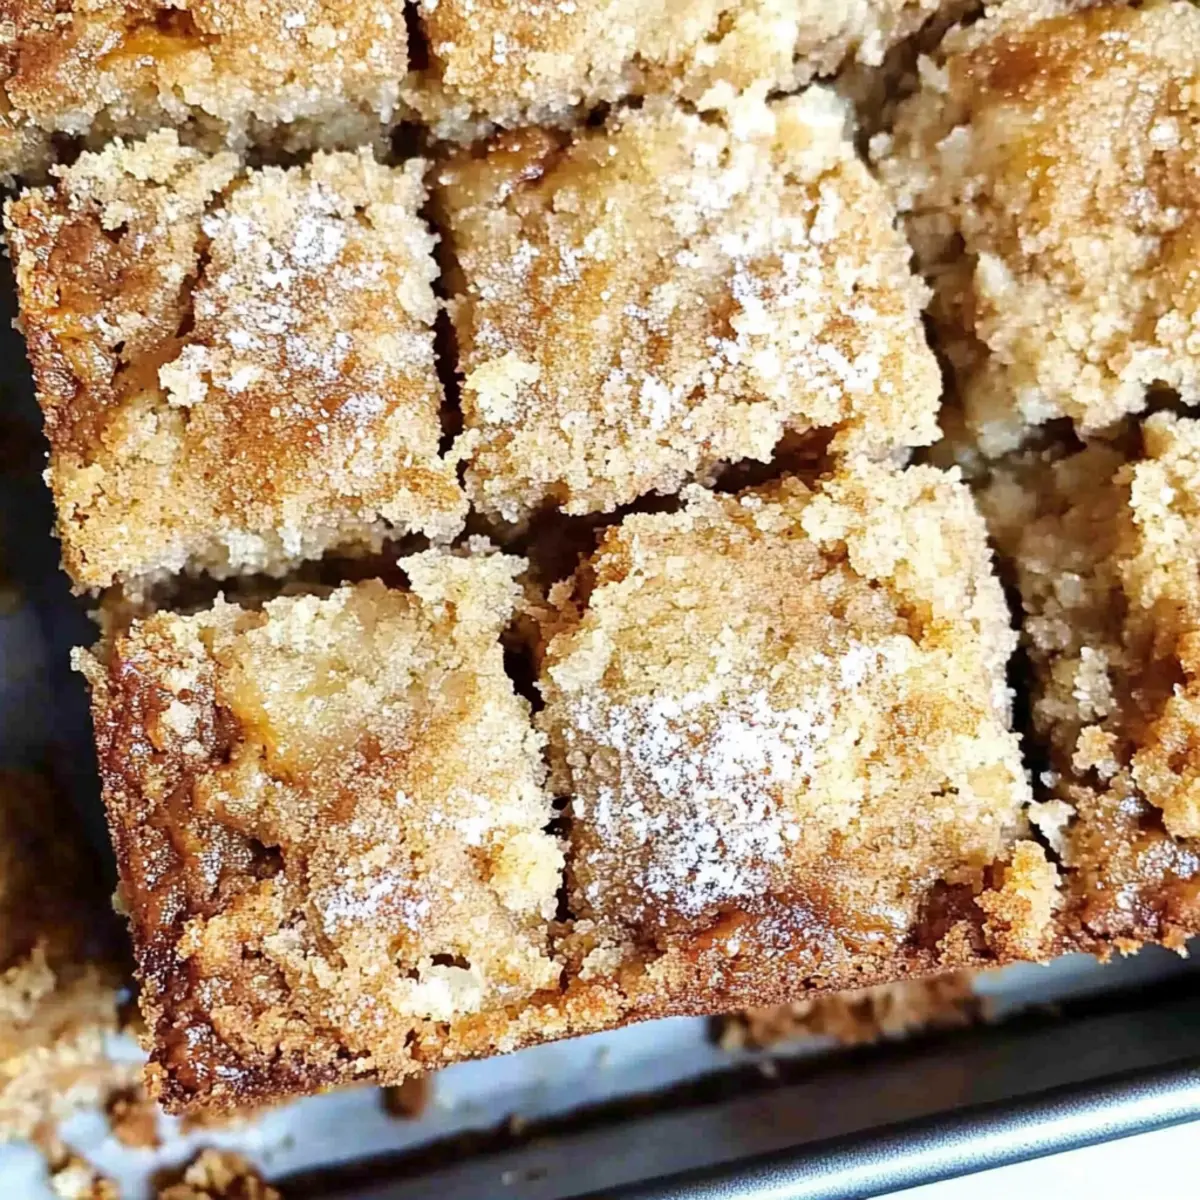
As I watched my kids eagerly dive into a new activity in the kitchen, I realized that a little bit of food magic was about to happen. Enter the Classic Chewy Chocolate Chip Cookies, an all-time favorite that turns a simple moment into a sweet celebration. These cookies are not just easy to make but also customizable, with variations that can satisfy even the pickiest eater's palate. What's more, they offer the perfect balance—crisp on the outside and soft on the inside, creating an irresistible texture that will have everyone asking for seconds. So, whether you're baking for a gathering or just a cozy night in, these cookies are sure to be a hit. Are you ready to whisk up some nostalgia and warm, gooey goodness?
Why are these cookies a must-try?
Simplicity: These classic chewy chocolate chip cookies require just a handful of ingredients and minimal effort, making them a breeze to whip up any day of the week.
Customizable: Whether you're leaning towards a gluten-free option or want to mix in extra chocolate chips, the possibilities are endless to cater to your taste.
Crowd-Pleaser: Perfect for family gatherings, parties, or simple midnight cravings, these cookies are guaranteed to disappear quickly, leaving everyone asking for your secret recipe!
Nostalgic Flavor: Each bite offers a delightful blend of buttery goodness and rich chocolate, bringing back memories of baking with loved ones.
Versatile Serving: Enjoy them warm with a glass of milk, or as the superhero sidekick to a scoop of vanilla ice cream—your dessert game will never be the same!
Quick to Bake: With just 10-12 minutes in the oven, you’ll have fresh cookies ready to serve, making this recipe a perfect choice for spontaneous baking sessions!
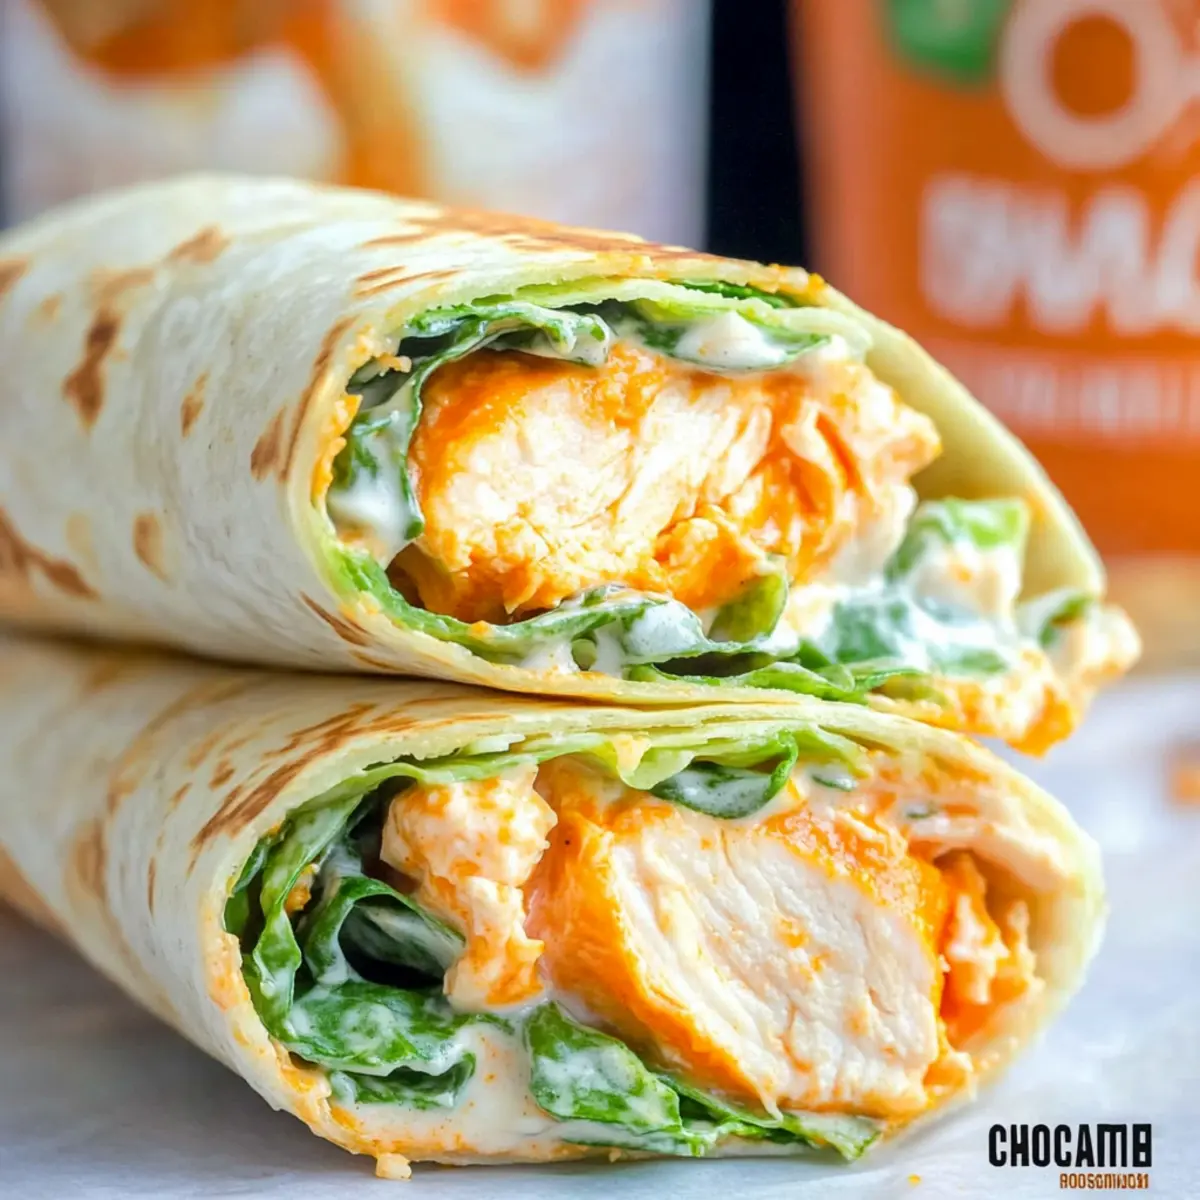
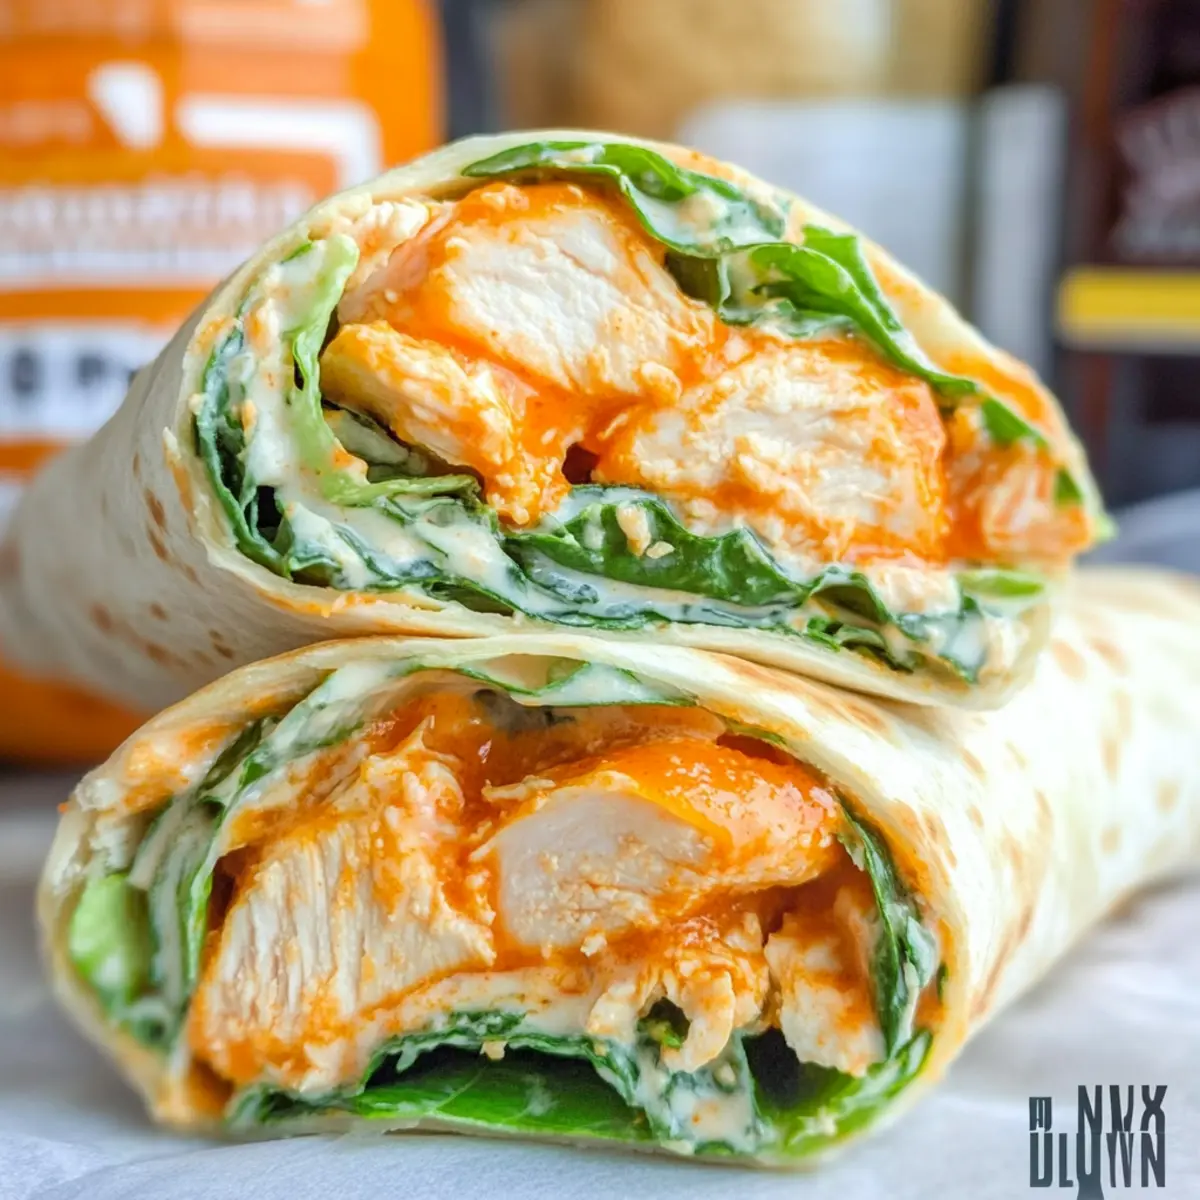
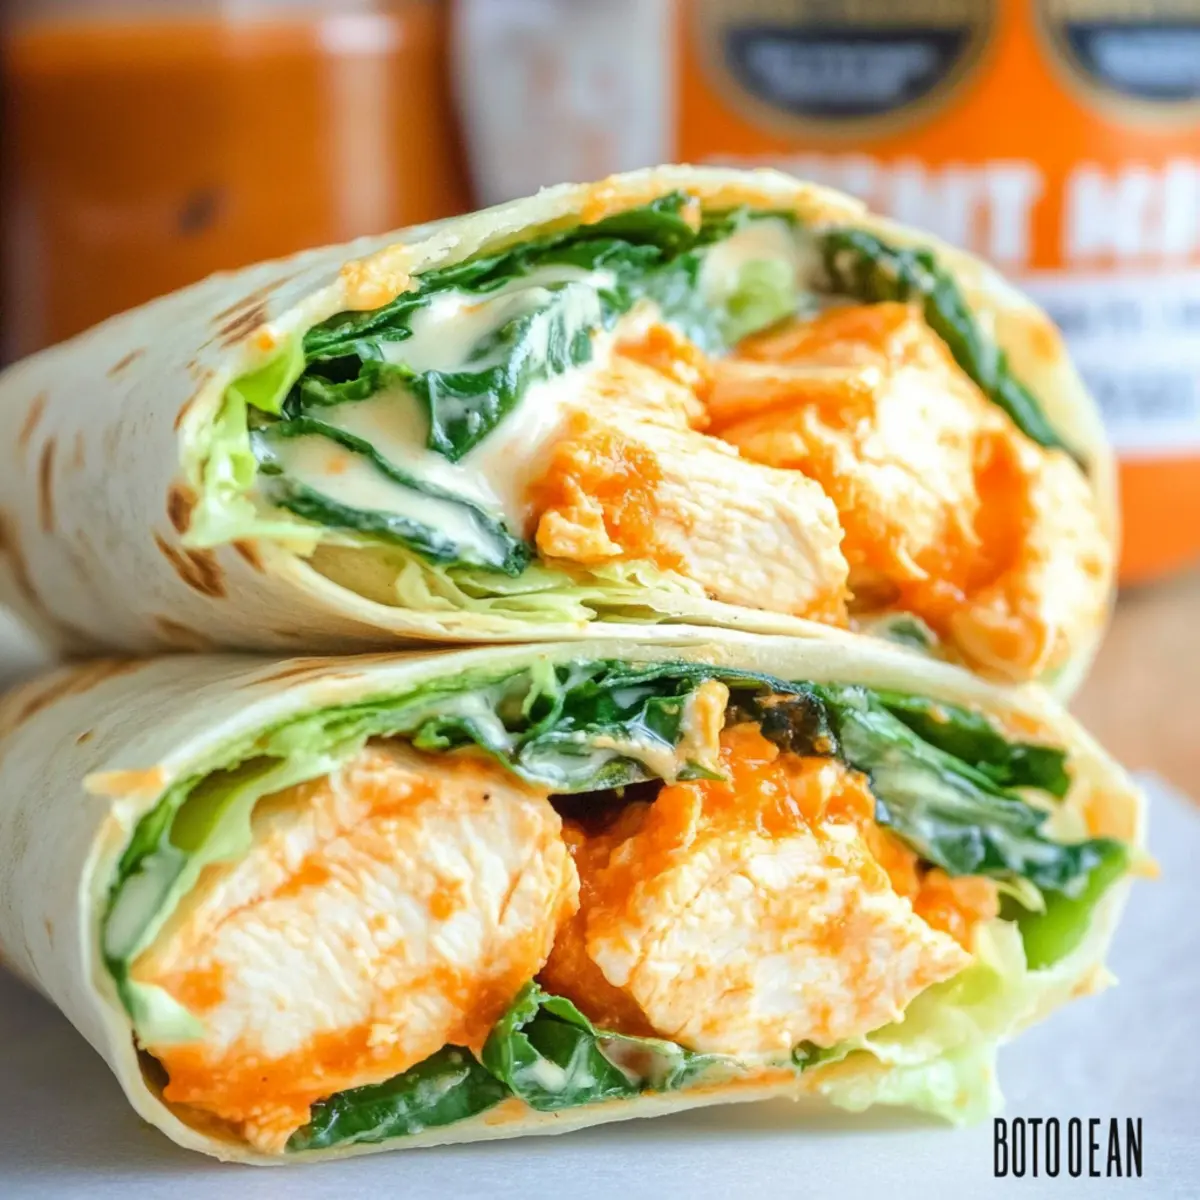
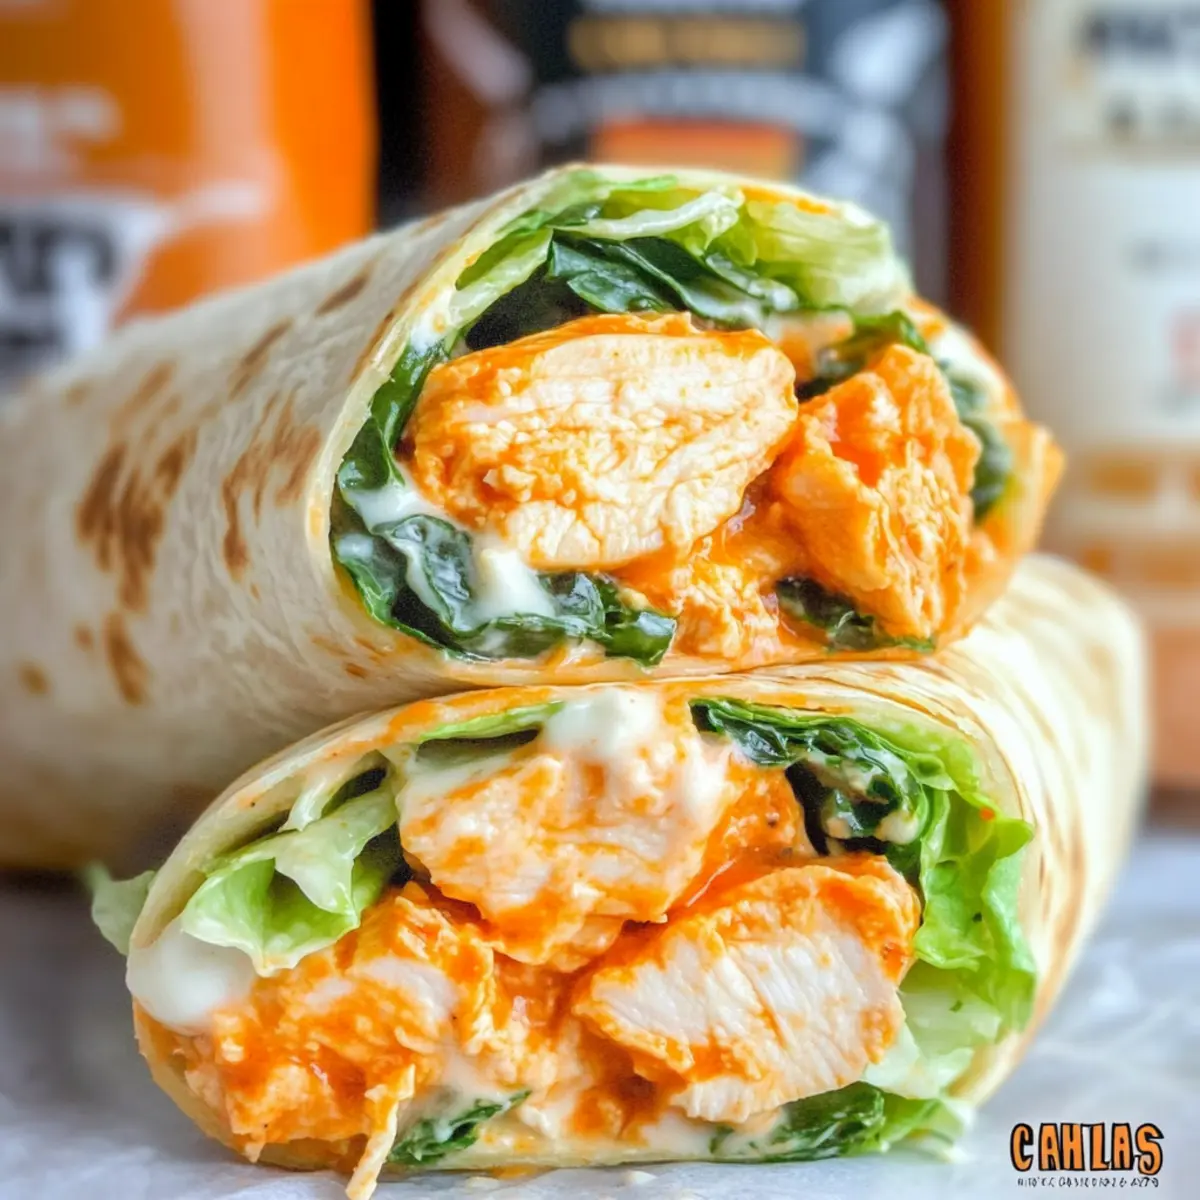
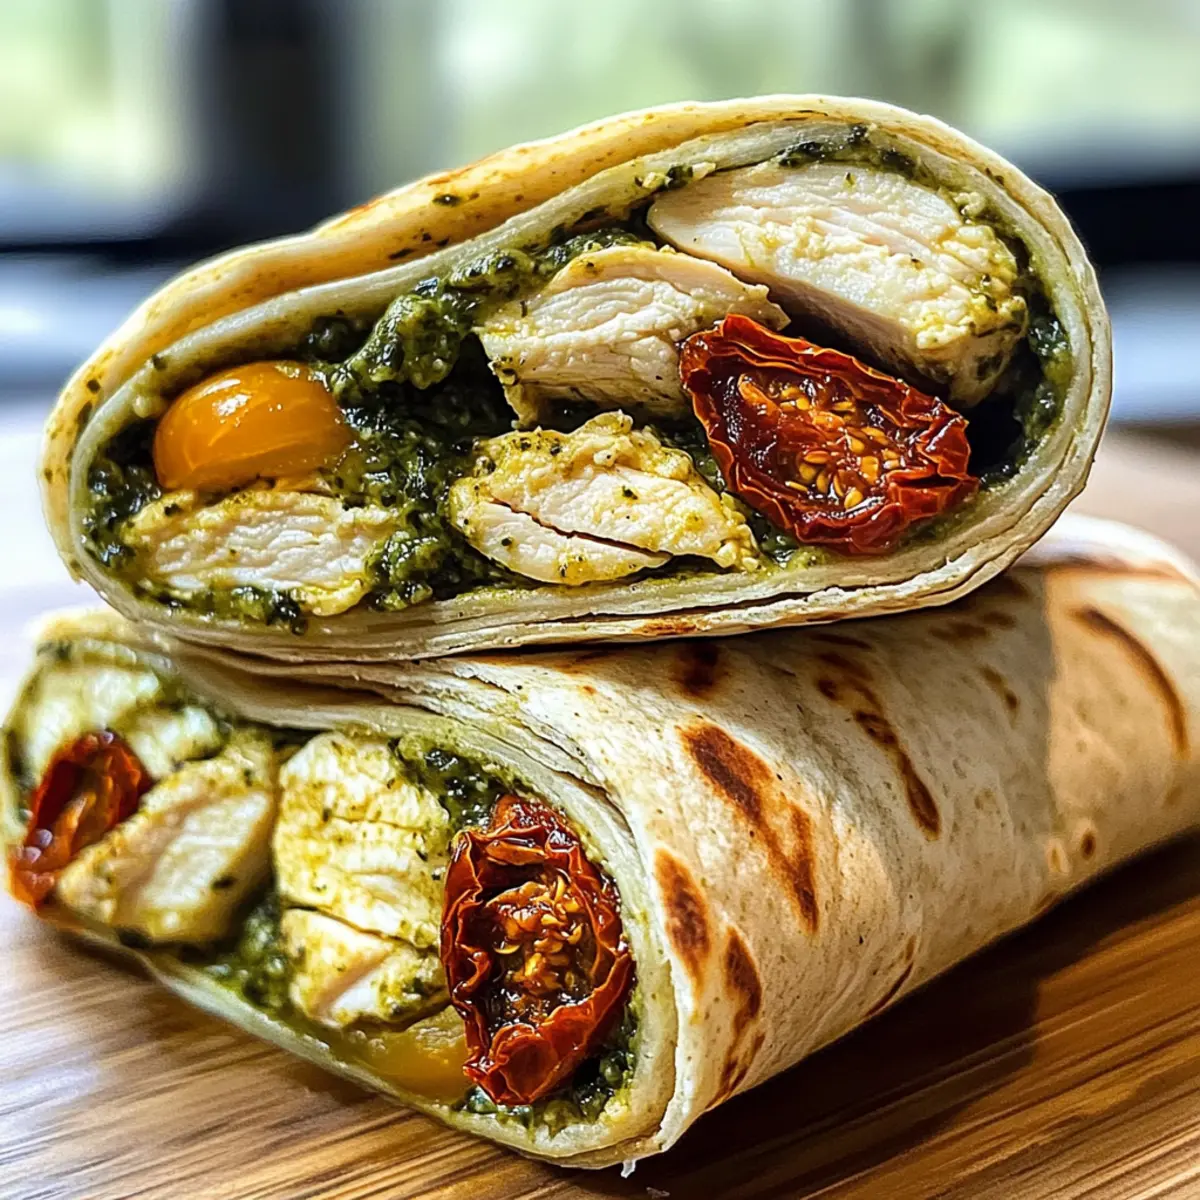
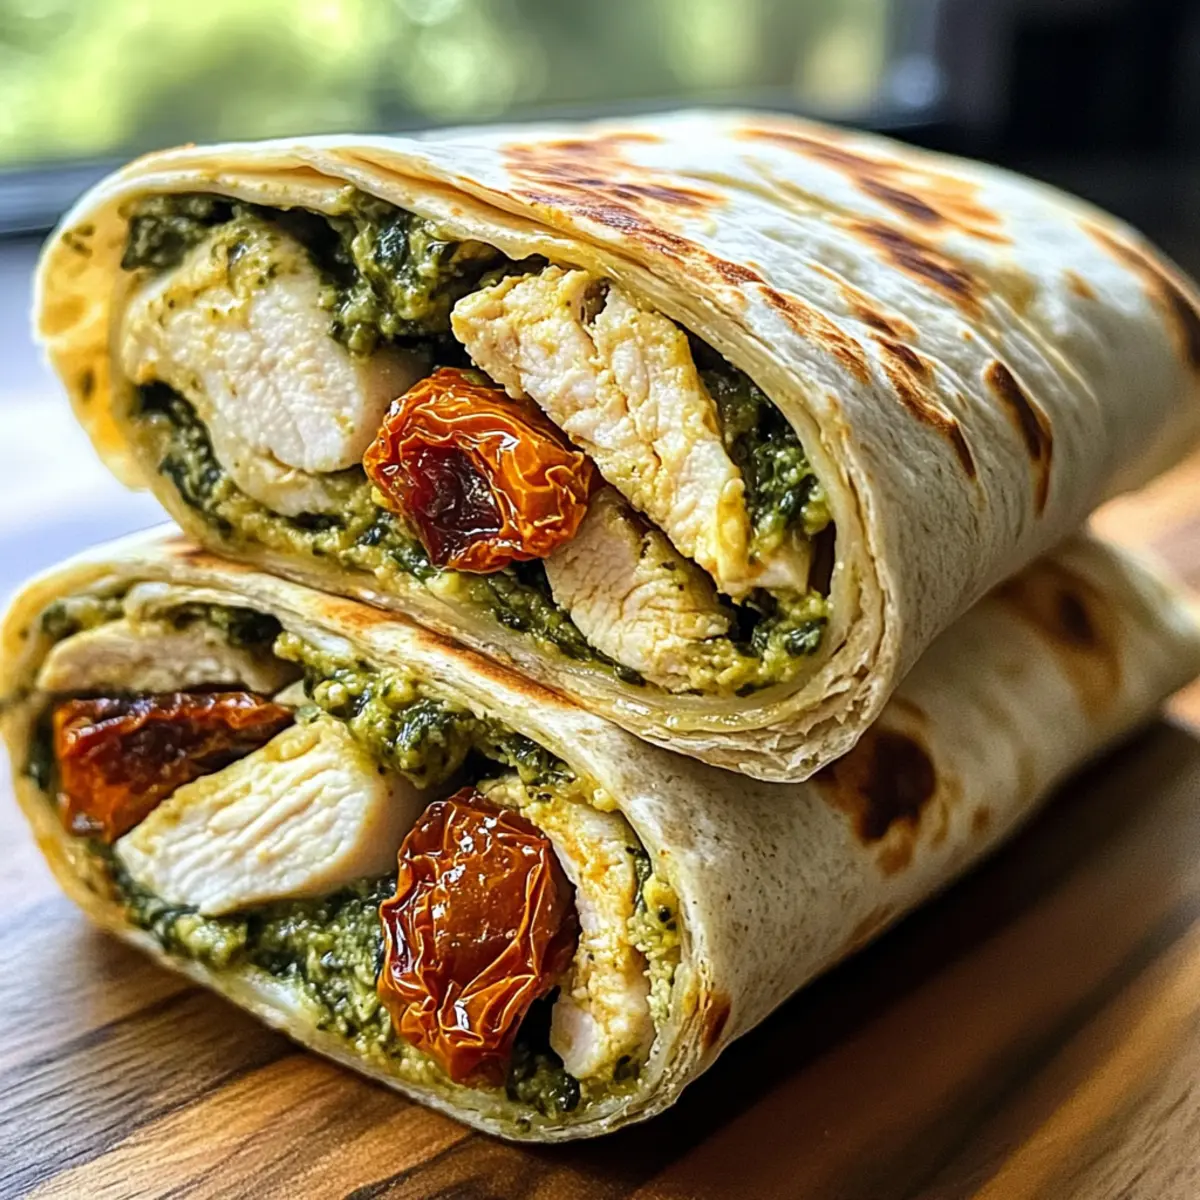
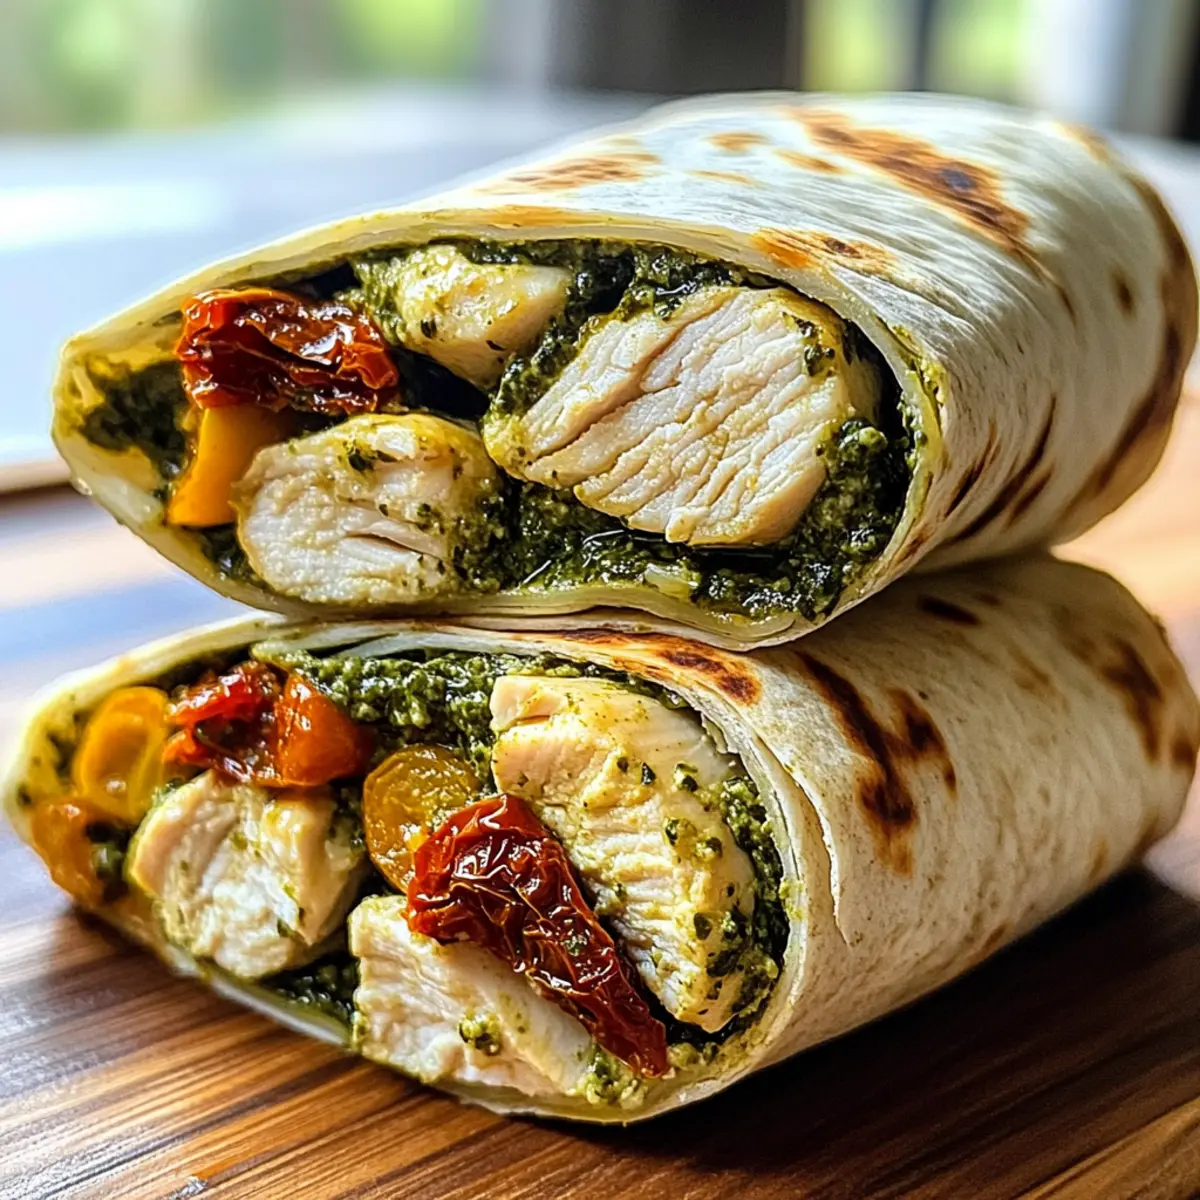
Chicken Avocado Wrap Ingredients
-
For the Wrap
-
Chicken Breast – Cooked and shredded chicken breast adds protein and a mouthwatering flavor.
-
Avocado – Creamy avocado provides healthy fats and smooth texture; feel free to mash it slightly for easier spreading.
-
Tortillas – Use whole wheat for added fiber, or opt for gluten-free tortillas to accommodate dietary needs.
-
Lettuce – Crisp lettuce gives a refreshing crunch; romaine or spinach works beautifully in this mix.
-
Tomato – Fresh tomato slices add a burst of juiciness; cherry tomatoes can be halved for convenience.
-
Cucumber – Sliced cucumber adds crunch and helps keep the wrap light and refreshing.
-
Cheese – Optional grated cheese like cheddar or feta can elevate taste and creaminess.
-
For the Sauce
-
Greek Yogurt – A healthier alternative to mayo, adding creaminess without the guilt; mix in some lemon juice for a zesty kick.
-
Mustard – A touch of mustard enhances flavor depth; consider Dijon for a sophisticated twist.
-
Seasoning – Salt and pepper to taste, plus optional spices like chili powder for a little heat.
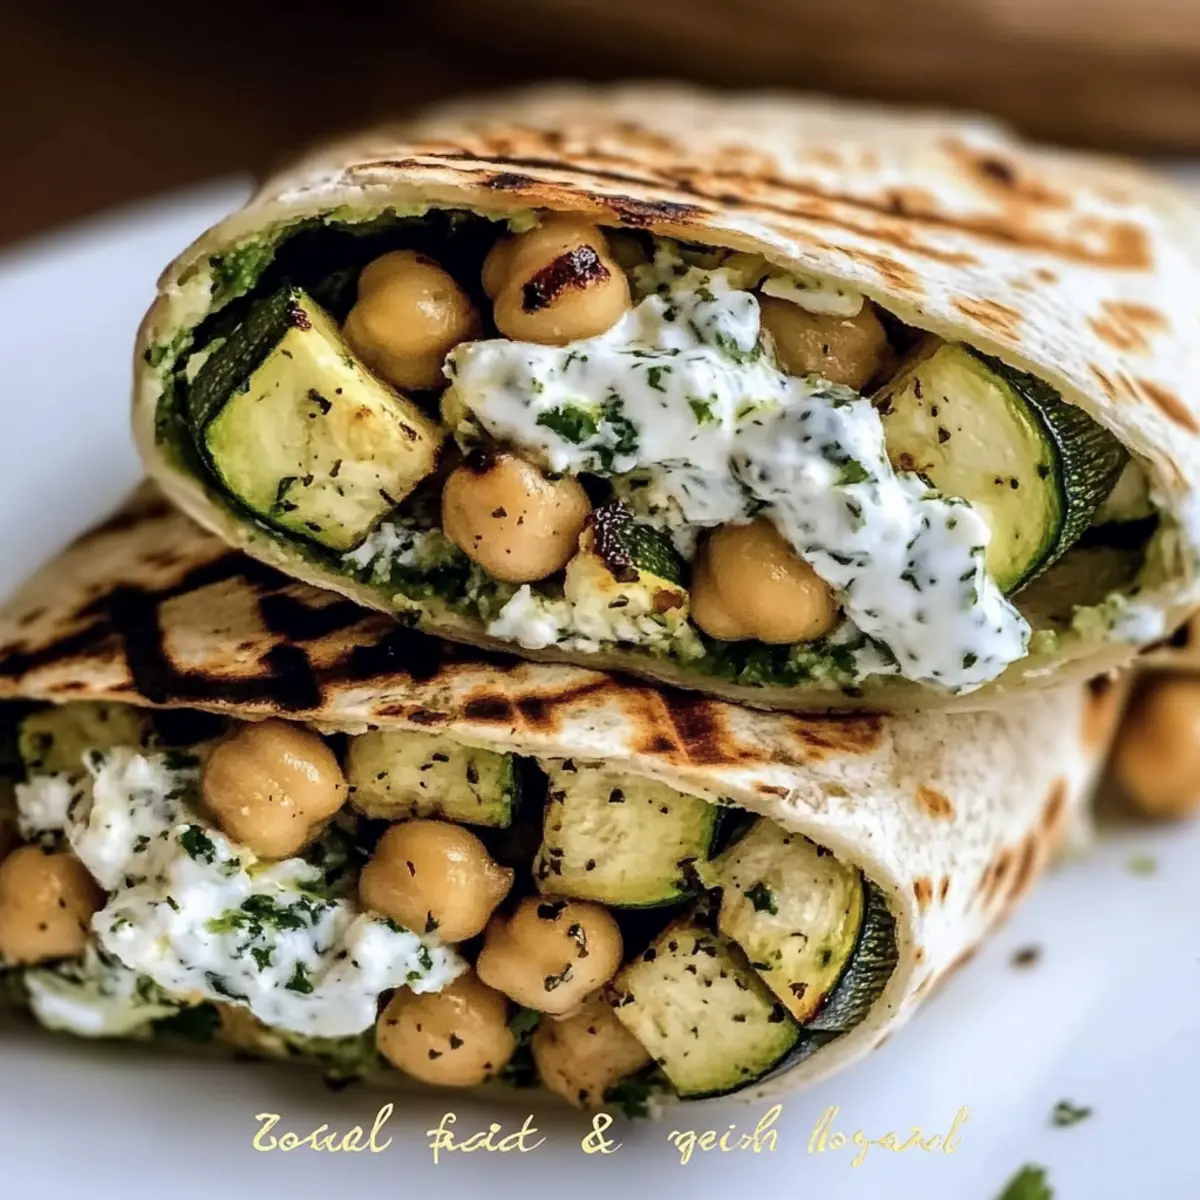
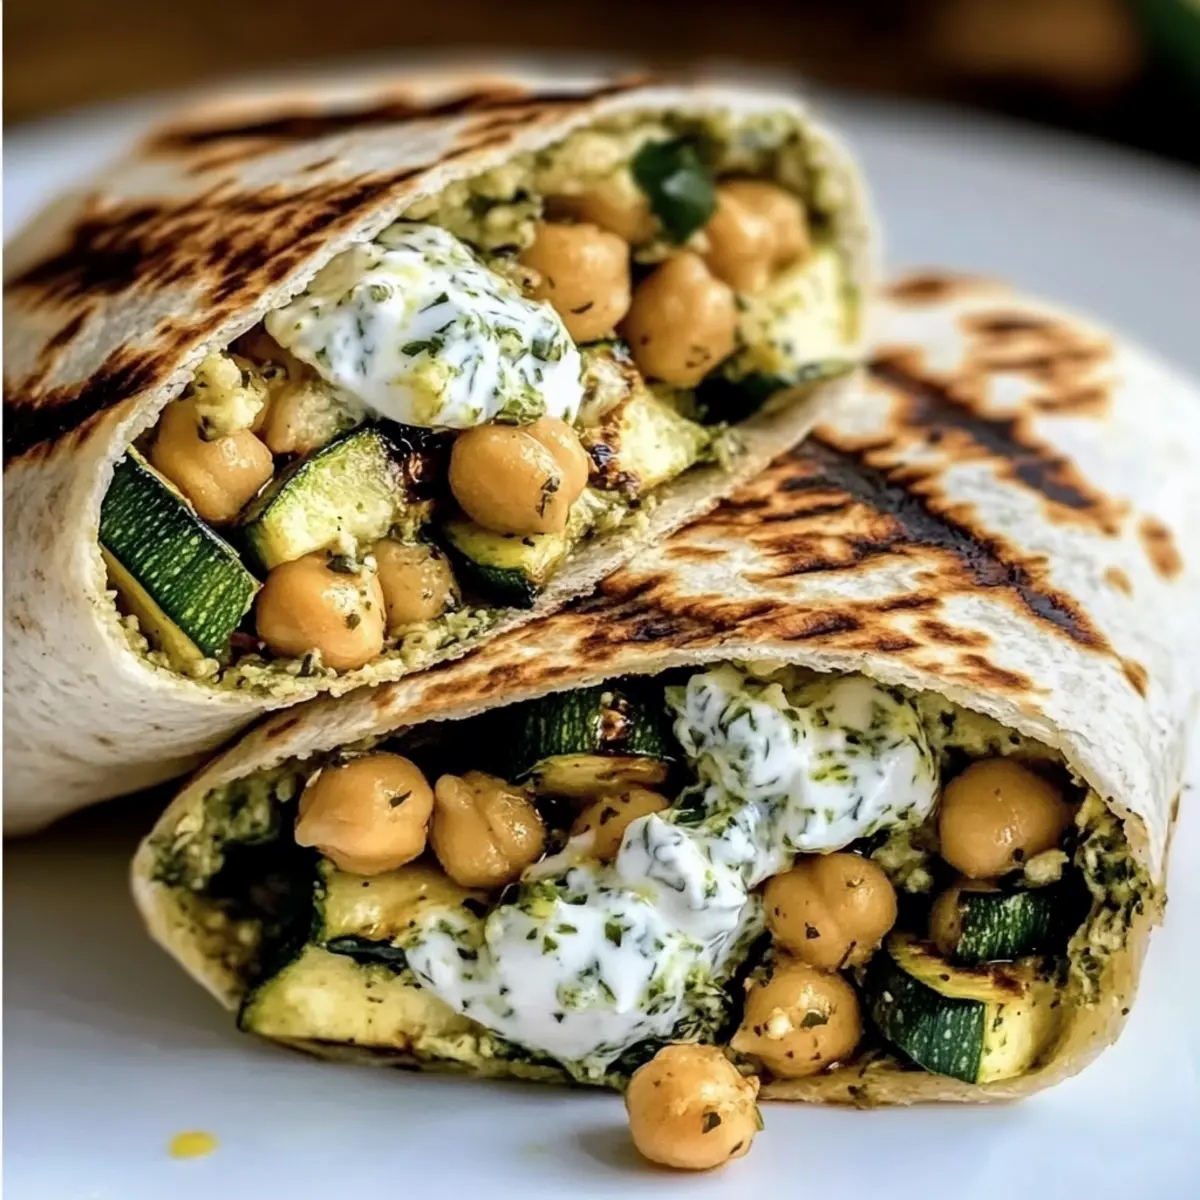
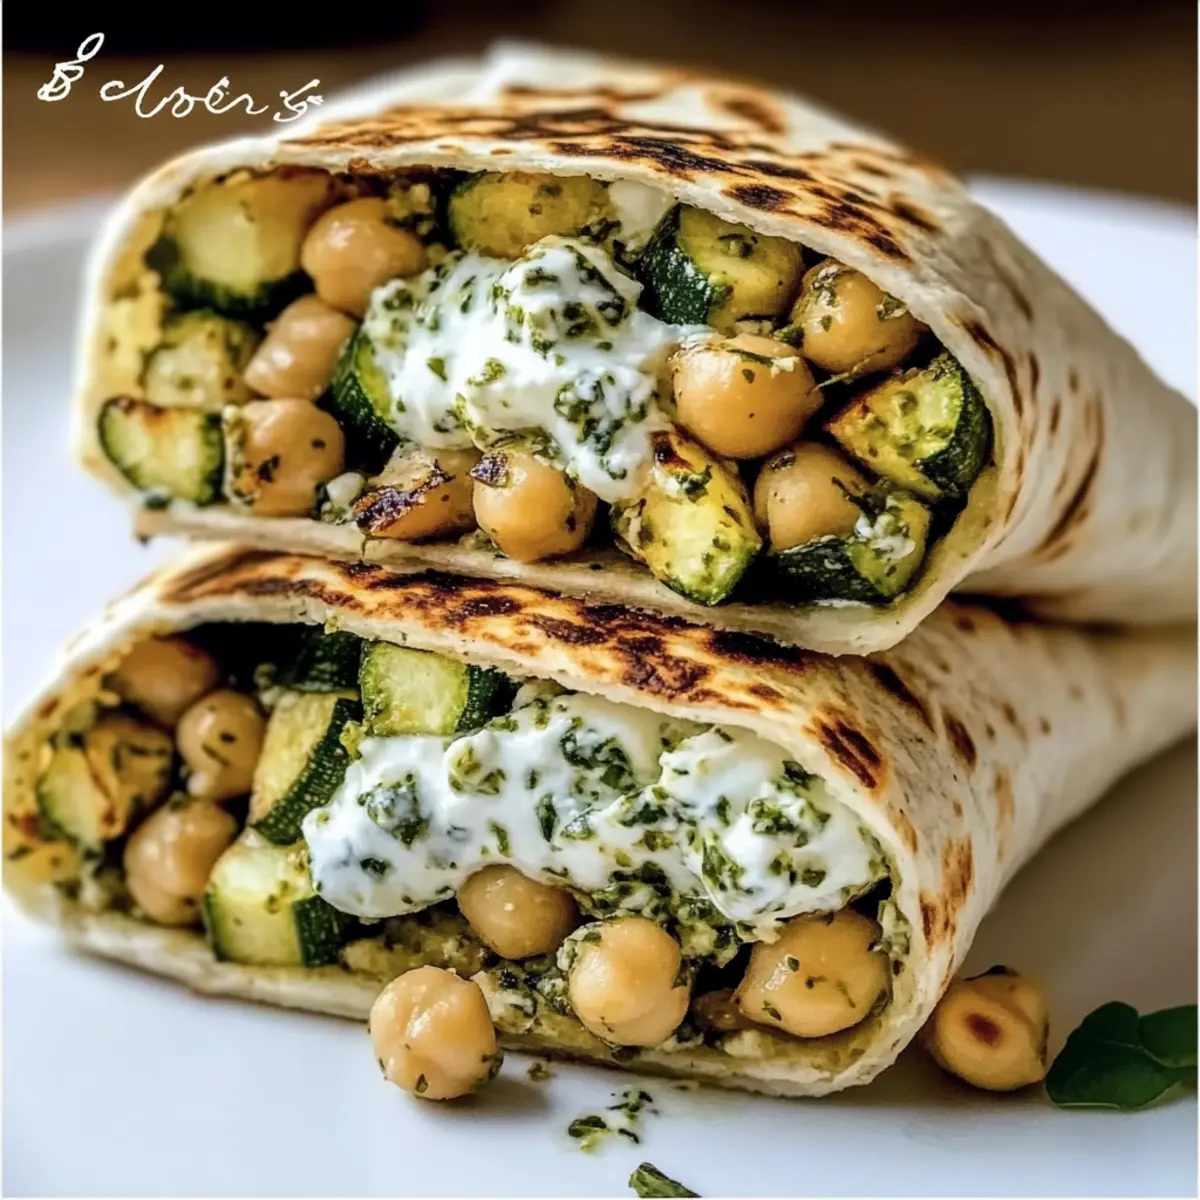
These Chicken Avocado Wrap ingredients create a flavor-packed delight, perfect for a quick lunch or snack that's both satisfying and nutritious!
Step‑by‑Step Instructions for Chicken Avocado Wrap
Step 1: Prepare the Chicken
Begin by cooking your chicken breast—season with salt and pepper, then grill or bake at 375°F (190°C) for 20-25 minutes until fully cooked (internal temperature of 165°F/75°C). Once done, shred the chicken using two forks while it’s still warm, allowing it to soak up any remaining juices for maximum flavor.
Step 2: Make the Sauce
In a small bowl, mix together Greek yogurt, Dijon mustard, and a squeeze of lemon juice for a tangy sauce. Stir in a pinch of salt, pepper, and any desired spices, such as chili powder for a kick. This creamy dressing not only enhances the Chicken Avocado Wrap but also keeps everything moist and delicious.
Step 3: Prepare the Vegetables
While the chicken cooks, wash and chop your lettuce, tomatoes, and cucumber. For the tomatoes, slice them thinly, and chop the cucumber into bite-sized pieces. Set everything aside, ensuring the vegetables are crisp and fresh—these will add a refreshing crunch to your wrap.
Step 4: Assemble the Wrap
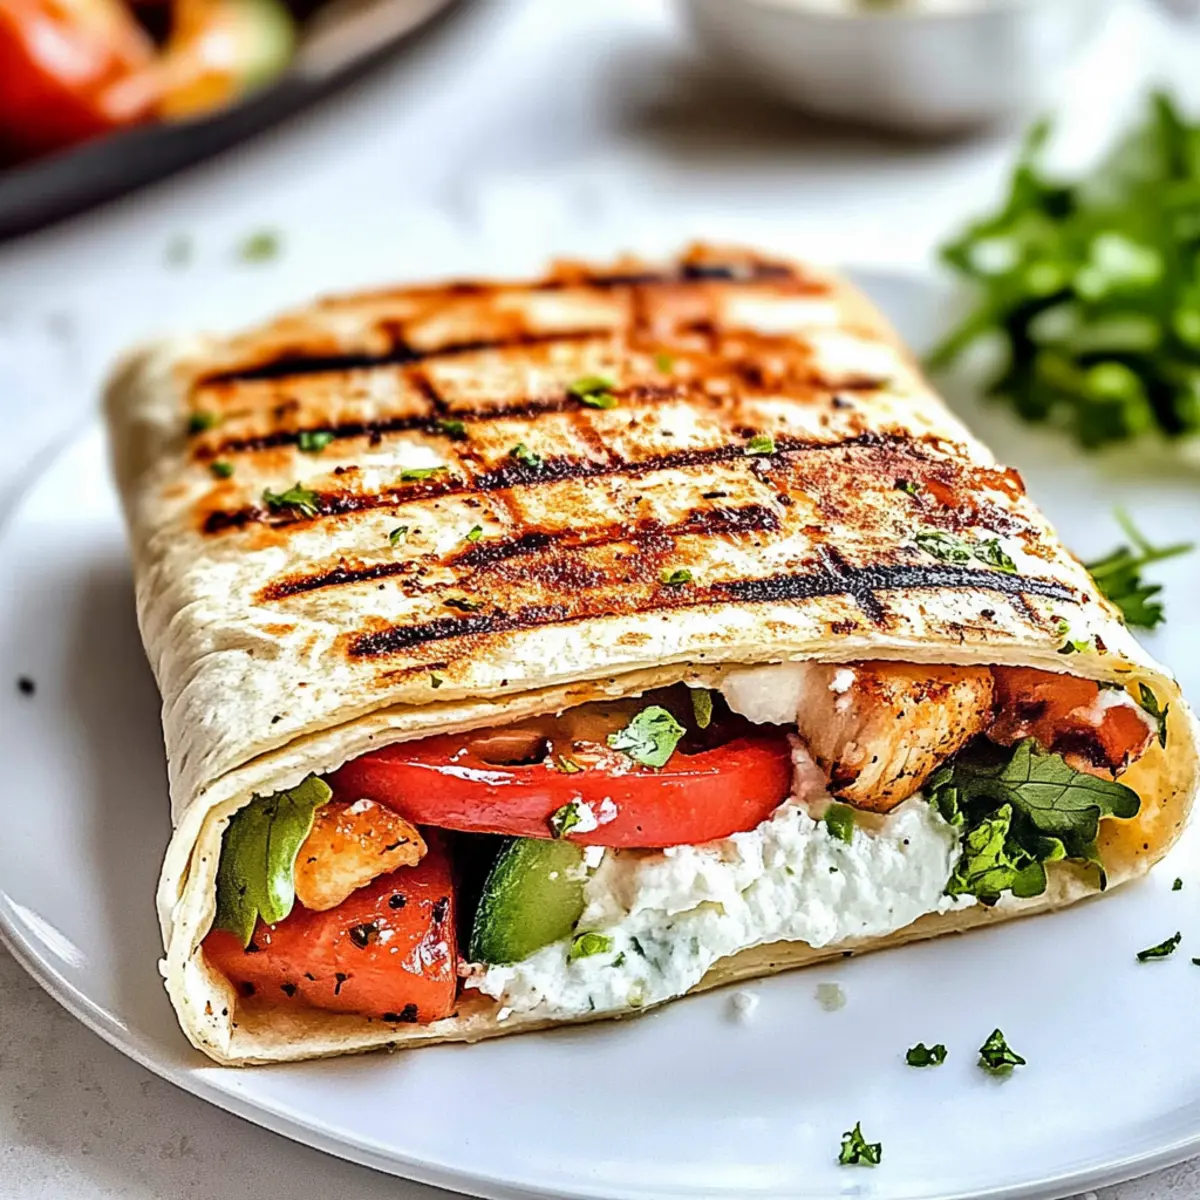
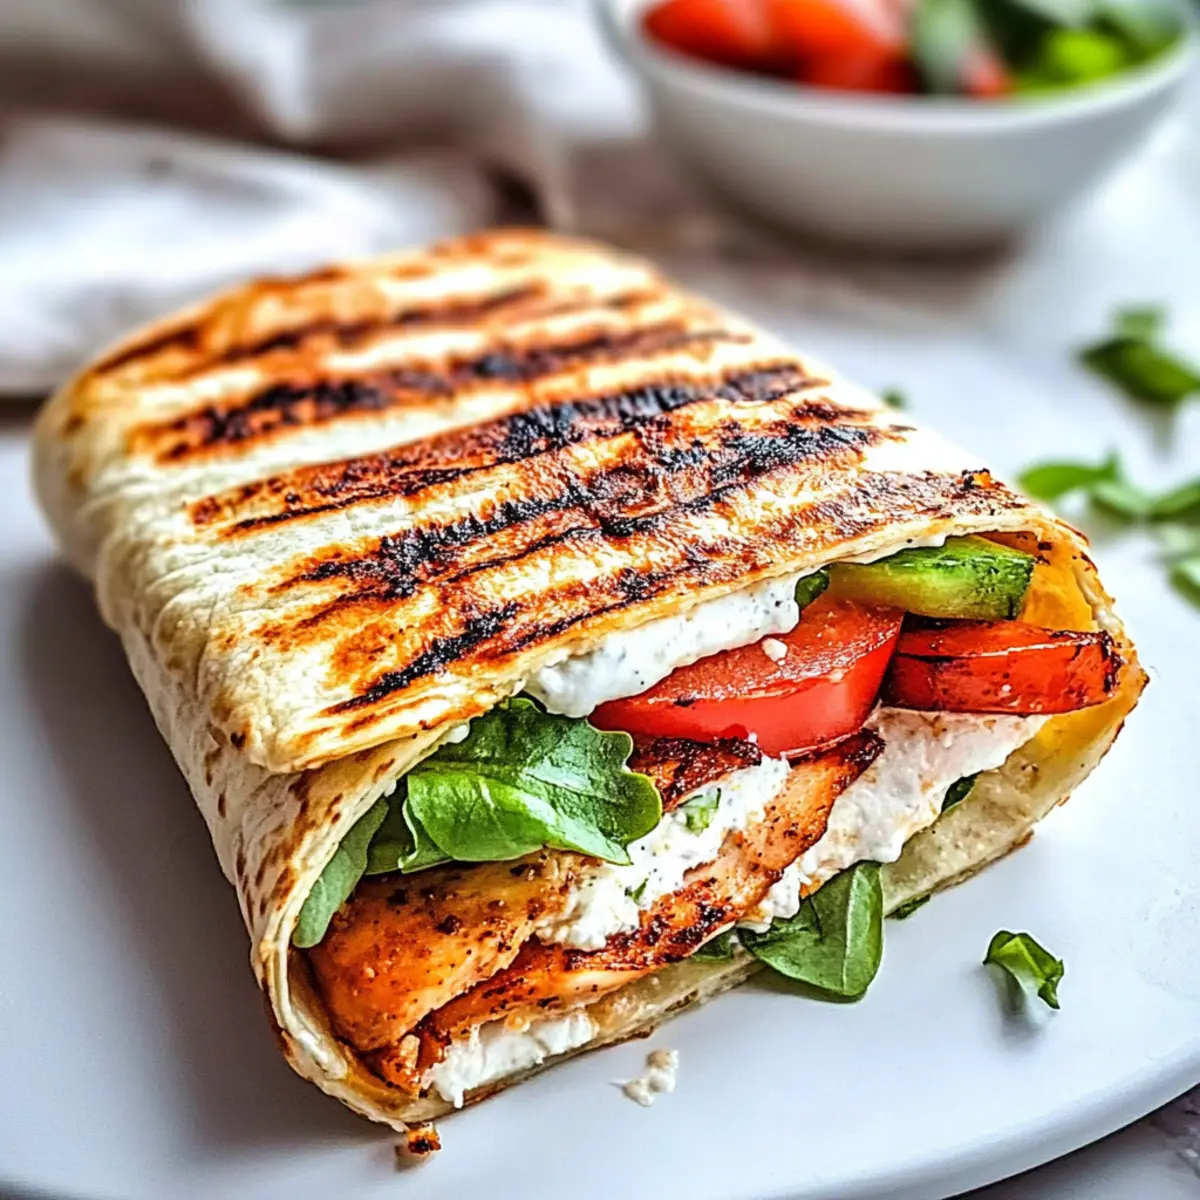
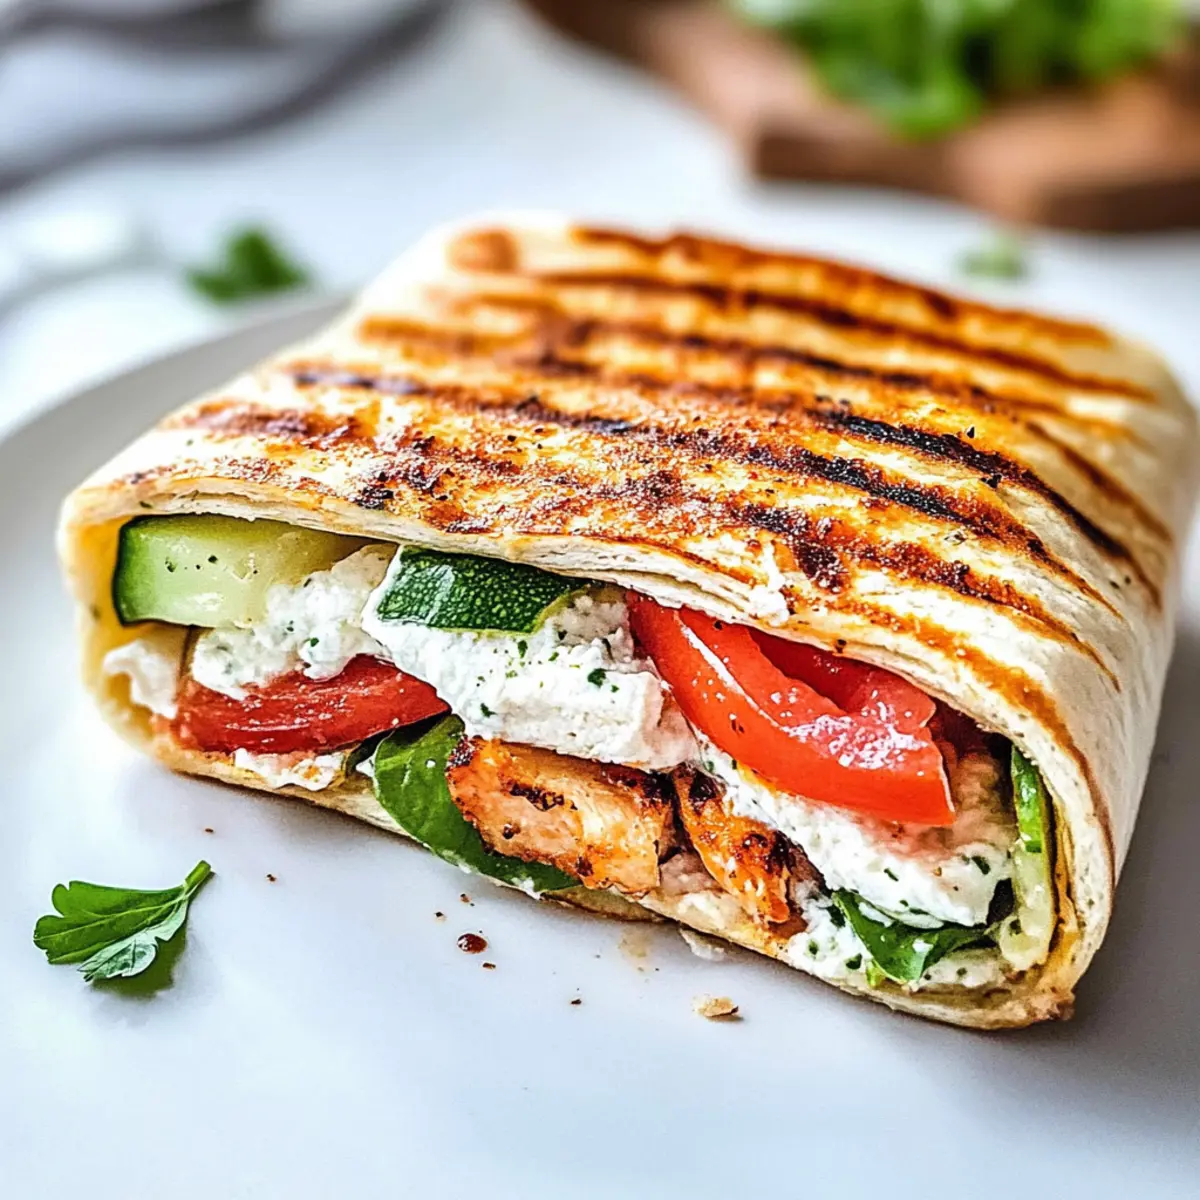
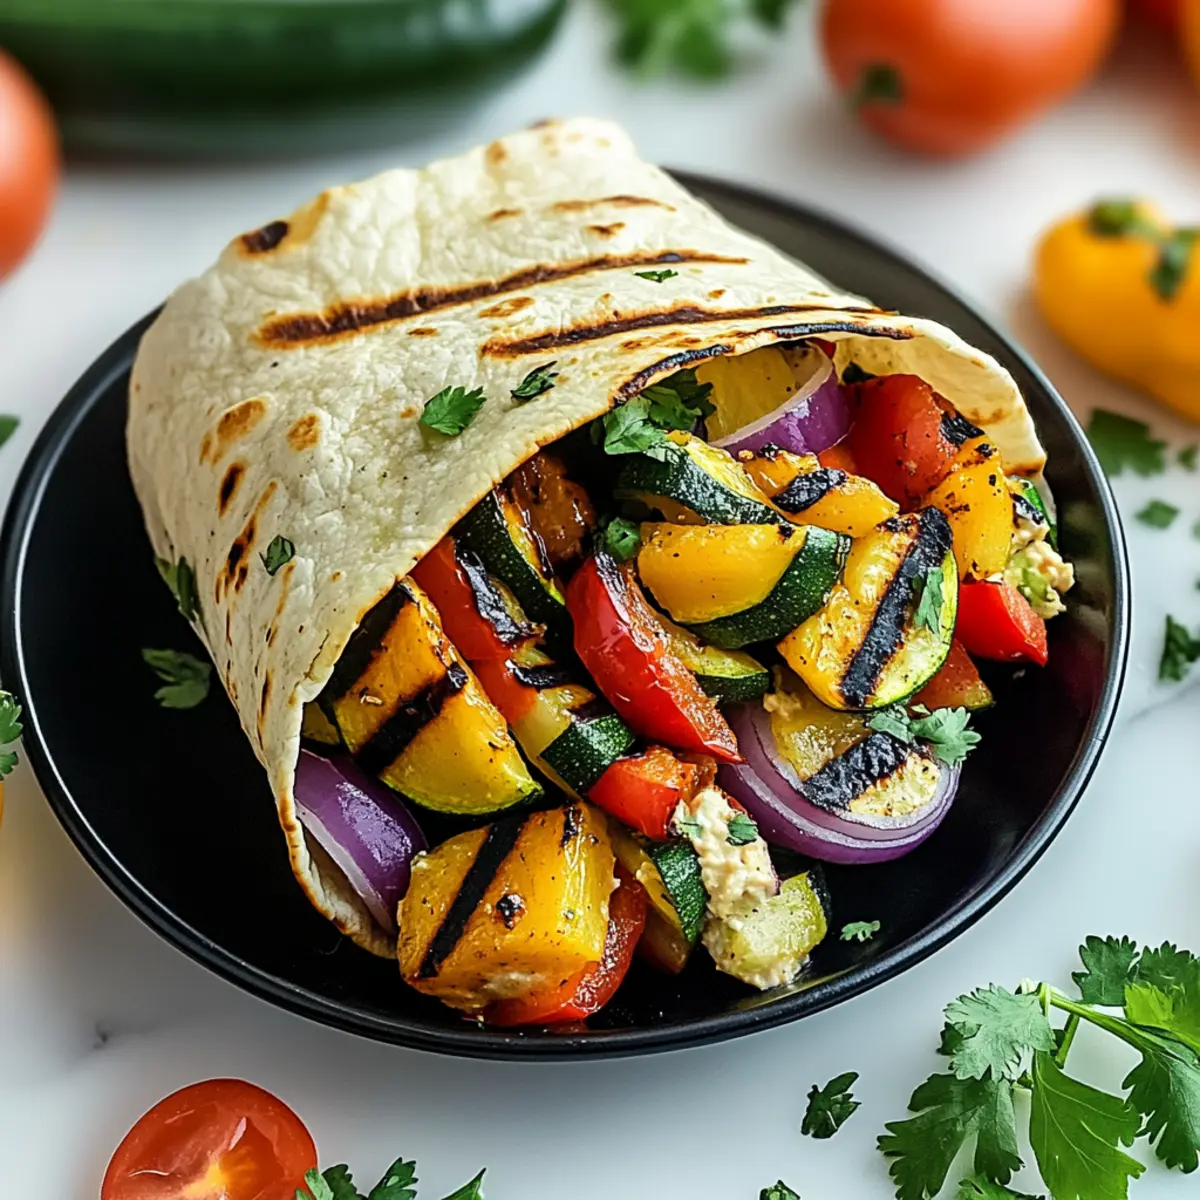
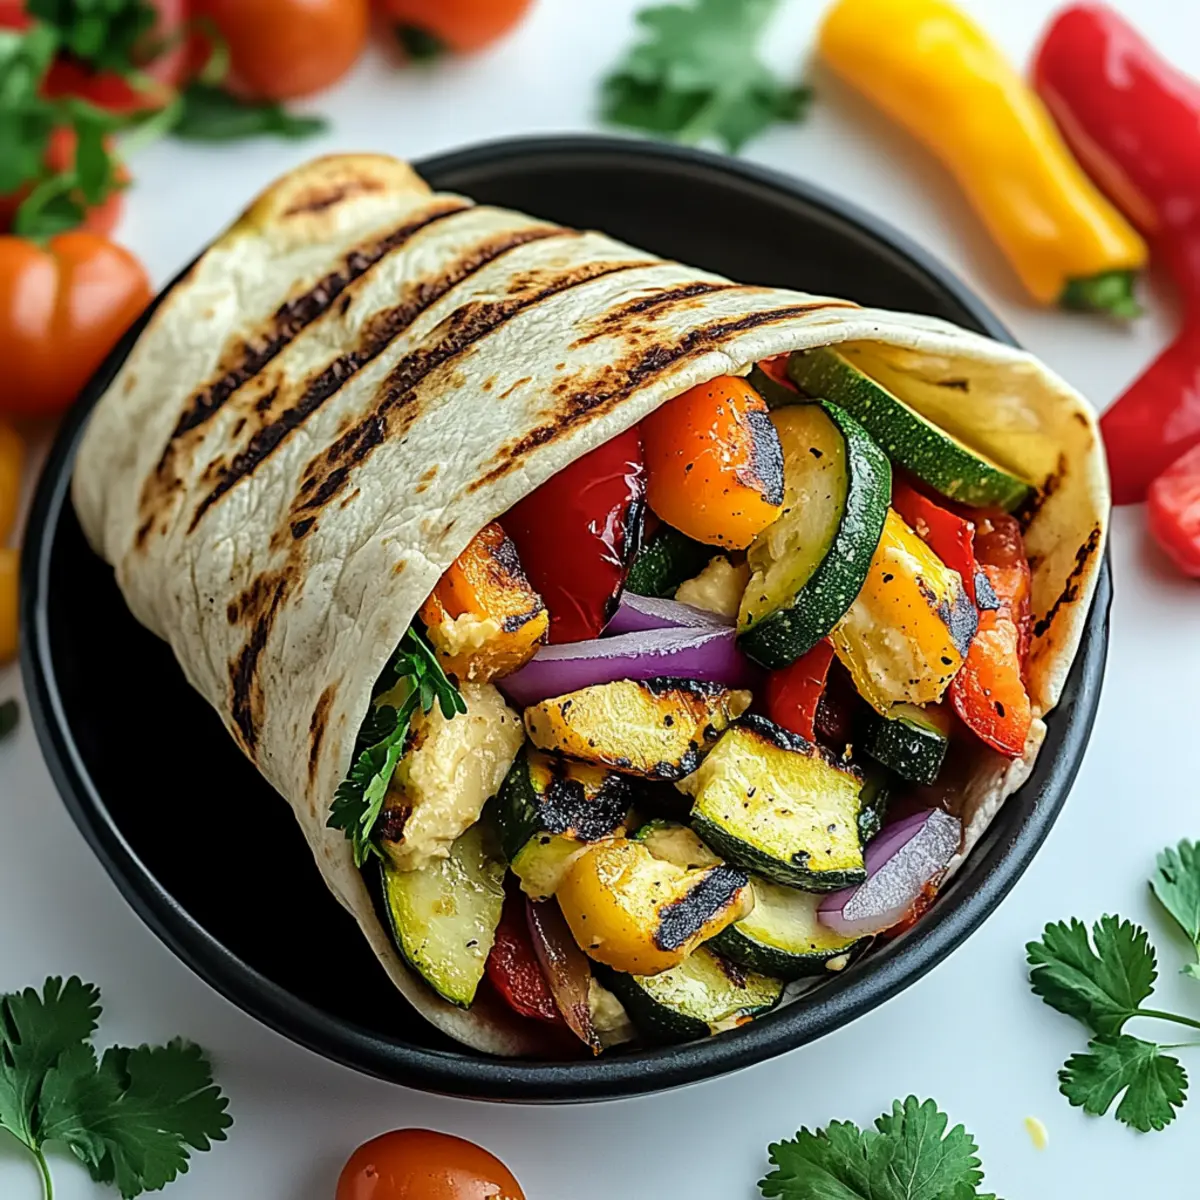
Lay out your tortilla on a clean surface, spreading a generous layer of the yogurt sauce evenly over it. Then add a layer of lettuce followed by the shredded chicken, avocado slices, tomatoes, cucumbers, and any optional cheese. Be mindful not to overload the wrap to ensure easy rolling.
Step 5: Roll It Up
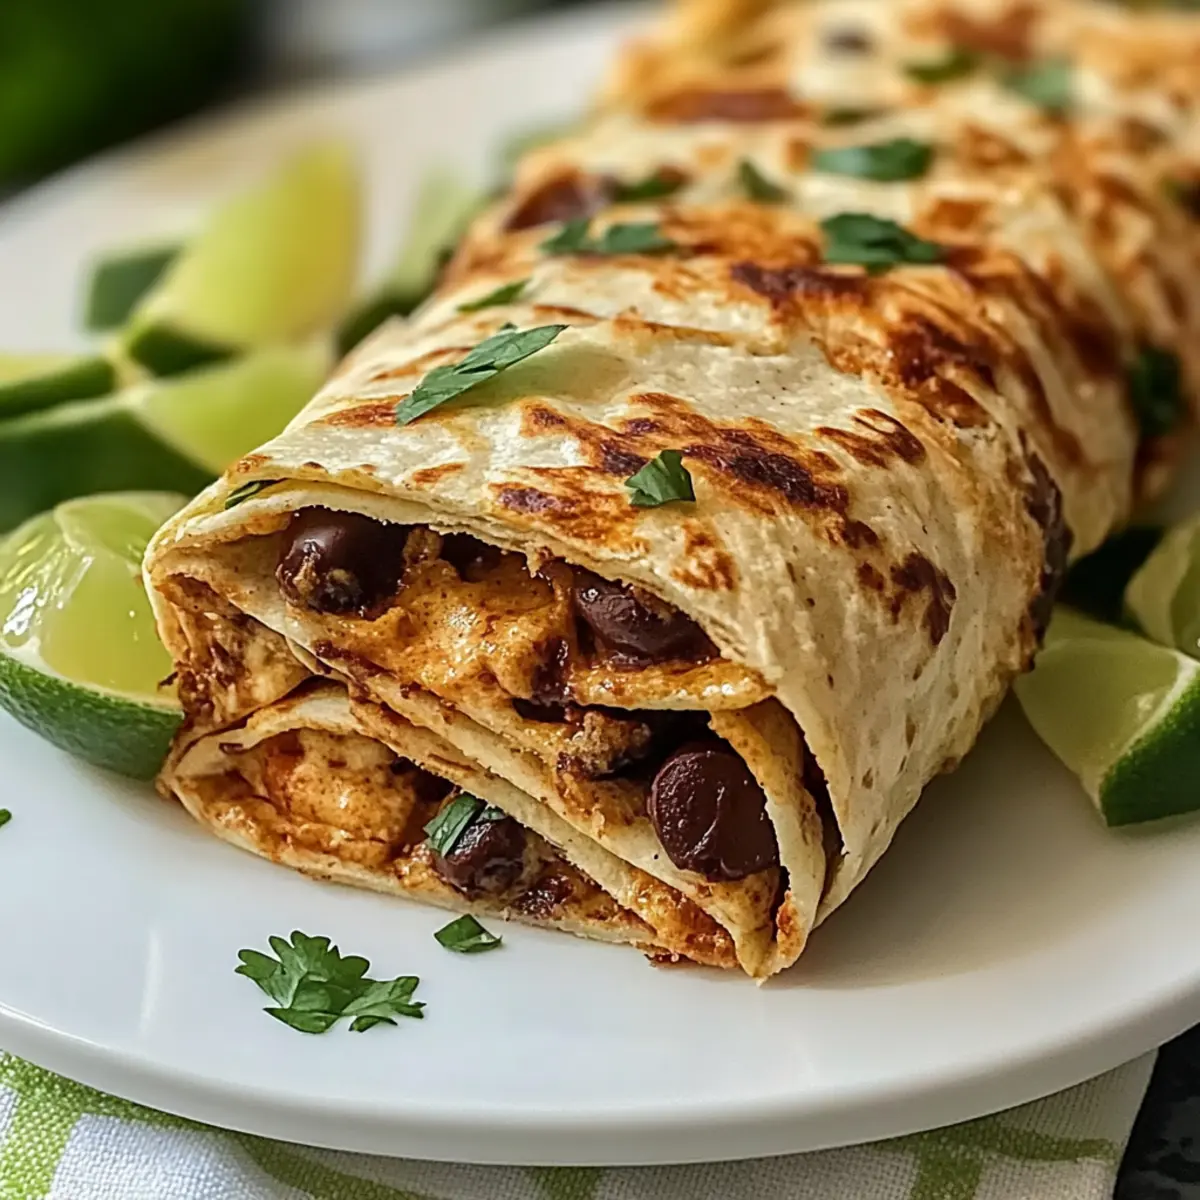
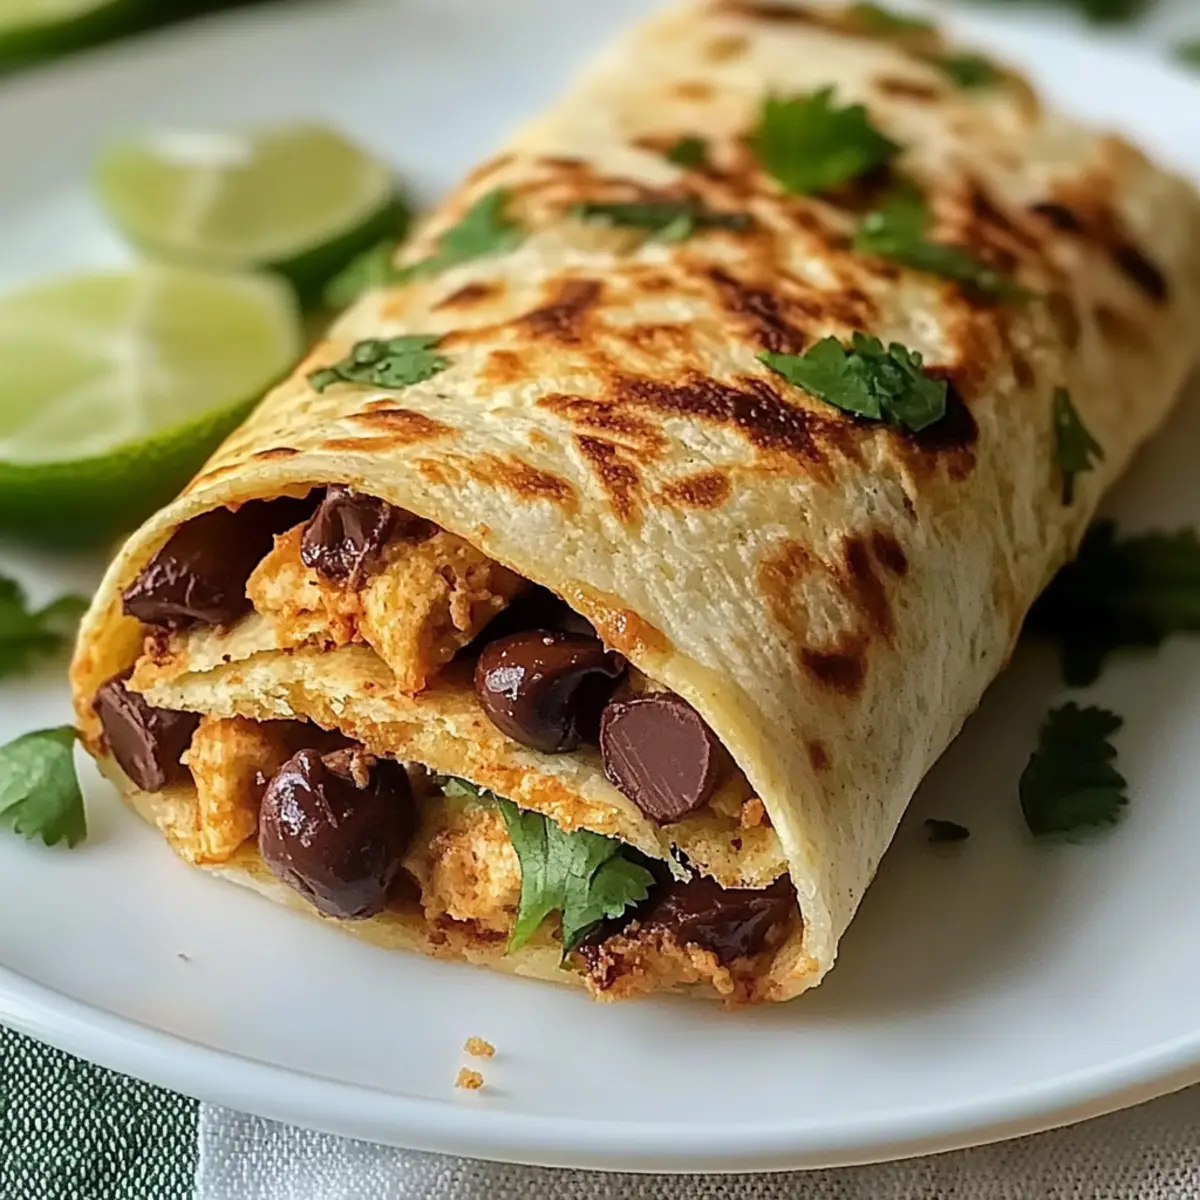
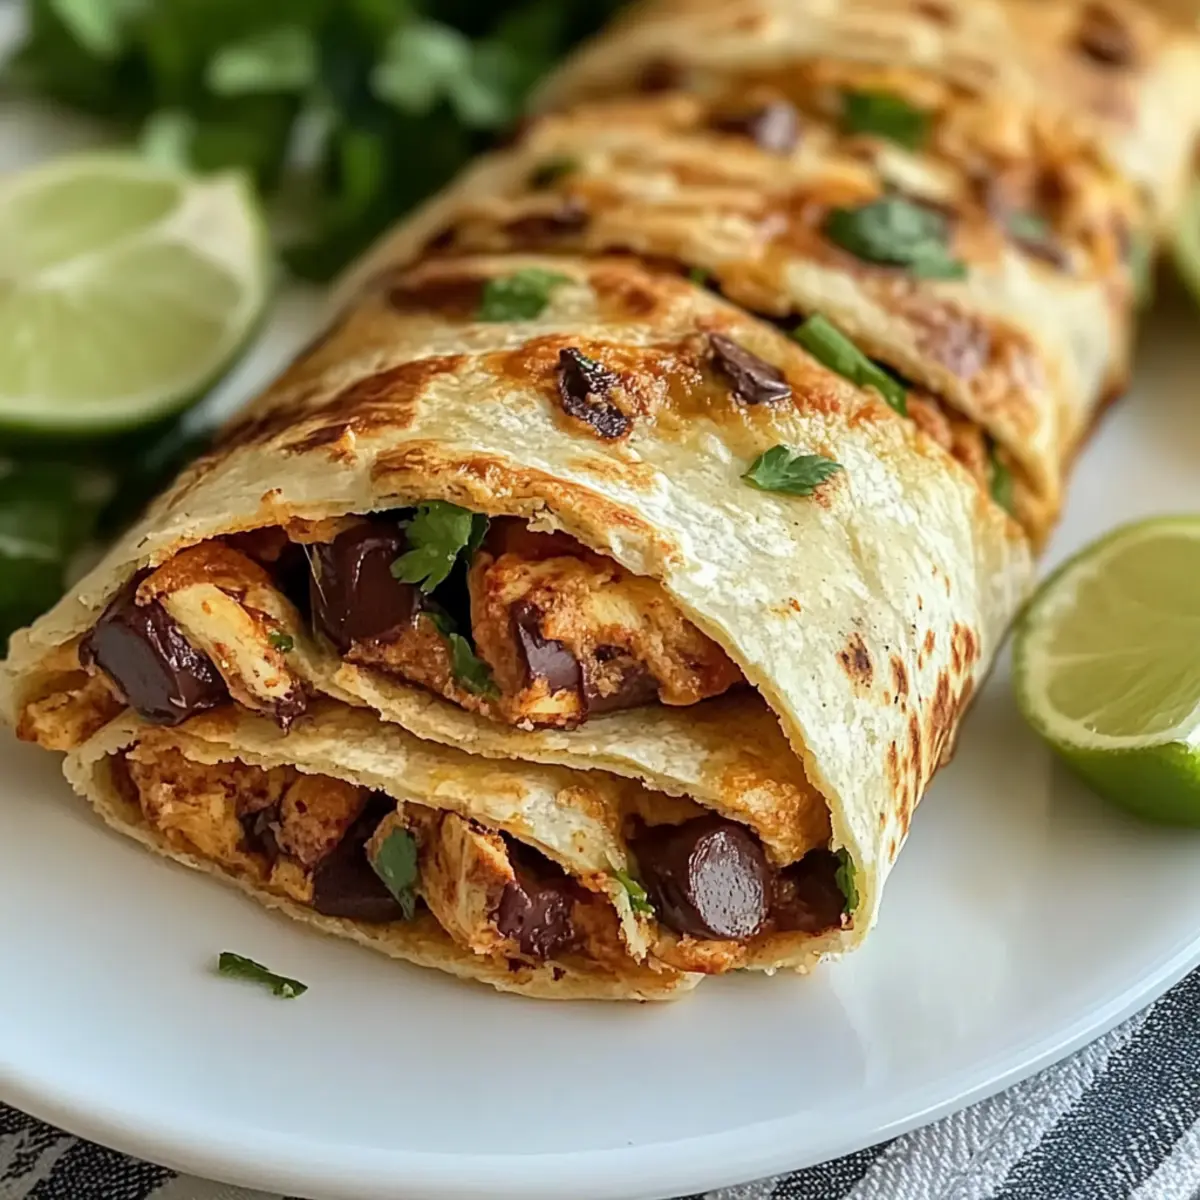
Fold the sides of the tortilla inwards, then roll from the bottom tightly up to the top, ensuring all the fillings are secure. For a neat finish, use a sharp knife to slice the Chicken Avocado Wrap in half diagonally. This presentation showcases the vibrant ingredients inside and makes for easier handling.
Step 6: Serve and Enjoy
Place your Chicken Avocado Wrap on a plate and serve immediately while fresh and crunchy. For an added touch, accompany it with a side of your favorite dipping sauce or a light salad. Enjoy this vibrant and healthy meal, perfect for lunch or a quick snack!
Storage Tips for Chicken Avocado Wrap
Room Temperature: Chicken Avocado Wraps are best enjoyed fresh, but if needed, they can be kept at room temperature for up to 2 hours before the ingredients begin to spoil.
Fridge: Store any leftovers in an airtight container in the fridge for up to 1 day. Wraps may become soggy, so consider keeping the sauce separate until ready to eat.
Freezer: For longer storage, freeze assembled wraps in a freezer-safe bag for up to 2 months. Thaw overnight in the fridge before enjoying again.
Reheating: If desired, reheat the chicken wrap in a microwave for about 30-45 seconds, ensuring it's heated through, but be mindful not to overheat, as the avocado may become mushy.
Make Ahead Options
These Chicken Avocado Wraps are perfect for meal prep, allowing you to enjoy a fresh and healthy meal even on the busiest days! You can prepare the chicken and sauce up to 3 days in advance; simply cook and shred the chicken, then mix the Greek yogurt sauce and store both in airtight containers in the refrigerator. Additionally, wash and chop the vegetables, keeping them crisp by storing them separately. When you’re ready to serve, assemble the wraps just before eating to maintain that delightful crunch and freshness. By prepping ahead, you’ll save time and energy, ensuring your week is a little less hectic and your meals are just as delicious!
Tips for the Best Chicken Avocado Wrap
- Fresh Ingredients: Use only fresh ingredients to enhance the flavor of your Chicken Avocado Wrap; wilted vegetables can dull the taste and texture.
- Properly Cooked Chicken: Ensure your chicken is fully cooked to an internal temperature of 165°F (75°C) to avoid any food safety issues.
- Avoid Overfilling: Don’t overload your wrap; keeping fillings moderate makes rolling easier and prevents the ingredients from spilling out.
- Creamy Sauce: A well-mixed sauce made with Greek yogurt not only adds creaminess but also keeps the wrap moist; don’t skip this vital step!
- Lightly Toast the Tortilla: Consider lightly toasting your tortillas before assembling to give a delightful crisp and enhance the wrap's structure.
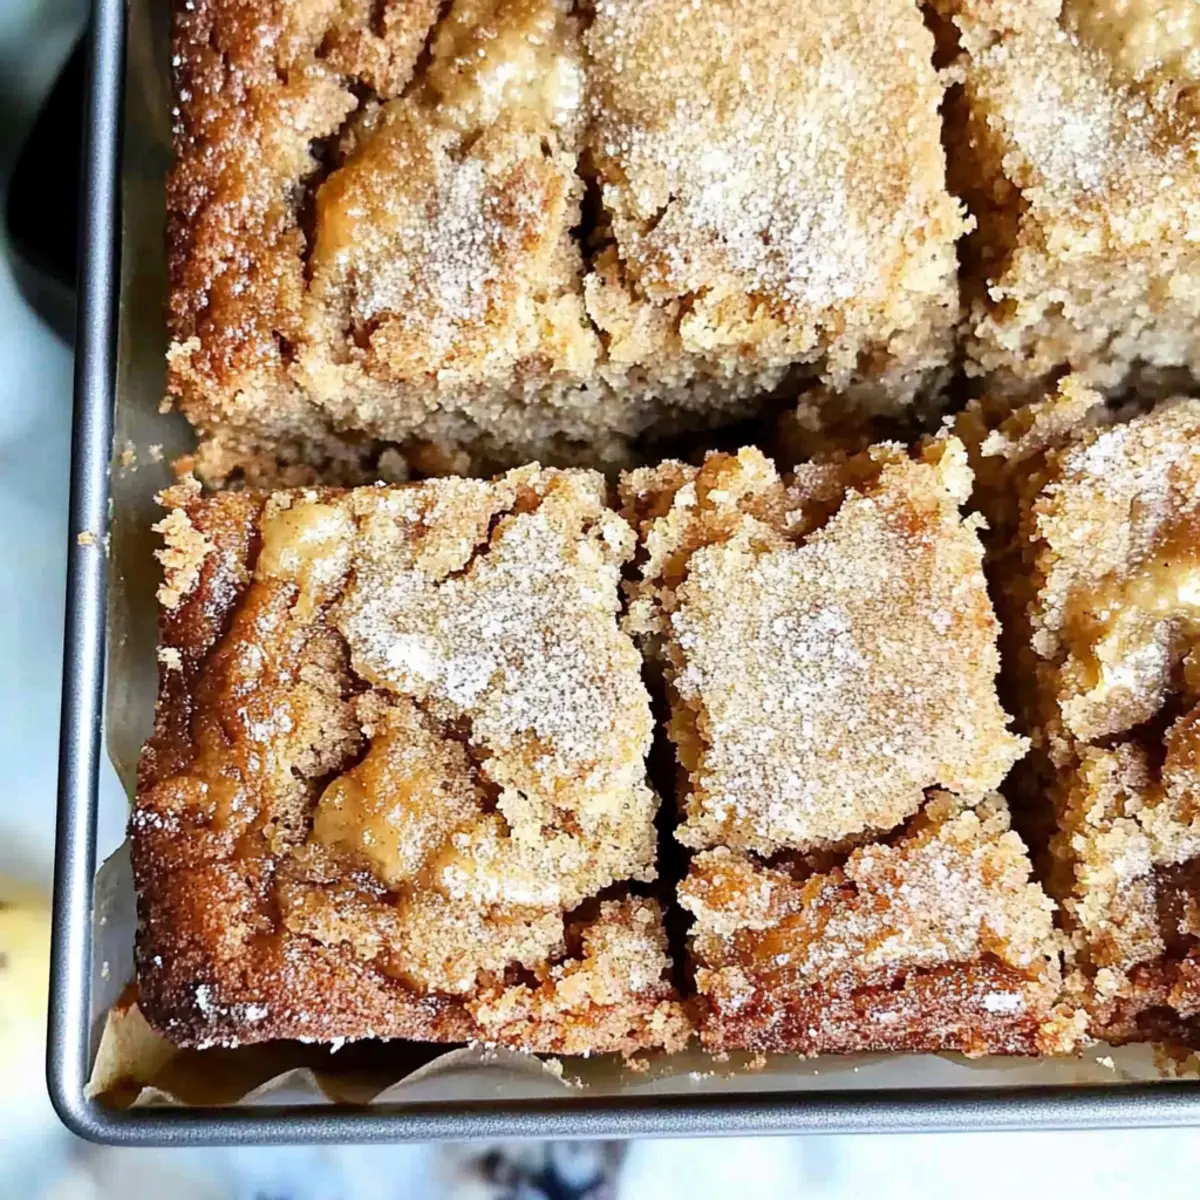
What to Serve with Classic Chewy Chocolate Chip Cookies
Indulging in warm, gooey cookies evokes memories of laughter and delight, perfect for turning ordinary moments into sweet celebrations.
- Cold Glass of Milk: The classic pairing that balances sweetness and complements the chocolate; it's a nostalgic and satisfying choice.
- Vanilla Ice Cream: Serve a scoop alongside warm cookies for a delightful contrast; the melt-in-your-mouth experience is pure bliss.
- Fresh Berries: Juicy strawberries or raspberries add a refreshing tartness to counter the richness of the cookies, creating a vibrant plate.
- Coffee or Espresso: The robust flavors of coffee enhance the chocolate notes, making for an adult-friendly treat that’s perfect for afternoons.
- Peanut Butter Dip: A rich and creamy peanut butter dip provides a fun twist; you can spread it on cookies or dip for extra flavor!
- Caramel Sauce Drizzle: Drizzling warm cookies with caramel adds an indulgent flair; the sweetness lifts the chocolate flavors even higher.
- Nutty Trail Mix: A crunchy side of trail mix contrasts the soft cookies beautifully, adding layers of texture while keeping it wholesome.
- Chocolate Milkshake: A thick milkshake is a dessert in itself; the combo creates a chocolate lover’s dream come true for any gathering.
- Marshmallow Fluff: Serve with a side of marshmallow fluff for dipping or spreading; it’s a playful touch that kids will adore!
- Coconut Macaroons: For a delightful variety, pair with coconut macaroons; their chewy texture and tropical flavor harmonize well with classic cookies.
Chicken Avocado Wrap Variations
Feel free to get creative with this recipe and make it your own!
- Gluten-Free: Substitute traditional tortillas with gluten-free wraps to cater to dietary needs while still enjoying the same great taste.
- Spicy Twist: Add sliced jalapeños or a drizzle of sriracha to your wrap for a spicy kick that elevates this dish to a whole new level.
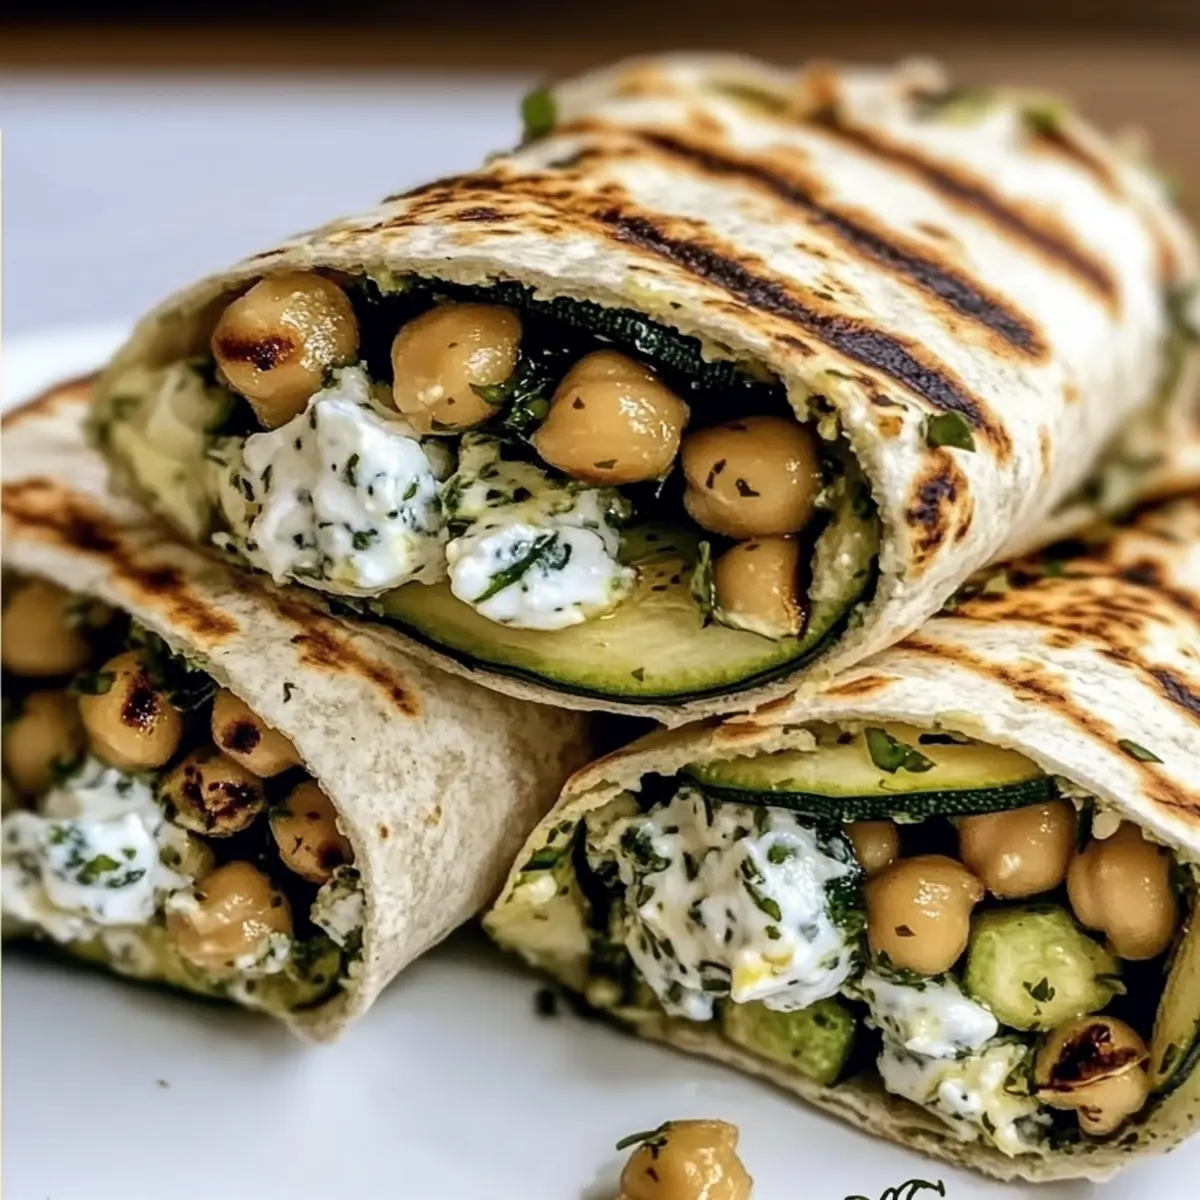
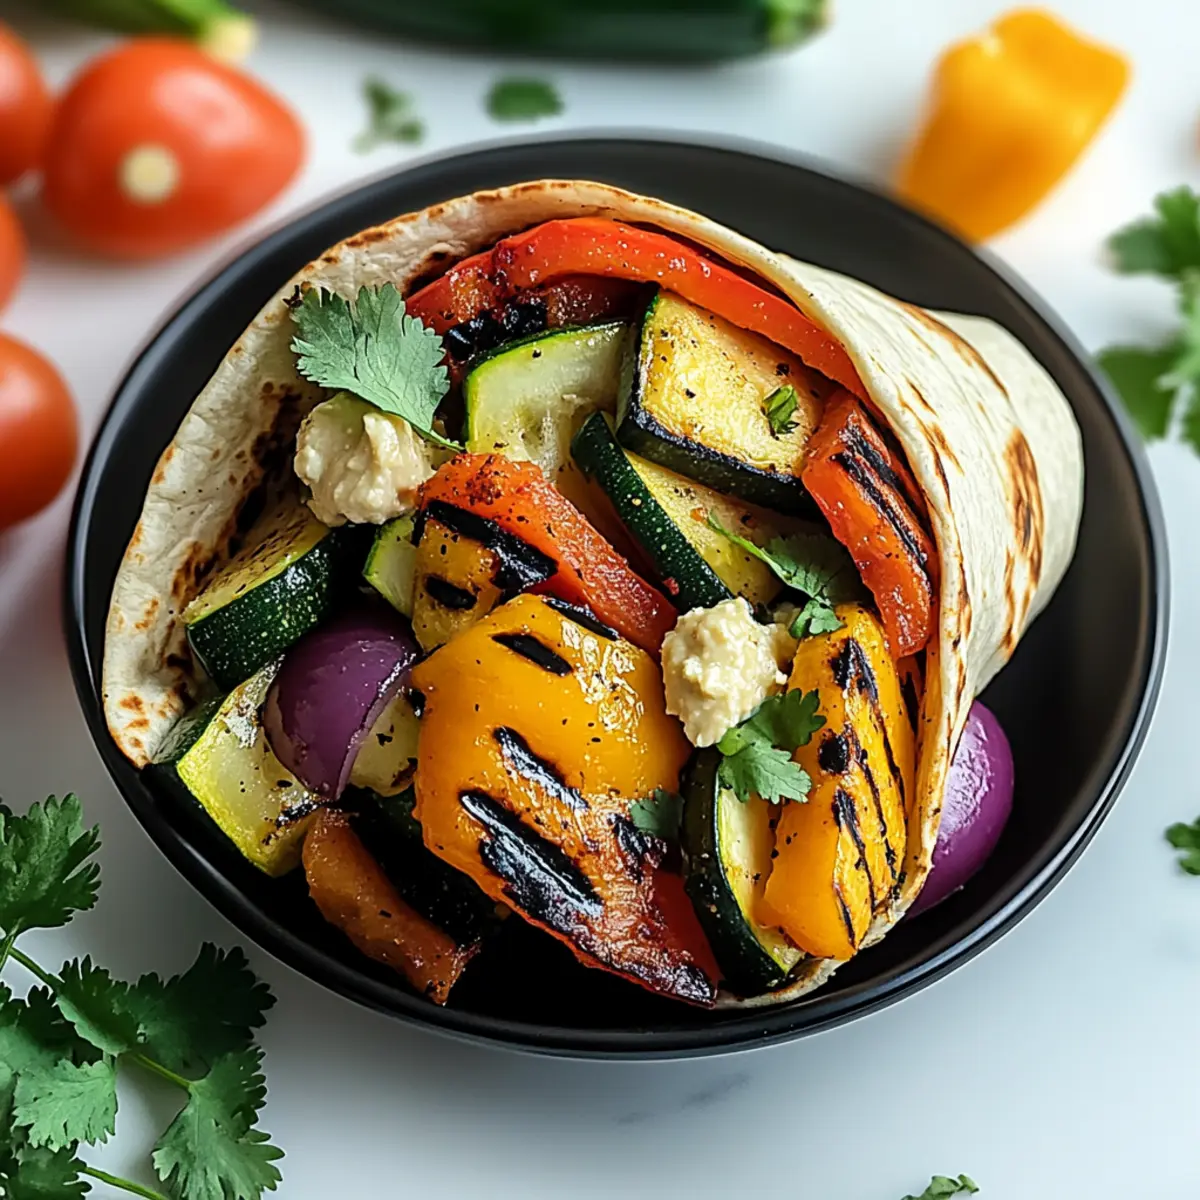
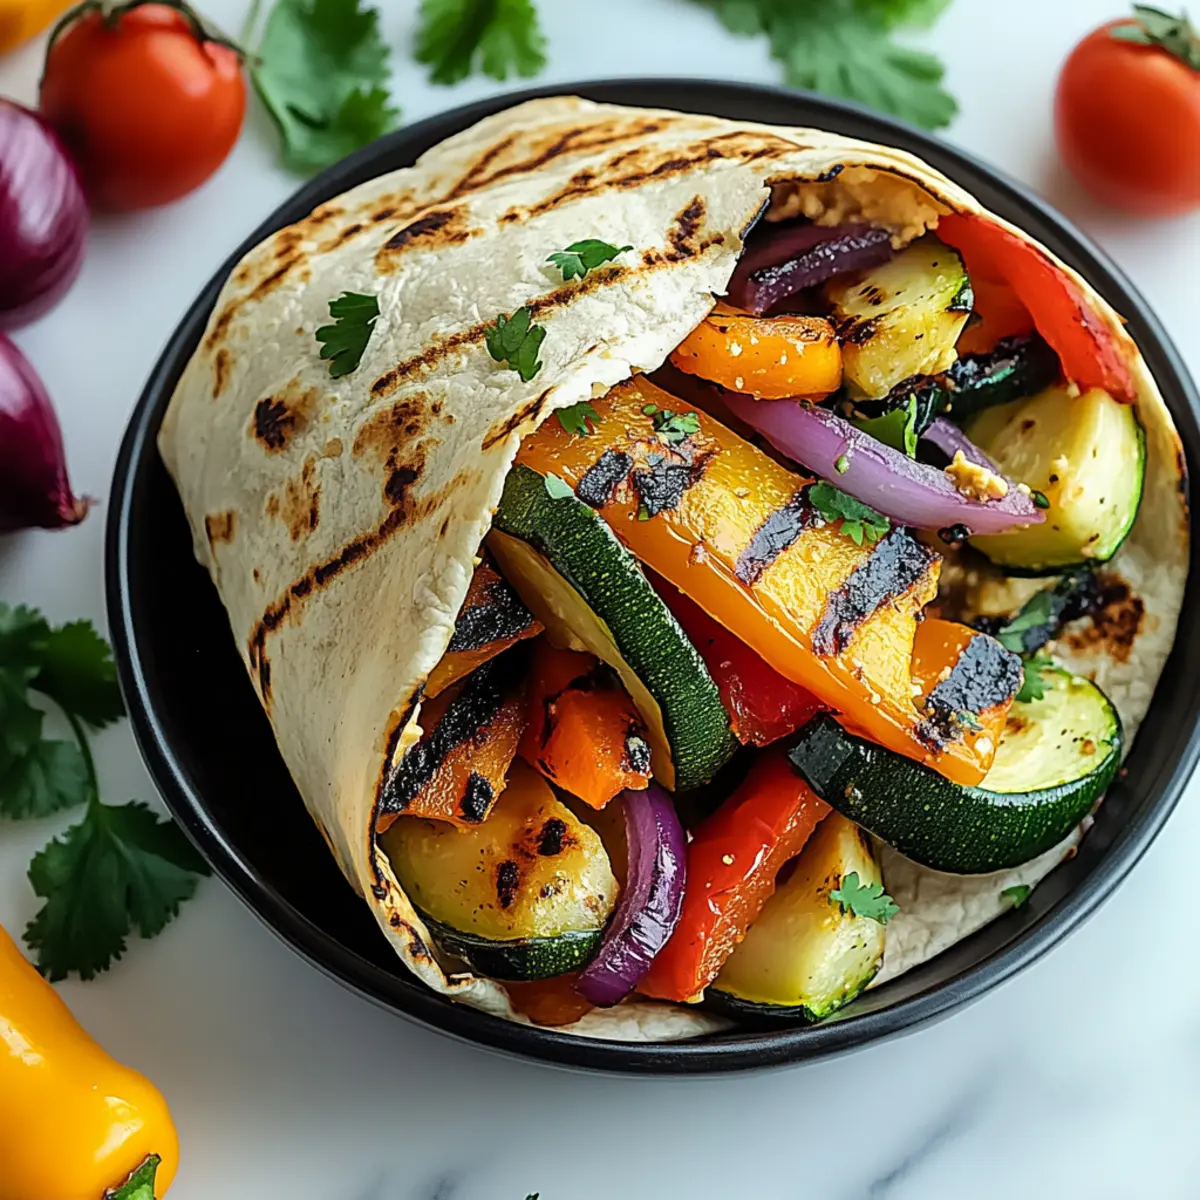
- Veggie-Loaded: Bulk up your wrap with additional veggies like shredded carrots, bell peppers, or red onion for extra crunch and flavor.
- Herbed Delight: Mix fresh herbs like cilantro or basil into your sauce for an aromatic boost that brightens up every bite.
- Creamy Avocado Spread: Mash the avocado with lime juice and garlic for a zesty spread that packs a flavorful punch before layering on ingredients.
- Crispy Protein: Swap out the chicken for crispy tofu or chickpeas to create a delightful plant-based alternative that's equally delicious.
- Tropical Flair: Incorporate diced pineapple or mango into your wrap for a sweet and fruity surprise that complements the creaminess of the avocado.
If you enjoy fun, flavorful dishes like this Chicken Avocado Wrap, you might also want to explore my Fiesta Lime Chicken with Avocado or try the vibrant flavors of Chicken Adobo Again. Enjoy the journey of customization!
Chicken Avocado Wrap Recipe FAQs
How do I choose ripe avocados for my wrap?
Absolutely! When selecting avocados, look for ones that yield gently to pressure, indicating ripeness. Avoid any with dark spots or wrinkles, as they may be overripe. A perfectly ripe avocado will have a slight give but should not feel too soft.
How should I store leftover Chicken Avocado Wraps?
For optimal freshness, store any leftover Chicken Avocado Wraps in an airtight container in the fridge for up to 1 day. However, to prevent sogginess, keep the sauce separate until you're ready to enjoy your wrap again!
Can I freeze assembled Chicken Avocado Wraps?
Yes, you can! To freeze your Chicken Avocado Wraps, wrap them tightly in plastic wrap or place them in a freezer-safe bag. They can be stored in the freezer for up to 2 months. When you’re ready to eat, simply thaw them overnight in the fridge.
What should I do if my wrap falls apart while rolling?
No worries! If your wrap is falling apart, it might be due to overfilling or using a tortilla that’s too stiff. Ensure you’ve spaced out your ingredients evenly and consider warming your tortilla slightly in a skillet for better pliability before assembling.
Are Chicken Avocado Wraps suitable for a gluten-free diet?
Very! Simply substitute the regular tortillas with gluten-free ones, and enjoy this delicious and nutritious meal without worrying about gluten. Always double-check labels when purchasing your ingredients to ensure they meet your dietary needs.
What is the best way to prepare chicken for my wrap?
For juicy, flavorful chicken, I recommend seasoning the chicken breast well with salt, pepper, and your favorite spices, then grill or bake at 375°F (190°C) for 20-25 minutes. Using an internal thermometer, ensure it reaches 165°F (75°C) for safe consumption, then shred it while warm for the best texture and flavor.
Chicken Avocado Wrap: A Fresh Take on a Classic Favorite
Ingredients
Equipment
Method
- Cook the chicken breast, season with salt and pepper, grill or bake at 375°F for 20-25 minutes until fully cooked. Shred while warm.
- Mix Greek yogurt, mustard, lemon juice, with salt, pepper, and spices in a bowl for the sauce.
- Wash and chop lettuce, slice tomatoes, and chop cucumber. Set aside.
- Spread the sauce over the tortilla, layer with lettuce, chicken, avocado, tomatoes, cucumber, and cheese.
- Fold tortilla sides inward and roll tightly from the bottom up. Slice in half diagonally.
- Serve immediately on a plate, optionally with a side of dipping sauce or salad.