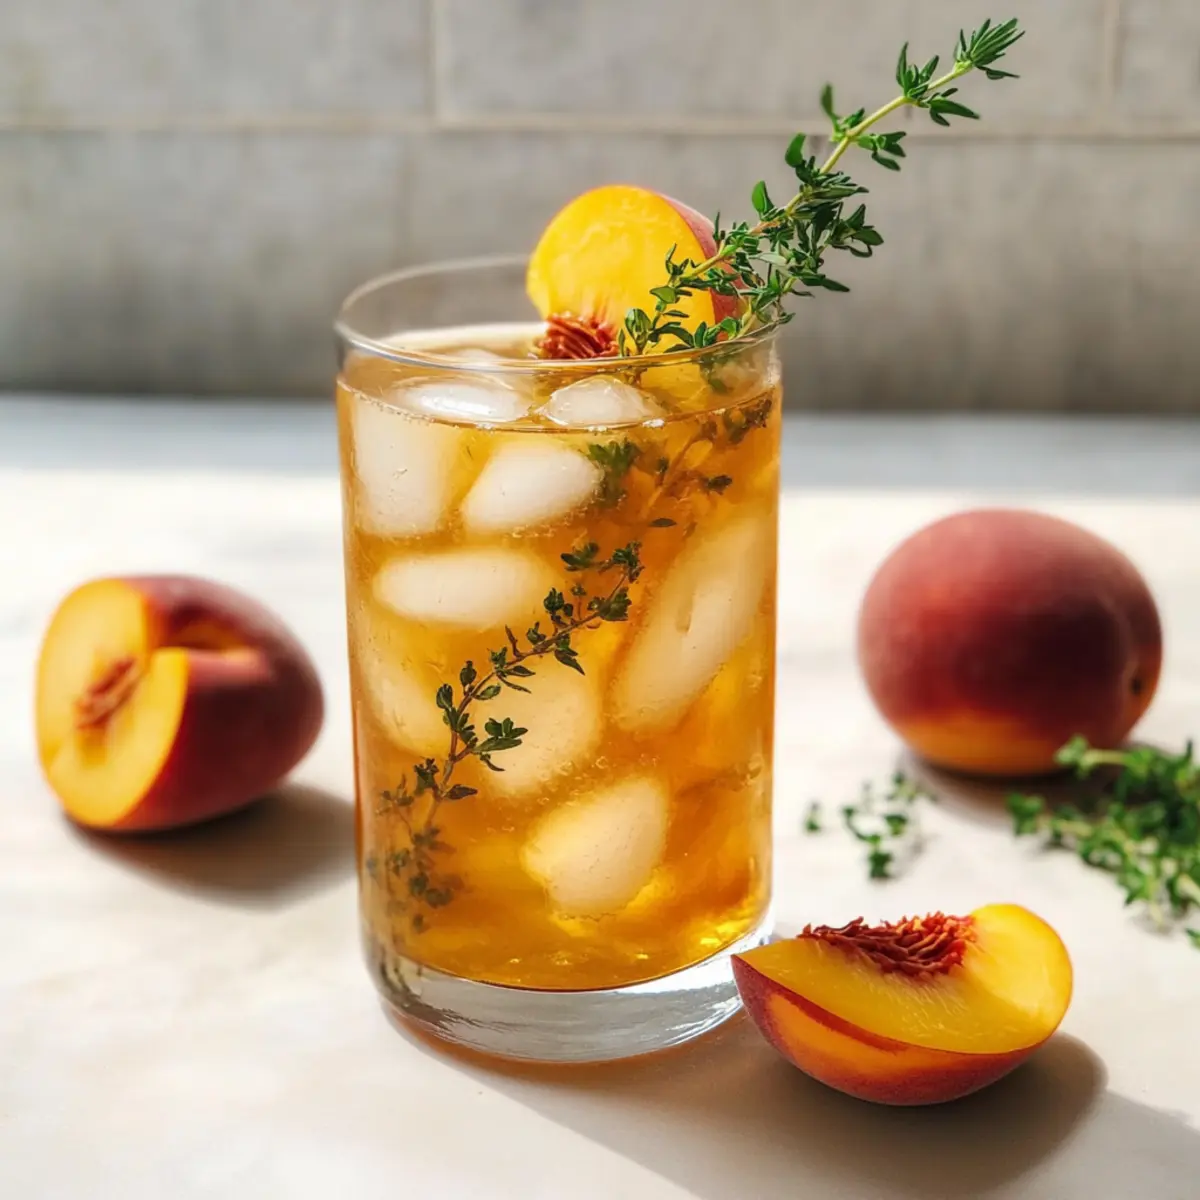
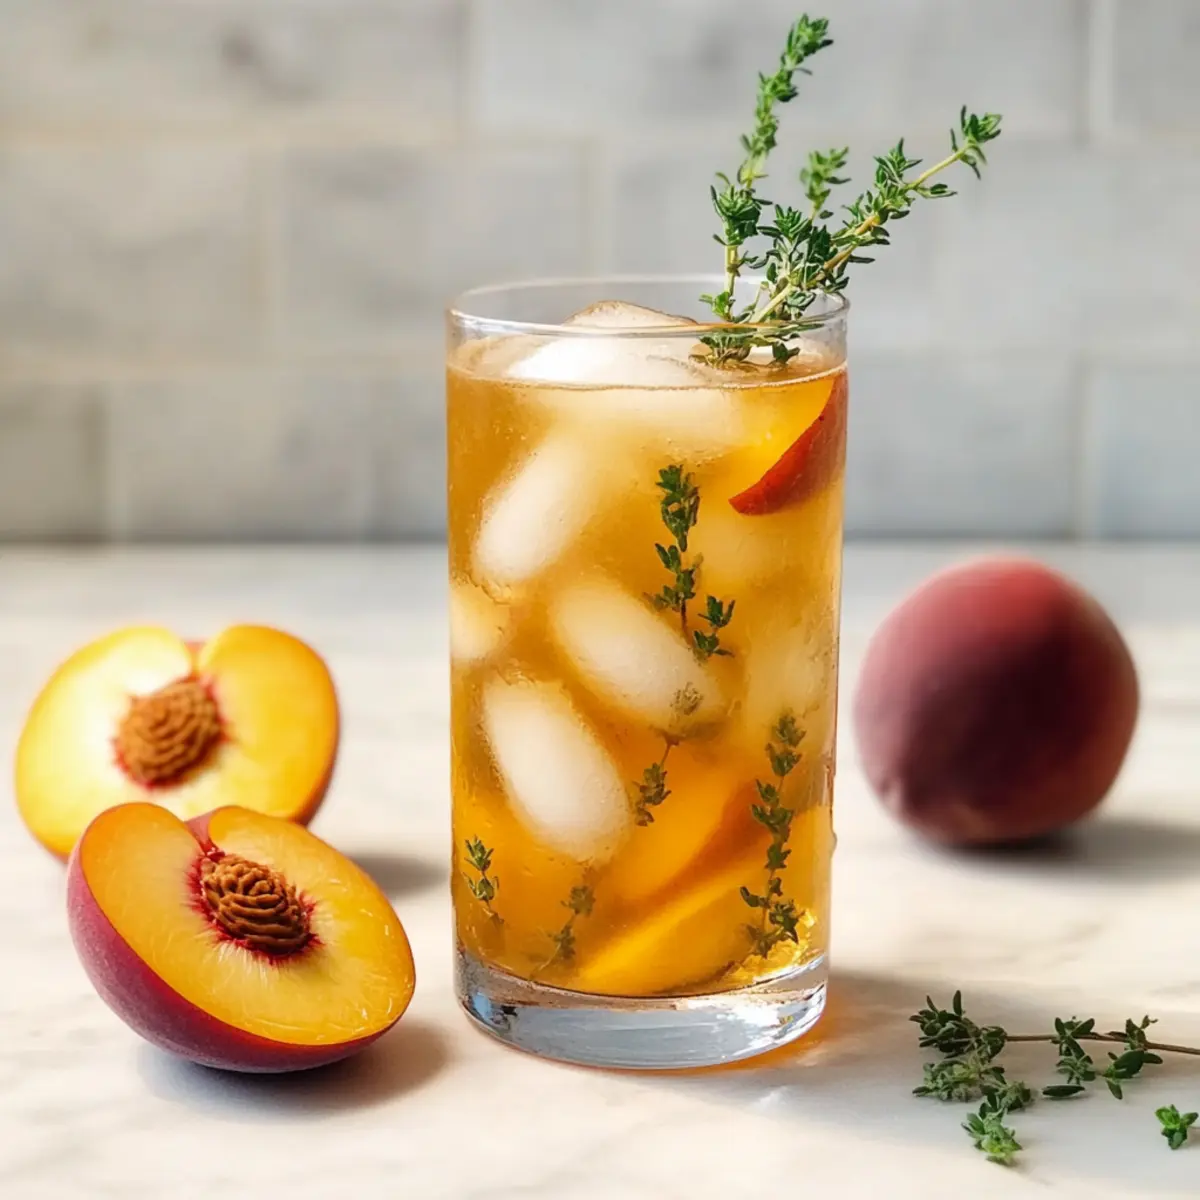
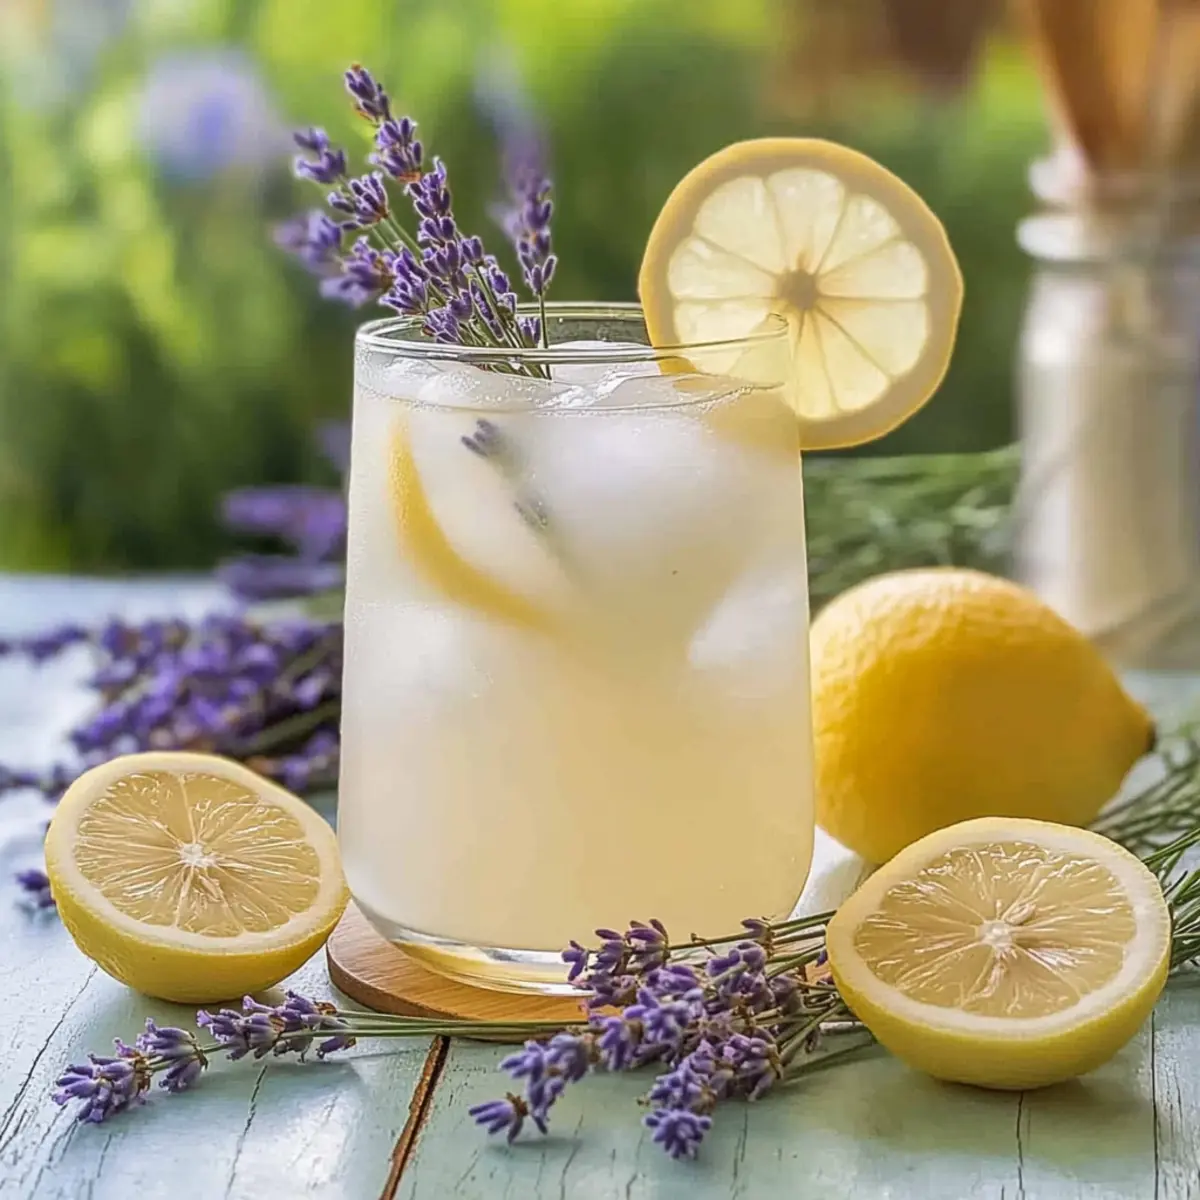
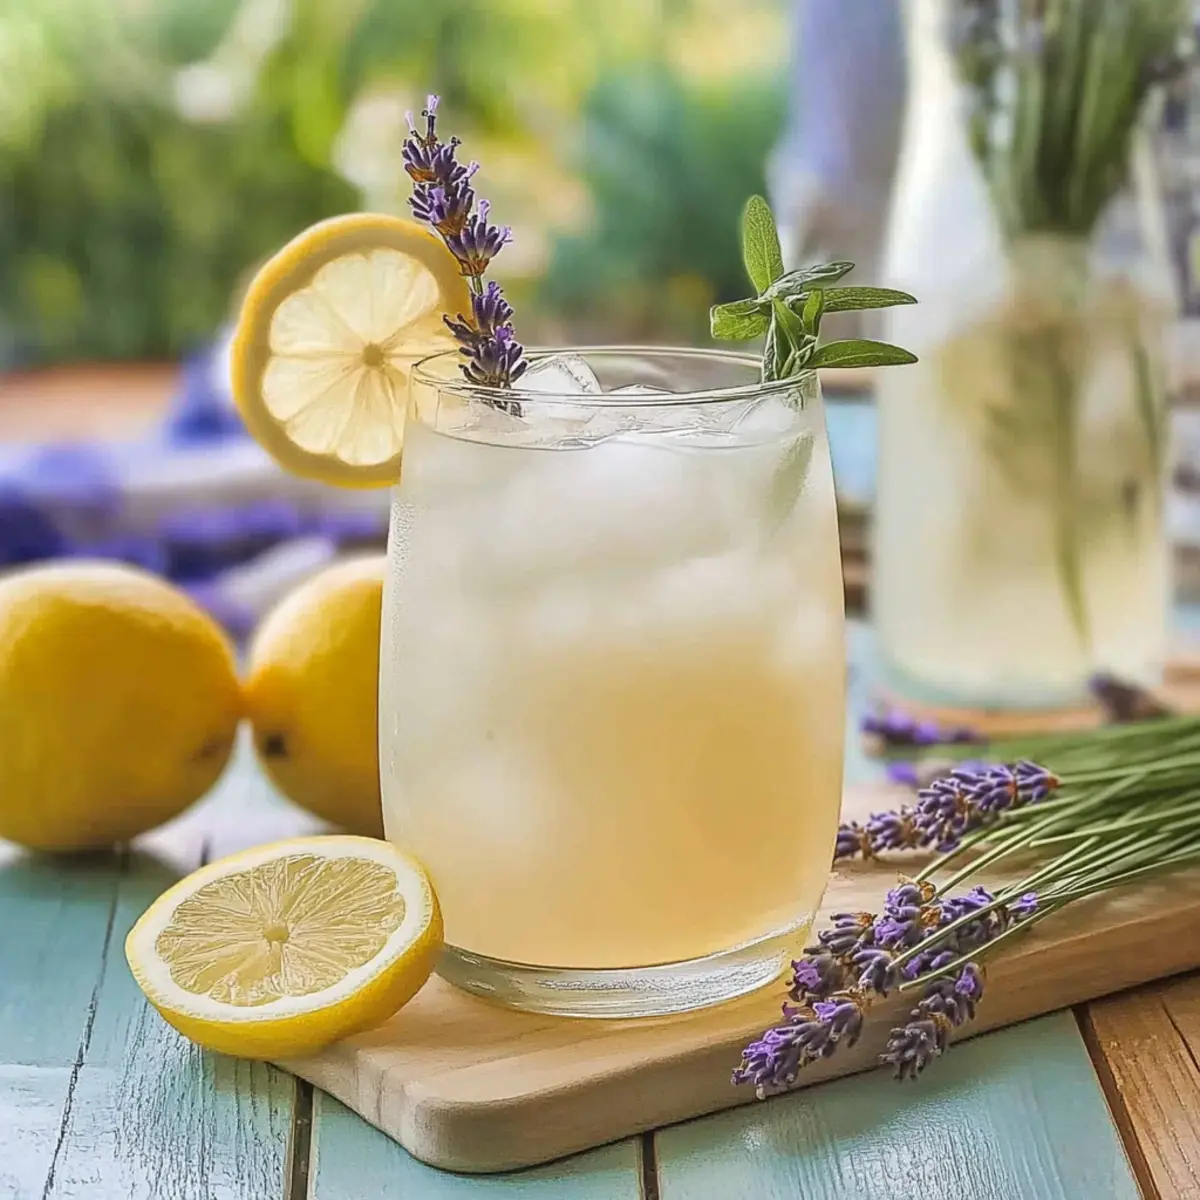
Tropical getaways may not always be a feasible option, but a sip of paradise is just a blend away! This Coconut Lavender Lemonade Mocktail Recipe captures the essence of sunny escapes right in your kitchen, fusing the creamy goodness of coconut with the delicate floral notes of lavender. Not only is this drink refreshingly satisfying, but it also brings a calming aroma that makes every sip a mini-vacation. Whip it up in minutes with simple ingredients for the perfect way to elevate an afternoon picnic or unwind after a long day. Curious about how to blend this tropical delight? Let’s dive into crafting this dreamy mocktail together!
Why is this mocktail a must-try?
Refreshing, tropical flavors: Experience a burst of summer with every sip as coconut and lemon come together in harmony. Soothing aroma: The infusion of lavender not only adds flavor but also creates a calming atmosphere that helps you unwind. Easy to make: In just minutes, you can whip up this beverage using straightforward ingredients, making it perfect for those busy days craving something special. Customizable: Feel free to experiment with various sweeteners or even substitute lavender with mint for a fresh twist. Ideal for gatherings: Impress your friends at your next picnic or gathering with this stunning, flavorful mocktail that everyone will love! Why not pair this drink with a delightfully hearty Coconutty Beans Greens dish for a complete meal experience?
Coconut Lavender Lemonade Mocktail Ingredients
For the Mocktail Base
- Coconut Milk – Provides a creamy texture and tropical flavor; consider using light coconut milk for fewer calories.
- Fresh Lemon Juice – Adds bright, tangy notes; always go for freshly squeezed for the best taste.
- Lavender Syrup – Infuses the drink with floral sweetness; you can substitute this with mint syrup for a refreshing change.
- Honey or Agave Nectar – Helps sweeten your drink naturally; adjust based on your personal sweetness preference.
- Cold Water – Ensures the right consistency without overwhelming flavors; tweak the amount to suit your taste.
For Serving
- Ice Cubes – Keeps your Coconut Lavender Lemonade Mocktail refreshingly cold as you enjoy it.
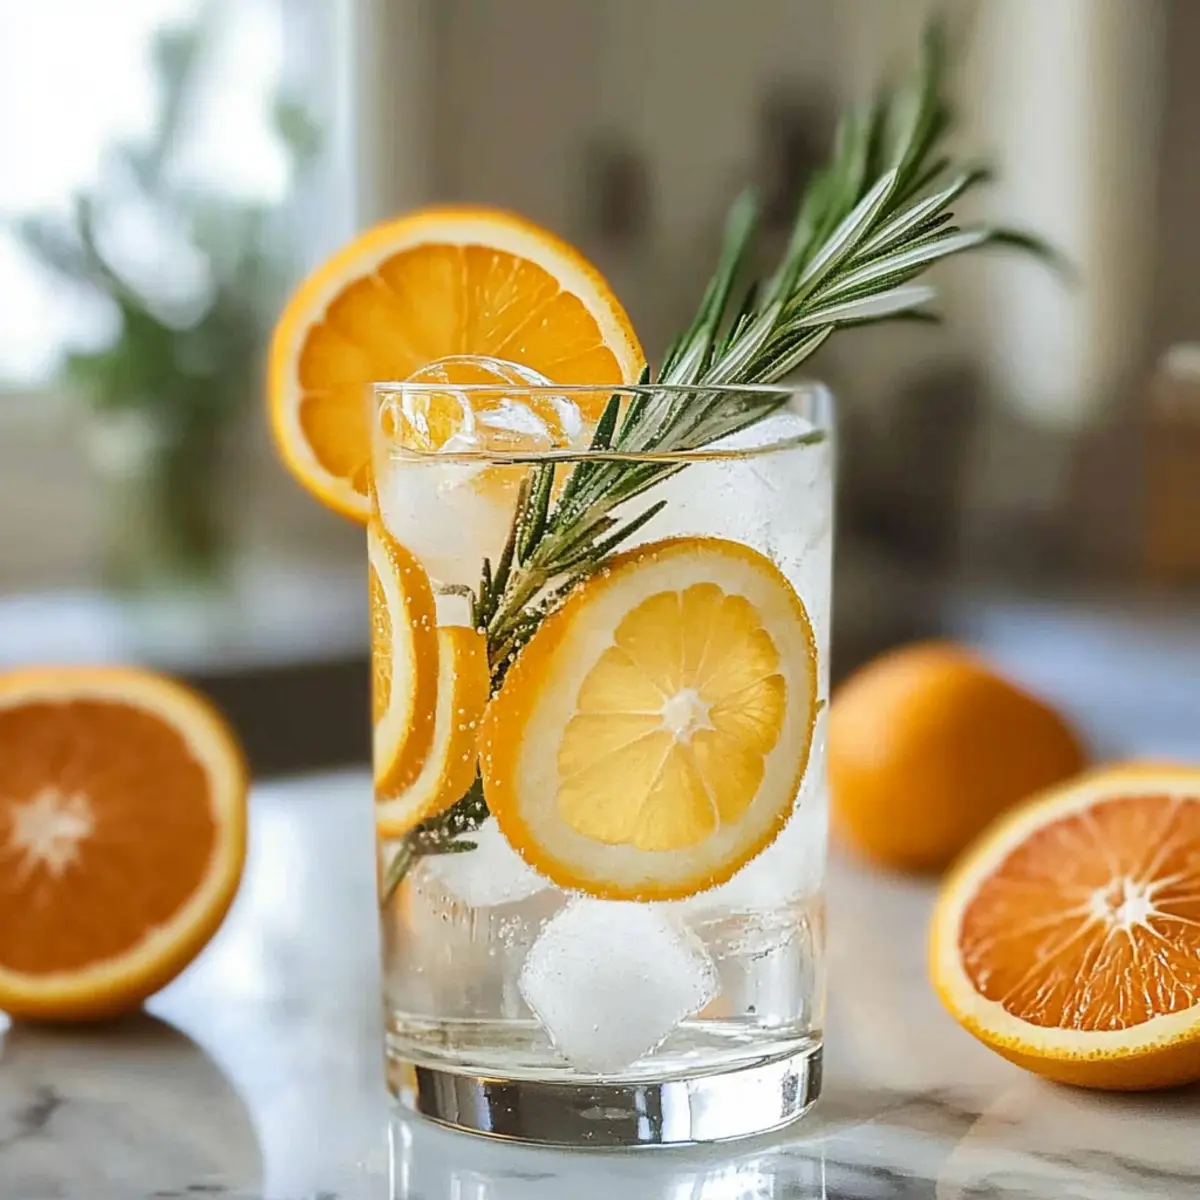
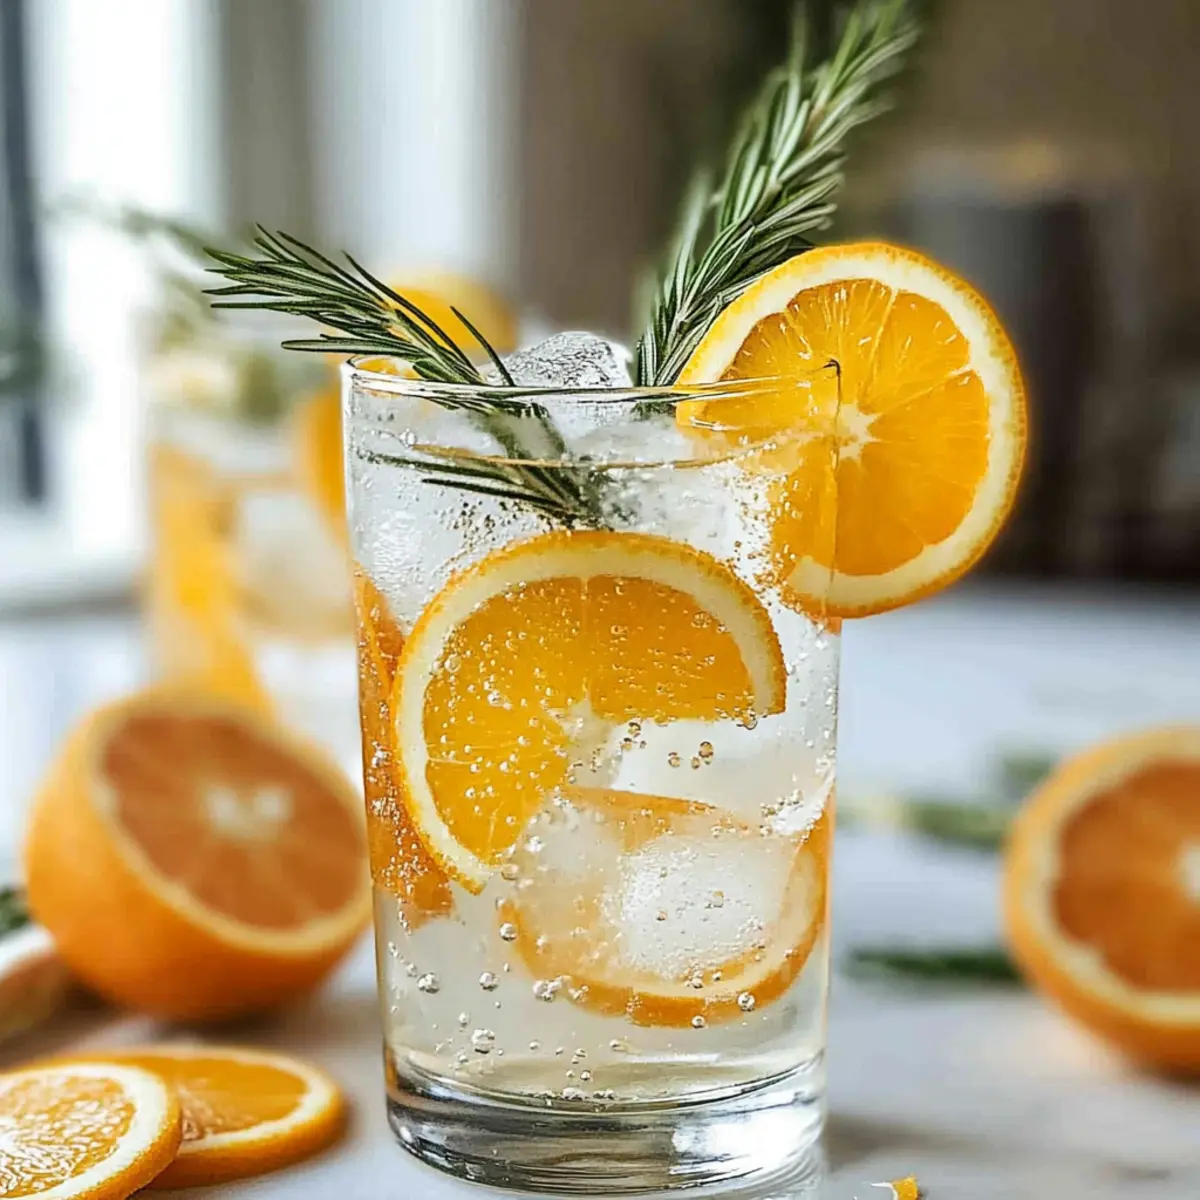
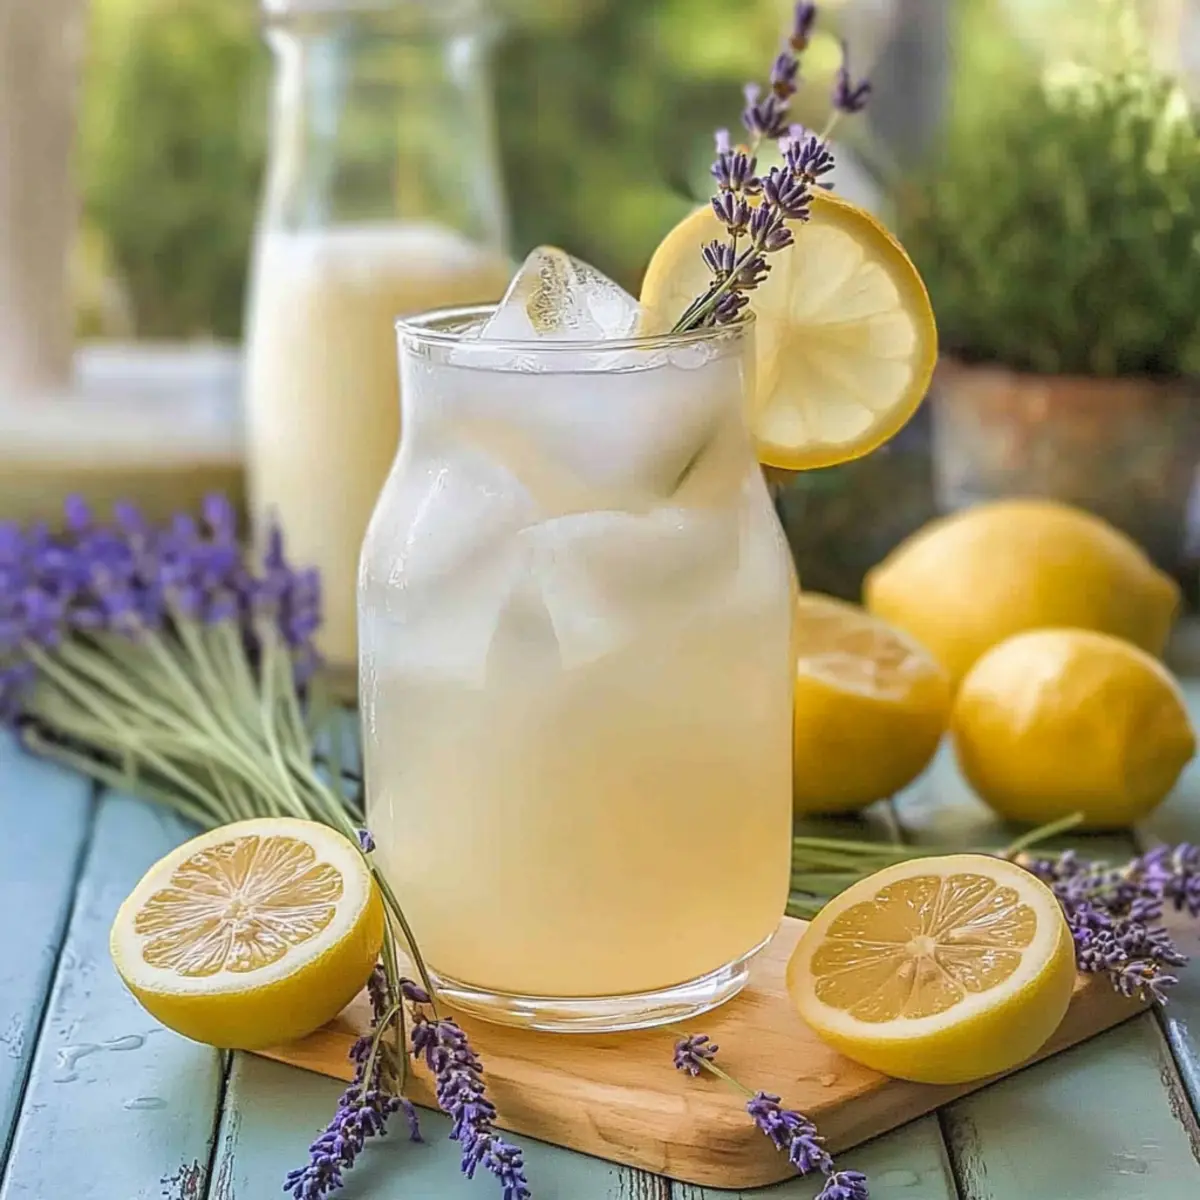
- Optional Garnish: Lemon Slices & Lavender Sprigs – Enhances presentation, adding a pretty touch to your drink.
Now that you’re ready with all the ingredients, let’s dive into crafting this dreamy mocktail together!
Step‑by‑Step Instructions for Coconut Lavender Lemonade Mocktail Recipe
Step 1: Blend the Base
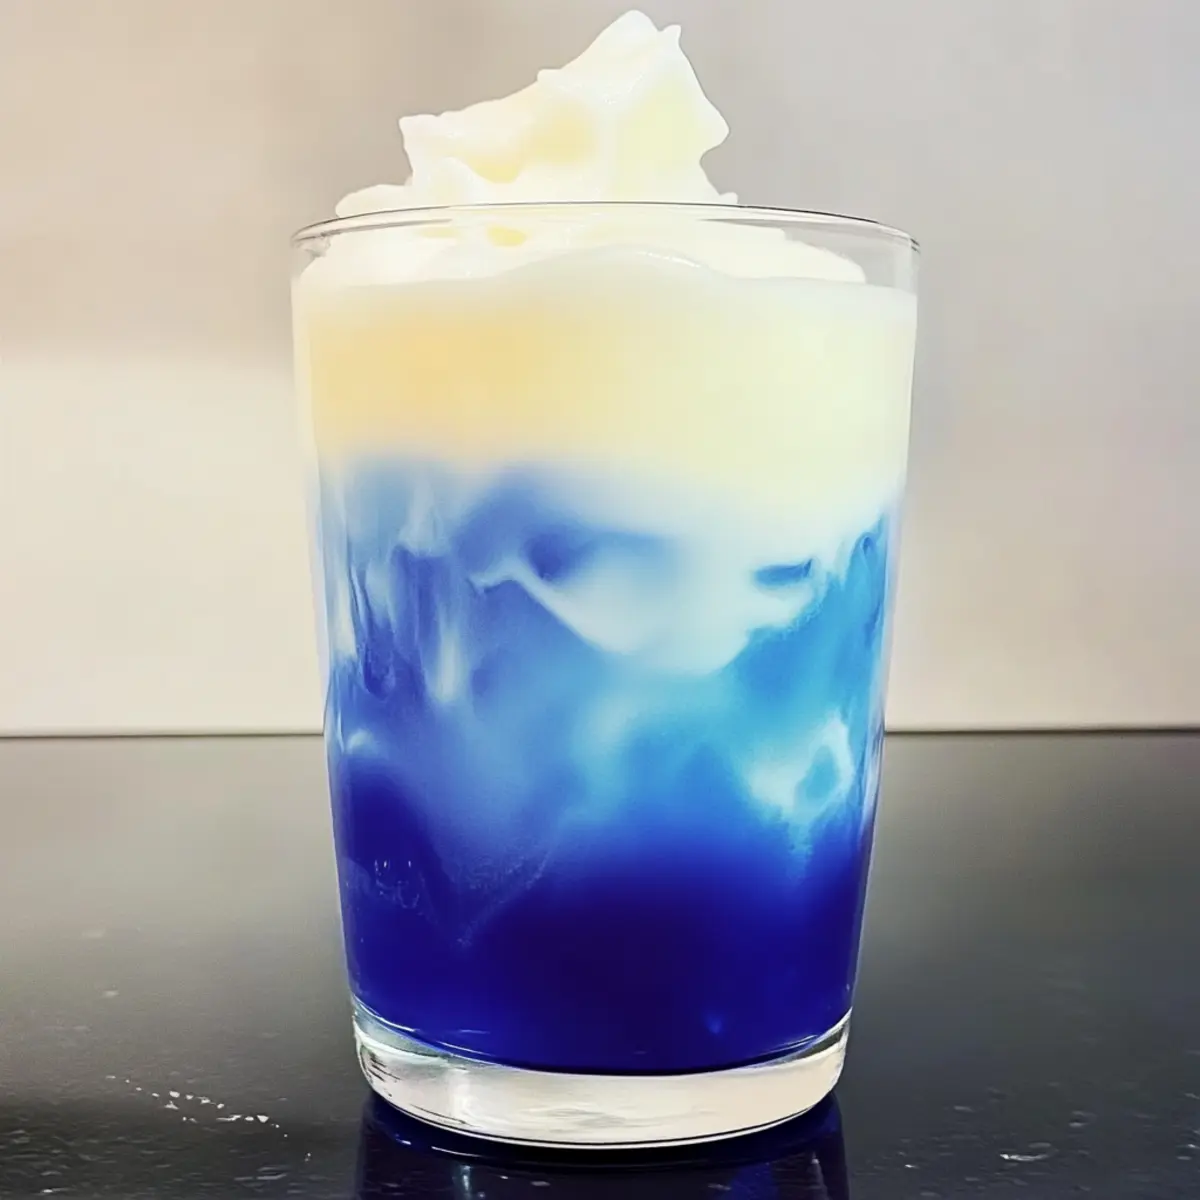
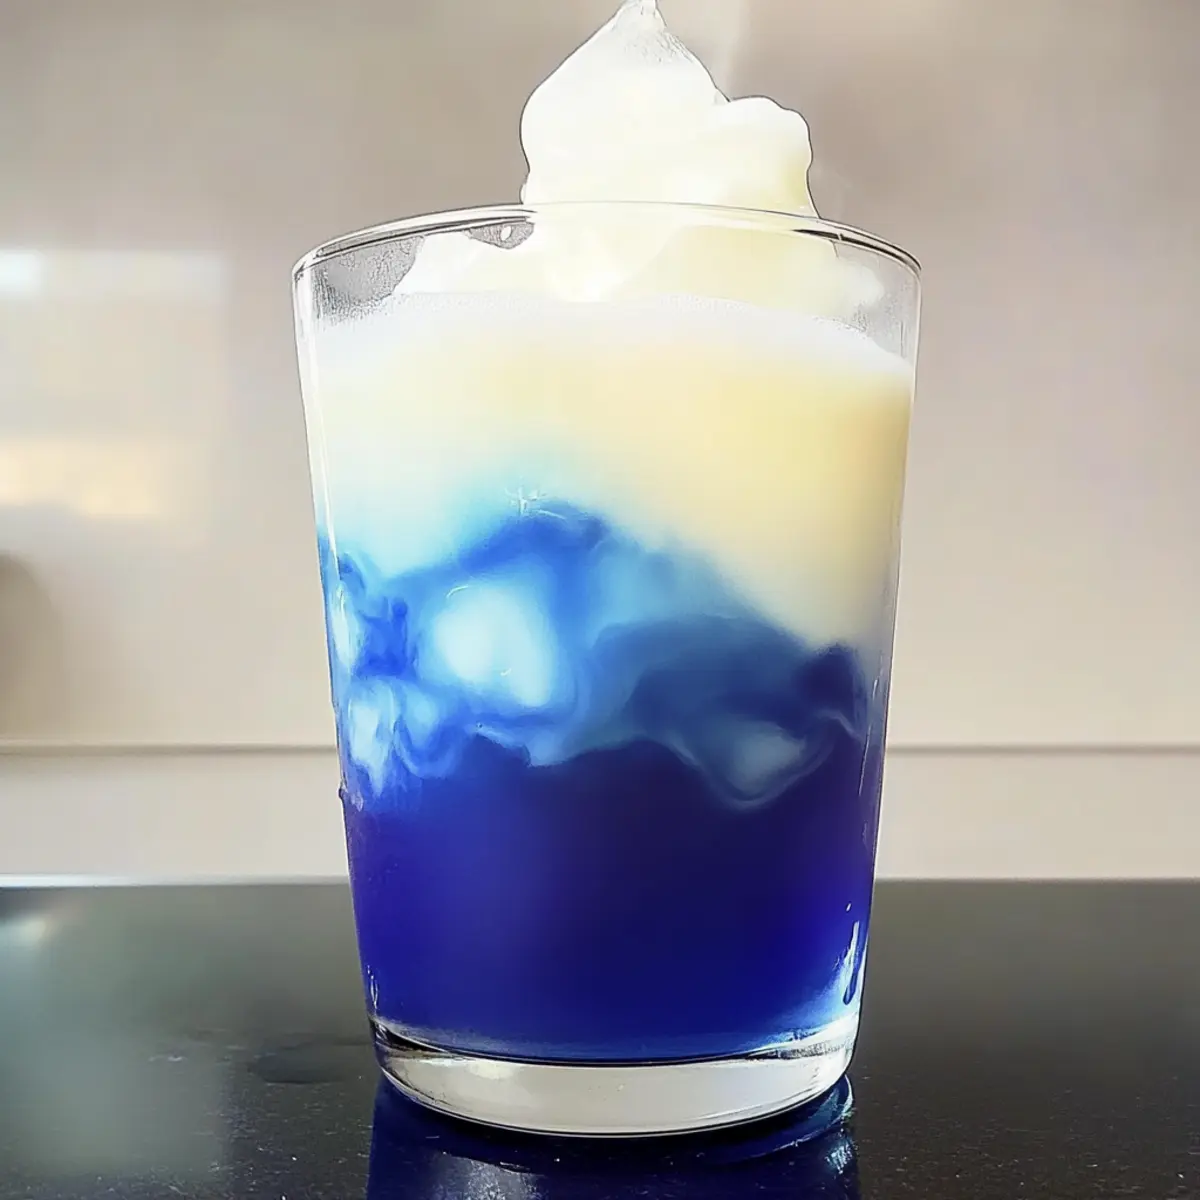
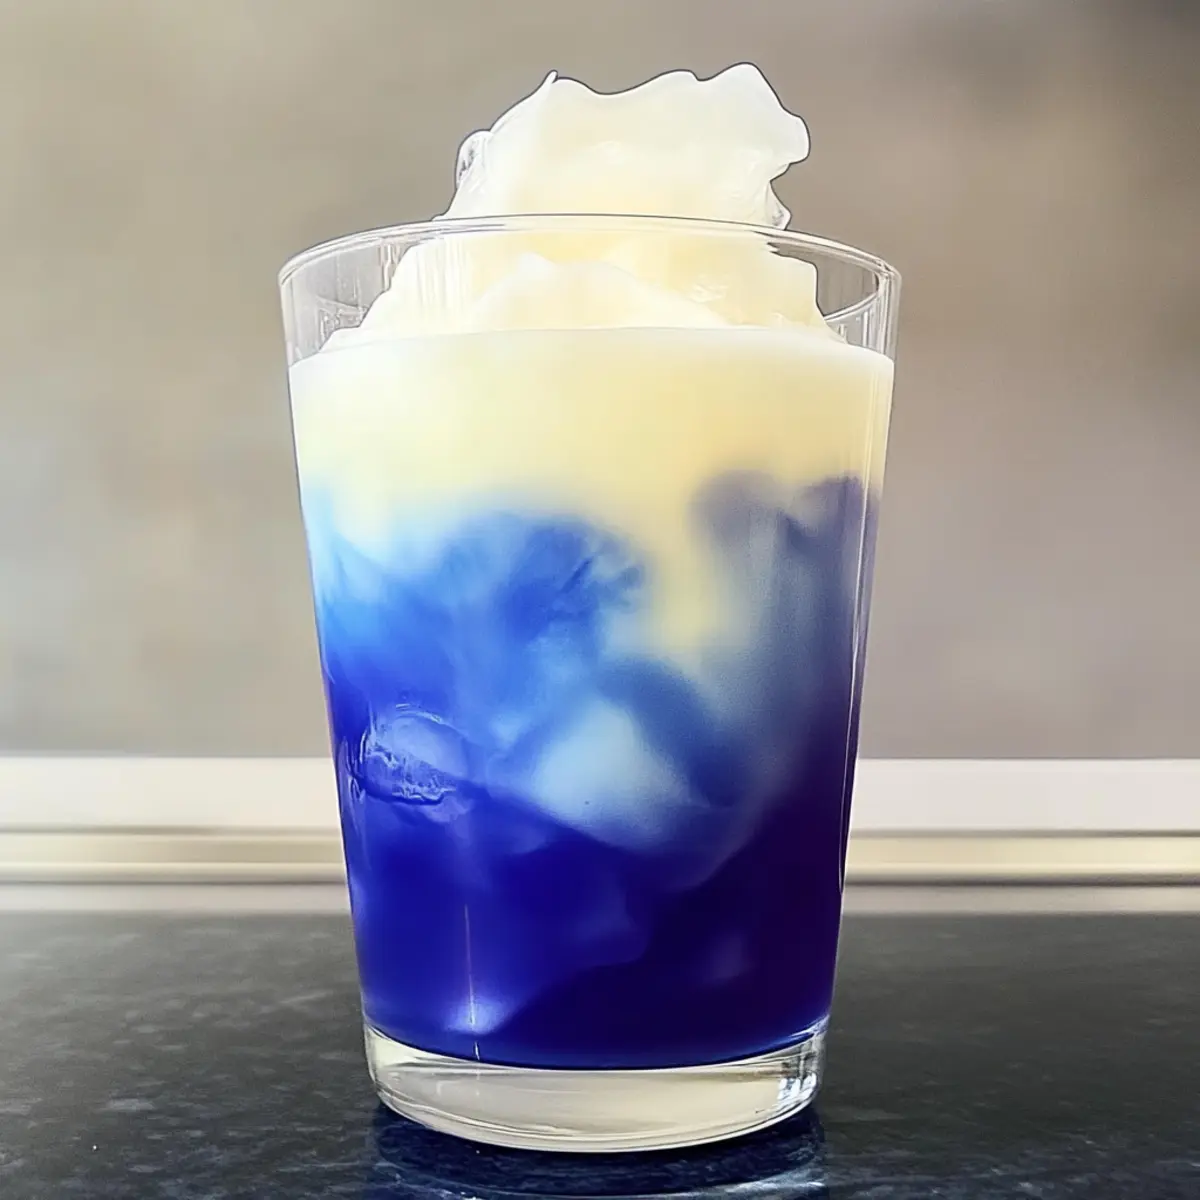
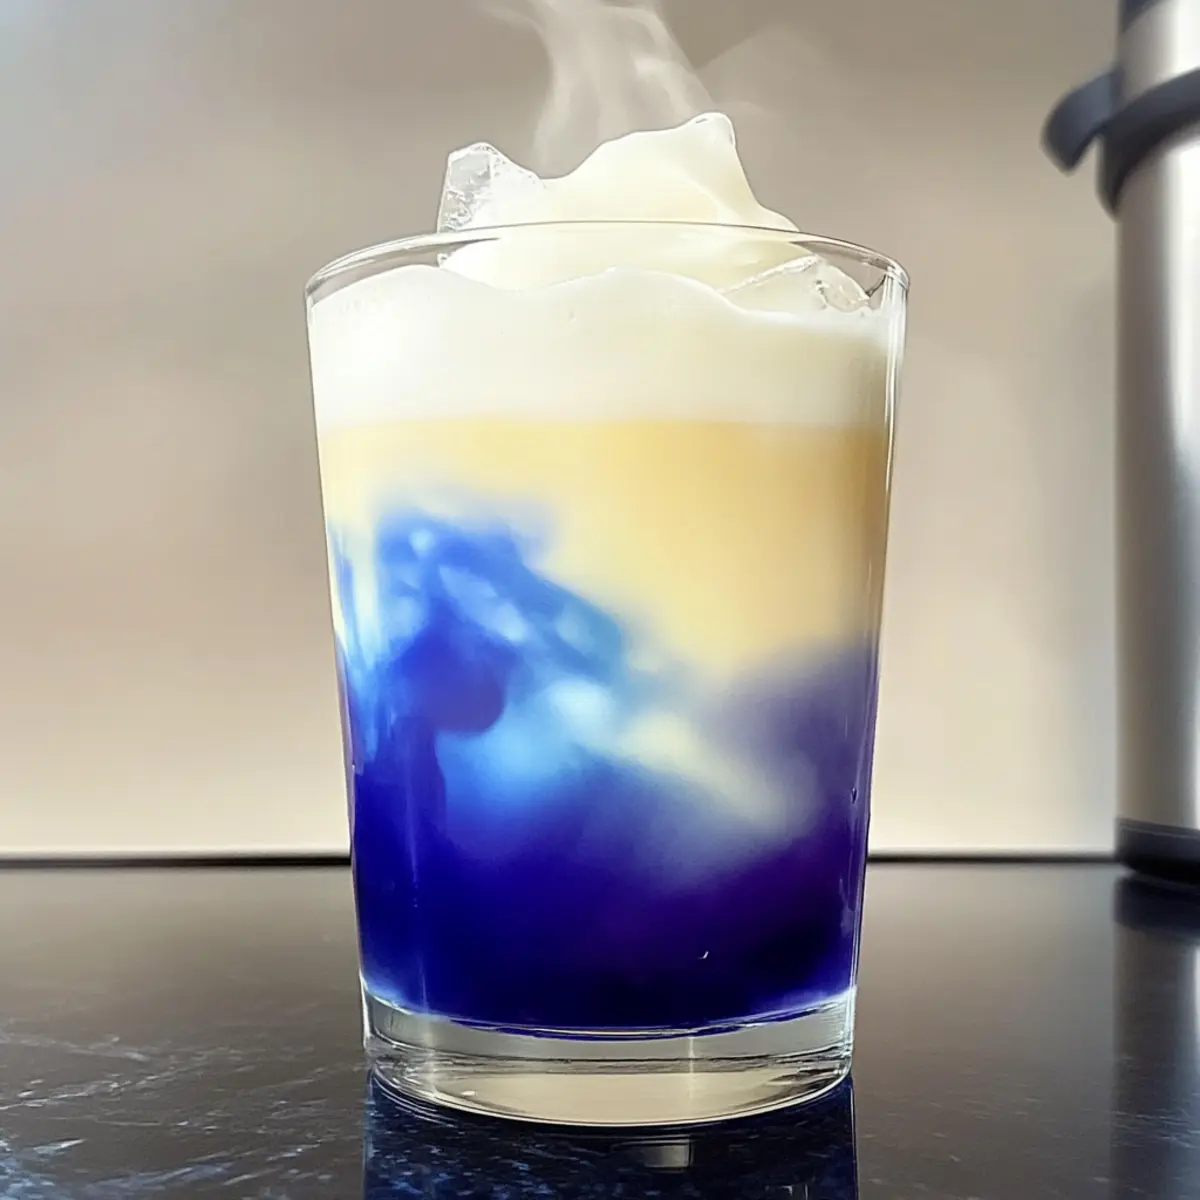
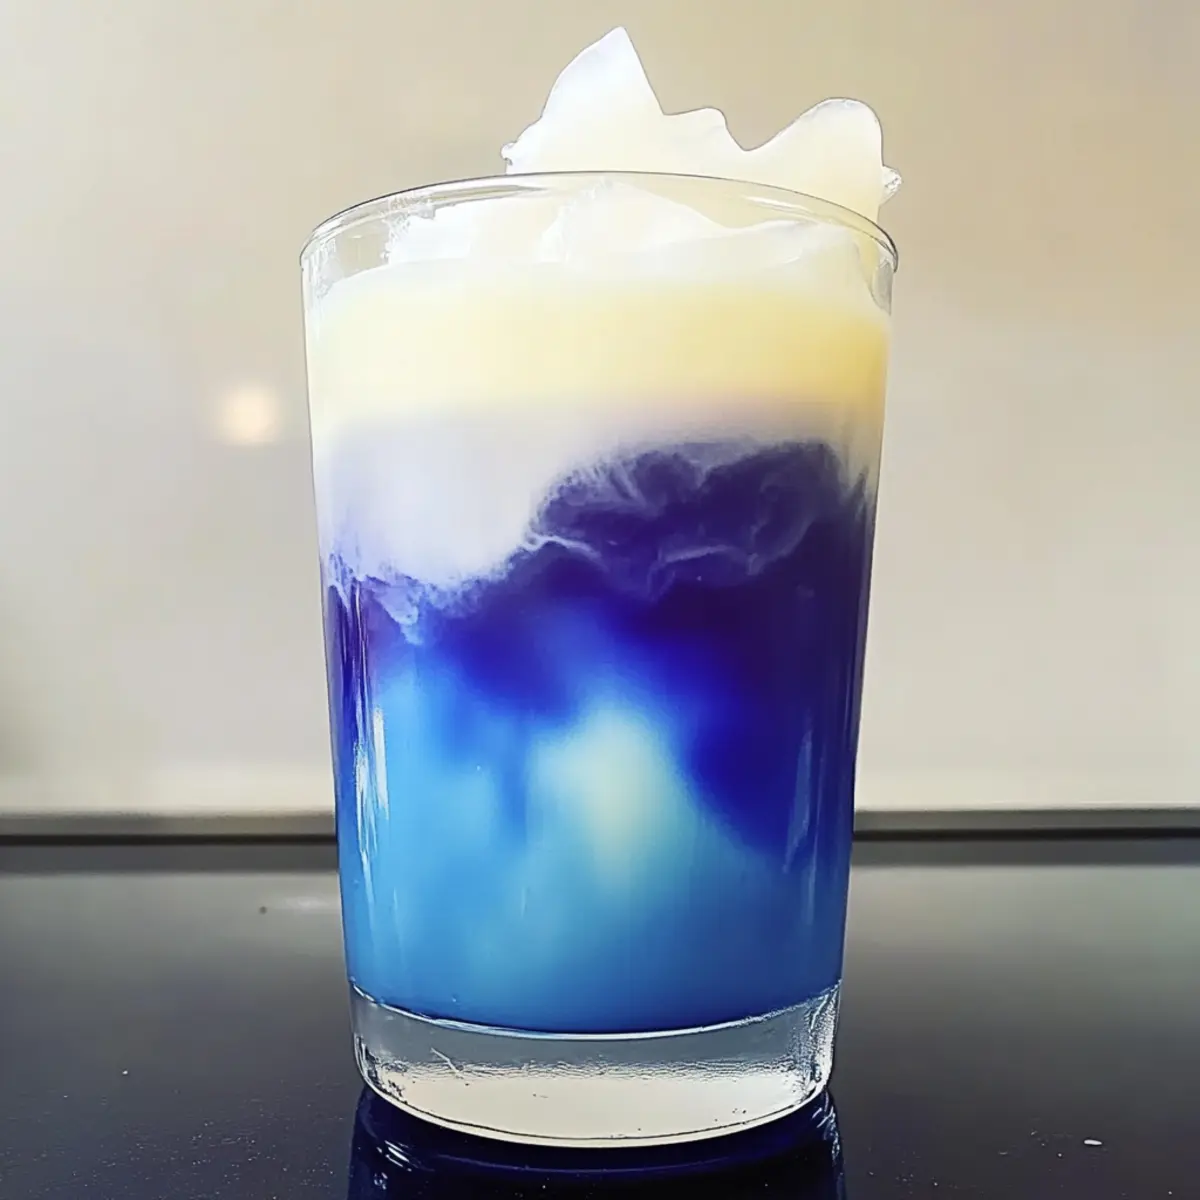
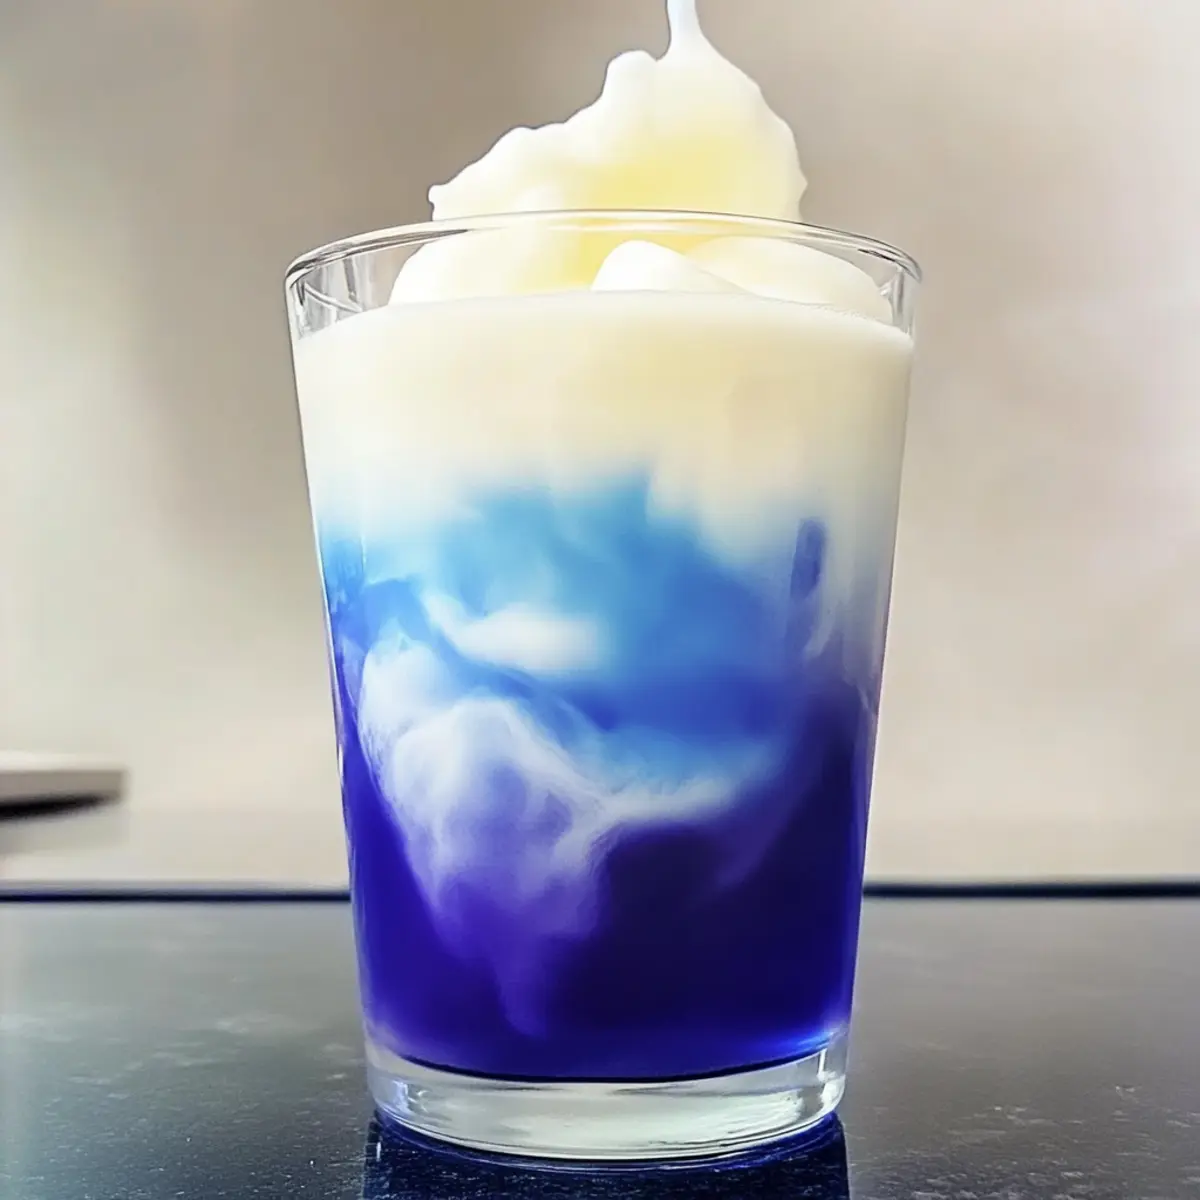
In a blender, combine 1 cup of coconut milk, 1/2 cup of freshly squeezed lemon juice, and 1/4 cup of lavender syrup. Blend on high for about 30 seconds until the mixture is smooth and well combined. Ensure the mixture becomes creamy and frothy, as this will be the delightful base of your Coconut Lavender Lemonade Mocktail.
Step 2: Sweeten
Add 2 tablespoons of honey or agave nectar into the blender with your coconut blend. Blend again for an additional 20 seconds to ensure the sweetener is fully integrated, tasting for balance after blending. The goal is to achieve a harmonious sweetness in your mocktail, enhancing the tropical flavors without overpowering them.
Step 3: Dilute
Gradually pour in 1 to 1.5 cups of cold water while blending on low speed. Adjust the amount of water according to your desired texture, blending until everything is thoroughly mixed. You should achieve a refreshing consistency that's smooth yet not too watery, perfect for a Coconut Lavender Lemonade Mocktail.
Step 4: Strain
To ensure a silky texture, pour the blended mixture through a fine mesh strainer into a large pitcher. Use a spatula or spoon to help push the liquid through, leaving any pulp behind. The result should be a beautifully clear beverage, adding to the elegant presentation of your mocktail.
Step 5: Serve
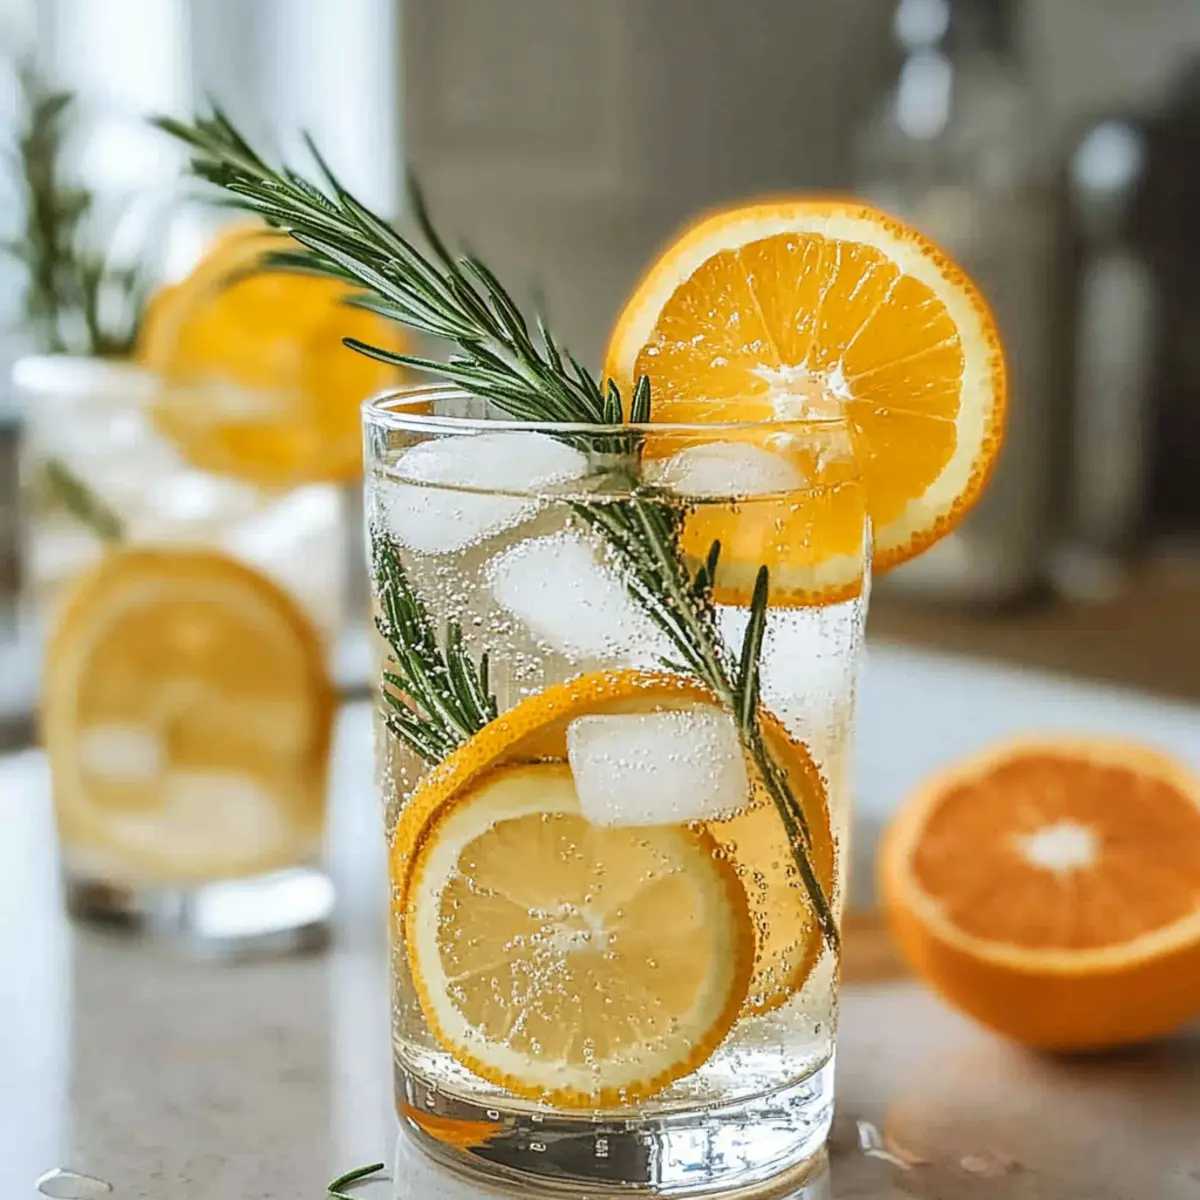
Fill glasses with ice cubes and slowly pour the strained Coconut Lavender Lemonade Mocktail over the ice, allowing it to chill further. Garnish each glass with lemon slices and lavender sprigs for an inviting touch. This final step elevates both the visual and aromatic appeal of your refreshing drink.
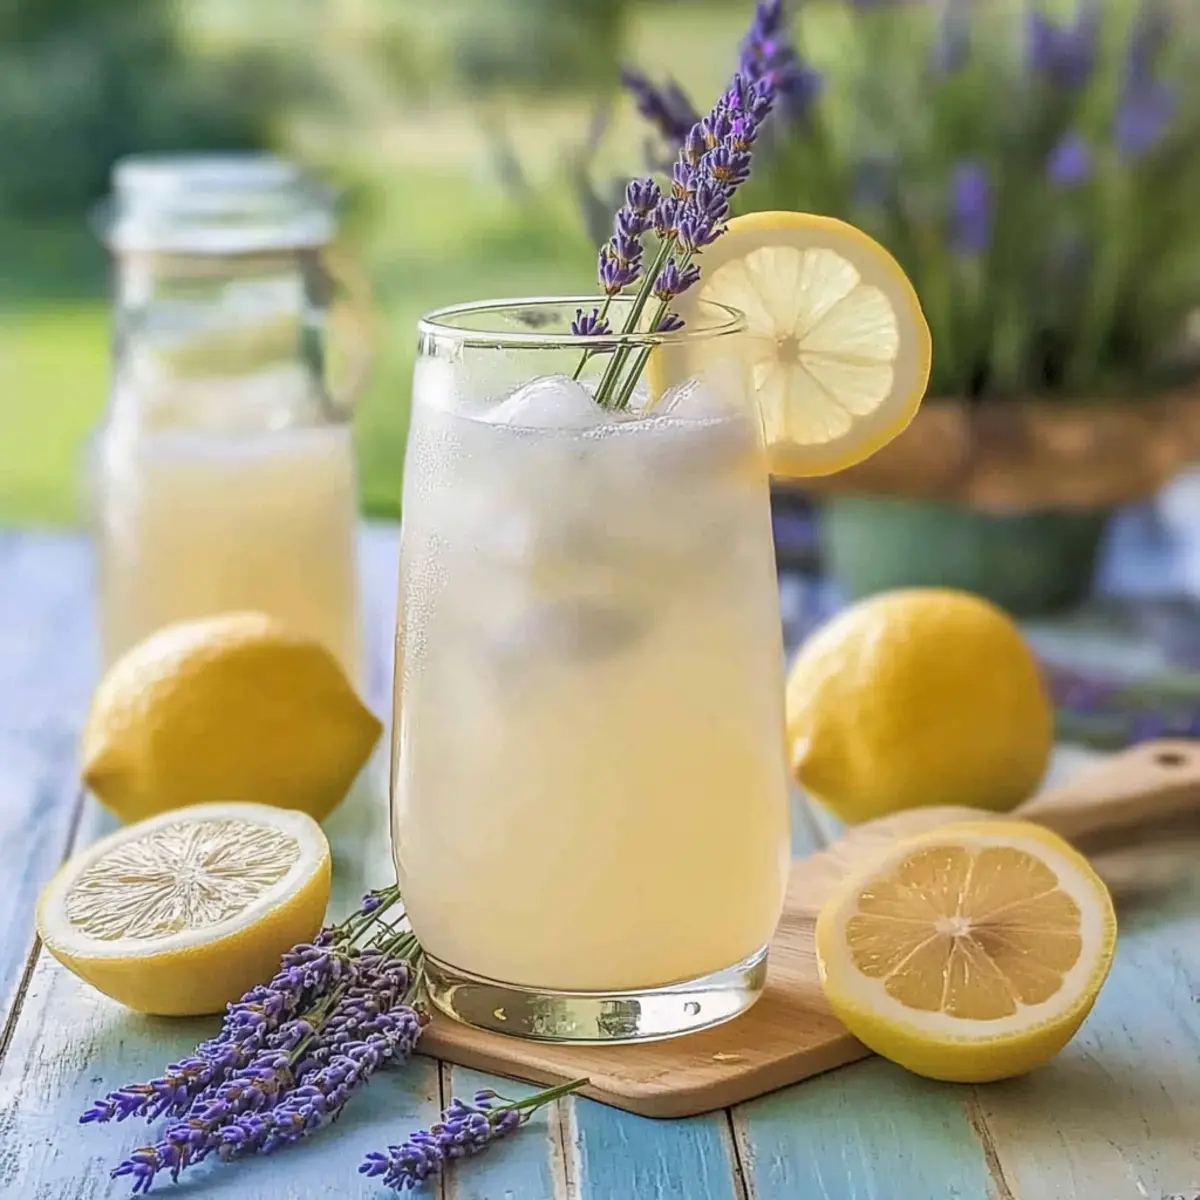
Expert Tips for Coconut Lavender Lemonade Mocktail
-
Optimal Flavor Balance: Taste your mixture before serving. Adjust sweetness with honey or agave nectar to ensure the perfect balance in your Coconut Lavender Lemonade Mocktail.
-
Chill Factor: Always serve this mocktail over ice cubes to keep it refreshingly cold and enjoyable. A warm drink won’t evoke that tropical vibe!
-
DIY Mocktail Station: If hosting, consider setting up a DIY station. Let guests customize sweetness and garnish to cater to individual tastes and preferences.
-
Ingredient Quality: Use fresh ingredients, especially the lemon juice, for a vibrant, tangy punch that elevates the drink's quality and flavor.
-
Storage Alert: If you have leftovers, seal them in a container and refrigerate for up to 48 hours to enjoy later. Just give it a quick stir before serving again!
Make Ahead Options
These Coconut Lavender Lemonade Mocktails are perfect for meal prep enthusiasts! You can prepare the base mixture—coconut milk, fresh lemon juice, and lavender syrup—up to 24 hours in advance. Simply blend these ingredients, then store the mixture in an airtight container in the refrigerator to keep it fresh and flavorful. If you want to enjoy these delights later, you can also pre-sweeten with honey or agave, but remember to adjust the sweetness when you’re ready to serve. When it’s time to enjoy your mocktails, just dilute the prepped base with cold water, strain, pour over ice, and garnish with lemon slices and lavender sprigs. You'll savor just as much tropical bliss with minimal effort!
Coconut Lavender Lemonade Mocktail Recipe Variations
Feel free to tailor your tropical drink experience with these delightful twists that spark the taste buds!
- Minty Fresh: Substitute lavender syrup with mint syrup for a refreshing, cool flavor.
- Coconut Water: Replace coconut milk with coconut water to create a lighter, hydrating mocktail.
- Citrus Twist: Swap fresh lemon juice with lime or grapefruit juice for a zesty flavor boost.
- Flavored Sparkling Water: Use flavored sparkling water instead of regular cold water for an effervescent touch.
- Herbal Infusion: Explore other herbs like rosemary or basil in place of lavender to create unique flavor profiles. Imagine a rosemary-infused drink that not only tastes great but also fills the air with its captivating aroma!
- Spicy Kick: Add a few slices of jalapeño or a sprinkle of cayenne to give your mocktail an unexpected heat and depth.
- Fruity Delight: Blend in some fresh or frozen fruits like strawberries or mango for a fruity twist that's both colorful and delicious.
- Honey Variation: Experiment with different sweeteners like maple syrup or agave nectar for varying levels of sweetness.
Each variation offers a new journey into flavor, turning your Coconut Lavender Lemonade Mocktail into a celebration of creativity. Consider pairing it with a hearty dish like Spatchcock Chicken or a vibrant Chicken Adobo for a complete culinary adventure!
What to Serve with Coconut Lavender Lemonade Mocktail
The perfect companion for your vibrant mocktail can create an unforgettable meal experience that delights the senses.
-
Light Appetizers: Enhance your gathering with fresh fruit skewers or light vegetable platters. Their bright colors and refreshing bites pair beautifully with your tropical drink.
-
Savory Quinoa Salad: This dish combines nutty quinoa with fresh herbs and citrus elements, echoing the citrus notes of the lemonade. A refreshing crunch in every bite balances your drink’s creamy texture.
-
Coconut Curry: For heartier fare, a mild coconut curry brings a warmth that pairs splendidly with the mocktail's soothing flavors. Both embody tropical vibes, making them a match made in heaven.
-
Chilled Cucumber Soup: This cooling soup can serve as a refreshing starter that complements the floral notes in your drink. Its smooth texture and light flavor won't overshadow your mocktail.
-
Tropical Fruit Tart: For dessert, indulge in a fruit tart packed with fresh tropical flavors. This adds a sweet, artistic finish to your meal, connecting beautifully with the essence of your mocktail.
-
Sparkling Water or Herbal Tea: Keep the refreshment flowing! Infused sparkling water with lemon or a chilled herbal tea can complement elements of your mocktail without competing against its tropical flair.
Embrace the full flavor journey and elevate your Coconut Lavender Lemonade Mocktail experience with these delightful pairings.
How to Store and Freeze Coconut Lavender Lemonade Mocktail
Fridge: Store any leftover Coconut Lavender Lemonade Mocktail in an airtight container in the fridge for up to 48 hours for optimal freshness.
Refrigeration Tip: If you notice any separation, just give the mocktail a gentle stir to mix it back together before serving again.
Freezer: Freezing is not recommended, as the texture can change when thawed, but ice cubes made from the mocktail can be frozen for a fun twist to future drinks.
Serving Tips: When ready to enjoy, pour over fresh ice, and garnish as desired to maintain that refreshing visual appeal!
Coconut Lavender Lemonade Mocktail Recipe FAQs
What kind of coconut milk should I use?
I recommend using light coconut milk if you're looking for a lower calorie option, while full-fat coconut milk provides a creamier texture and richer flavor. Always choose high-quality coconut milk for the best taste!
How should I store leftover Coconut Lavender Lemonade Mocktail?
Any leftover mocktail should be stored in an airtight container in the fridge for up to 48 hours. If you notice it has separated, simply give it a gentle stir before serving again to bring back the vibrant flavors.
Can I freeze Coconut Lavender Lemonade Mocktail?
Freezing the entire mocktail isn’t advisable as it can alter the texture upon thawing. However, you can freeze leftover mocktail in ice cube trays for a fun twist! Once frozen, use these cubes to chill future drinks, enhancing their tropical flavor.
What if my lemonade is too sweet or too tart?
Absolutely! If you find your mocktail is too sweet, add a dash more lemon juice to balance the flavors. Conversely, if it’s too tart, blend in a bit more honey or agave nectar. Tasting as you adjust is key to finding that perfect flavor harmony.
Are there any dietary considerations for this mocktail?
Yes! This Coconut Lavender Lemonade Mocktail is naturally dairy-free and does not contain alcohol. However, if you’re concerned about allergies, check labels on your coconut milk and syrups for any potential allergens. If serving to children or pets, ensure lavender syrup is safe for them, as not all lavender extracts are suitable.
Can I make this mocktail in advance for a gathering?
Definitely! You can prepare the base of the Coconut Lavender Lemonade Mocktail ahead of time by blending all the ingredients except for the cold water and ice. Refrigerate it in a sealed container, and when ready to serve, dilute with cold water and pour over ice. This way, your delicious mocktail is ready to impress your guests without any last-minute fuss!
Coconut Lavender Lemonade Mocktail Recipe for Tropical Bliss
Ingredients
Equipment
Method
- In a blender, combine 1 cup of coconut milk, 1/2 cup of freshly squeezed lemon juice, and 1/4 cup of lavender syrup. Blend on high for about 30 seconds until smooth.
- Add 2 tablespoons of honey or agave nectar and blend for an additional 20 seconds, taste for balance.
- Gradually pour in 1 to 1.5 cups of cold water while blending on low speed, adjusting for desired texture.
- Pour the blended mixture through a fine mesh strainer into a large pitcher, pushing the liquid through to leave pulp behind.
- Fill glasses with ice cubes and pour the strained mocktail over the ice. Garnish each glass with lemon slices and lavender sprigs.