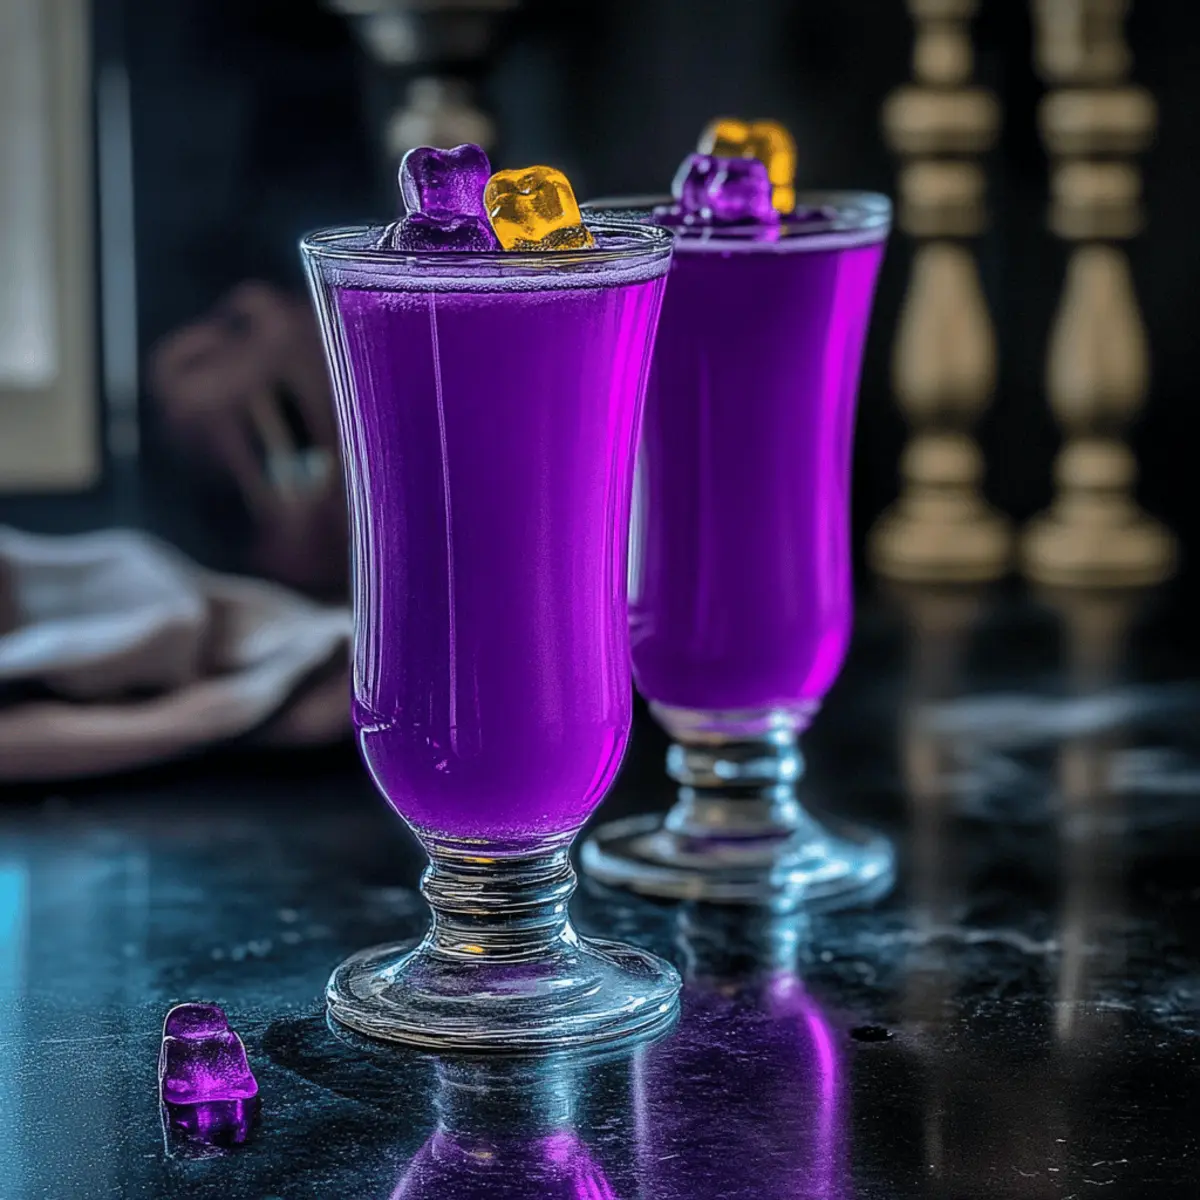
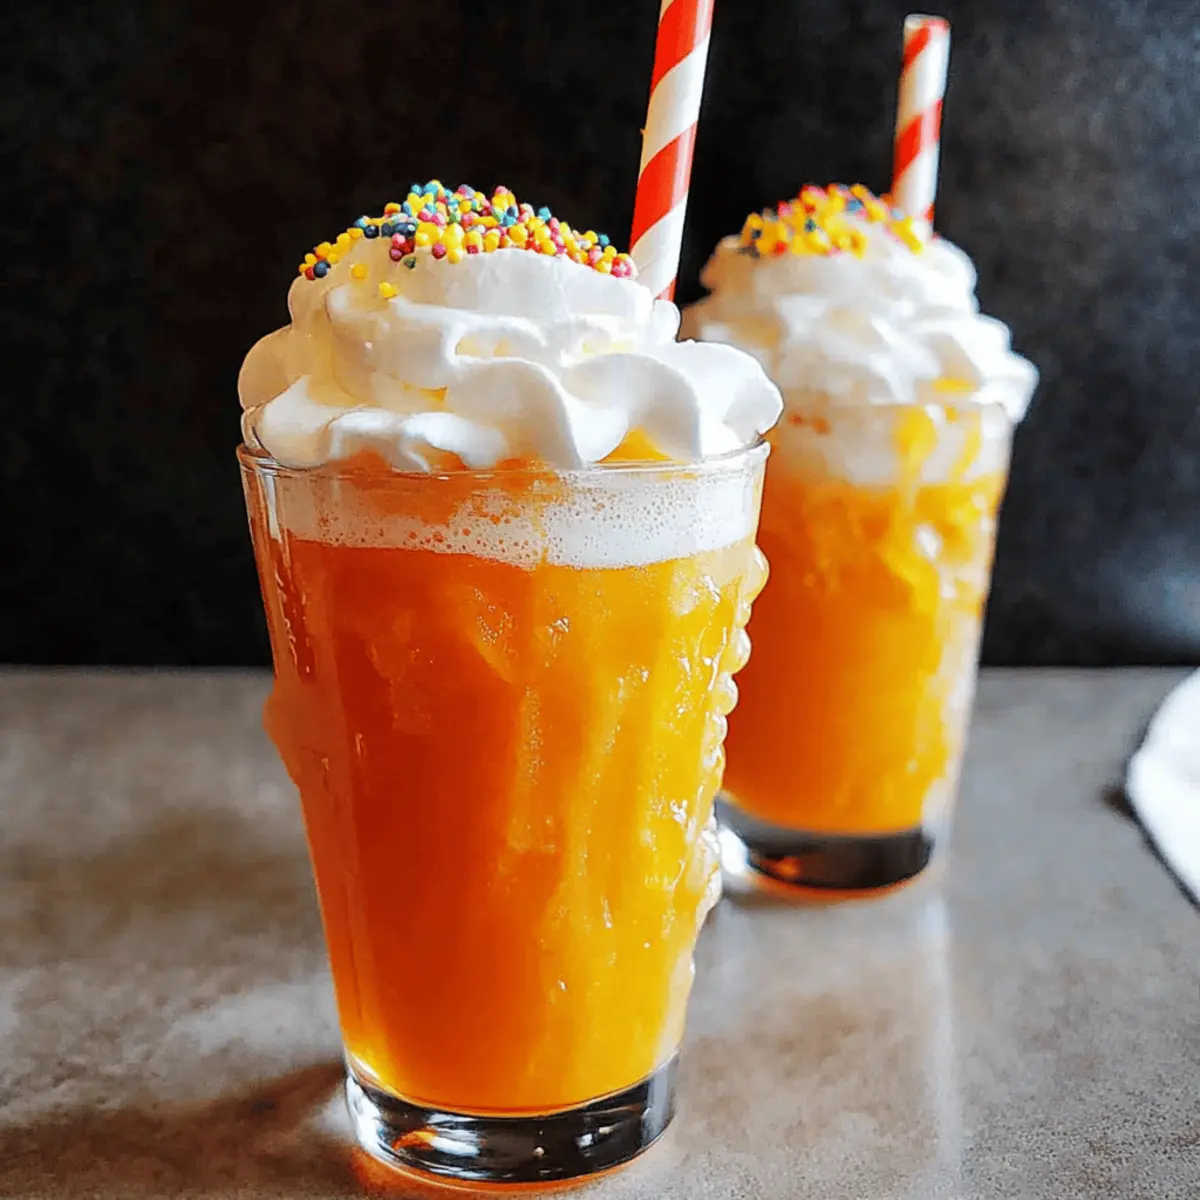
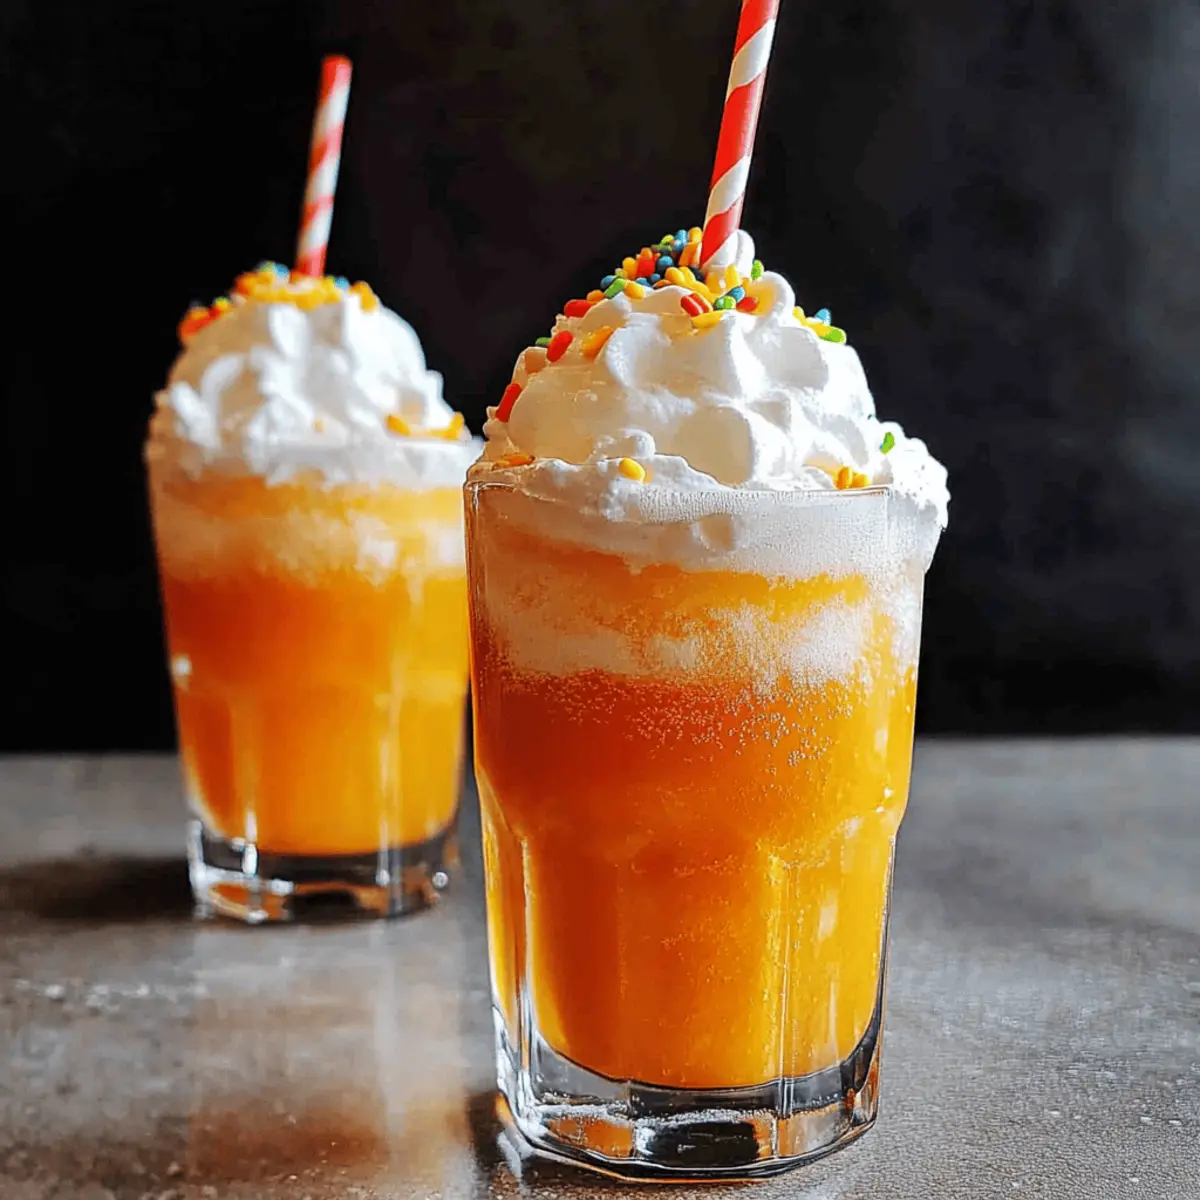
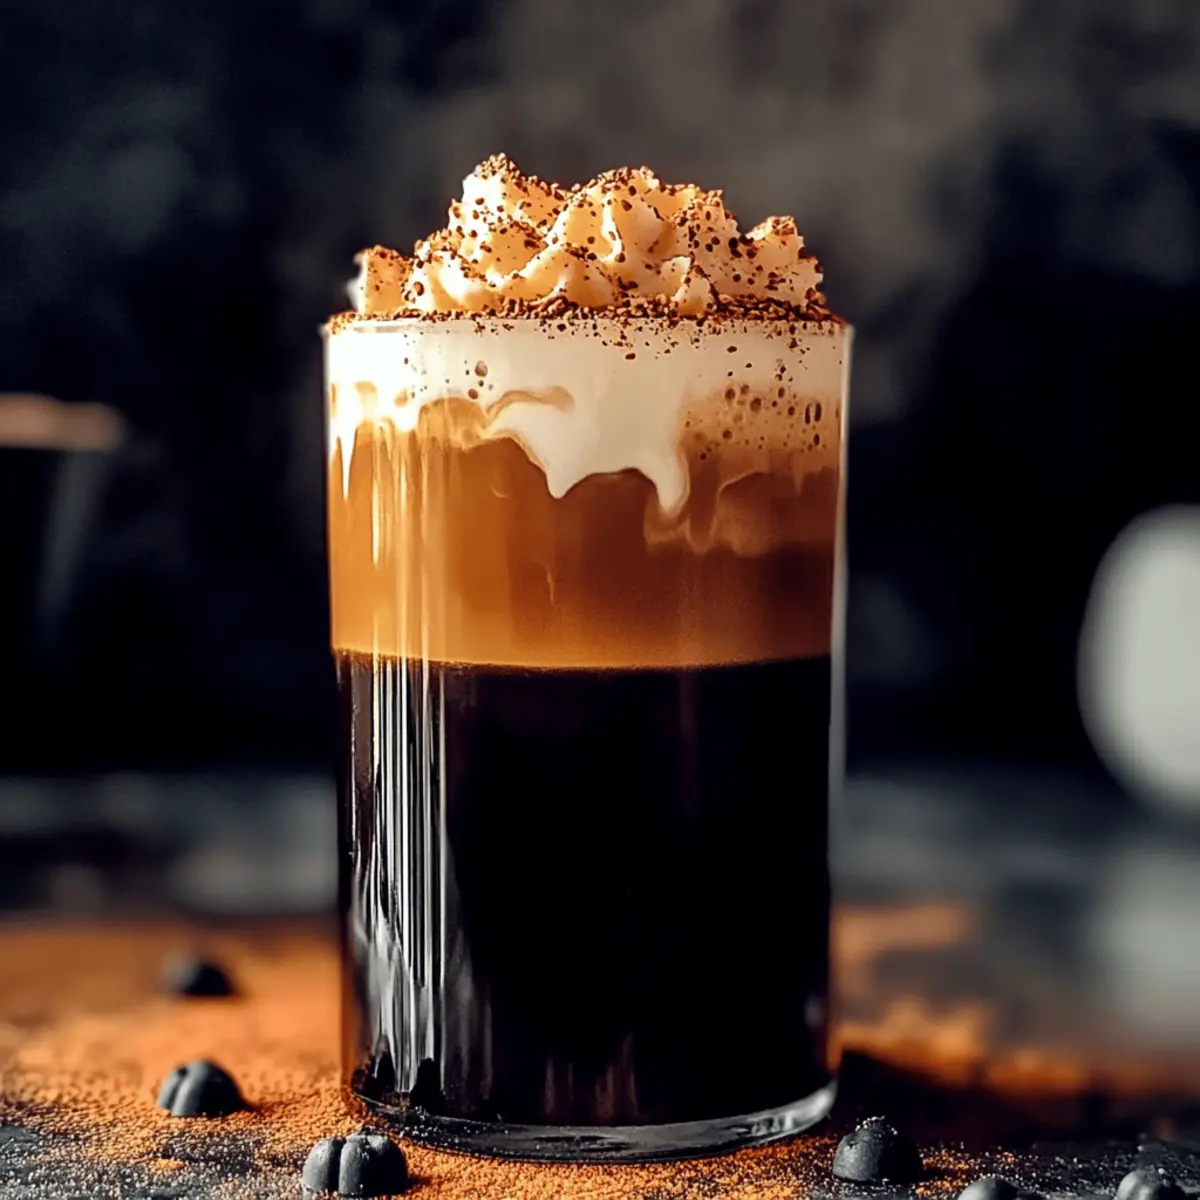
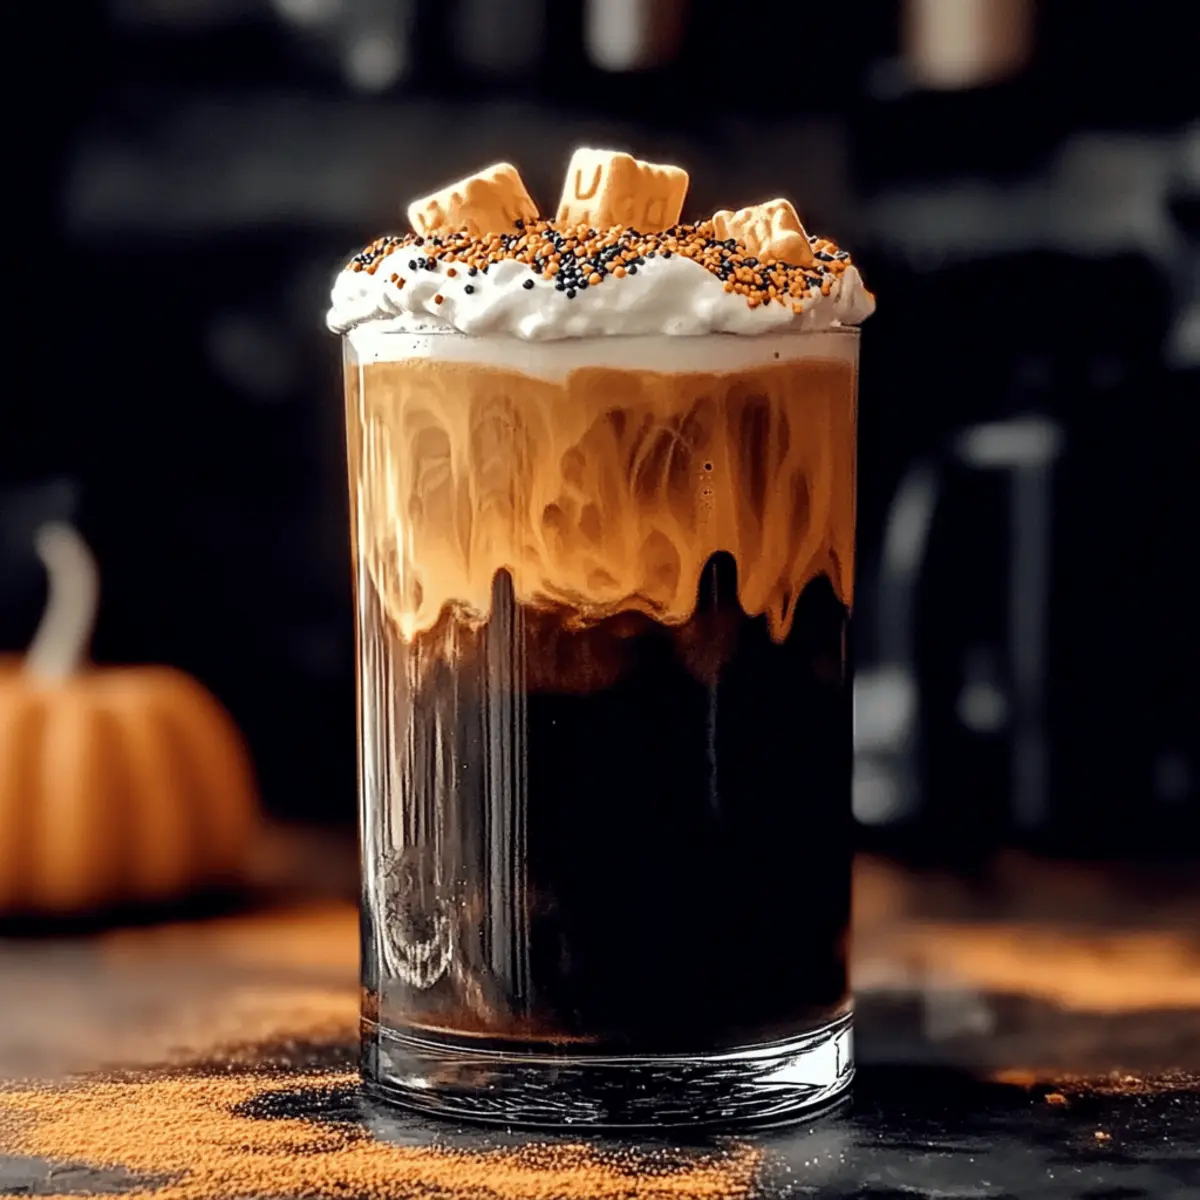
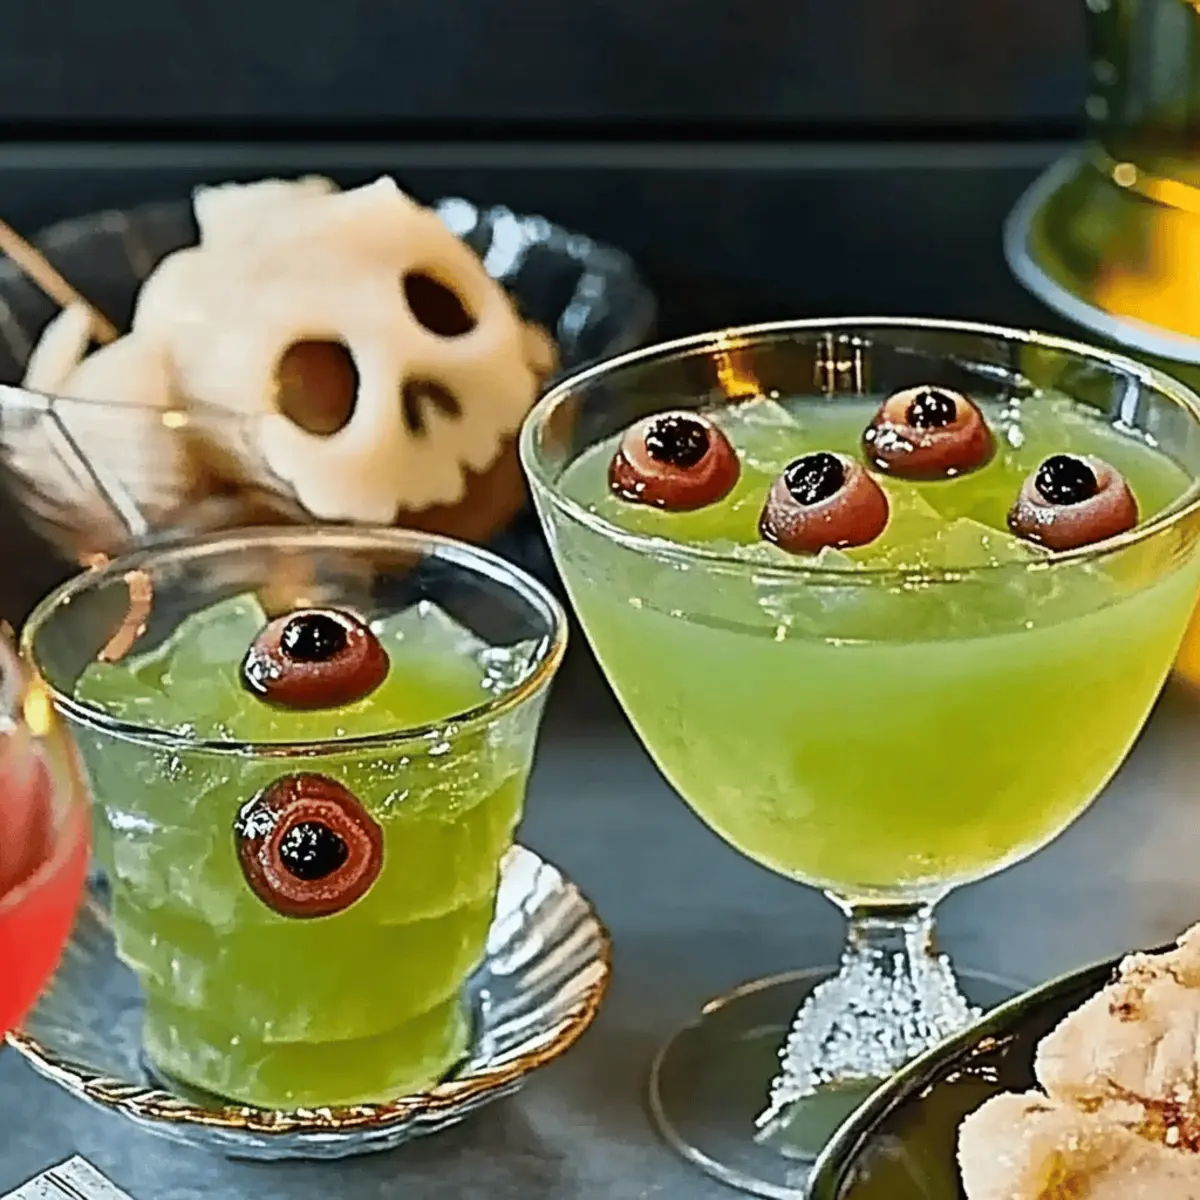
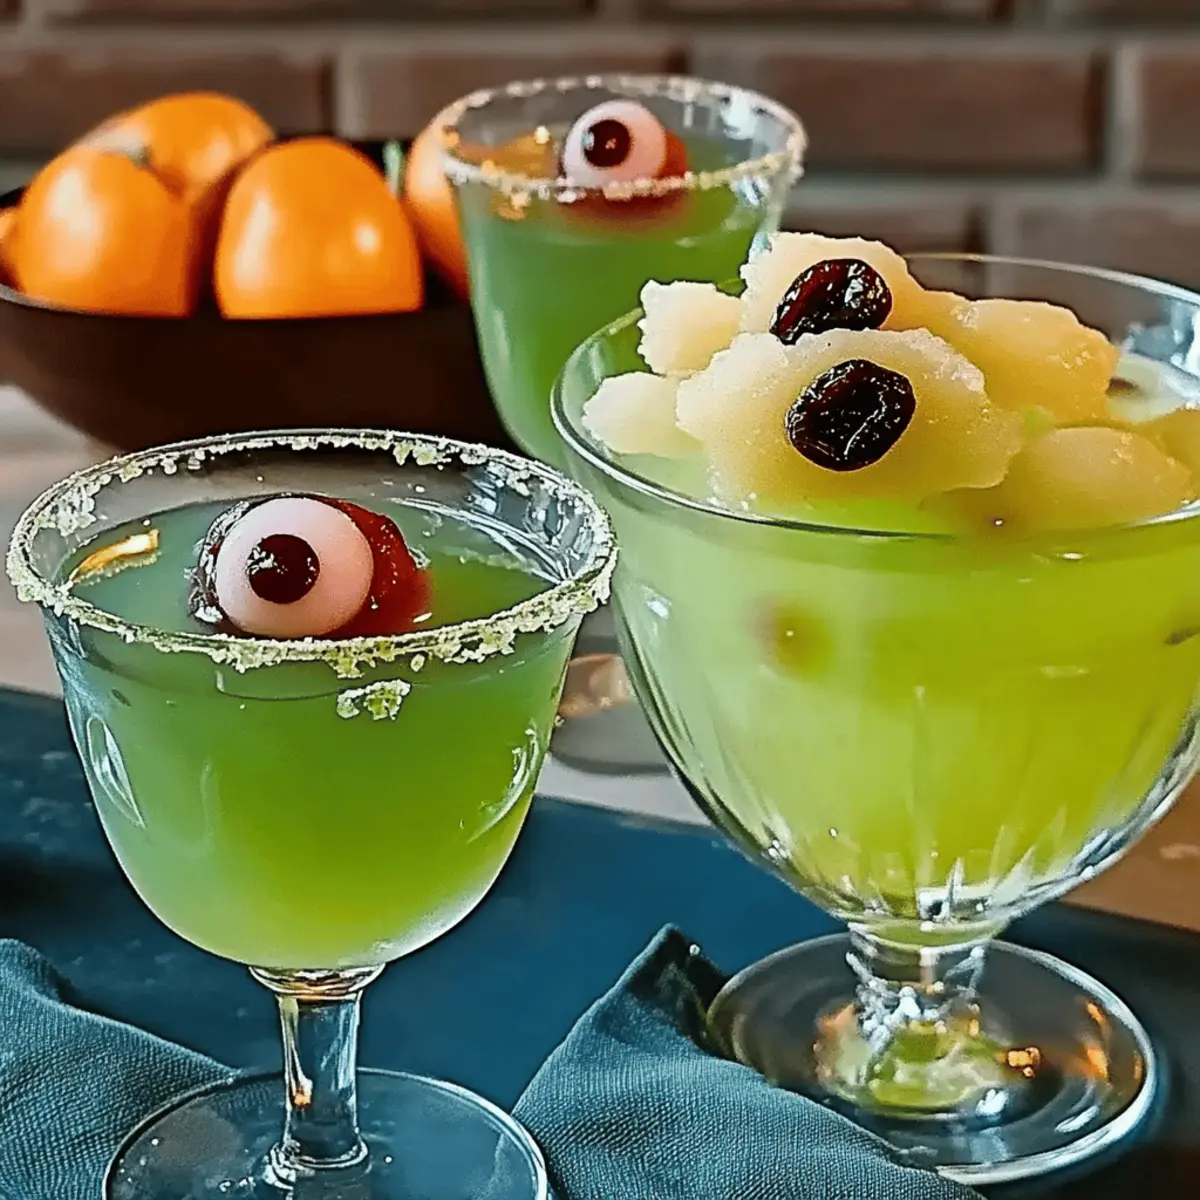
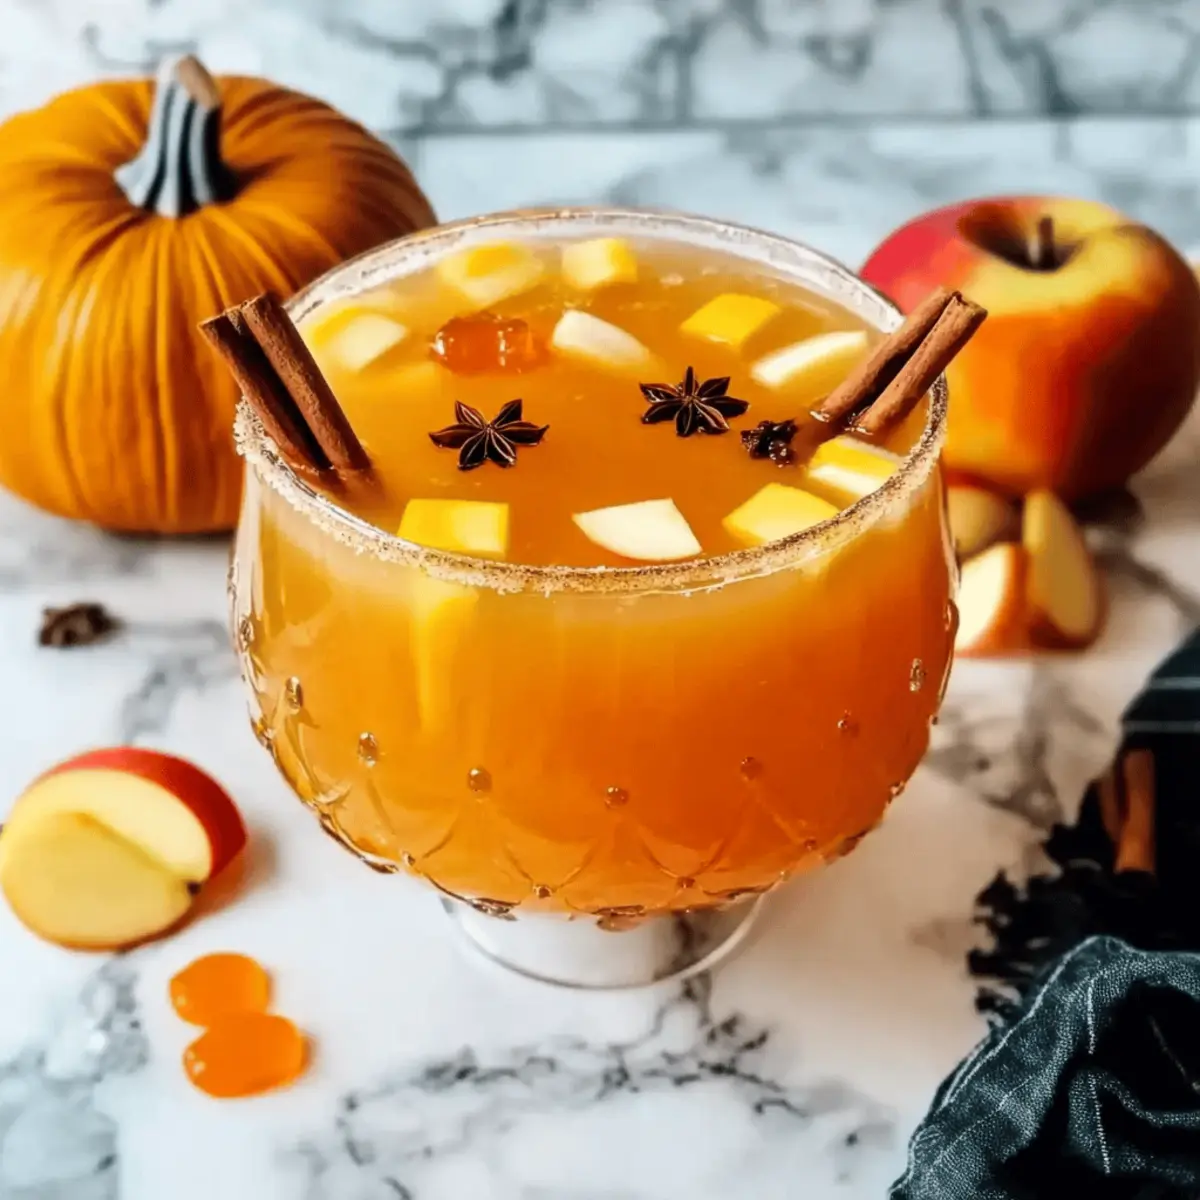
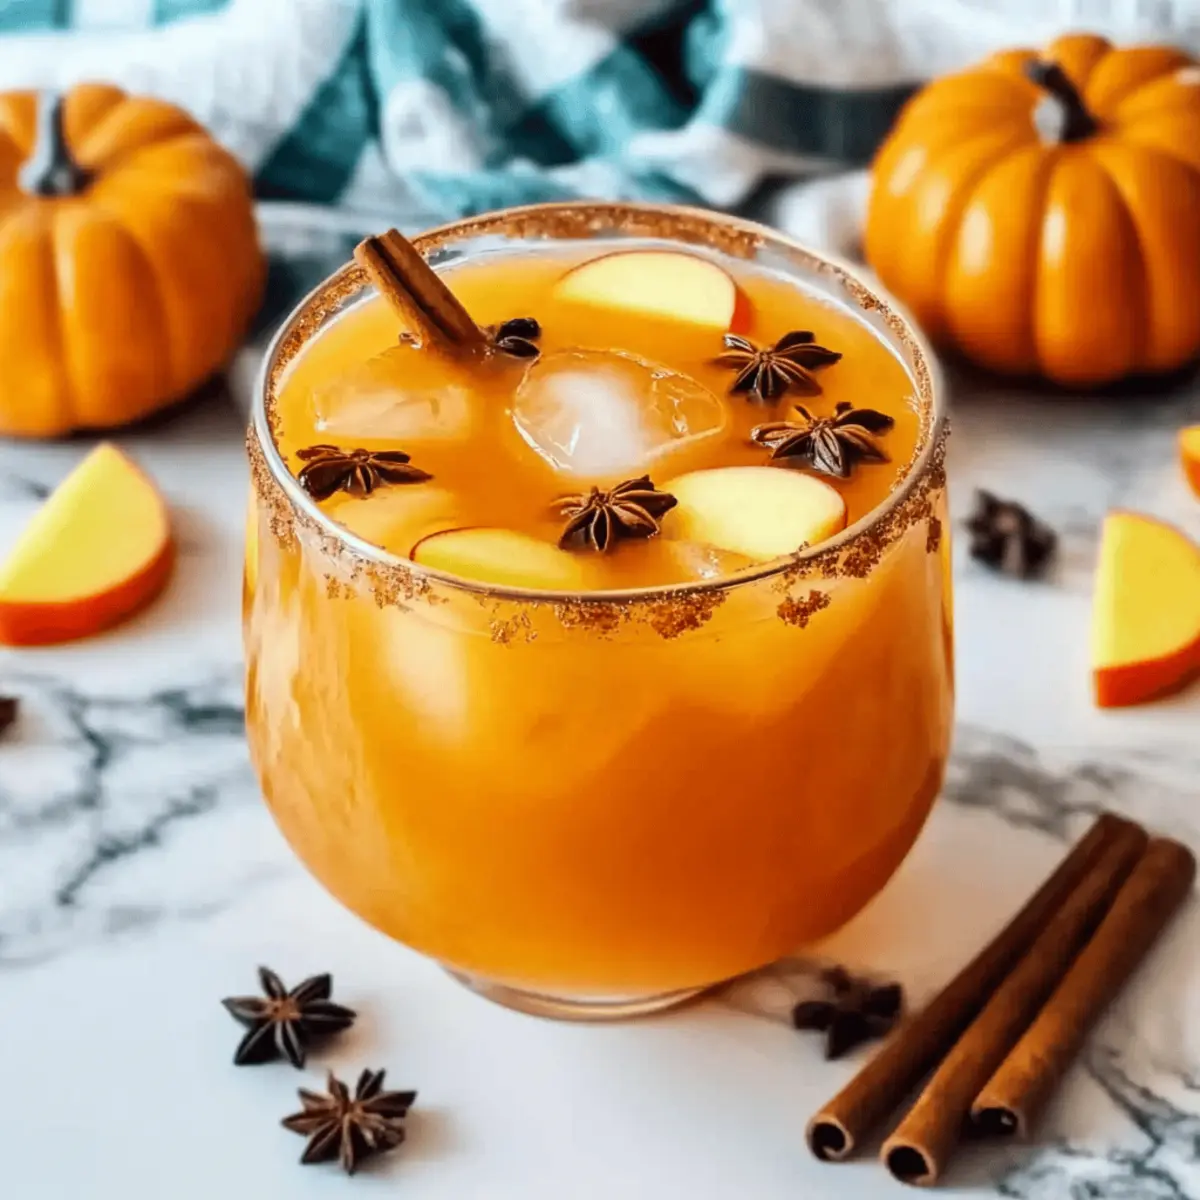
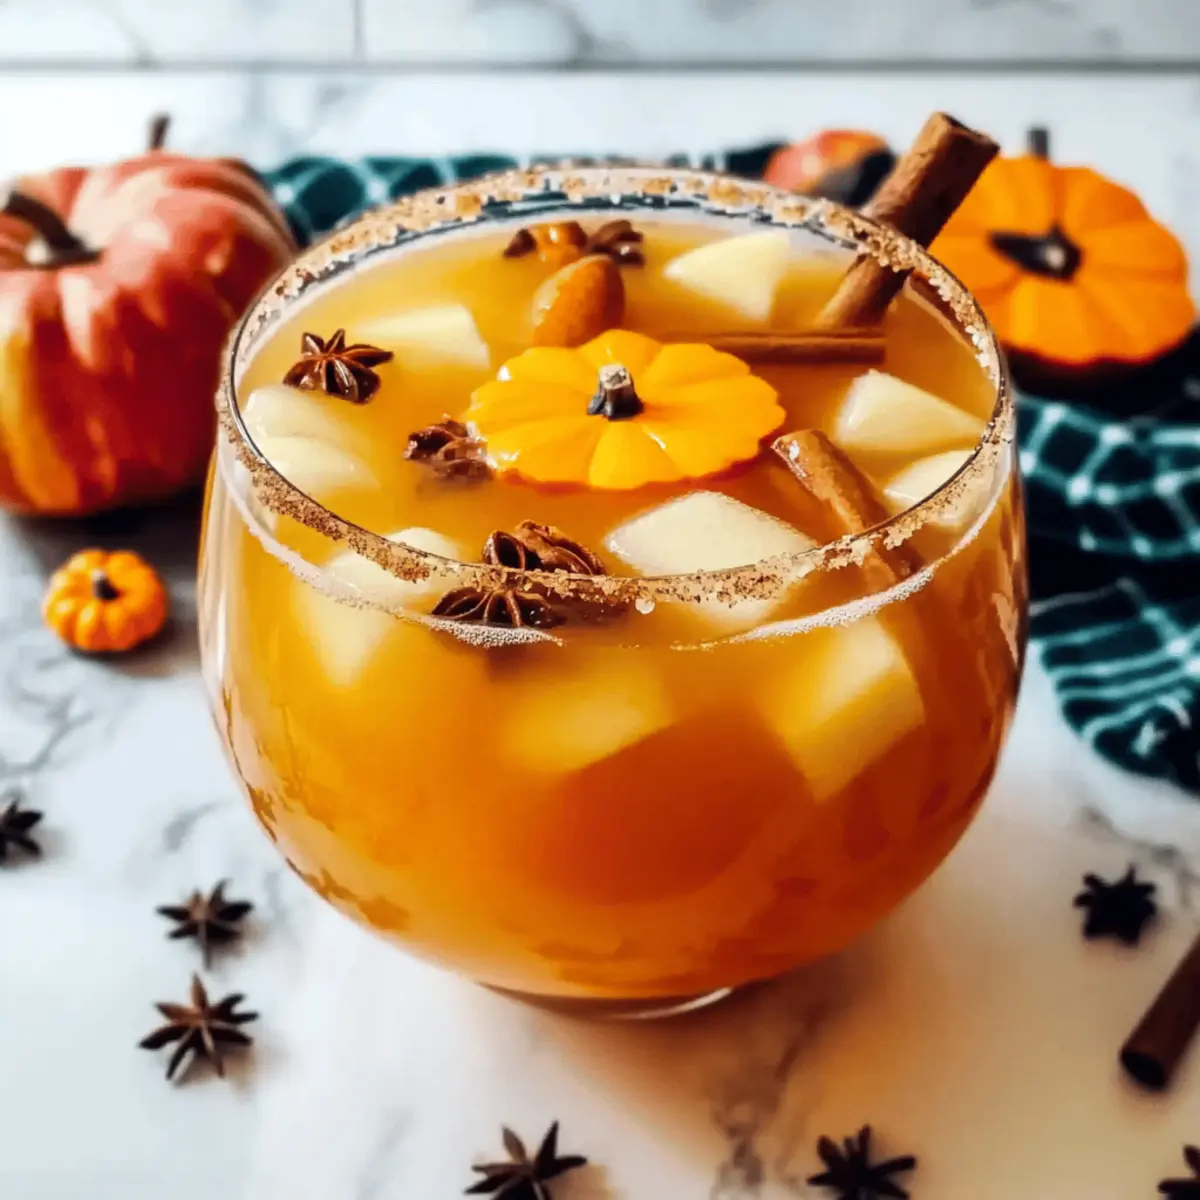
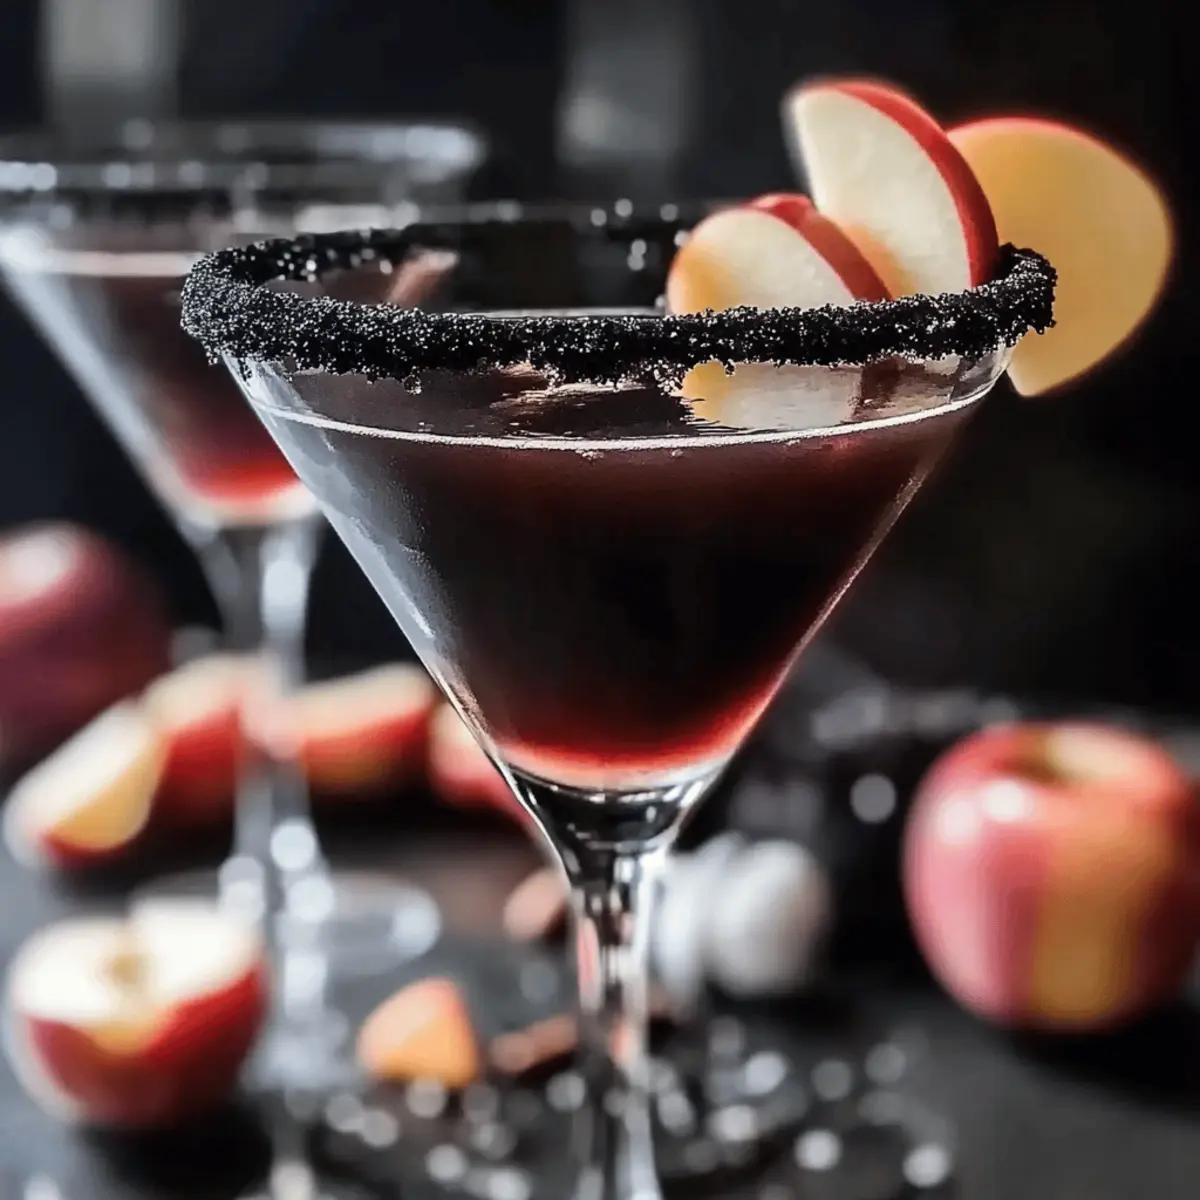
As the leaves turn crisp and the scent of autumn fills the air, Halloween whispers its enchanting secrets, beckoning us to gather and celebrate. Enter the Hocus Pocus Punch, a 3-ingredient delight that captures the essence of the season. With the vibrant blend of mango peach juice and sparkling peach water, this drink transforms ordinary gatherings into festive occasions. In just two minutes, you can whip up a whimsical potion topped with a scoop of colorful rainbow sherbet—perfect for kids and adults alike. Whether you’re hosting a spooky movie night or a fun family gathering, this punch will surely be a hit! Curious how to make it? Let’s dive into this easy and delightful recipe!
Why Is Hocus Pocus Punch a Must-Try?
Simplicity makes this punch a win! With just three ingredients, you can effortlessly create a festive drink that dazzles without the fuss. Kid-Friendly and delightful for all ages, this non-alcoholic treat is perfect for family gatherings or Halloween parties. Versatile enough to customize, swap in your favorite juices or sparkling waters for a personal twist. Plus, time-saving—whip it up in just two minutes! Whether enjoyed during spooky movie nights or holiday celebrations, this punch is the ultimate crowd-pleaser that promises to bring smiles and joy. For more festive ideas, explore our tips on themed snacks!
Hocus Pocus Punch Ingredients
• Get ready to mix up some magic with these simple ingredients!
For the Punch
- Mango Peach Juice – This sweet nectar is essential for that tropical flavor; V8 brand delivers just the right punch!
- Peach Sparkling Water – Adds a delightful fizz that elevates the flavors while maintaining a fruity essence.
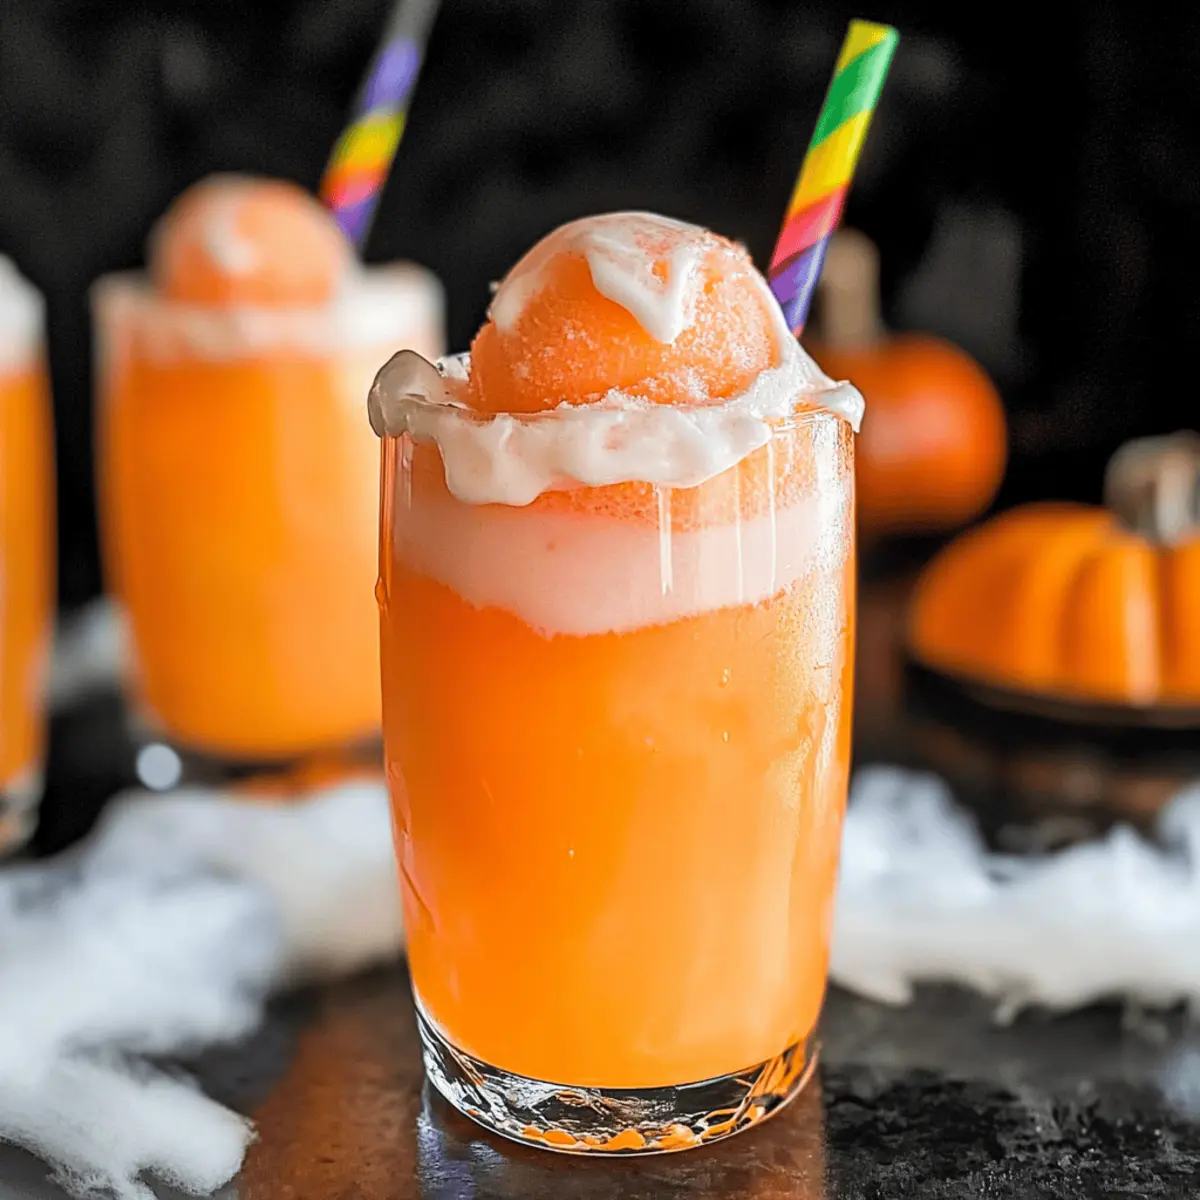
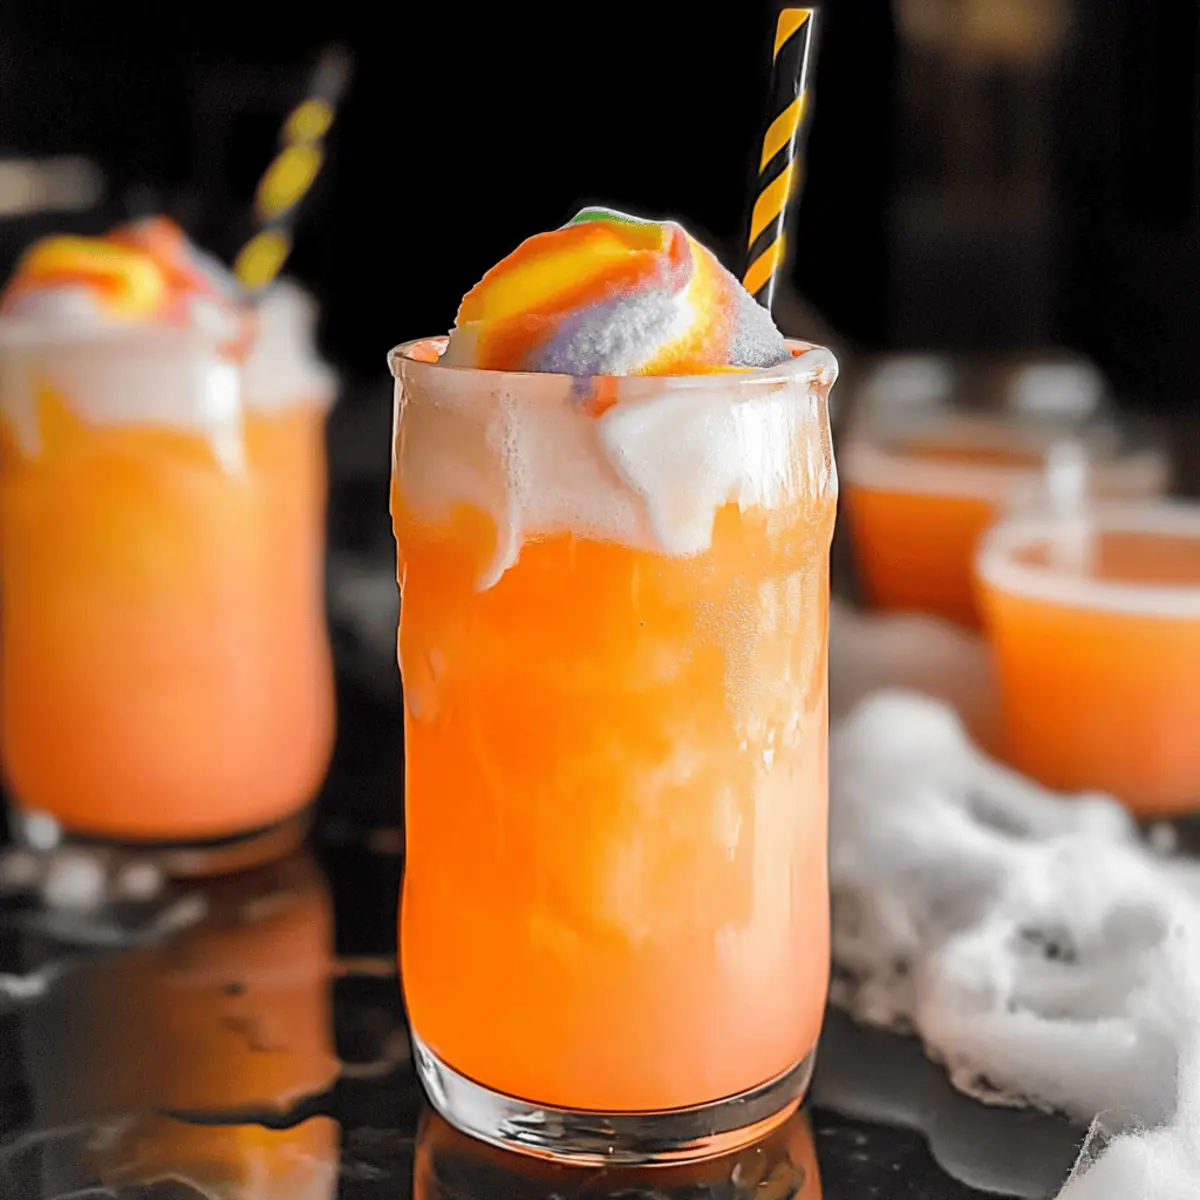
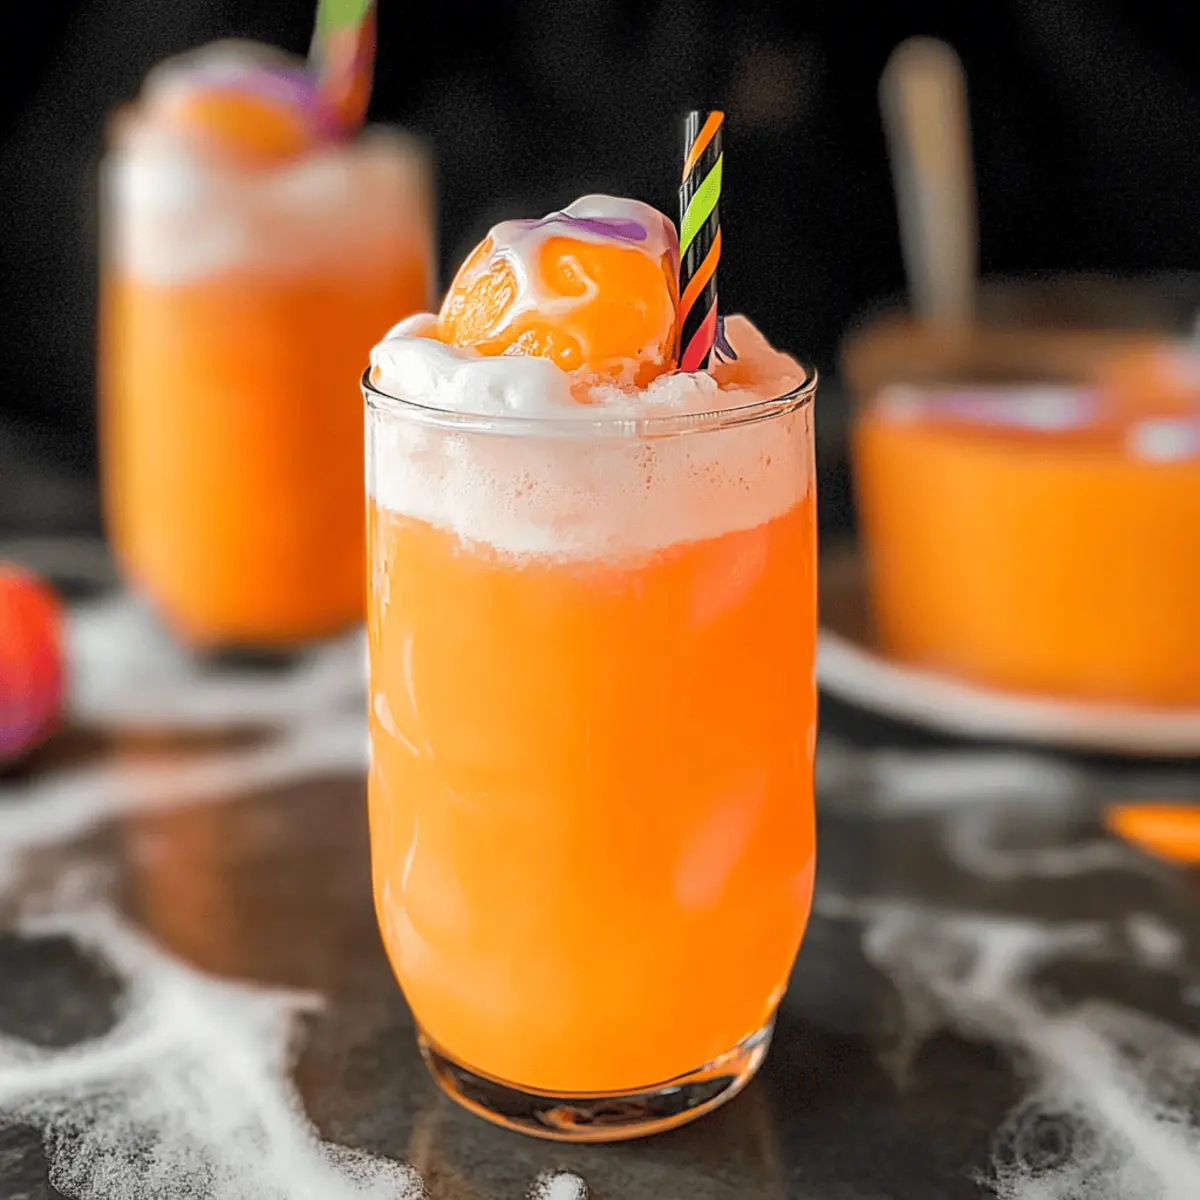
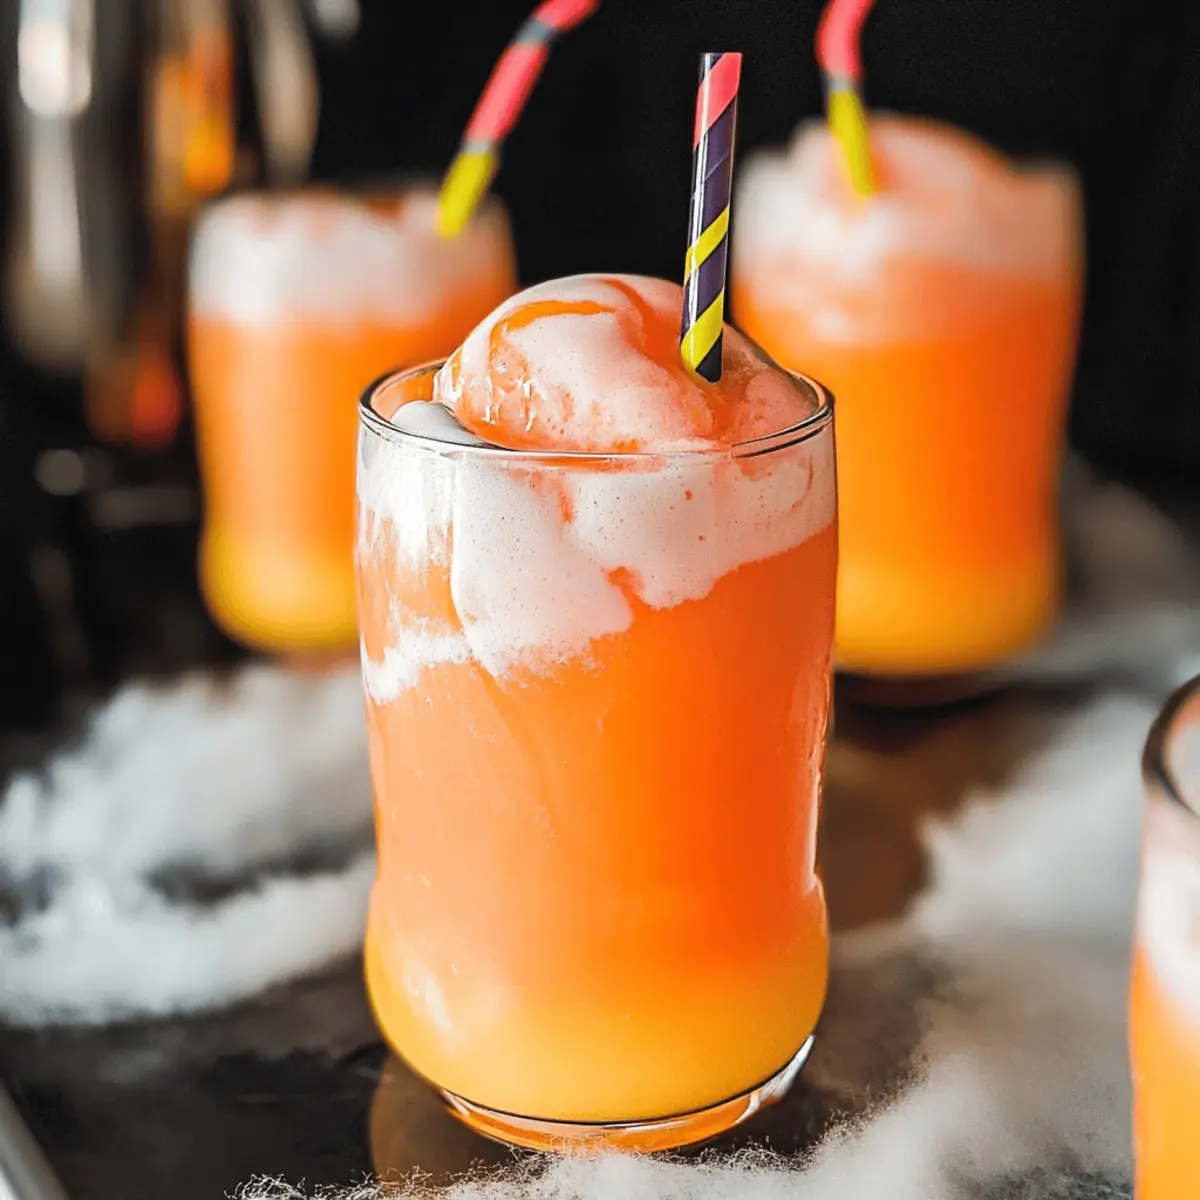
- Rainbow Sherbet – This fun treat creates a creamy texture and beautiful colors; you can replace it with vanilla ice cream if you prefer!
With these three ingredients, your Hocus Pocus Punch will be a hit at any festive gathering!
Step‑by‑Step Instructions for Hocus Pocus Punch
Step 1: Prepare Your Glasses
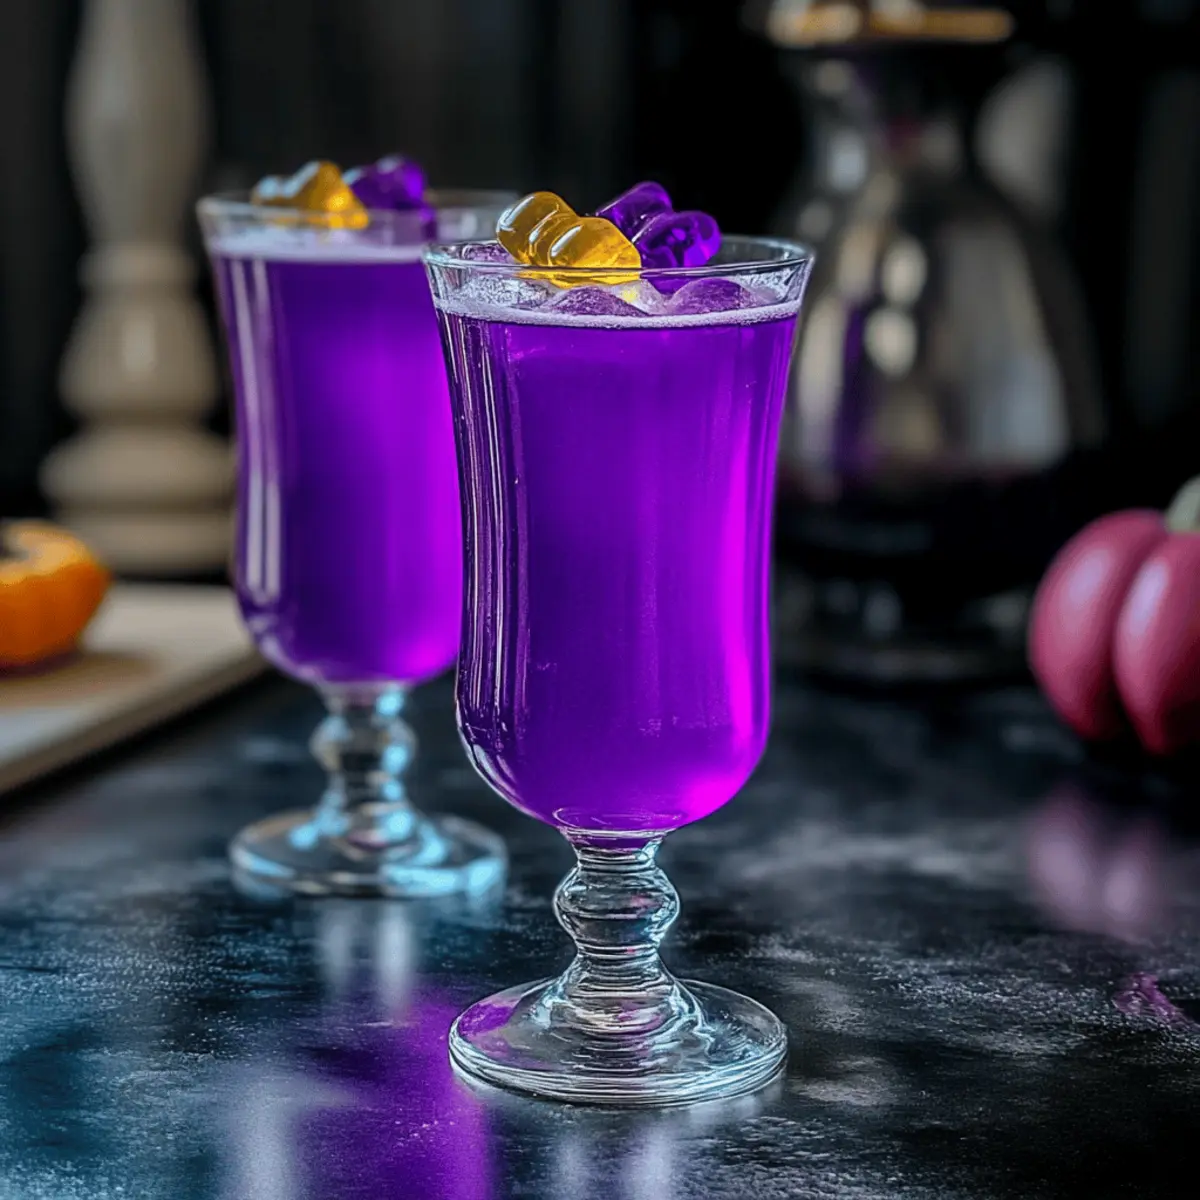
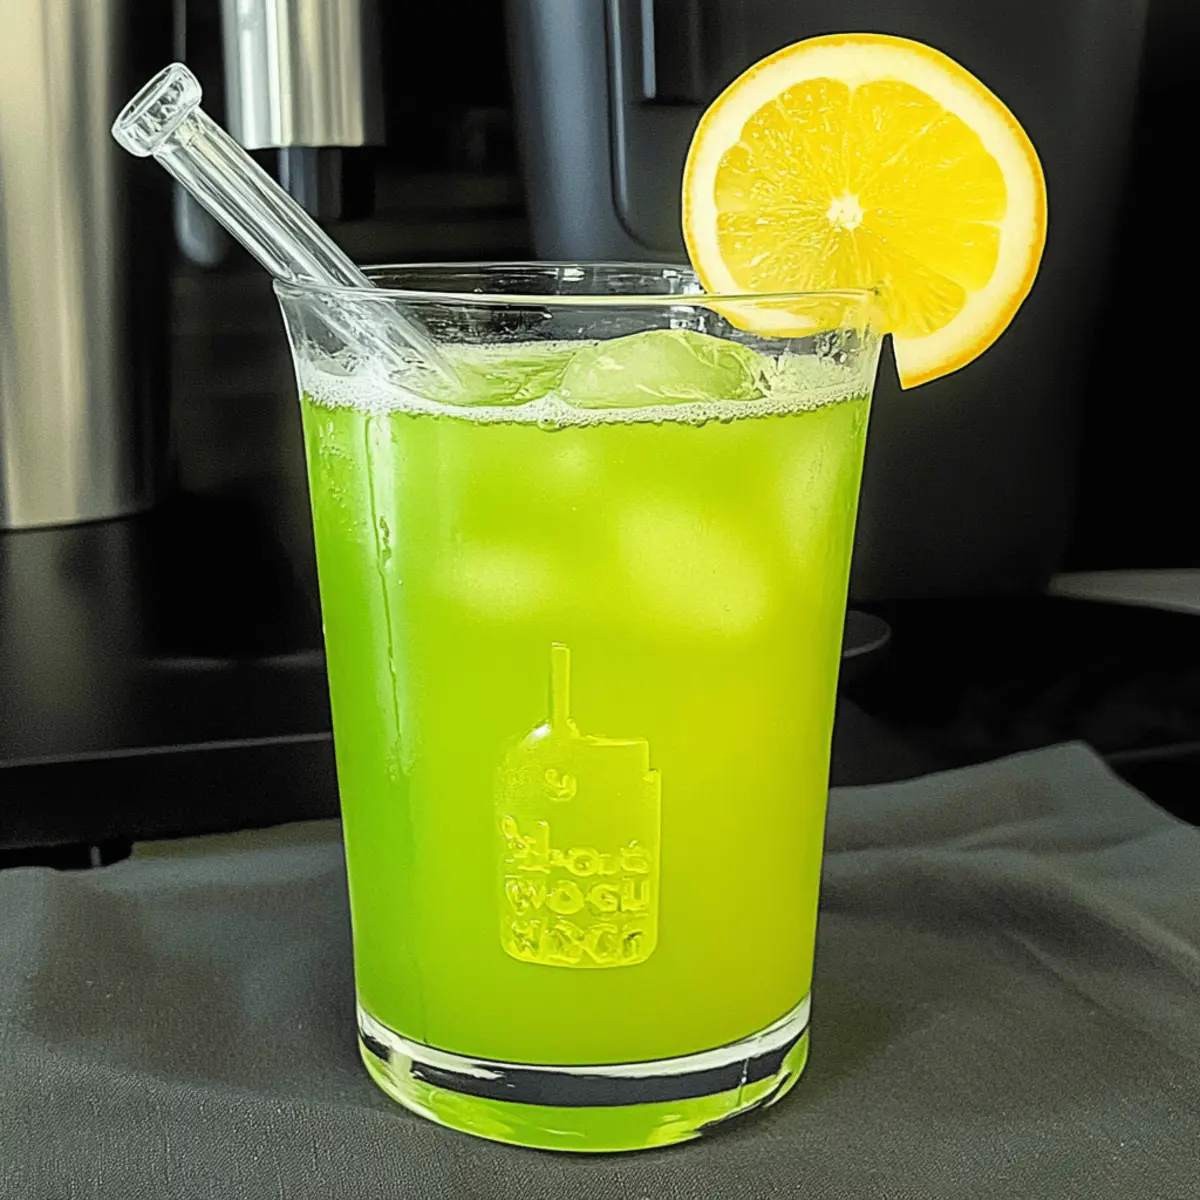
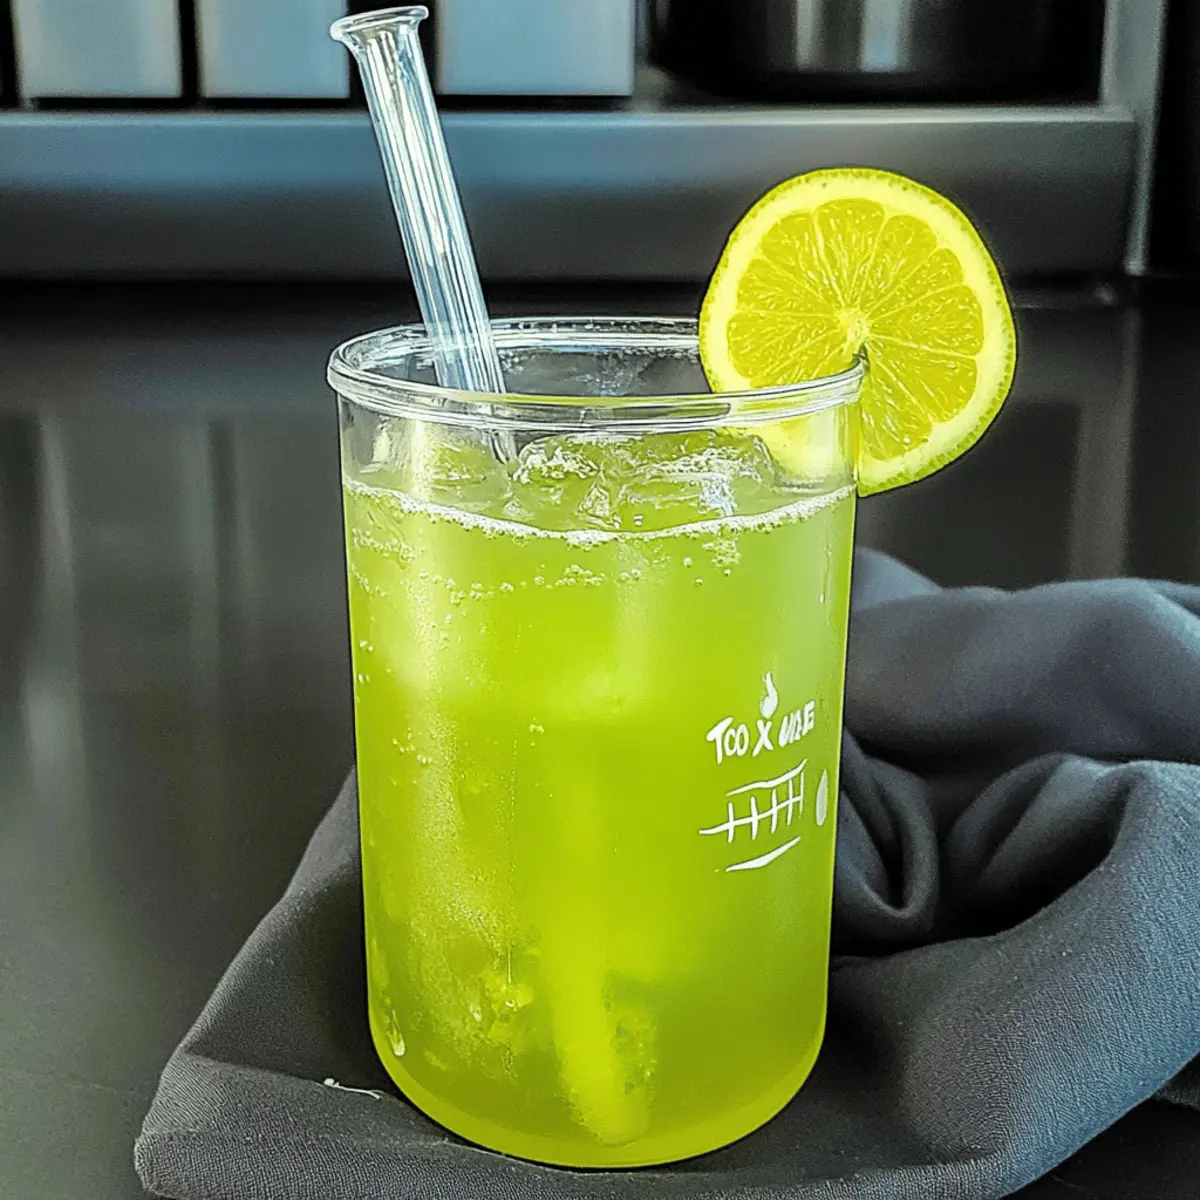
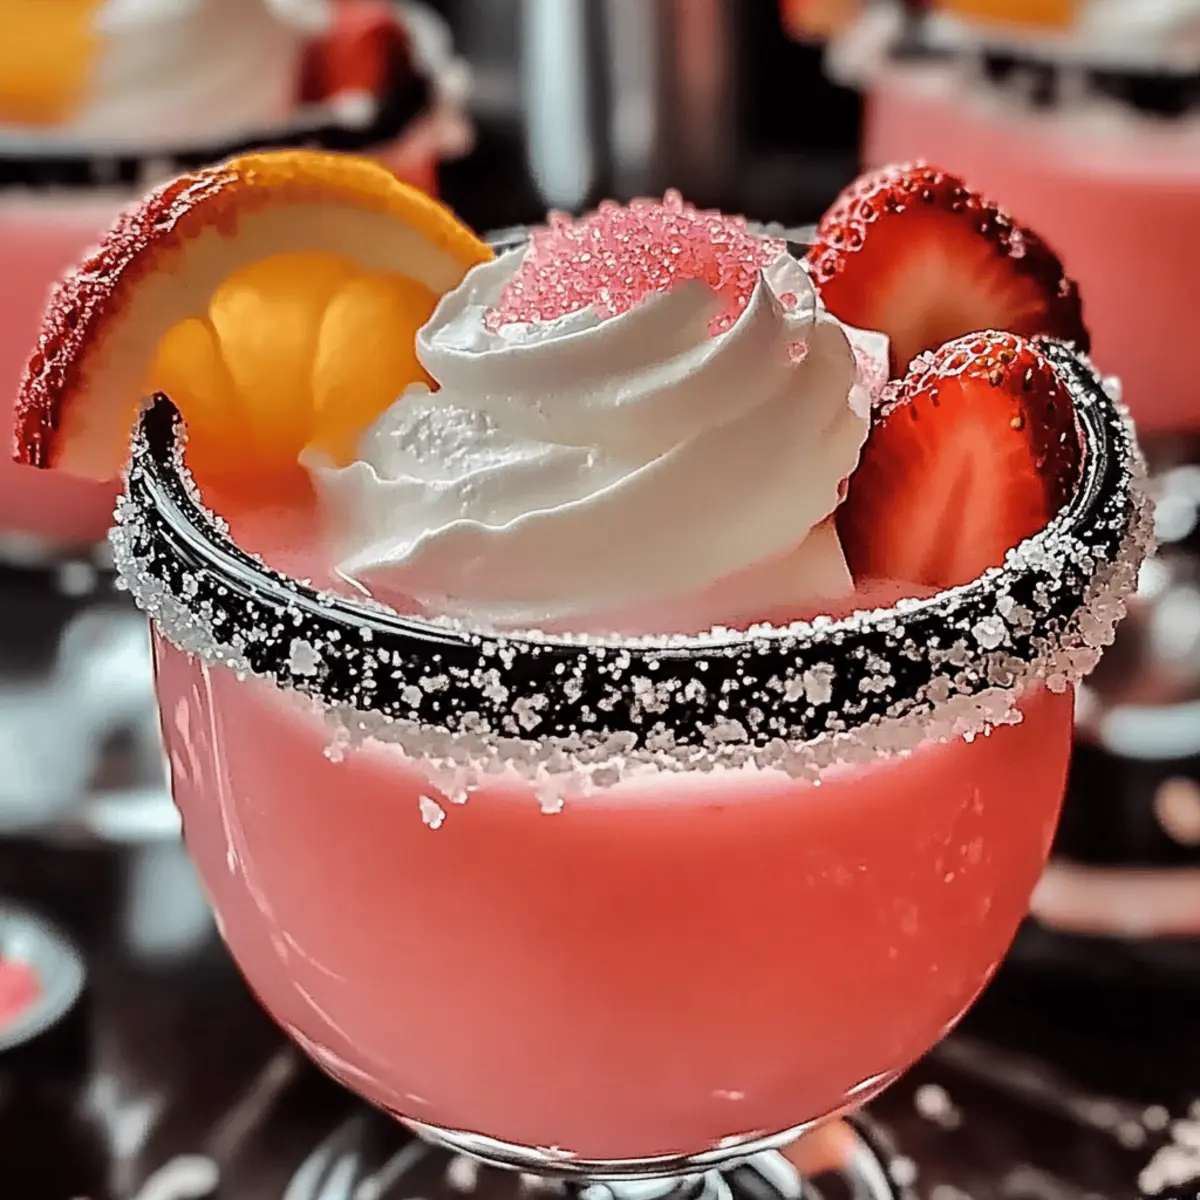
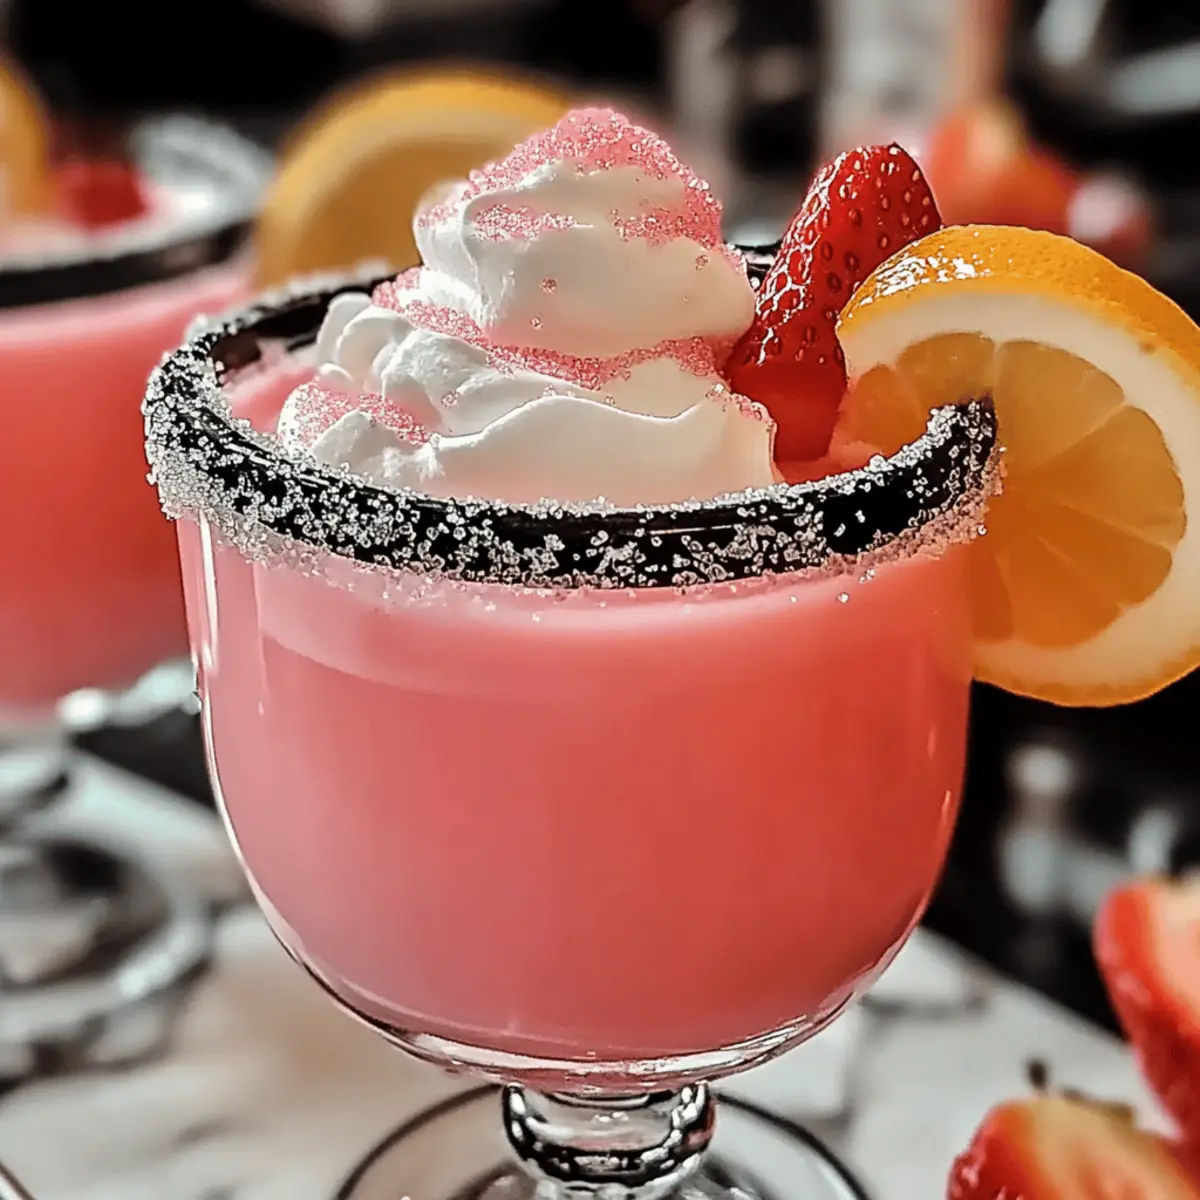
Start by filling each glass with ice cubes to keep your Hocus Pocus Punch refreshingly chilled. Aim to fill the glasses about halfway to allow for the punch and additional ingredients. Clear, tall glasses work best for an eye-catching presentation! Set the prepared glasses aside on a stable surface to easily access them during the mixing process.
Step 2: Pour in the Juice
Carefully pour the mango peach juice over the ice-filled glasses, allowing the vibrant tropical color to sparkle. Use about 1 cup of juice per glass, and watch as it cascades beautifully over the ice, creating a delightful visual effect. The juice should fill the glasses about three-quarters full, setting a sweet stage for the next ingredient in your Hocus Pocus Punch.
Step 3: Add the Sparkling Water
Next, gently add the peach sparkling water to each glass, filling them the rest of the way while creating a delightful fizz. Aim for about 1/2 cup of sparkling water per glass, and watch as the bubbles dance to the surface. Stir the mixture gently with a long spoon to combine, ensuring the fruity flavors meld beautifully without losing all the fizz.
Step 4: Top with Sherbet
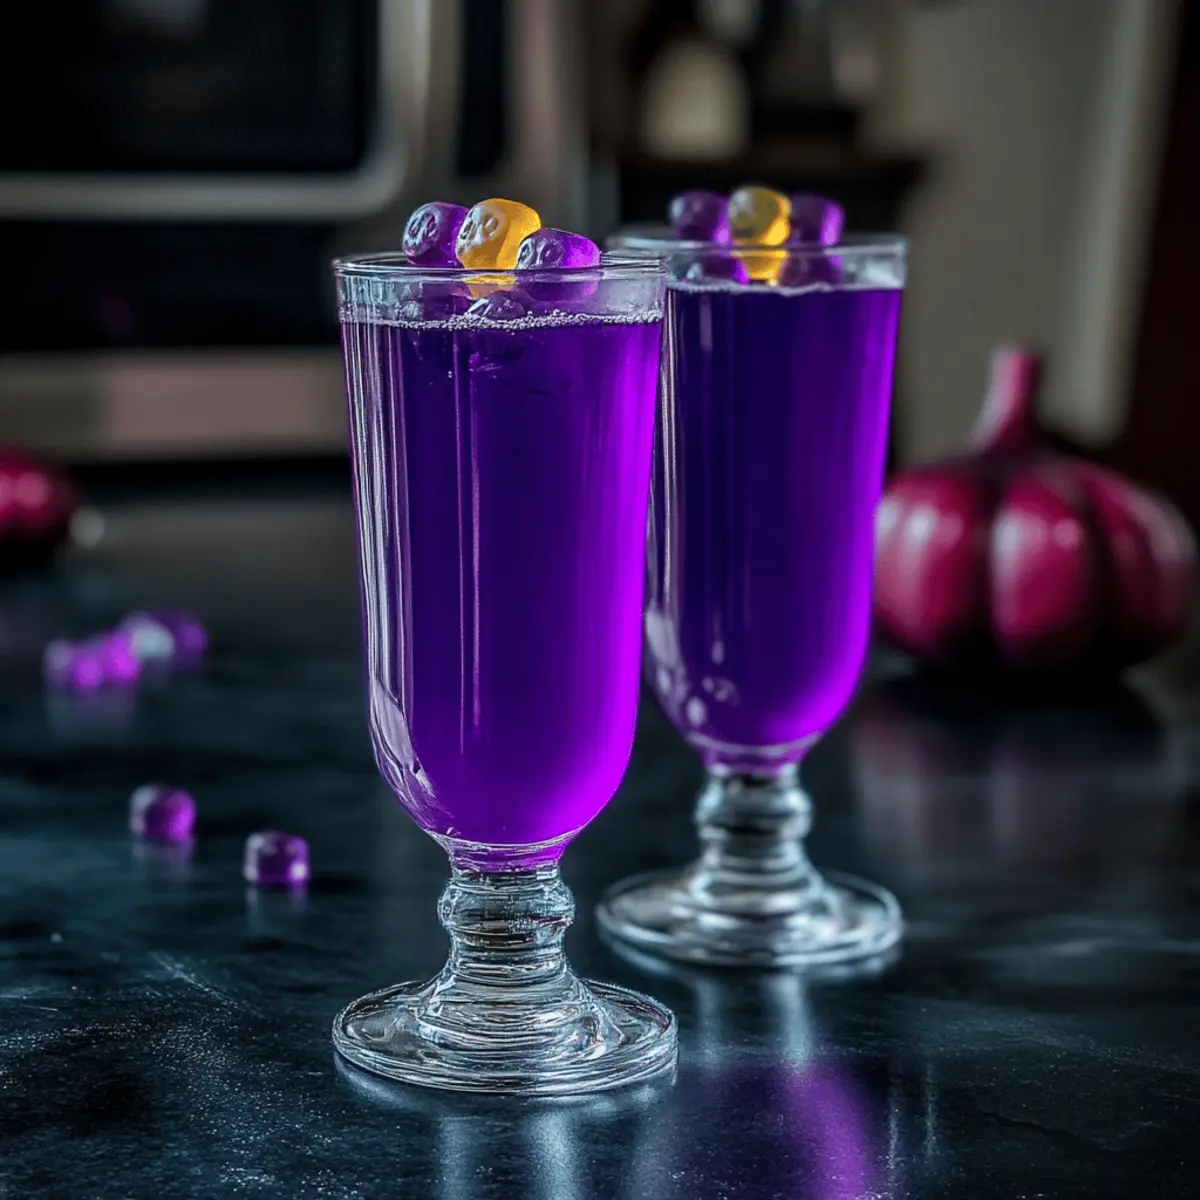
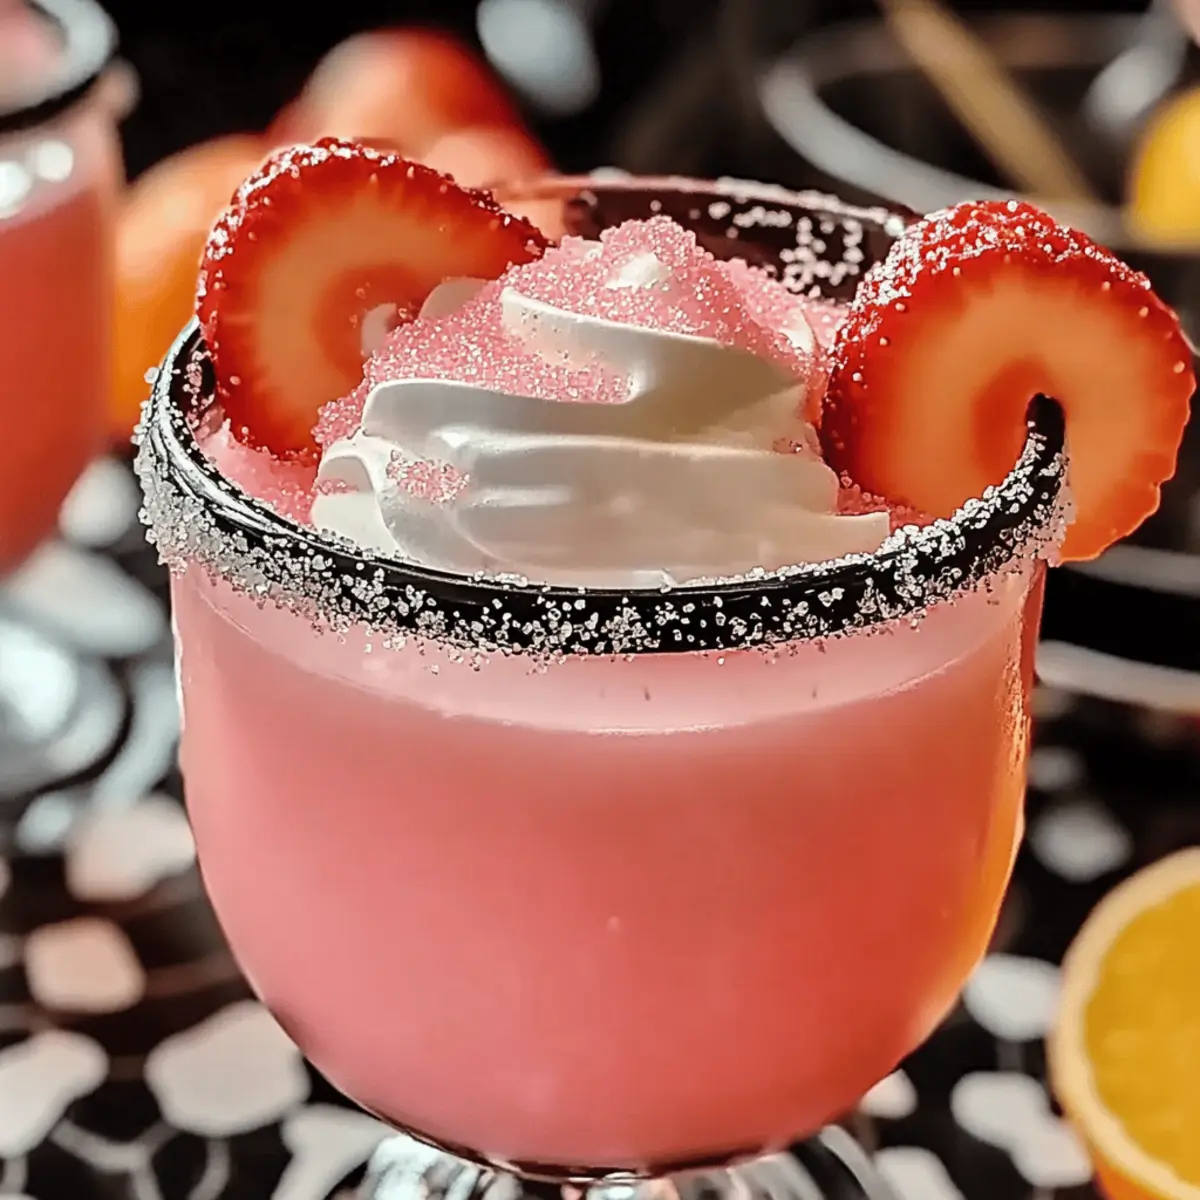
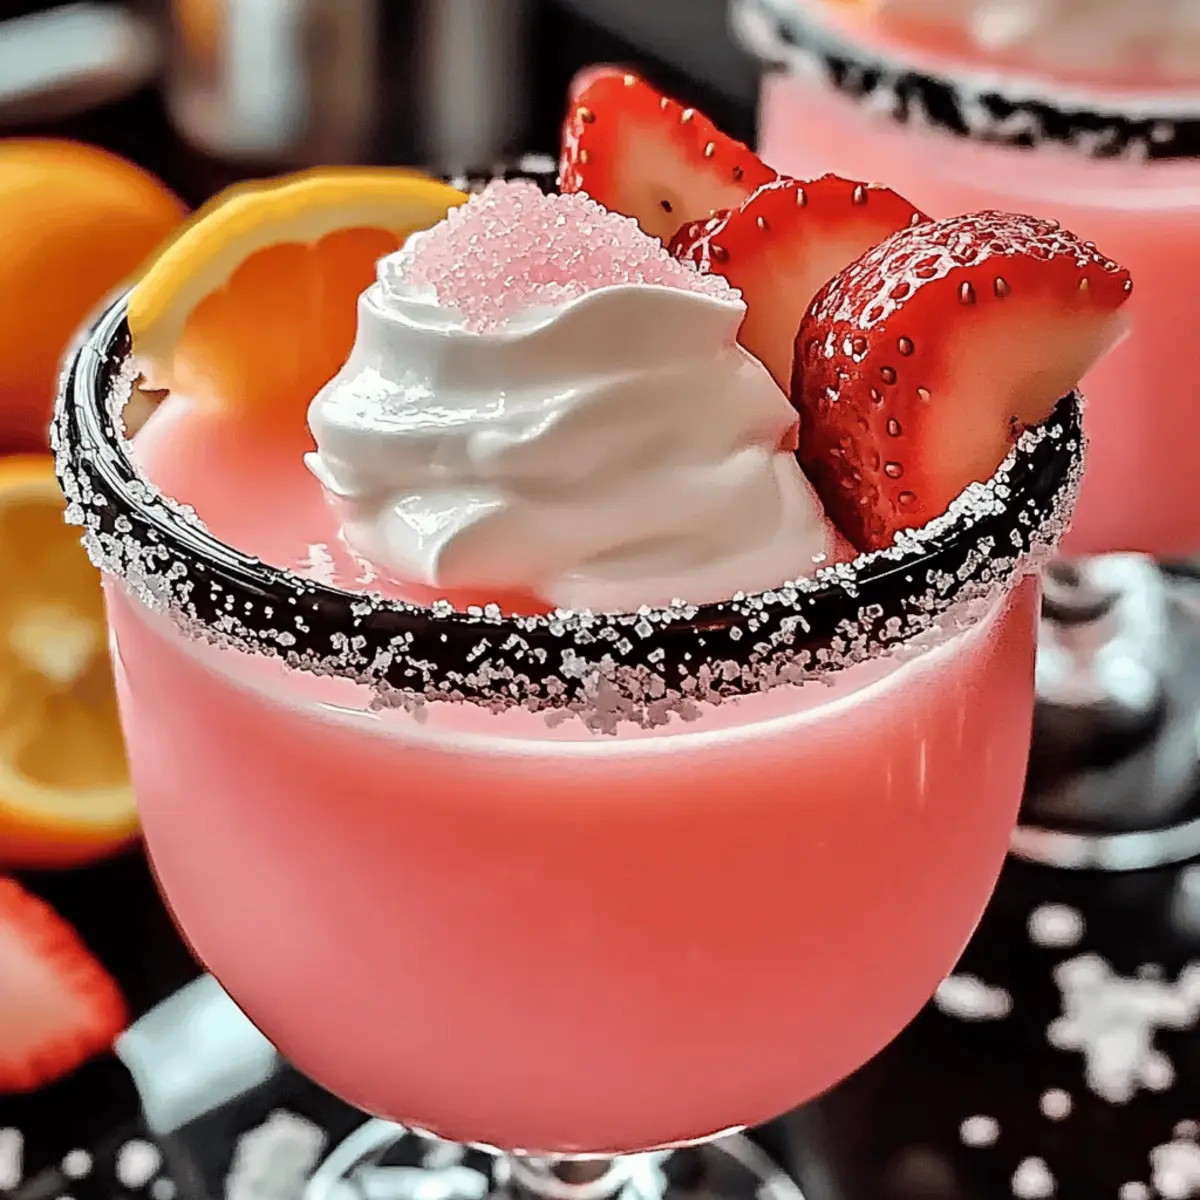
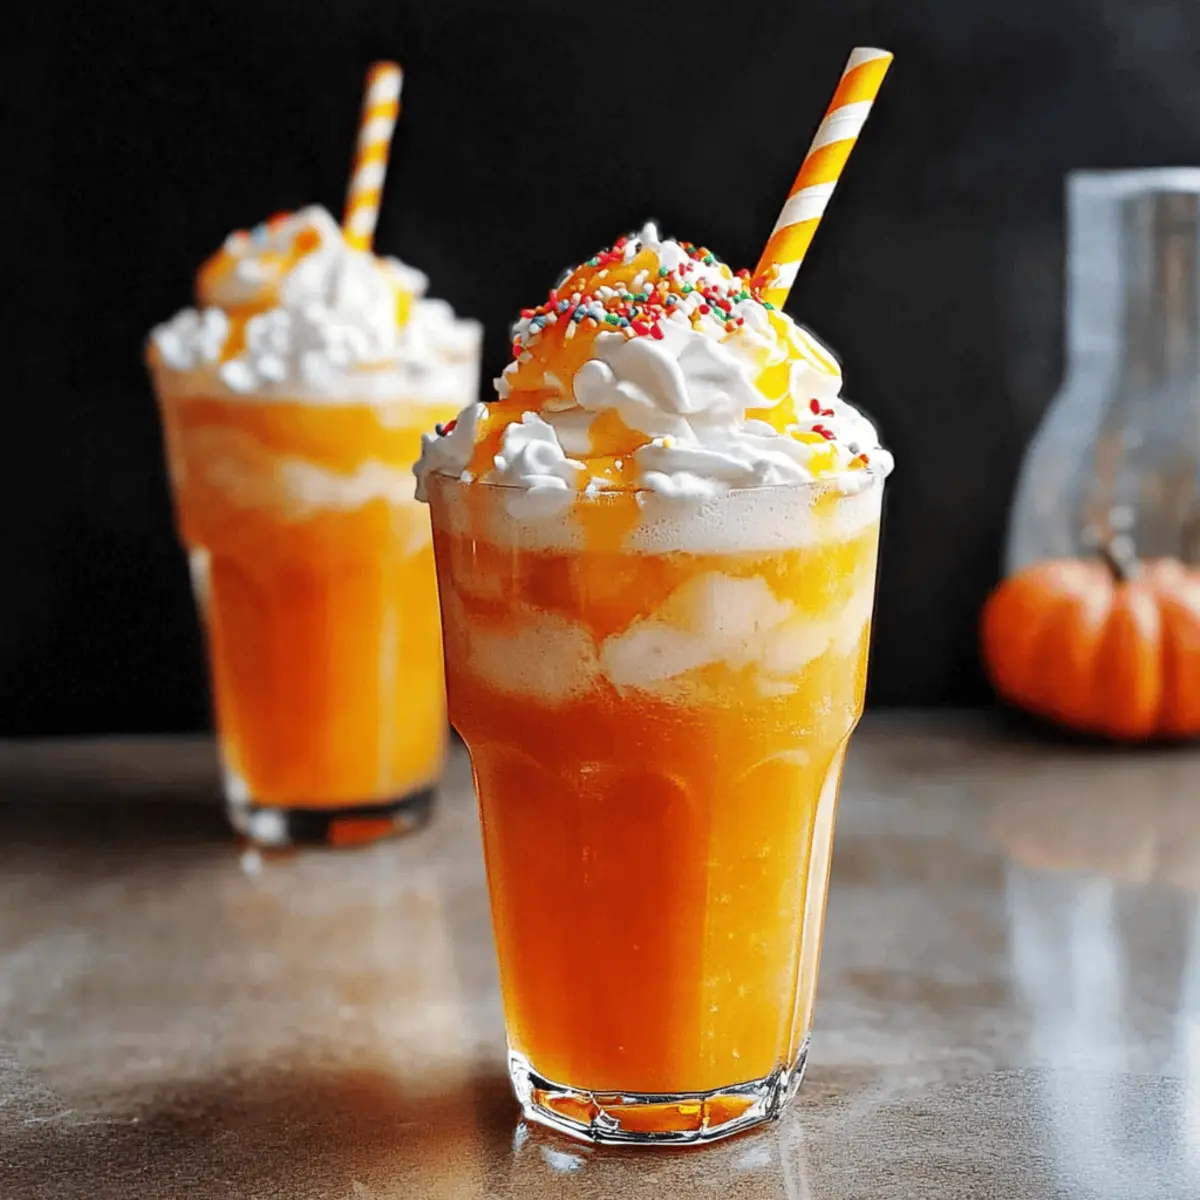
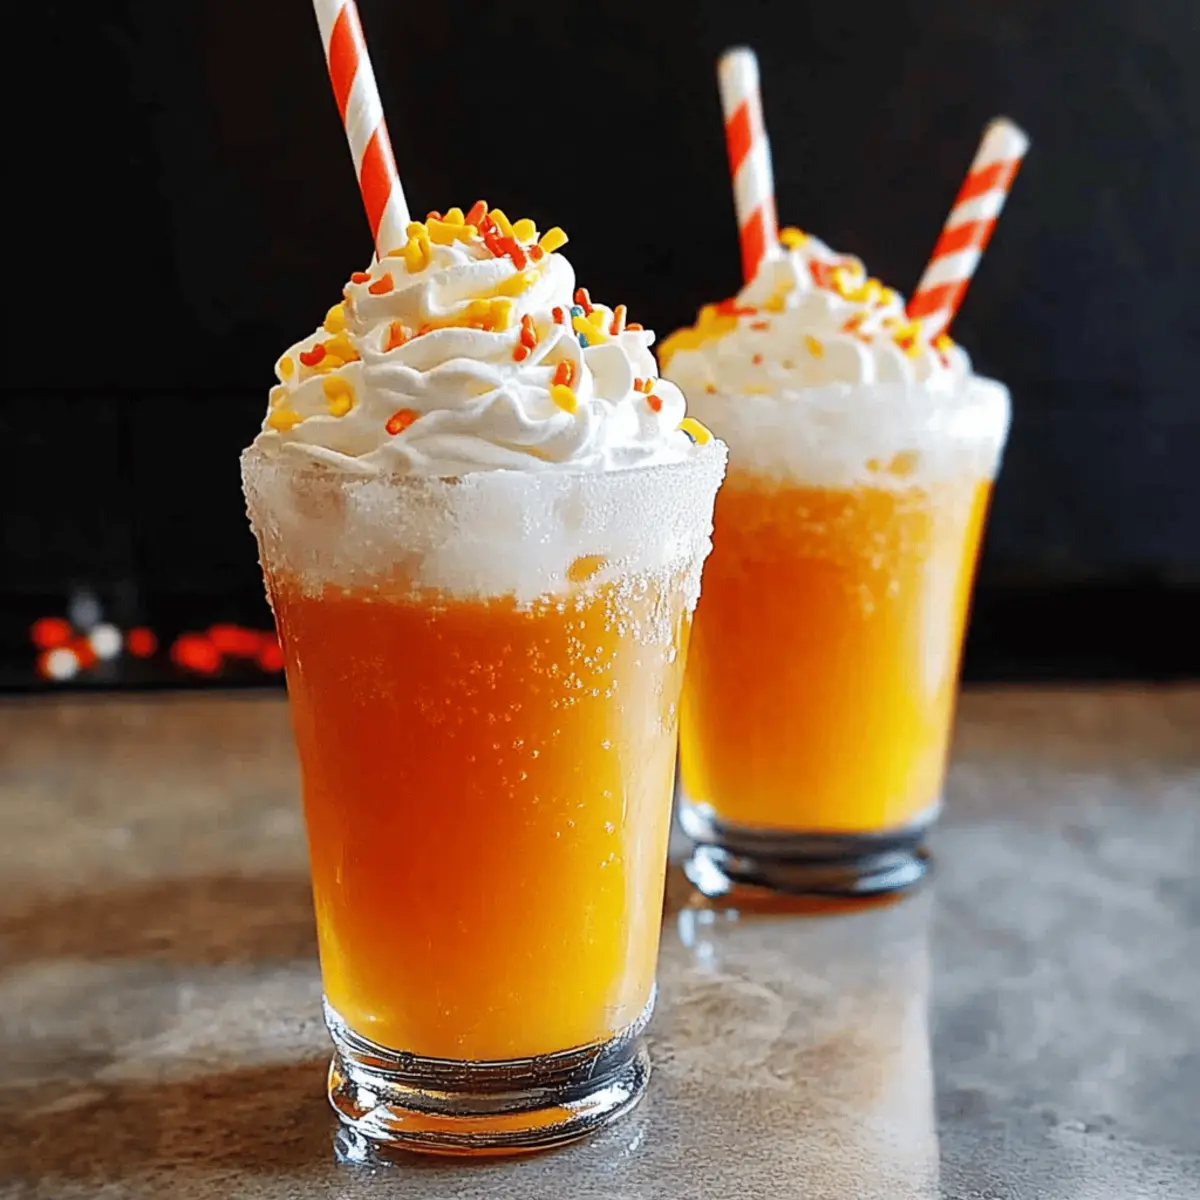
Now comes the fun part! Scoop a generous portion of rainbow sherbet and place it atop each glass of Hocus Pocus Punch. Aim for about 2-3 tablespoons of sherbet per serving, letting it sit proudly like a colorful crown. As the sherbet begins to melt, it will create a whimsical swirled effect in your punch, enhancing both its appearance and creamy texture.
Step 5: Serve and Enjoy
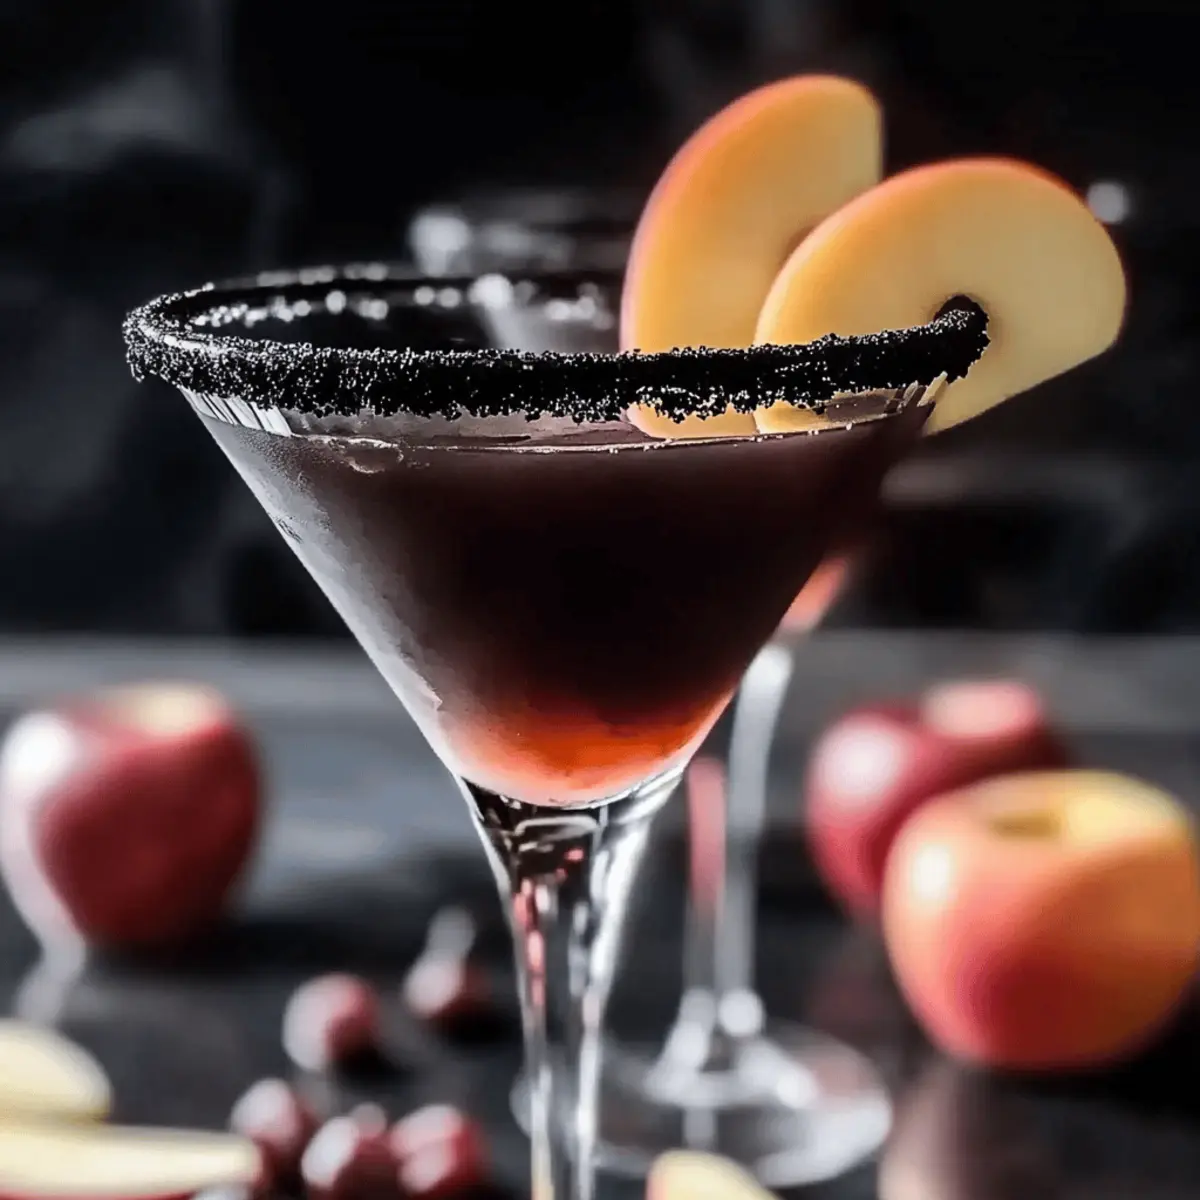
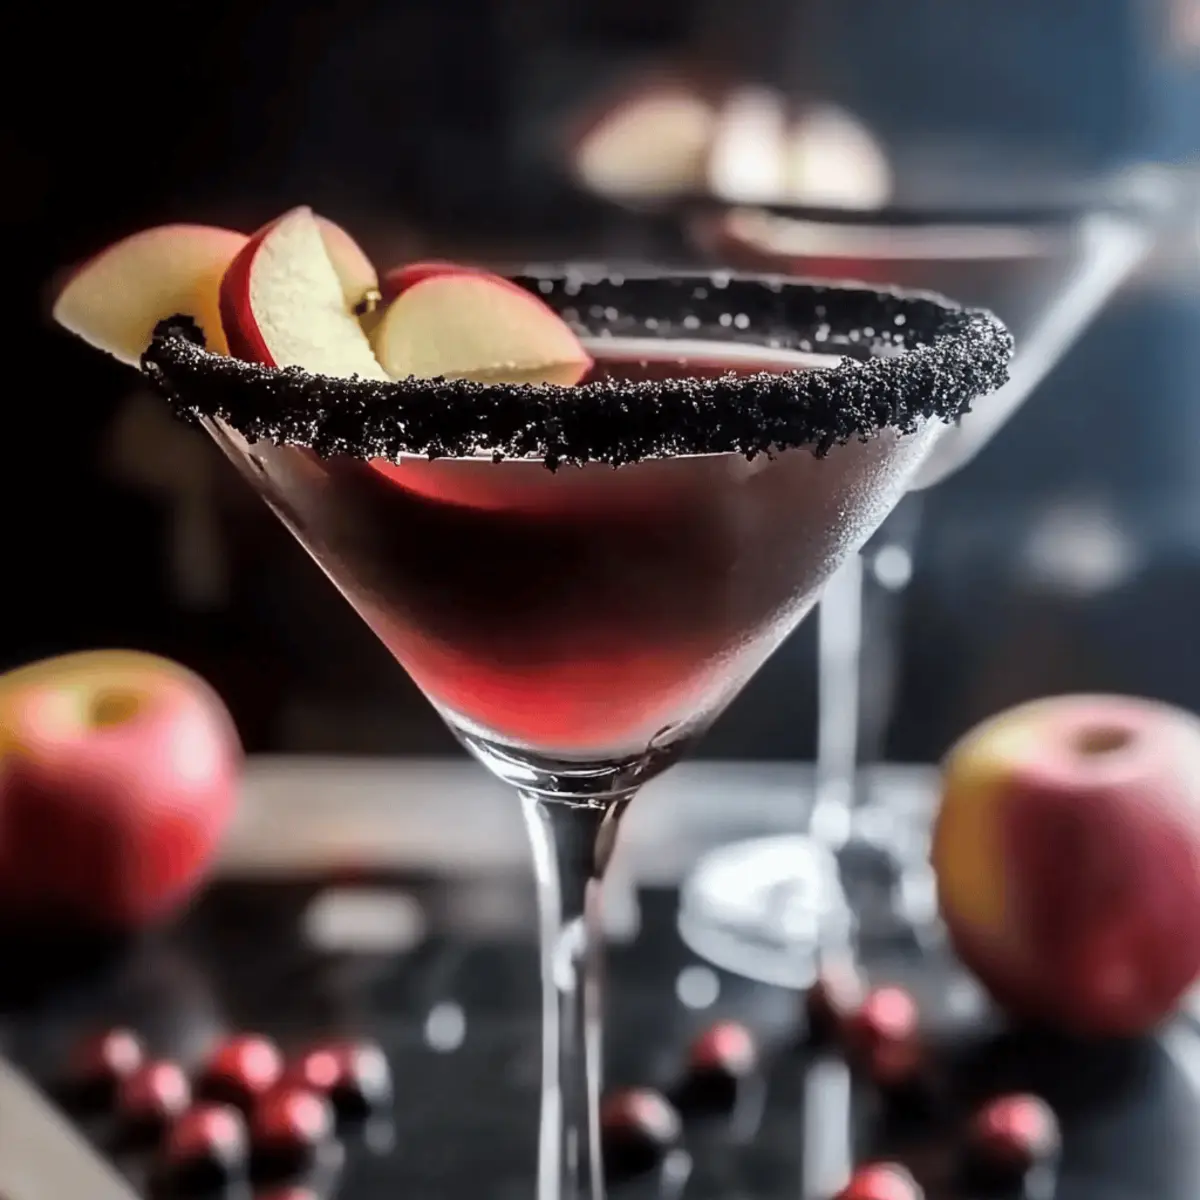
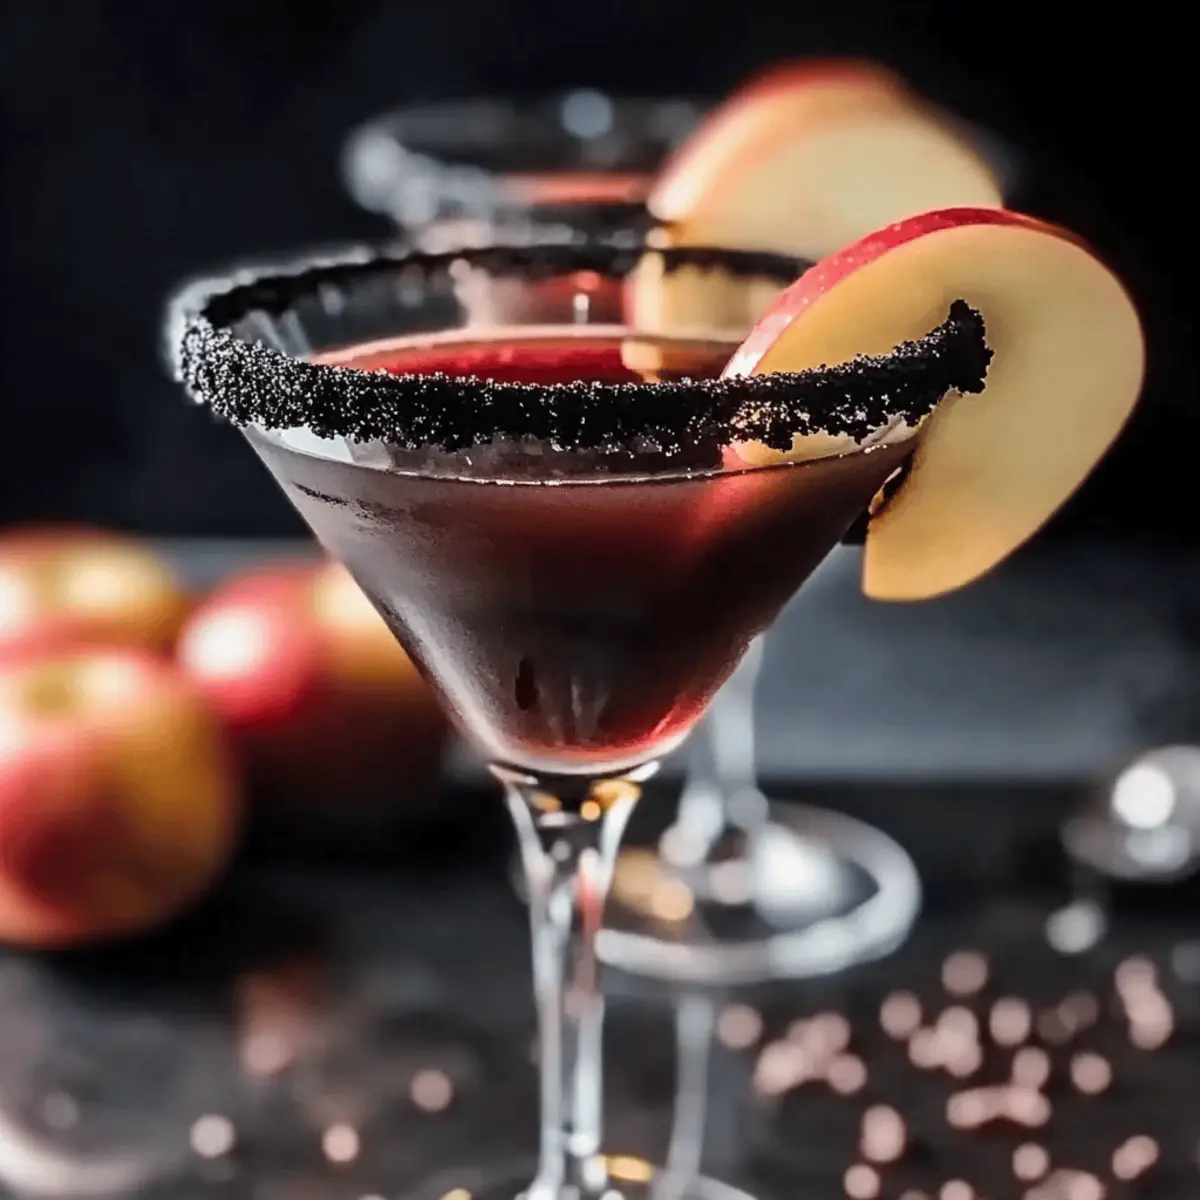
Finally, it’s time to serve your enchanting Hocus Pocus Punch right away! The vibrant colors and aromas will beckon your guests to dive in. For the best experience, make sure each glass retains its chilly thrill as you gather everyone for a festive toast. This quick and delightful drink will surely be a hit for Halloween gatherings and family celebrations!
How to Store and Freeze Hocus Pocus Punch
Fridge: Keep any leftover Hocus Pocus Punch covered in an airtight container in the fridge for up to 3 days.
Freezer: If you want to freeze, pour the punch into ice cube trays to create fun, punch-flavored ice cubes. These can last for up to 3 months!
Reheating: For best taste, enjoy it chilled; do not reheat as the fizz will flatten.
Sherbet Storage: Store leftover rainbow sherbet in the freezer, tightly sealed, and serve it fresh with your next batch for an irresistible punch!
Expert Tips for Hocus Pocus Punch
- Juice Choice: Ensure you use quality mango peach juice like V8 for the best flavor; it’s sweeter and rich in fruity goodness.
- Fizz Factor: Don’t skimp on the peach sparkling water, as it adds a refreshing fizz; pour slowly to preserve the bubbles and excitement!
- Sherbet Scoop: Use a generous scoop of rainbow sherbet for that colorful pop; add it just before serving to keep its texture intact.
- Make Ahead: Prepare your juice and sparkling water in advance but wait to add the sherbet until guests arrive, maintaining its delightful creaminess.
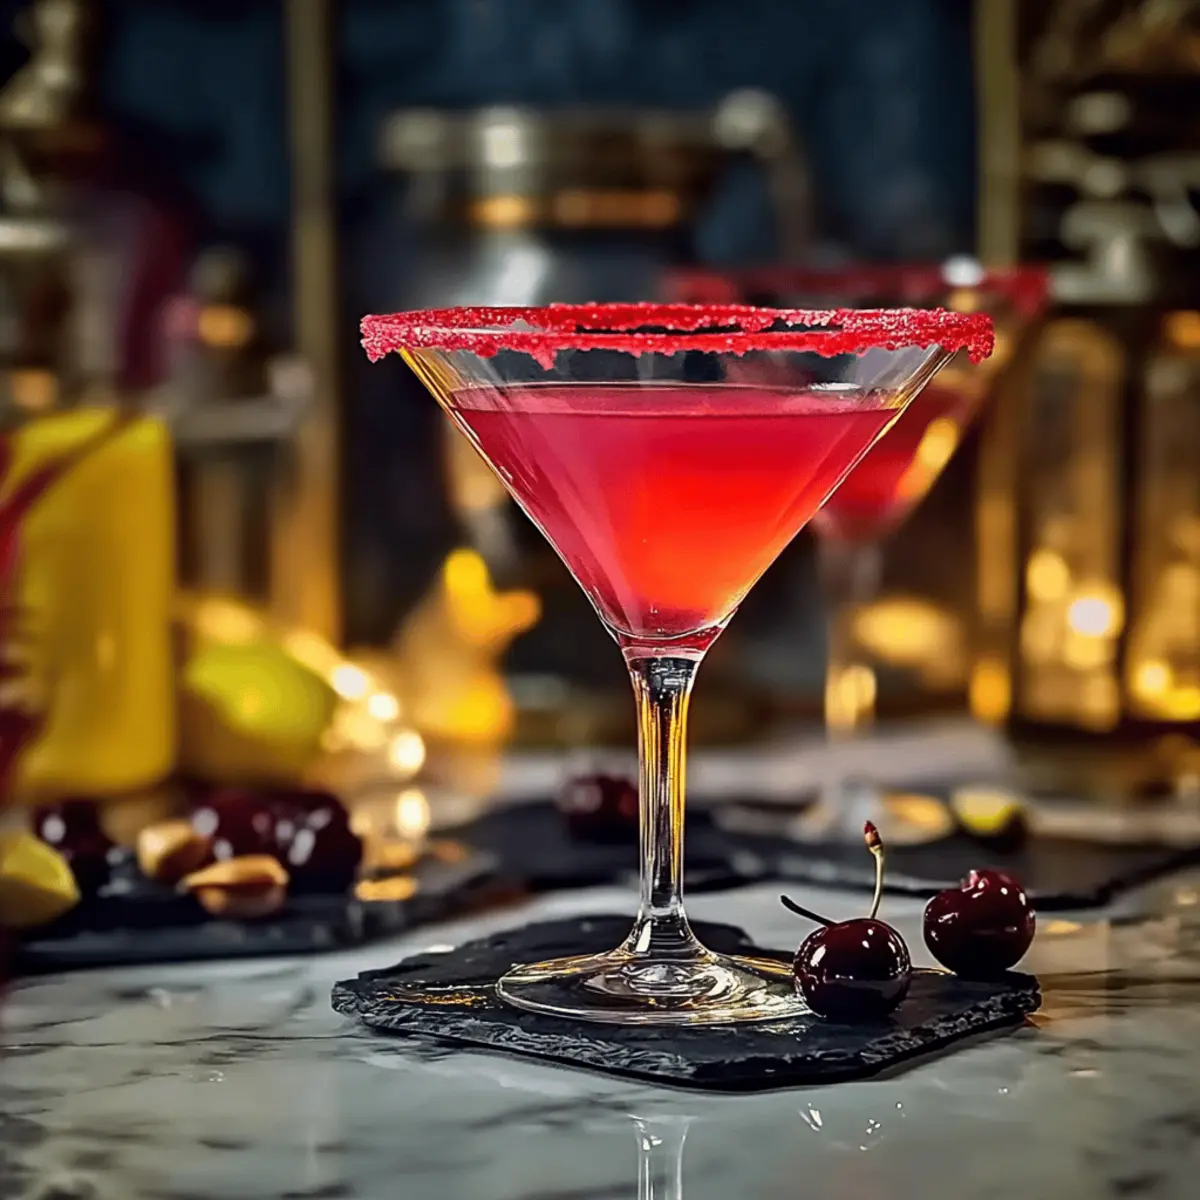
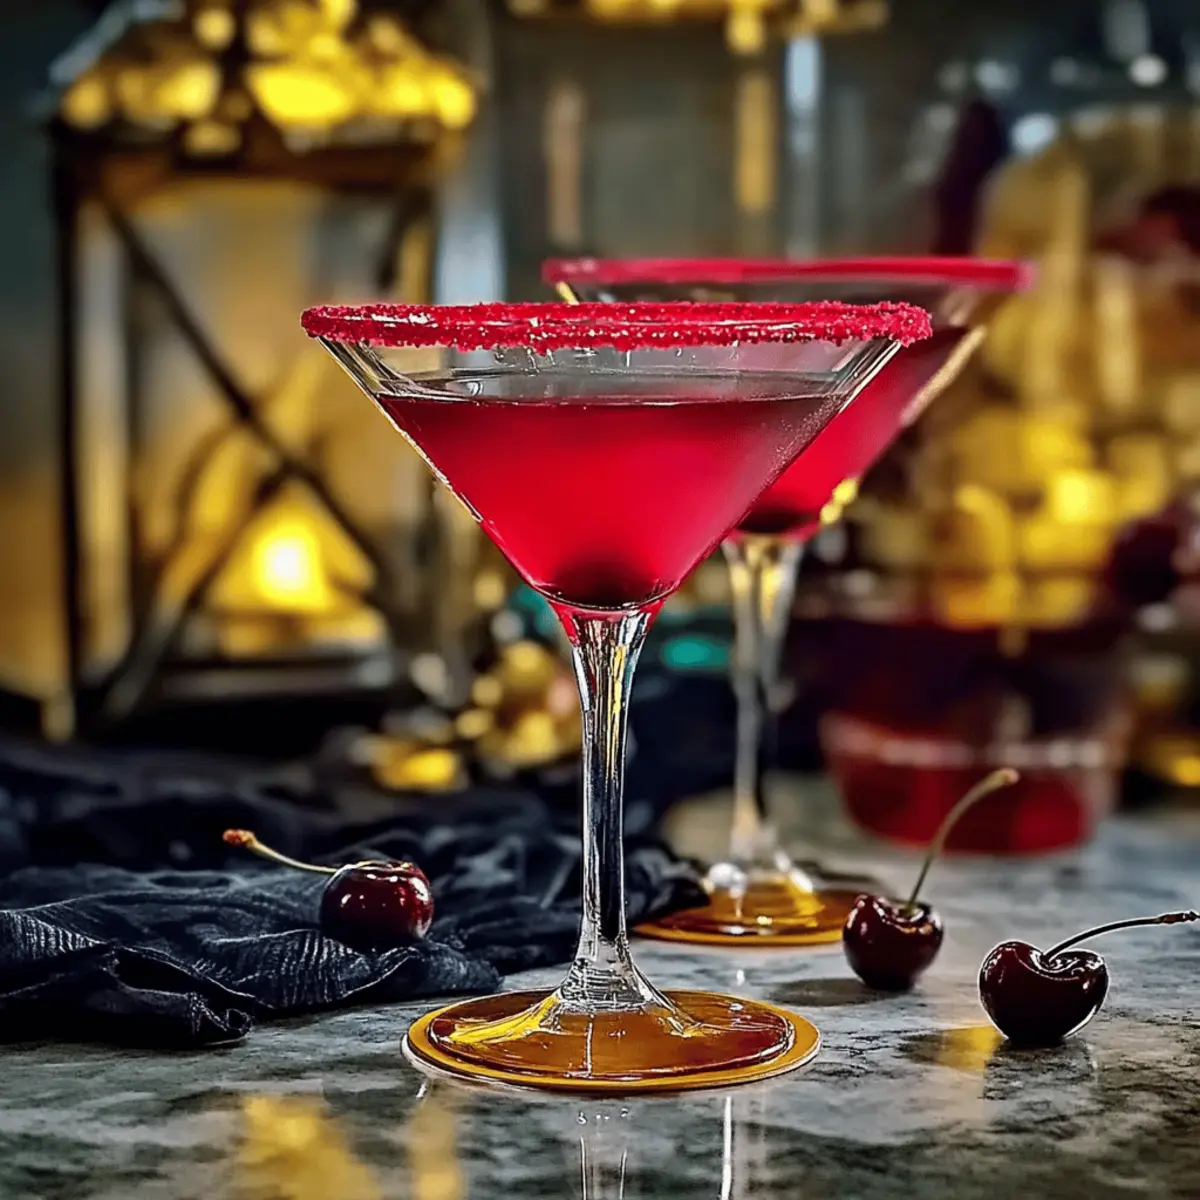
- Spiked Option: For adult gatherings, consider adding a splash of vodka, rum, or tequila for a lively twist in your Hocus Pocus Punch!
Hocus Pocus Punch: Creative Variations
Feel free to let your imagination run wild and customize your Hocus Pocus Punch with these magical twists!
-
Dairy-Free: Swap rainbow sherbet with coconut or almond milk-based ice cream for a creamy, lactose-free alternative.
This version keeps the vibrant flavor while accommodating those with dairy sensitivities. The light coconut flavor adds a tropical twist! -
Spiked: Elevate your punch by adding a splash of vodka, rum, or tequila for adult gatherings.
Just stir in 1-2 ounces per glass after pouring the juice and sparkling water for an enchanting cocktail experience! -
Citrus Burst: Substitute mango peach juice with a bright blend of orange pineapple juice for a zesty kick.
This swap brings a playful tang that perfectly complements the fizz of peach sparkling water. -
Bubbles Galore: Experiment with various flavored sparkling waters, like lime or raspberry, for a new dimension of fizz.
Each flavor infuses its essence while keeping the punch delightfully refreshing and fizzy. -
Frozen Treats: Replace the ice with frozen fruit chunks, such as diced peaches or berries, to keep the punch chilly without watering it down.
This not only looks stunning but adds flavor as the fruit slowly melts into the drink. -
Herbal Infusion: Add fresh mint or basil leaves to the punch for an aromatic boost.
Toss in a few leaves after mixing and before serving for a fragrant twist that surprises the palate. -
Light & Crisp: Use a low-calorie or sparkling water soda version to reduce calories while maintaining the festive fizz.
This keeps your punch lighter without sacrificing the bubbly joy, making it perfect for more health-conscious gatherings.
Feel inspired to explore the enchanting variations of your Hocus Pocus Punch? It’s all about making magic in your kitchen! For even more festive ideas, check out our serving suggestions and themed snacks to complete your Halloween experience!
What to Serve with Hocus Pocus Punch
As you conjure up this festive punch, consider some delightful pairings that’ll enchant both taste buds and spirits.
-
Witch Hat Cupcakes: These adorable treats complement the punch's sweetness with their chocolate richness, creating a playful yet indulgent pairing for your celebrations.
-
Spooky Cheese Platter: A mix of creamy brie, tangy cheddar, and seasonal fruits lends a savory contrast that balances the fruity punch beautifully.
-
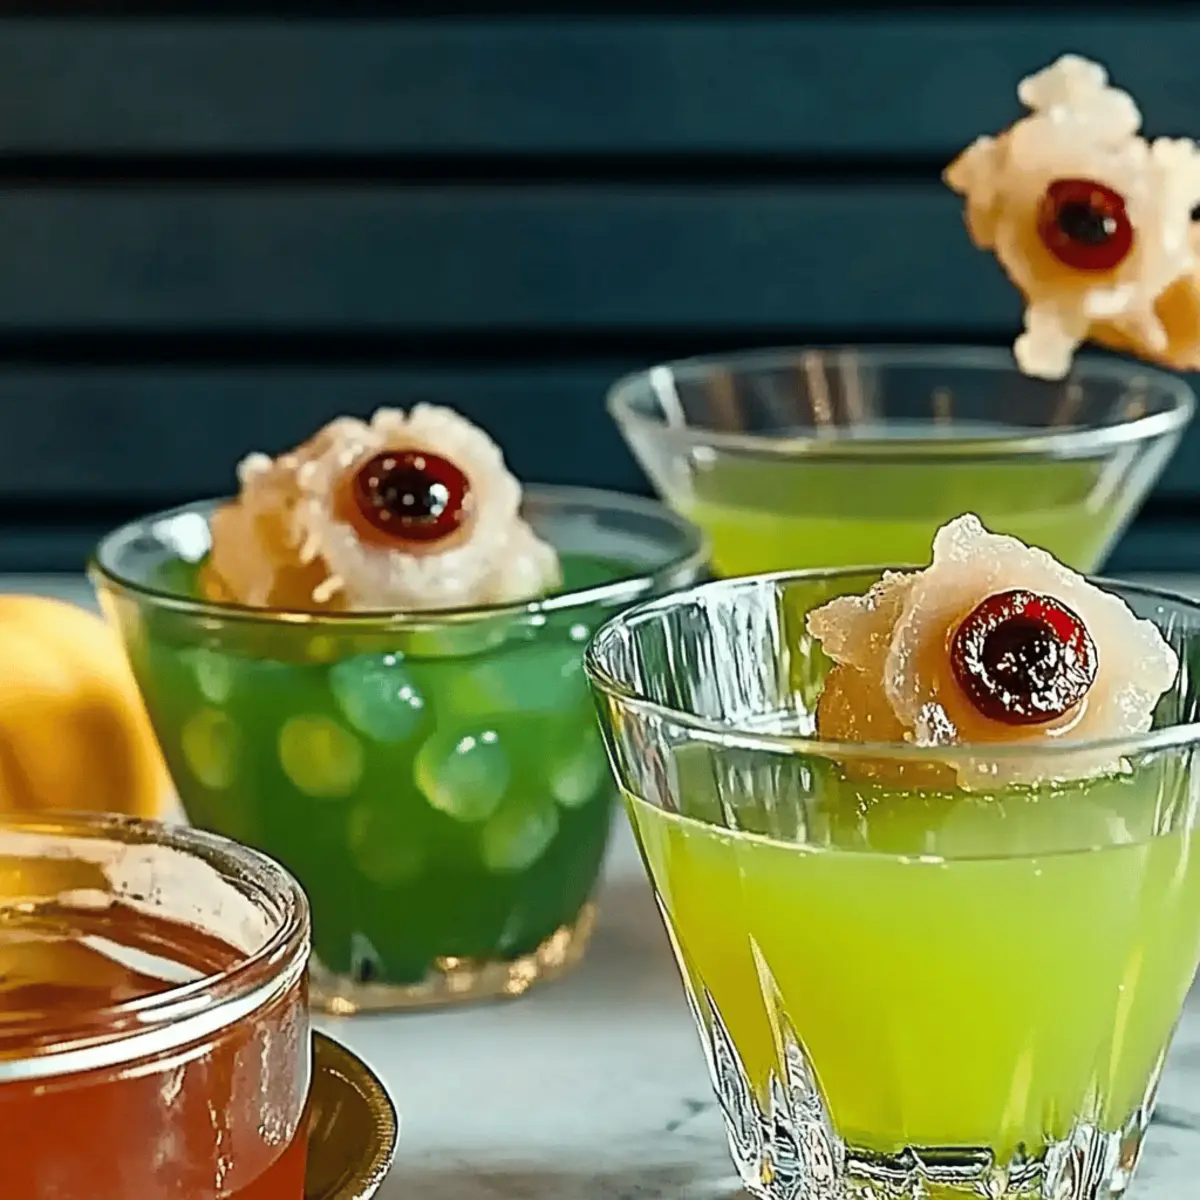
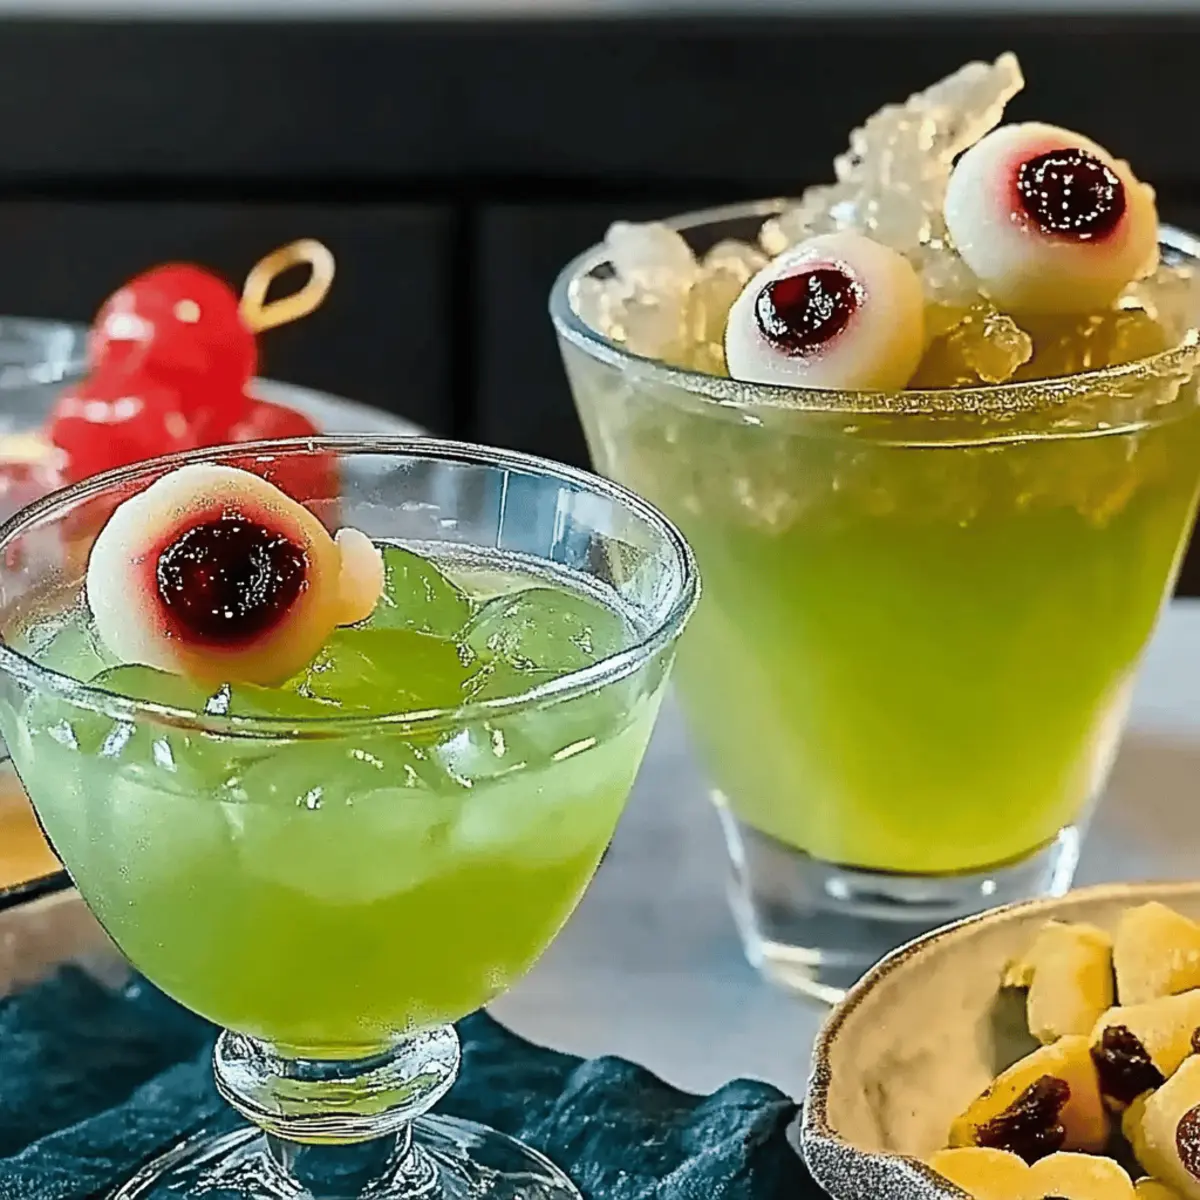
Monster Eyes Cookies: Yummy sugar cookies topped with candy eyes add whimsy while their sweetness rounds out the punch's fruity essence.
-
Ghostly Popcorn Balls: Light and airy, these marshmallow-coated popcorn treats offer a crunchy contrast, making them perfect for a casual snack alongside the punch.
-
Crispy Veggie Dippers: Fresh vegetable sticks served with a tangy dip bring a refreshing crunch, enhancing the flavors of the fruity punch and keeping the balance.
-
Halloween-Themed Cheese Balls: Shaped like pumpkins or spiders, these savory bites provide a fun and savory addition to your punch, sure to delight guests of all ages.
-
Sparkling Ciders: A non-alcoholic sparkling cider pairs well with the drink, offering a different yet festive fizz to complement your Halloween festivities.
The vibrant Hocus Pocus Punch is sure to shine brighter when served alongside these fun and festive options!
Make Ahead Options
Planning ahead for your Hocus Pocus Punch can save you valuable time during your Halloween festivities! You can prepare the mango peach juice and peach sparkling water mixture up to 24 hours in advance—just mix them together in a large pitcher and refrigerate. Keep the rainbow sherbet separate until you're ready to serve; this ensures it retains its delightful texture and prevents it from melting into the punch too soon. When you're ready to wow your guests, pour the prepped juice and water mixture over ice, then add a generous scoop of sherbet for that magical finish. By prepping ahead, you'll enjoy the party without the rush!
Hocus Pocus Punch Recipe FAQs
What type of mango peach juice should I use?
Absolutely! I recommend using V8 brand mango peach juice for its rich sweetness and fruity flavor. Opting for a quality juice ensures the best taste, making your Hocus Pocus Punch truly magical!
How long can I store leftover Hocus Pocus Punch?
Very! You can keep any leftover punch in an airtight container in the fridge for up to 3 days. Just give it a gentle stir before serving as the ingredients may separate over time.
Can I freeze Hocus Pocus Punch?
Absolutely! To freeze, pour the punch into ice cube trays, creating fun, punch-flavored ice cubes that can last for up to 3 months. You can use these cubes in future punches for an added flavor boost!
What should I do if my sherbet melts too quickly?
No worries! If you find your sherbet melting faster than expected, consider adding it just before serving or using chilled glasses. This way, it maintains its texture longer, contributing to that delightful swirl in your punch!
Is Hocus Pocus Punch safe for kids?
Very! This recipe is non-alcoholic and perfect for kids and families. If there are allergy concerns, feel free to substitute juices or sherbet to ensure everyone can enjoy this festive treat!
How can I make a spiked version of Hocus Pocus Punch?
To create a spiked version, simply add a splash (about 1-2 ounces) of your favorite spirit, like vodka, rum, or tequila, to each glass. Stir gently and adjust according to your taste preference for a lively adult twist!
Hocus Pocus Punch: A Magical 3-Ingredient Delight
Ingredients
Equipment
Method
- Fill each glass with ice cubes to keep the punch chilled, about halfway.
- Pour in the mango peach juice until the glasses are three-quarters full.
- Add the peach sparkling water to fill the glasses, stir gently to combine.
- Scoop rainbow sherbet on top of each glass for a colorful finish.
- Serve immediately and enjoy your enchanting punch!