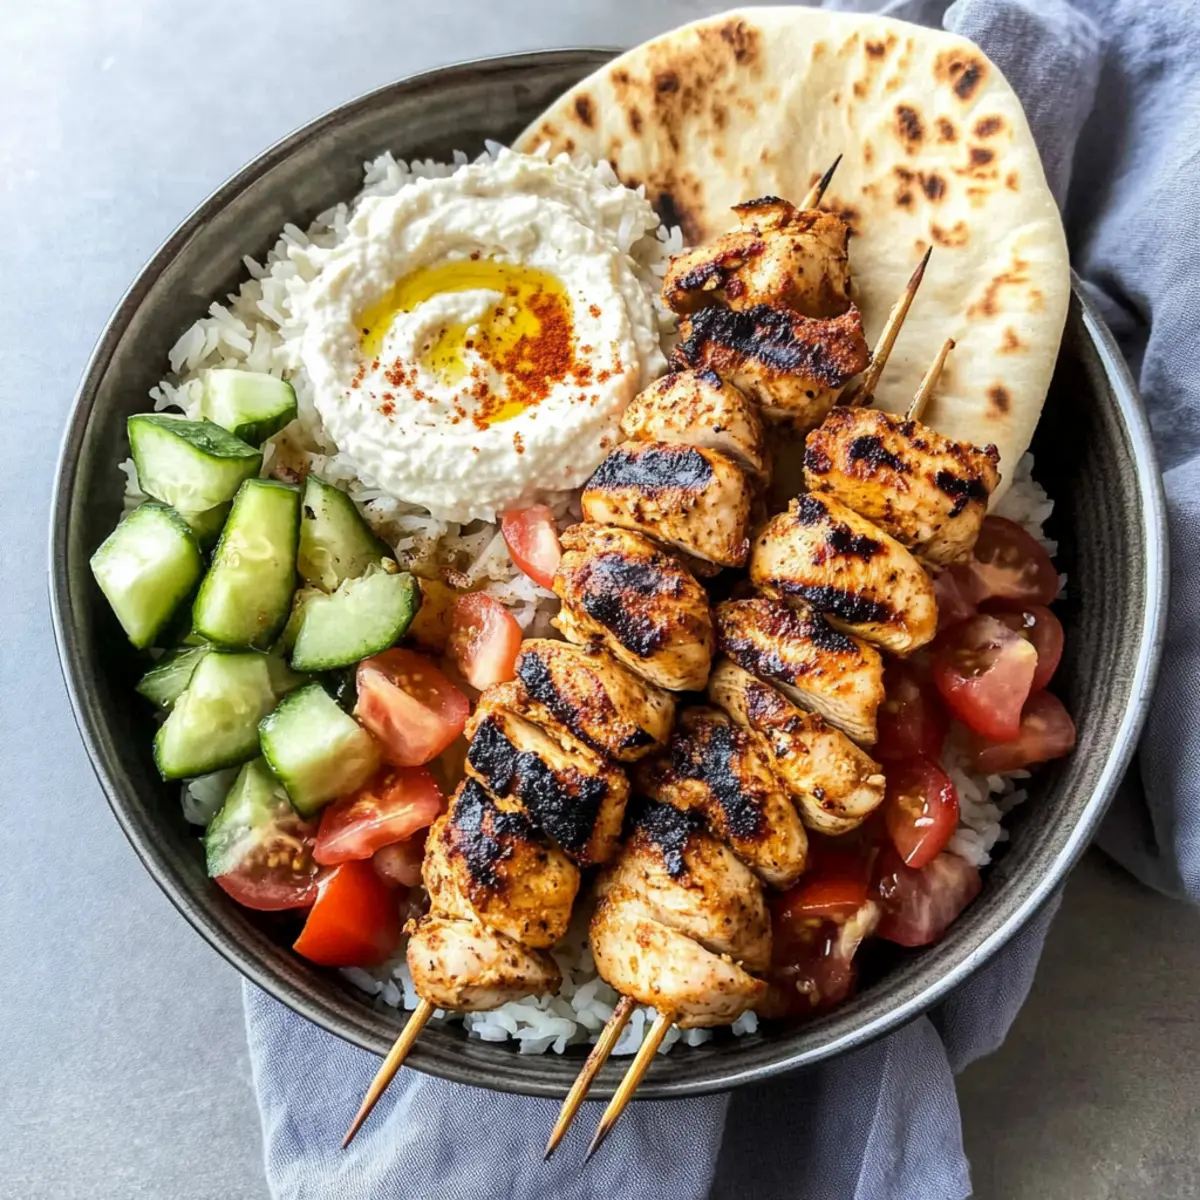
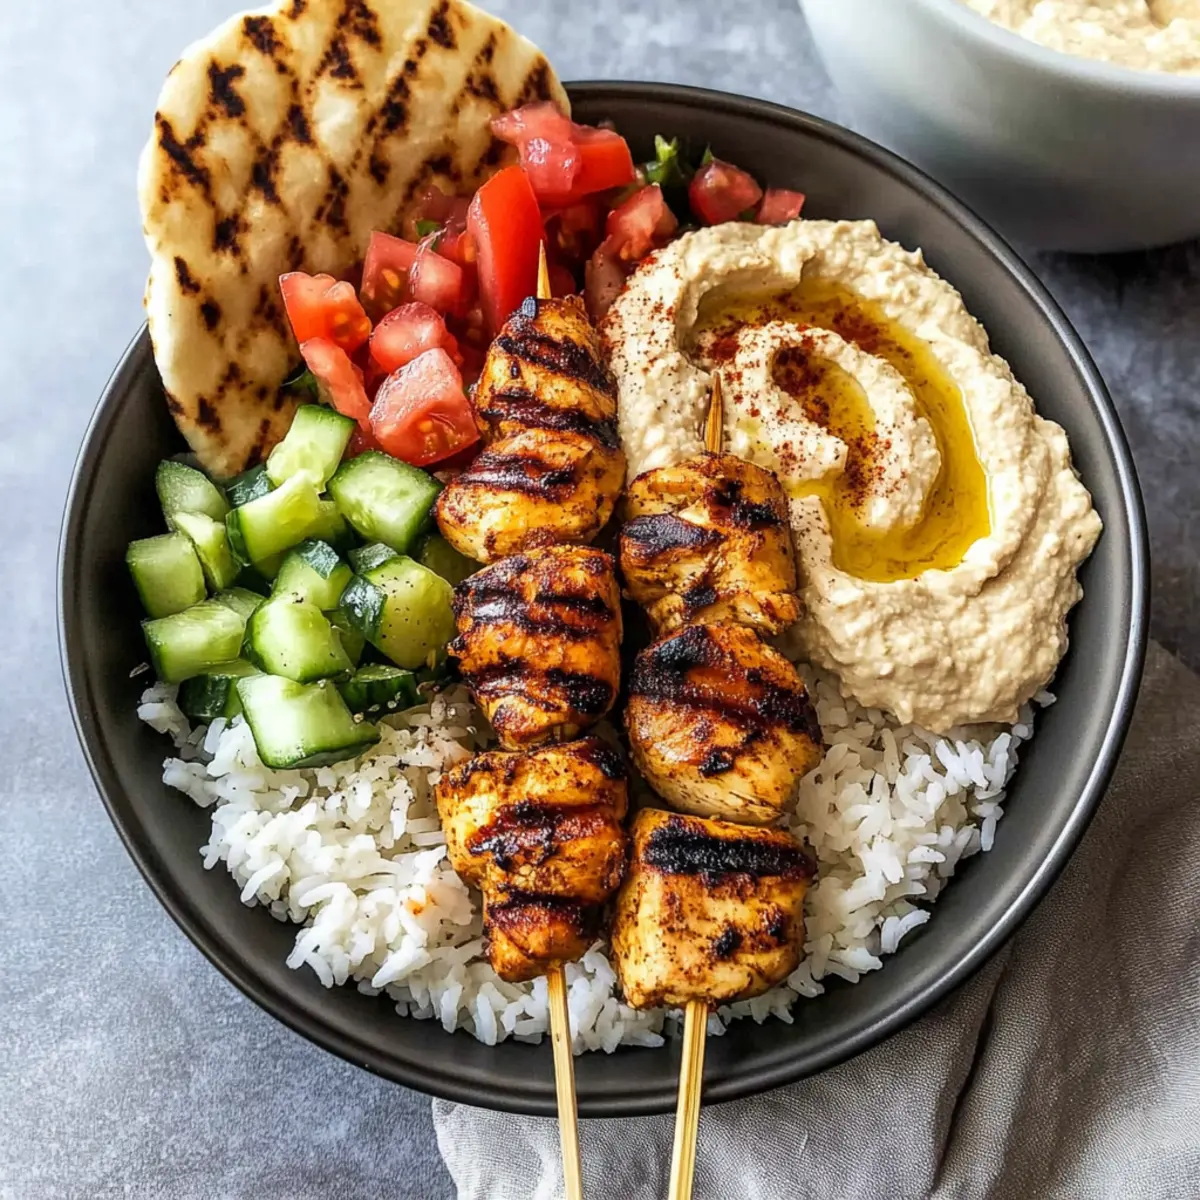
Stepping into the kitchen, I was instantly transported to a sun-drenched Mediterranean market, vibrant with colors and aromas that spark joy. Today, I’m excited to share my Mediterranean Rice Bowl with Grilled Chicken Tawook Skewers—a dish that not only captures those spirited flavors but also promises to be your new favorite meal prep ally. With quick prep and a customizable flair, this bowl brings together succulent chicken, fragrant rice pilaf, and a refreshing cucumber-tomato salad, all topped with a smooth dollop of creamy hummus. Whether you're whipping it up for a busy weeknight or impressing friends at a gathering, this recipe is sure to delight. What flavor combinations are you dreaming of for your own bowl?
What makes this recipe so irresistible?
Flavorful, Mediterranean Inspiration: Each bite dances on your palate, bringing the vibrant tastes of the Mediterranean straight to your kitchen.
Meal Prep Friendly: Perfect for busy weeks, this bowl saves you time while delivering nutrition and satisfaction.
Easily Customizable: Tailor ingredients to suit your taste, swapping chicken for shrimp or tofu any day.
Crowd-Pleaser: Whether serving family or friends, this dish features a colorful presentation that impresses everyone at the table.
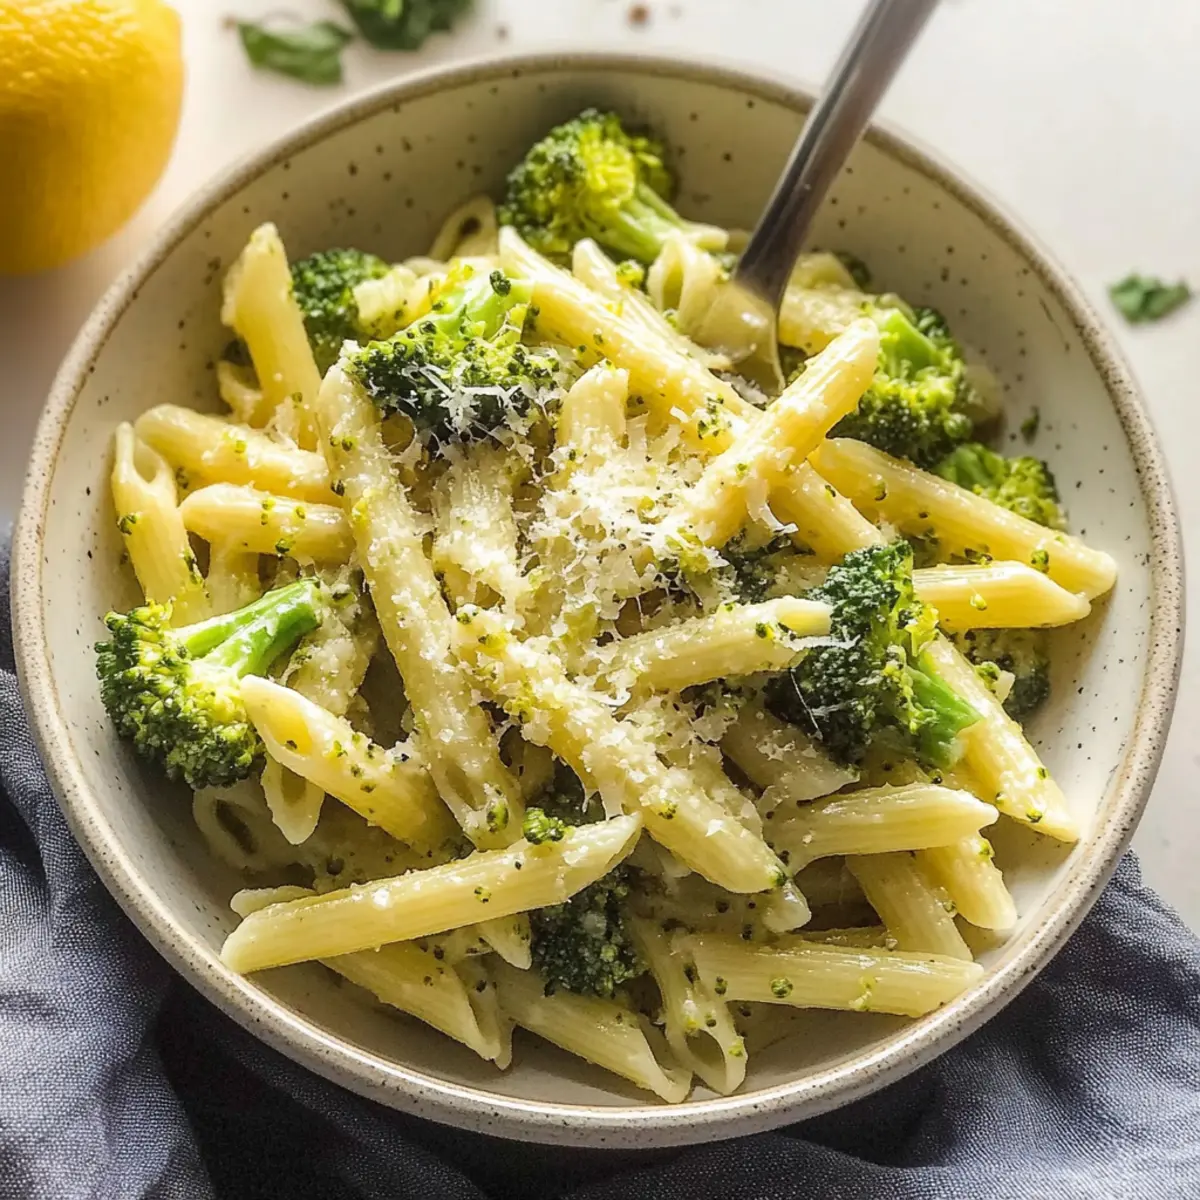
Don’t forget to pair it with a refreshing side like Furikake Fried Rice for a true feast!
Mediterranean Rice Bowl Ingredients
For the Chicken Skewers
• Chicken Breast – A lean protein that's best used boneless and skinless for tenderness.
• Full Fat Greek Yogurt – The key to a creamy marinade; substitutes like low-fat yogurt work too.
• Extra Virgin Olive Oil – Adds richness; refined oil is great for cooking at high heat.
• Garlic – Boosts flavor; adjust amount based on your taste preference.
• Lemon Juice – Freshly squeezed brings brightness; bottled can be a fallback option.
• Tomato Paste – Contributes umami; crushed fresh tomatoes can serve in a pinch.
• Paprika – Enhances warmth and color; smoked paprika delivers a unique twist.
• Kosher Salt – Elevates flavor; sea salt is a wonderful alternative.
• Dried Oregano/Thyme – Offers aromatic depth; fresh herbs add vibrant tastes.
For the Rice Pilaf
• Basmati Rice – The fluffy base for your bowl; substitute with jasmine or long-grain varieties.
• Chicken Broth – Infuses flavor; vegetable broth makes a vegetarian version.
For the Salad
• Cucumber – Provides that fresh crunch; bell pepper is a colorful substitute.
• Roma/Beefsteak Tomatoes – Juicy and acidic; any tomato type can work here.
• Mint/Parsley – Fresh herbs that add flavor and garnish appeal; dried versions can work if fresh is unavailable.
For Serving
• Naan/Pita Bread – Traditional flatbreads to scoop up deliciousness; explore gluten-free options as needed.
• Hummus – A creamy topping that ties the bowl together; choose between store-bought or homemade for convenience.
Embrace the vibrant spirit of this Mediterranean Rice Bowl and let each ingredient come together for a harmonious meal!
Step‑by‑Step Instructions for Mediterranean Rice Bowl with Grilled Chicken Tawook Skewers
Step 1: Marinate the Chicken
Begin by cutting the boneless chicken breasts into 1-inch cubes. In a medium bowl, mix together the full-fat Greek yogurt, olive oil, minced garlic, lemon juice, tomato paste, paprika, kosher salt, and dried oregano. Add the chicken pieces, ensuring they are evenly coated. Cover the bowl with plastic wrap and let it marinate in the refrigerator for at least 1 hour or as long as 24 hours for a deeper flavor infusion.
Step 2: Grill the Chicken Skewers
Preheat your grill or grill pan to medium-high heat, around 400°F (200°C). While the grill heats, thread the marinated chicken onto skewers, leaving a little space between each piece for even cooking. Grill the skewers for 5-7 minutes on each side, turning until they achieve a golden color and reach an internal temperature of 165°F (75°C). Remove the skewers from the grill and let them rest while you prepare the rice.
Step 3: Prepare the Rice Pilaf
In a medium saucepan, heat a tablespoon of olive oil over medium heat. Add finely chopped onions and sauté until they become translucent, about 3-4 minutes. Stir in the basmati rice and cook for an additional minute to toast it slightly. Pour in the chicken broth and a pinch of salt, bringing the mixture to a boil. Once boiling, reduce the heat to low, cover, and simmer for approximately 15 minutes until the rice is tender and fluffy.
Step 4: Make the Fresh Salad
While the rice cooks, prepare the cucumber-tomato salad in a large bowl. Dice the cucumber and tomatoes, then add them to the bowl along with a drizzle of olive oil, chopped mint, and parsley. Season with salt and a squeeze of fresh lemon juice to taste. Toss everything together, ensuring all the ingredients are well mixed and coated with the dressing.
Step 5: Assemble the Mediterranean Rice Bowls
To serve, divide the fluffy rice pilaf among individual bowls, laying the grilled chicken skewers on top. Spoon the fresh cucumber-tomato salad alongside and add a generous dollop of creamy hummus on each bowl. Serve with warm naan or pita bread on the side, allowing everyone to enjoy a delightful Mediterranean Rice Bowl bursting with flavor.
Mediterranean Rice Bowl Customization
Feel free to get creative with your ingredients and adapt this dish to your preferences.
-
Protein Swap: Replace chicken with shrimp or tofu for a different protein choice. Both options will still offer a delightful texture.
-
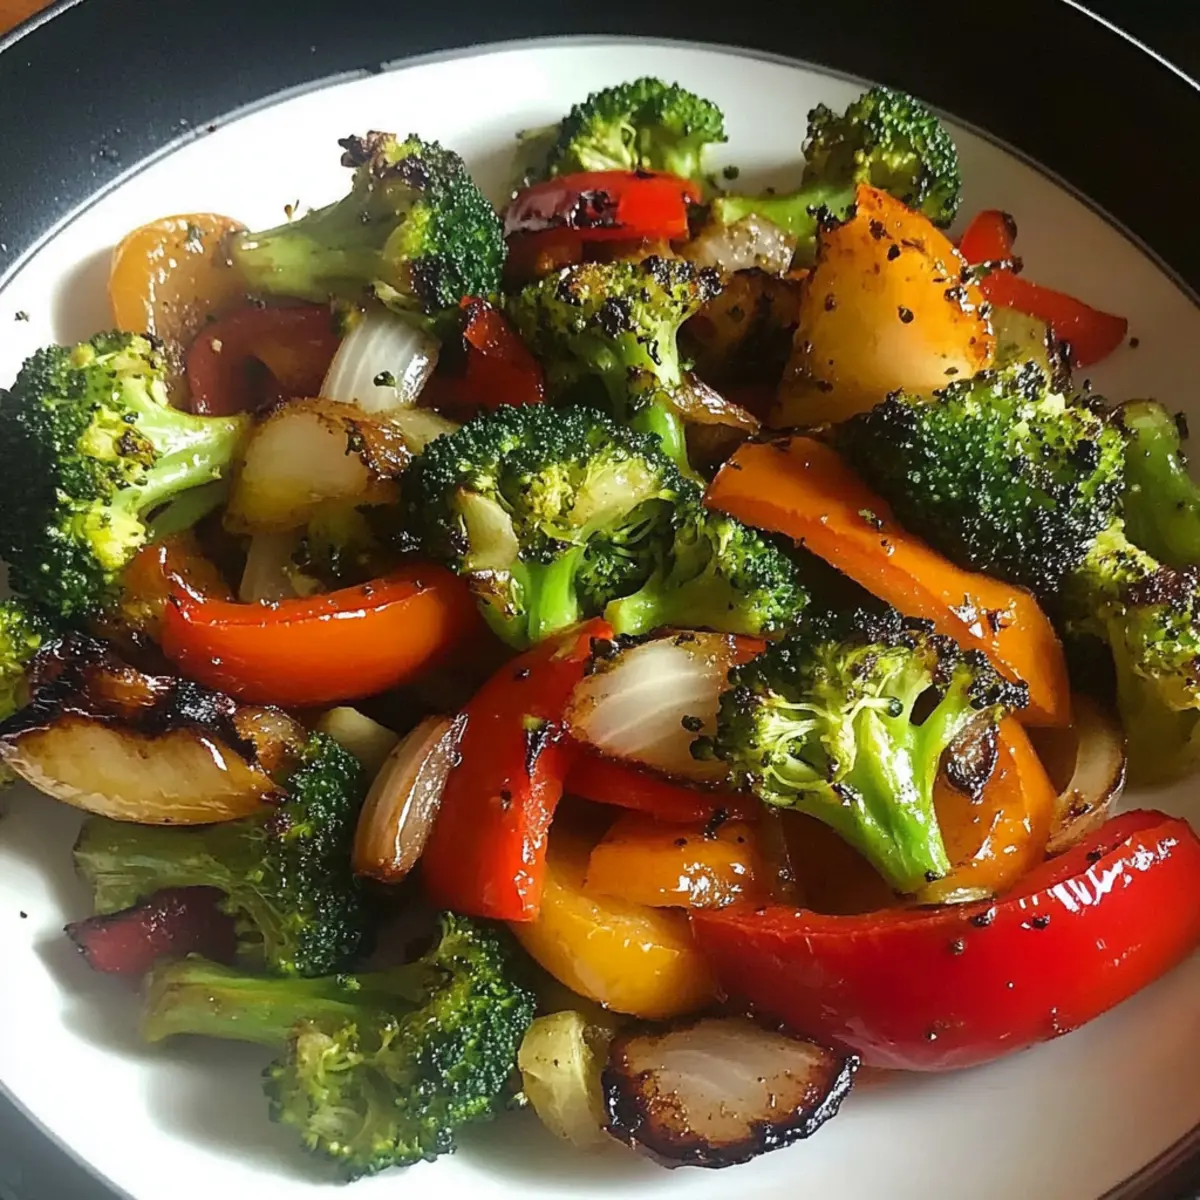
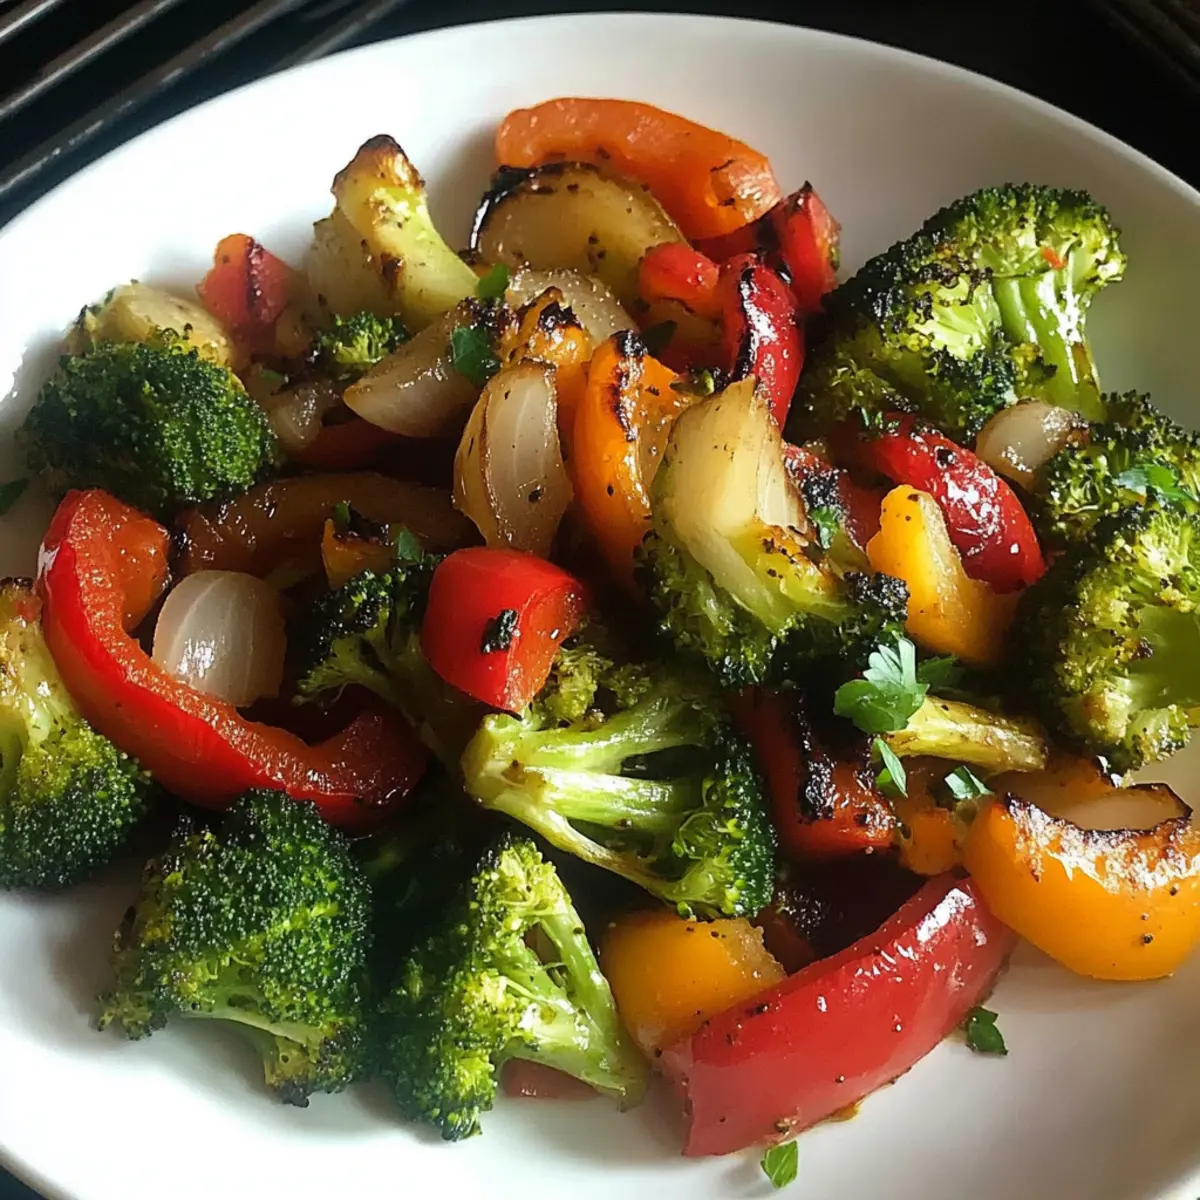
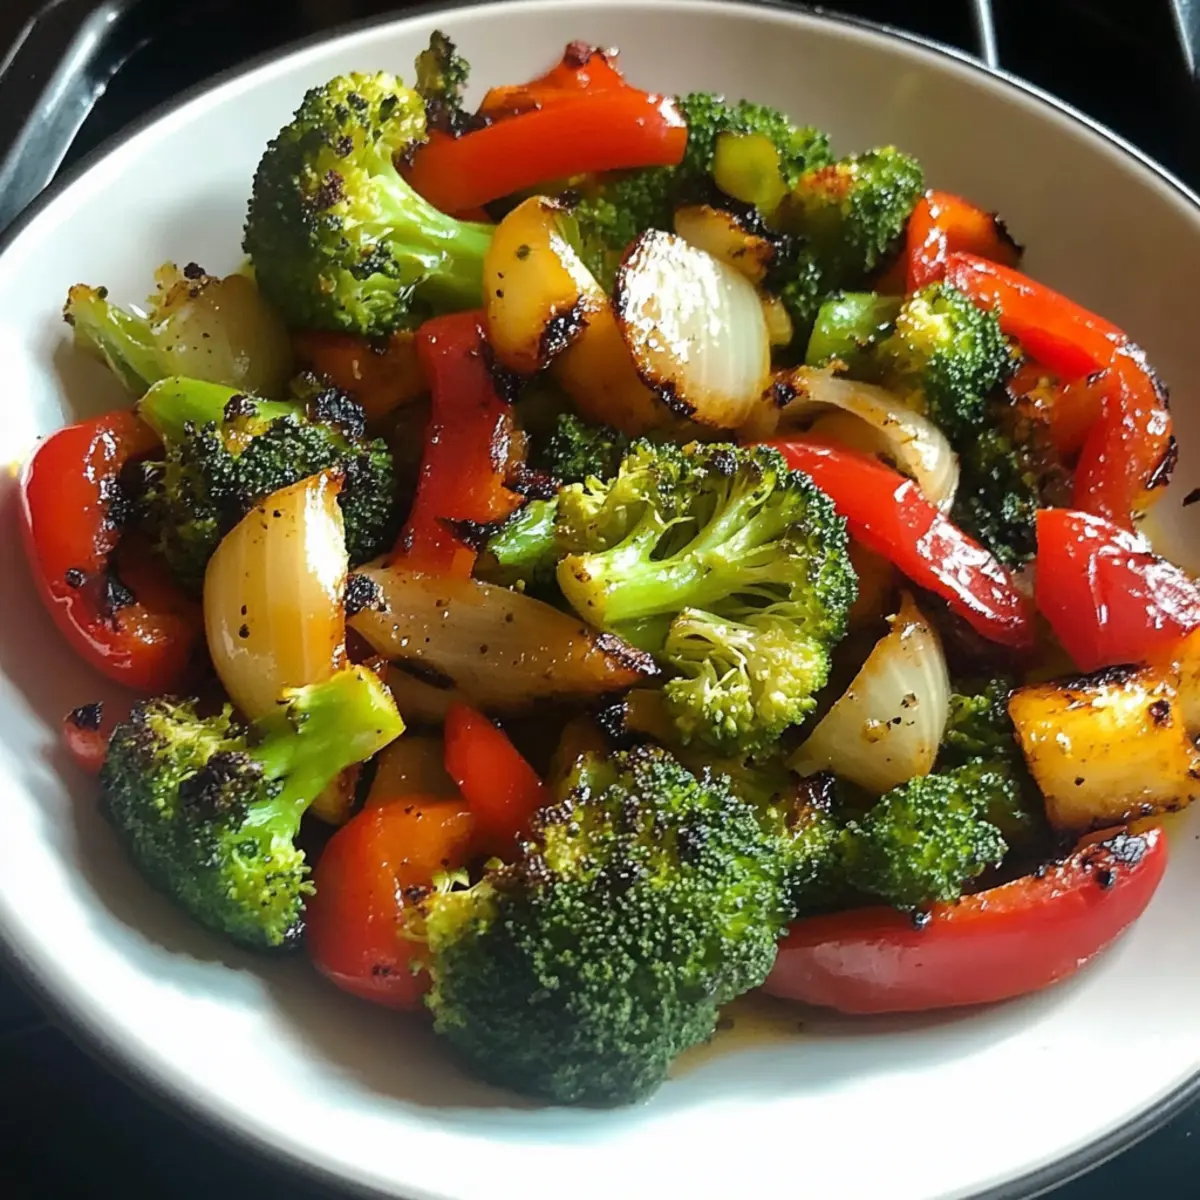
Roasted Vegetables: Add roasted veggies like bell peppers and zucchini for a burst of color and added flavor. Roasting enhances their sweetness, making your bowl even more enjoyable.
-
Grain Switch: Trade out basmati rice for quinoa or couscous to mix things up. These grains have unique flavors and textures, making your Mediterranean experience even more diverse.
-
Herb Alternatives: Use fresh basil or dill instead of mint and parsley for a different herb profile. This swap can transport your bowl to another culinary realm!
-
Extra Heat: Want a little spice? Incorporate red pepper flakes or drizzle with harissa for a fiery kick. A touch of heat can elevate the overall flavor beautifully.
-
Sauce Variations: Try topping your bowl with tzatziki instead of hummus for a refreshing twist. The coolness of tzatziki complements the skewered chicken perfectly.
-
Crunch Factor: Add crushed nuts or seeds for an extra crunch. Almonds or pine nuts would bring an aromatic richness that pairs wonderfully.
-
Seasonal Changes: Based on the season, consider adding fresh fruits like pomegranate seeds or citrus slices for a vibrant pop of flavor and color. They bring freshness that resonates wonderfully with the Mediterranean theme.
Explore different combinations to create your dream Mediterranean Rice Bowl! If you’re looking for more delicious recipes to try, check out the tasty Acai Bowl Nutritious or the flavorful Pitaya Smoothie Bowl for some inspiring ideas.
Expert Tips for Mediterranean Rice Bowl
-
Marinate for Flavor: Ensure chicken is marinated for at least one hour to enhance the flavor—longer marination yields even juicier results.
-
Rest Your Rice: Allow the rice to rest after cooking for a fluffier texture—this little step makes a big difference in your Mediterranean Rice Bowl.
-
Grill Safely: Always check the chicken’s internal temperature reaches 165°F (75°C). This ensures food safety and perfectly cooked chicken skewers.
-
Customize Ingredients: Don’t be afraid to swap proteins or grains; using shrimp or quinoa keeps the dish fresh and exciting!
-
Fresh is Best: Use fresh herbs whenever possible for maximum flavor; dried herbs can work, but fresh adds a delightful punch to your salad.
Make Ahead Options
These Mediterranean Rice Bowls with Grilled Chicken Tawook Skewers are ideal for busy home cooks looking to streamline their meal prep! You can marinate the chicken for up to 24 hours to infuse maximum flavor, and pre-cook the rice pilaf, which can last in the refrigerator for 3 days. Prepare the cucumber-tomato salad a day in advance—just dress it right before serving to keep things fresh. To maintain quality, store the chicken and rice separately until you’re ready to grill and assemble. When it's time to enjoy, simply grill the marinated chicken skewers and assemble your bowls with the prepped components for a quick and delightful meal!
How to Store and Freeze Mediterranean Rice Bowl
Fridge: Keep all components in separate, airtight containers for up to 4 days to maintain freshness. This allows you to combine them just before serving.
Freezer: For longer storage, freeze the marinated chicken skewers and rice pilaf in airtight freezer bags or containers. They will last for up to 3 months.
Reheating: Thaw in the fridge overnight before reheating. Heat skewers on a grill or skillet for a few minutes until warmed through; rice can be reheated in the microwave or on the stove with a splash of broth.
Room Temperature: Avoid leaving the Mediterranean Rice Bowl out for more than 2 hours to ensure food safety and quality.
What to Serve with Mediterranean Rice Bowl with Grilled Chicken Tawook Skewers
Imagine a lively Mediterranean feast bursting with flavors and colors that elevate your meal into an unforgettable experience.
-
Creamy Tzatziki: This yogurt-based dip adds a cool, refreshing taste, perfectly balancing the warm spices of the chicken skewers.
-
Garlicky Roasted Vegetables: A warm mix of roasted veggies like zucchini and bell peppers introduces a delightful tenderness and depth of flavor.
-
Crispy Pita Chips: Their crunch pairs excellently with the creamy hummus, offering a satisfying contrast that keeps every bite interesting.
-
Crisp Mediterranean Salad: A blend of greens, olives, and feta adds freshness and a tangy saltiness that complements the richness of the rice bowl.
-
Couscous with Lemon Zest: Light and fluffy, couscous flavored with lemon enhances the Mediterranean theme while providing a delightful texture.
-
Chilled Wine Spritzer: A refreshing drink made with white wine and sparkling water adds a fizzy touch, helping to cleanse your palate between bites.
-
Baklava: For a sweet finish, this honey-soaked pastry delivers a rich, nutty flavor that wraps up your meal with a fragrant sweetness.
With these delightful pairings, your Mediterranean Rice Bowl will truly shine, creating a complete dining experience that encapsulates the essence of the Mediterranean!
Mediterranean Rice Bowl with Grilled Chicken Tawook Skewers Recipe FAQs
What type of chicken should I use for this recipe?
Absolutely! For the Mediterranean Rice Bowl, boneless, skinless chicken breasts are the best choice. They cook evenly and stay tender. If you’d like, you can easily substitute them with thighs for a richer flavor.
How should I store leftovers from this recipe?
To keep your delicious Mediterranean Rice Bowl fresh, store the components separately in airtight containers in the fridge for up to 4 days. This allows you to reassemble the dish right before serving!
Can I freeze the Mediterranean Rice Bowl?
Very! You can freeze the marinated chicken skewers and rice pilaf in airtight containers or freezer bags for up to 3 months. To reheat, simply thaw in the fridge overnight, then grill the skewers for a few minutes until warmed through, and reheat the rice in the microwave with a splash of broth to bring back moisture.
What should I do if the chicken is dry after grilling?
If your chicken ends up dry, it might be due to overcooking. Always use a meat thermometer to ensure it reaches 165°F (75°C) for juicy results. Marinating for a longer time also helps keep chicken moist. You can add a little chicken broth to the rice when reheating to create a little steam, helping your chicken stay moist as well.
Are there any common allergy concerns with this recipe?
Absolutely! The Mediterranean Rice Bowl is nut-free, but be mindful of dairy if using Greek yogurt. Some might also be allergic to gluten in pita or naan bread; opt for gluten-free alternatives or swap pita for lettuce wraps if desired. Always check ingredient labels to ensure safety for allergies!
How can I make this recipe vegetarian-friendly?
You can easily make this Mediterranean Rice Bowl vegetarian by replacing the chicken with firm tofu or chickpeas for protein. Use vegetable broth instead of chicken broth and skip the yogurt by substituting it with a plant-based alternative. It’s a delightful twist that still captures the vibrant essence of the dish!
Mediterranean Rice Bowl: Flavorful Skewers for Meal Prep Bliss
Ingredients
Equipment
Method
- Cut the boneless chicken breasts into 1-inch cubes. In a medium bowl, mix together the Greek yogurt, olive oil, minced garlic, lemon juice, tomato paste, paprika, kosher salt, and dried oregano. Add the chicken pieces, ensuring they are evenly coated. Cover and marinate for at least 1 hour or up to 24 hours.
- Preheat your grill to medium-high heat. Thread the marinated chicken onto skewers, and grill for 5-7 minutes on each side until golden and cooked through.
- Heat olive oil in a saucepan over medium heat. Sauté onions until translucent, then stir in rice and toast for 1 minute. Add chicken broth and a pinch of salt, bring to boil, reduce heat, cover, and simmer for 15 minutes.
- In a large bowl, combine diced cucumber, tomatoes, olive oil, chopped mint, and parsley. Season with salt and lemon juice, and mix well.
- Divide rice among bowls, top with grilled chicken skewers, fresh salad, and a dollop of hummus. Serve with naan or pita bread.