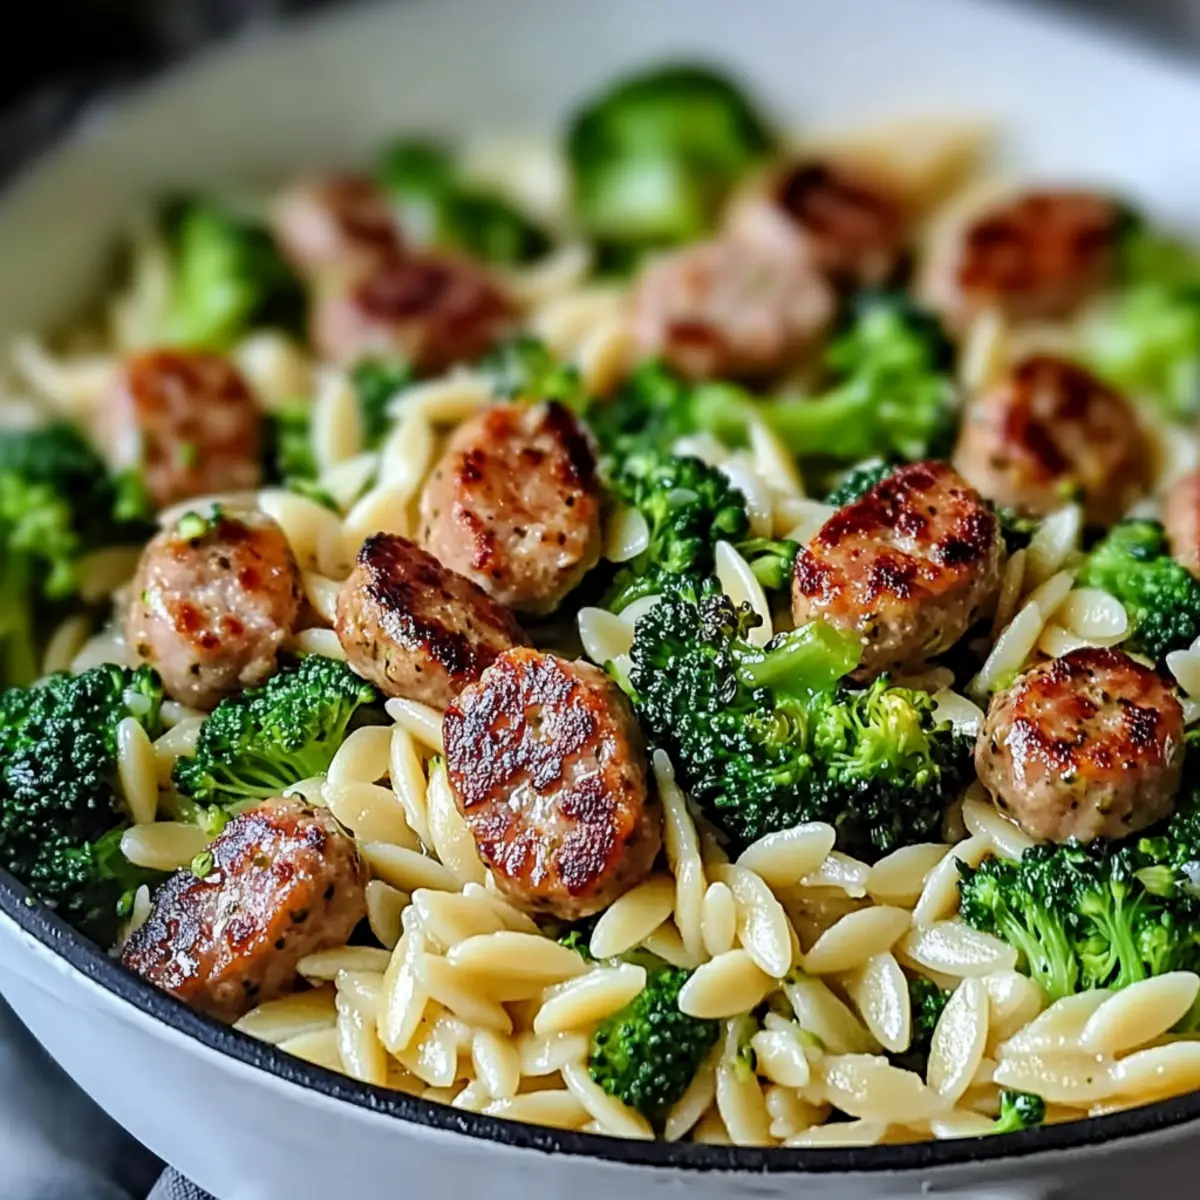
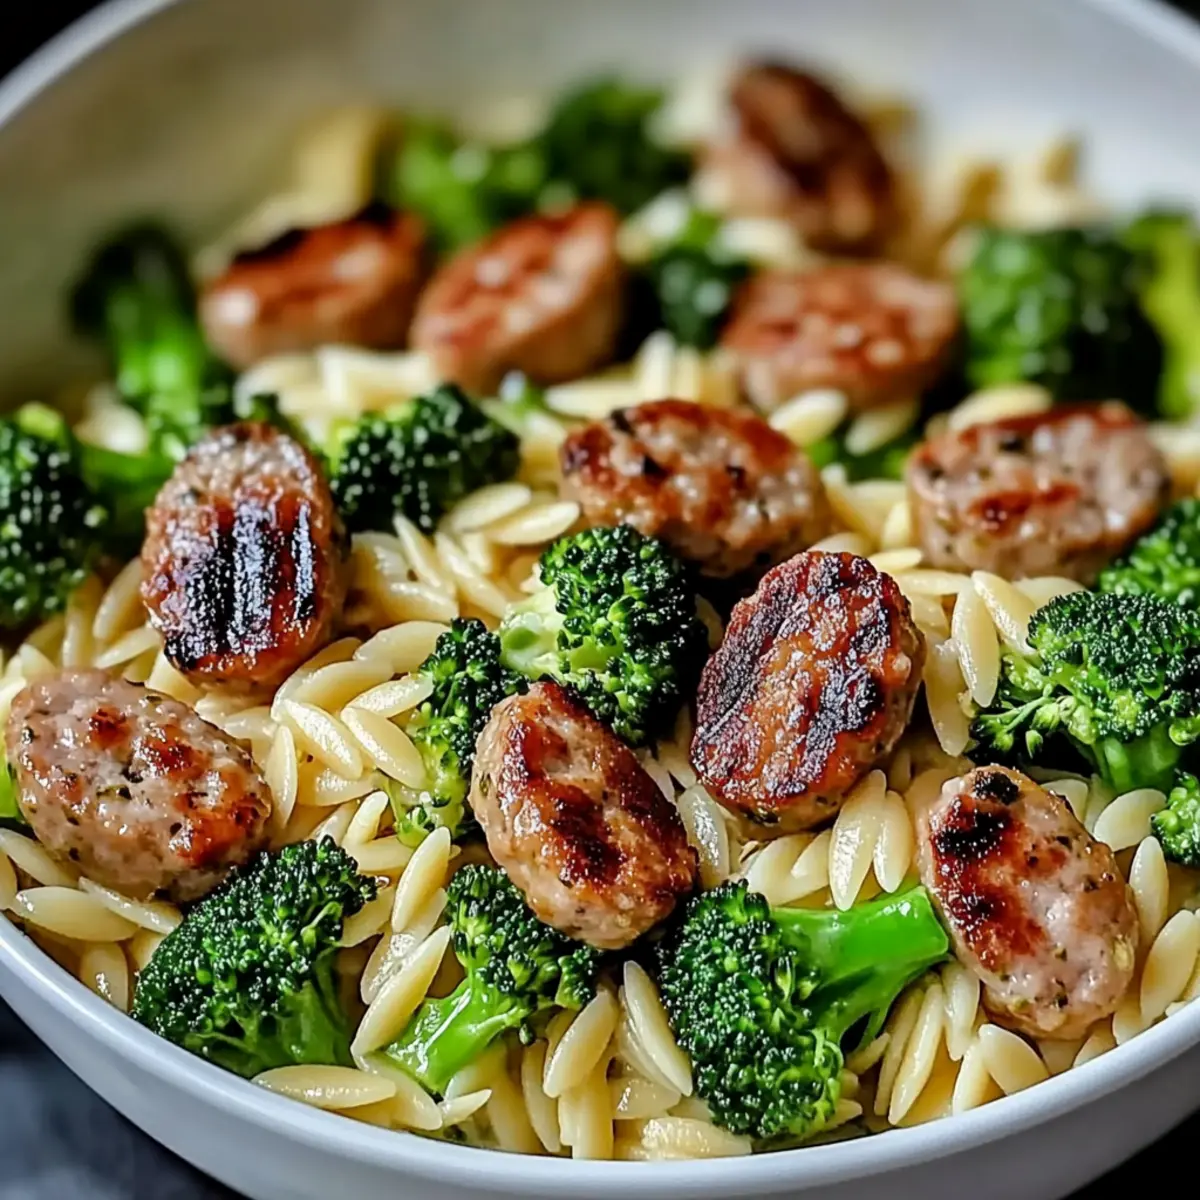
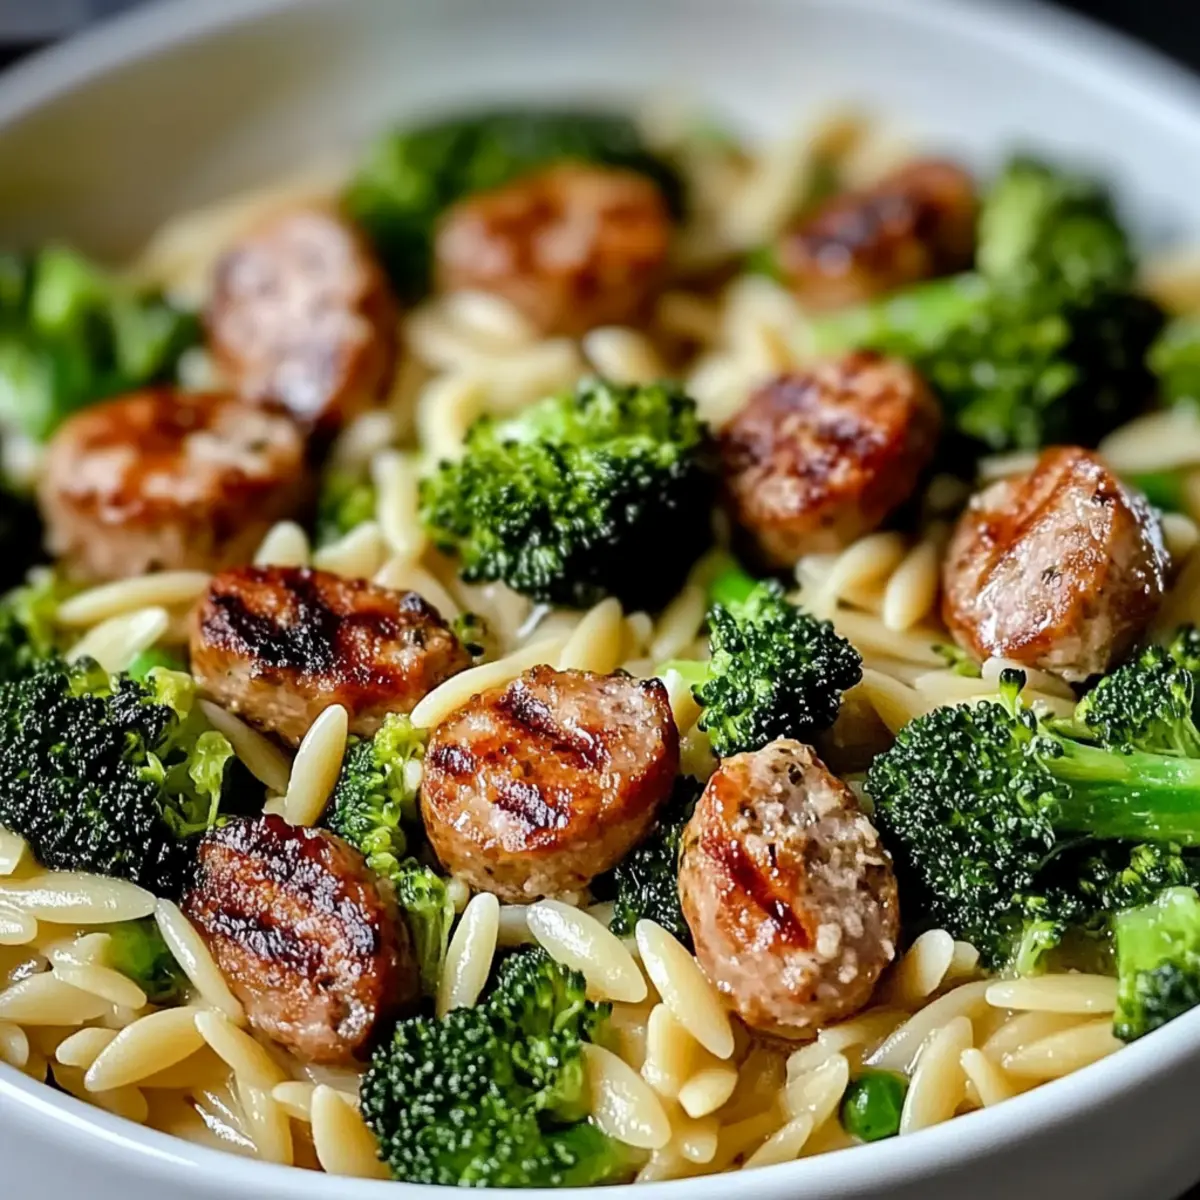
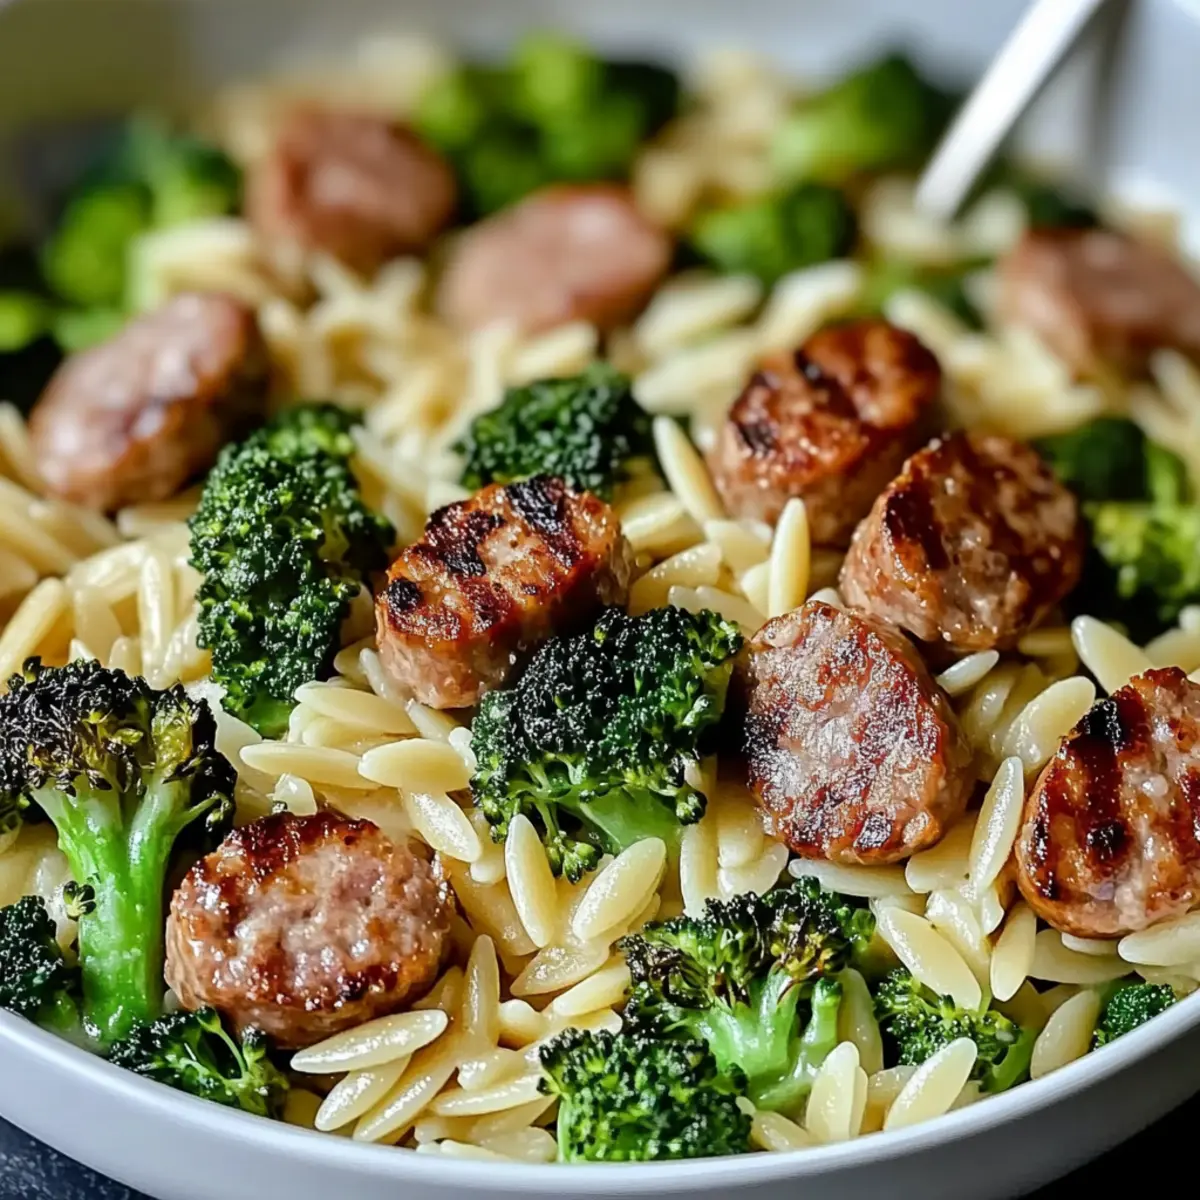
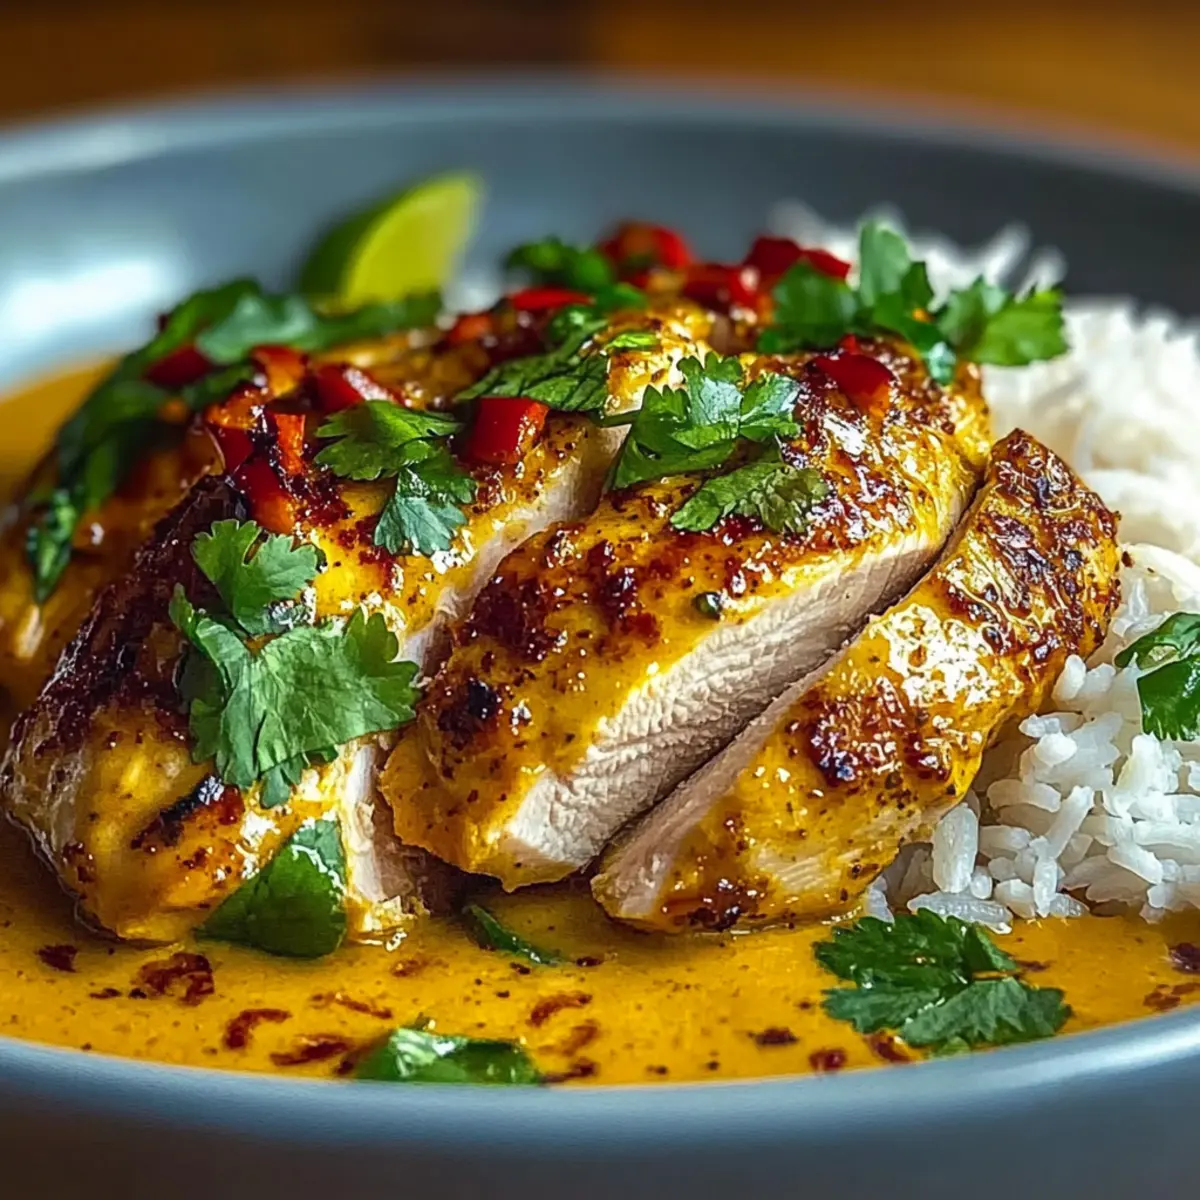
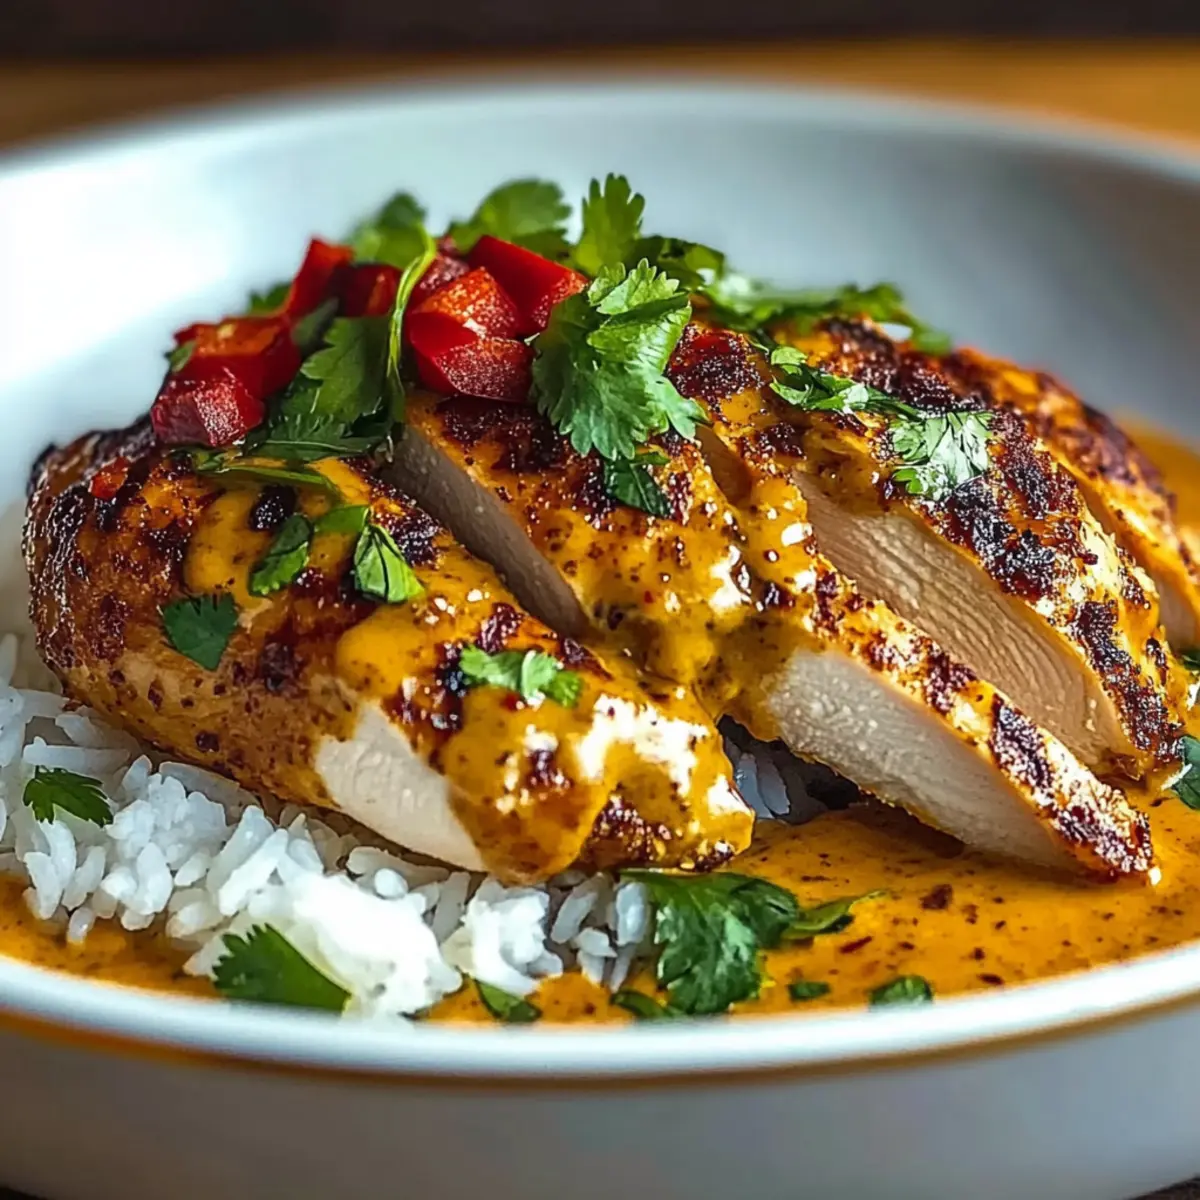
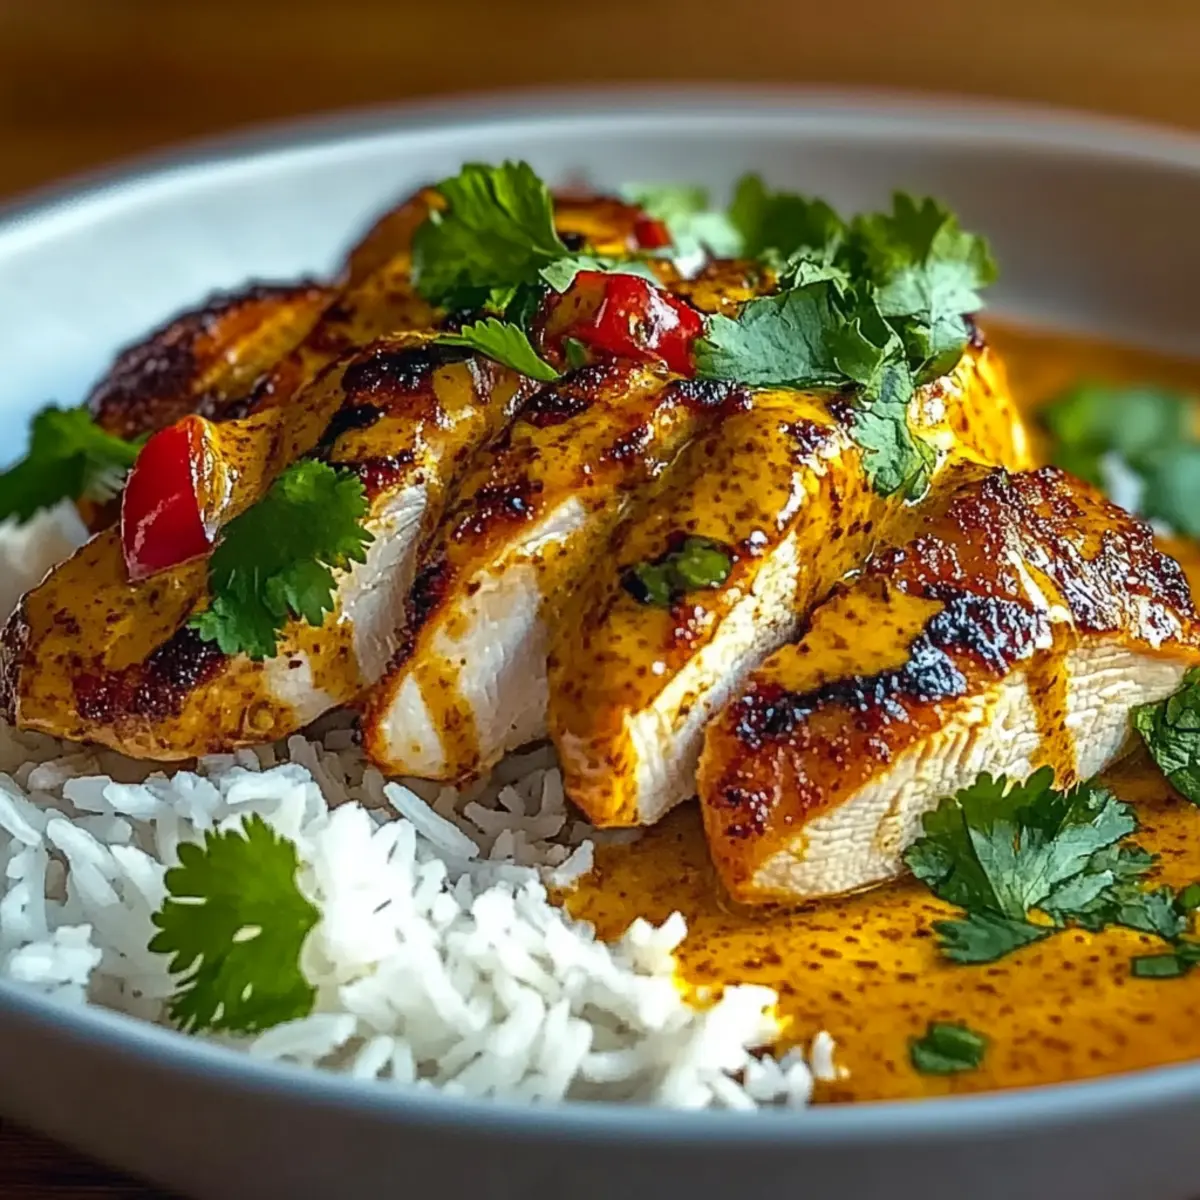
In the whirl of daily life, crafting a meal that warms both heart and tummy can feel like a small miracle. With my Creamy Garlic Chicken Rice Bowls, you'll uncover a delightful secret—a quick dinner that’s not only comforting but also incredibly easy to prepare. Picture tender chicken enveloped in a rich garlic sauce, served over fluffy rice and vibrant green broccoli, creating a dish that’s perfect for both busy weeknights and leisurely lunches. The best part? It all comes together in just 40 minutes, making it a fantastic choice for beginner cooks or anyone wanting to elevate their weeknight dinners. So, are you ready to take comfort food to a whole new level? Let’s dive in!
Why Will You Adore This Recipe?
Simplicity at its finest: With just a few basic ingredients and straightforward steps, this recipe is perfect for beginner cooks eager to impress.
Rich, indulgent flavor: The creamy garlic sauce wraps each morsel of chicken in deliciousness, making it irresistible for comfort food lovers.
One-bowl wonder: Combining fluffy rice, tender chicken, and vibrant broccoli, this dish is a complete meal that minimizes cleanup.
Time-saving magic: Ready in just 40 minutes, it’s an ideal solution for busy nights when you crave something homemade yet easy.
Meal prep friendly: Prepare the chicken and sauce in advance for a quick reheat dinner that pairs beautifully with options like Honey Garlic Chicken or Chipotle Lime Chicken and Rice. This versatility keeps your weeknight meals exciting!
Creamy Garlic Chicken Rice Bowls Ingredients
For the Chicken and Sauce
- Olive Oil – Provides fat for cooking and flavor; substitute with vegetable oil if needed.
- Boneless, Skinless Chicken Breasts – The main protein component; frozen chicken can be used, just ensure it's fully thawed before cooking.
- Salt and Pepper – Essential for enhancing flavor; adjust to personal taste, adding garlic powder for extra kick.
- Garlic (minced) – Adds aromatic richness; garlic powder can be a quick substitute.
- Chicken Broth – Brings depth and moisture to the sauce; vegetable broth is a lighter alternative.
- Heavy Cream – Creates a rich, velvety sauce; swap with half-and-half or whole milk for a lighter version, though it won’t be as creamy.
- Grated Parmesan Cheese – Adds a savory, cheesy flavor; Pecorino Romano is a great substitute if preferred.
- Italian Seasoning – Delivers a wonderful blend of herbs and spices; fresh herbs like basil or oregano can be used instead.
For Serving
- Cooked Rice – Forms the base of the dish; options include white, brown, or jasmine rice, cooked according to package instructions.
- Broccoli Florets – Adds color and nutrition; replace with any other vegetable like spinach or bell peppers if you wish.
- Chopped Fresh Parsley – For garnish and added freshness; optional if you don’t have it on hand.
These ingredients come together beautifully to make your Creamy Garlic Chicken Rice Bowls a delightful, comforting meal ready to serve in just 40 minutes!
Step‑by‑Step Instructions for Creamy Garlic Chicken Rice Bowls
Step 1: Heat the Oil
Begin by heating 2 tablespoons of olive oil in a large skillet over medium-high heat. Allow the oil to shimmer, indicating it’s hot enough to sauté the chicken. This should take about 1–2 minutes. Once heated, you’re ready to add the chicken.
Step 2: Cook the Chicken
Season your boneless, skinless chicken breasts with salt and pepper on both sides, then carefully place them in the skillet. Cook the chicken for 6–8 minutes until it’s golden brown and no longer pink inside. Once cooked through, remove it from the skillet and set aside on a plate to rest.
Step 3: Sauté the Garlic
In the same skillet, add another tablespoon of olive oil if needed and toss in 3 cloves of minced garlic. Sauté the garlic for about 1 minute, stirring frequently, until it’s fragrant but not brown—this will add a rich flavor to your creamy garlic chicken rice bowls.
Step 4: Create the Sauce Base
Pour in 1 cup of chicken broth into the skillet, using a wooden spoon to scrape any browned bits from the bottom. Bring the mixture to a gentle simmer for 2–3 minutes, allowing the flavors to meld and the broth to reduce slightly, increasing the depth of flavor.
Step 5: Add Cream and Cheese
Stir in 1 cup of heavy cream and 1/2 cup of grated Parmesan cheese into the simmering broth. Continue to cook over medium heat for about 3–4 minutes, stirring occasionally, until the sauce thickens and is creamy. Keep an eye on it so the sauce doesn’t boil too vigorously, which could cause separation.
Step 6: Mix in Seasoning and Chicken
Sprinkle in 1 teaspoon of Italian seasoning, then return the cooked chicken to the skillet. Stir to coat the chicken pieces in the creamy garlic sauce, letting them heat through for an additional 2–3 minutes. This step ensures the chicken is infused with the lovely flavors of the sauce.
Step 7: Prepare the Rice
While finishing the chicken, prepare your cooked rice according to package instructions. Fluffy, perfectly cooked rice will serve as the base for your creamy garlic chicken rice bowls, soaking up the delicious sauce beautifully.
Step 8: Serve and Garnish
Divide the cooked rice into bowls, then spoon the creamy garlic chicken and sauce over the top. Steam or briefly cook your broccoli florets until bright green, adding them as a colorful garnish. Finish with a sprinkle of chopped fresh parsley for a burst of freshness before serving.
Creamy Garlic Chicken Rice Bowls Variations
Let your creativity shine as you customize your Creamy Garlic Chicken Rice Bowls with these delightful twists!
-
Add Vegetables: Toss in peas, bell peppers, or spinach for added nutrients and vibrant color to your dish. Each ingredient brings its distinct flavor, making every bowl a unique experience.
-
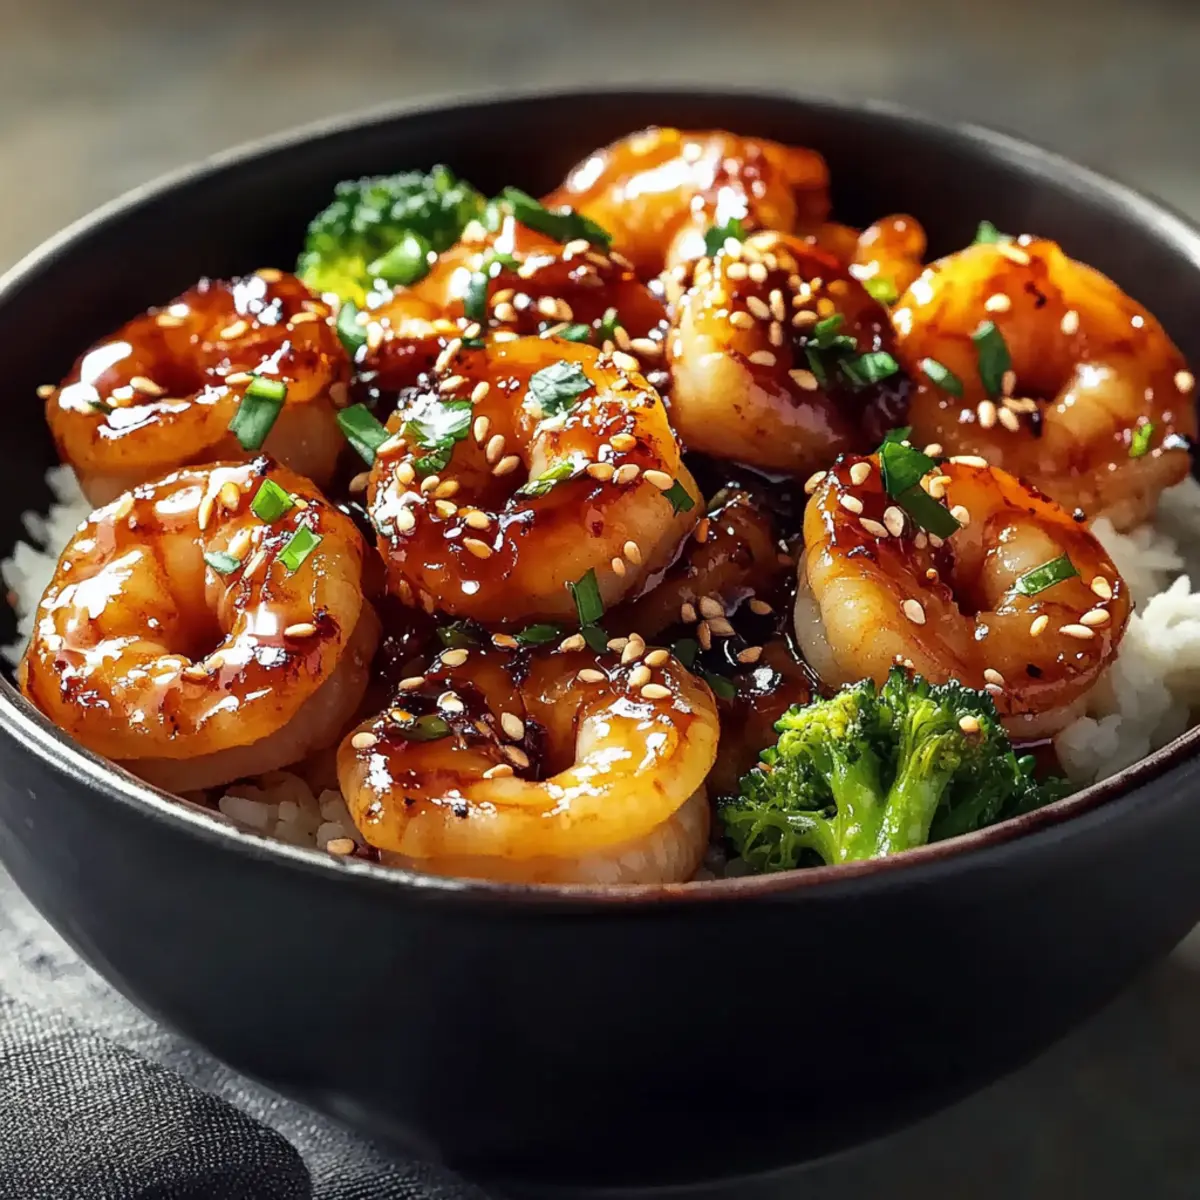
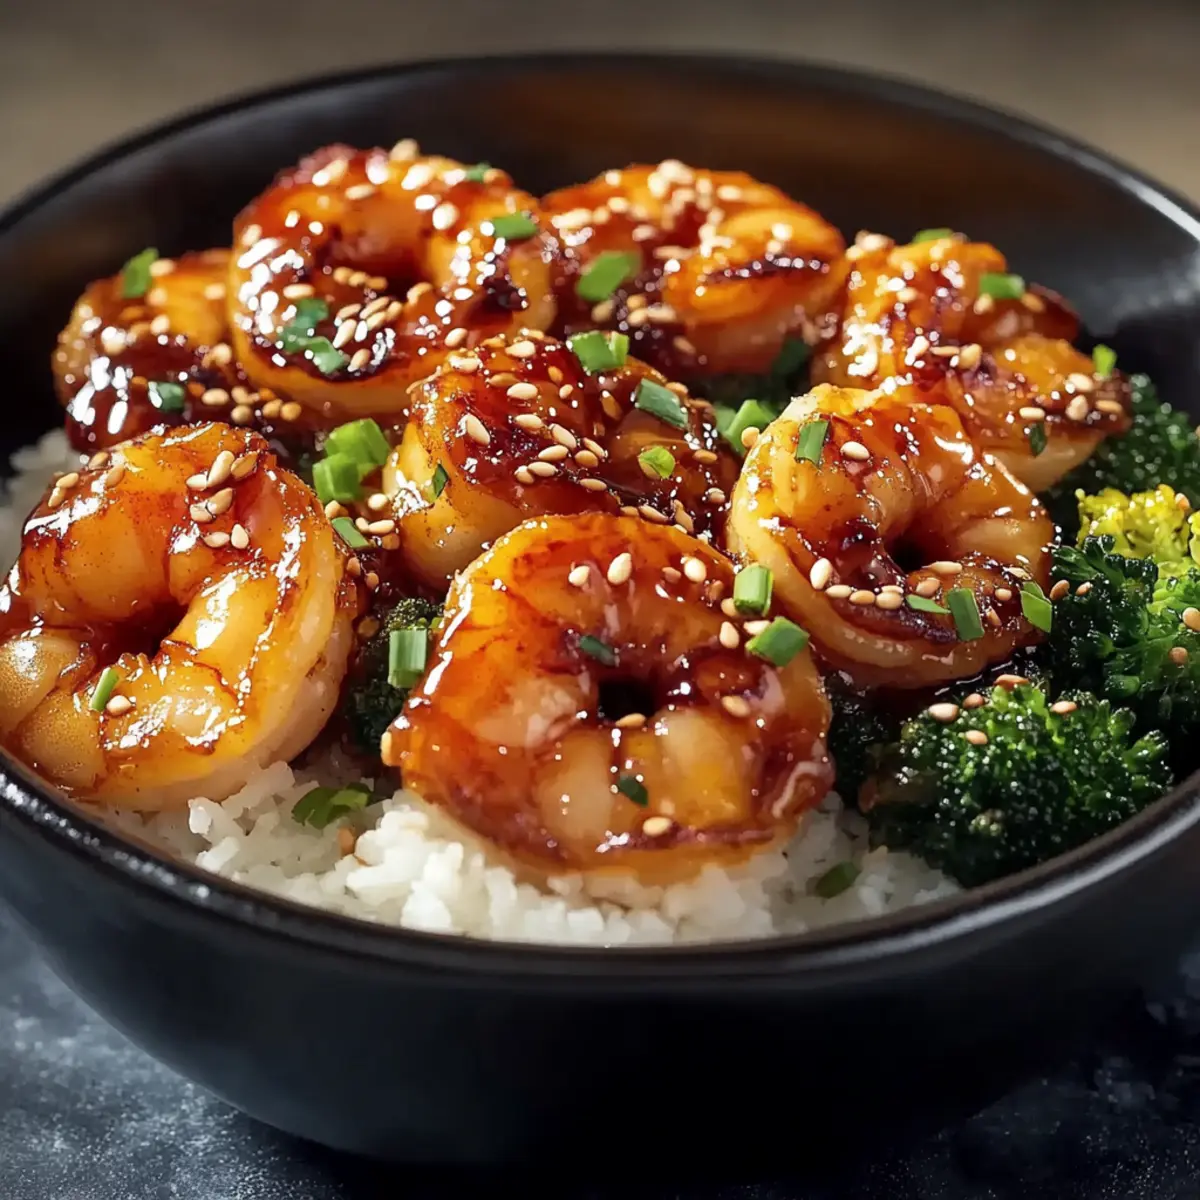
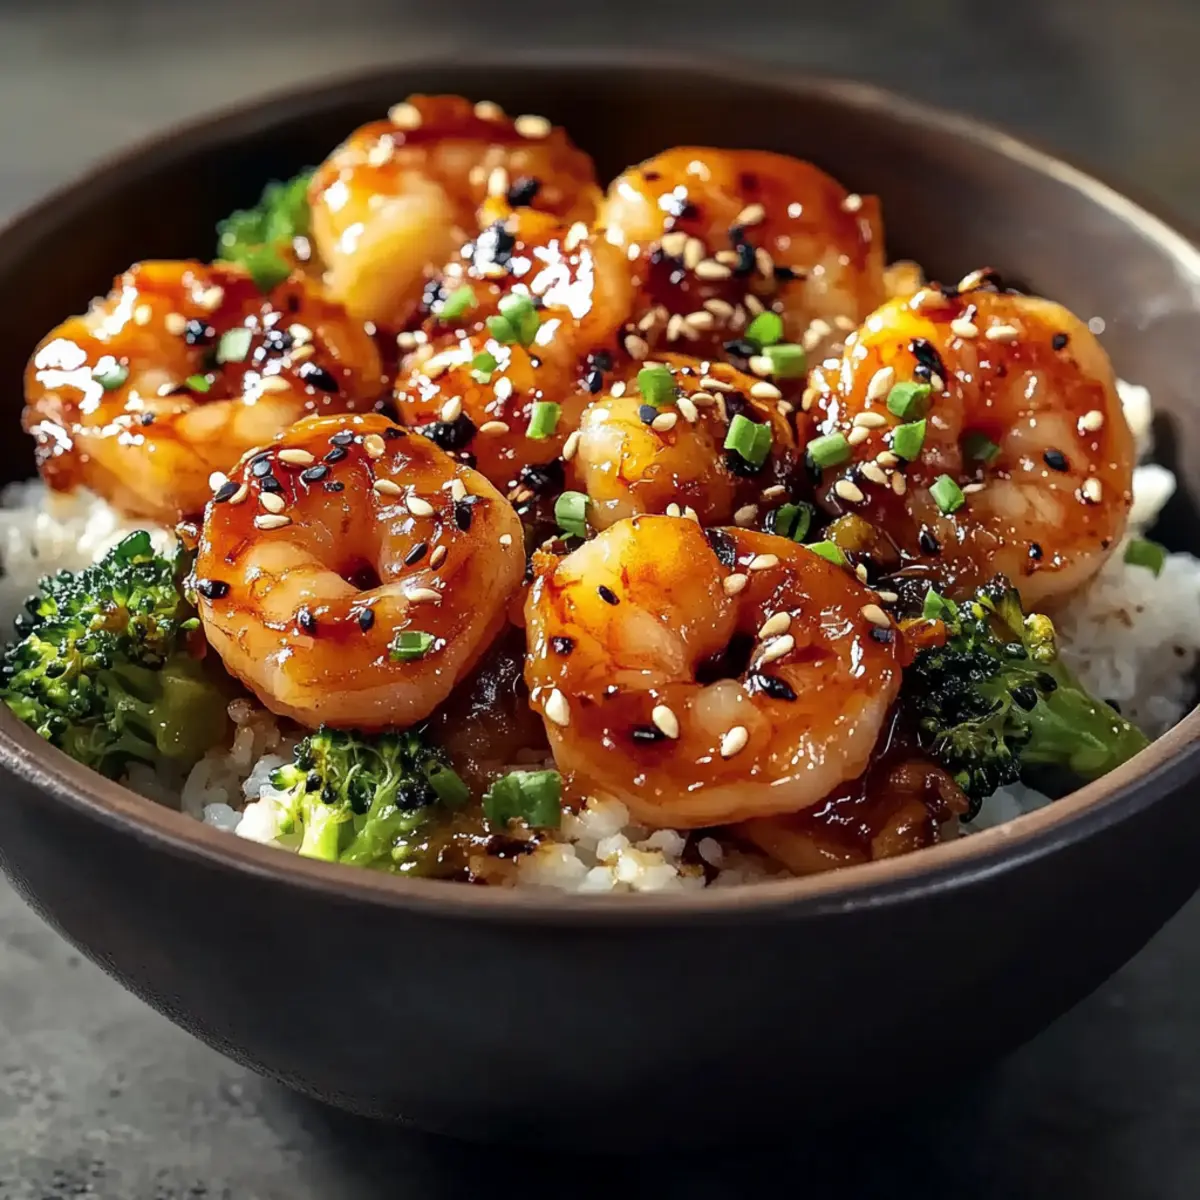
Protein Swaps: Feel free to swap shrimp or tofu for the chicken! Both options will absorb the creamy sauce beautifully, offering a delicious twist for seafood or plant-based friends.
-
Spicy Kick: Want to spice things up? Add a pinch of red pepper flakes or a dash of sriracha to your sauce for a satisfying heat that perfectly complements the garlic.
-
Herb Variations: Change up the flavor profile by using fresh parsley, thyme, or rosemary instead of Italian seasoning. These herbs provide a fragrant twist that elevates your meal.
-
Cheese Choices: If you’re not a Parmesan fan, try feta or goat cheese for a tangy alternative. Both will add excitement to the rich flavor of your dish.
-
Broth Alternatives: Use coconut milk instead of chicken broth for a creamy, slightly sweet, and tropical taste. This variation is delightful and adds a whisper of the exotic.
-
Rice Alternatives: Switch up the rice to quinoa or cauliflower rice for a healthy, gluten-free option. Each base creates a different texture and nutritional profile while remaining delicious.
-
Nutty Flavor: Top your bowls with a sprinkle of toasted nuts, like almonds or cashews. This quick addition will add crunch and depth, making each bite delightful.
Revamping your dish is easy, especially with adaptable recipes like these. And if you’re interested in further great chicken meal options, give my Honey BBQ Chicken Rice a try too!
How to Store and Freeze Creamy Garlic Chicken Rice Bowls
Fridge: Store leftover Creamy Garlic Chicken Rice Bowls in an airtight container for up to 3 days. Reheat gently on the stove or microwave to preserve flavor and texture.
Freezer: For long-term storage, freeze portions in airtight containers for up to 2 months. Thaw overnight in the refrigerator before reheating for best results.
Reheating: When ready to enjoy, reheat on low heat with a splash of chicken broth to maintain creaminess. Make sure to stir frequently to prevent sticking.
Meal Prep Tip: For meal prep enthusiasts, you can assemble the chicken and sauce ahead of time, reheating with freshly cooked rice and vegetables for a quick DIY dinner!
Expert Tips for Creamy Garlic Chicken Rice Bowls
Cook Chicken Thoroughly: Ensure your chicken is cooked through to an internal temperature of 165°F to prevent any foodborne illness and keep your dish safe.
Avoid Burning Garlic: Keep an eye on the garlic while sautéing, stirring frequently. Burnt garlic can turn your sauce bitter, ruining the flavor.
Control Sauce Thickness: If your sauce thickens too much, add a splash of chicken broth to bring it back to your desired creamy consistency.
Rice Choices Matter: Use the type of rice you enjoy most; jasmine or basmati rice adds unique aroma and flavor, elevating your Creamy Garlic Chicken Rice Bowls.
Prep for Easy Storage: Store any leftovers in an airtight container, and this meal will keep in the refrigerator for up to 3 days, making it a fantastic meal prep option.
Make Ahead Options
Preparing Creamy Garlic Chicken Rice Bowls in advance can be a game-changer for busy weeknights! You can make the chicken and garlic sauce up to 3 days ahead of time. Simply cook and cool the chicken and sauce before storing them in an airtight container in the refrigerator. To maintain the dish’s creamy texture, reheat gently on the stove over low heat, adding a splash of chicken broth if necessary. When ready to serve, cook your rice fresh and steam the broccoli for just a few minutes. This approach ensures you enjoy a wholesome, homemade meal with minimal effort, just as delicious as if you prepared it from scratch that day!
What to Serve with Creamy Garlic Chicken Rice Bowls
A delightful meal like this calls for perfect companions to elevate your dining experience!
-
Crispy Garlic Bread: The buttery crunch of garlic bread perfectly complements the creamy sauce, allowing every bite to feel indulgent. It’s an ideal choice for sopping up the unforgettable sauce.
-
Seasoned Green Beans: Bright green beans tossed with a touch of olive oil and garlic bring a crunchy contrast to your creamy garlic chicken, adding freshness and color.
-
Caesar Salad: Crisp romaine and zesty dressing provide a refreshing bite, balancing the richness of the chicken rice bowls beautifully while adding a touch of classic elegance.
-
Lemon-Herb Quinoa: This light and fluffy quinoa infused with herbs and a squeeze of lemon brings a nutty flavor that pairs well with the dish, offering a nutritious twist.
-
Roasted Vegetables: Sweet, caramelized veggies like carrots and bell peppers offer a wonderful contrast to the creaminess, enhancing the overall texture and flavor profile.
-
Chardonnay or Sauvignon Blanc: A chilled glass of these white wines enhances the garlicky and creamy flavors, making each sip a delightful addition to your comforting meal.
-
Tiramisu Dessert: Follow up your savory dish with this creamy coffee-flavored delight, creating a satisfying end to a comforting meal. Each layer is sure to impress!
Creamy Garlic Chicken Rice Bowls Recipe FAQs
What type of chicken is best for this recipe?
Absolutely! Boneless, skinless chicken breasts are ideal for this recipe as they cook quickly and remain tender. If you're using frozen chicken, make sure to fully thaw it before cooking to ensure even cooking.
How should I store leftovers, and how long do they last?
Store your leftover Creamy Garlic Chicken Rice Bowls in an airtight container in the refrigerator for up to 3 days. When reheating, do so gently on the stove or in the microwave to maintain the dish's delicious flavor and texture.
Can I freeze Creamy Garlic Chicken Rice Bowls?
Yes, you can freeze portions of this dish for up to 2 months! To do this, cool the chicken and sauce completely before transferring them to airtight containers. When ready to eat, simply thaw overnight in the refrigerator and reheat, adding a splash of chicken broth to restore creaminess.
What should I do if my sauce is too thick?
If your sauce thickens more than you’d like, don’t worry! Just add a splash of chicken broth a little at a time, stirring continuously until you achieve your desired consistency. This way, you’ll maintain that lovely, creamy texture.
Are there any dietary considerations for this recipe?
Very! If you or someone you are serving has dietary restrictions, you can easily substitute the heavy cream with a non-dairy option, such as coconut cream, for a dairy-free version. Be sure to check if any of your guests have allergies, especially to the chicken or cheese.
What vegetables can I use instead of broccoli?
The more the merrier! While broccoli is vibrant and nutritious, feel free to replace it with other veggies like spinach, bell peppers, or even peas. This way, you can customize each bowl to your own taste and nutritional needs!