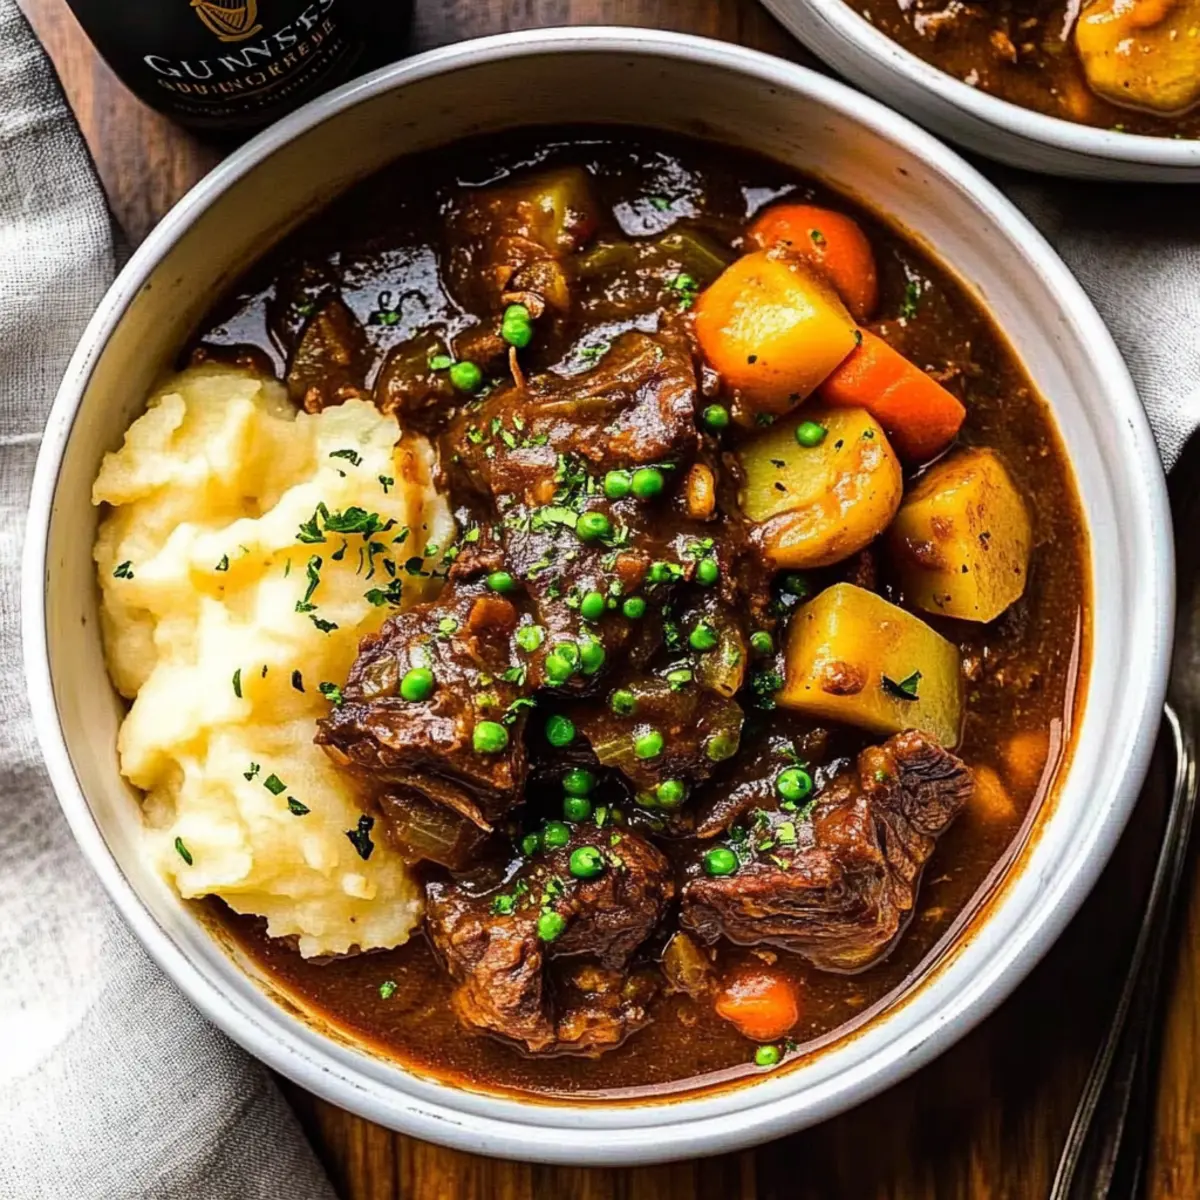
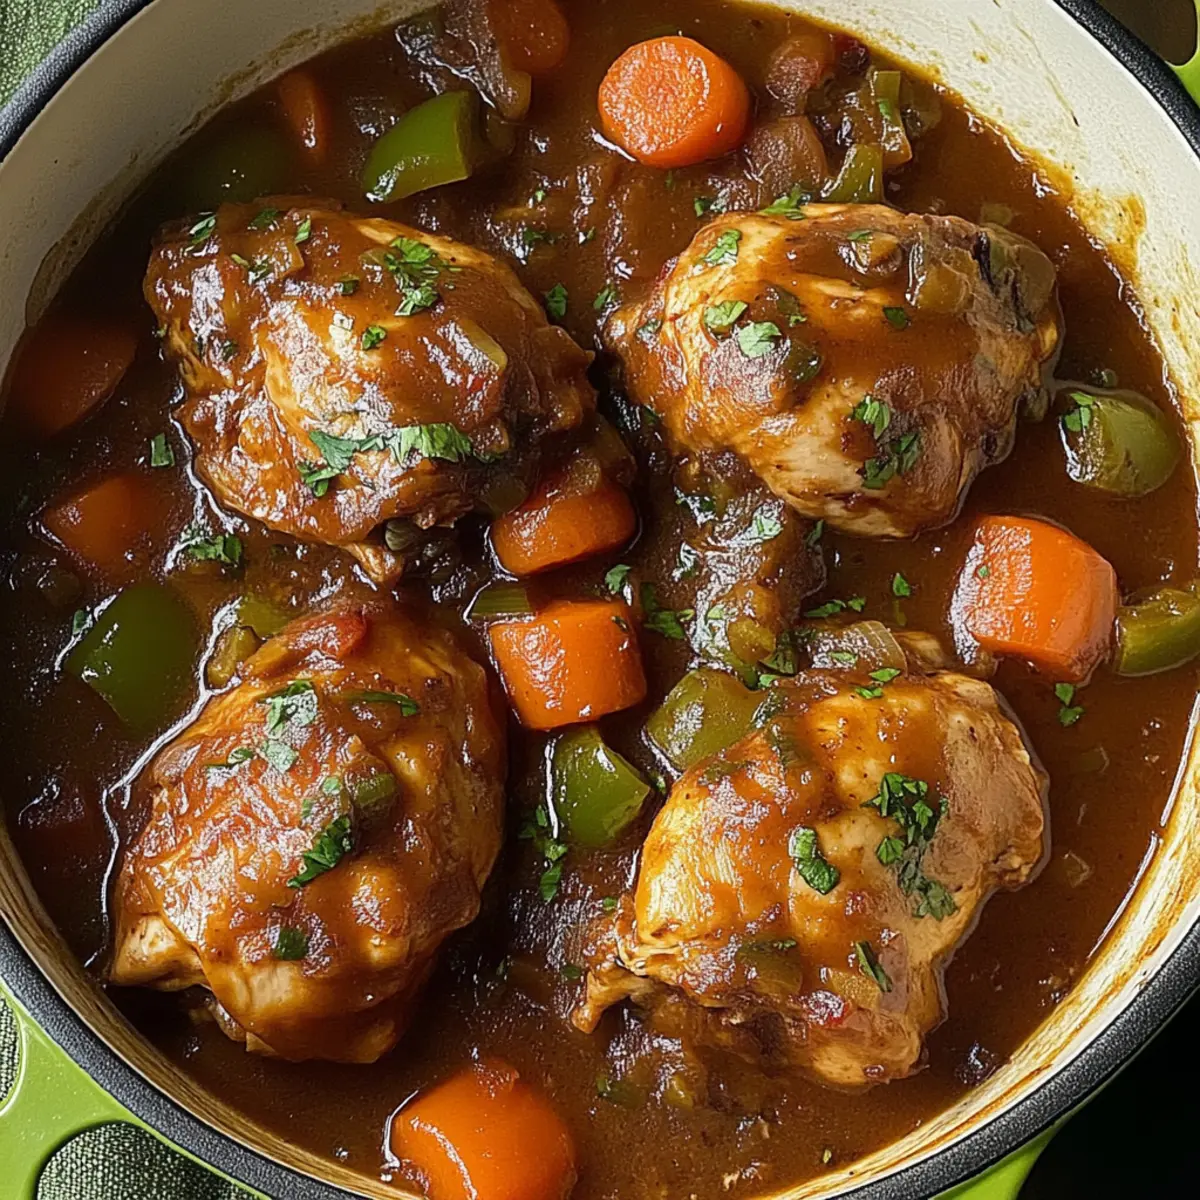
As I stood by the kitchen counter, the tantalizing aroma of spices filled the air, transporting me straight to the vibrant streets of Jamaica. This Creamy and Spicy Jamaican Brown Stew Chicken is more than just a dish; it’s a celebration of culture and comfort in every bite. Not only is this savory brown stew chicken incredibly satisfying, but it also comes together quickly, making it perfect for busy weeknights or family gatherings. Plus, it’s easy to customize to tickle your taste buds—whether you prefer a mild hint of spice or a fiery kick. Are you ready to embark on a culinary adventure that promises warmth and joy? Let’s dive in!
Why is this Brown Stew Chicken special?
Hearty Comfort: This savory brown stew chicken warms your soul with its rich, aromatic flavors, making it a go-to for any occasion.
Quick Prep: Ideal for busy schedules, it comes together in under an hour, so you can enjoy homemade goodness without the long wait.
Customizable Spice: You can easily tweak the heat level! Adjust the habanero peppers to suit your taste, whether you like it mild or extra spicy.
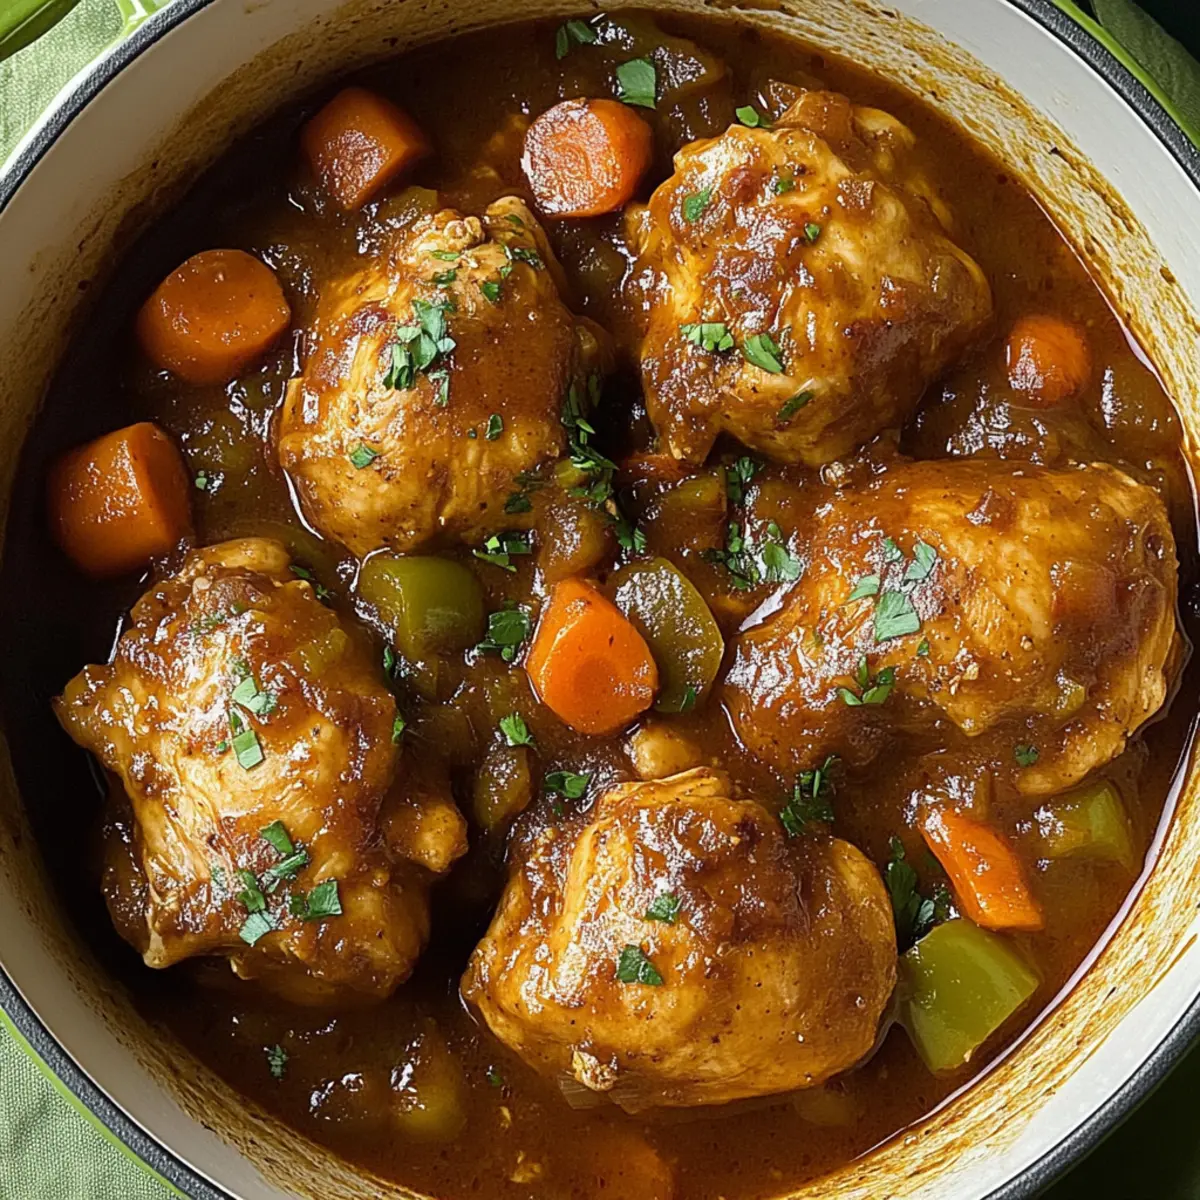
Crowd-Pleaser: Perfect for family gatherings, the thick gravy makes it a hit, and it's superb when served over fluffy rice—an irresistible combo.
Versatile Pairings: Enjoy it with baked plantains, collard greens, or a light Caribbean salad for a balanced meal. This recipe pairs wonderfully with Honey Garlic Chicken or Crock Pot Chicken Stew if you want more flavors to explore!
Savory Brown Stew Chicken Ingredients
For the Chicken
- Bone-in Chicken Thighs or Drumsticks – The main protein source; boneless can reduce fat content if preferred.
- Chicken Bouillon – Adds savory depth; opt for low-sodium varieties to lower salt intake.
For the Marinade
- Chopped Scallions – For a fresh flavor; green onions can be substituted.
- Habanero Peppers – Provides heat; swap with jalapeños for a milder dish.
- Minced Garlic – For an aromatic base; garlic powder can be used in a pinch.
- Fresh Thyme Leaves – Adds an earthy note; you can also use dried thyme in smaller amounts.
- Freshly Grated Ginger – Enhances warmth; ground ginger is a good alternative if needed.
- Smoked Paprika – Provides a smoky flavor; regular paprika will work, too.
- Black Pepper – Essential seasoning; use freshly ground for the best flavor.
For the Stew Base
- Oil (Olive or Vegetable) – For browning the chicken; choose oil with a high smoke point.
- Onion (Chopped) – An aromatic base; shallots can be a good substitute.
- Carrots (Sliced) – Adds sweetness and texture; other root vegetables can work as alternatives.
- Bell Pepper (Chopped) – Adds sweetness and color; any type of sweet pepper is fine.
- Ketchup – Contributes to the stew's flavor and sweetness; tomato paste is a good substitute.
- Brown Sugar – Enhances richness; honey or maple syrup can replace it.
- Browning Seasoning – For color and depth; Maggi seasoning or soy sauce are good alternatives.
- Bay Leaves – Infuses aroma; remember to remove them before serving.
- Water – Use for simmering the stew; chicken broth enhances the flavor for a savory brown stew chicken experience.
Enjoy crafting your savory brown stew chicken with these fresh and flavorful ingredients!
Step‑by‑Step Instructions for Savory Brown Stew Chicken
Step 1: Marinate the Chicken
In a large zip bag, combine the bone-in chicken thighs with chicken bouillon, chopped scallions, minced habanero, garlic, thyme, ginger, smoked paprika, and black pepper. Seal the bag, gently massage to ensure the chicken is fully coated, and refrigerate for at least 2 hours or ideally overnight. This step enhances the flavors, making your savory brown stew chicken irresistible.
Step 2: Brown the Chicken
Heat a Dutch oven over medium-high heat and add a splash of oil. Once hot, add the marinated chicken pieces in batches, browning them evenly on all sides for about 5-7 minutes until golden and crispy. This caramelization not only adds texture but deepens the flavor of your savory brown stew chicken, making it even more delicious.
Step 3: Sauté the Vegetables
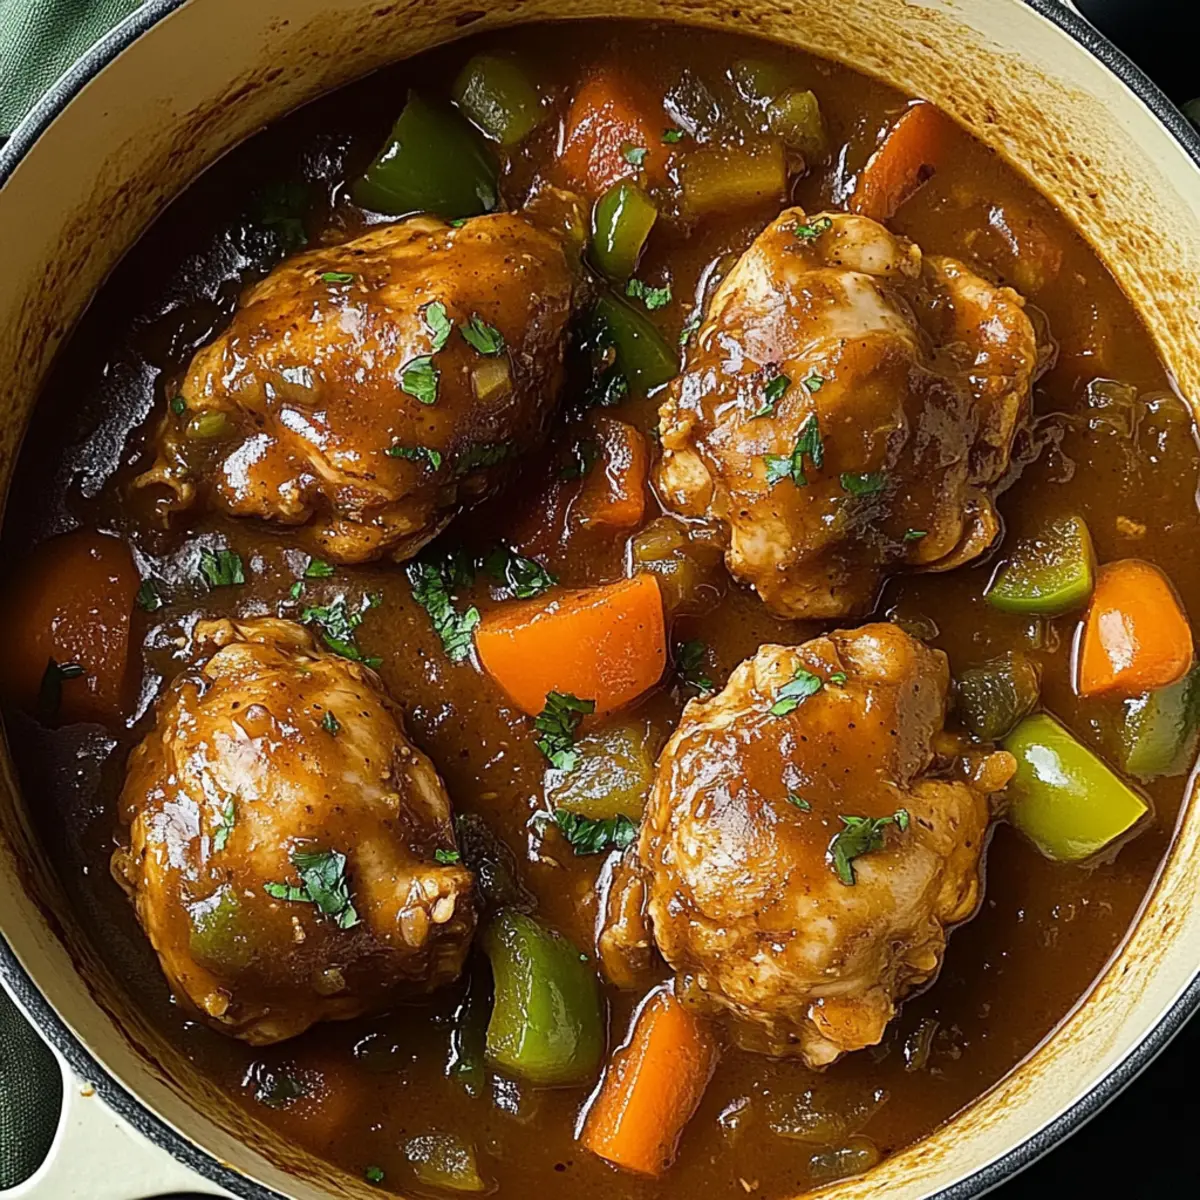
Remove the browned chicken from the pot and set aside. In the same Dutch oven, add chopped onions, sliced carrots, and bell peppers. Sauté the vegetables for about 5 minutes, stirring frequently, until they are softened and fragrant. This trio creates a beautifully aromatic base for your savory brown stew chicken.
Step 4: Prepare the Stew Base
Return the browned chicken to the pot, then add ketchup, brown sugar, browning seasoning, bay leaves, and enough water to cover everything. Stir well to combine all ingredients and bring to a gentle boil. Once boiling, reduce the heat, cover, and let simmer on low for about 20 minutes, allowing the flavors to meld beautifully in your savory brown stew chicken.
Step 5: Simmer and Thicken
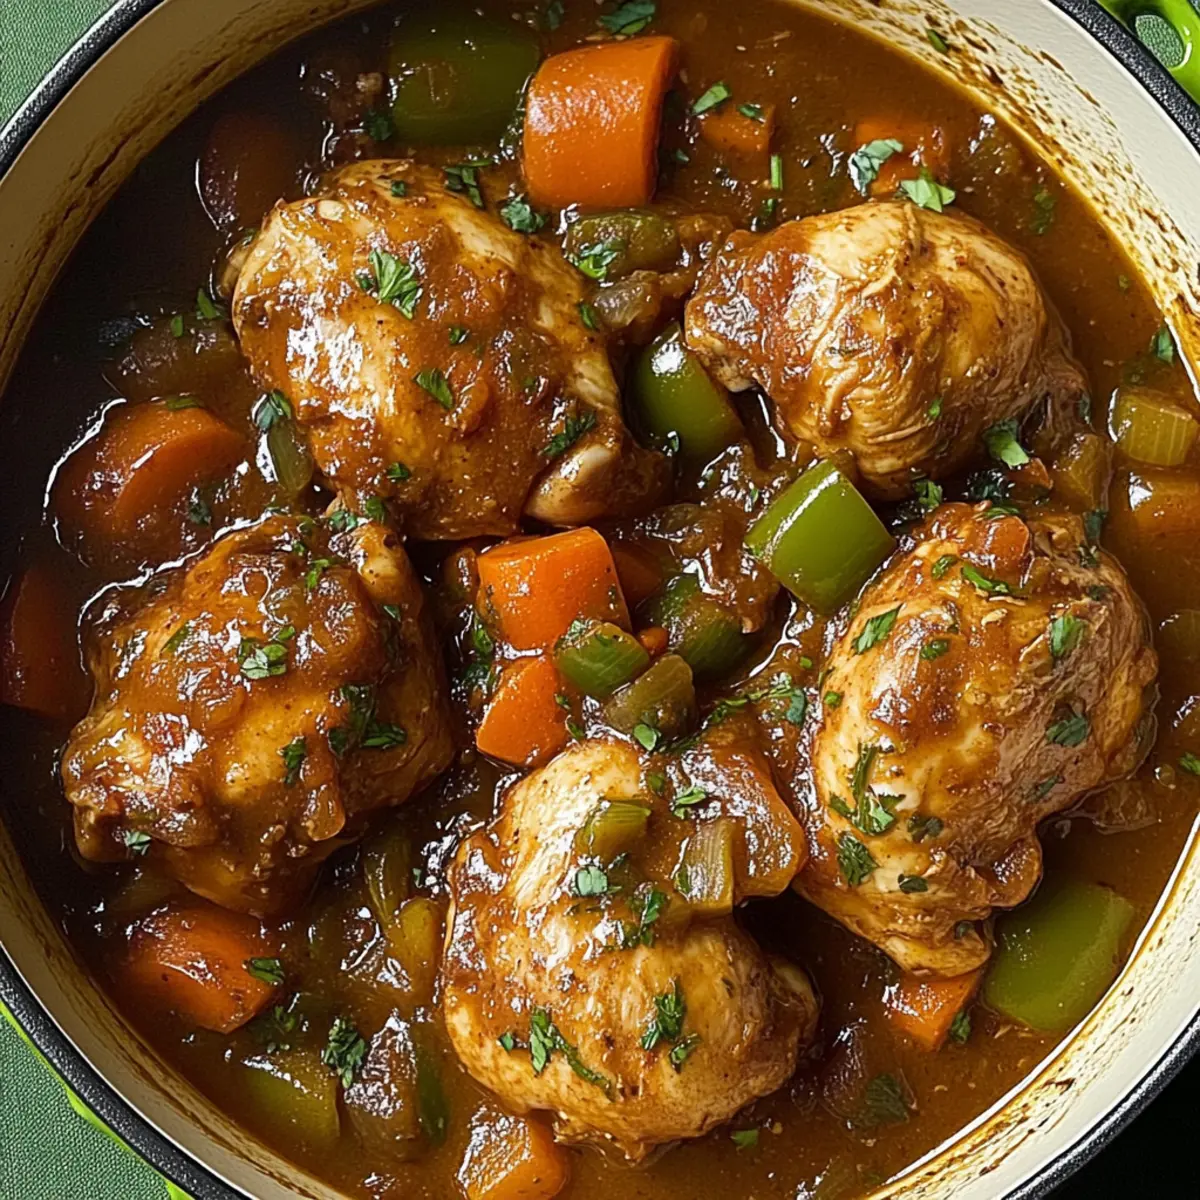
After 20 minutes, uncover the pot and stir the stew gently. Continue to simmer uncovered for an additional 10 minutes. This will help thicken the sauce, giving your savory brown stew chicken that rich, hearty texture everyone loves. Make sure to scrape the bottom of the pot to incorporate all those flavorful bits!
Step 6: Adjust Seasoning
Taste the stew to assess the seasoning. At this stage, you can adjust with additional salt and freshly ground black pepper to achieve your desired flavor profile. Balancing the seasonings is crucial to making your savory brown stew chicken truly delightful and satisfying.
Step 7: Serve and Enjoy
Serve the savory brown stew chicken warm over a bed of fluffy rice, garnished with fresh herbs if desired. The combination of tender chicken and rich gravy is perfect for a comforting family meal. Pair it with baked plantains or collard greens for a complete Caribbean feast.
Savory Brown Stew Chicken Variations
Feel free to get creative with your stew! The possibilities to customize it are endless and will surely delight your palate.
- Dairy-Free: Substitute the chicken bouillon with vegetable bouillon to make this dish suitable for dairy-free diets.
- Gluten-Free: Use gluten-free tamari or coconut aminos in place of browning seasoning for an equally flavorful stew.
- Spicy Twist: Add a few more slices of habanero or a dash of cayenne pepper for an extra kick of heat. Adjust to your spice tolerance!
- Sweet and Savory: Toss in diced pineapple during the simmering phase to create a tantalizing blend of sweet and savory flavors.
- Herb Swap: Instead of fresh thyme, experiment with fresh rosemary or oregano to bring a different aroma and taste to the stew.
- Veggie Boost: Incorporate more vegetables like diced potatoes or sweet potatoes for a heartier texture and added nutrition.
- Fruity Flavor: For a unique twist, consider adding chopped mango or apple for a delightful fruit-infused profile.
- Broth Upgrade: Swap water for rich chicken broth to deepen the savory experience of your brown stew chicken. This small change makes a big impact on flavor!
These variations will keep your cooking exciting and satisfying, transforming your savory brown stew chicken into something new each time you whip it up.
How to Store and Freeze Savory Brown Stew Chicken
Fridge: Store any leftovers in an airtight container for up to 4 days. This keeps your savory brown stew chicken fresh while preserving its delicious flavors.
Freezer: If you want to enjoy the stew later, freeze portions in freezer-safe bags or containers for up to 2 months. Make sure to label them with the date for reference.
Thawing: When ready to eat, thaw in the refrigerator overnight for best results. Reheat on the stove over low heat, stirring occasionally to ensure even warmth without compromising the sauce's texture.
Reheating: Gently reheat in a saucepan, adding a splash of water or broth if needed to maintain the right consistency. This way, your savory brown stew chicken retains its comforting richness!
Expert Tips for Savory Brown Stew Chicken
• Marinate Thoroughly: For maximum flavor, marinate your chicken overnight. The longer the marination, the richer the taste of your savory brown stew chicken.
• Achieve Perfect Browning: Ensure your chicken is well-browned for depth in flavor. Avoid crowding the pan; brown in batches for an even crust.
• Control the Heat: If you prefer a milder stew, start with just a small amount of habanero peppers, then gradually increase to find your ideal spice level in the savory brown stew chicken.
• Thicken as Desired: If you like a thicker sauce, create a cornstarch slurry by mixing cornstarch with cold water, then stir it in and simmer until desired consistency is reached.
• Flavorful Broth Option: For a deeper taste, use chicken broth instead of water when simmering the stew. It enhances the overall flavor of your savory brown stew chicken beautifully.
• Serve Fresh: Garnish your finished dish with fresh herbs, like parsley or cilantro, to elevate the presentation and add a pop of color to your savory brown stew chicken.
Make Ahead Options
These savory brown stew chicken preparations are perfect for busy weeknights! You can marinate the chicken in the flavorful mixture of bouillon, scallions, habanero, garlic, and spices up to 24 hours in advance, allowing the meat to absorb all those delicious flavors. Additionally, you can chop your vegetables (onions, carrots, and bell peppers) and store them in the refrigerator for up to 3 days to save time during cooking. When you're ready to serve, simply brown the marinated chicken and sauté the prepped veggies, then add the remaining ingredients and let it simmer. This ensures your savory brown stew chicken is just as delicious while making mealtime a breeze!
What to Serve with Savory Brown Stew Chicken
Cozy up to a hearty meal with the delightful accompaniments that perfectly enhance your savory brown stew chicken experience.
-
Fluffy White Rice: This classic pairing absorbs the rich gravy, creating a comforting balance of flavors in each bite.
-
Baked Plantains: Their natural sweetness complements the savory depth of the chicken, adding a delightful texture contrast.
-
Collard Greens: These hearty greens provide a fresh, slightly bitter note that brightens the rich stew, making for a well-rounded meal.
-
Caribbean Salad: A refreshing blend of cucumbers, tomatoes, and avocados offers a light crunch and zing, perfectly cutting through the stew's richness.
-
Coconut Rice: With its creamy texture and subtle sweetness, coconut rice adds an exotic flair that beautifully harmonizes the spices of the stew.
-
Glass of Red Wine: A medium-bodied red wine brings out the aromatic flavors in the dish, offering a delightful pairing for your dining experience.
Pairing your savory brown stew chicken with these delightful sides guarantees a meal that feels like a warm hug, inviting all to gather around the table.
Savory Brown Stew Chicken Recipe FAQs
What type of chicken is best for brown stew chicken?
For the best results, I recommend using bone-in chicken thighs or drumsticks. The bones add rich flavor and moisture to the stew. However, if you're looking for lower fat content, feel free to substitute with boneless chicken pieces—just adjust the cooking time, as they will cook faster!
How should I store leftover brown stew chicken?
Store any leftovers in an airtight container in the refrigerator for up to 4 days. Make sure to let the stew cool to room temperature before sealing the container to maintain freshness. Reheating is easy—just warm it on the stove over low heat, and you might need to add a splash of water to restore the sauce's consistency.
Can I freeze brown stew chicken?
Absolutely! You can freeze your savory brown stew chicken in portions. Use freezer-safe bags or airtight containers, and make sure to label them with the date. It will keep well in the freezer for up to 2 months. When you’re ready to enjoy it, thaw in the refrigerator overnight and reheat gently on the stove.
What if my brown stew chicken sauce is too thin?
No worries! If your stew sauce is thinner than desired, you can thicken it easily. Mix 1 tablespoon of cornstarch with 2 tablespoons of cold water to create a slurry. Stir this mixture into the simmering stew and cook for a few more minutes until it thickens up nicely. This is a great trick to achieve that hearty texture!
Can I customize the spice level in the stew?
Very much so! The wonderful thing about this savory brown stew chicken is that you can adjust the heat according to your preference. Start with a smaller amount of habanero peppers, and taste as you go. You can always add more for an extra kick—it’s a fun way to make this dish your own!
Are there any dietary considerations for brown stew chicken?
Yes, if you're serving this stew to someone with allergies or dietary restrictions, always check that the bouillon and browning sauces you use are gluten-free, as some brands may contain gluten. Additionally, if you're cooking for pets, be cautious with ingredients like onions or garlic, which can be harmful to them.
Savory Brown Stew Chicken That Will Warm Your Soul
Ingredients
Equipment
Method
- Marinate the chicken by combining bone-in chicken thighs with chicken bouillon, scallions, habanero, garlic, thyme, ginger, smoked paprika, and black pepper in a large zip bag. Refrigerate for at least 2 hours or overnight.
- Brown the chicken in a heated Dutch oven with oil, browning evenly on all sides for 5-7 minutes.
- Remove the chicken, then sauté onions, carrots, and bell peppers in the same pot for about 5 minutes.
- Return the chicken to the pot and add ketchup, brown sugar, browning seasoning, bay leaves, and enough water to cover. Stir well and bring to a boil.
- Reduce heat, cover, and simmer for 20 minutes to meld flavors.
- Uncover, stir the stew and continue to simmer for an additional 10 minutes to thicken the sauce.
- Taste and adjust seasoning as necessary, then serve warm over rice, garnished with fresh herbs if desired.