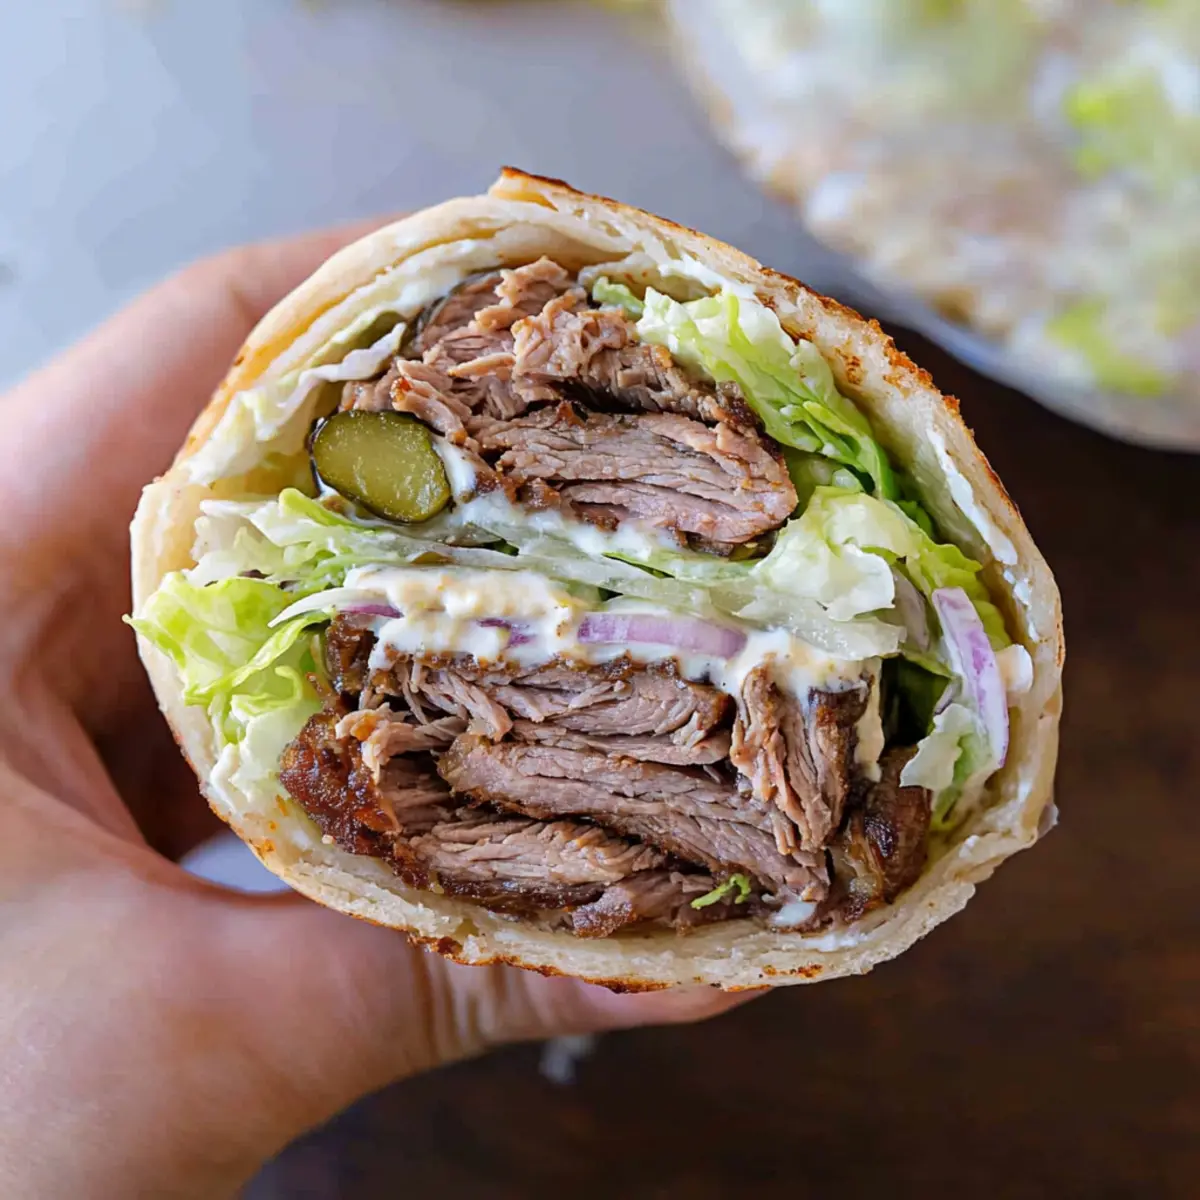
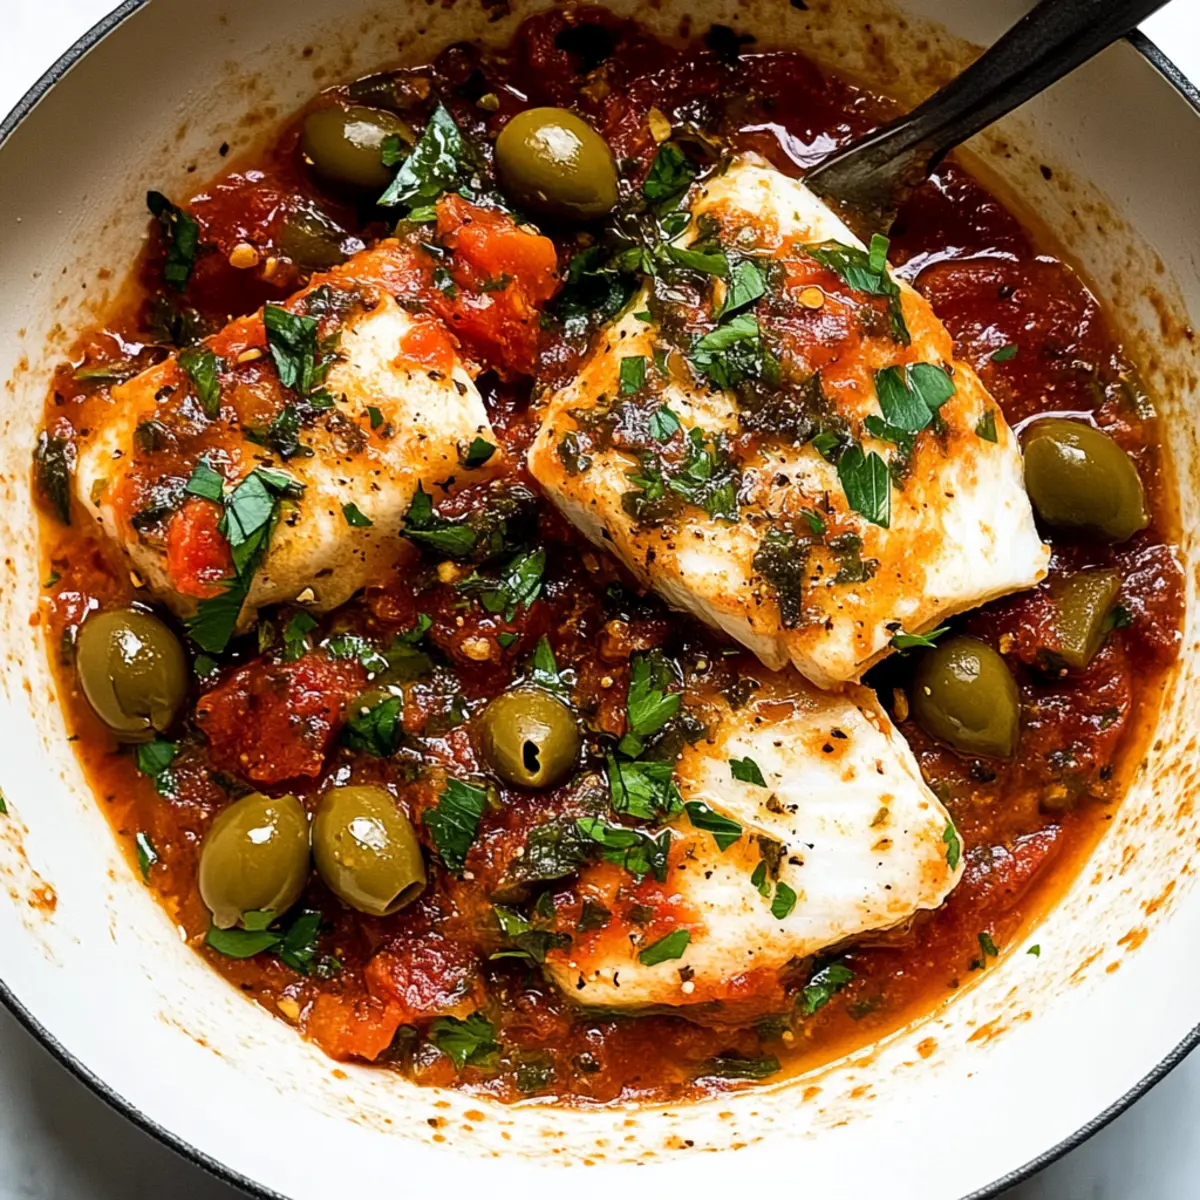
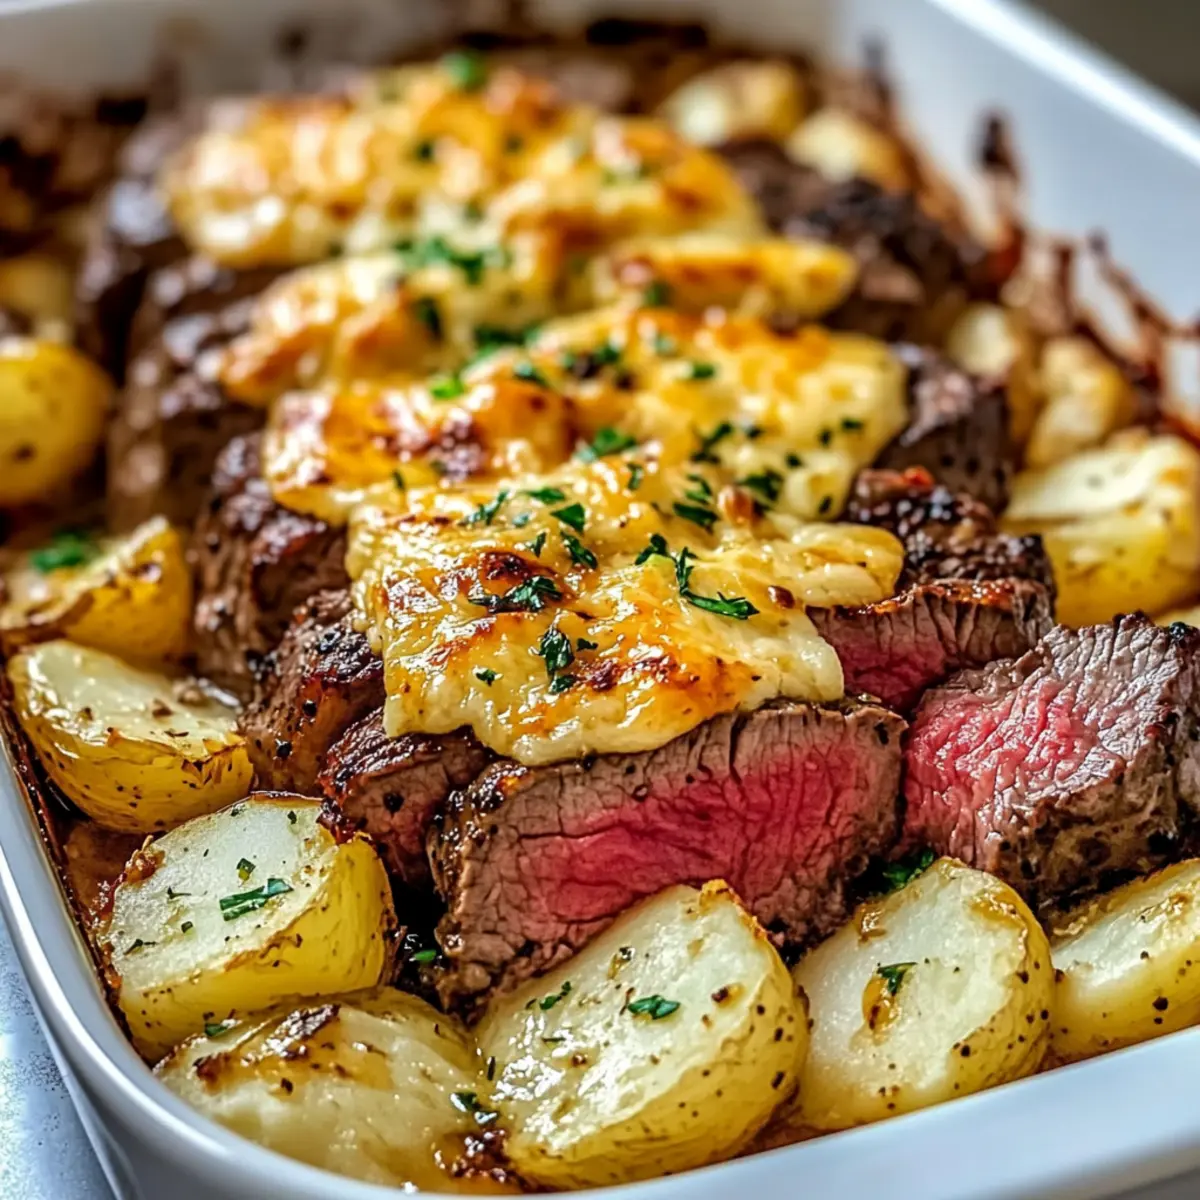
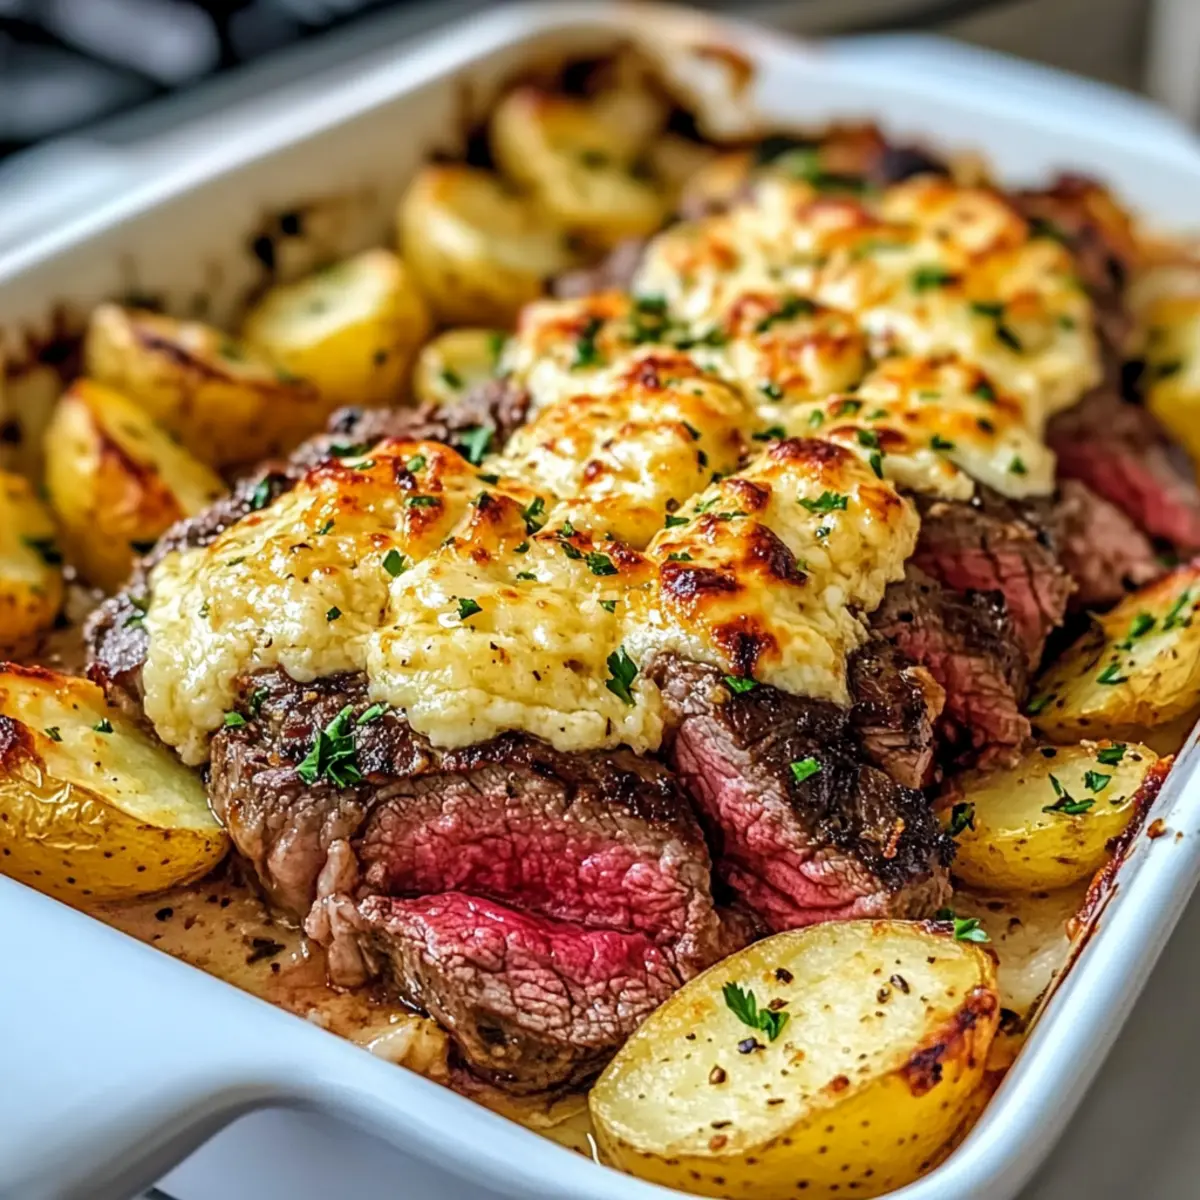
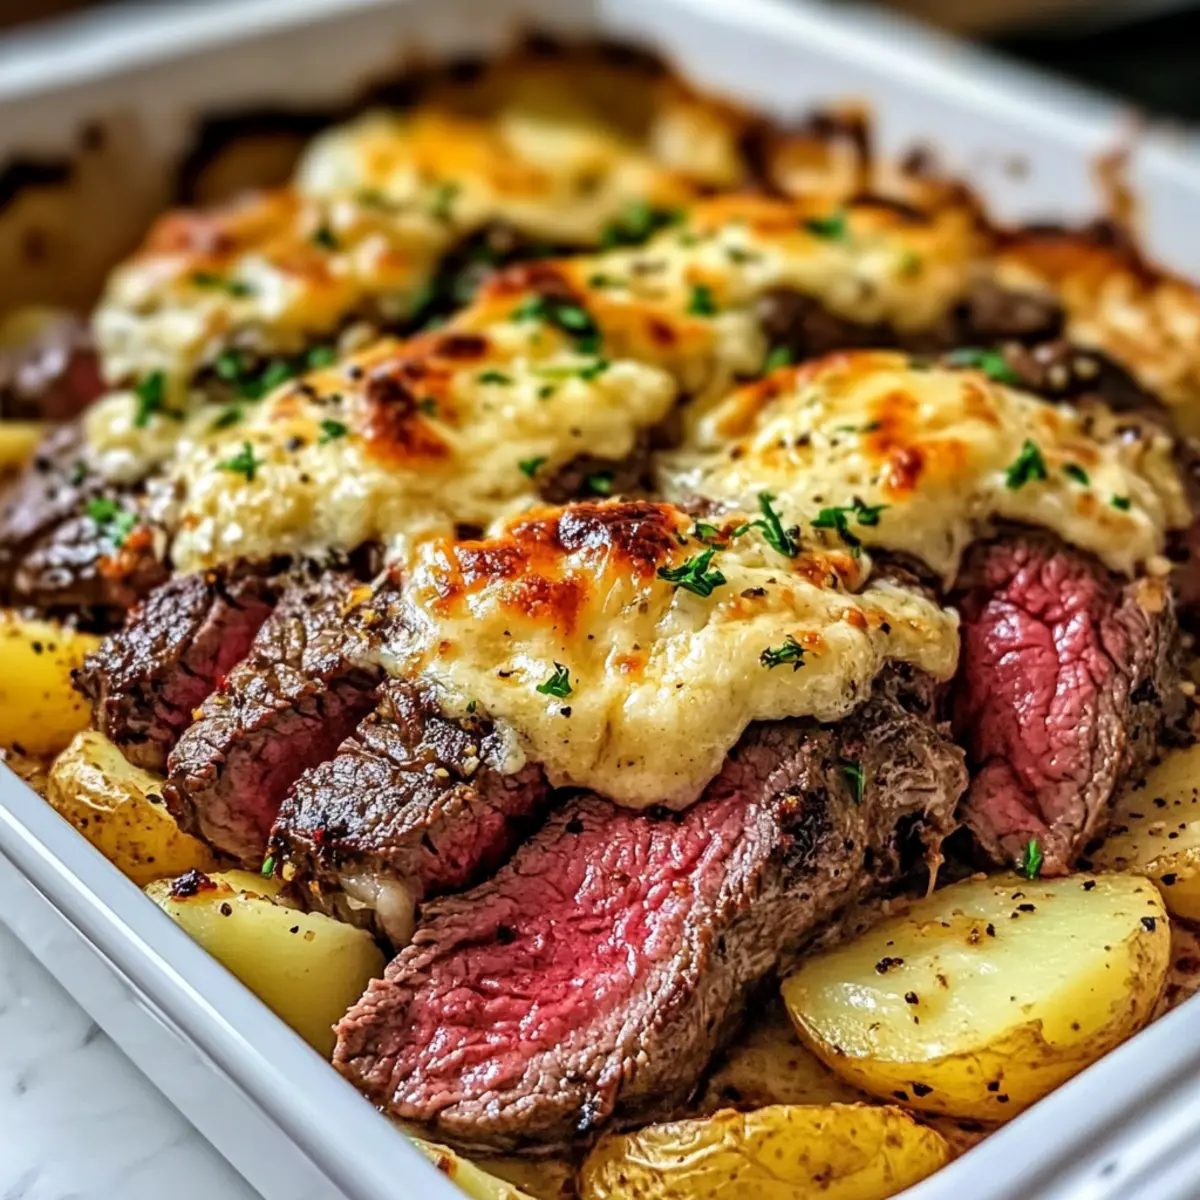
As I stood in my kitchen, the rich aroma of garlic and steak filled the air, a comforting reminder of countless family dinners. The moment I decided to whip up this Garlic Butter Steak & Cheddar Potato Bake, I knew we were in for a treat. This hearty casserole is not only incredibly easy to prepare, but it also brings everyone together around the table, making it a true crowd-pleaser. Imagine layers of succulent steak resting on creamy, cheesy potatoes, all embraced by that luscious garlic butter—perfect for cozy evenings or joyous celebrations. With this recipe, you’ll discover how to elevate simple ingredients into a comforting masterpiece that's sure to satisfy your cravings. So, are you ready to dive into a savory adventure that’ll make your taste buds dance?
Why is This Casserole So Special?
Comforting Flavors: The rich garlic butter melds beautifully with tender steak and creamy cheddar, making each bite a cozy delight.
Easy Preparation: This recipe is designed for busy nights, allowing you to assemble everything quickly and pop it in the oven—no extensive cooking skills needed!
Gather Around the Table: This casserole is a sure crowd-pleaser, perfect for family dinners or casual gatherings with friends, just like the beloved Honey Garlic Chicken.
Versatile Ingredients: Feel free to customize with different cheeses or veggies; throw in some bell peppers or use up leftover steak for added nutritional value.
Make-Ahead Magic: You can prep ahead of time, making it ideal for those who want a home-cooked meal on hectic days!
Elevate your gatherings and treat your loved ones to this unforgettable dish that’s sure to please everyone at the table!
Garlic Butter Steak & Cheddar Potato Bake Ingredients
For the Steak
- Ribeye or Sirloin Steaks – Tender cuts provide flavorful protein; substitute with flank or strip steaks for a different texture.
For the Potatoes
- Russet Potatoes – Act as the base for the casserole; their starchy nature yields a creamy consistency when baked. Use Yukon Gold for a slightly sweeter flavor and creamier texture.
For the Cheese
- Cheddar Cheese – Adds sharpness and richness; opt for sharp or extra-sharp for more flavor, or swap with mozzarella for a milder taste.
For the Flavor Base
- Butter – Enhances flavor and moisture; real butter is recommended for a richer taste, though plant-based butter can be used for a dairy-free version.
- Garlic – Provides aromatic depth; fresh garlic is preferred for intense flavor and should be minced or finely chopped for best results.
- Olive Oil – Used for searing the steak; any neutral cooking oil can work as a substitute.
- Salt and Pepper – Essential for seasoning to taste; always use freshly ground black pepper for the best flavor.
- Dried Thyme & Rosemary – Adds aromatic herb notes; fresh herbs can be used in greater quantities for a more vibrant flavor.
This Garlic Butter Steak & Cheddar Potato Bake is a comforting dish where every ingredient shines in perfect harmony!
Step‑by‑Step Instructions for Garlic Butter Steak & Cheddar Potato Bake
Step 1: Sear the Steaks
Pat the ribeye or sirloin steaks dry with paper towels and season generously with salt, pepper, thyme, and rosemary. In a large skillet, heat 2 tablespoons of olive oil over medium-high heat until shimmering. Sear the steaks for about 3-4 minutes on each side until they develop a golden crust and reach medium-rare doneness. Remove the steaks from the skillet and let them rest on a cutting board.
Step 2: Create the Garlic Butter
Reduce the skillet heat to medium and add 4 tablespoons of butter along with the minced garlic. Cook, stirring frequently, for about 1-2 minutes until the garlic is fragrant and just begins to turn golden. This garlicky goodness will form a delicious base for your Garlic Butter Steak & Cheddar Potato Bake.
Step 3: Prepare the Potatoes
While the garlic butter cooks, peel and slice the russet potatoes into thin rounds, approximately 1/8 inch thick. In a large mixing bowl, combine the potato slices with half of the garlic butter mixture, ensuring they are well-coated. Season with salt, pepper, thyme, and rosemary, mixing to distribute the flavors evenly.
Step 4: Assemble the Casserole
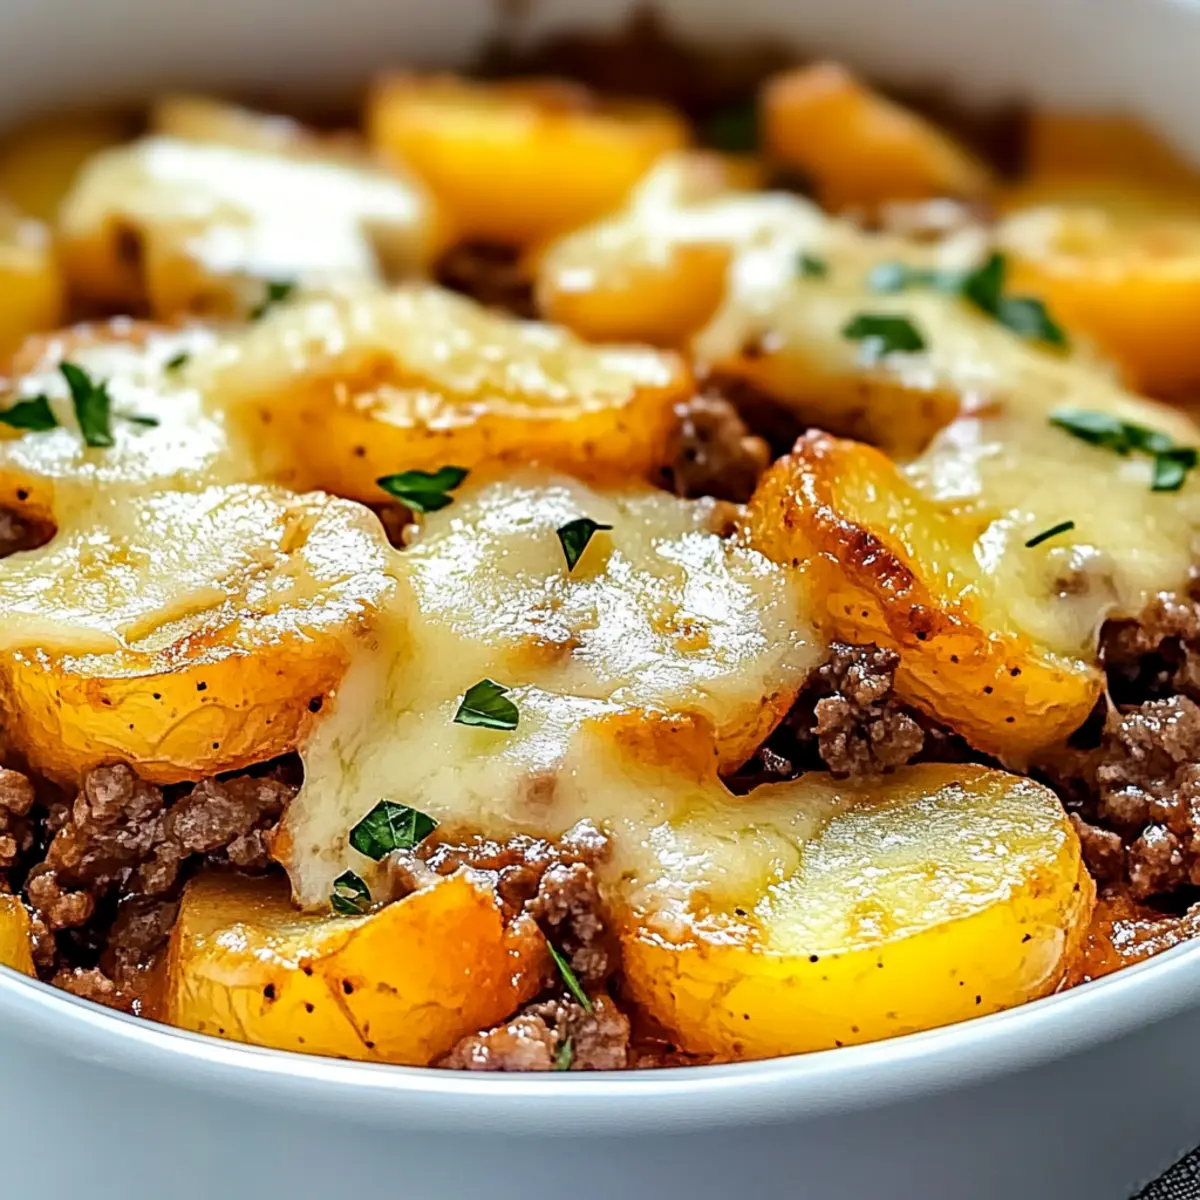
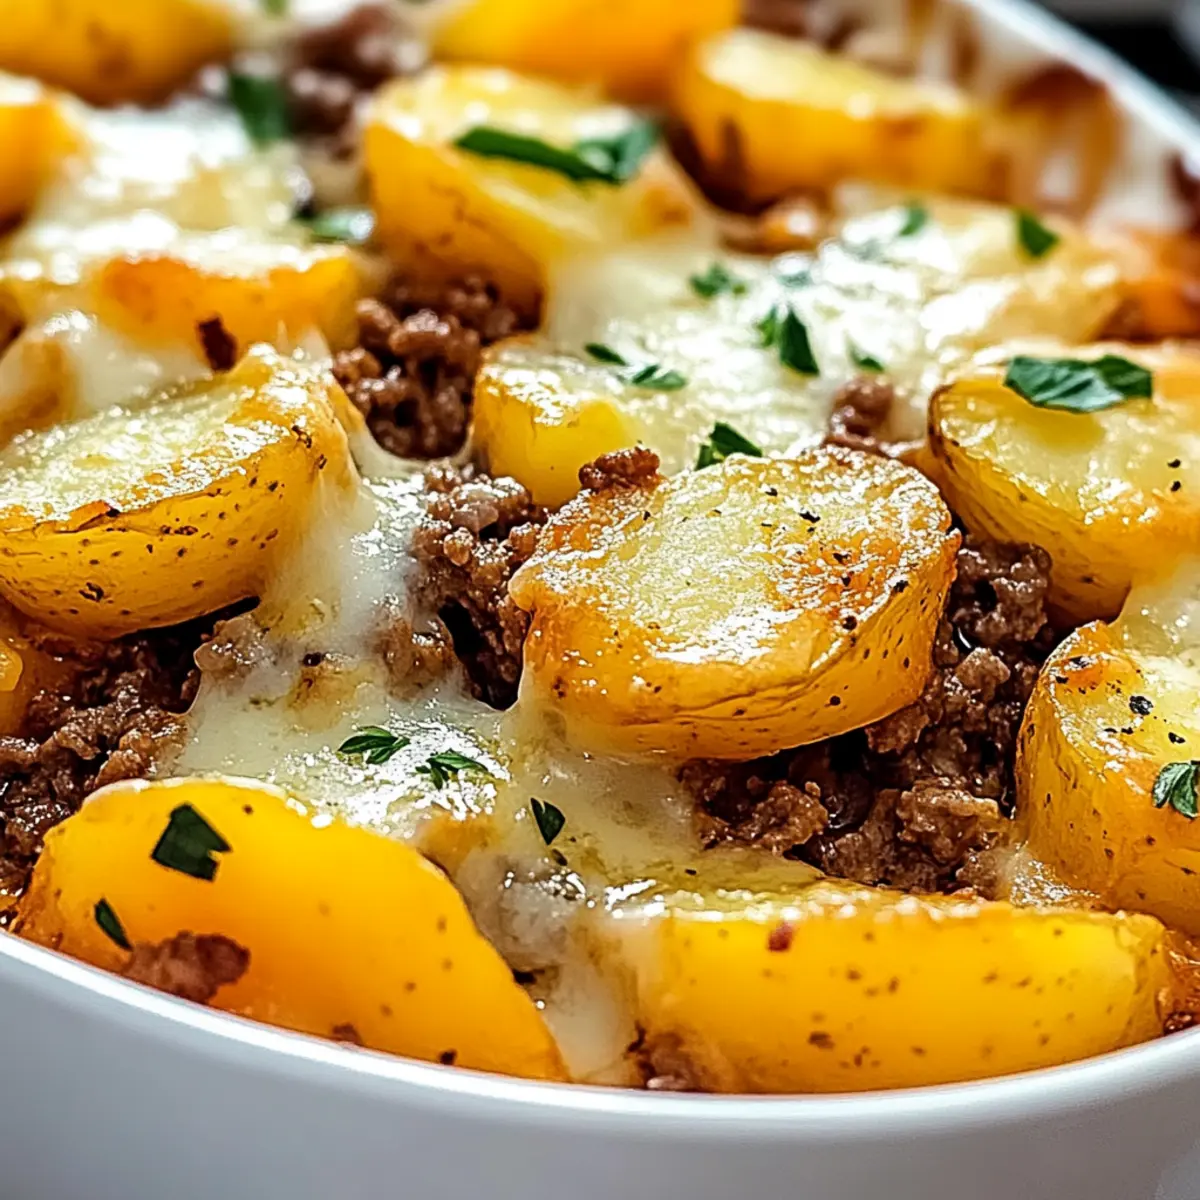
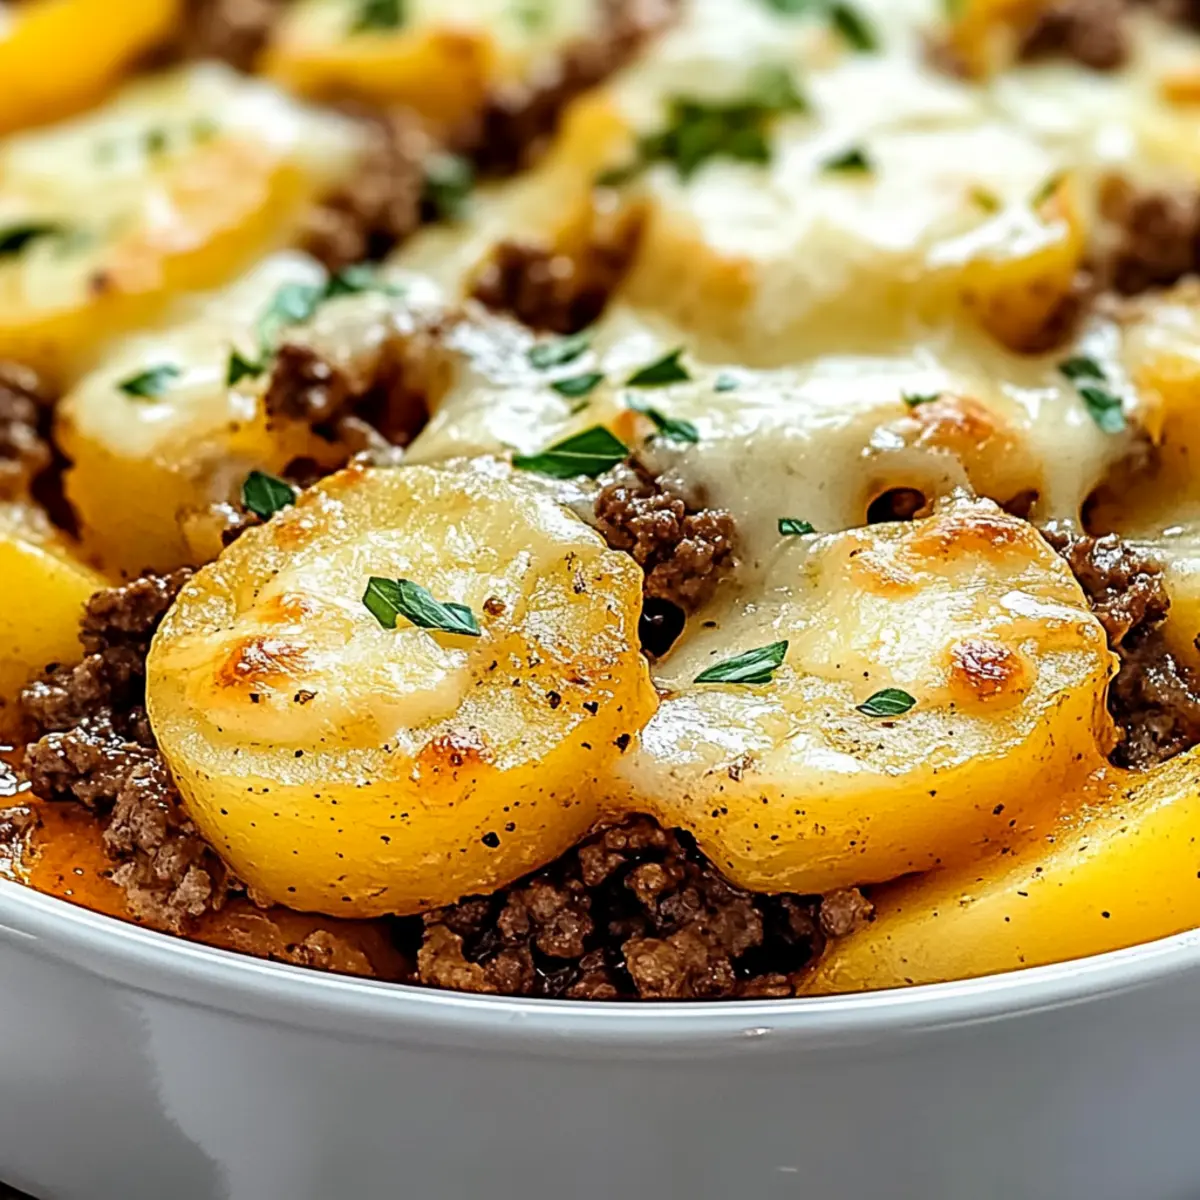
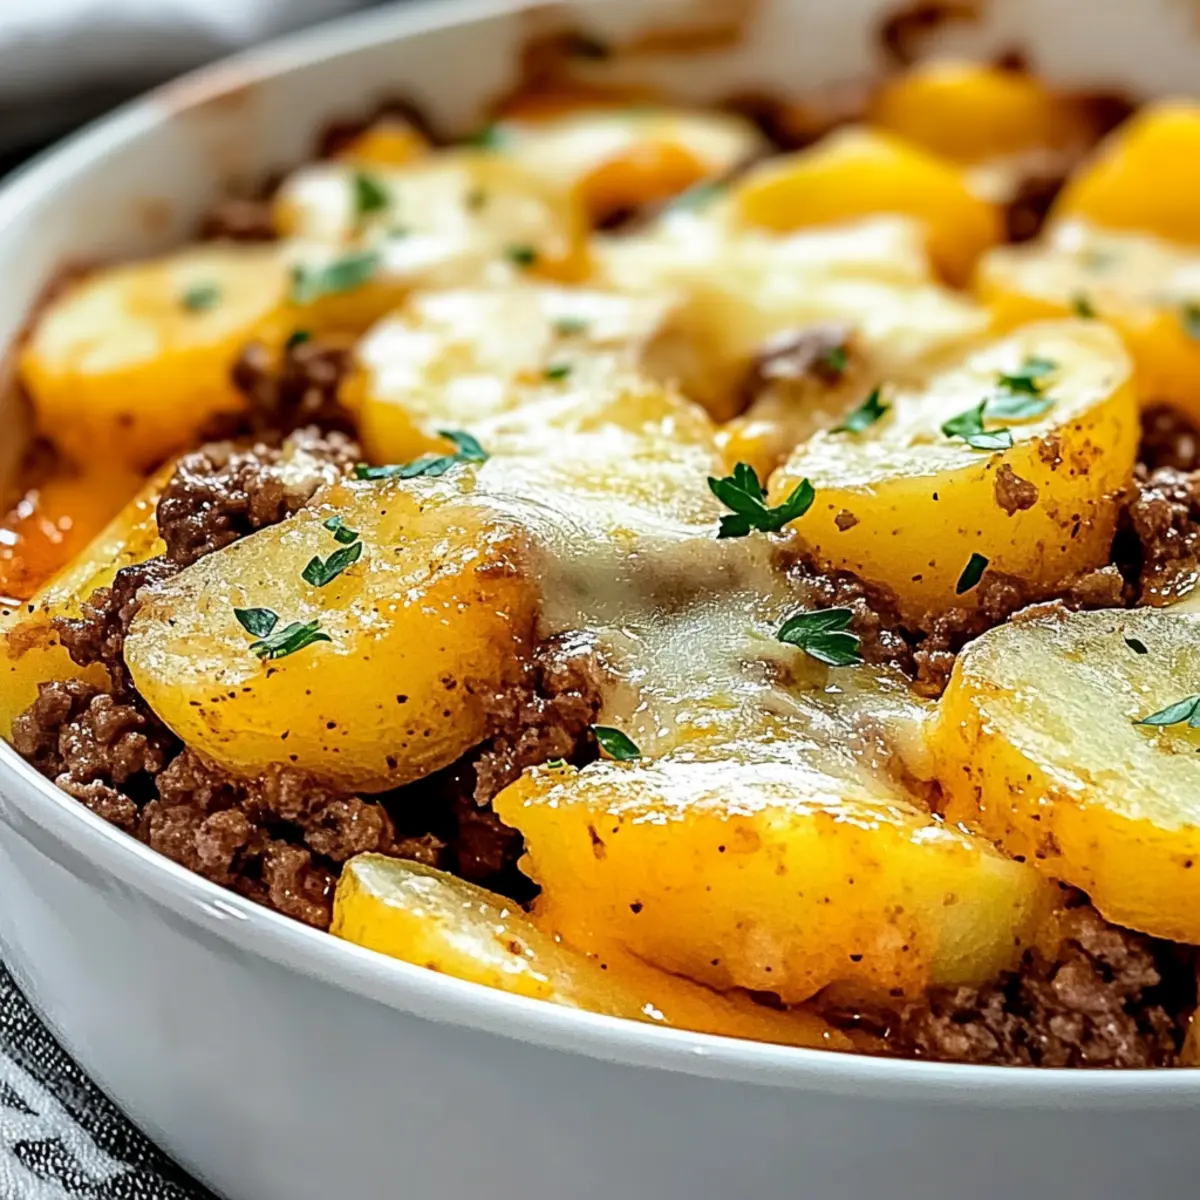
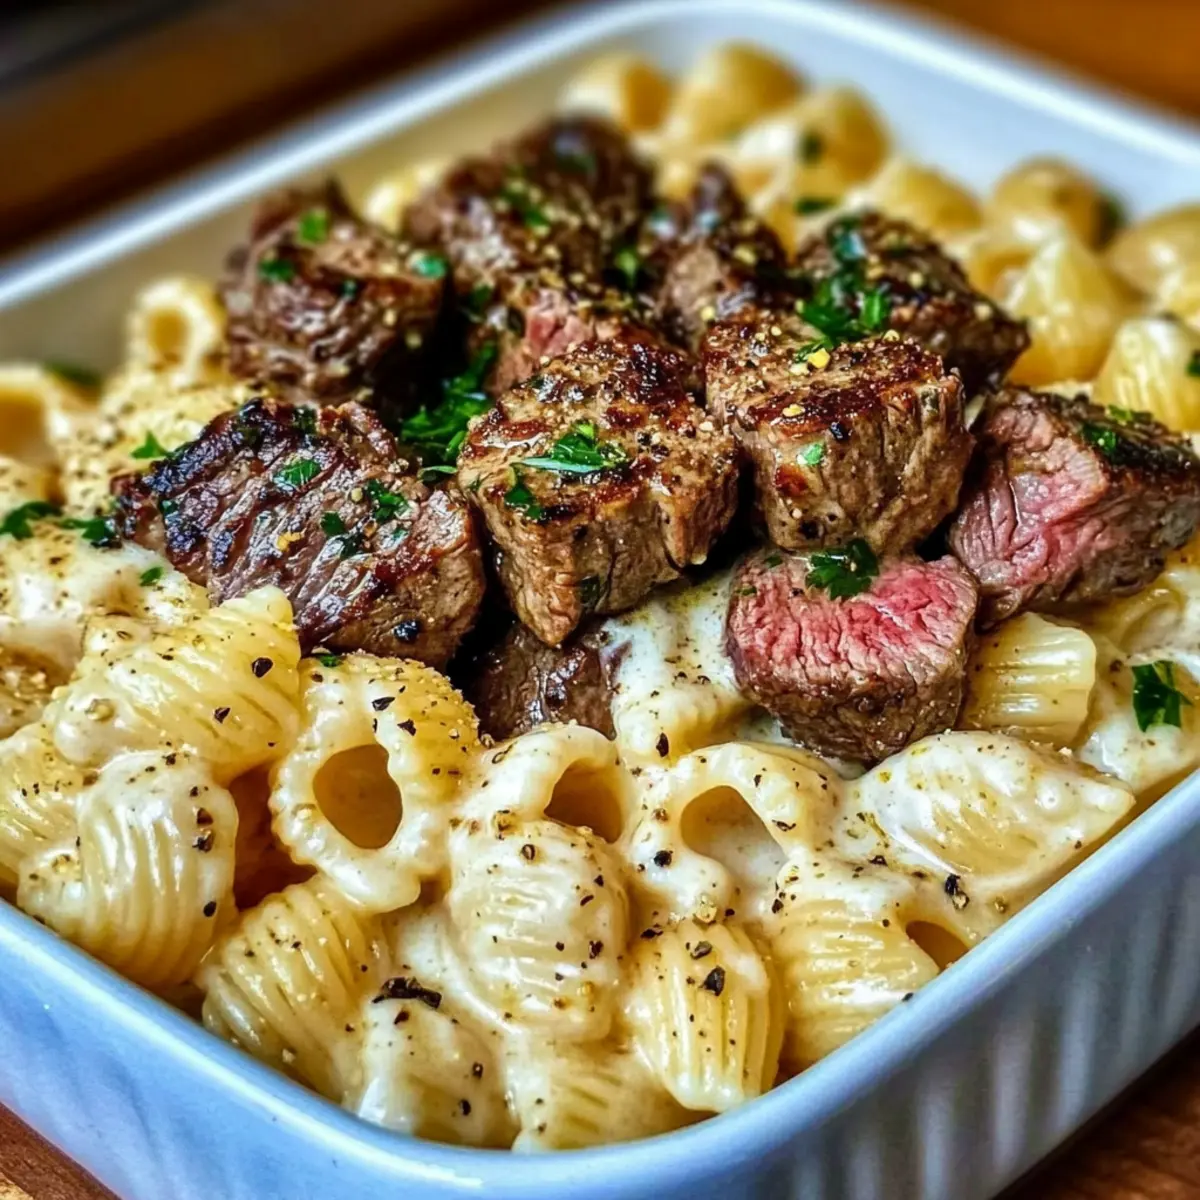
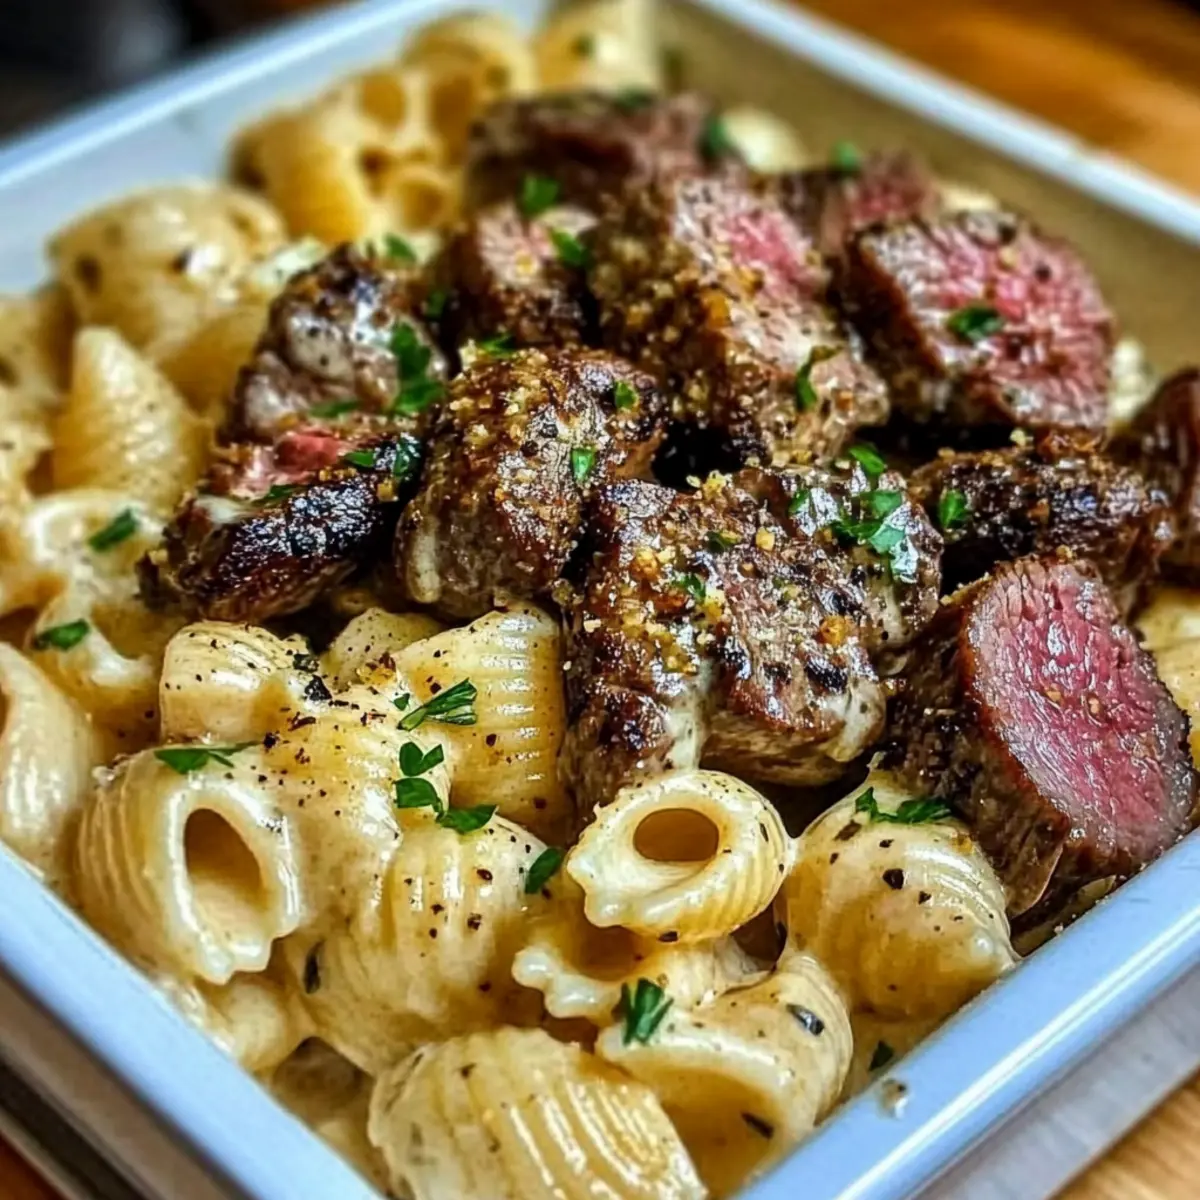
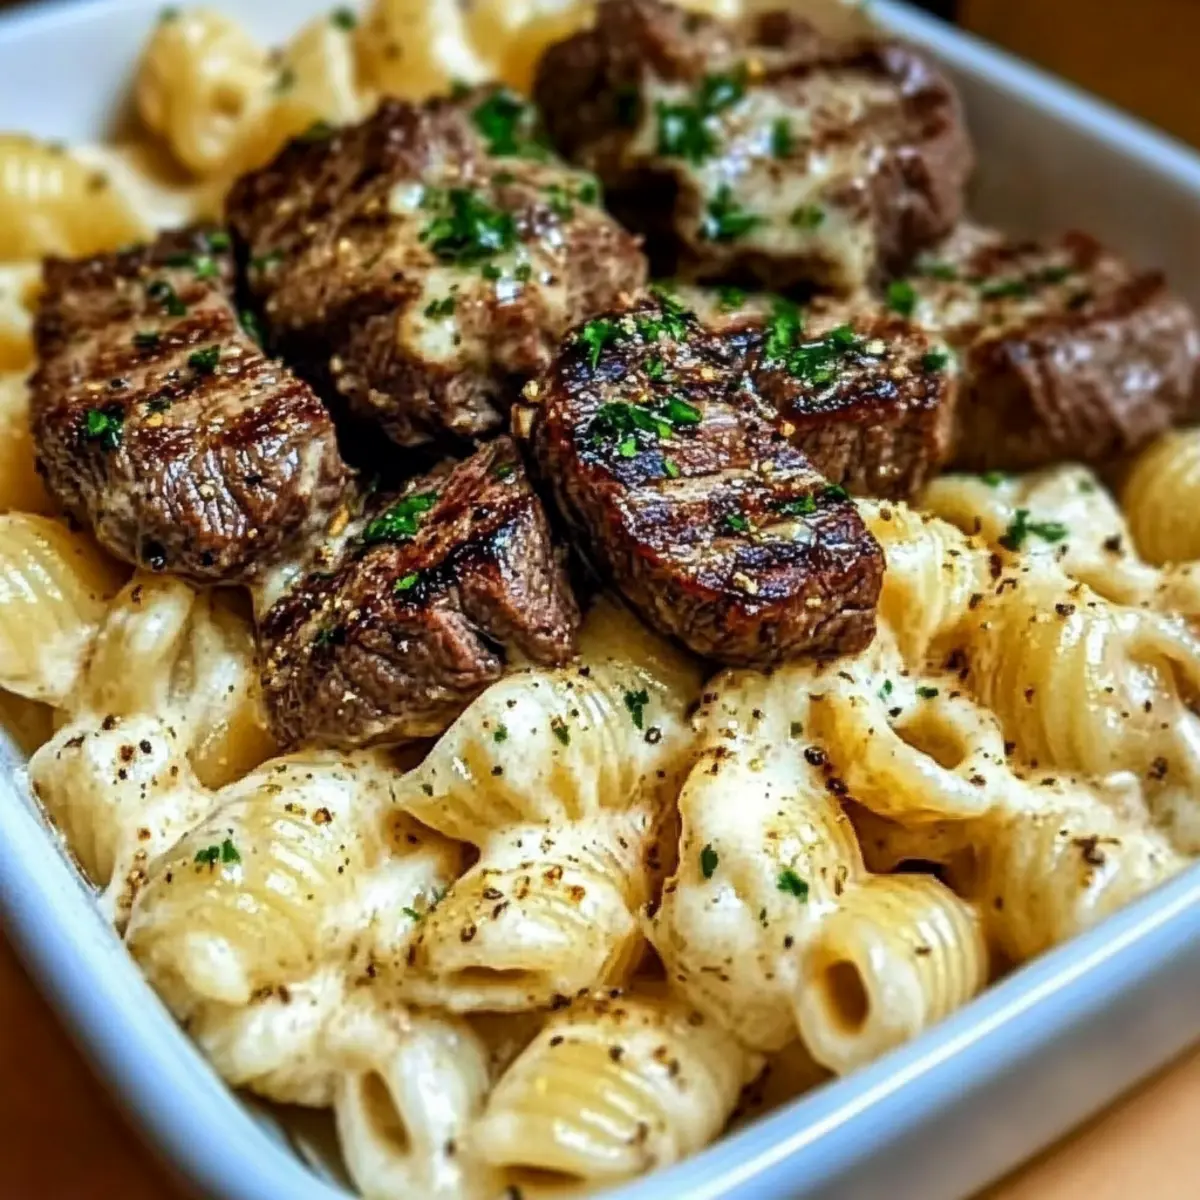
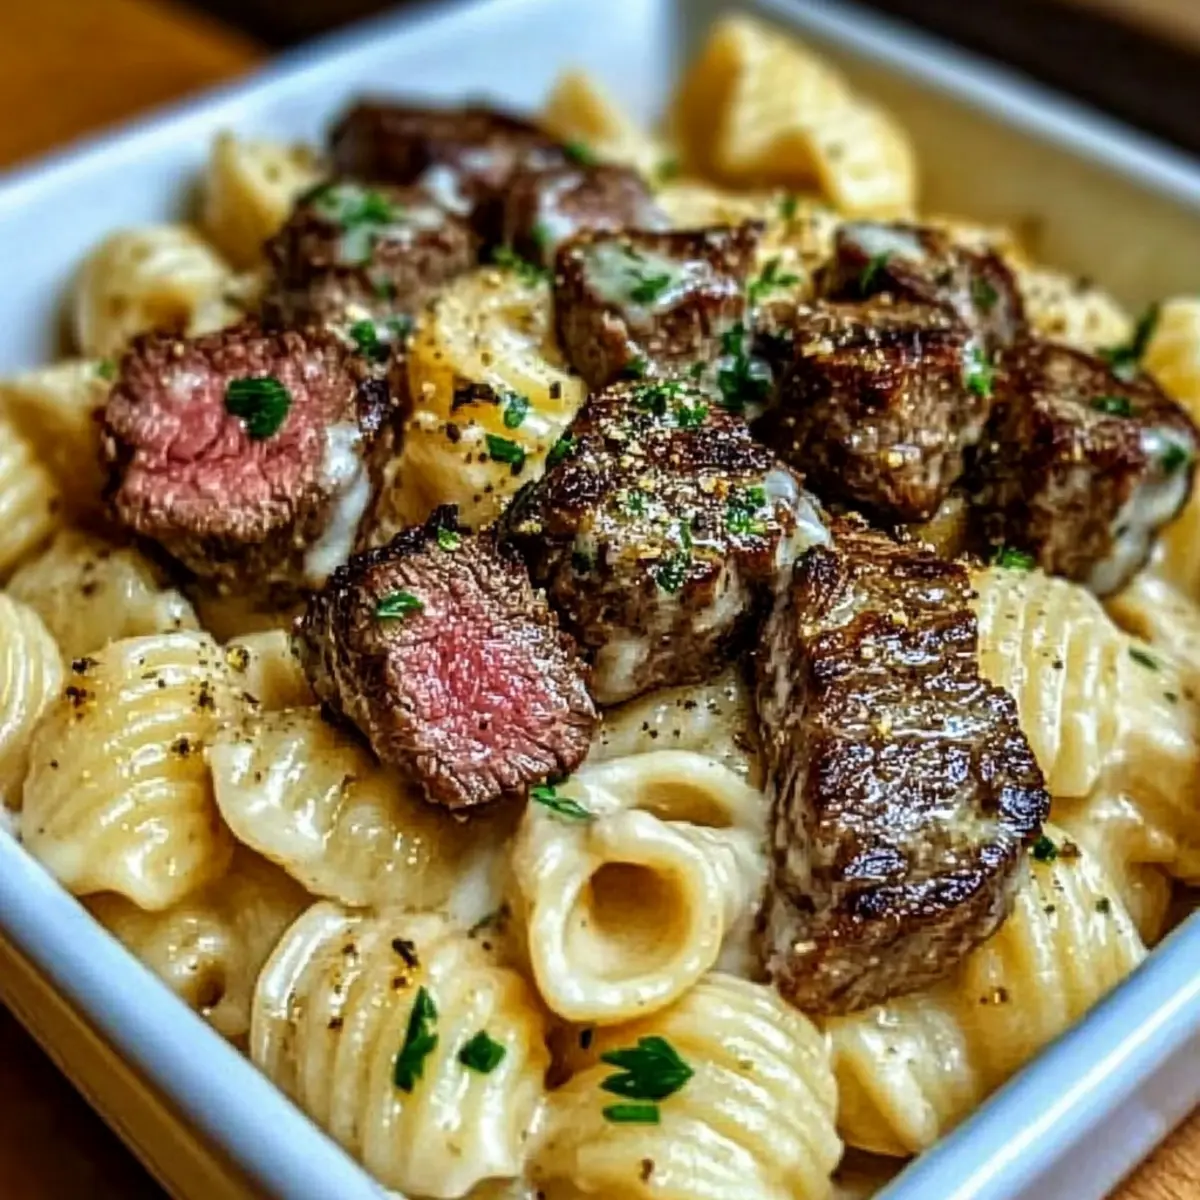
In a generously greased baking dish, layer half of the seasoned potato slices, ensuring they cover the bottom completely. Next, slice the rested steaks into strips and layer them over the potatoes. Sprinkle half of the cheddar cheese evenly over the steak, adding a rich cheesy layer to this comforting casserole.
Step 5: Layer More Potatoes and Cheese
Continue layering by adding the remaining potato slices over the steak and cheese mixture. Drizzle the rest of the garlic butter over the top, ensuring every slice gets a taste. Finish by sprinkling the remaining cheddar cheese evenly over the final layer of potatoes for a bubbly, golden crust once baked.
Step 6: Bake the Casserole
Cover the baking dish with aluminum foil and place it in a preheated oven at 375°F (190°C). Bake for 40 minutes to soften the potatoes. After 40 minutes, remove the foil and return the casserole to the oven, baking for an additional 15 minutes until the cheese is bubbly and golden brown, and the potatoes are fork-tender.
Step 7: Rest Before Serving
Once baked, remove the Garlic Butter Steak & Cheddar Potato Bake from the oven and allow it to rest for 5-10 minutes. This resting period helps the flavors meld together and makes serving easier. After resting, scoop out portions of this hearty casserole and enjoy the comforting flavors with your loved ones.
Expert Tips for Garlic Butter Steak & Cheddar Potato Bake
• Even Slices: Use a mandoline slicer for uniform potato slices. This ensures all potatoes cook evenly and achieve that perfect creamy texture.
• Prep Ahead: Consider assembling the casserole the night before and refrigerate it. This not only saves time but allows flavors to meld beautifully!
• Storage Savvy: Leftovers can be kept in the refrigerator for up to 3 days. When reheating, do so gently to maintain the creamy goodness of the Garlic Butter Steak & Cheddar Potato Bake.
• Freezing Option: Feel free to freeze the assembled, uncooked casserole for a future meal. Just ensure to thaw it overnight in the refrigerator before baking.
• Avoid Overcooking: Keep an eye on your steak while searing; it's best to aim for medium-rare to keep it juicy. Overcooking can lead to a tougher texture in the final bake.
How to Store and Freeze Garlic Butter Steak & Cheddar Potato Bake
Fridge: Store leftovers in an airtight container for up to 3 days. Reheat gently in the oven at 350°F (175°C) for 15-20 minutes for a comforting return to this delicious casserole.
Freezer: For long-term storage, freeze the assembled, uncooked casserole. Wrap it tightly in foil and plastic wrap, and it will keep well for up to 3 months. Thaw overnight in the refrigerator before baking.
Reheating: When reheating leftovers, cover with foil to prevent drying out. Bake at 350°F (175°C) until heated through, about 20 minutes, for the best flavor and texture.
Room Temperature: Ideally, consume the Garlic Butter Steak & Cheddar Potato Bake within 2 hours if left out at room temperature to ensure it's safe and delicious.
Make Ahead Options
This Garlic Butter Steak & Cheddar Potato Bake is perfect for busy home cooks looking to save time! You can fully assemble the casserole and refrigerate it up to 24 hours in advance, allowing the flavors to meld beautifully. To maintain the quality, cover it tightly with foil to prevent drying out. Alternatively, you can prepare the casserole unbaked and freeze it for up to 3 months; just make sure to thaw it overnight in the fridge before baking. When you're ready to serve, simply pop it in the oven directly, following the baking instructions, and enjoy restaurant-quality comfort food without the fuss!
What to Serve with Garlic Butter Steak & Cheddar Potato Bake
Elevate your dinner experience with delightful accompaniments that will perfectly balance and complement the hearty flavors of this warm casserole.
-
Crisp Green Salad: A light mix of greens with a tangy vinaigrette cuts through the richness, providing a refreshing contrast to the creamy casserole.
-
Garlic Bread: With its buttery, garlicky goodness, this classic favorite pairs nicely, enhancing the savory flavor profile found in the steak bake.
-
Steamed Asparagus: The slight crunch and freshness of asparagus add a vibrant touch that's perfect for making your plate visually appealing.
-
Roasted Brussels Sprouts: Their caramelized, nutty flavor complements the cheese and garlic beautifully, creating a savory side that your family will adore.
-
Creamy Coleslaw: A cool, creamy coleslaw offers a crunchy texture and a slight tang, brightening up the hearty casserole.
-
Savory Cornbread: This warm, buttery bread is perfect for soaking up the delicious garlic butter sauce, making every bite even more satisfying.
-
Red Wine: A glass of bold red wine not only enhances the meal's flavors but also adds a touch of sophistication to your dining experience.
-
Apple Crisp: For dessert, a warm apple crisp with a scoop of vanilla ice cream rounds out the meal perfectly, offering a cozy finish to your culinary adventure.
Variations & Substitutions
Feel free to make this Garlic Butter Steak & Cheddar Potato Bake your own by trying out these exciting twists and swaps!
-
Lower-Carb Option: Substitute half of the potatoes with thinly sliced cauliflower for a healthier alternative. The cauliflower provides a delightful texture while keeping calories in check.
-
Cheese Variety: Switch out cheddar for Monterey Jack or Gouda to change the flavor profile. Each cheese brings its unique meltiness, making your casserole even more flavorful!
-
Veggie Boost: Add chopped bell peppers or fresh spinach to enhance nutrition and flavor. The vibrant colors and fresh taste will elevate your bake for a wholesome touch.
-
Dairy-Free Delight: Use plant-based butter and a dairy-free cheese alternative for a creamy and comforting option that’s suitable for a vegan diet.
-
Herb Infusion: Fresh herbs like basil or chives can replace dried thyme and rosemary. They deliver vibrant flavor and freshness, making every bite a delightful experience.
-
Spicy Kick: Add red pepper flakes or jalapeños if you love a little heat. This fiery touch contrasts beautifully with the creaminess of the casserole, waking up your taste buds!
-
Bacon Flavor: Incorporate some crispy bacon bits into the layers for an irresistible smoky taste. The crunchy texture adds an extra layer of enjoyment that family and friends will love.
-
Short on Time: If you’re in a rush, you can use frozen pre-sliced potatoes to cut down on prep time. Just layer them from frozen; they’ll cook up beautifully in the oven.
Explore these variations, and you’re guaranteed to create an unforgettable dish that perfectly satisfies! Pair it with a crisp green salad or the delicious German Potato Salad for a complete meal everyone will adore.
Garlic Butter Steak & Cheddar Potato Bake Recipe FAQs
How do I select the best steak for this casserole?
Absolutely! For the best flavor and tenderness, choose high-quality ribeye or sirloin steaks. Look for meat with good marbling, as this fat will ensure a juicy and tender result. If you want a leaner option, flank or strip steaks work well too; they can bring different textures to your dish.
What is the best way to store leftovers?
Leftovers can be stored in an airtight container in the refrigerator for up to 3 days. It's important to let the casserole cool down before sealing it. Reheat gently in the oven at 350°F (175°C) for about 15-20 minutes to bring back its comforting flavor and texture.
Can I freeze the Garlic Butter Steak & Cheddar Potato Bake?
Yes, you can! To freeze, assemble the uncooked casserole and then wrap it tightly in foil and plastic wrap. It can be frozen for up to 3 months. To cook it later, thaw the casserole overnight in the refrigerator and then bake as directed. This makes for a convenient, delicious meal any night!
What if my potatoes turn out mushy?
Very! If your potatoes are mushy, it might be due to slicing them too thin or overcooking the casserole. Aim for slices about 1/8 inch thick to ensure they cook evenly without becoming tender too fast. Covering the dish with foil for the first part of baking helps steam without turning the potatoes into a puree.
Can I use different types of cheese in this recipe?
Absolutely! Feel free to experiment with various cheeses to suit your taste. Monterey Jack, Gouda, or even a blend of cheeses can create delightful flavor combinations. Just remember to use enough cheese to ensure that creamy, cheesy goodness that makes this Garlic Butter Steak & Cheddar Potato Bake so irresistible!
Is this recipe suitable for a dairy-free diet?
Yes, it can be! Simply substitute real butter with a plant-based butter alternative and use dairy-free cheese. There are excellent options available that melt well, allowing everyone to enjoy this comforting casserole without compromising on taste or texture.

Garlic Butter Steak & Cheddar Potato Bake for Cozy Nights
Ingredients
Equipment
Method
- Pat the ribeye or sirloin steaks dry and season with salt, pepper, thyme, and rosemary. Sear the steaks in a skillet with olive oil for 3-4 minutes per side until medium-rare.
- Reduce the skillet heat and add butter and minced garlic. Cook for 1-2 minutes until the garlic is fragrant.
- Peel and slice the russet potatoes into thin rounds. Mix with half the garlic butter and season with salt, pepper, thyme, and rosemary.
- In a greased baking dish, layer half of the seasoned potato slices, then add sliced steaks, and half of the cheddar cheese.
- Add the remaining potato slices, drizzle the rest of the garlic butter, and top with the remaining cheddar cheese.
- Cover with aluminum foil and bake at 375°F (190°C) for 40 minutes. Remove foil and bake for an additional 15 minutes until bubbly and golden.
- Let the casserole rest for 5-10 minutes before serving to let flavors meld.