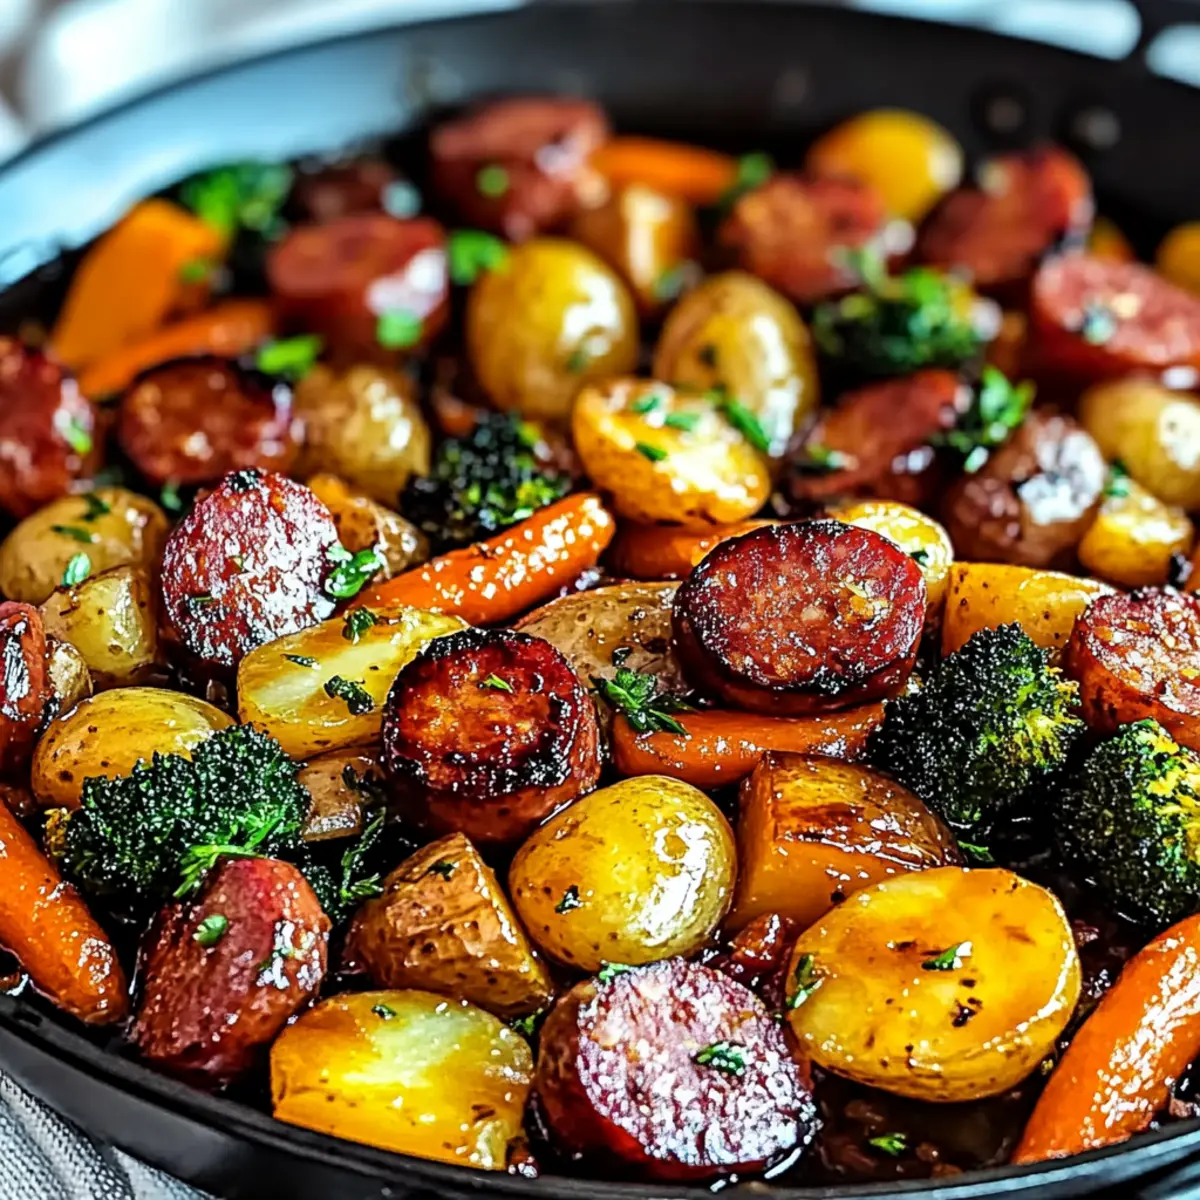
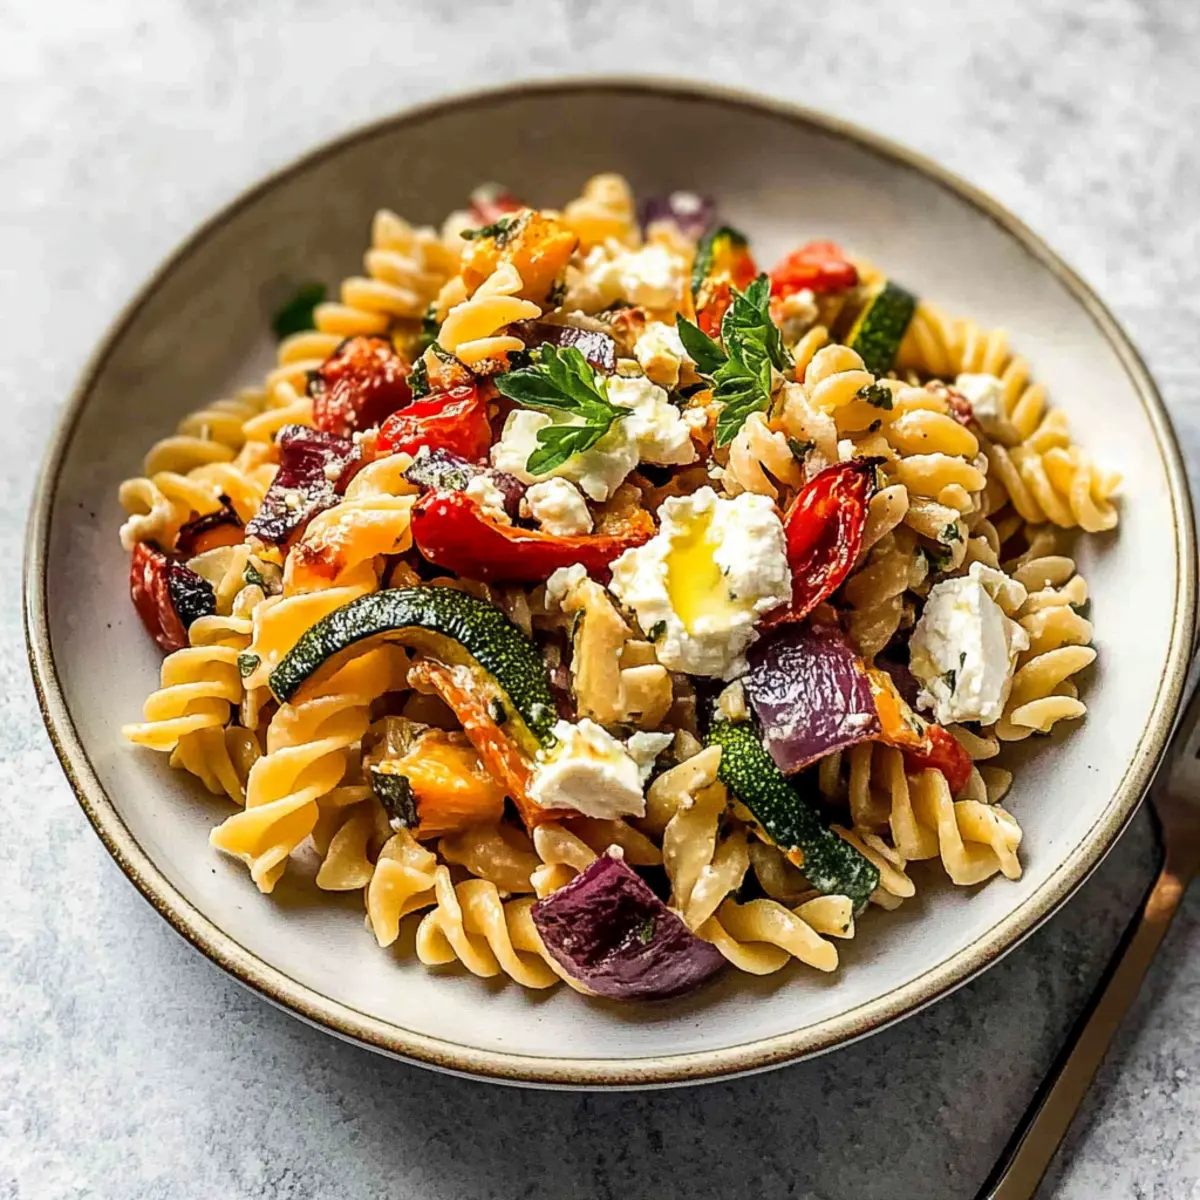
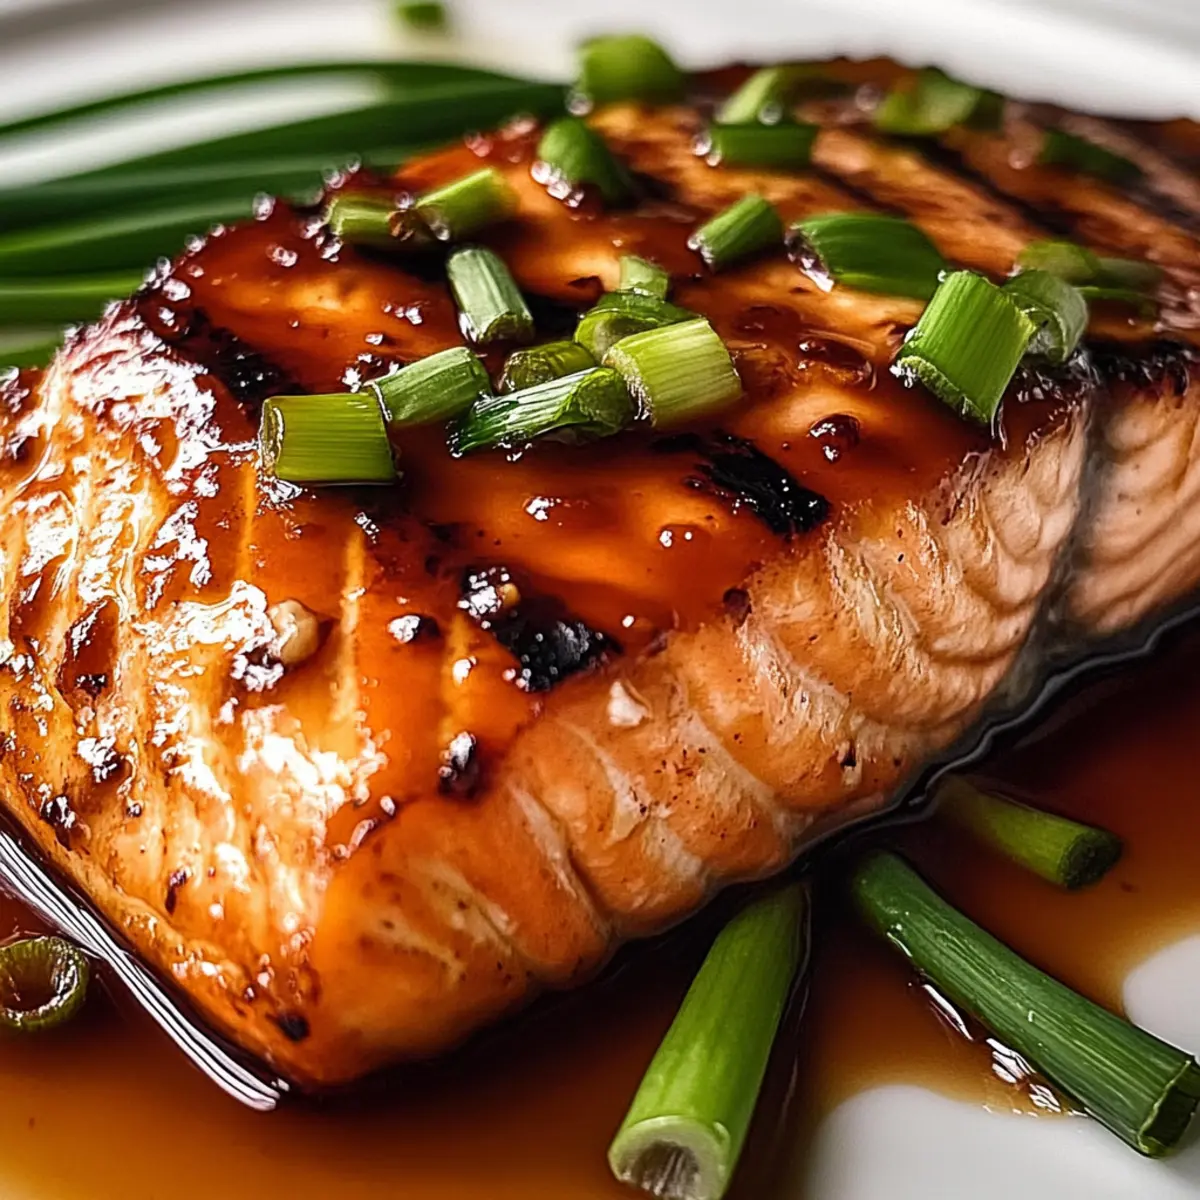
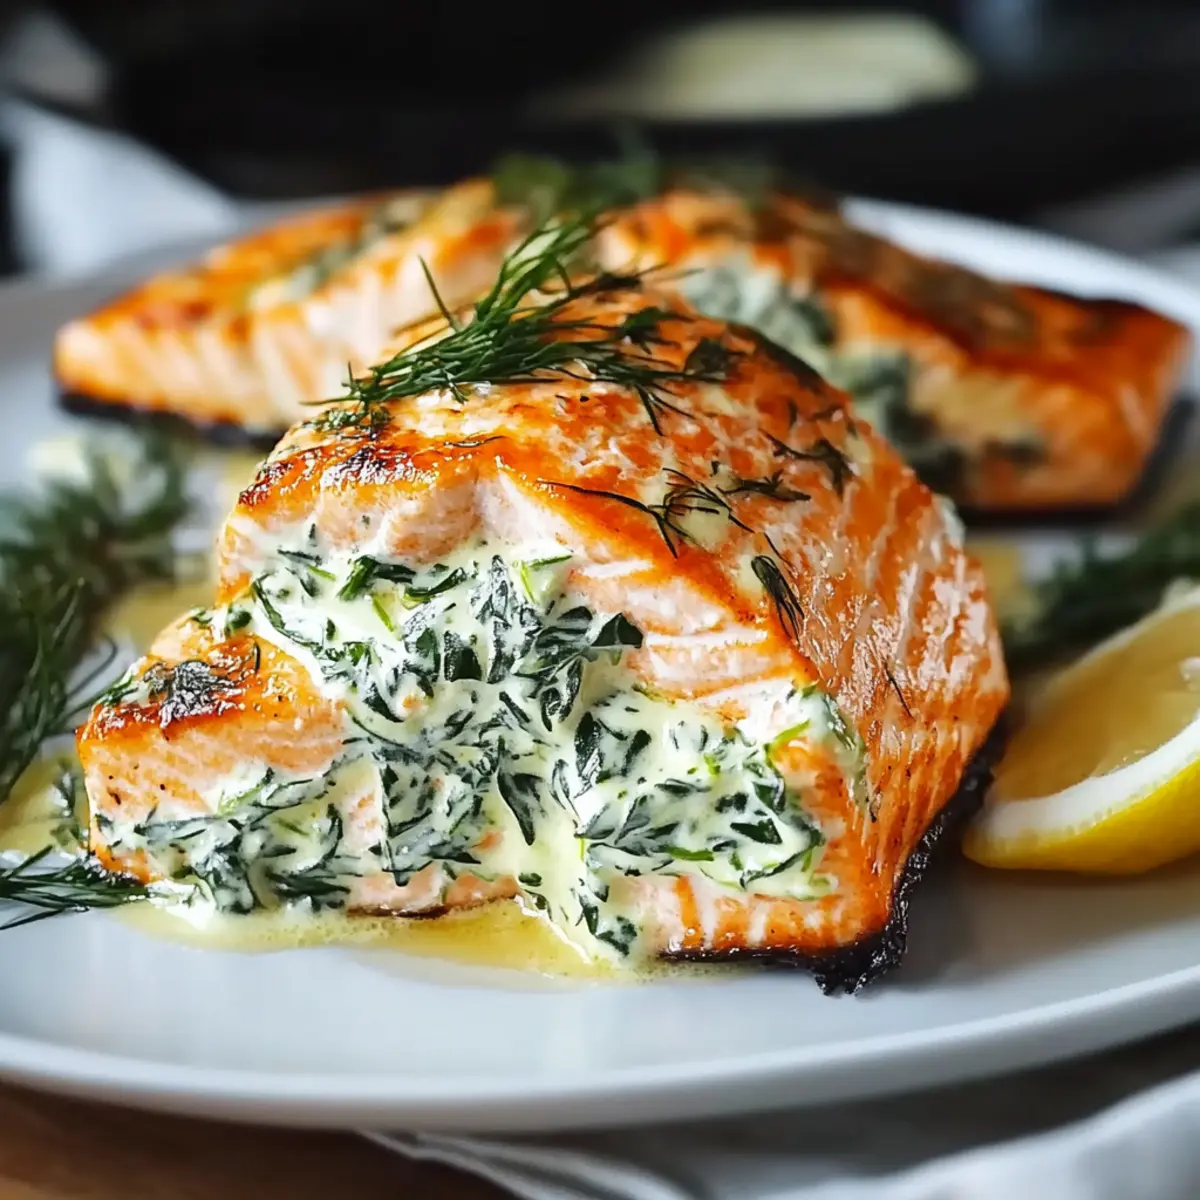
Every once in a while, a dish comes along that instantly transforms an ordinary meal into a celebration. This deliciously creamy sweet potato casserole is that dish, bringing warmth and nostalgia to our holiday gatherings. Infused with a hint of cinnamon and finished off with either gooey marshmallows or crunchy pecans, this recipe strikes a perfect balance between sweet and savory. Not only is it simple to prepare, but it’s also a nutritious side that complements any festive spread. Whether you’re a seasoned home chef or just someone looking to create lasting memories around the dinner table, this sweet potato casserole is bound to delight your family and friends. So, are you ready to get your hands on a dish that will have everyone asking for seconds?
Why is Sweet Potato Casserole a Must-Try?
Comforting, Nostalgic Flavors: This casserole evokes memories of family gatherings, offering warmth and joy with every bite. Simple Preparation: Even if you’re a novice cook, this dish is easy to whip up, requiring minimal ingredients and skills. Versatile Variations: Whether you prefer the classic marshmallow topping or a crunchy pecan streusel, there’s a version for everyone! Nutritious Choice: Packed with vitamins A and C, sweet potatoes make this casserole a healthier option compared to other holiday sides. It pairs beautifully with dishes like Honey Garlic Chicken or Crock Pot Chicken. Enjoy it at Thanksgiving or any time you crave something special!
Sweet Potato Casserole Ingredients
• Get ready to create magic in the kitchen!
For the Casserole
- Sweet Potatoes – The star ingredient that gives this dish its creamy texture and natural sweetness; fresh or canned work wonderfully!
- Butter – Adds richness and flavor to the casserole; you may substitute with coconut oil for a dairy-free option.
- Brown Sugar – Enhances sweetness and adds depth; consider maple syrup for a healthier alternative.
- Cinnamon – Provides warm spice notes; nutmeg or ginger can be a delightful substitute for a flavor twist.
- Milk – Helps achieve that creamy goodness; try almond or oat milk for a dairy-free variation.
For the Topping
- Marshmallows – Traditionally used for a sweet, gooey finish; omit for a healthier take or swap with crushed pecans.
- Pecans – Great for adding a crunchy texture and nutty flavor; walnuts or almonds are good alternatives if you prefer.
With these ingredients, you're ready to make a comforting sweet potato casserole that will warm everyone's hearts!
Step‑by‑Step Instructions for Deliciously Creamy Sweet Potato Casserole with Marshmallows and Pecans
Step 1: Preheat the Oven
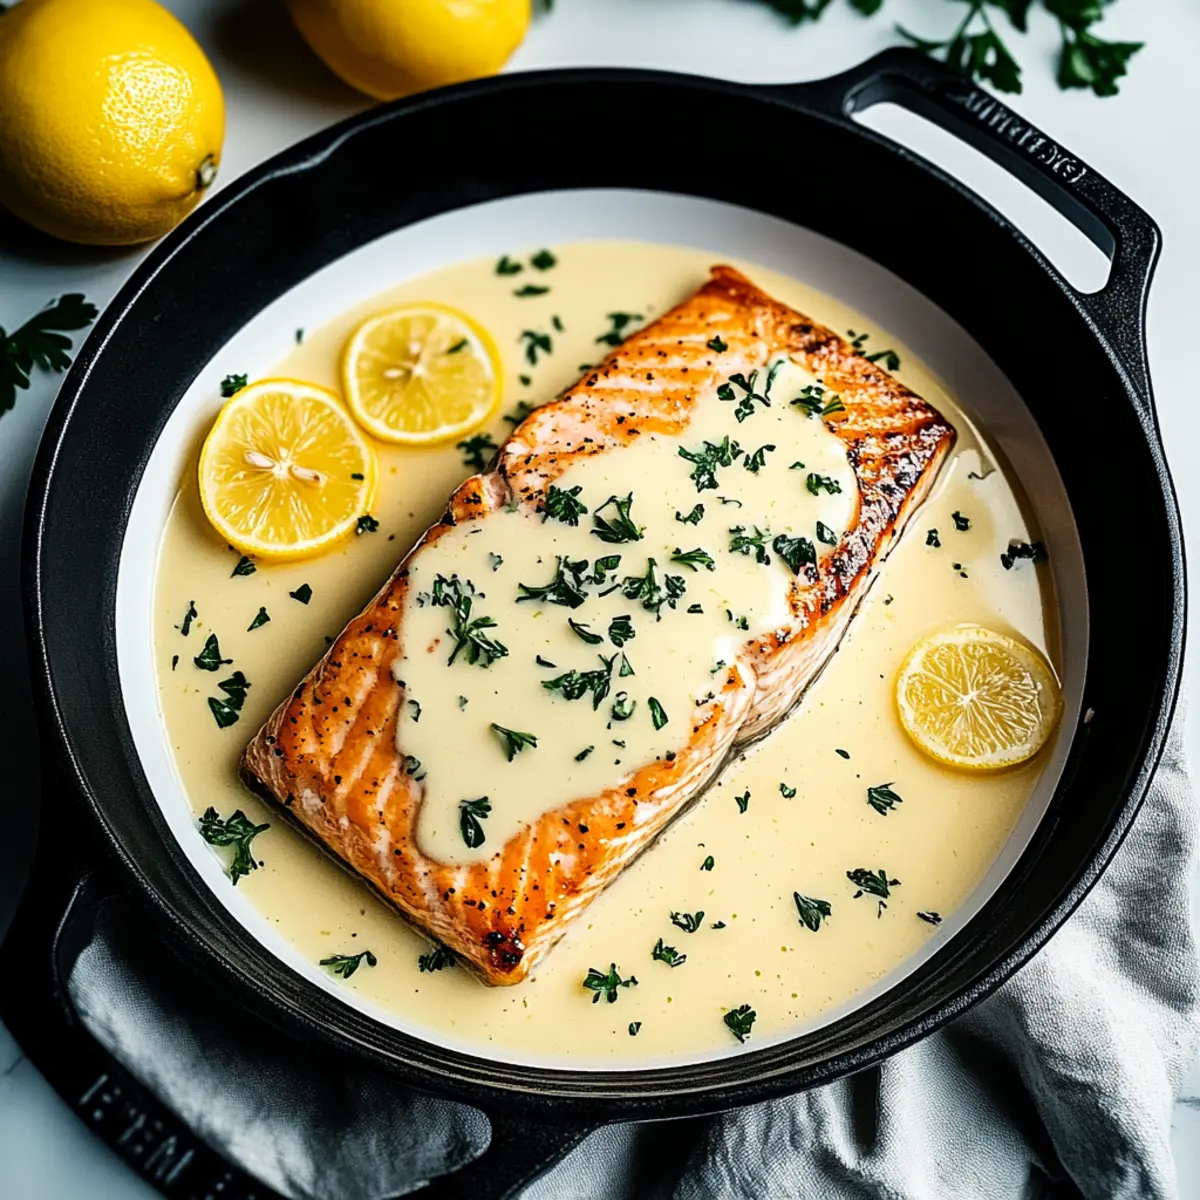
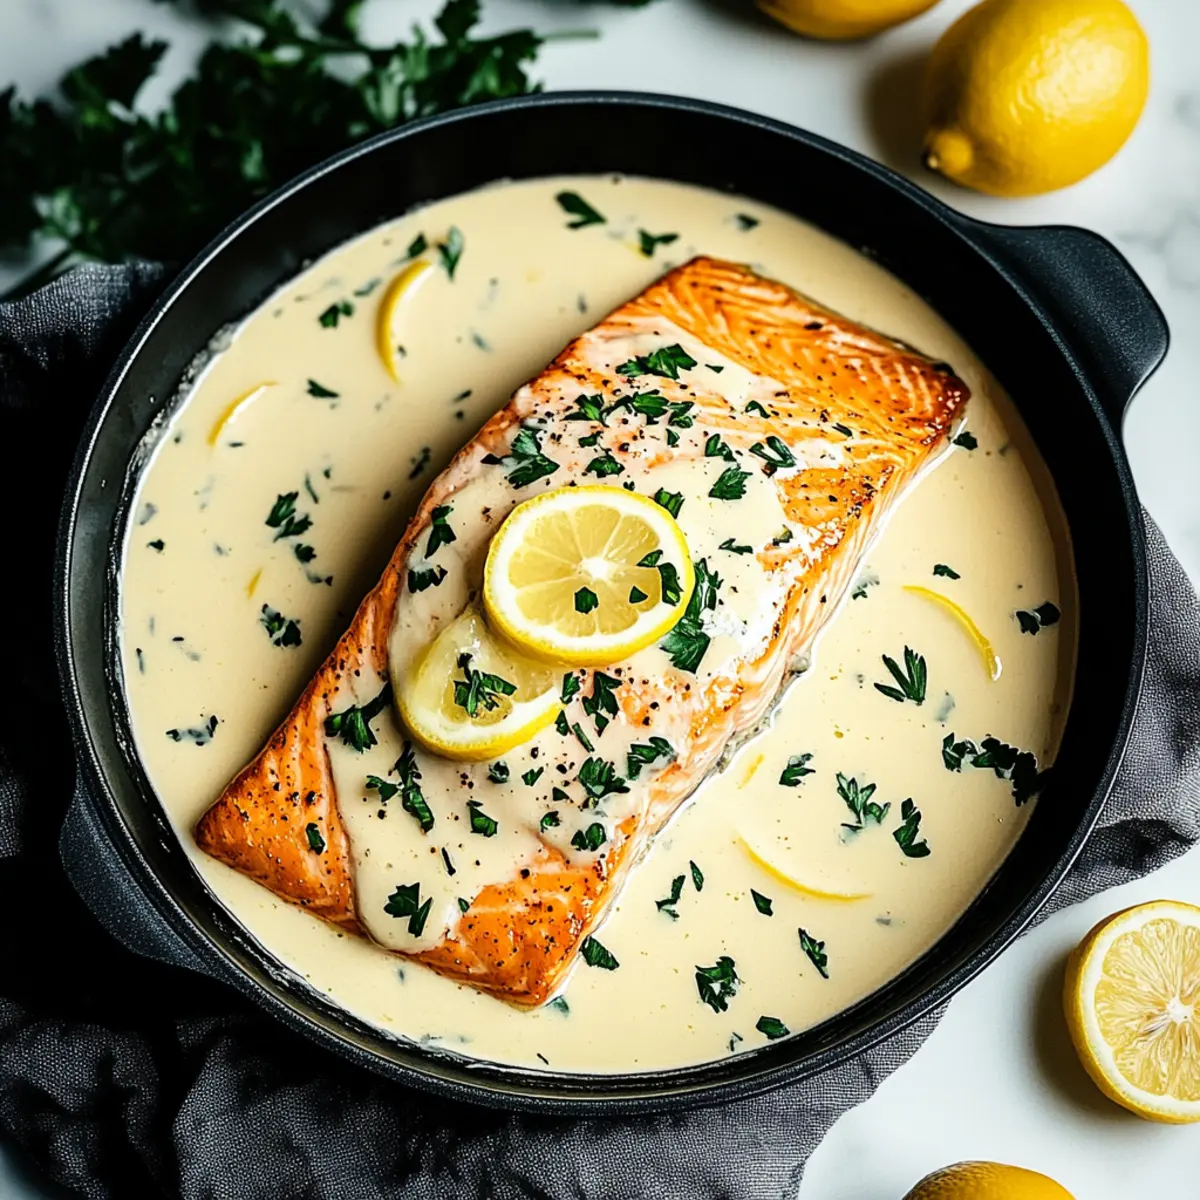
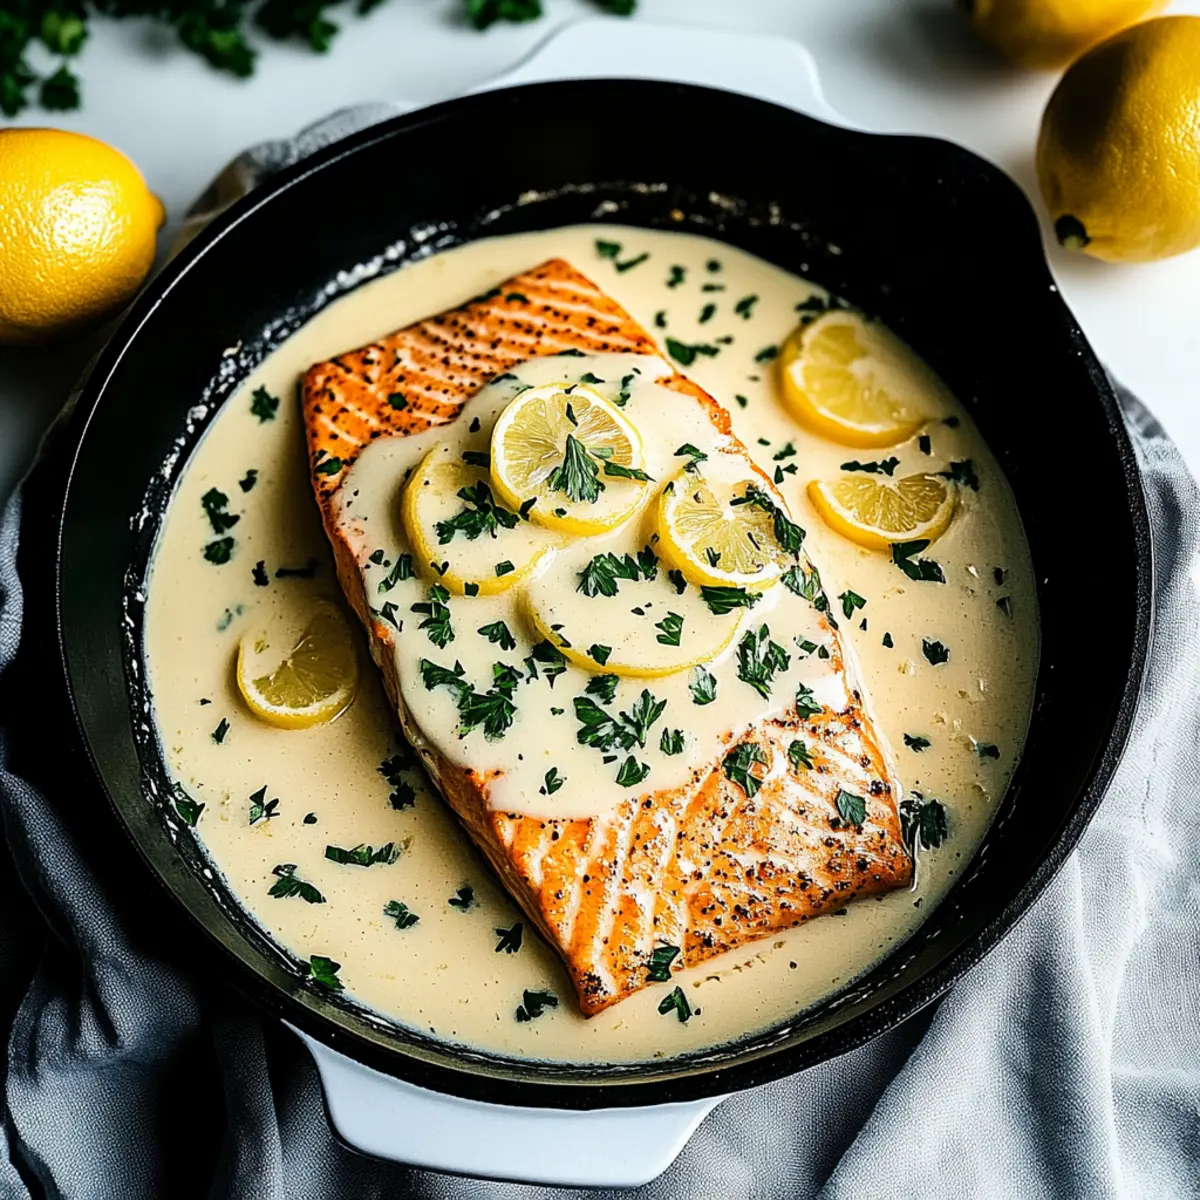
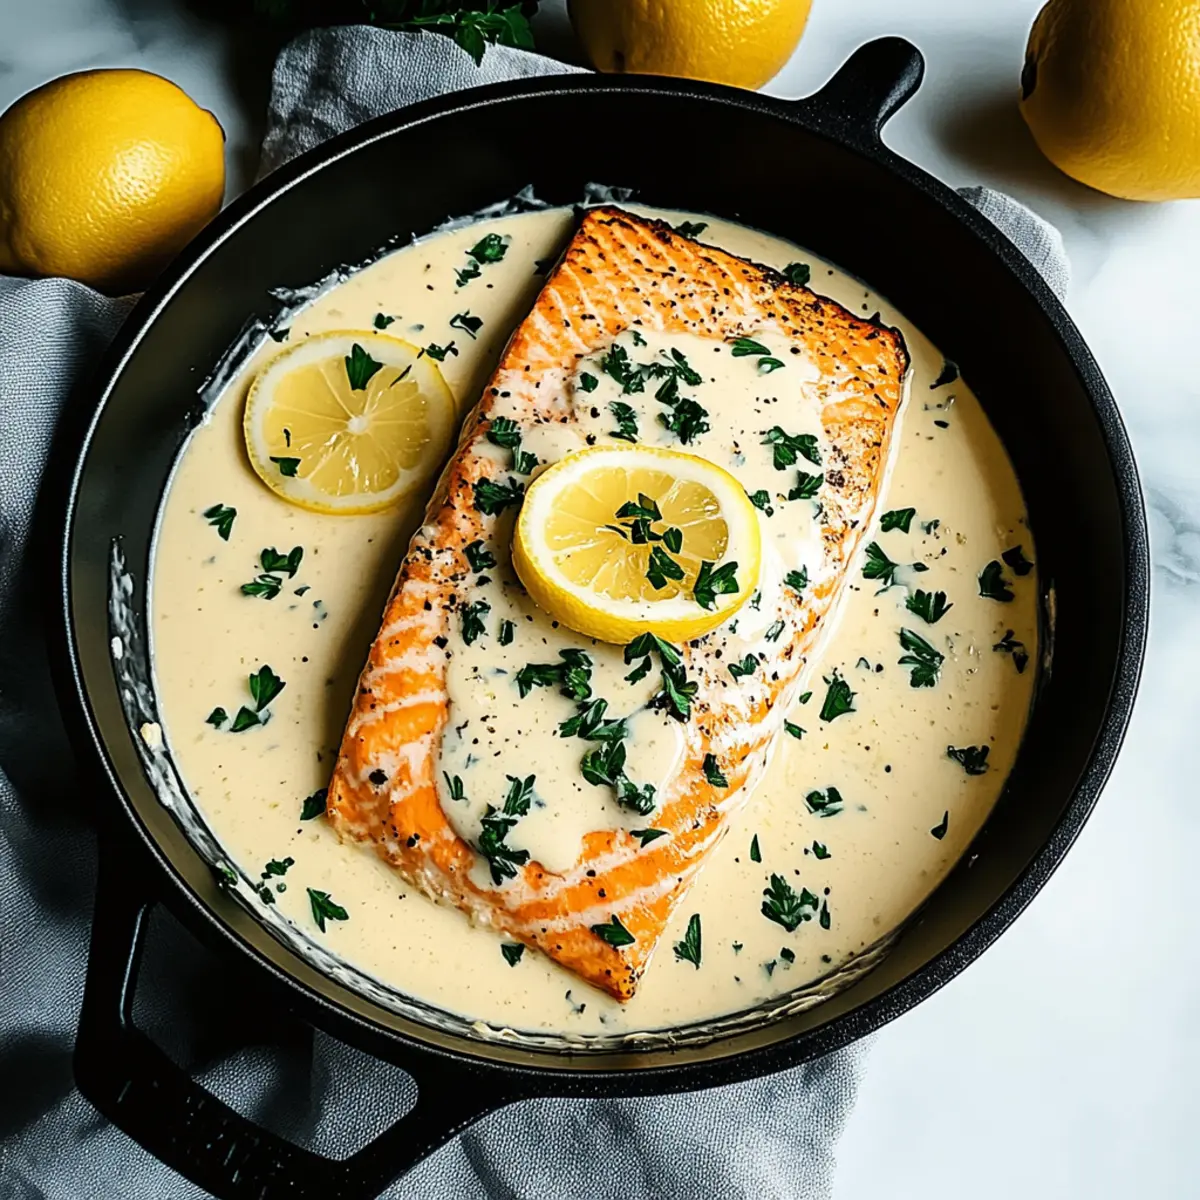
Begin by preheating your oven to 350°F (175°C). This temperature creates the perfect baking environment for your sweet potato casserole, allowing it to develop a creamy texture while achieving a beautiful golden-brown top. Gather your baking dish, preferably a 9x13 inch, to prepare for the casserole.
Step 2: Prepare the Sweet Potatoes
Next, peel and chop your sweet potatoes into evenly sized chunks before placing them in a large pot. Cover the sweet potatoes with water, bring to a boil, and cook for 15-20 minutes or until they are fork-tender. Once cooked, drain the water, and allow the sweet potatoes to cool slightly before mashing them until smooth.
Step 3: Mix the Casserole Ingredients
In a large mixing bowl, add the mashed sweet potatoes, ½ cup of butter, ¾ cup of brown sugar, ½ cup of milk, and a teaspoon of cinnamon. Use a hand mixer or a whisk to blend these ingredients together until the mixture is creamy and well combined. This step ensures the sweet potato casserole is rich and flavorful, ready for the baking dish.
Step 4: Transfer to Baking Dish
Spoon the creamy sweet potato mixture into your pre-greased baking dish, spreading it evenly with a spatula. Make sure the mixture covers the bottom of the dish thoroughly to ensure even baking. Your sweet potato casserole should now look smooth and inviting, ready for its topping.
Step 5: Add the Topping
For a classic sweet potato casserole, sprinkle a generous layer of marshmallows evenly over the top of the sweet potato mixture. Alternatively, if you're using pecans, mix chopped pecans with a tablespoon of brown sugar and scatter this over the casserole for a delightful crunch. Both options will enhance the flavor and texture beautifully.
Step 6: Bake the Casserole
Place the baking dish in your preheated oven and bake for 25-30 minutes. Keep an eye on the casserole as it bakes; look for the marshmallows to turn golden brown and the pecans to become toasted. The aroma will fill your kitchen, signaling that your sweet potato casserole is nearly ready to serve.
Step 7: Cool and Serve
Once baked, remove the sweet potato casserole from the oven and let it sit for 5-10 minutes before serving. This resting time helps the casserole firm up slightly, making it easier to scoop out portions. As you serve this comforting dish, watch everyone’s eyes light up with delight at this cozy, nostalgic treat!
How to Store and Freeze Sweet Potato Casserole
Fridge: Store leftover sweet potato casserole in an airtight container in the refrigerator for up to 3 days. Reheat individual portions in the microwave or the entire dish in the oven until warmed through.
Freezer: This casserole freezes beautifully! To freeze, wrap tightly in plastic wrap and then aluminum foil, and store for up to 2 months. Thaw overnight in the fridge before reheating.
Reheating: When ready to enjoy, place the casserole in a preheated oven at 350°F (175°C) for about 20-25 minutes until heated through. You might want to refresh the topping with some extra marshmallows or pecans for that fresh, golden look.
Make-Ahead: Feel free to prepare the sweet potato casserole a day before your gathering. Just cover tightly and refrigerate, then bake before serving for an easy, joyful meal!
Make Ahead Options
These deliciously creamy sweet potato casseroles are perfect for meal prep enthusiasts! You can prepare the sweet potato mixture up to 24 hours in advance; simply mash the sweet potatoes and mix in butter, brown sugar, milk, and cinnamon, then cover tightly with plastic wrap or transfer into an airtight container to refrigerate. The marshmallow or pecan topping can also be added right before baking to ensure they remain fresh and crispy. When you're ready to serve, simply preheat your oven and bake the casserole for 25-30 minutes until golden brown. By prepping ahead, you save valuable time—allowing you to enjoy festive moments with your loved ones!
What to Serve with Deliciously Creamy Sweet Potato Casserole?
Experience a festive feast by pairing this creamy dish with sides that enhance its warm flavors and textures.
- Roasted Turkey: Juicy turkey perfectly complements the sweetness of the casserole, creating a satisfying contrast that’s quintessential for holiday meals.
- Green Bean Almondine: Fresh green beans sautéed with almonds offer a crunchy texture and a nutty flavor, balancing the creaminess of the casserole beautifully.
- Cranberry Sauce: The tartness of cranberry sauce cuts through the richness, invigorating each bite and enhancing the festive spirit of your meal.
- Cornbread Muffins: Soft, sweet cornbread muffins echo the southern charm of the casserole while adding a delightful contrast in texture and flavor.
- Garlic Mashed Potatoes: Creamy and buttery, garlic mashed potatoes create a comforting duo with sweet potato casserole, making every forkful irresistible.
- Honey Glazed Carrots: The natural sweetness and slight crunch of honey-glazed carrots harmonize with the casserole and provide visual appeal to your plate.
- Sparkling Apple Cider: A refreshing drink, sparkling apple cider adds a festive fizz that pairs perfectly with the rich flavors of sweet potato casserole.
- Pumpkin Pie: For dessert, classic pumpkin pie captures the essence of fall while its spiced flavors resonate with the warmth of the casserole.
Embrace the joyful ambiance of a cozy gathering with these delightful pairings, creating an inviting and memorable dining experience!
Expert Tips for Sweet Potato Casserole
-
Perfectly Mashed: Ensure sweet potatoes are well-mashed with no lumps. Creamier texture makes for a more delightful sweet potato casserole.
-
Watch the Topping: If using marshmallows, keep a close eye as they can burn easily. Broil the last minute for a gorgeous golden finish.
-
Resting Time: Allow the casserole to sit for 5-10 minutes after baking. This resting period helps it set, making serving easier.
-
Flavor Variations: Don’t hesitate to experiment with spices. Nutmeg or ginger can elevate the flavor profile and add a unique twist to your sweet potato casserole.
-
Storage Solutions: Prepare in advance! Make the casserole a day early, cover it tightly, and refrigerate. Reheating it in the oven brings back that fresh-baked touch.
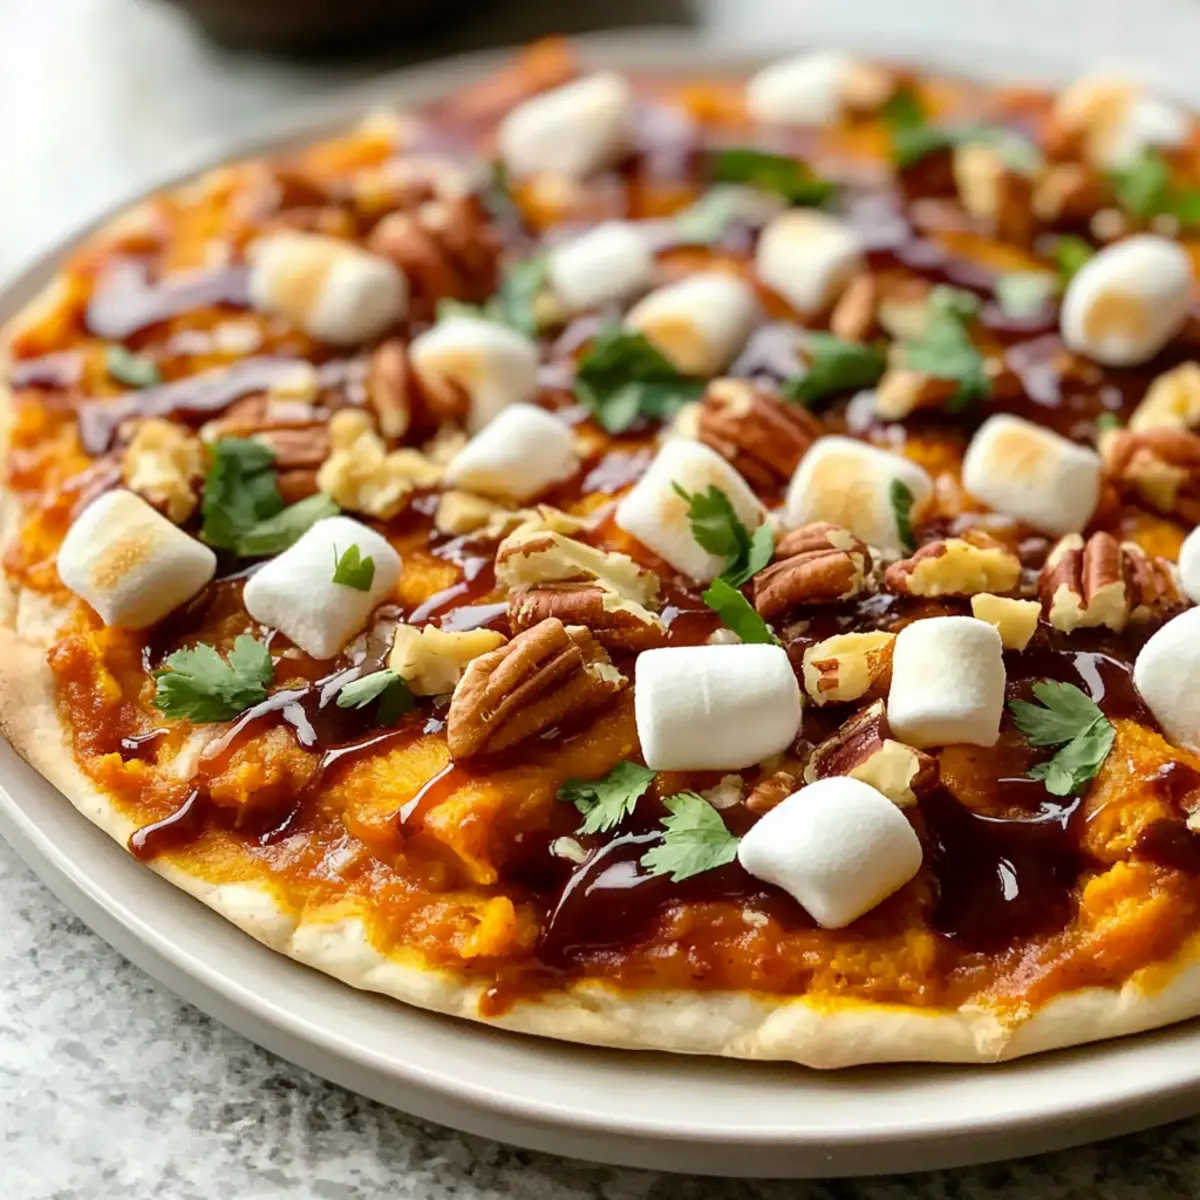
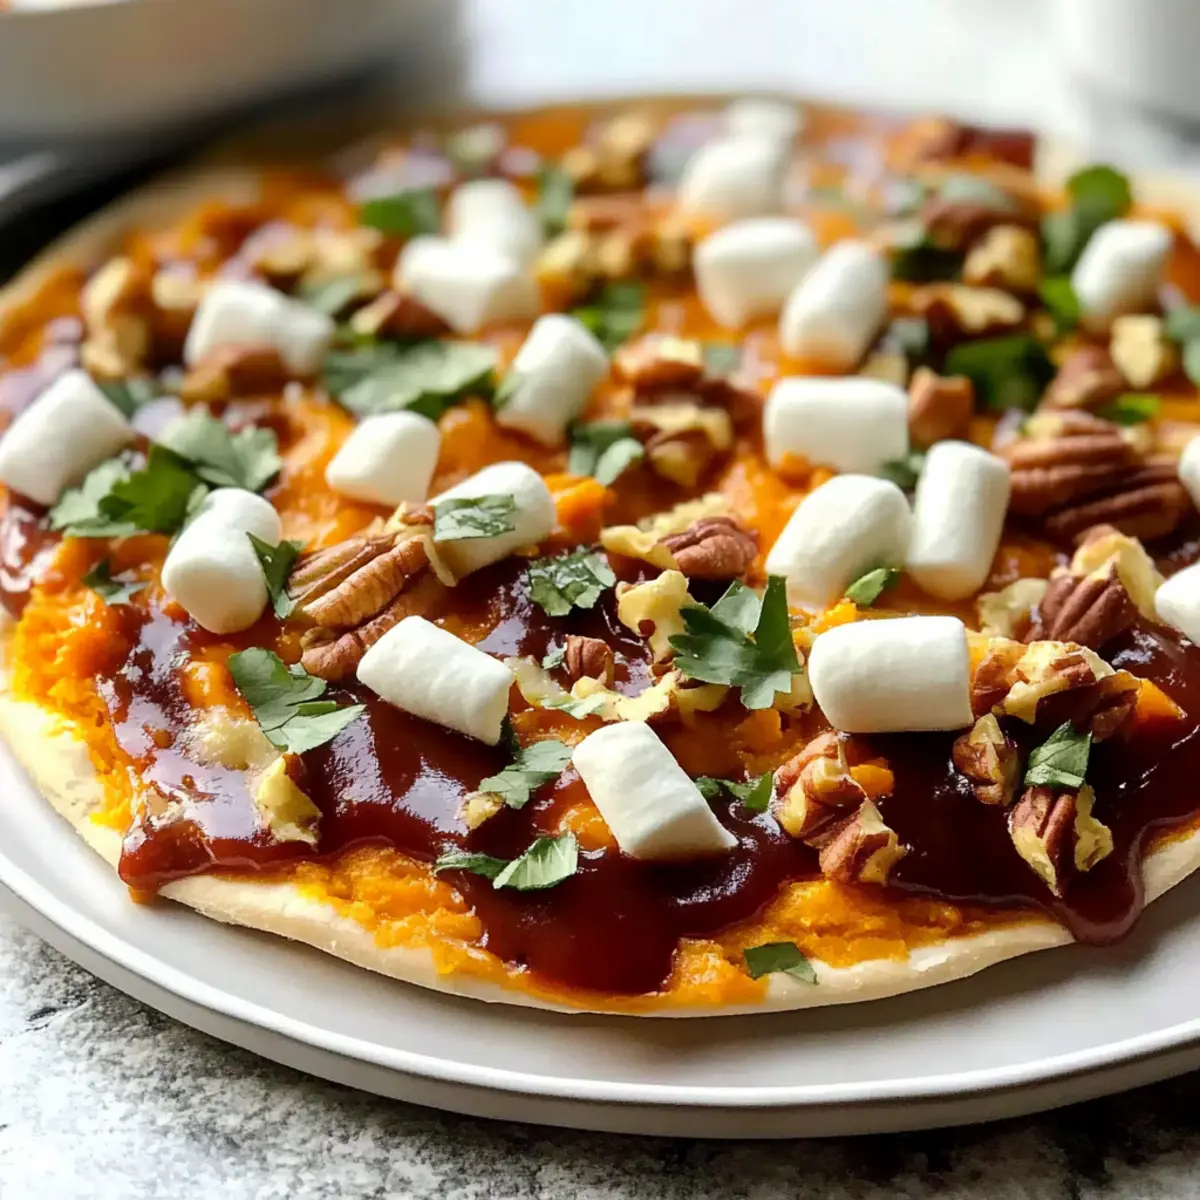
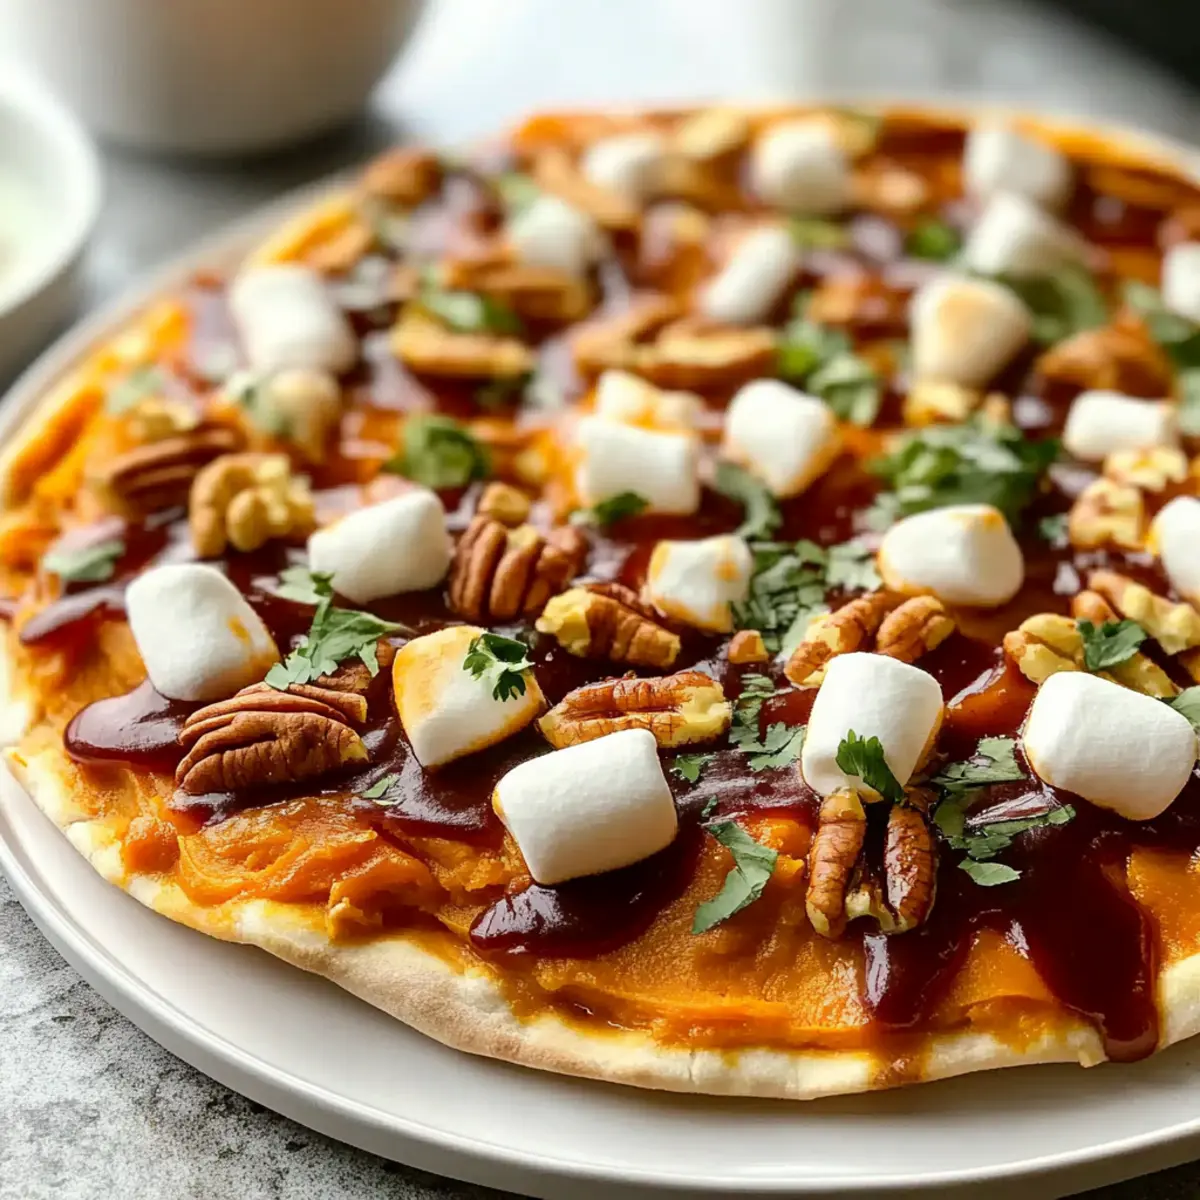
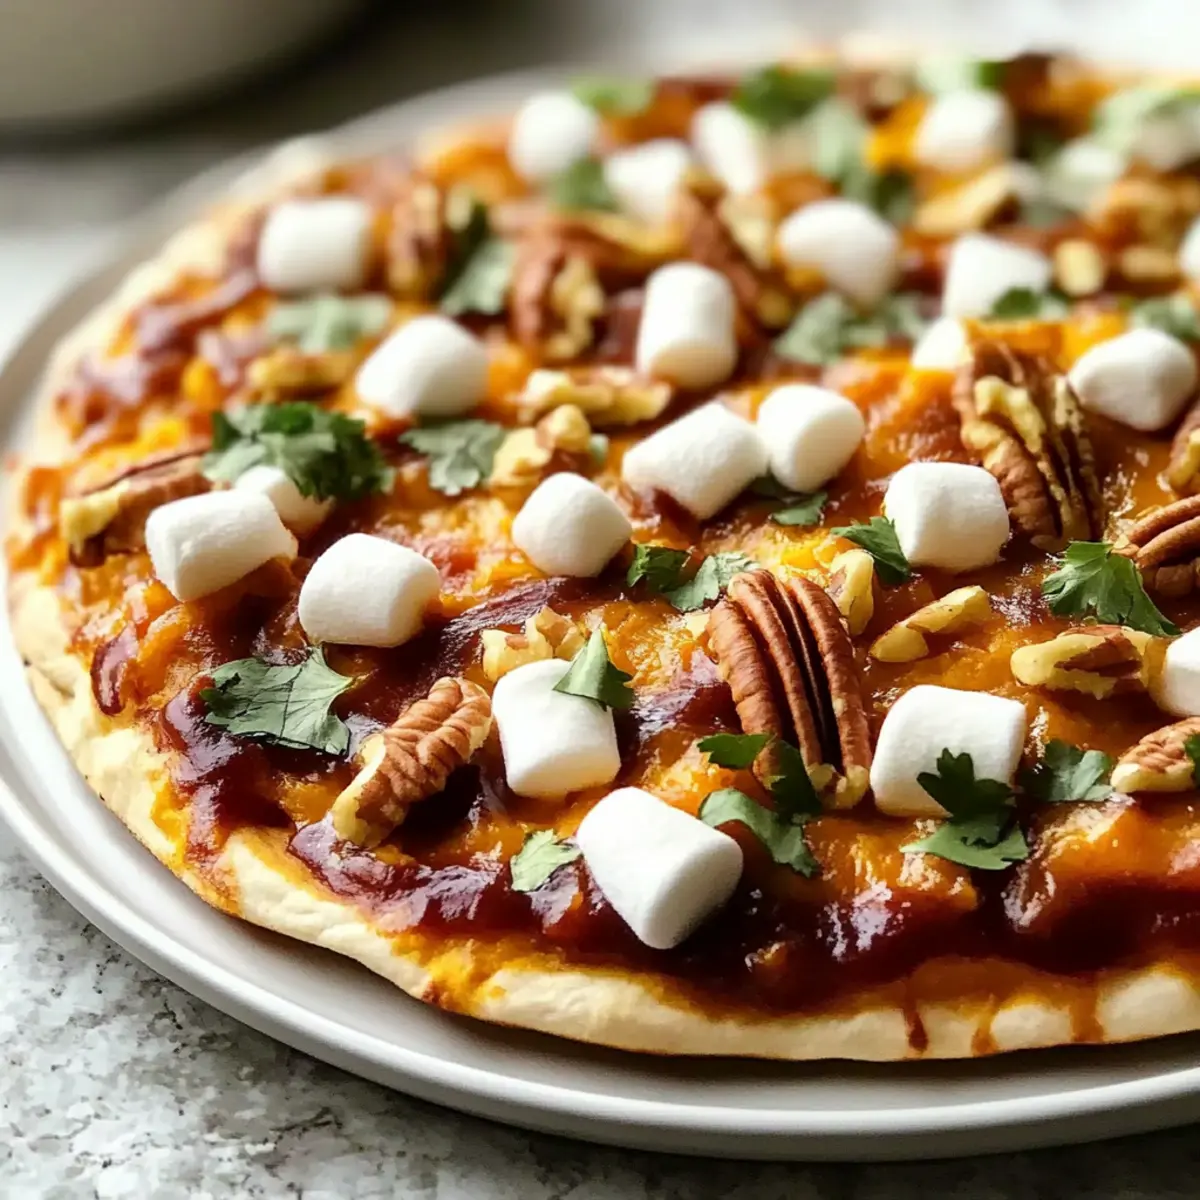
BBQ Chicken Flatbread Variations
Get ready to unleash your creativity with this recipe and make it your own!
- Gluten-Free: Use gluten-free flatbread or cauliflower crust to enjoy a delicious meal without the gluten.
- Spicy Kick: Add sliced jalapeños or a drizzle of hot sauce to give your flatbread a fiery flavor boost. Spicing things up brings a whole new dimension to this dish!
- Veggie Packed: Incorporate roasted vegetables like bell peppers, onions, or zucchini for added nutrition and flavor. Each bite will surprise you with a delightful crunch!
- Creamy Avocado: Top with sliced avocado to add a creamy texture that beautifully compliments the BBQ sauce. It’s a tasty contrast that makes every mouthful simply irresistible!
- Pulled Pork Alternative: Swap the chicken for pulled pork for a different take on this beloved classic. The smoky goodness will be a hit at your next gathering!
- Herb Infusion: Sprinkle fresh herbs like cilantro or basil on top just before serving for a burst of freshness. This little touch makes such a difference in flavor!
- Cheesy Delight: Add a blend of mozzarella and cheddar cheese for an extra cheesy experience that elevates your flatbread. Who doesn’t love an ooey-gooey texture?
- Sweet Pineapple: Include diced pineapple for a sweet twist that contrasts beautifully with the savory BBQ chicken. This tropical addition will make your taste buds dance!
Feel free to mix and match these variations to create a BBQ chicken flatbread that suits your taste. You can even serve it alongside some delightful dishes like Chipotle Lime Chicken and Rice for a complete meal experience! Enjoy exploring the delicious possibilities!
Sweet Potato Casserole Recipe FAQs
What type of sweet potatoes should I use?
Absolutely! Fresh sweet potatoes are ideal for this recipe, as they provide a wonderfully creamy texture and natural sweetness. You can also use canned sweet potatoes if you're looking for convenience. Just be sure to drain and rinse them well before mashing!
How should I store leftover sweet potato casserole?
Very easy! Store any leftover casserole in an airtight container in your refrigerator for up to 3 days. To reheat, you can pop individual servings in the microwave or warm the entire dish in a preheated oven at 350°F (175°C) until heated through.
Can I freeze sweet potato casserole?
Yes, you can! To freeze, first allow the casserole to cool completely. Then tightly wrap it in plastic wrap followed by aluminum foil to prevent freezer burn. It can be frozen for up to 2 months. When you’re ready to enjoy it, thaw it overnight in the fridge and then reheat in the oven.
What should I do if my casserole is too watery?
If you find your sweet potato casserole is too watery, don't worry! You can add a tablespoon of cornstarch or flour to the mixture before baking to help thicken it up. Additionally, you could bake it a little longer, uncovered, to allow some moisture to evaporate and achieve that perfect creamy consistency.
Are there any dietary considerations I should keep in mind?
Absolutely! If you're considering allergies or dietary restrictions, this sweet potato casserole can be easily modified. Use dairy-free butter and milk alternatives like almond or oat milk for a dairy-free version. And skip the marshmallows if you prefer a healthier take, or swap in crushed nuts instead. Always check labels for gluten content for those following a gluten-free diet.
Can I prepare sweet potato casserole ahead of time?
Yes, you can! Make the casserole a day before your gathering, cover it tightly with plastic wrap, and store it in the refrigerator. Just bake it right before serving to maintain that freshly baked goodness. For the topping, you might want to add marshmallows or pecans just before baking for that delightful crunch and golden finish!
Mouthwatering BBQ Chicken Flatbread for a Cozy Night In
Ingredients
Equipment
Method
- Preheat your oven to 350°F (175°C). Gather your baking dish.
- Peel and chop sweet potatoes, boil until fork-tender, then mash.
- Mix mashed sweet potatoes, butter, brown sugar, milk, and cinnamon in a bowl until creamy.
- Transfer the mixture to a greased baking dish, spreading evenly.
- Add marshmallows or a pecan topping mixed with brown sugar.
- Bake for 25-30 minutes until golden brown.
- Let it cool for 5-10 minutes before serving.