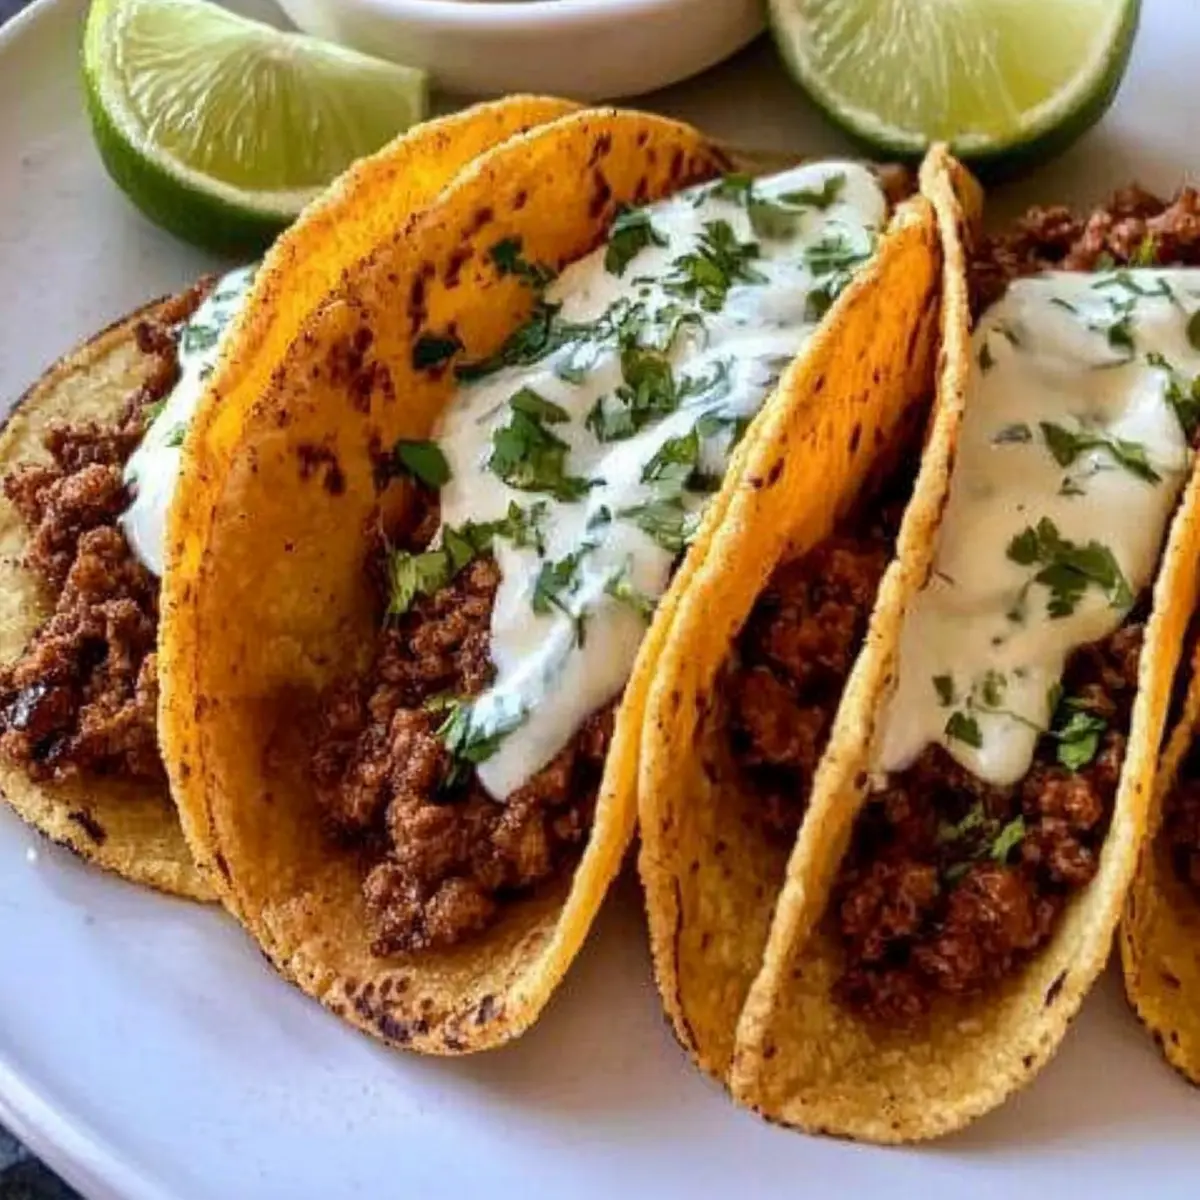
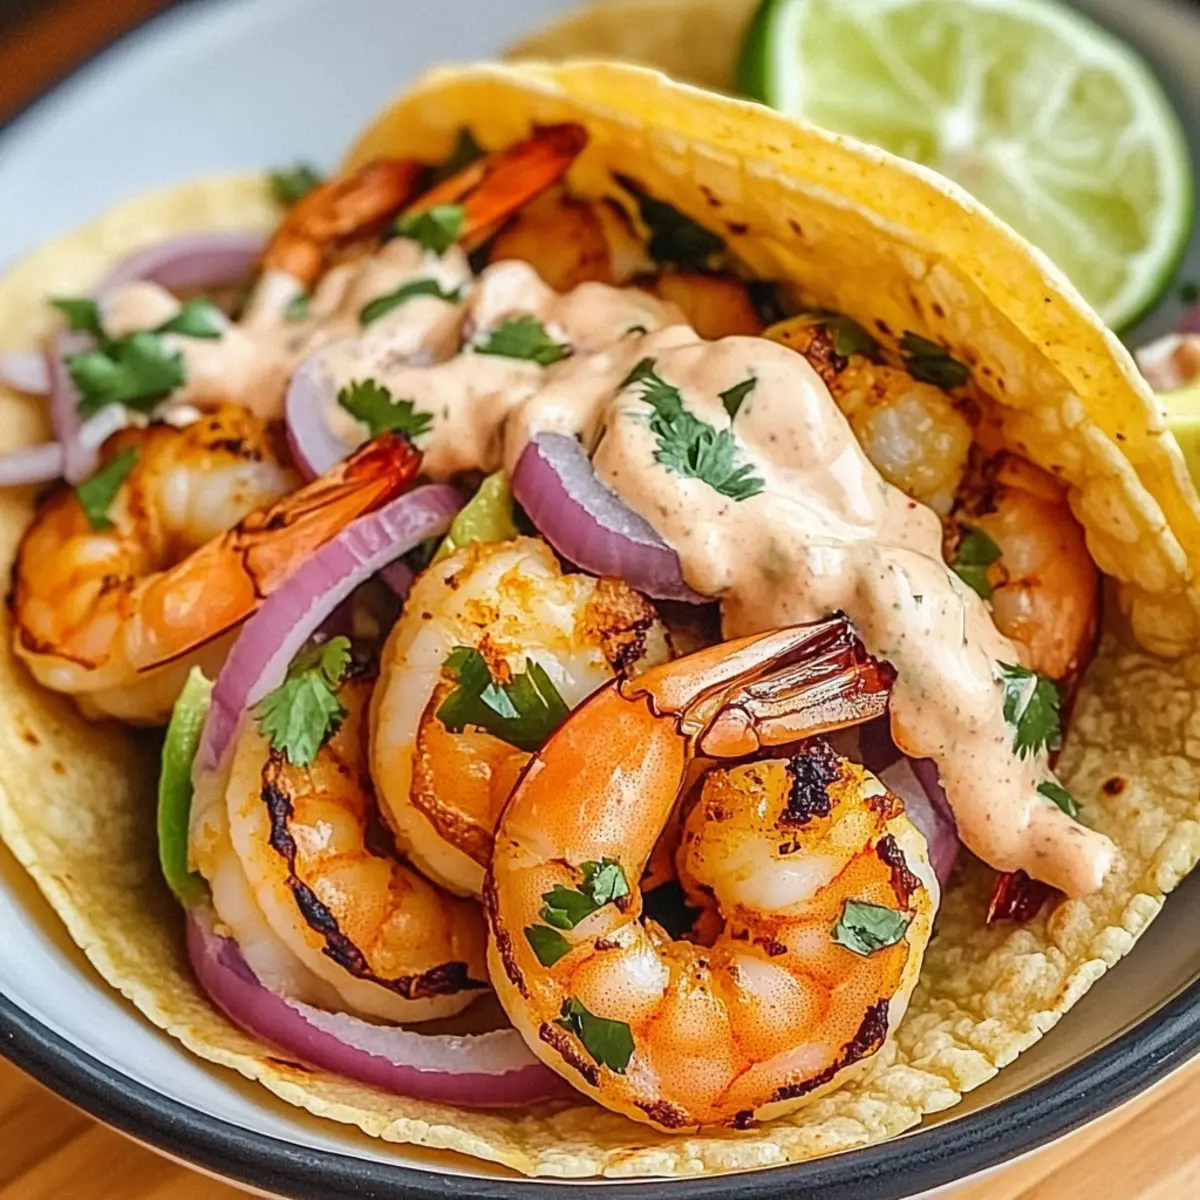
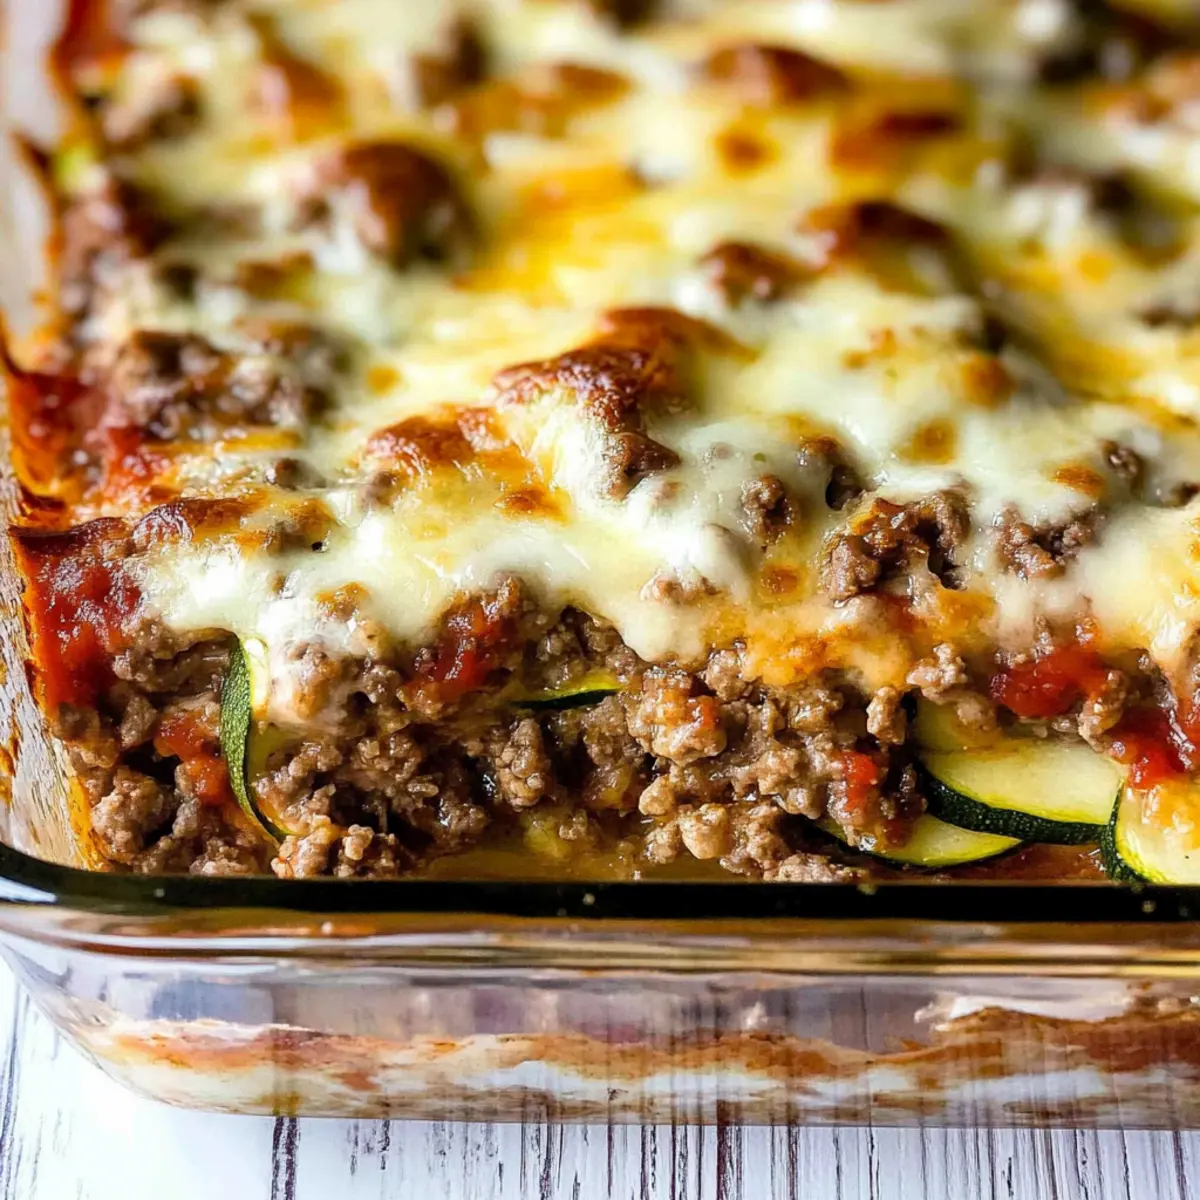
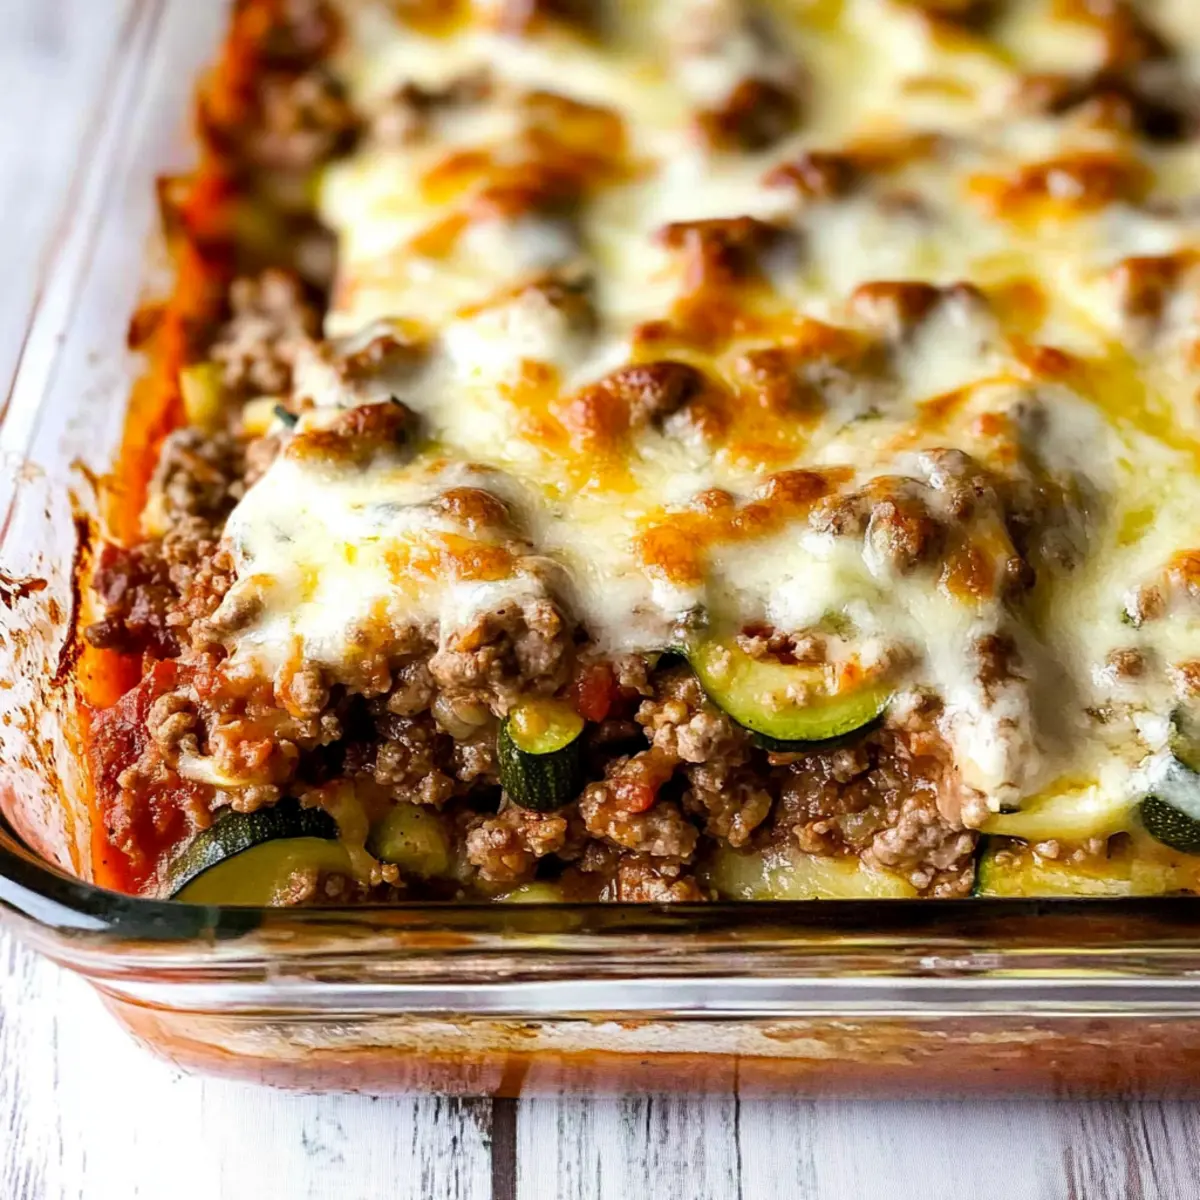
The moment I took that first bite of a crispy chicken taco, a delightful crunch met my taste buds, igniting a joyful dance in my kitchen. These Crispy Chicken Tacos are not just a recipe; they are your ticket to a fiesta of flavor that brings friends and family together. Perfect for those hectic weeknights or when the weekend calls for some fun and relaxation, this dish boasts a quick prep time and an addictive texture that will have everyone reaching for seconds. With each layer—a crispy tortilla, tender chicken, and vibrant toppings—you'll discover a personal culinary win that makes homemade food feel effortless and exciting. Ready to elevate your taco game and create some delicious memories? Let’s dive in!
Why are Crispy Chicken Tacos irresistible?
Bold flavors come together in these Crispy Chicken Tacos, making every bite a vibrant experience that satisfies your cravings. Quick and easy to prepare, this recipe fits perfectly into your busy week, proving that homemade meals don't have to be time-consuming. Crowd-pleasing and customizable, they’re perfect for gatherings or a cozy night in. Endless topping possibilities allow everyone to create their own masterpiece—just like with our Taco Bar Fiesta idea! Get ready for taco night that will become a family favorite with these delightful crunchy bites!
Crispy Chicken Taco Ingredients
For the Chicken Filling
• Chicken breasts – cut into bite-sized pieces for maximum crispiness.
• Cornstarch – helps achieve that golden, crunchy texture on the chicken.
• Taco seasoning – adds a burst of flavor; feel free to adjust according to your spice preference.
• Olive oil – used for frying; choose extra virgin for a richer taste.
For the Tortillas
• Corn tortillas – the key to achieving that authentic taco experience.
• Oil – for frying; opt for canola or vegetable oil for best results.
For the Toppings
• Shredded lettuce – adds a fresh crunch that balances the richness of the chicken.
• Diced tomatoes – for a burst of juicy sweetness in every bite.
• Shredded cheese – like cheddar or queso fresco, to complement the flavors beautifully.
• Sour cream – adds creaminess and a cool contrast to the crispy chicken.
• Fresh cilantro – brings a bright note that elevates the entire dish.
• Lime wedges – for an added zesty kick; perfect for squeezing over your tacos.
These Crispy Chicken Tacos are simple to make yet bursting with flavor, ready to bring joy and warmth to your dining table!
Step‑by‑Step Instructions for Crispy Chicken Tacos
Step 1: Prepare the Chicken
Begin by placing the bite-sized chicken pieces in a bowl. Sprinkle cornstarch and taco seasoning over the chicken, ensuring each piece is thoroughly coated for that crispiness you desire. Let the seasoned chicken rest for about 10 minutes at room temperature, allowing the flavors to meld together while you prepare for frying.
Step 2: Heat the Oil
In a large skillet, heat a generous amount of olive oil over medium-high heat until it shimmers, which usually takes about 3-4 minutes. You want the oil hot enough to create that sizzle when the chicken hits the pan. This crucial step will help achieve the perfect golden-brown color, making your Crispy Chicken Tacos irresistible.
Step 3: Fry the Chicken
Carefully add the coated chicken pieces to the hot oil in batches, ensuring they don't overcrowd the pan. Fry the chicken for approximately 5-7 minutes, turning occasionally until each piece is golden-brown and crispy. Use a slotted spoon to transfer the chicken onto a paper towel-lined plate to drain excess oil, keeping them warm while you prepare the tortillas.
Step 4: Fry the Tortillas
In the same skillet, add a small amount of oil if needed and return to medium-high heat. Once the oil is hot, gently place the corn tortillas in the oil, frying them for about 30 seconds on each side until they are crispy and slightly golden. Drain the fried tortillas on a paper towel to absorb any excess oil and prevent them from getting soggy.
Step 5: Assemble the Tacos
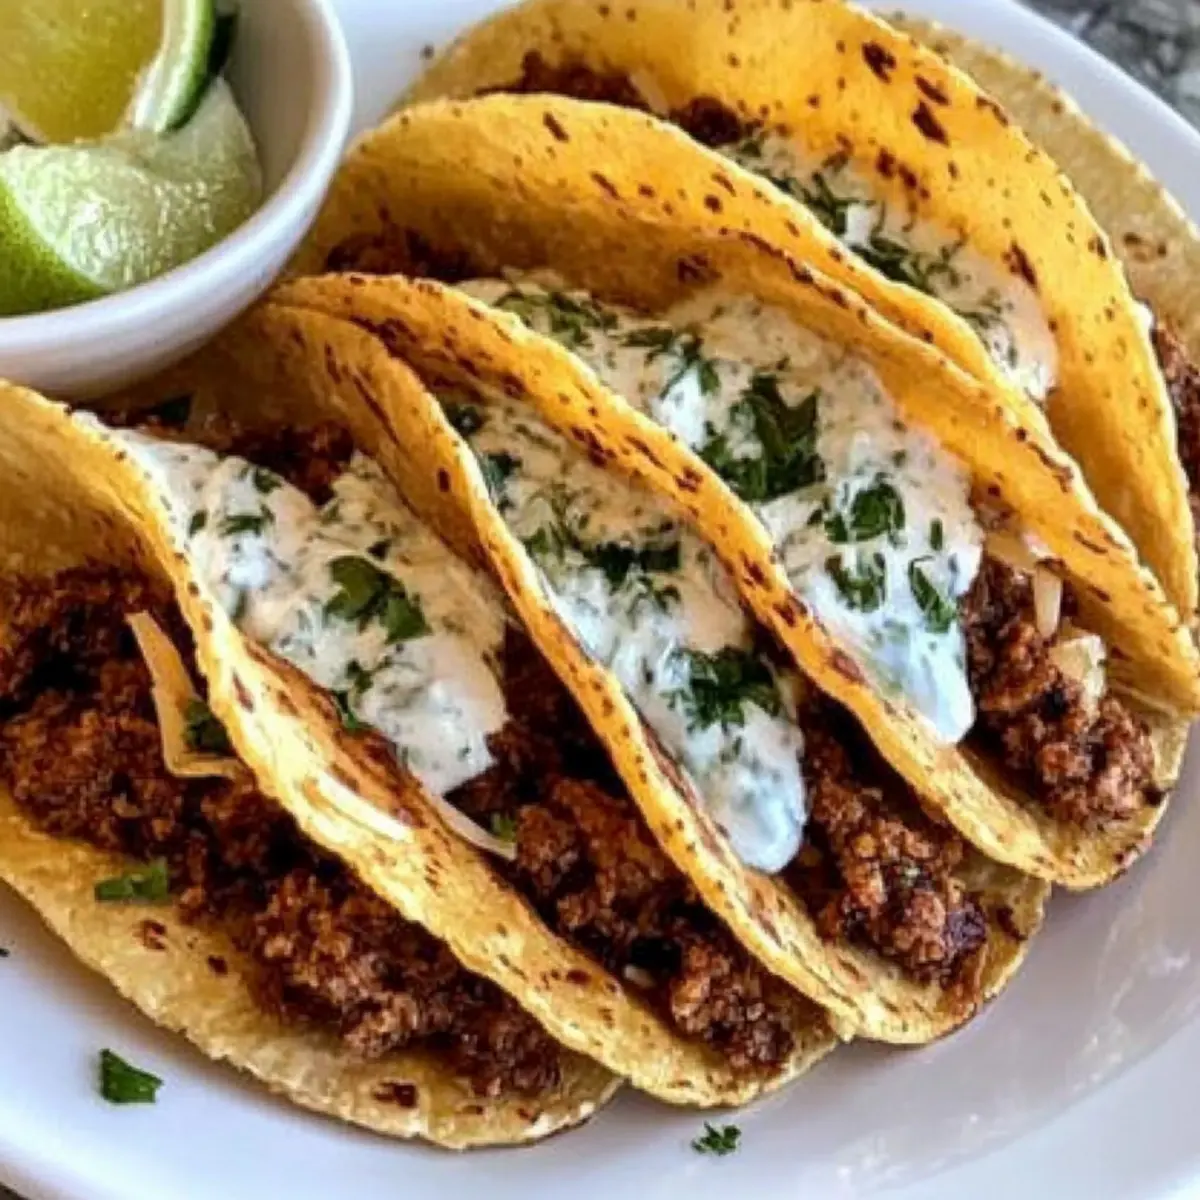
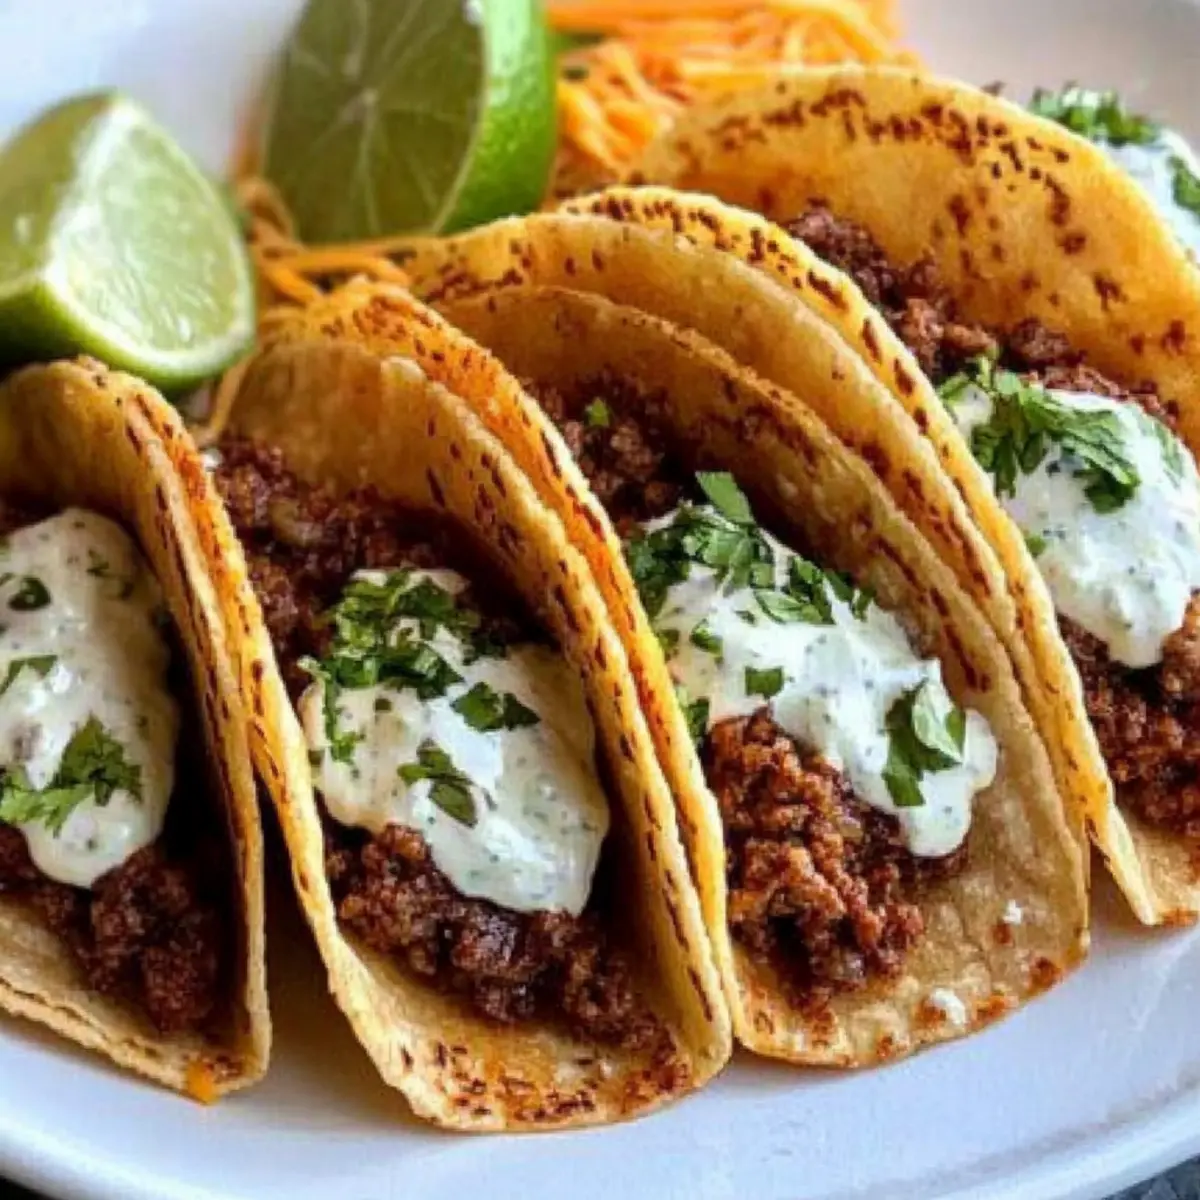
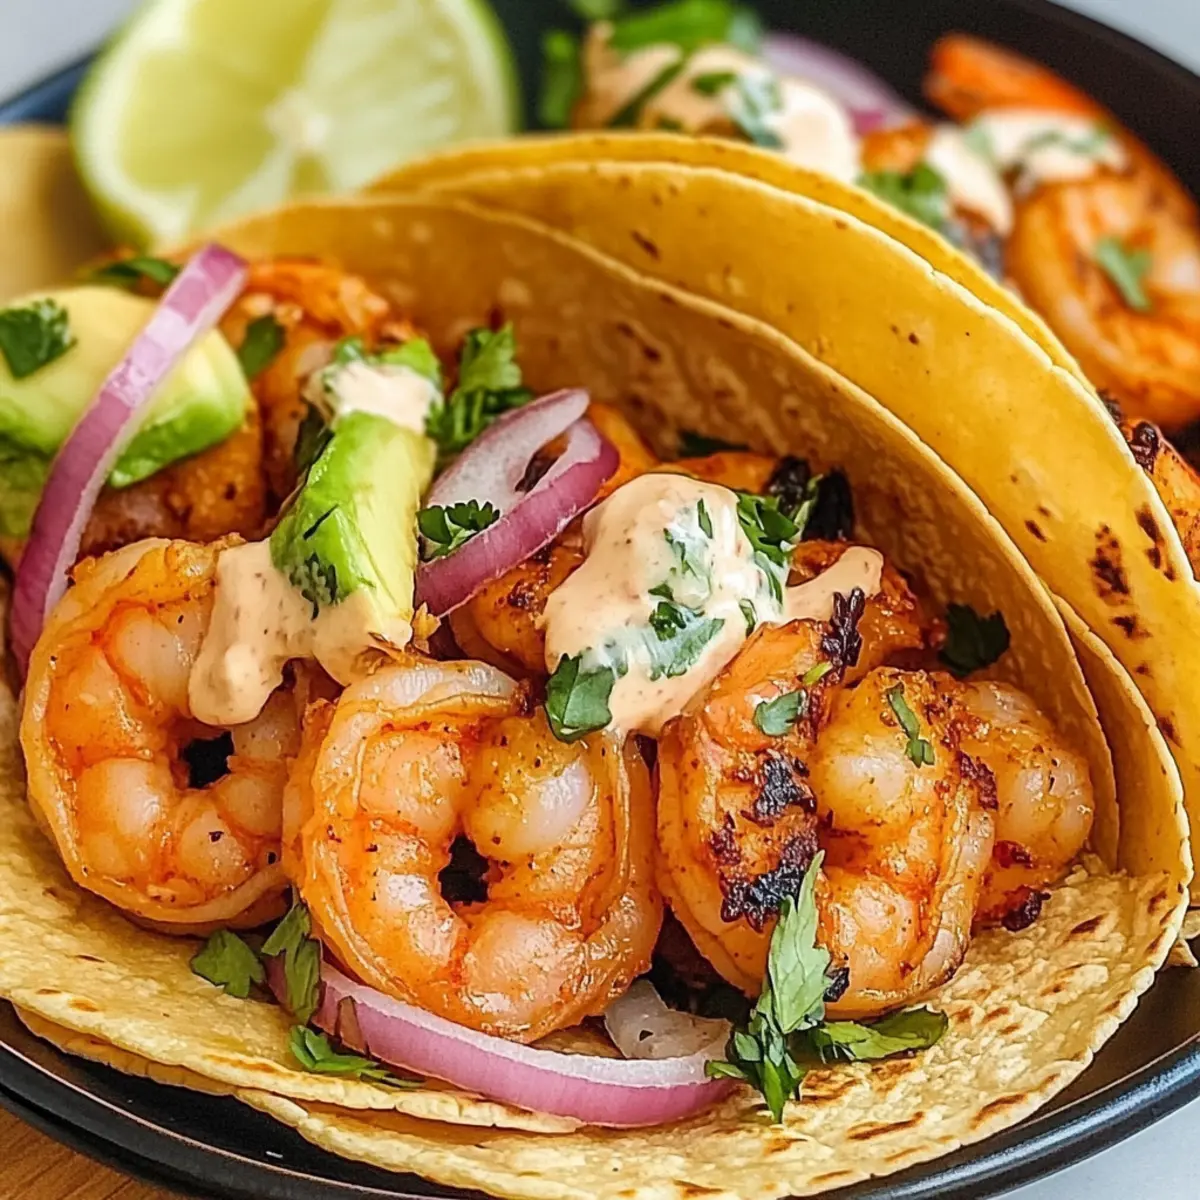
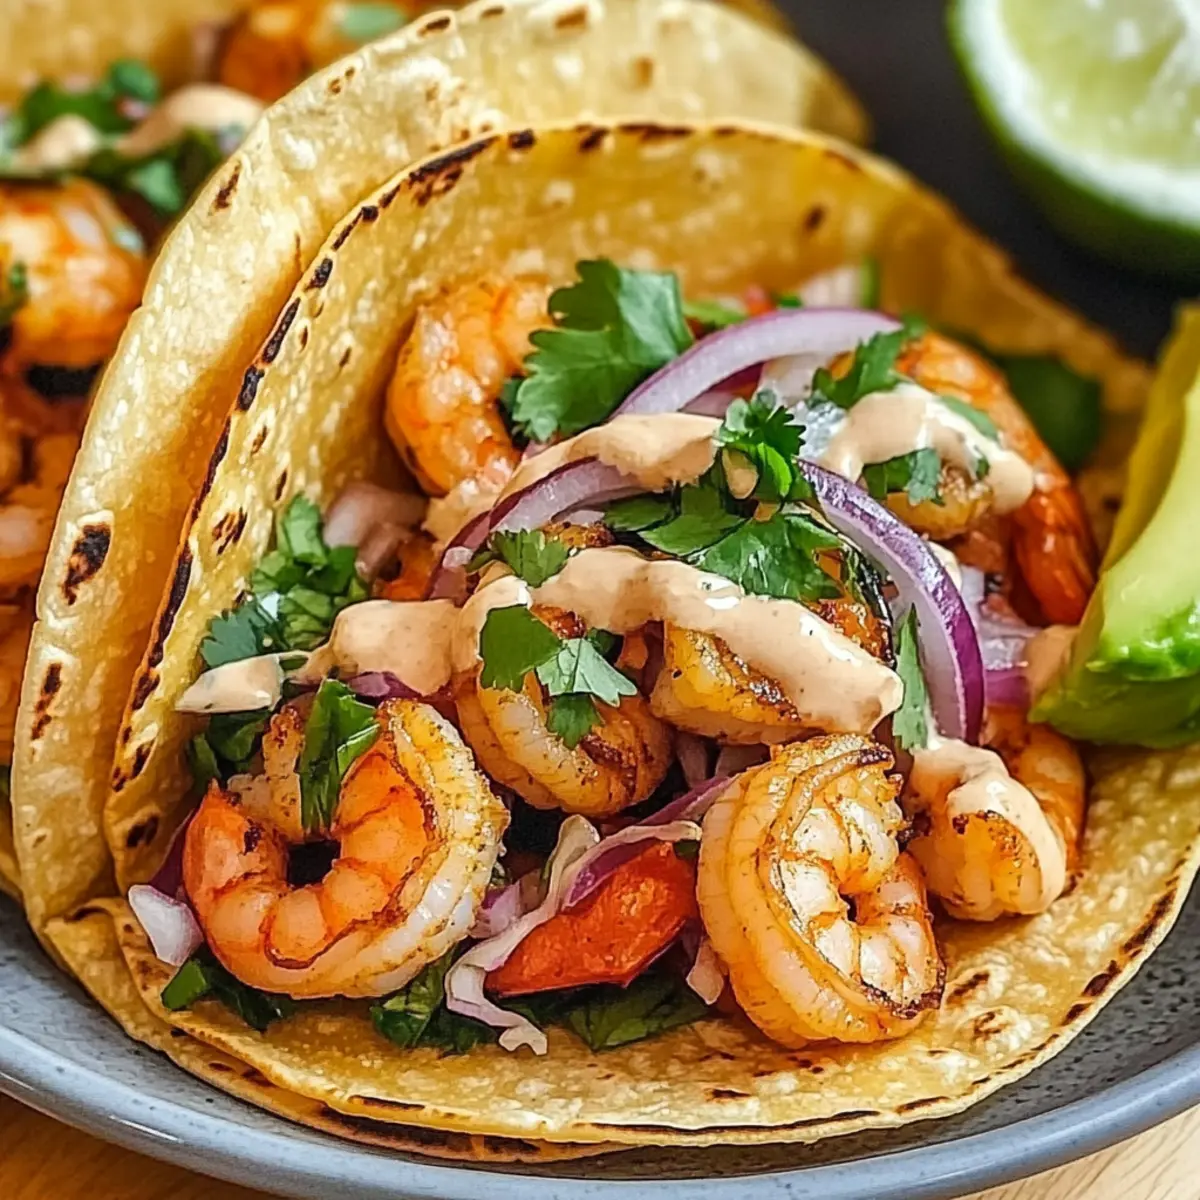
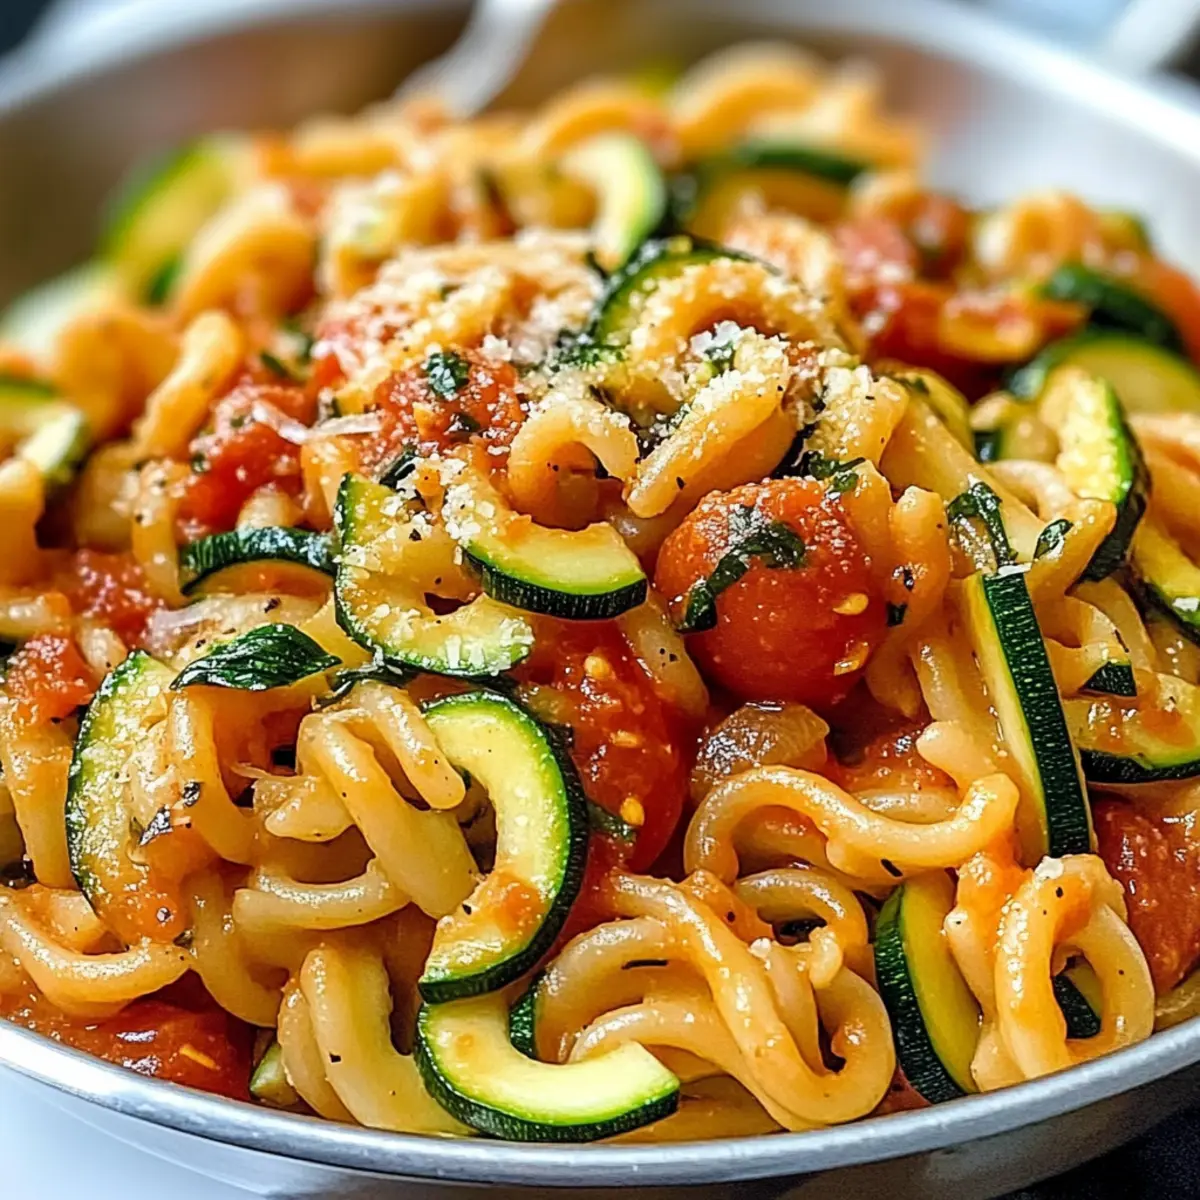
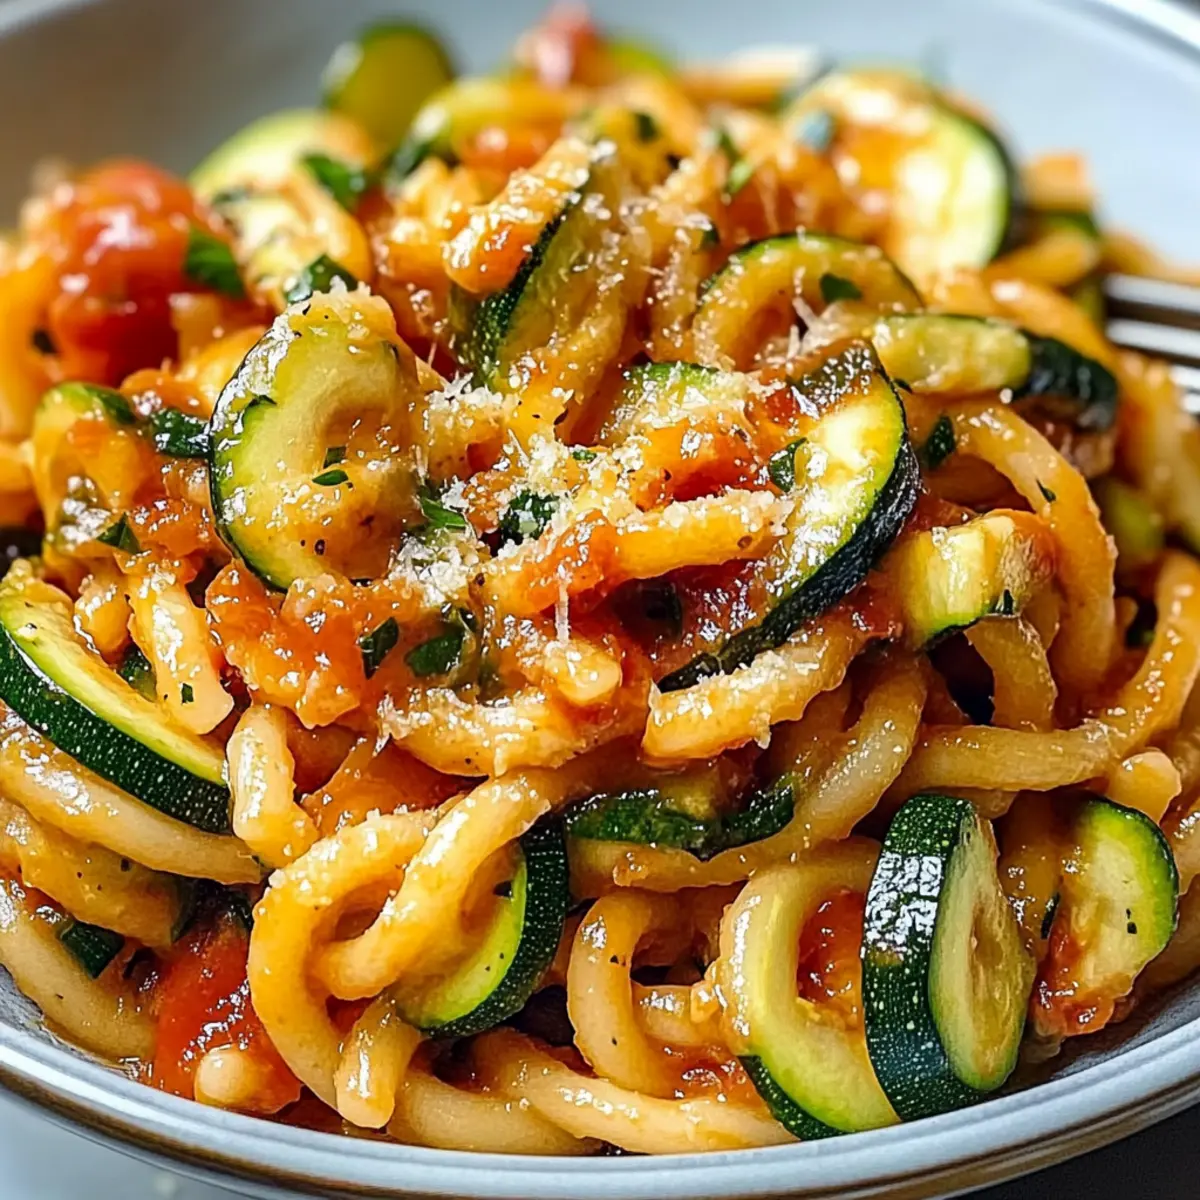
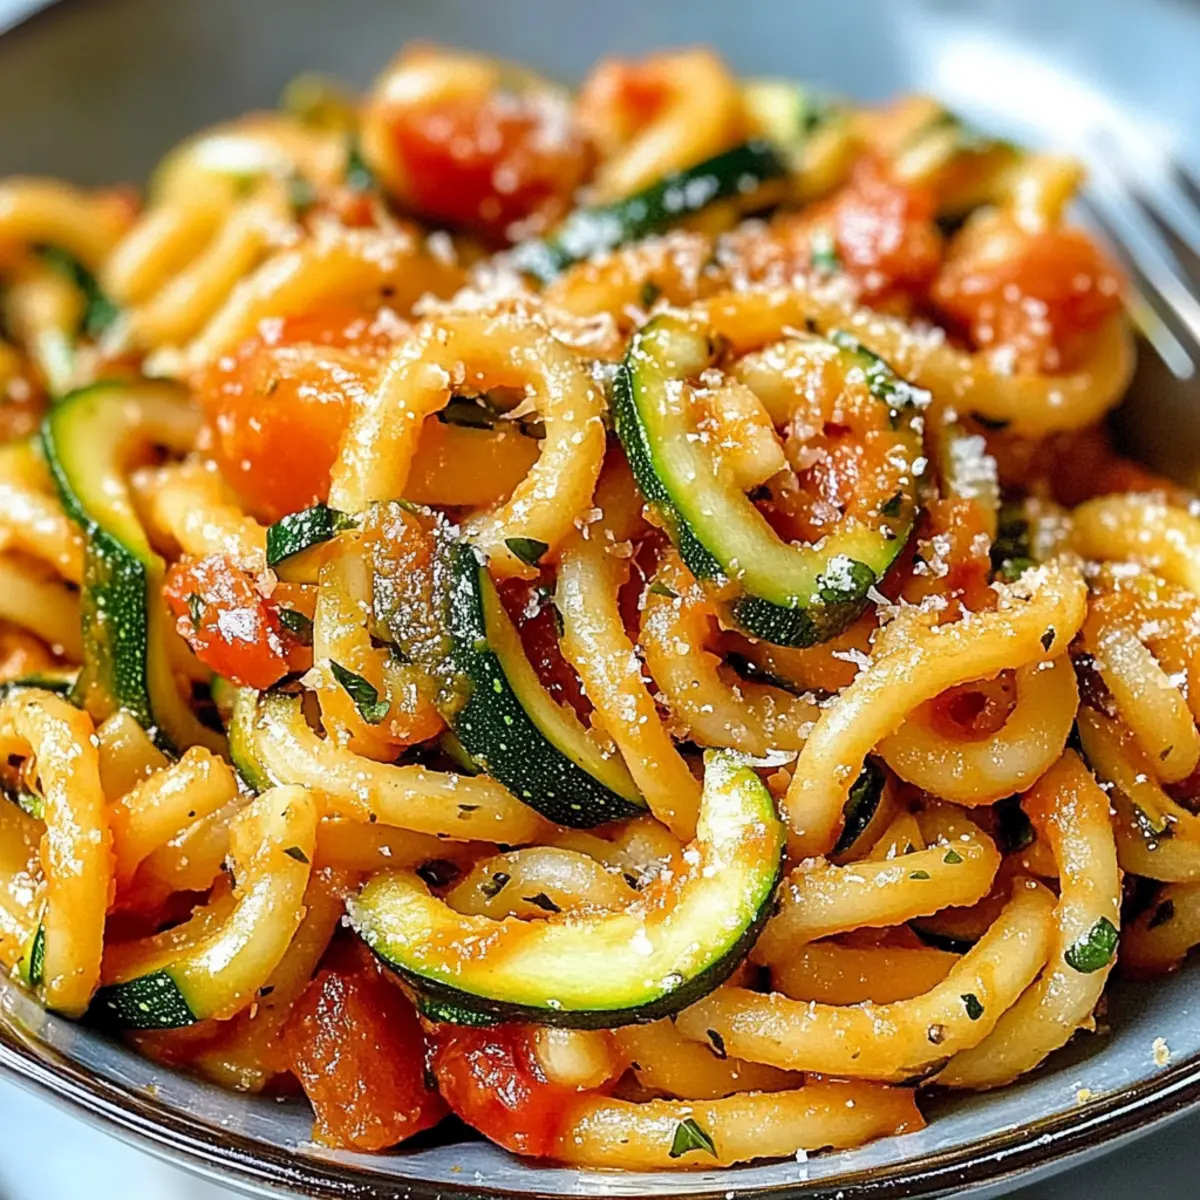
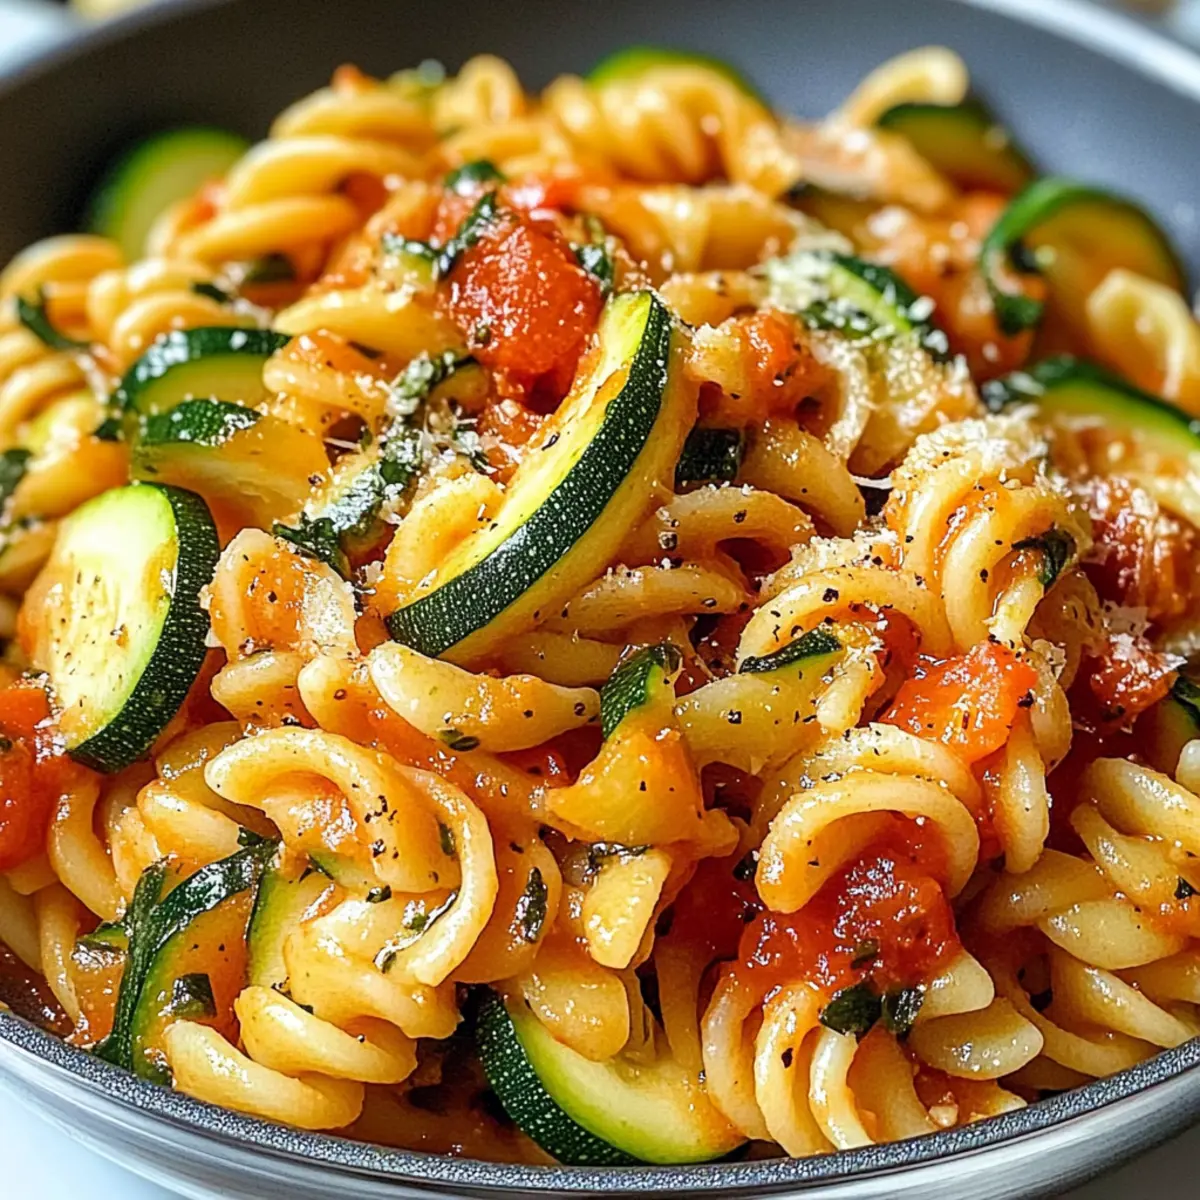
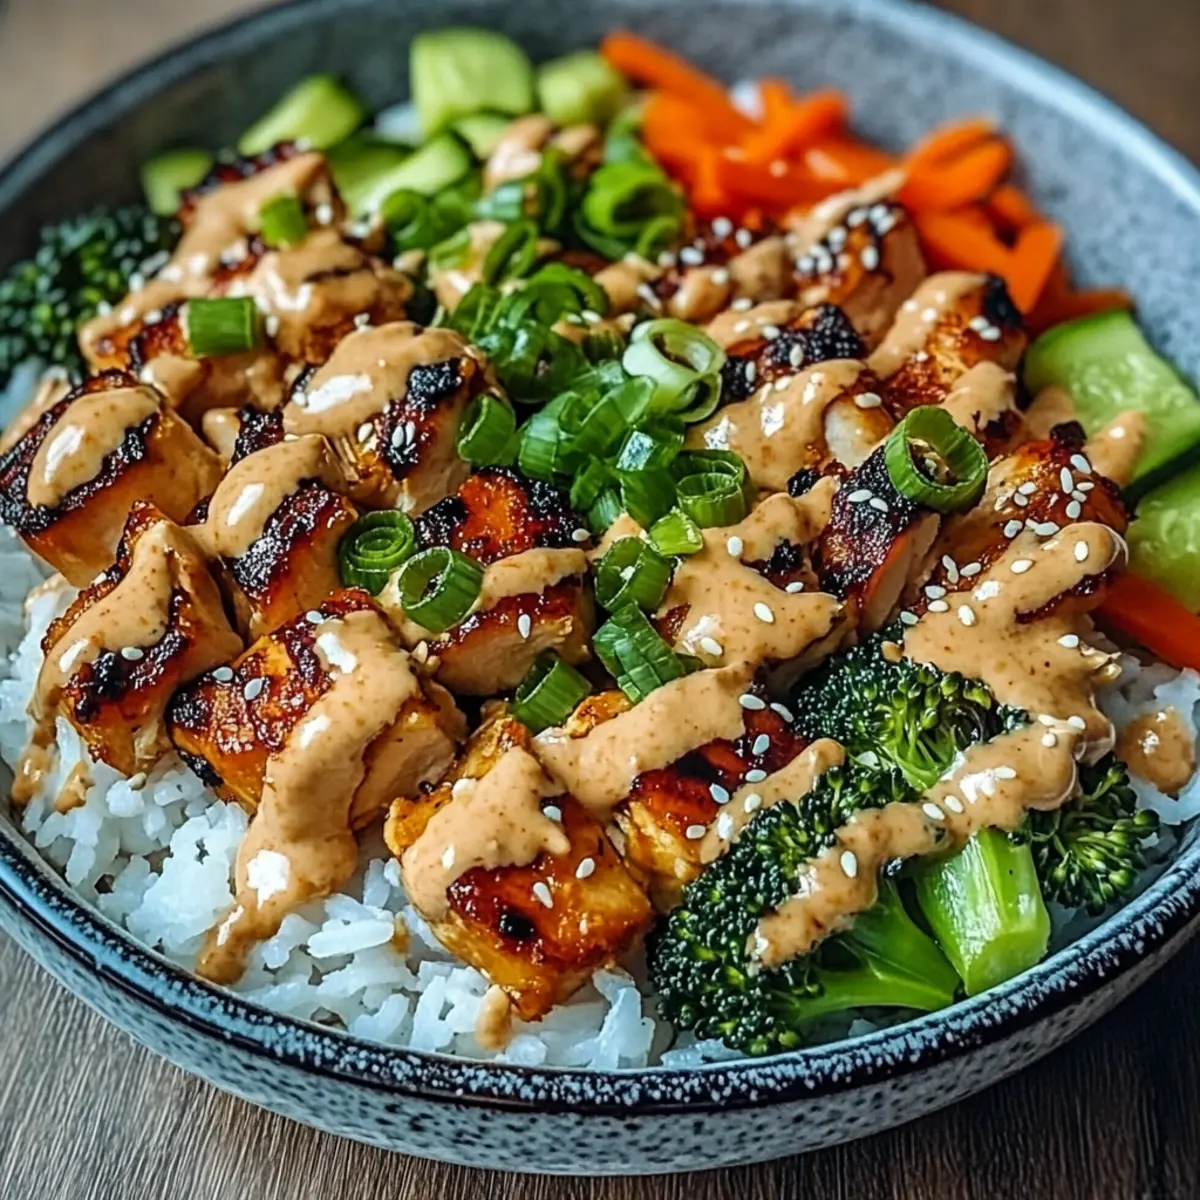
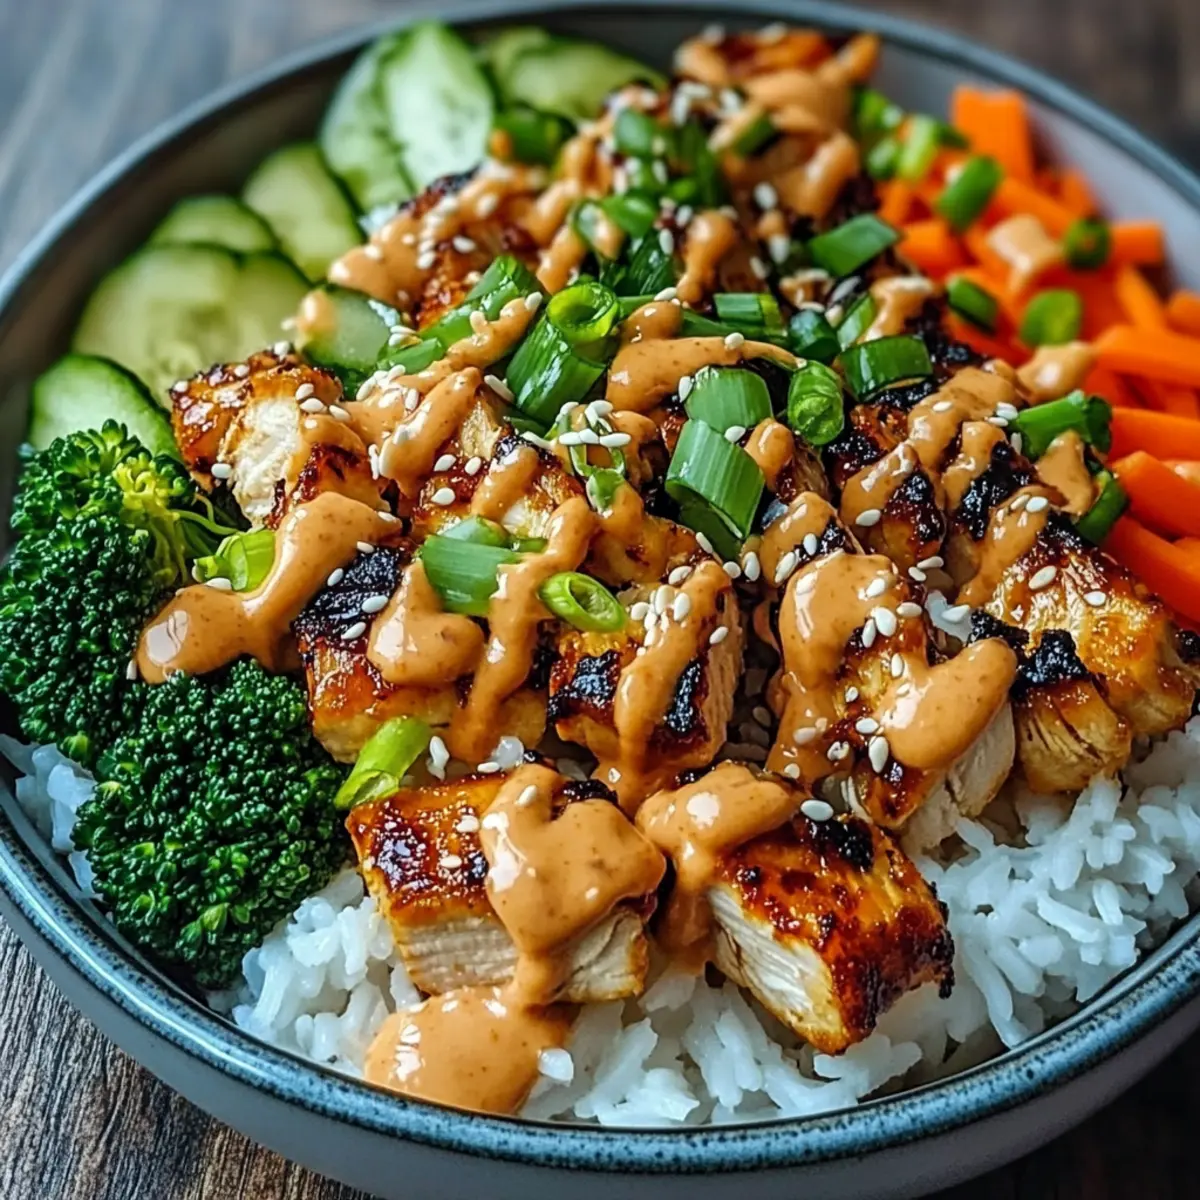
Now it’s time to assemble your Crispy Chicken Tacos! Take a crispy tortilla and fill it with a generous amount of the fried chicken. Top with shredded lettuce, diced tomatoes, and shredded cheese to add vibrant flavors and textures. Don’t hold back on customizing your taco with your favorite toppings!
Step 6: Add Final Touches
Complete your Crispy Chicken Tacos by adding a dollop of sour cream, a sprinkle of fresh cilantro, and a squeeze of lime juice for that zesty kick. Arrange the tacos on a serving platter and get ready for a delicious feast that’s not just visually appealing but also bursts with flavor, perfect for your next taco night!
Expert Tips for Crispy Chicken Tacos
-
Uniform Chicken Pieces: Ensure your chicken is cut into similar-sized pieces for even cooking. This prevents some pieces from being over or undercooked, keeping all your crispy chicken tacos deliciously tender.
-
Season Generously: Don’t skimp on taco seasoning! A well-seasoned chicken will elevate your crispy chicken tacos. Taste the seasoning mix before applying to ensure it meets your spice preference.
-
Avoid Overcrowding: When frying, always work in batches. Overcrowding the pan lowers the oil temperature, leading to soggy chicken instead of crispy perfection.
-
Perfect Tortilla Texture: Fry tortillas just enough to make them crispy, but not so long that they become hard. A quick 30 seconds per side should do the trick for a satisfying crunch.
-
Let Them Rest: After frying, let the chicken rest on paper towels to absorb excess oil. This ensures your crispy chicken tacos stay crunchy and not greasy.
-
Customize Your Toppings: Feel free to mix and match toppings based on your family’s favorites. Adding colorful, fresh ingredients takes your crispy chicken tacos to the next level!
Make Ahead Options
These Crispy Chicken Tacos are a fantastic option for meal prep, saving you valuable time on busy weeknights! You can prepare the seasoned chicken pieces and refrigerate them for up to 24 hours before frying. Simply coat the chicken with cornstarch and taco seasoning and store them in an airtight container. Additionally, you can fry the tortillas ahead of time, allowing them to cool completely and then store them in a sealed bag. When ready to serve, just fry the chicken for a fresh crispiness and assemble your tacos using the prepped tortillas and toppings. This way, you’ll have delicious, homemade Crispy Chicken Tacos with minimal effort, making dinner feel effortless and satisfying!
How to Store and Freeze Crispy Chicken Tacos
Fridge: Store assembled tacos in an airtight container for up to 2 days. To maintain crunchiness, it’s best to keep ingredients separate until you're ready to enjoy them.
Freezer: If you want to freeze your crispy chicken filling, place it in a freezer-safe container for up to 3 months. Reheat in a skillet when ready to use for a quick meal.
Reheating: To restore crunchiness, reheat the chicken in a hot skillet for a few minutes rather than using a microwave. This way, your crispy chicken tacos will still have that delightful texture!
Leftovers: Any leftover toppings can be stored in the fridge for up to 3 days, ready to spruce up your next meal or as sides for salads and bowls.
What to Serve with Crispy Chicken Tacos?
When it comes to taco night, enhancing those crispy bites with delightful sides makes for a memorable feast.
-
Zesty Mexican Rice: This flavorful side perfectly balances the crunch of the tacos, with just the right amount of seasoning for that fiesta feel.
-
Refried Beans: Creamy and savory, refried beans offer a hearty texture that complements the tacos beautifully. Serve them on the side for a classic touch!
-
Guacamole: The creamy richness of guacamole adds a refreshing contrast to the crispy chicken, providing a divine harmony of flavors with every bite.
-
Fresh Corn Salad: Bright and refreshing, a corn salad brings brightness and crunch, with sweet corn and lime juice capturing the essence of summer.
-
Chips and Salsa: This classic pairing adds a satisfying crunch and a burst of flavor, creating a festive atmosphere that’s hard to resist. Pour your favorite salsa over the chips or serve it on the side for dipping!
-
Margaritas: A zesty margarita elevates the entire experience, cutting through the richness of your tacos while enhancing the vibrant flavors of your meal.
Bring these delightful sides into the mix, and you have a dazzling taco night that will delight everyone at your table!
Crispy Chicken Tacos Variations
Feel free to add your own twist to these Crispy Chicken Tacos, making them uniquely yours with delightful flavors!
-
Gluten-Free: Use corn tortillas or make your own with gluten-free flour to keep it friendly for gluten-sensitive eaters. This way, everyone can savor the deliciousness!
-
Spicy Kick: Add diced jalapeños or a splash of hot sauce to the chicken mixture for a fiery explosion of flavor. It’s the perfect way to heat up your taco night!
-
Baked Instead of Fried: For a healthier option, bake the coated chicken pieces at 400°F (200°C) for 20 minutes, flipping halfway through for a delightful crispiness without the oil.
-
Veggie Lovers: Substitute shredded chicken with crispy chickpeas or cauliflower for a plant-based version that’s just as satisfying. You won’t miss the meat with such tasty alternatives!
-
Taco Sauce: Drizzle some homemade taco sauce over the assembled tacos for an extra burst of flavor that your taste buds will adore!
-
Cheesy Goodness: Mix in some cream cheese or sprinkle extra cheese on top before baking for a gooey, indulgent experience with every bite.
-
Herb Infusion: Infuse your oil with garlic or some fresh herbs while frying the chicken for an aromatic twist that elevates the flavor profile beautifully.
-
Sweet & Savory: Add diced mango or pineapple to your toppings for a fresh burst of sweetness that contrasts perfectly with the crispy chicken.
Elevate your taco night by trying out these fun variations—because food should always be an exciting adventure!
Crispy Chicken Tacos Recipe FAQs
How do I know if the chicken is perfectly cooked?
Look for a golden-brown exterior on the chicken pieces, which typically indicates they're fully cooked. Using an instant-read thermometer is a great way to check; chicken should reach an internal temperature of 165°F (75°C) for safe consumption.
What should I do if my tortillas become soggy?
To prevent sogginess, make sure to fry the tortillas just long enough to create a crisp texture, about 30 seconds per side. If they do become soggy, another quick fry in hot oil can revive their crunch. Just be cautious not to over-fry them!
How can I store leftover crispy chicken tacos?
Store your assembled tacos in an airtight container in the fridge for up to 2 days. However, for the best crunchiness, it's ideal to keep the components separate—store the chicken, tortillas, and toppings in individual containers until you're ready for a delicious reassembly.
Can I freeze my crispy chicken filling?
Absolutely! To freeze the chicken filling, transfer it to a freezer-safe container and store it for up to 3 months. When you're ready to enjoy it, simply reheat in a skillet over medium heat for a few minutes until hot, restoring its crispy texture.
Are these tacos safe for children and pets?
When prepared without overly spicy seasoning, crispy chicken tacos can be child-friendly. However, make sure to use mild taco seasoning to avoid spiciness. For pets, refrain from sharing any seasoned chicken or toppings like onions or garlic, as these can be harmful to them.
How can I add more flavor to my taco toppings?
For an extra burst of flavor, you can add ingredients such as diced jalapeños for heat, sliced radishes for crunch, or a drizzle of your favorite hot sauce for zing. Fresh herbs like basil or even avocado can also elevate the flavor profile, tailoring it to your family's preferences!
Crispy Chicken Tacos That Will Ignite Your Taste Buds
Ingredients
Equipment
Method
- Place the chicken pieces in a bowl. Sprinkle with cornstarch and taco seasoning, ensuring thorough coating. Let rest for 10 minutes.
- Heat olive oil in a skillet over medium-high heat for 3-4 minutes until shimmering.
- Fry the chicken in batches for 5-7 minutes until golden-brown and crispy. Drain on paper towels.
- Fry corn tortillas in the same skillet for 30 seconds each side until crispy. Drain on paper towels.
- Assemble tacos with fried chicken, lettuce, tomatoes, and cheese.
- Top with sour cream, cilantro, and a squeeze of lime juice before serving.