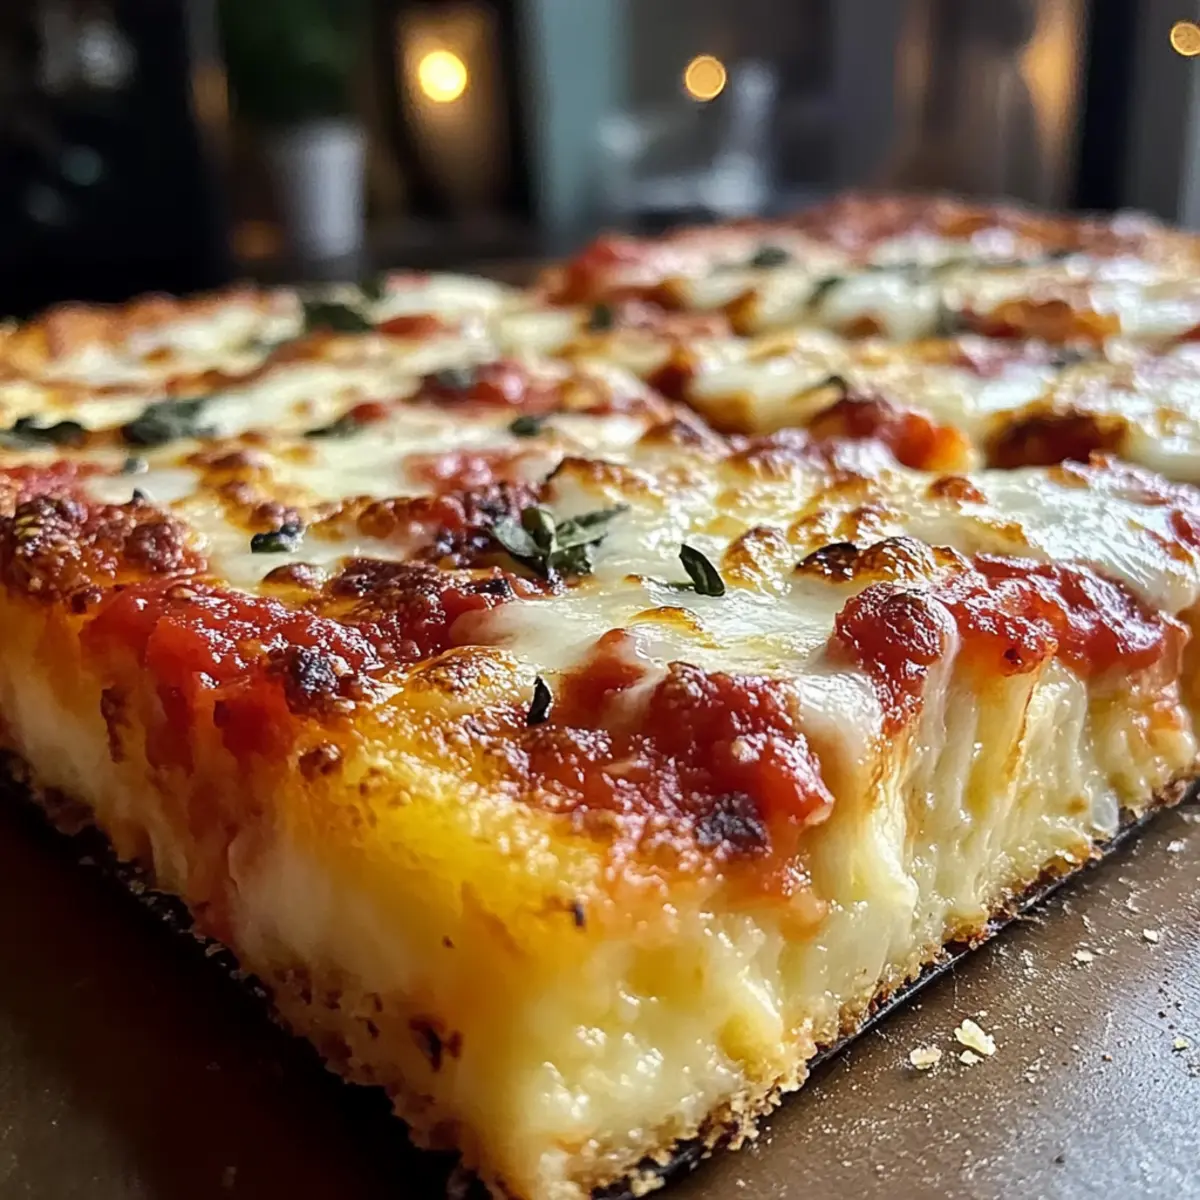
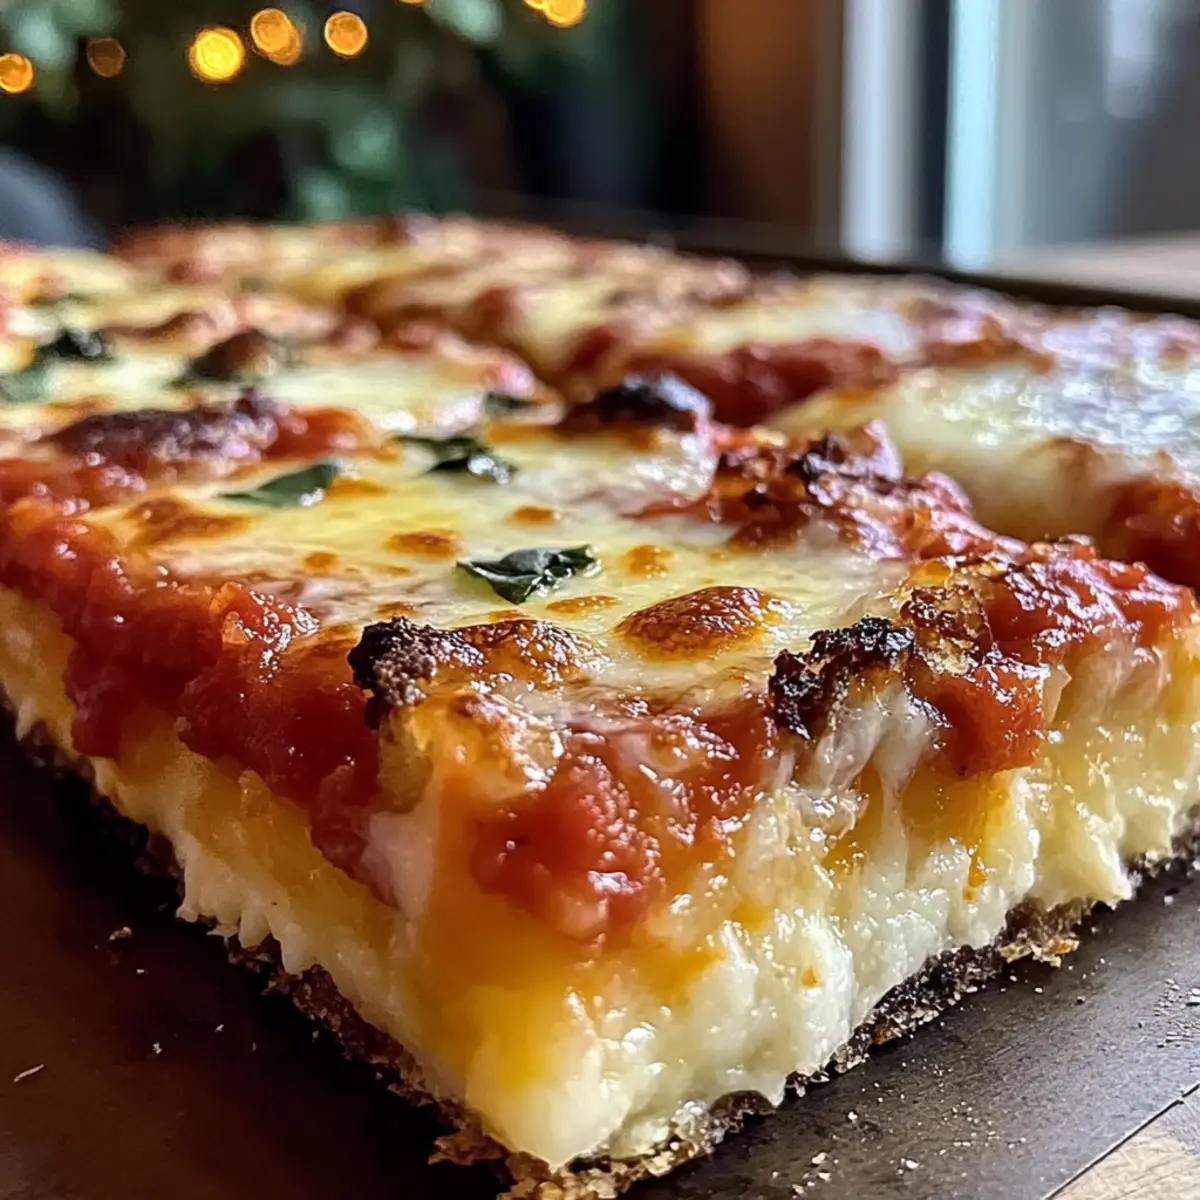
As I pulled my first batch of Crispy Detroit Style Pizza from the oven, the golden crust crackled delightfully, whispering promises of comfort with each slice. This pizza isn't just any ordinary dish; it captures that glorious blend of nostalgia and innovation, transforming your kitchen into a bustling pizzeria. With its thick, crispy edges and decadent layers of rich tomato sauce, this recipe makes weeknight dinners much more than just a meal—they're a way to gather loved ones. Plus, it’s surprisingly quick and easy to prepare, perfect for those busy evenings when you want something satisfying yet homemade. Whether you're a fan of gluten-free options or simply looking to impress your family with a new favorite, this Detroit Style Pizza is a versatile crowd-pleaser. Are you ready to roll up your sleeves and create a pizza that rivals the best in town?
What Makes This Pizza So Irresistible?
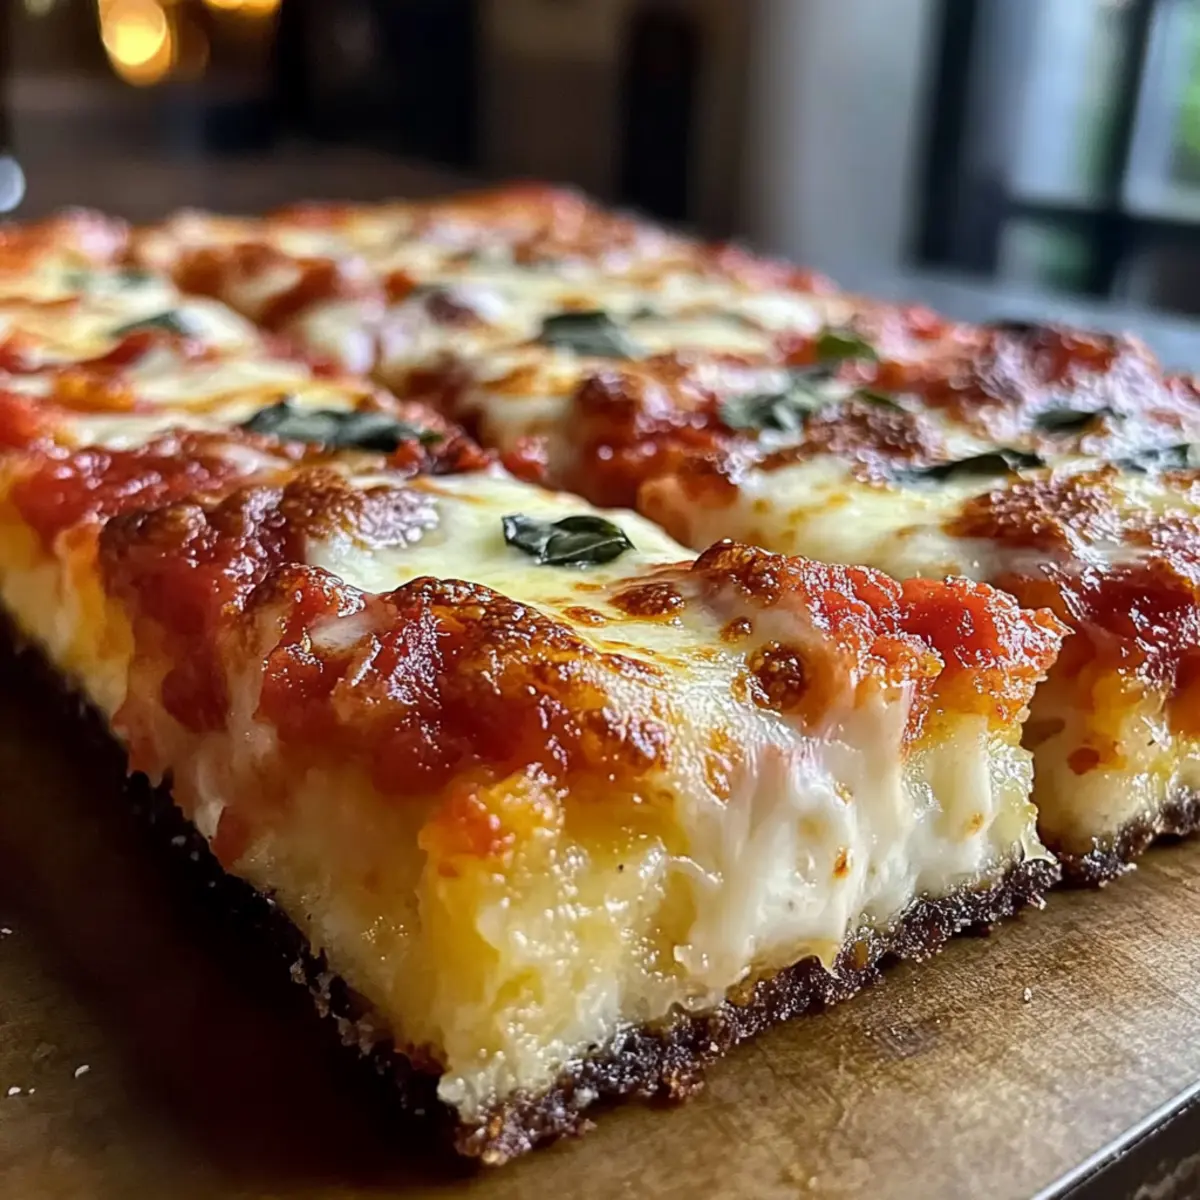
Crispy Crust: Each bite offers a satisfying crunch, thanks to the perfectly baked golden edges.
Flavorful Layers: Rich tomato sauce combined with gooey cheese creates a symphony of savory tastes that keep everyone coming back for more.
Quick Preparation: Whip this up in no time, making weeknight dinners feel special without the hassle.
Gluten-Free Friendly: With easy substitutions, everyone can enjoy a slice, even those with dietary considerations.
Crowd-Pleasing Versatility: Customize with toppings like caramelized onions or spicy pepperoni to cater to your family's tastes. Pair it with a refreshing salad or some Crispy Parmesan Artichoke Hearts for a delightful meal!
Crispy Detroit Style Pizza Ingredients
• Prepare to create the ultimate comfort food with these simple ingredients!
For the Dough
- All-Purpose Flour – Provides structure for the crust; substitute with a gluten-free flour blend if needed.
- Yeast – Acts as a leavening agent; ensure it’s fresh for the best results.
- Salt – Enhances flavor and controls fermentation; don't omit, as it balances the sweetness.
- Olive Oil – Contributes to a crispy, fried texture in the crust; be generous with oiling the pan.
- Water – Hydrates the dough; use warm water (not hot) to activate the yeast effectively.
For the Sauce
- Crushed Tomatoes – The base for your pizza sauce, offering acidity and moisture; swap with marinara or pesto for a twist.
For the Cheese
- Brick Cheese (or Whole Milk Mozzarella) – Delivers a gooey, stretchable texture; brick cheese is ideal for that classic melt feel. Blend with mild cheddar if you can’t find brick cheese.
This foundational list will have you well on your way to serving up a delightful Crispy Detroit Style Pizza that will convert even the most dedicated fast-food enthusiasts!
Step‑by‑Step Instructions for Crispy Detroit Style Pizza
Step 1: Prepare Dough
In a large mixing bowl, combine all-purpose flour, yeast, and salt. Slowly add warm water while stirring until a shaggy dough forms. Cover the bowl with a damp cloth and let it rest for 10 minutes. This rest period allows the flour to hydrate, which is essential for achieving a successful Crispy Detroit Style Pizza crust.
Step 2: Knead Dough
Once rested, turn the dough onto a floured surface and knead for 5 to 7 minutes until it becomes smooth and elastic. Shape it into a ball and place it back in the bowl, then cover with the cloth again. Allow it to rise in a warm area for about 1 hour, or until it has doubled in size. This will create the airy texture that characterizes Detroit style pizza.
Step 3: Assemble Pizza
Preheat your oven to 500°F (260°C) while you prepare the pizza. Generously oil a rectangular baking pan to ensure a crispy crust. Once the dough has risen, press it evenly into the pan, stretching it to the corners. If the dough resists, let it relax for a few minutes. Spread crushed tomatoes over the dough and sprinkle cheese evenly across the top for that gooey richness.
Step 4: Bake
Place the assembled pizza in the preheated oven and bake for 15 to 20 minutes. Keep an eye on it; the cheese should be bubbly and the edges of the crust should turn a beautiful golden brown. If you notice the cheese browning too quickly, tent the pizza with aluminum foil to prevent burning while the crust finishes cooking.
Step 5: Cool & Slice
Once baked, remove the pizza from the oven and let it cool for about 5 minutes. This rest period helps the cheese set slightly. Use a sharp pizza cutter or knife to slice the pizza into rectangular pieces. The result will be a delectable Crispy Detroit Style Pizza, ready to be savored by all!

How to Store and Freeze Crispy Detroit Style Pizza
-
Fridge: Store leftover Crispy Detroit Style Pizza in an airtight container or wrapped in foil for up to 3 days to keep it fresh and delicious.
-
Freezer: For longer storage, freeze individual slices wrapped in plastic wrap and then in aluminum foil. They will keep well for up to 2 months, preserving that comforting taste.
-
Reheating: To restore the crispiness, reheat slices in a hot skillet over medium heat for about 5 minutes. Alternatively, you can bake in a preheated oven at 375°F (190°C) for about 10-15 minutes.
-
Tips: Always allow the pizza to cool completely before storing to prevent sogginess, and remember to enjoy those leftovers as a quick and satisfying snack!
Variations & Substitutions for Crispy Detroit Style Pizza
Feel free to have fun and put your own spin on this delightful pizza; customize it to suit your taste buds!
- Gluten-Free: Use a high-quality gluten-free flour blend and follow the same recipe to maintain the crispy texture.
- Dairy-Free: Substitute the cheese with a plant-based cheese alternative for a deliciously creamy result without the dairy. Your pizza won't lose any of its comforting charm!
- Spicy Kick: Add crushed red pepper flakes or jalapeños to the sauce for a zesty burst of flavor that will awaken your taste buds. For those who love a bit of heat, this transformation is a must-try!
- Herb-Infused Crust: Mix in dried oregano or garlic powder into the dough for an aromatic twist that enhances each bite. This simple addition can make a world of difference in flavor.
- Vegetarian Delight: Top with a medley of roasted vegetables like zucchini, bell peppers, and mushrooms for a nutritious, colorful addition. It makes the pizza both visually stunning and packed with wholesome goodness.
- Cheesy Explosion: Combine two or three types of cheese, such as provolone and parmesan, alongside the brick cheese for a flavor-packed cheesy experience. Every bite will be an adventure for your palate!
- Sweet & Savory: Layer thinly sliced caramelized onions with the cheese and sauce—this adds a sweet contrast to the tangy tomato base, creating a lovely harmony in every slice. This twist can easily elevate your homemade pizza night to a new level!
- Seafood Topping: Experiment with toppings like shrimp or anchovies for a unique take that brings coastal flavors to your pizza. If you’re feeling adventurous, this variation will surely impress!
Whether you're in the mood for a comforting piece of Classic Detroit Style Pizza or exploring a wild new topping adventure, there's something here for everyone. Pair your pizza with a fresh side salad or some Crispy Fish Taco Bowls for a delightful feast that will have everyone talking!
Tips for the Best Crispy Detroit Style Pizza
-
Use Fresh Yeast: Make sure your yeast is fresh and active; expired yeast can lead to a dense crust and prevent that delightful rise essential for your Crispy Detroit Style Pizza.
-
Generous Oil Application: Don’t skimp on the olive oil when oiling the pan. A well-oiled pan is crucial for achieving that irresistible crispy texture that makes Detroit style pizza so unique.
-
Rest the Dough: If the dough feels too elastic while pressing it into the pan, let it rest for a few minutes. This prevents tearing and ensures an even, thick crust.
-
Shred Your Own Cheese: Avoid pre-shredded cheese, as it contains anti-caking agents that may hinder melt quality. Grate cheese from blocks for the best gooey texture on your pizza.
-
Monitor Baking Time: Keep an eye on the pizza as it bakes. If the cheese begins to brown too much, tent it with foil to preserve that lovely golden crust while the base cooks through.
-
Experiment with Toppings: Feel free to customize your pizza! Add toppings like pepperoni, bell peppers, or caramelized onions to elevate your Crispy Detroit Style Pizza to new flavor heights.
Make Ahead Options
These Crispy Detroit Style Pizza preparations are perfect for busy home cooks looking to save time! You can make the dough up to 24 hours in advance; simply prepare it through the first rise and refrigerate it in a covered bowl. The day of serving, press the chilled dough into a generously oiled pan and allow it to come to room temperature for about 30 minutes before adding the sauce and cheese. Additionally, the sauce can be made up to 3 days ahead and stored in the refrigerator—it adds convenience without sacrificing flavor. Just reheat the sauce gently before spreading it over the dough. With these make-ahead steps, you’ll have a delightful homemade pizza ready with minimal effort, perfect for a hectic evening!
What to Serve with Crispy Detroit Style Pizza
As you indulge in the delightful crunch of your freshly baked pizza, consider these perfect pairings to elevate your meal to a whole new level.
-
Simple Green Salad: A light, refreshing salad with mixed greens and a zesty lemon vinaigrette perfectly contrasts the hearty pizza, balancing richness with brightness.
-
Garlic Breadsticks: Soft, buttery breadsticks brushed with garlic and herbs enhance that cozy Italian feel, making your dinner spread feel even more inviting.
-
Roasted Vegetables: Seasonal veggies like zucchini and bell peppers, tossed with olive oil and herbs, provide a colorful, nutritious side that complements the pizza's savory flavors.
-
Crispy Parmesan Artichoke Hearts: These tender bites offer a delightful crunch and compliment the cheese factor of your crispy Detroit Style Pizza, adding a touch of gourmet flair.
Enjoy with a cold lager or a sparkling water with lime for a refreshing finish that pairs beautifully with the crispy goodness of your pizza.
Crispy Detroit Style Pizza Recipe FAQs
How do I choose the right flour for my pizza dough?
Absolutely! For the best texture in your Crispy Detroit Style Pizza, I recommend using all-purpose flour. It provides the perfect structure for the crust. If you're looking for a gluten-free option, substitute with a high-quality gluten-free flour blend that includes xanthan gum to mimic the elasticity of traditional dough.
What’s the best way to store leftover pizza?
Store your leftover Crispy Detroit Style Pizza in an airtight container or wrapped tightly in foil. It will stay fresh for up to 3 days in the refrigerator. If you want to keep it longer, place individual slices in plastic wrap and then wrap them again in aluminum foil, which allows you to enjoy them for up to 2 months in the freezer.
How can I reheat pizza to keep it crispy?
For the best results, reheat your slices in a hot skillet over medium heat for about 5 minutes. This method revives the crust's crispiness beautifully. You can also place slices in a preheated oven at 375°F (190°C) for about 10-15 minutes. Just be sure to allow your pizza to cool completely before storing to prevent sogginess.
What should I do if my dough doesn’t rise properly?
Very! If your dough isn't rising, first check if your yeast is fresh and active—it’s crucial for good pizza dough. If it still struggles, ensure you’re letting the dough rise in a warm area, ideally between 75°F to 85°F (24°C to 29°C). You might also try letting it rise longer, as some environments may be cooler than others. Don’t get discouraged; you can still make a delicious pizza even if it’s a bit denser!
Can I use a different cheese for my pizza?
Of course! While brick cheese is traditional for Crispy Detroit Style Pizza due to its perfect melt, you can substitute with whole milk mozzarella. For added richness, blend it with mild cheddar. Just avoid using pre-shredded cheeses, as they contain anti-caking agents that can affect how well they melt. Enjoy experimenting with cheese to find what works best for your family's taste!
Is it okay to freeze my pizza?
Absolutely! Freezing is a great option. I often wrap individual slices of Crispy Detroit Style Pizza in plastic wrap, followed by aluminum foil, and pop them in the freezer for up to 2 months. Just be sure to let them cool completely first. When you're ready to enjoy them, reheat in a skillet or a preheated oven to bring back that crispy goodness.
Crispy Detroit Style Pizza that Turns Dinner into Delight
Ingredients
Equipment
Method
- In a large mixing bowl, combine all-purpose flour, yeast, and salt. Slowly add warm water while stirring until a shaggy dough forms. Cover the bowl with a damp cloth and let it rest for 10 minutes.
- Once rested, turn the dough onto a floured surface and knead for 5 to 7 minutes until it becomes smooth and elastic. Shape it into a ball and place it back in the bowl, then cover with the cloth again.
- Allow it to rise in a warm area for about 1 hour, or until it has doubled in size.
- Preheat your oven to 500°F (260°C) while you prepare the pizza. Generously oil a rectangular baking pan.
- Once the dough has risen, press it evenly into the pan, stretching it to the corners.
- Spread crushed tomatoes over the dough and sprinkle cheese evenly across the top.
- Place the assembled pizza in the preheated oven and bake for 15 to 20 minutes, until the cheese is bubbly and the edges are golden brown.
- If the cheese browns too quickly, tent the pizza with aluminum foil.
- Once baked, remove the pizza from the oven and let it cool for about 5 minutes.
- Use a sharp pizza cutter or knife to slice the pizza into rectangular pieces.