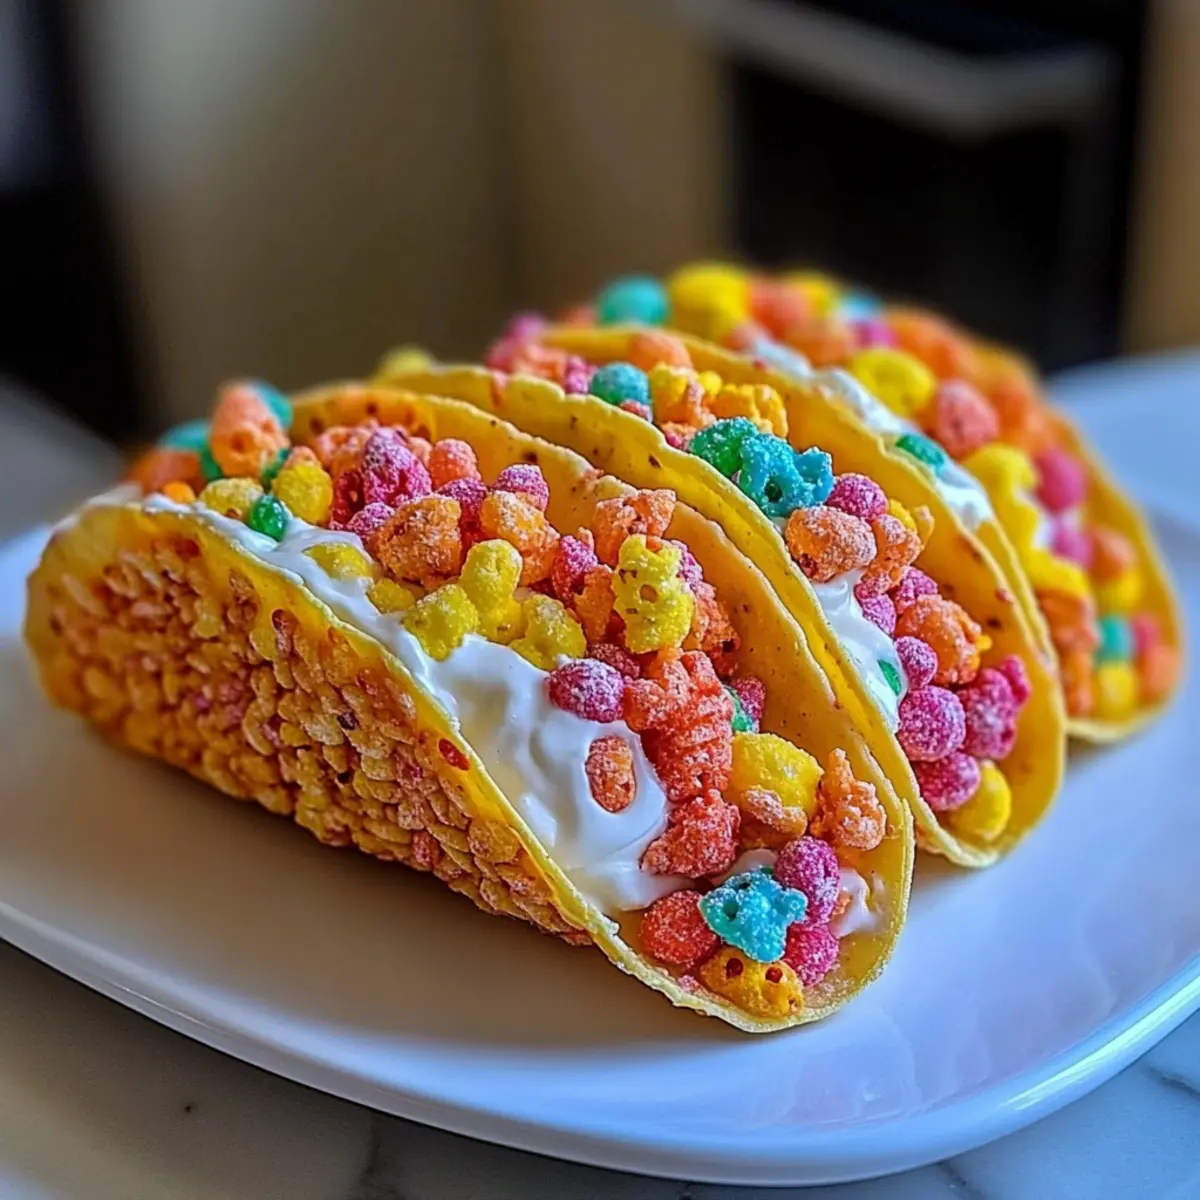
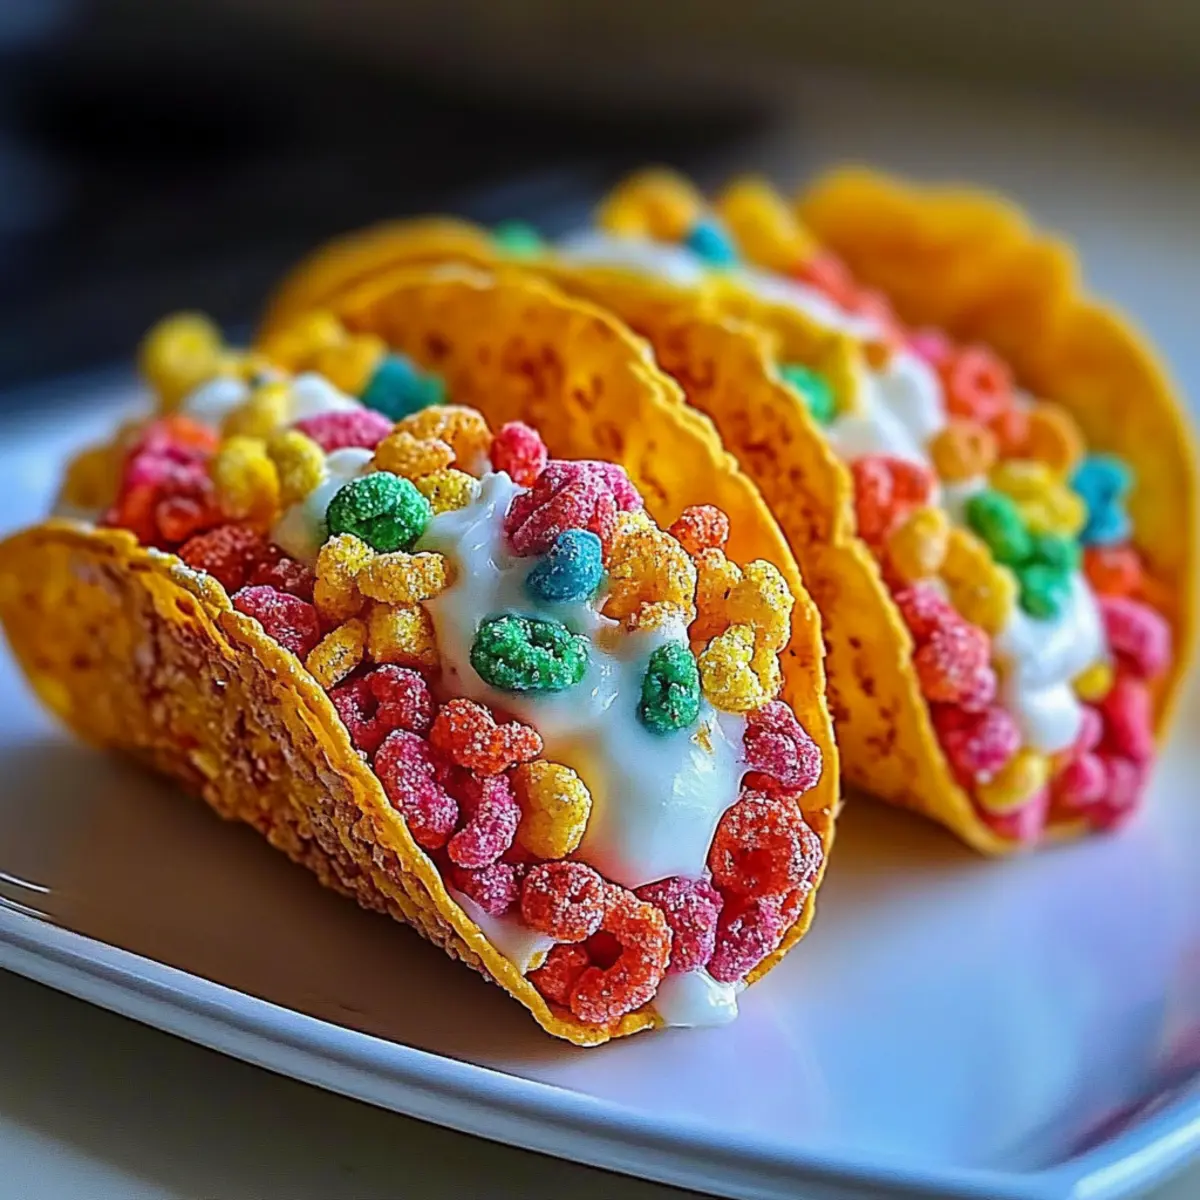
In a colorful kitchen filled with laughter and the occasional sprinkle fight, I stumbled upon a delightful idea that merges nostalgia with whimsy: Fruity Pebbles Cheesecake Tacos. These no-bake treats are a playful twist on traditional desserts, featuring crunchy taco shells made of everyone's favorite cereal and a velvety cheesecake filling that’s simply irresistible. Perfect for parties or just because—it’s a fun way to elevate any day into something truly special. What I love most is how easy they are to customize; you can let your imagination run wild with toppings and flavors. Ready to dive into this sweet adventure? Let’s create some magical moments together with these Fruity Pebbles Cheesecake Tacos!
Why Are These Tacos So Irresistible?
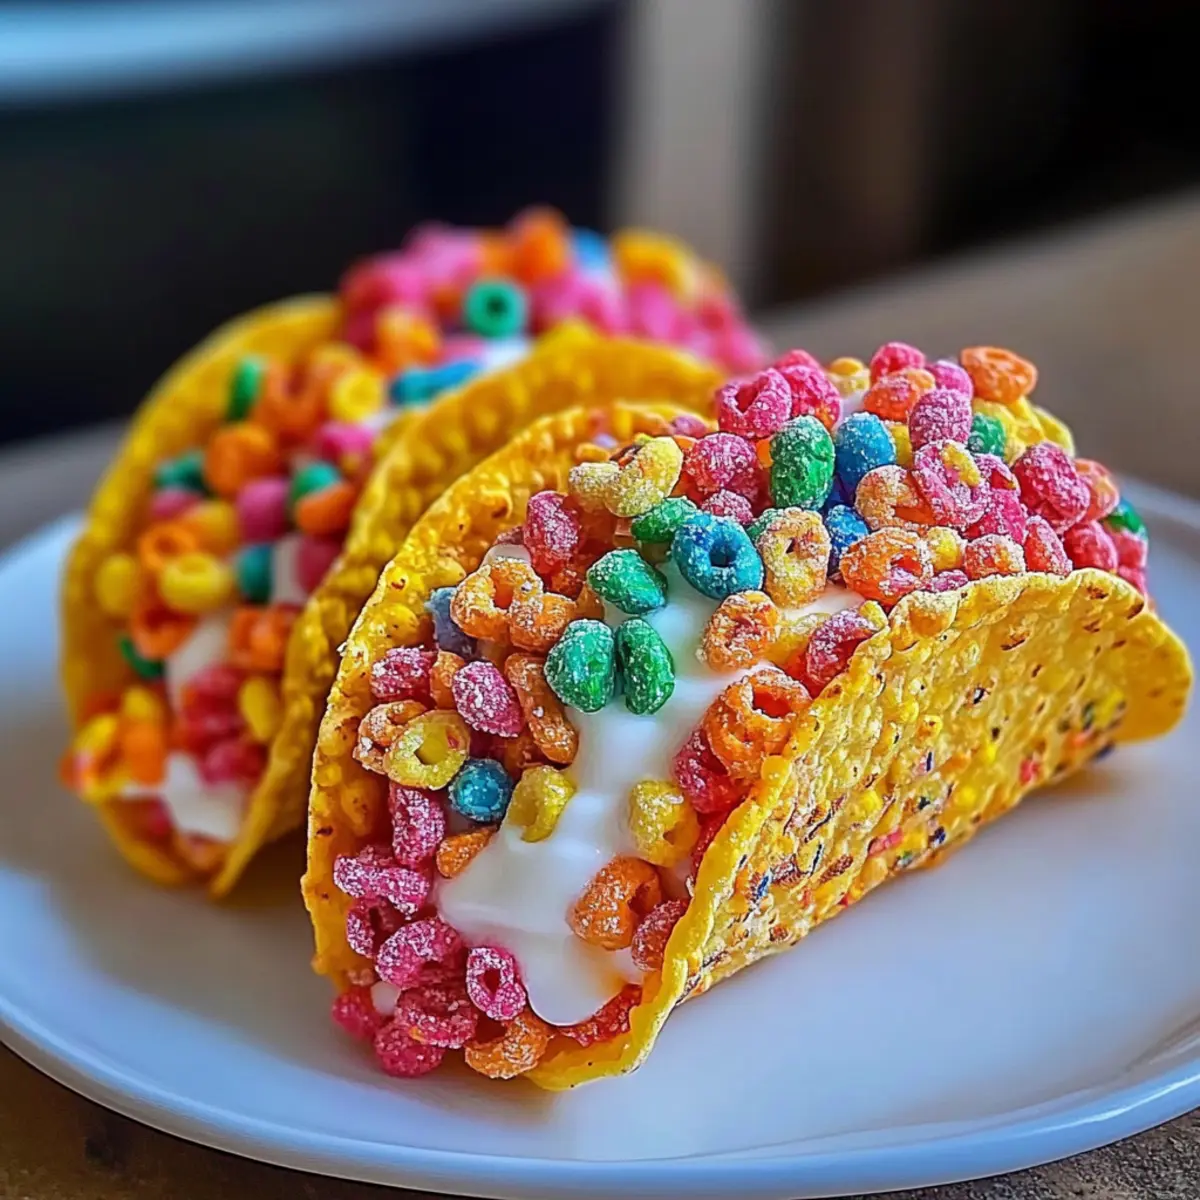
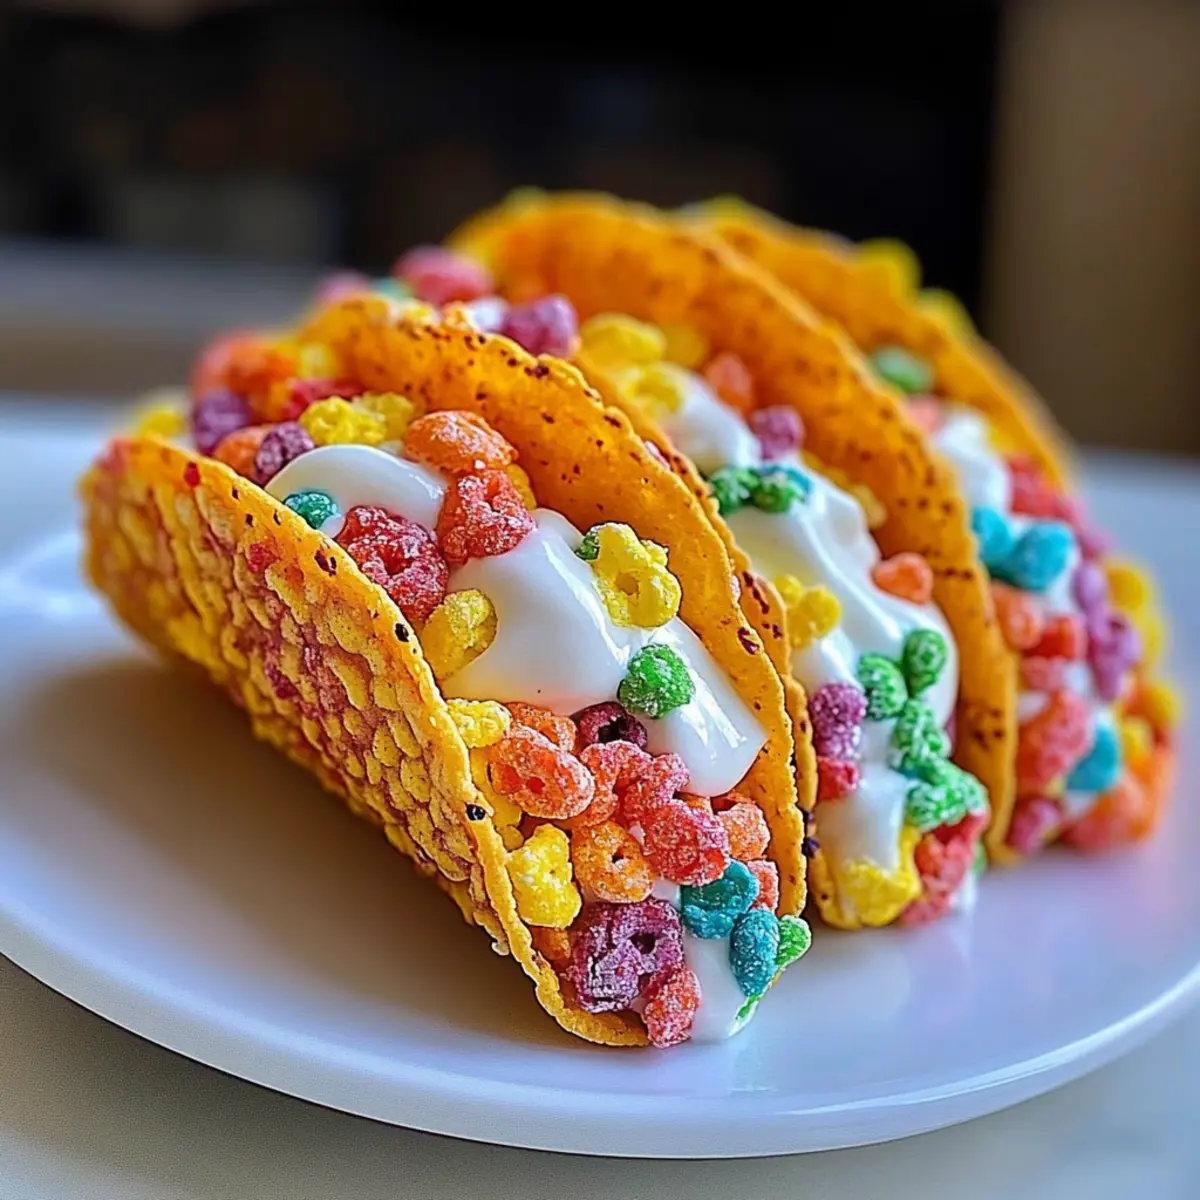
Vibrant Colors: Each taco bursts with a rainbow of colors, making them not just delicious but also visually stunning.
No-Bake Convenience: Perfect for busy days or last-minute parties, these tacos come together quickly without the need for baking.
Textural Delight: Experience the joyful contrast of a crunchy cereal shell combined with a creamy, dreamy cheesecake filling.
Endless Customization: Whether you want to top them with fresh fruit, chocolate drizzle, or extra cereal, the personalization options are nearly limitless!
Crowd Pleaser: Great for kids and adults alike, these whimsical treats are sure to spark smiles and ignite fun conversation at any gathering.
Spread the joy at your next party with these delightful Fruity Pebbles Cheesecake Tacos or try a savory twist with Roasted Corn Tacos.
Fruity Pebbles Cheesecake Tacos Ingredients
For the Taco Shells
• Fruity Pebbles Cereal – Offers a bold crunch and fruity flavor that makes these taco shells unforgettable. Feel free to use Cocoa Pebbles or Rice Krispies, but expect a color and taste shift.
• Mini Marshmallows – When melted, they create a sticky base to hold the tacos together. Opt for vegan marshmallows for a dairy-free version.
• Butter – Infuses richness and smoothness when combined with marshmallows.
For the Cheesecake Filling
• Cream Cheese – A must for that creamy, tangy cheesecake taste! Non-dairy cream cheese can be a great substitute for a vegan option.
• Powdered Sugar – Sweetens and maintains the smooth texture of the filling.
• Vanilla Extract – Elevates the flavor, making it more aromatic and delicious.
• Heavy Whipping Cream – Whipped to perfection for a light, airy texture that complements the crunch of the shell. Dairy-free whipping cream is available for those needing a vegan alternative.
These Fruity Pebbles Cheesecake Tacos are not just a dessert; they’re a delightful experience waiting to happen! Happy cooking!
Step‑by‑Step Instructions for Fruity Pebbles Cheesecake Tacos
Step 1: Melt the Base
In a large pot, melt 3 tablespoons of butter over low heat, stirring gently to avoid browning. Once melted, add 2 cups of mini marshmallows and continue stirring until the mixture is smooth and creamy, about 3-4 minutes. You'll know it's ready when the marshmallows are completely melted and combined, creating a glossy consistency.
Step 2: Combine with Cereal
Remove the pot from heat and immediately fold in 4 cups of Fruity Pebbles cereal using a spatula. Stir gently until every piece of cereal is evenly coated in the sweet, melted marshmallow mixture. It should start to clump together, and you’ll notice the vibrant colors brightening even more during this exciting step.
Step 3: Shape the Taco Shells
Quickly scoop portions of the Fruity Pebbles mixture and press them around a rolling pin or taco shell mold lined with parchment paper. Hold each for about 30 seconds to firm up the shape; the shells should feel warm but start to harden as they cool. This is key to creating the perfect shell for your Fruity Pebbles Cheesecake Tacos!
Step 4: Prepare the Cheesecake Filling
In a mixing bowl, beat 8 ounces of softened cream cheese with a hand mixer on medium speed until creamy and smooth, about 2-3 minutes. Next, add 1 cup of powdered sugar and 1 teaspoon of vanilla extract, mixing until everything is well combined and fluffy. The filling should look smooth and have a tangy aroma that’s inviting.
Step 5: Whip the Cream
In a separate bowl, pour in 1 cup of heavy whipping cream and whip it until it forms stiff peaks, which should take about 3-5 minutes. This creates that light, airy texture that balances beautifully with the rich cheesecake filling. Make sure not to over-whip, or it will become grainy; soft peaks are not enough, though!
Step 6: Fold Everything Together
Gently fold the whipped cream into the cream cheese mixture using a spatula, being careful not to deflate the whipped cream. This folding technique is vital for achieving the creamy texture of the filling, creating a delightful contrast with the crispy taco shell of the Fruity Pebbles Cheesecake Tacos. The mixture should be light, fluffy, and well combined.
Step 7: Assemble the Tacos
Using a piping bag or a spoon, fill each taco shell with the creamy cheesecake filling generously, taking care not to overfill. If desired, top with additional Fruity Pebbles for an extra crunch and pop of color. This playful presentation will make your Fruity Pebbles Cheesecake Tacos absolutely irresistible!
Step 8: Chill and Serve
Finally, refrigerate the filled tacos for at least 30 minutes to allow the filling to set and firm up. This chilling time ensures a perfect blend of textures, making each bite a sweet delight. When ready to serve, enjoy the colorful, whimsical joy of your Fruity Pebbles Cheesecake Tacos chilled for the best experience!
Expert Tips for Fruity Pebbles Cheesecake Tacos
-
Warm Handling: Shape taco shells while the mixture is still warm for easier molding and to achieve a sturdy texture.
-
Crisp Shells: Fill the tacos just before serving to keep the shells crispy and delightful, preventing them from becoming soggy.
-
Proper Storage: Store any assembled tacos in the refrigerator, but try to consume them within 24 hours to enjoy the freshest taste and best texture.
-
Easier Removal: Lightly spray your rolling pin or taco mold with non-stick cooking spray to ensure the Fruity Pebbles cheesecake taco shells release without any fuss.
-
Mix and Match: Feel free to customize flavors by adding cocoa or different cereals to change up the taco shell—endless fun awaits!
What to Serve with Fruity Pebbles Cheesecake Tacos
These colorful, whimsical delights are the perfect centerpiece for your dessert table, inviting everyone to create sweet memories together.
- Fresh Fruit Salad: A refreshing mix of seasonal fruits adds a pop of natural sweetness and balances the creamy richness of the tacos.
- Whipped Cream: Soft, fluffy whipped cream enhances every bite, adding an airy texture that complements the crispy taco shells beautifully.
- Chocolate Drizzle: Drizzling melted chocolate across the tacos brings in that irresistible touch of decadence, creating a beautiful contrast of flavors.
- Rainbow Sprinkles: For an extra dash of fun, sprinkle some vibrant rainbow sprinkles on top; they appeal to both the young and the young at heart!
- Coconut Flakes: Toasted coconut flakes bring a delightful chewiness and tropical flavor, rounding out the crunchiness and sweetness of your dessert.
- Milkshake: A creamy, fruity milkshake serves as the perfect drink pairing, amplifying the playful nature of the Fruity Pebbles Cheesecake Tacos and inviting nostalgia with each sip.
- Ice Cream: Serve with a scoop of vanilla or fruity ice cream to add extra creaminess; the melting ice cream will mingle with the filling, making every bite a joyful experience!
- Sparkling Water: A chilled sparkling water with a hint of lime cleanses the palate between bites and keeps the festive vibes alive throughout your gathering.
- Coffee or Espresso: A rich coffee or espresso offers a delightful contrast, adding a sophisticated touch to your playful dessert and allowing everyone to savor the moment!
Fruity Pebbles Cheesecake Tacos Variations
Embrace your creativity and let these delightful tacos sparkle with your unique touch!
- Dairy-Free: Swap cream cheese and heavy cream for their non-dairy counterparts to make a vegan version of this tasty dessert.
- Cocoa Crunch: Try Cocoa Pebbles for the shell for a rich chocolate twist that pairs beautifully with the creamy filling.
- Fruit Fiesta: Top with fresh berries, bananas, or a tropical fruit salad for a refreshing burst of flavor.
- Sweet Drizzle: Add a luscious chocolate or caramel drizzle over the filled tacos for an indulgent finish that enhances taste and presentation.
- Flavor Infusion: Mix in a splash of citrus zest, like orange or lemon, into the cheesecake filling for an extra layer of brightness.
- Nutty Twist: Sprinkle some crushed nuts, like almonds or walnuts, inside the tacos for added crunch and depth of flavor.
- Party Colors: Use colorful edible glitter or sprinkles to jazz up the presentation—perfect for celebrations!
- Gourmet Touch: Experiment with unique toppings like crushed graham crackers or toffee bits to give these tacos a gourmet feel.
As you make these unforgettable fruity treats, consider pairing them with some delicious savory delights like Roasted Corn Tacos for an exciting feast! Each scrumptious bite of your Fruity Pebbles Cheesecake Tacos will have everyone buzzing with joy, reminding us just how delightful dessert can be.
Make Ahead Options
These Fruity Pebbles Cheesecake Tacos are perfect for meal prep enthusiasts looking to save time! You can prepare the taco shells up to 24 hours in advance; simply shape them and store at room temperature in a sealed container to keep them crispy. For the cheesecake filling, you can mix it up to 3 days ahead and refrigerate it in an airtight container. When it’s time to serve, fill the shells with the cheesecake mixture and garnish your tacos with extra Fruity Pebbles to keep the colors vibrant and the texture delightful. This way, you’ll have a whimsical dessert ready to impress your guests with minimal effort!
How to Store and Freeze Fruity Pebbles Cheesecake Tacos
- Room Temperature: Keep assembled tacos at room temperature for up to 30 minutes if serving immediately; after that, they should be refrigerated to maintain freshness.
- Fridge: Store any leftover assembled tacos in an airtight container in the refrigerator for up to 24 hours for best texture and flavor.
- Freezer: If you need to freeze the taco shells, do so unfilled in a single layer in a freezer-safe container for up to 1 month. Thaw before filling.
- Reheating: These Fruity Pebbles Cheesecake Tacos are best served cold, so no reheating is needed! Just fill the shells and enjoy the crunchy and creamy experience.
Fruity Pebbles Cheesecake Tacos Recipe FAQs
How do I choose the right Fruity Pebbles for my tacos?
Absolutely! When selecting your Fruity Pebbles, look for a box that is free from any signs of damage or stale cereal. The colors should be vibrant, and the cereal should have an irresistible fruity aroma. If you're looking for alternatives, Cocoa Pebbles or Rice Krispies can work, but keep in mind that you'll change the flavor and look of your taco shells.
What is the best way to store leftover Fruity Pebbles Cheesecake Tacos?
To keep the deliciousness intact, store any leftover assembled tacos in an airtight container in the refrigerator. They are best enjoyed within 24 hours to maintain texture; after this, the shells might lose their crispness. If you haven’t filled the taco shells yet, they can be kept at room temperature for an hour or two, but it’s always wise to refrigerate them soon after serving.
Can I freeze Fruity Pebbles Cheesecake Tacos?
Yes! If you've made too many taco shells or want to prepare them in advance, you can freeze the taco shells unfilled. Simply lay them out in a single layer, place them in a freezer-safe container, and they can be frozen for up to one month. To use, let them thaw in the refrigerator, and then fill with the cheesecake mixture when ready to serve.
What should I do if my taco shells aren't holding their shape?
No worries! If your shells aren't firming up, it’s typically because the cereal mixture was too cool when shaped. Try molding them while the mixture is still warm, as this will help the marshmallows stick better, allowing the shells to harden as they cool. If they break apart, you can always create new shells and reshape them. It only takes a little practice!
Are there any dietary considerations for Fruity Pebbles Cheesecake Tacos?
Very! These tacos can easily accommodate various dietary needs. For a dairy-free option, use non-dairy cream cheese and vegan marshmallows in the shell. Plus, feel free to substitute the heavy whipping cream with a dairy-free alternative. Be mindful of those with allergies, as Fruity Pebbles contain gluten and certain allergens; read the labels carefully if needed.
Delightful Fruity Pebbles Cheesecake Tacos for a Whimsical Treat
Ingredients
Equipment
Method
- Melt 3 tablespoons of butter over low heat, then add 2 cups of mini marshmallows and stir until smooth and creamy, about 3-4 minutes.
- Remove from heat and fold in 4 cups of Fruity Pebbles cereal until well coated.
- Scoop portions of the mixture and press around a rolling pin or taco shell mold lined with parchment paper for 30 seconds to firm up.
- Beat 8 ounces of softened cream cheese until smooth, then mix in 1 cup of powdered sugar and 1 teaspoon of vanilla extract until fluffy.
- Whip 1 cup of heavy whipping cream until stiff peaks form, about 3-5 minutes.
- Gently fold whipped cream into the cream cheese mixture until combined.
- Fill each taco shell with the cheesecake filling and top with additional Fruity Pebbles if desired.
- Refrigerate for at least 30 minutes before serving.