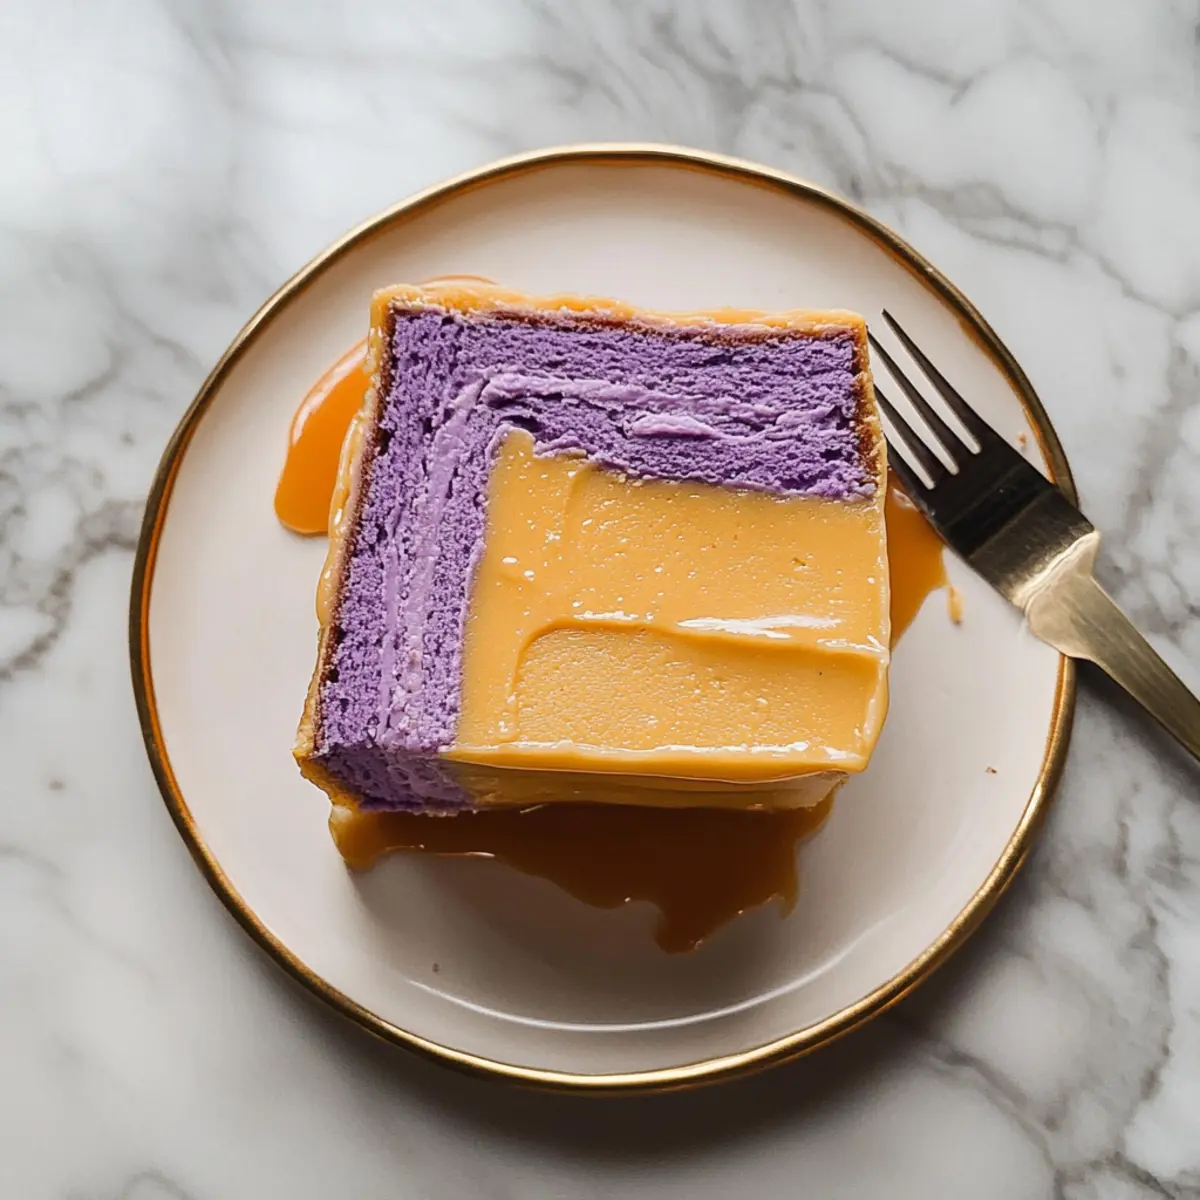
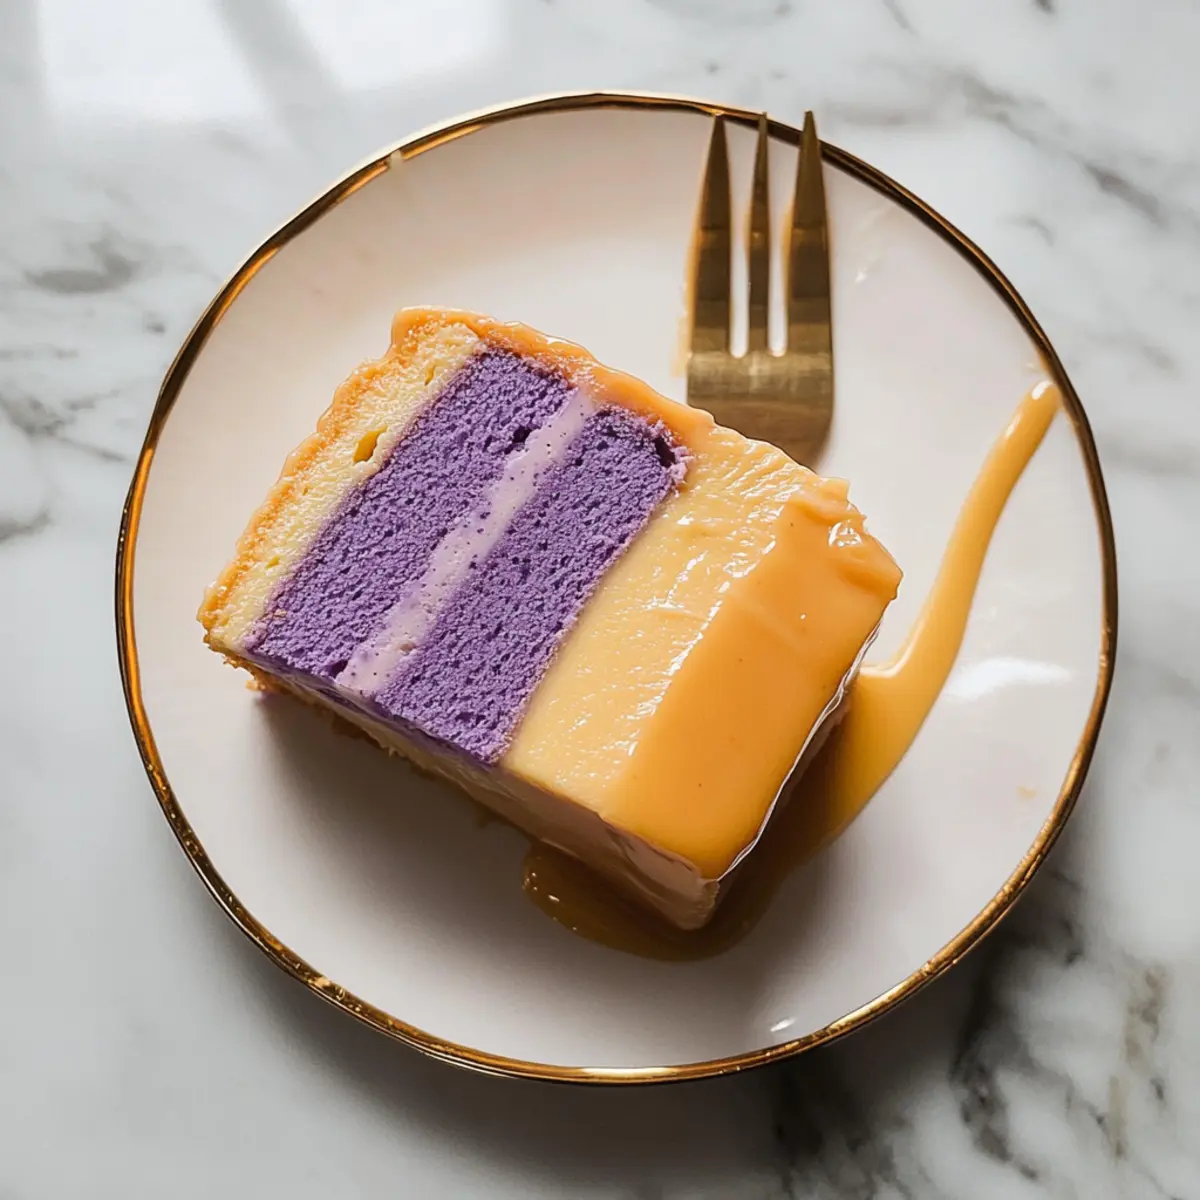
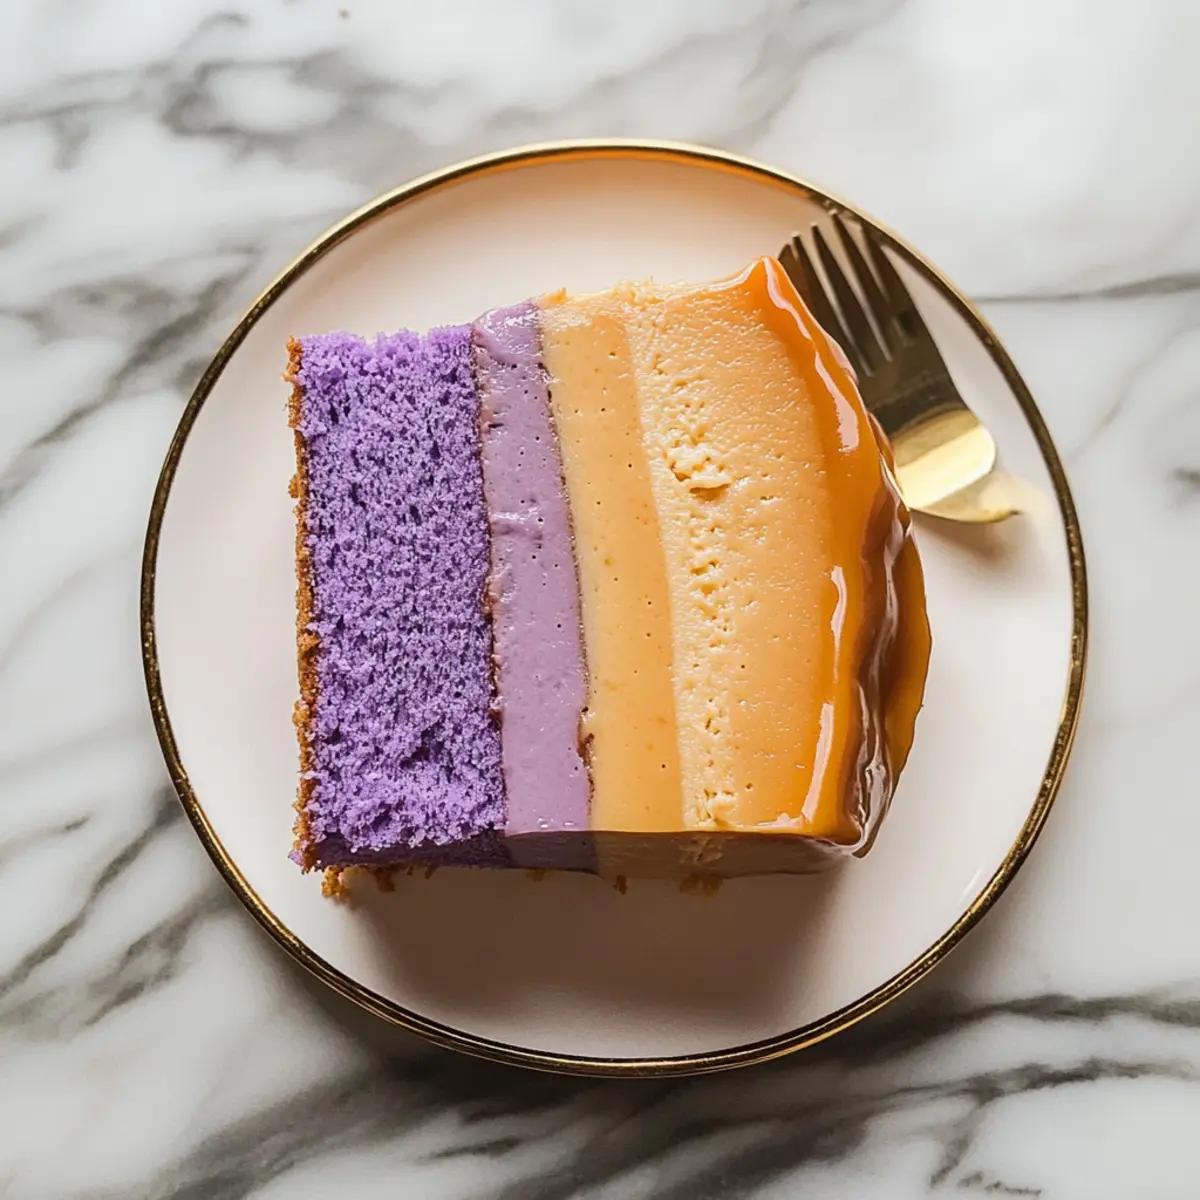
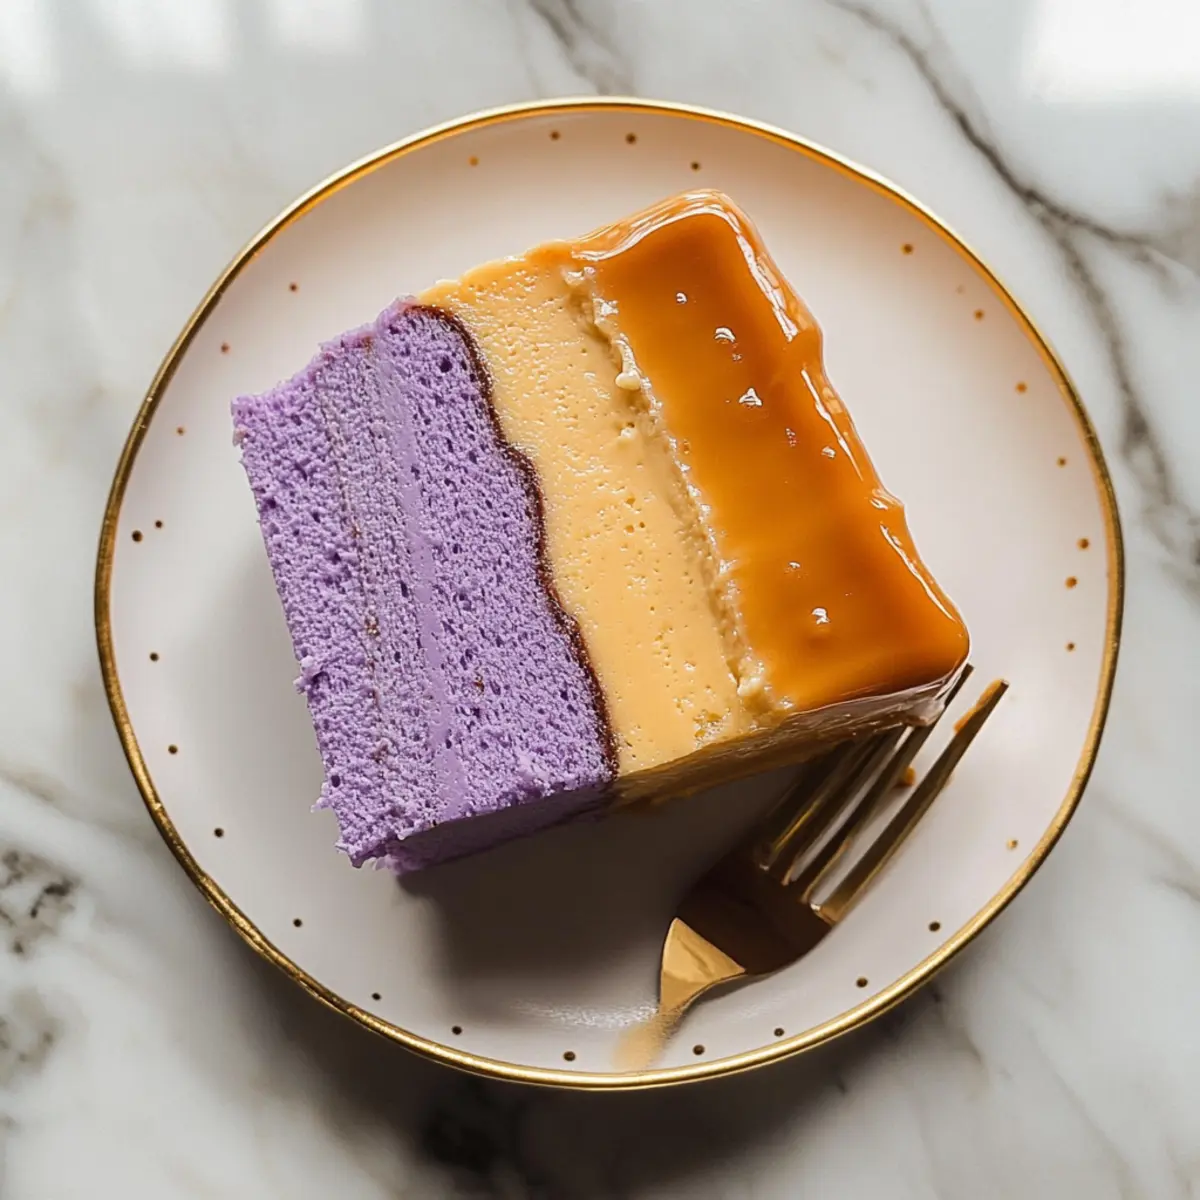
As the warm aroma of cinnamon and ginger wraps around me, I can’t help but feel a wave of nostalgia. Baking is one of those rare moments that can transform an ordinary day into something magical, and today, I’m excited to share my Healthy Gluten-Free Carrot Cake recipe with you. This delightful dessert offers a big win for those of us looking for indulgence without the guilt, combining fluffy white cake textures with the rich flavors of fresh grated carrots. It's not just a treat for your taste buds; the use of wholesome ingredients like oat flour and Greek yogurt means it's a nutritious option, too! Perfect for family gatherings or a quiet afternoon with friends, this cake is a guaranteed crowd-pleaser that's as versatile as it is delicious. Ready to discover how to make this healthy carrot cake that's sure to impress? Let’s get started!
Why Choose a Healthy Carrot Cake?
Healthier Option: This gluten-free carrot cake is a delightful twist on a classic that allows you to indulge without guilt.
Moist and Flavorful: Expect a cake that's not just delectable but also infused with beautiful spices that remind you of home.
Simple Ingredients: Made with everyday, wholesome ingredients, it’s a great option for both beginners and seasoned bakers.
Easy Variations: With substitutions like honey for maple syrup or even sweet potatoes instead of carrots, the possibilities are endless!
Crowd-Pleasing: This cake will have your family and friends asking for seconds and even thirds!
You might also enjoy pairing it with a refreshing drink or trying out a different dessert like Ice Cream Cake for a fun twist!
Healthy Carrot Cake Ingredients
For the Cake
- Grated Carrots – Provides natural sweetness and moisture; use about 2-3 large carrots, ensuring they're freshly grated.
- Eggs – Essential for structure and moisture; this recipe calls for 3 large eggs, with no substitute options tested.
- Maple Syrup – Acts as a natural sweetener; honey can work as a substitute, but steer clear of granulated sugars as they might dry out the cake.
- Coconut Oil – Offers healthy fats while replacing traditional butter; any neutral oil, like avocado, can effectively be used.
- Greek Yogurt – Enhances moisture and texture; full-fat is recommended for a rich flavor, and no substitutes have been tested.
- Vanilla Extract – Adds depth of flavor; using pure extract is a better choice over imitation for this tasty cake.
- Oat Flour – The gluten-free base flour for the cake; can be homemade, but ensure it’s certified gluten-free if needed.
- Baking Powder and Baking Soda – Important leavening agents that ensure rise and a light texture.
- Ground Spices (Cinnamon, Ginger, Nutmeg) – Infuses classic carrot cake flavors; can be substituted with pumpkin pie spice in a pinch.
- Sea Salt – A must to balance the flavors in the cake.
For the Frosting
- Neufchatel Cheese – A lower-fat alternative to cream cheese; can substitute with regular cream cheese if it's not available.
- Additional Greek Yogurt – Adds creaminess to the frosting; balances richness and sweetness beautifully.
- Maple Syrup (or Honey) – Sweetens the frosting; choose based on personal preference or dietary needs.
- Pinch of Sea Salt – Enhances the overall flavor of the frosting, tying it nicely with the cake.
This Healthy Carrot Cake is not just indulgent but also a flavorful treat that works perfectly for any occasion! Enjoy exploring the delightful layers of flavor this cake has to offer.
Step‑by‑Step Instructions for Healthy Carrot Cake
Step 1: Preheat and Prepare the Pan
Begin by preheating your oven to 350°F (175°C). While the oven heats, take an 8x8-inch baking pan and grease it generously with coconut oil or cooking spray. Next, line the bottom with parchment paper for easy removal after baking. This preparation ensures your Healthy Carrot Cake will come out perfectly without sticking.
Step 2: Combine Wet Ingredients
In a large mixing bowl, grate 2-3 large carrots until finely shredded. Then, crack in 3 large eggs and pour in ½ cup of maple syrup, ⅓ cup melted coconut oil, ½ cup Greek yogurt, and 1 teaspoon of vanilla extract. Whisk these ingredients together until they're well combined, forming a smooth, vibrant mixture that showcases the natural sweetness of the carrots.
Step 3: Mix Dry Ingredients
Grab another bowl and sift together 1 ¾ cups of oat flour, 1 teaspoon of baking powder, ½ teaspoon of baking soda, a pinch of sea salt, and 1 teaspoon each of ground cinnamon and ginger. This step is crucial for evenly distributing the leavening agents and spices. Mix well until all dry ingredients are fully integrated and free of lumps, creating a fragrant base for your Healthy Carrot Cake.
Step 4: Combine Wet and Dry Mixtures
Gently fold the dry ingredient mixture into the bowl with the wet ingredients. Using a handheld mixer, blend the two mixtures on low speed just until combined—be careful not to overmix, as this can lead to a denser cake. Aim for a smooth batter with a few streaks of flour remaining, which will result in a light and fluffy Healthy Carrot Cake.
Step 5: Bake the Cake
Pour the batter into the prepared baking pan and spread it evenly with a spatula. Place it in the preheated oven and bake for 20-25 minutes, or until a toothpick inserted into the center comes out clean. You'll know your Healthy Carrot Cake is ready when it is lightly golden on top and springs back when gently pressed.
Step 6: Cool Before Frosting
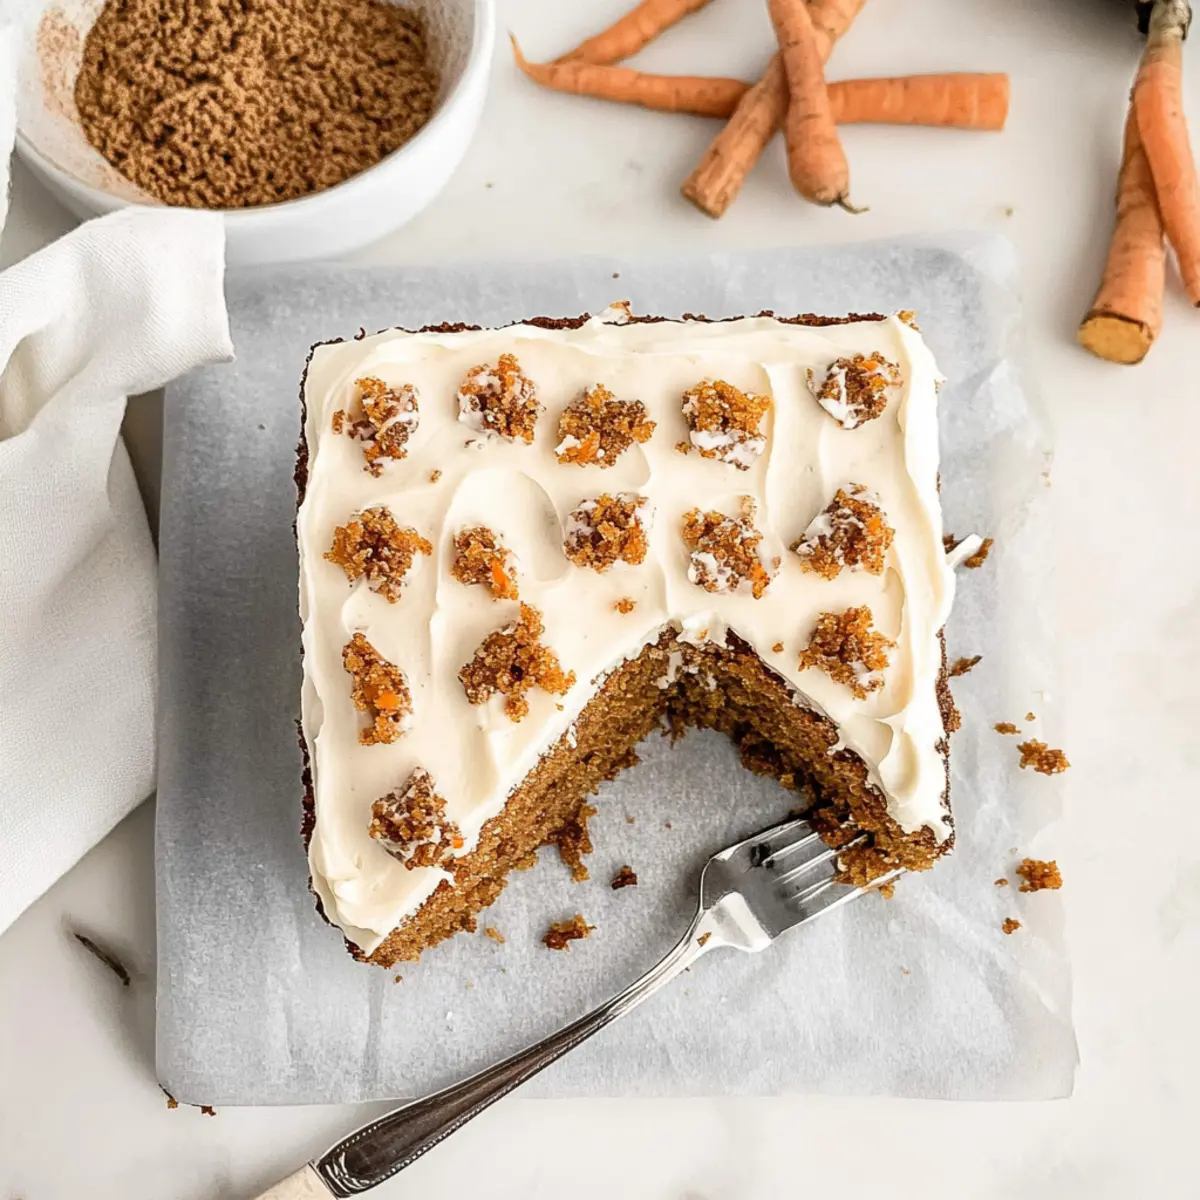
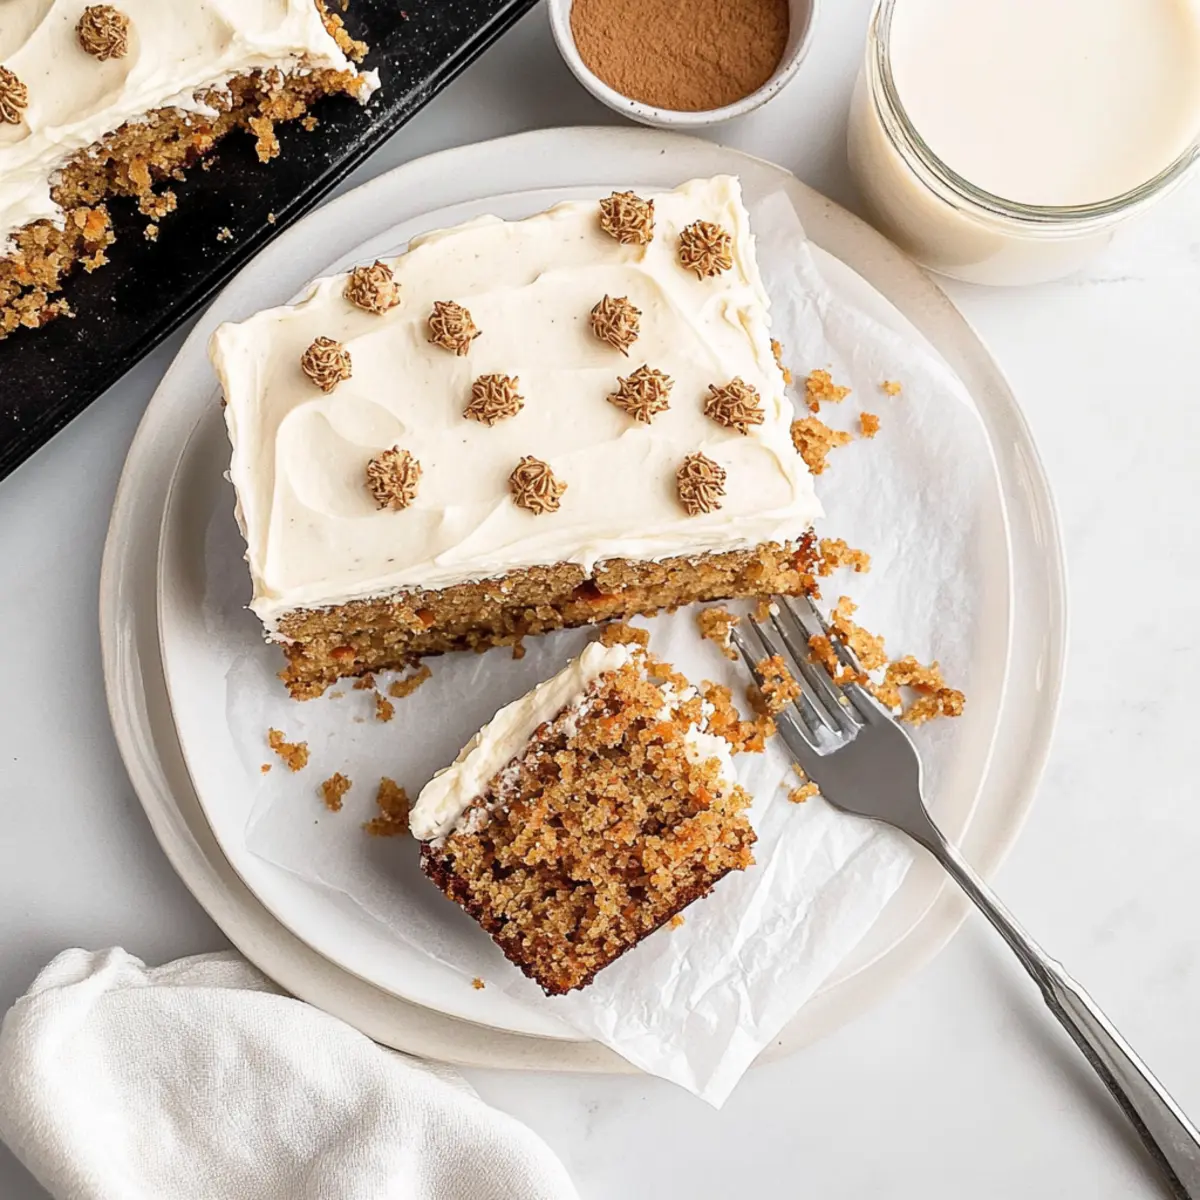
Once baked, remove the cake from the oven and let it cool in the pan for about 10 minutes. After that, carefully transfer it to a wire rack to cool completely for about 30 minutes. Allowing your Healthy Carrot Cake to cool ensures the frosting adheres well without tearing the cake.
Step 7: Prepare the Creamy Frosting
While the cake cools, prepare the frosting by beating together 8 ounces of Neufchatel cheese, ½ cup of Greek yogurt, ¼ cup of maple syrup, and a pinch of sea salt in a medium bowl. Mix on medium speed until smooth and creamy, resulting in a tangy yet sweet frosting that perfectly complements the flavors of your Healthy Carrot Cake.
Step 8: Frosting the Cake
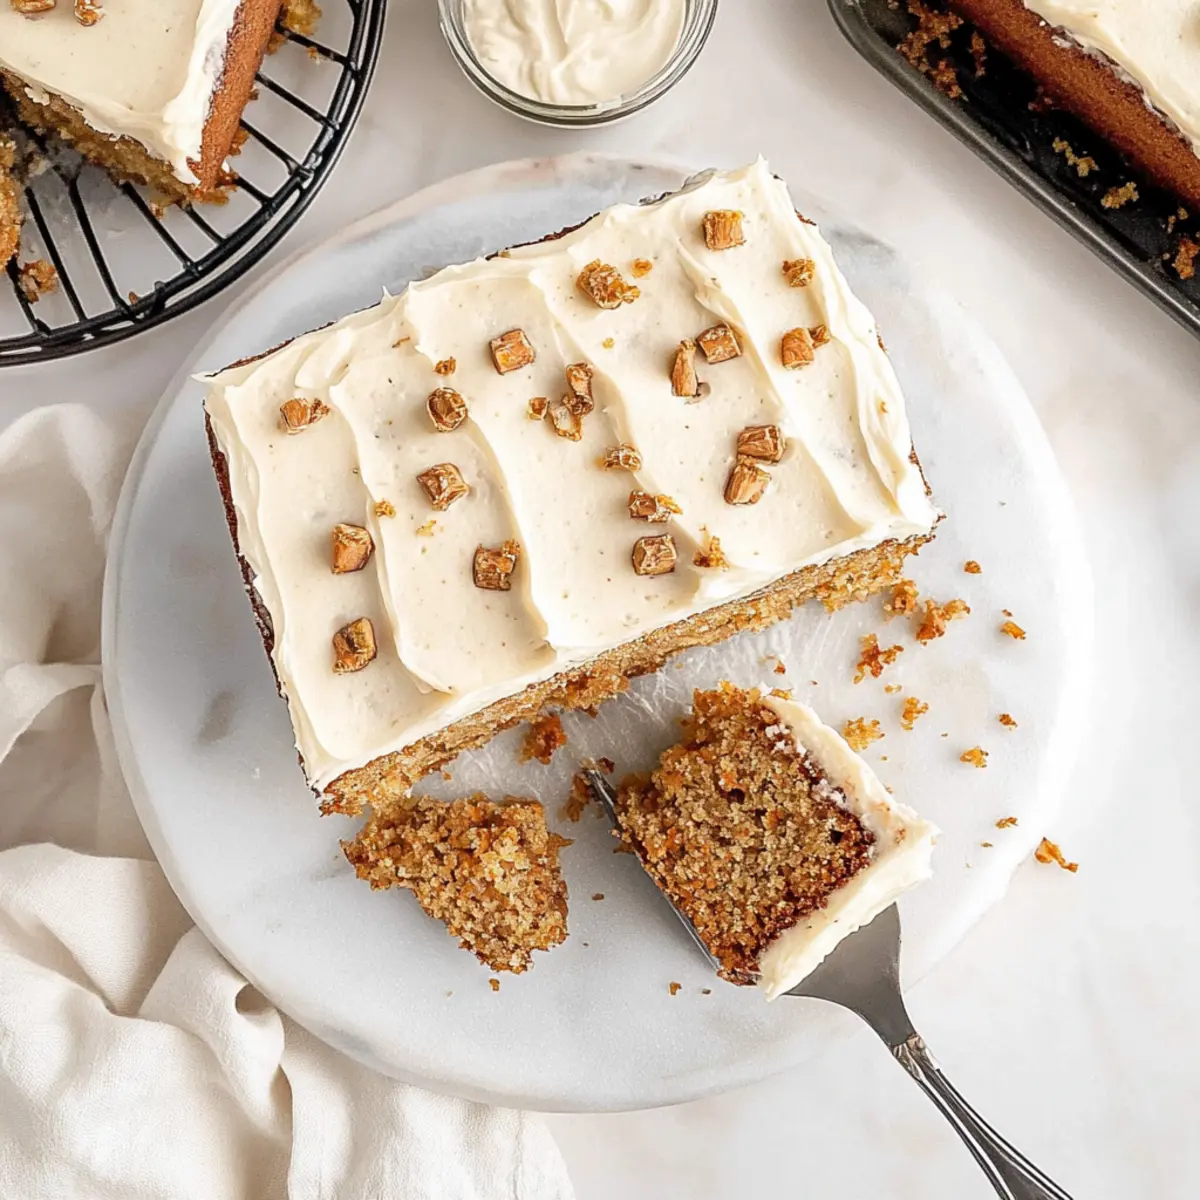
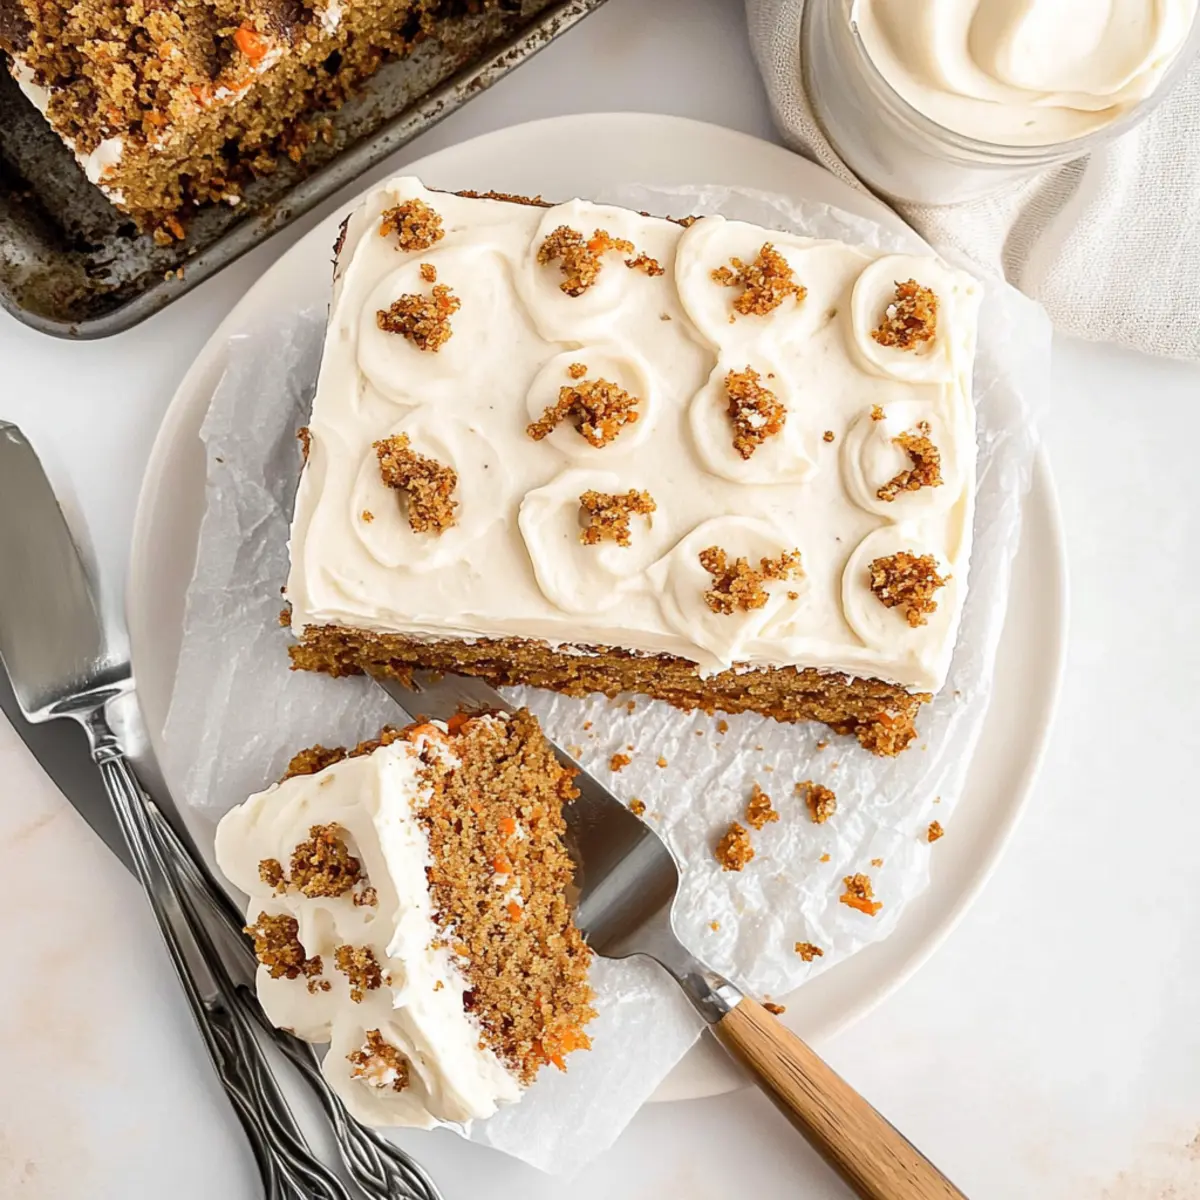
Once the cake has cooled completely, use a spatula to generously spread the creamy frosting over the top. For a beautiful finish, consider swirling the frosting to create an elegant design. This luscious topping adds a delightful contrast to the moist cake layers and enhances the overall taste of your Healthy Carrot Cake.
Healthy Carrot Cake Variations & Substitutions
Feel free to make this delightful cake your own with these fun twists and substitutes that will spark your creativity in the kitchen!
-
Nut-Free: Substitute crushed nuts with pumpkin seeds or sunflower seeds for added crunch without allergens. They'll give your cake a delightful texture alongside the moistness of the carrots.
-
Dairy-Free: Replace Greek yogurt with coconut yogurt and Neufchatel cheese with cashew cream for a creamy frosting alternative. You won't miss the dairy at all!
-
Egg-Free: Use flaxseeds or chia seeds as an egg replacer—mix 1 tablespoon of flaxseed meal or chia seeds with 2.5 tablespoons of water and let it sit until it becomes gelatinous. It’s a perfect binding agent!
-
Low Sugar: If you're watching your sugar intake, try using stevia or monk fruit sweetener in place of maple syrup. Adjust according to the package instructions for sweetness.
-
Extra Spices: Add a pinch of ground cardamom or nutmeg to the spice mixture for a holiday twist that enhances the warm flavors of the cake. The aroma will be enchanting!
-
Zucchini Twist: Swap out some of the grated carrots for grated zucchini to sneak in extra veggies. It adds moisture and lightness without a strong flavor impact.
-
Tropical Flavor: Incorporate crushed pineapple for a sweet and tropical hint; be sure to drain it well to avoid adding too much moisture to the batter.
You might also enjoy this Chocolate Pudding Cake for a rich and indulgent treat that balances the lightness of our carrot cake! Explore and discover your favorite variations; the possibilities are endless!
Make Ahead Options
Preparing your Healthy Carrot Cake ahead of time is a fantastic way to save precious moments during busy weekdays! You can grate the carrots and mix the dry ingredients up to 3 days in advance, storing them separately in airtight containers in the refrigerator to maintain freshness. For the cake batter, combine the wet ingredients up to 24 hours ahead, but refrain from mixing in the dry ingredients until you're ready to bake, ensuring the cake remains fluffy. When ready to serve, bake the prepared batter and let it cool completely before frosting, which can also be made ahead and stored in the fridge for up to 3 days. This way, your Healthy Carrot Cake becomes a quick assembly process, delivering delightful flavors with minimal effort!
What to Serve with Healthy Gluten-Free Carrot Cake
This moist and flavorful cake is perfect for any occasion, pairing deliciously with various side dishes and drinks.
- Creamy Mashed Potatoes: The rich texture of creamy mashed potatoes contrasts beautifully with the fluffy cake, making for a comforting meal.
- Crisp Green Salad: A fresh salad with mixed greens, walnuts, and a light vinaigrette adds a refreshing crunch to balance the sweetness of the cake.
- Vanilla Ice Cream: The cold, creamy sweetness of vanilla ice cream is a classic pairing that enhances the flavors of the carrot cake.
- Herbed Quinoa: A nutty quinoa dish tossed with herbs provides a wholesome, protein-packed side that complements the cake's richness without overpowering it.
- Steamed Asparagus: The slight bitterness of asparagus adds an elegant touch to your plate, cutting through the cake's sweetness and offering a vibrant color contrast.
- Chai Tea: The aromatic spices in chai tea mirror those in the cake, creating a warm, comforting drink to enjoy alongside each slice.
- Fruit Compote: A tangy berry or citrus compote offers a zesty contrast to the sweet frosting, enhancing every bite with a burst of fresh flavor.
- Lemon Sorbet: This light, refreshing dessert serves as a palate cleanser and pairs well with the warm spices in the carrot cake, leaving your taste buds dancing.
How to Store and Freeze Healthy Carrot Cake
Fridge: Store in an airtight container in the refrigerator for up to 4 days. Allow the cake to chill slightly before serving to enhance flavors.
Freezer: For longer storage, wrap individual slices tightly in plastic wrap, then place them in a freezer bag. It can be frozen for up to 3 months; thaw in the fridge overnight.
Reheating: If desired, reheat slices in the microwave for about 10-15 seconds for that freshly-baked taste. Enjoy your healthy carrot cake warm or chilled!
Room Temperature: If serving on the same day, you can keep the cake at room temperature for up to 3 hours, but be sure to refrigerate any leftovers to maintain freshness.
Expert Tips for Healthy Carrot Cake
-
Cool Completely: Allow your cake to cool fully before frosting to prevent tearing the delicate texture. Patience pays off for a gorgeous finish!
-
Don’t Overmix: When combining wet and dry ingredients, mix just until blended. Overmixing can make the cake dense instead of light and fluffy.
-
Add Texture: For an extra crunch, consider mixing in ½ cup of crushed nuts or ¼ cup of soaked raisins to the batter before baking.
-
Test for Doneness: Always insert a toothpick into the center to check for doneness. If it comes out clean or with a few crumbs, your Healthy Carrot Cake is ready!
-
Make Ahead: This cake actually tastes better the next day! Making it in advance allows flavors to meld beautifully, making it a fantastic option for gatherings.
Healthy Carrot Cake Recipe FAQs
How do I choose the right carrots for this recipe?
Absolutely! For the best results, look for firm, vibrant carrots, preferably organic. Carrots with dark orange color promise sweetness and flavor. Avoid carrots that have dark spots or feel soft, as these may affect the cake's texture. Grate 2-3 large carrots for optimal moisture.
What is the best way to store the Healthy Carrot Cake?
You can store the Healthy Carrot Cake in an airtight container in the refrigerator for up to 4 days. It’s beneficial to let it chill slightly before serving, as this will elevate its flavors. If you’re planning to enjoy it later, I recommend slicing the cake before storing to make serving easier.
Can I freeze Healthy Carrot Cake?
Absolutely! To freeze, first allow the cake to cool completely. Wrap individual slices tightly in plastic wrap, then place them in a freezer-safe bag. The cake can be frozen for up to 3 months. When you’re ready to enjoy, thaw the slices overnight in the fridge and reheat briefly in the microwave for a fresh-baked taste.
What should I do if the cake turns out too dense?
Very often, a dense cake stems from overmixing the batter. When you combine your wet and dry ingredients, mix just until incorporated. Additionally, check whether your leavening agents (baking powder and baking soda) are fresh, as expired ones might not provide the rise needed for a light cake. If you’re worried, simply test for doneness earlier than the suggested time.
Are there any dietary restrictions I should consider?
Absolutely! This Healthy Carrot Cake is gluten-free, making it an excellent option for gluten-sensitive individuals. However, if you’re baking for someone with allergies, ensure the ingredients, like Neufchatel cheese or Greek yogurt, are suitable for them. If you're making it for young children or pets, take care not to use honey in the frosting due to its potential risk for infants.
Deliciously Moist Healthy Carrot Cake That's Gluten-Free
Ingredients
Equipment
Method
- Preheat your oven to 350°F (175°C). Grease an 8x8-inch baking pan with coconut oil and line with parchment paper.
- In a large bowl, grate 2-3 large carrots and add 3 large eggs, ½ cup maple syrup, ⅓ cup melted coconut oil, ½ cup Greek yogurt, and 1 teaspoon vanilla extract. Whisk until well combined.
- In another bowl, sift together 1 ¾ cups oat flour, 1 teaspoon baking powder, ½ teaspoon baking soda, a pinch of sea salt, and 1 teaspoon each of ground cinnamon and ginger. Mix well.
- Gently fold the dry ingredients into the wet mixture until combined, being careful not to overmix.
- Pour the batter into the prepared pan and bake for 20-25 minutes or until a toothpick comes out clean.
- Allow the cake to cool in the pan for about 10 minutes, then transfer to a wire rack to cool completely for about 30 minutes.
- For the frosting, beat together 8 ounces Neufchatel cheese, ½ cup Greek yogurt, ¼ cup maple syrup, and a pinch of sea salt until smooth.
- Once the cake has cooled, spread the frosting over the top and enjoy!