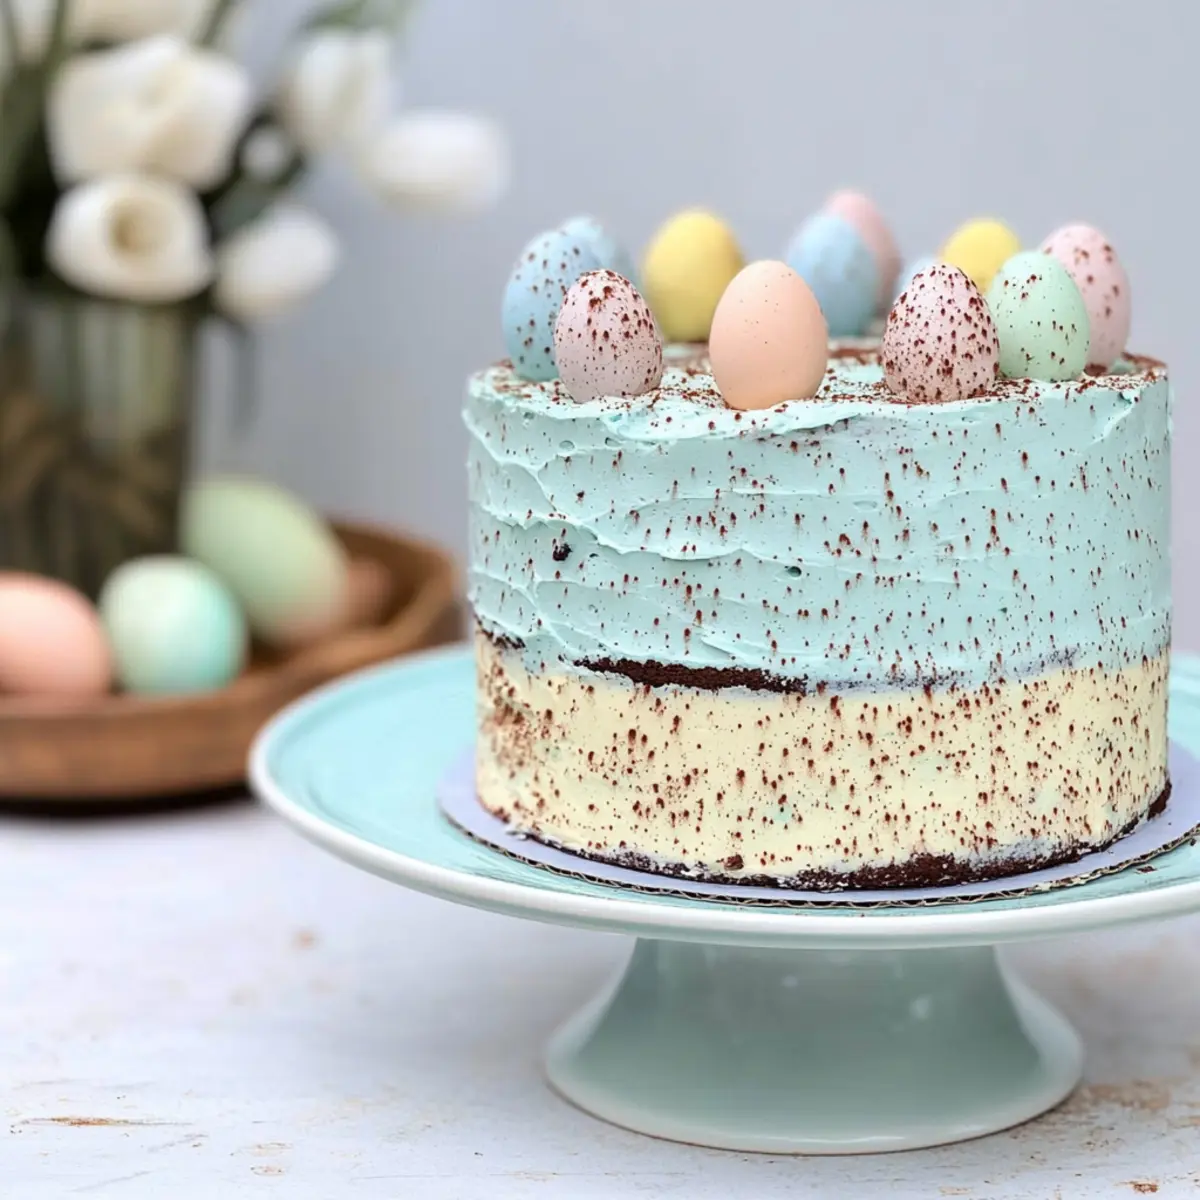
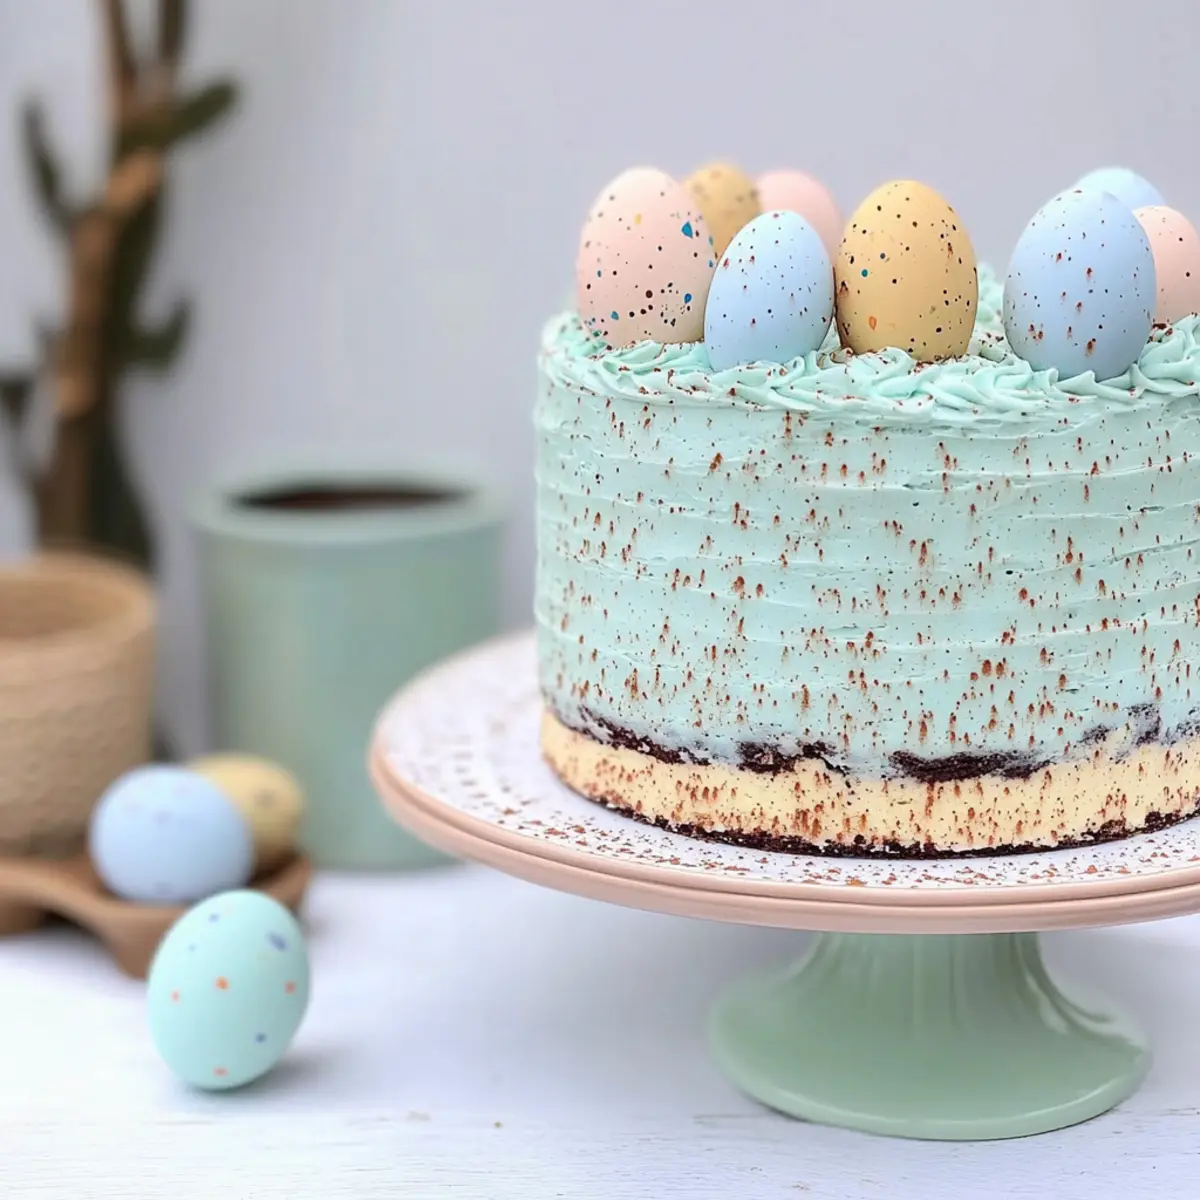
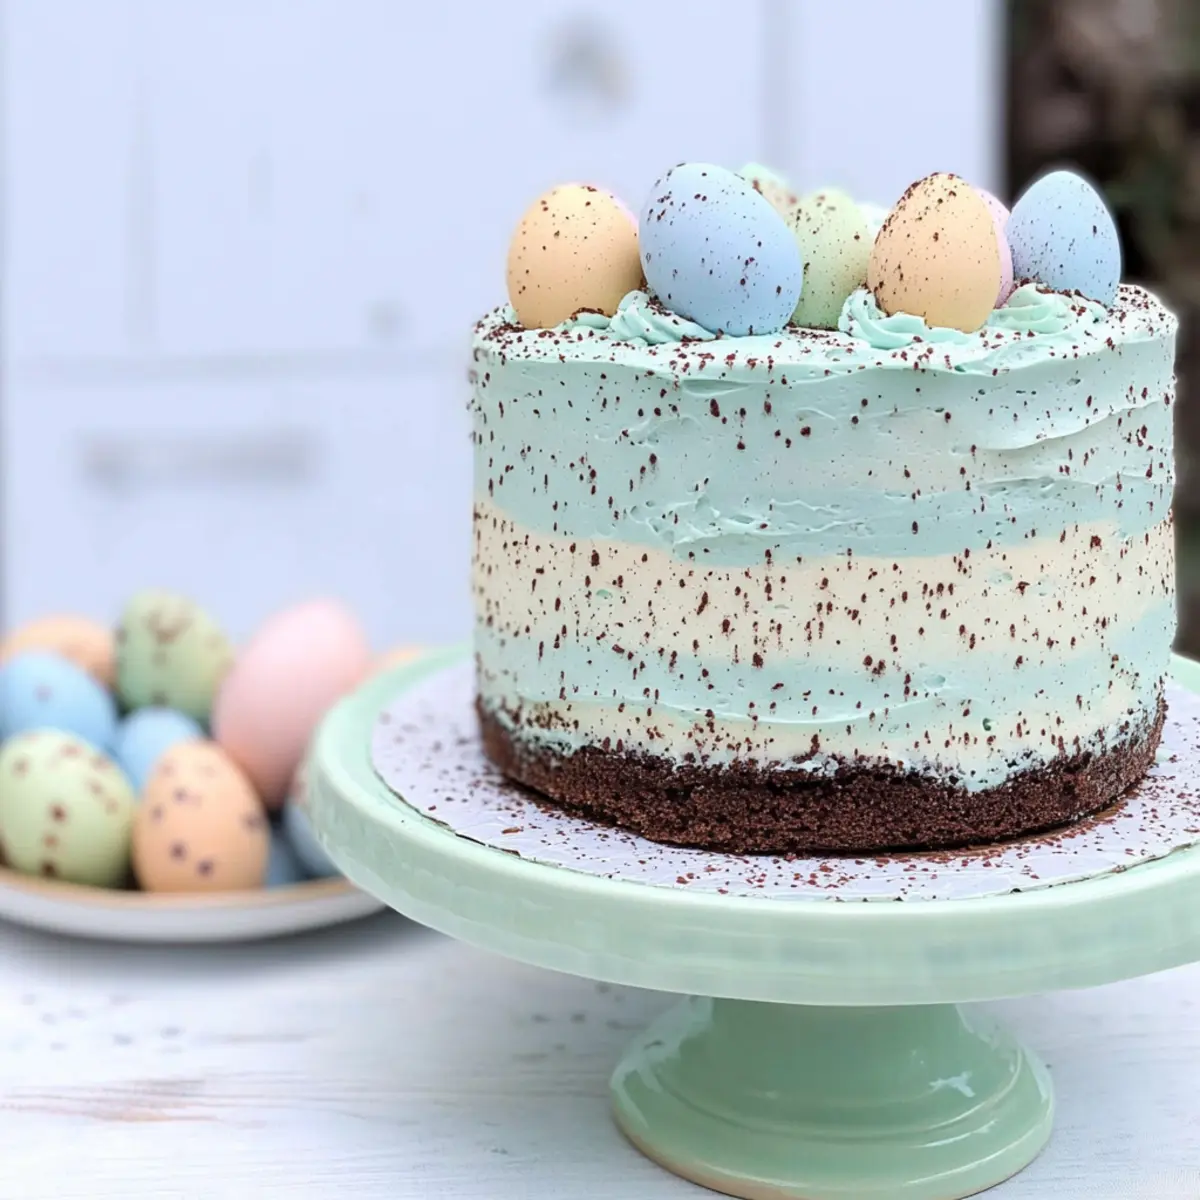
As I pulled my cake out of the oven, the sweet, buttery aroma enveloped the kitchen like a warm hug. This Speckled Egg Cake, perfect for Easter celebrations, is not just a treat for the taste buds; it's a feast for the eyes too! With its moist vanilla layers and stunning blue buttercream frosting mimicking Robin’s eggs, it effortlessly impresses family and friends alike. The best part? This cake is surprisingly simple to make and brings a delightful touch of whimsy to your dessert table. Whether you’re hosting a spring gathering or simply treating yourself, this cake is sure to create those memorable moments we cherish. Curious about how to whip up this showstopper? Keep reading!
Why is Speckled Egg Cake a Must-Try?
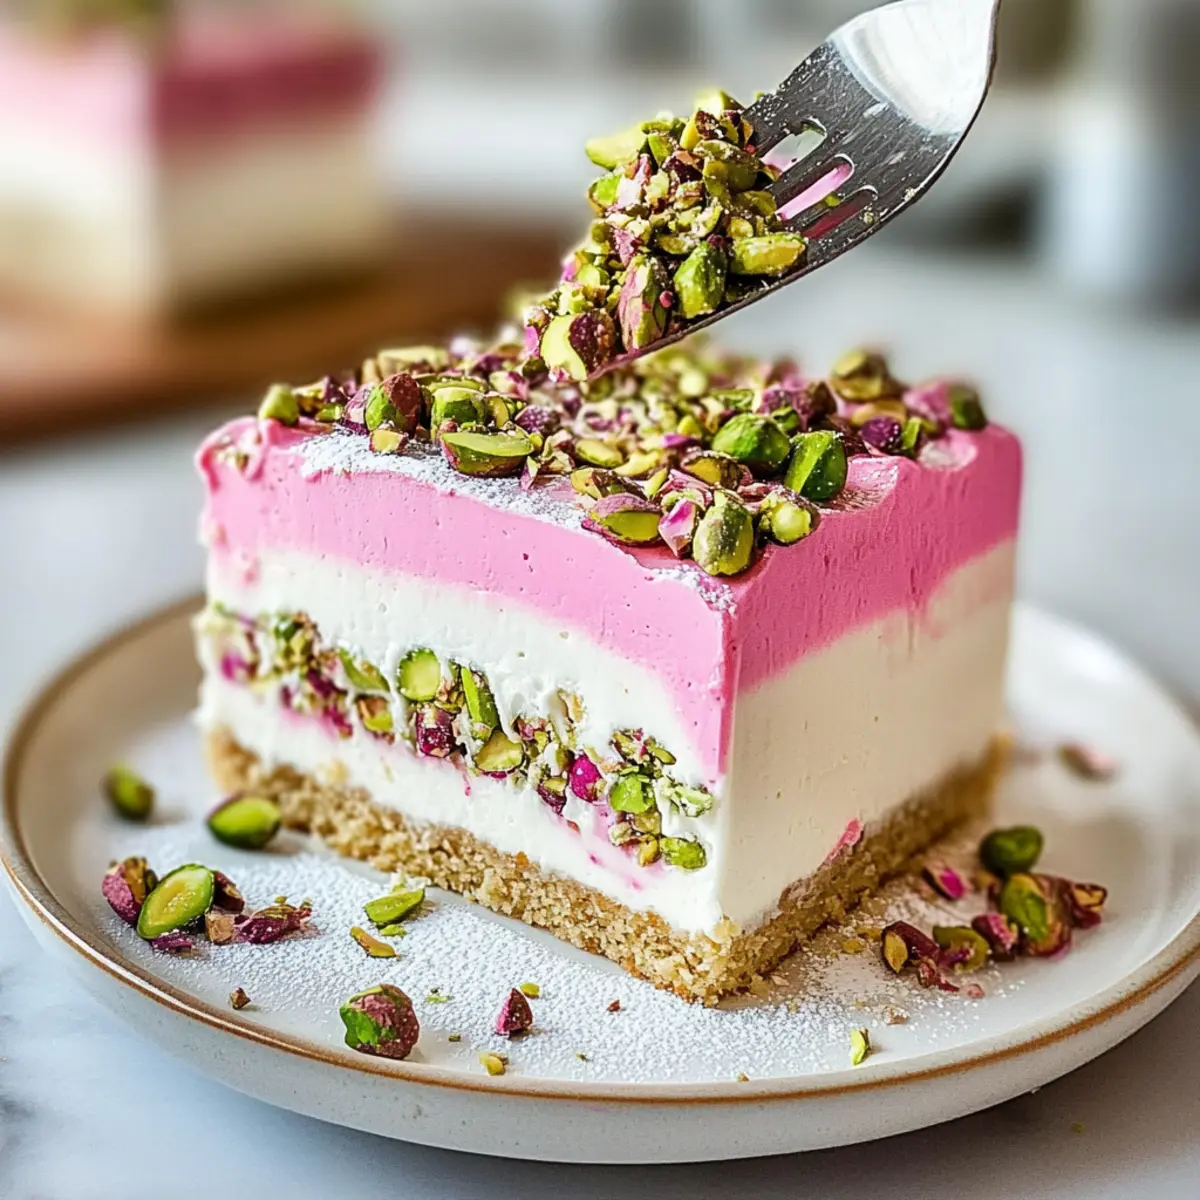
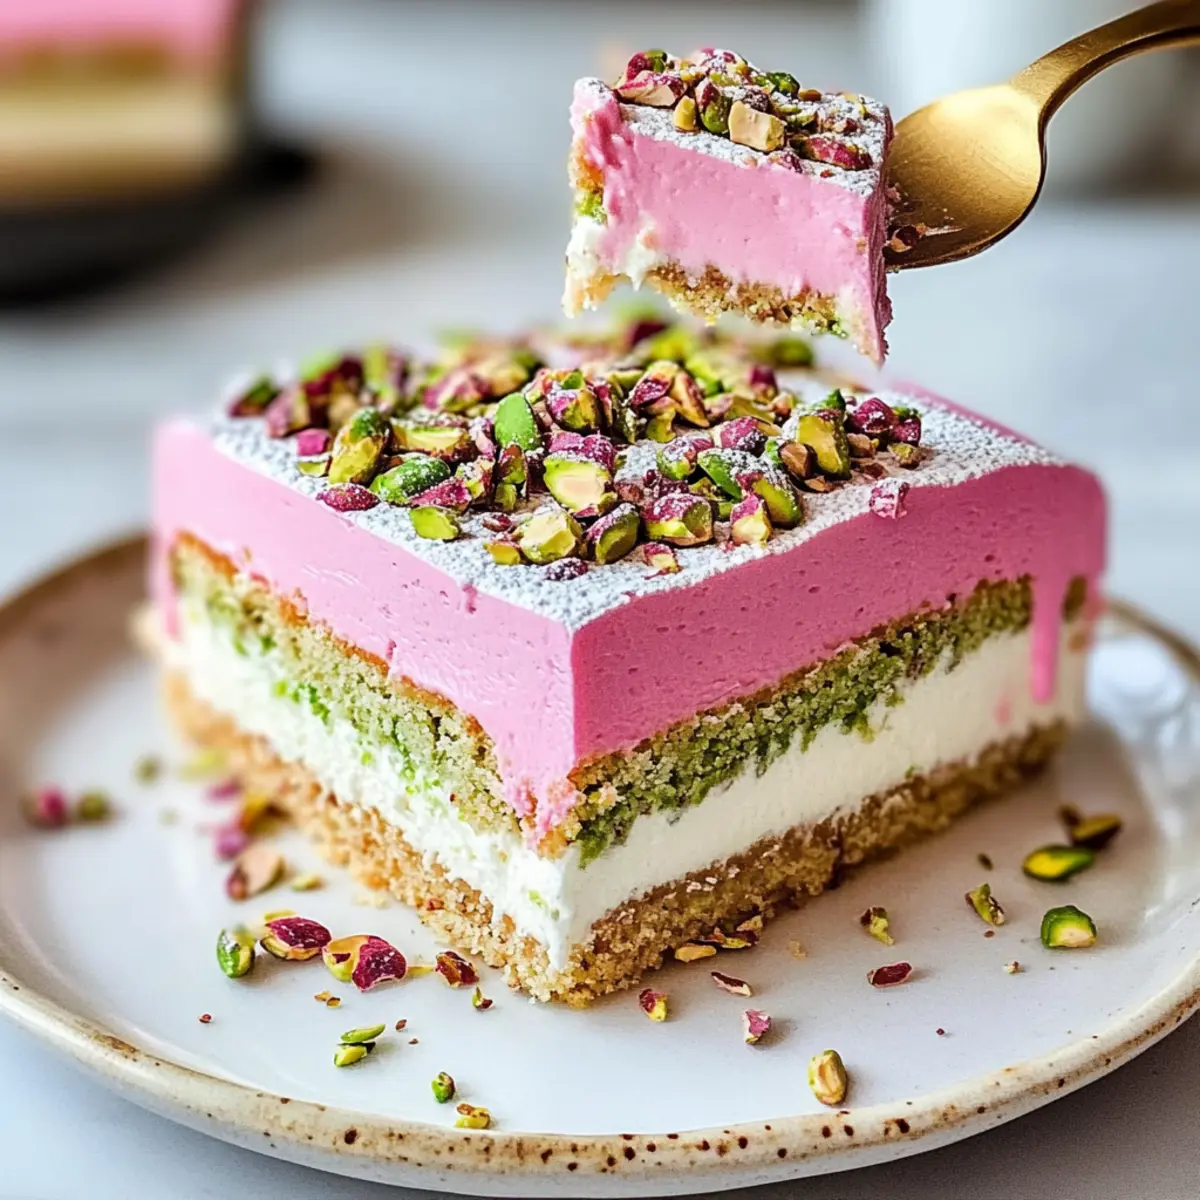
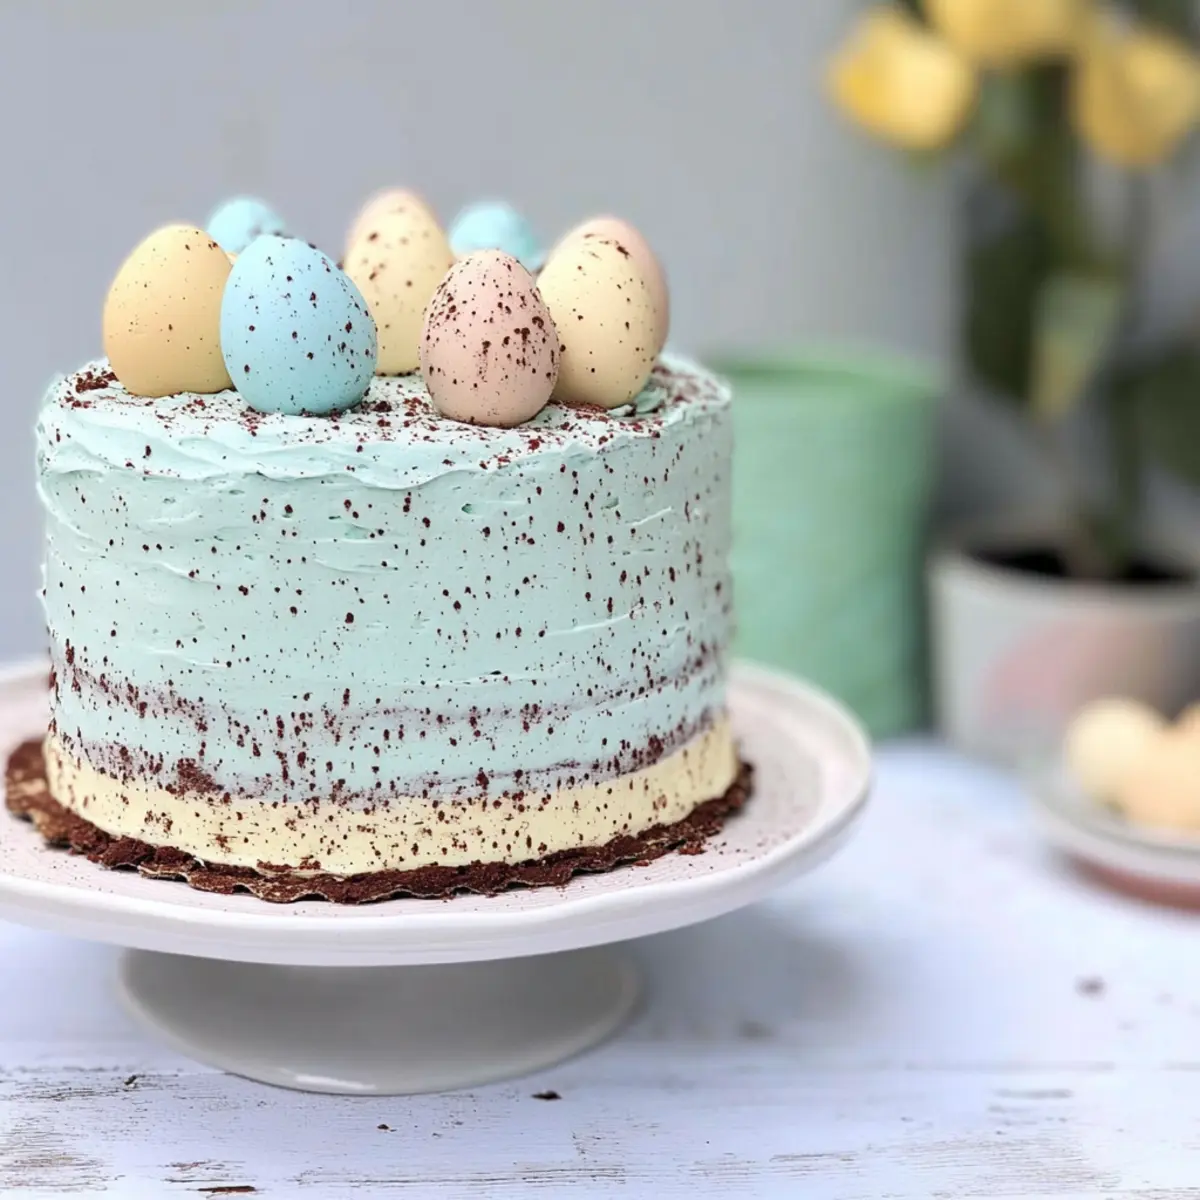
Whimsical Appearance: The cake's stunning blue buttercream frosting and cocoa speckling create a playful visual that’s perfect for Easter celebrations.
Moist Texture: Each bite features a soft, tender crumb made possible by the thoughtful combination of cake flour and sour cream!
Crowd-Pleasing Flavor: Everyone will love the sweet, buttery vanilla taste that pairs beautifully with the charming design.
Easy to Make: With straightforward steps and ingredients, even novice bakers can successfully create this stunning cake!
Versatile Options: Adapt the recipe for dietary needs or personalize it by experimenting with flavored extracts or alternative frostings.
Serve this delightful cake at your next gathering, and it will surely be the centerpiece everyone talks about! If you're looking for more stunning dessert ideas, check out Chocolate Poke Cake for an equally impressive choice!
Speckled Egg Cake Ingredients
For the Cake
• Cake Flour (2 cups / 280 g) – Provides structure and a fine crumb; can substitute with all-purpose flour for a denser texture.
• Salt (1 teaspoon) – Enhances the sweetness and balances flavors.
• Baking Powder (2 1/2 teaspoons) – Leavening agent for rise and lightness.
• Egg Whites (4, room temperature) – Adds fluffiness and volume to your speckled egg cake.
• Butter (2 sticks / 226 g, room temperature) – Creates a rich, tender cake; avoid margarine for the best flavor.
• Sugar (1 1/4 cups / 280 g) – Sweetness and moisture for the perfect bite.
• Vanilla Extract (2 teaspoons) – Provides depth to the cake’s flavor.
• Milk (1 cup, room temperature) – Adds moisture and fat; consider almond or soy milk for dietary restrictions.
• Sour Cream (1/2 cup / 130 g, room temperature) – Increases richness and enhances moisture.
For the Buttercream Frosting
• Butter (1 cup / 227 g, room temperature) – Adds creaminess to your frosting.
• Shortening (1/2 cup / 100 g) – Helps maintain the structure of the buttercream.
• Powdered Sugar (6 cups / 750 g, sifted) – Sweetens and thickens the frosting significantly.
• Milk (1/4 cup) – Adjusts the consistency of your frosting to perfection.
• Vanilla (1 tablespoon) – Enhances the overall flavor of the buttercream.
• Cocoa Powder (1 tablespoon) – Creates the speckling effect on the cake.
For Decoration
• Chocolate Eggs (1 bag) – Choose speckled or pastel-themed candies to beautifully decorate your cake; adds a whimsical touch!
Dive into the world of baking with this charming Speckled Egg Cake that promises to wow your guests!
Step‑by‑Step Instructions for Speckled Egg Cake
Step 1: Prepare Cake Tins
Butter and flour three 6-inch cake pans, then line the bottoms with parchment paper to prevent sticking. Preheat your oven to 340°F (170°C) so it reaches the proper temperature by the time your batter is ready. This initial step ensures a beautifully baked speckled egg cake with a perfect rise.
Step 2: Mix Dry Ingredients
In a large bowl, sift together the cake flour, salt, and baking powder. This process aerates the flour, helping to create a lighter texture in your cake. Once combined, set the dry mixture aside, allowing it to mingle together while you prepare the wet ingredients for your speckled egg cake.
Step 3: Combine Wet Ingredients
In a separate small bowl, whisk together the room-temperature milk, sour cream, and vanilla extract. This mixture adds moisture and flavor to the speckled egg cake. Make sure everything is well combined, then set it aside for incorporation into the cake batter later on.
Step 4: Cream Butter and Sugar
Using a stand mixer or a hand mixer, beat the softened butter and sugar on medium speed for about 3 minutes until the mixture is light and fluffy. The goal is to incorporate air for a tender cake. Take a moment to admire the creamy blend before moving on to adding the egg whites for added fluffiness.
Step 5: Add Egg Whites
Slowly incorporate the room-temperature egg whites into the creamed butter and sugar, adding them one at a time. Be sure to beat well after each addition until the mixture is smooth and fully combined. This step is crucial as the egg whites help create a nice volume and lift for your speckled egg cake.
Step 6: Combine Mixtures
Gradually add the dry mixture and the milk mixture alternately to the creamed butter and egg whites. Start with a third of the dry ingredients, followed by half of the milk mixture, continuing this process until everything is just combined. Avoid overmixing to keep your cake light and airy.
Step 7: Bake Cakes
Divide the batter evenly among the three prepared cake pans. Bake in the preheated oven for 25-30 minutes, or until a toothpick inserted in the center comes out clean. Allow your speckled egg cake layers to cool in the pans for 10 minutes before turning them out onto a wire rack to cool completely.
Step 8: Prepare Buttercream
In your stand mixer, beat together the room-temperature butter and shortening until creamy. Gradually add the sifted powdered sugar, mixing on low speed first. Once incorporated, add the milk and vanilla extract until you reach your desired frosting consistency. This fluffy buttercream will be perfect for decorating your cake.
Step 9: Assemble Cake
Once the cake layers are completely cooled, layer buttercream generously between each layer of your speckled egg cake. Apply a slight crumb coat to seal in any loose crumbs, then refrigerate briefly. After chilling, apply a thicker final coat of frosting over the entire cake for a smooth and polished look.
Step 10: Create Speckling
Mix cocoa powder and a tablespoon of vanilla extract in a small bowl. Use a clean brush to flick the mixture onto your frosted cake, creating the speckled effect reminiscent of nature's Easter eggs. Practice flicking on a piece of parchment paper if you want to perfect your technique before working on the cake itself.
Step 11: Decorate
Finally, arrange the chocolate eggs around the base of your speckled egg cake. You can also pipe small amounts of leftover buttercream on top to attach larger chocolate eggs, creating a delightful decoration. This final touch makes your cake not only fun but a charming centerpiece for your Easter celebrations!
Make Ahead Options
These delightful Speckled Egg Cakes are perfect for busy home cooks looking to save time! You can prepare the cake layers up to 3 days in advance by baking them and then wrapping each layer tightly in plastic wrap, ensuring they stay moist in the refrigerator. The blue buttercream frosting can also be made beforehand and stored in an airtight container for up to 1 week in the fridge. When you're ready to serve, simply let the layers come to room temperature, assemble the cake by layering it with the chilled buttercream, and follow the speckling and decoration steps. This prep-ahead strategy ensures that your cake is just as delicious, allowing you to enjoy more time with family and less time in the kitchen!
What to Serve with Speckled Egg Cake?
Imagine delighting your guests with unexpected pairings that enhance the experience of this whimsical dessert.
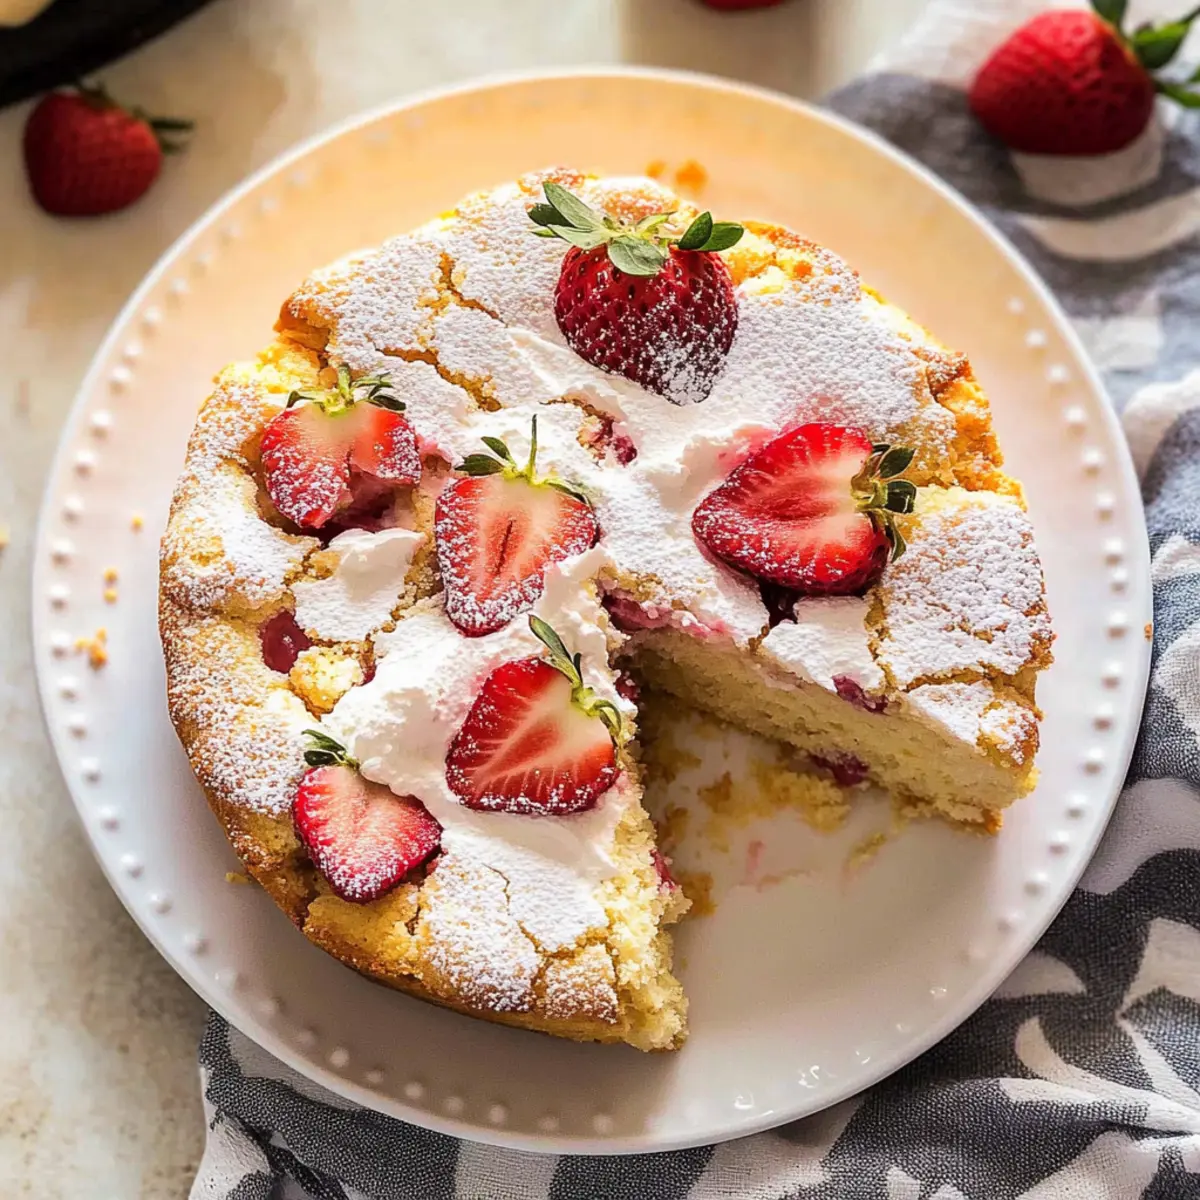
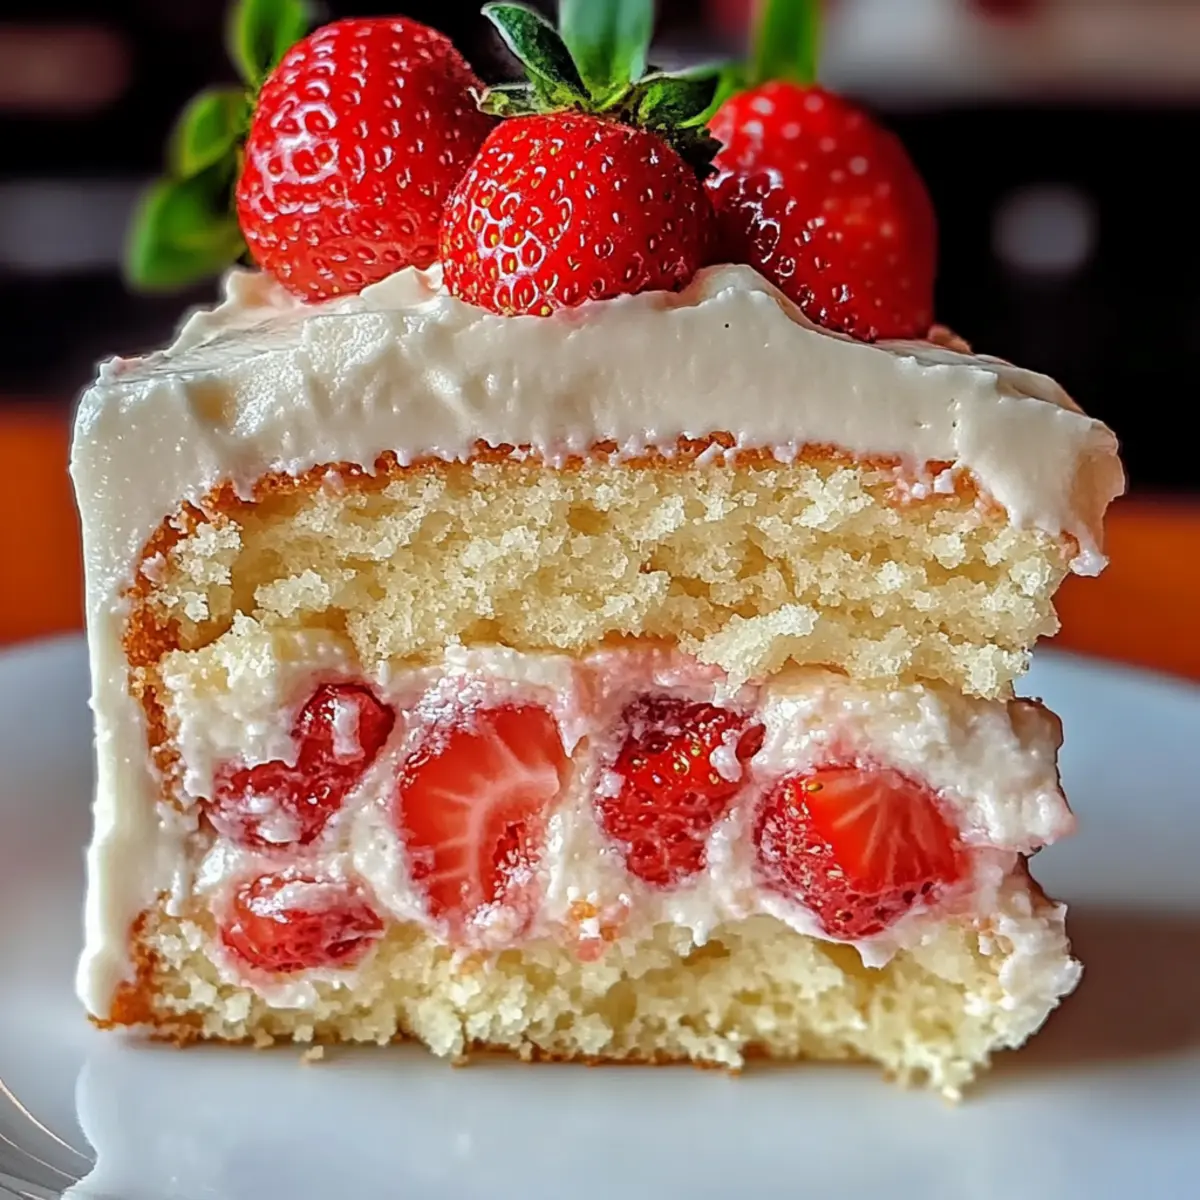
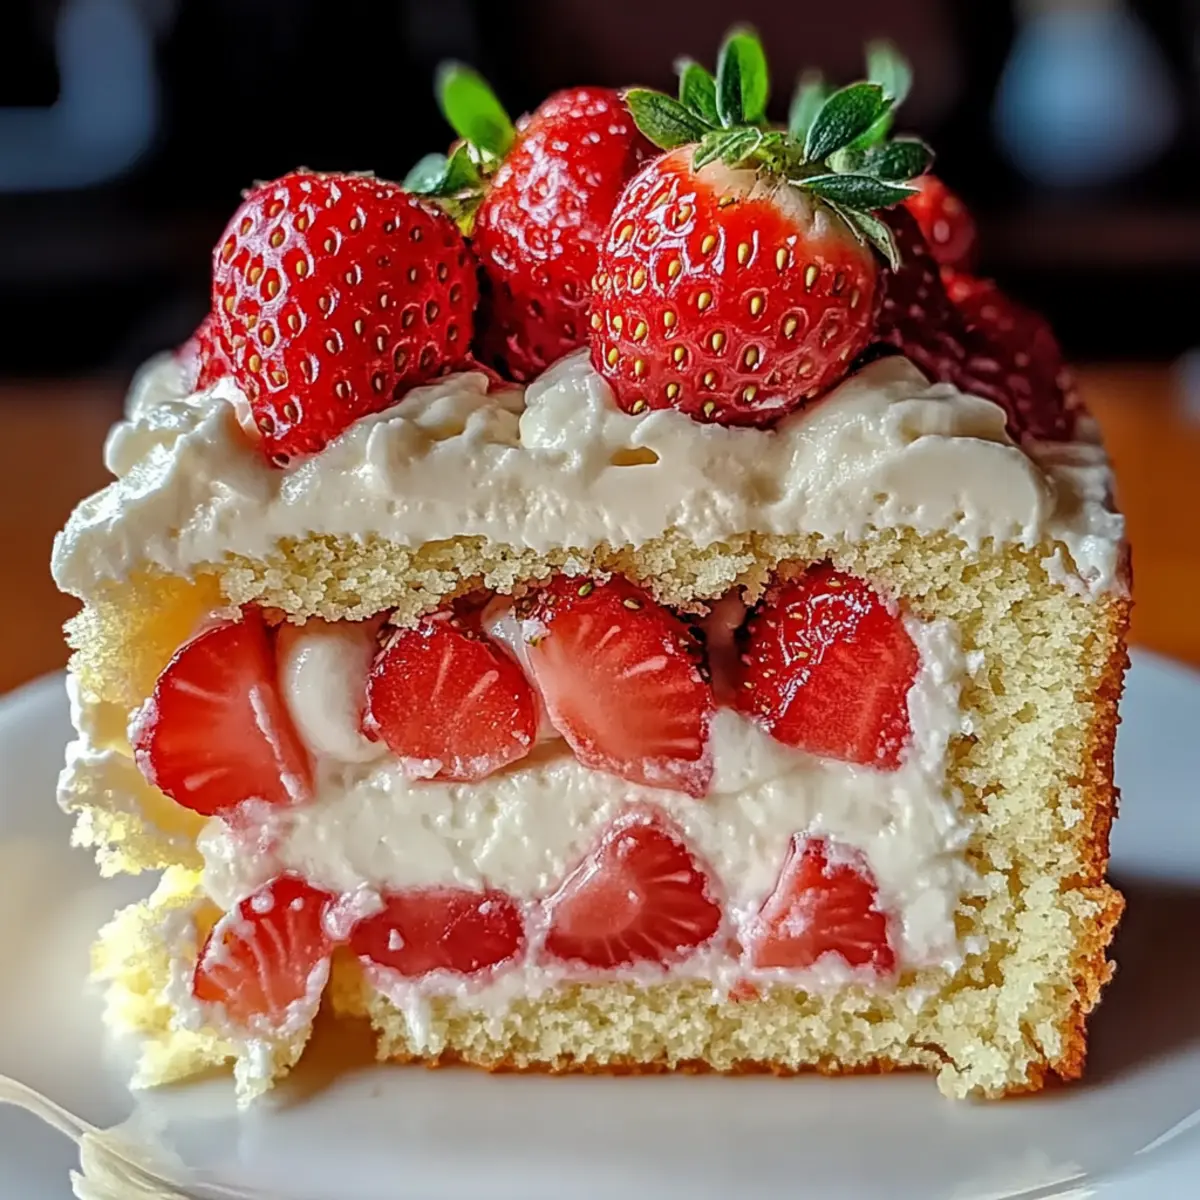
- Fresh Berries: A mix of strawberries, blueberries, and raspberries adds a burst of freshness, complementing the cake's sweetness.
- Whipped Cream: Light and airy, it provides a creamy contrast that elevates each slice while adding an indulgent touch.
- Vanilla Ice Cream: The perfect creamy accompaniment that melts into the cake, balancing its rich flavors beautifully.
- Lemon Curd: The zesty brightness cuts through the cake’s sweetness, creating a refreshing and vibrant flavor combination.
- Earl Grey Tea: This fragrant tea offers a floral hint that pairs delightfully with the cake's vanilla notes and enhances the overall experience.
- Mimosa: A bubbly, citrusy drink that brings a festive twist, making it perfect for brunch gatherings featuring your speckled egg cake.
- Mint Chocolate Chip Milkshake: The cool mintiness contrasts wonderfully with the cake’s buttery layers, providing a delightful twist.
- Caramel Sauce: Drizzling this rich, sweet sauce takes the cake to another level, creating a glorious and decadent treat.
Elevate your Easter festivities with these delightful accompaniments that promise to create memorable moments around the table!
Expert Tips for Speckled Egg Cake
-
Room Temperature Ingredients: Always ensure that your butter, eggs, and dairy are at room temperature. This helps create a smoother batter and results in a more tender speckled egg cake.
-
Avoid Overmixing: After adding the dry and wet ingredients, mix just until combined. Overmixing can lead to a dense cake, so this step is crucial for achieving fluffy layers.
-
Chill Layers Before Frosting: Consider freezing or refrigerating the cake layers briefly before frosting. This makes them easier to handle and helps prevent crumbs from mixing into your buttercream.
-
Perfecting the Speckling: Practice your flicking technique on parchment paper before applying it to the cake. This allows you to control the size of the cocoa powder speckles, ensuring a lovely, whimsical finish.
-
Customization Options: Don’t hesitate to experiment by swapping out extracts or trying gluten-free flour blends for your speckled egg cake, catering to various dietary needs without compromising taste.
How to Store and Freeze Speckled Egg Cake
-
Room Temperature: Once cooled, the speckled egg cake can be stored for up to 1 day at room temperature if covered in a cake dome or wrapped tightly in plastic wrap.
-
Fridge: Keep the cake in an airtight container in the fridge for up to 1 week. This helps maintain its moisture and flavor while ensuring it's fresh when served.
-
Freezer: You can freeze the cake layers before decorating for up to 3 months. Wrap each layer tightly in plastic wrap and aluminum foil to prevent freezer burn and preserve quality.
-
Reheating: If you’ve frozen the cake, thaw it in the refrigerator overnight before decorating or serving. This helps it regain its tender texture and flavor.
Variations & Substitutions for Speckled Egg Cake
Feel free to get creative and personalize your speckled egg cake with these delightful variations. Your kitchen can morph into a wonderland of flavors and textures!
- Gluten-Free: Substitute a gluten-free flour blend for the cake flour to make this cake suitable for gluten-free diets. Enjoy the same moist texture without sacrificing flavor!
- Dairy-Free: Use almond or coconut milk along with dairy-free butter for a completely dairy-free cake. Everyone can indulge in this sweet treat!
- Flavor Twists: Experiment with different flavored extracts, like almond or coconut, to add a unique spin to your cake. Imagine the delightful surprise your guests will get!
- Colorful Buttercream: Swap food coloring for gel pastes in the frosting to achieve deeper or more vibrant hues to match your celebration theme. It’ll look stunning on your dessert table!
- Chocolate Layers: Incorporate cocoa powder into some of the cake batter to create a delicious chocolatey layer, adding depth to the cake itself while still looking beautiful with the frosting.
- Nutty Addition: Fold in chopped nuts, like pecans or walnuts, into the batter for a delightful crunch. This adds texture and enhances the flavor profile!
- Eggless Version: Replace the egg whites with a combination of flax seeds and water for an eggless cake. It’s a great alternative for vegan fans out there!
- Fruity Freshness: Top the cake with fresh berries or a fruit compote before adding the frosting or as a garnish after decorating. This fresh addition will balance the cake's richness beautifully!
With these variations, you can create a speckled egg cake that's not only delightful but tailored to your family's tastes. For more fun and impressive desserts, don't forget to check out my lovely Ice Cream Cake or a rich and dreamy Chocolate Poke Cake for your next celebration!
Speckled Egg Cake Recipe FAQs
How do I choose the best cake flour for my Speckled Egg Cake?
When selecting cake flour, look for a brand that has a fine texture and is labeled as "cake flour." This type is lower in protein, which gives your cake a light and airy crumb. If you can't find cake flour, all-purpose flour can be a substitute, but keep in mind it may yield a denser cake. For the best results, I often combine my all-purpose flour with a bit of cornstarch to mimic cake flour's properties.
How should I store my Speckled Egg Cake?
To keep your cake fresh, store it in an airtight container in the refrigerator for up to one week. Make sure to let the cake cool completely before wrapping it or placing it in the container, as this ensures moisture is retained and prevents sogginess. Pro tip: You can also keep it covered at room temperature for up to a day if you plan to enjoy it immediately!
Can I freeze my Speckled Egg Cake?
Absolutely! You can freeze the layers of this cake for up to 3 months before decorating. Wrap each cooled layer individually in plastic wrap, then in aluminum foil to avoid freezer burn. When you're ready to use it, simply thaw the layers overnight in the refrigerator before frosting and serving—this keeps them moist and delicious!
What if my Speckled Egg Cake is too dry?
If you find your cake is a bit dry, consider a few things. Make sure to measure your ingredients accurately, as too much flour can lead to a dry cake. Also, incorporate moisture-rich ingredients like sour cream or milk at room temperature, which can help achieve a tender consistency. Lastly, if the cake is already baked, enjoy it with a generous layer of buttercream frosting or a scoop of ice cream to add moisture back in—a delightful remedy!
Are there any dietary considerations I should keep in mind?
Yes, if you're hosting guests with dietary restrictions, you can certainly make adjustments! For a gluten-free version of the Speckled Egg Cake, substitute the cake flour with a gluten-free blend. Additionally, consider using almond or soy milk in place of regular milk if there are lactose intolerances. Always check for allergies related to specific ingredients, particularly the chocolate eggs, as they often contain allergens like nuts or dairy.
Delicious Speckled Egg Cake for a Stunning Easter Treat
Ingredients
Equipment
Method
- Prepare Cake Tins: Butter and flour three 6-inch cake pans, then line the bottoms with parchment paper. Preheat your oven to 340°F (170°C).
- Mix Dry Ingredients: Sift together the cake flour, salt, and baking powder in a large bowl.
- Combine Wet Ingredients: In a separate bowl, whisk together the milk, sour cream, and vanilla extract.
- Cream Butter and Sugar: Beat the softened butter and sugar on medium speed for about 3 minutes until light and fluffy.
- Add Egg Whites: Slowly incorporate the egg whites into the creamed mixture, adding one at a time.
- Combine Mixtures: Gradually add the dry and milk mixtures alternately to the creamed mixture until just combined.
- Bake Cakes: Divide the batter among the prepared pans and bake for 25-30 minutes. Allow to cool in the pans for 10 minutes.
- Prepare Buttercream: Beat the butter and shortening, add sifted powdered sugar, then milk and vanilla until desired consistency.
- Assemble Cake: Layer buttercream between each cooled cake layer and apply a crumb coat.
- Create Speckling: Mix cocoa powder and vanilla extract, then flick onto the frosted cake.
- Decorate: Arrange the chocolate eggs around the base and pipe leftover buttercream for decoration.