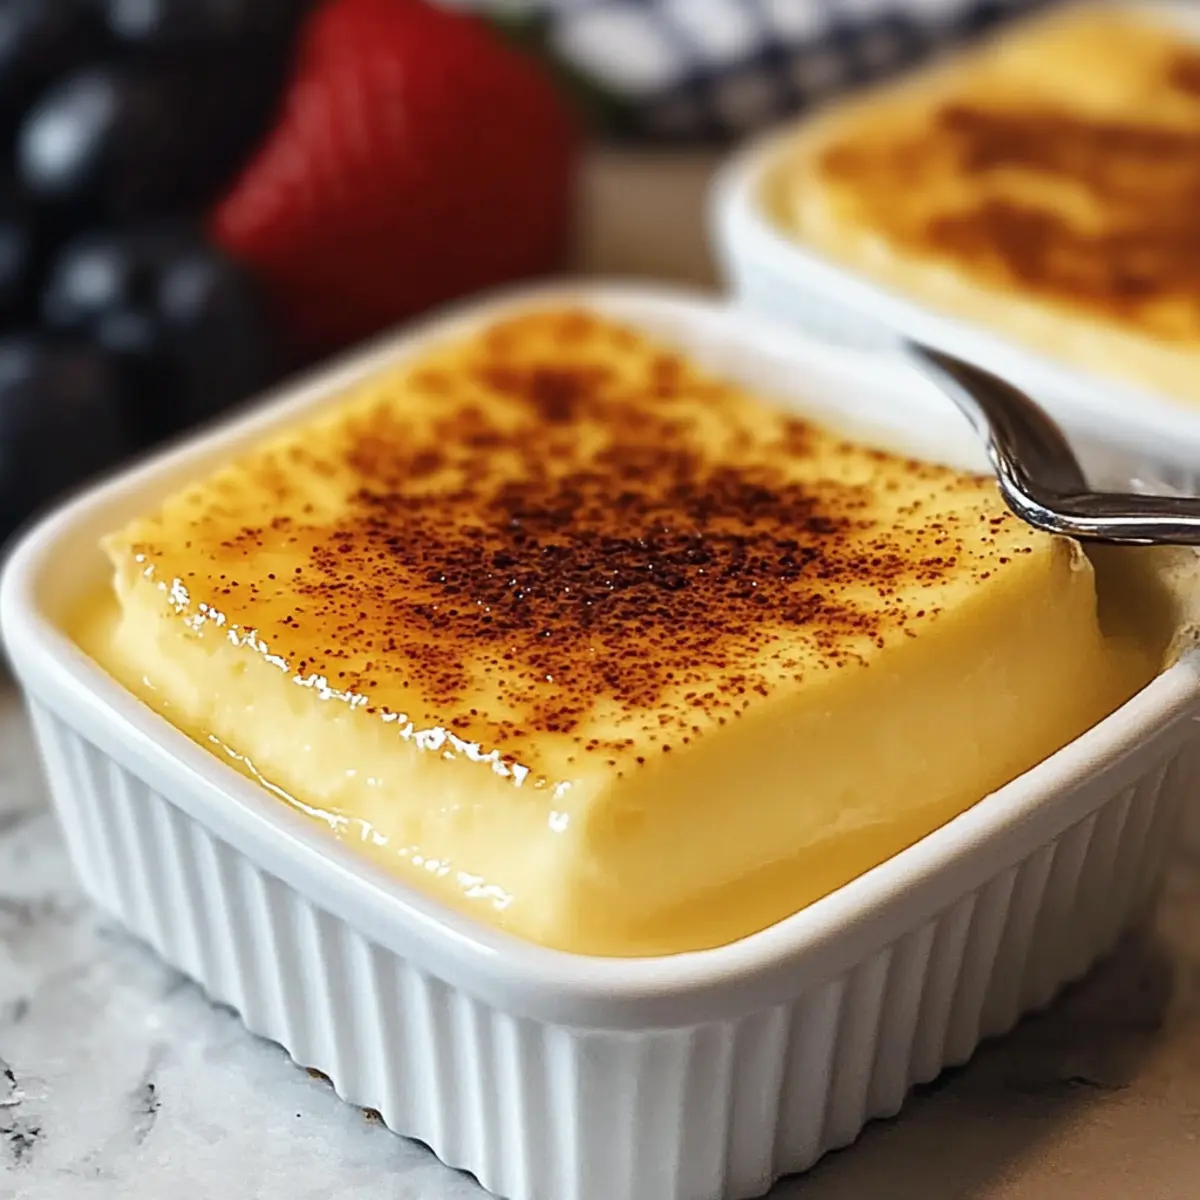
As I stirred the silky mixture of eggs and warm milk, I couldn’t help but smile at how an Easy and Creamy Fail-Proof Egg Custard could turn the simplest of ingredients into a comforting masterpiece. This delightful dessert embraces the essence of home cooking, reminiscent of cozy family gatherings and warm evenings spent at the kitchen table. It's a quick-to-make indulgence that soothes the soul and satisfies sweet cravings with its creamy texture and subtle vanilla flavor. Plus, it's easily adaptable for various dietary preferences, allowing everyone to enjoy this homemade delight. Ready to whip up a treat that feels like a warm hug in a bowl? Let’s dive into the creamy goodness together!
What Makes This Custard So Special?
Simplicity at its finest: With just a handful of ingredients, making this creamy custard is a breeze, even for novice cooks.
Rich, Silky Texture: Each spoonful offers a melt-in-your-mouth experience that's hard to resist!
Versatility for all diets: Adjust the ingredients easily to create vegan or healthier options without sacrificing flavor.
Crowd-Pleasing Delight: This dessert is sure to charm your guests and family, making it perfect for gatherings or a sweet end to any meal.
Quick to Prepare: In less than an hour, you can transform everyday items into an elegant dessert that everyone will love—just like my Breakfast Egg Muffins or a delightful Avocado Egg Salad.
Easy and Creamy Egg Custard Ingredients
For the Custard Base
• Eggs – Fresh large eggs are preferred for richness; use an egg replacer for a vegan option.
• Milk – Whole milk provides the best creamy texture; almond or soy milk can be alternatives, just note the flavor may change.
• Sugar – Granulated sugar adds sweetness, but switching to brown sugar deepens the flavor; consider stevia for a calorie-friendly alternative.
• Vanilla Extract – Pure vanilla extract is key for that classic flavor; vanilla essence can work if you’re looking for something milder.
• Salt – A pinch enhances the overall sweetness, bringing everything together beautifully.
For Serving
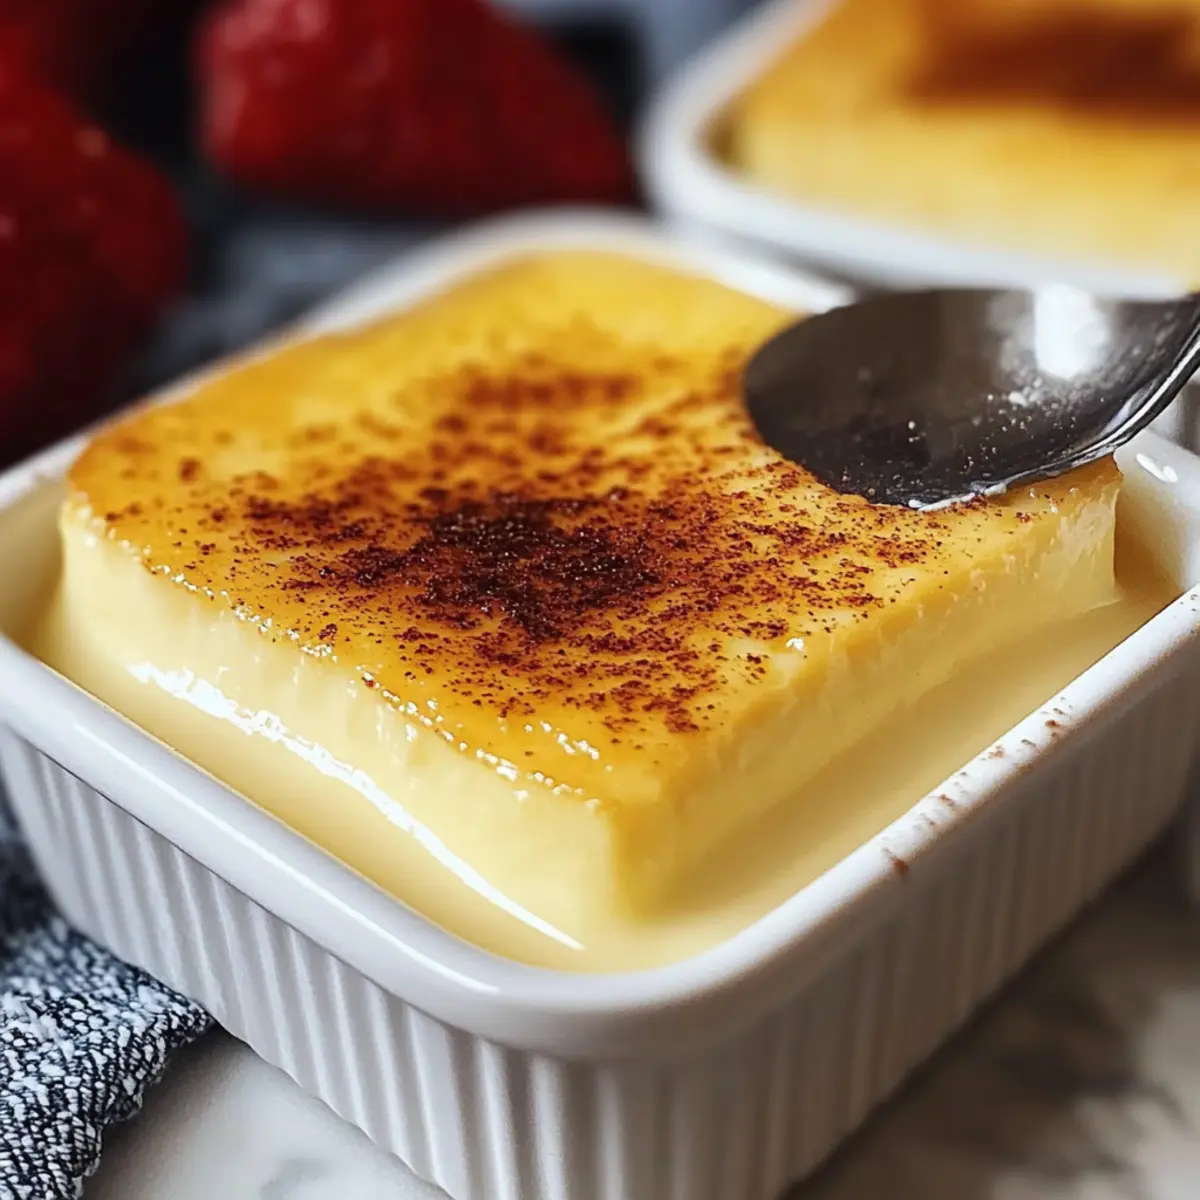
• Nutmeg – A sprinkle of ground nutmeg adds an aromatic touch before serving; try it for an extra layer of warmth in your Easy and Creamy Egg Custard!
Step‑by‑Step Instructions for Easy and Creamy Fail-Proof Egg Custard
Step 1: Preheat the Oven
Begin by preheating your oven to 325°F (165°C), ensuring it's ready for your Easy and Creamy Fail-Proof Egg Custard. This temperature allows for gentle cooking, promoting that luscious, silky texture we adore.
Step 2: Whisk the Eggs
In a medium-sized mixing bowl, gently whisk the fresh large eggs until just combined. Take care not to overbeat them; just aim for a uniform consistency. This step is crucial for ensuring a smooth custard base as you move forward with your recipe.
Step 3: Warm the Milk
Place a saucepan over medium heat and pour in your choice of milk. Warm the milk until small bubbles begin to form around the edges, which should take about 3-5 minutes; be careful not to let it boil. This warmth will help blend seamlessly into your egg mixture.
Step 4: Combine Milk and Eggs
Gradually whisk the warm milk into the eggs, a little at a time, to temper them and avoid cooking the eggs. This slow incorporation is key for achieving that smooth and creamy texture in your Easy and Creamy Fail-Proof Egg Custard.
Step 5: Add Sweetness and Flavor
Stir in the sugar, vanilla extract, and a pinch of salt until fully dissolved. The sugar balances the richness of the eggs and milk, while the vanilla enhances the overall flavor. This step sets up the sweet foundation of your delightful custard.
Step 6: Strain the Mixture
To ensure a flawless texture, strain the combined egg and milk mixture through a fine sieve into a measuring cup or another bowl. This will remove any lumps and create a velvety custard, which is essential for that melt-in-your-mouth experience.
Step 7: Prepare the Ramekins
Pour the custard mixture into ramekins, filling each about three-quarters full. This portioning allows the custard to cook evenly. Arrange your ramekins in a deep baking dish, making sure they’re ready for the water bath that will help achieve a gentle bake.
Step 8: Create a Water Bath
Carefully add hot water to the baking dish, filling it halfway up the sides of the ramekins. This water bath helps regulate the temperature around the custard, preventing overcooking and ensuring a beautifully creamy texture in your Easy and Creamy Fail-Proof Egg Custard.
Step 9: Bake the Custard
Place the baking dish in your preheated oven, and bake for about 35-40 minutes. The custard should be set around the edges but slightly jiggly in the center when done. This is a sign that it will firm up perfectly as it cools, yielding that luscious custard texture.
Step 10: Cool and Chill
Once baking is complete, remove the ramekins from the water bath and allow them to cool to room temperature. After cooling, refrigerate them for at least 2 hours before serving. Chilling enhances the flavor and texture of the Easy and Creamy Fail-Proof Egg Custard, making it even more delightful.
Step 11: Garnish and Serve
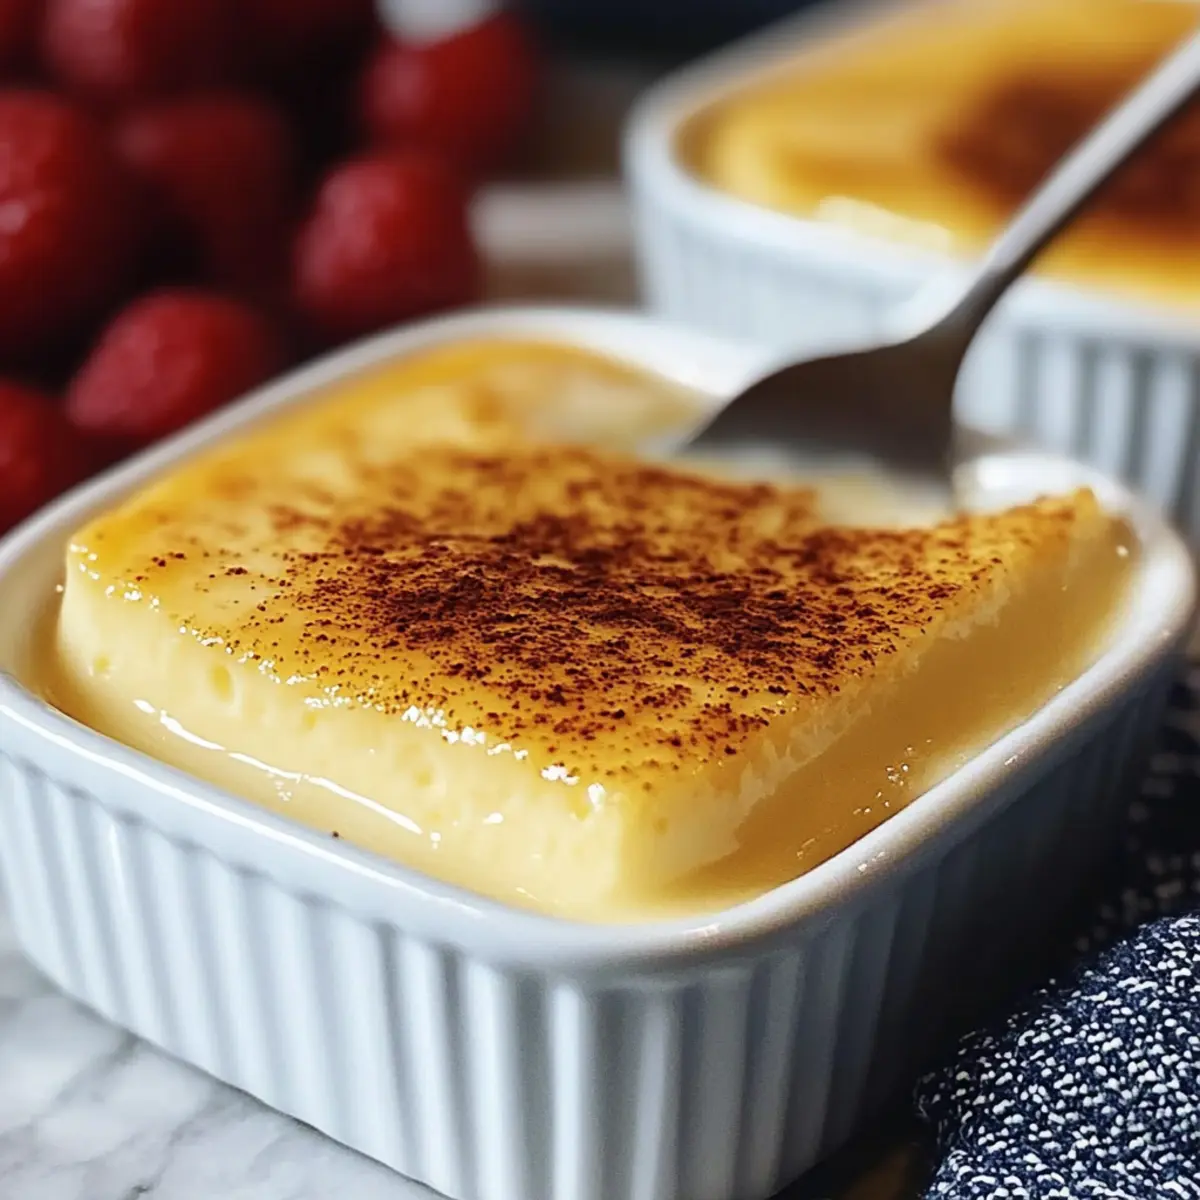
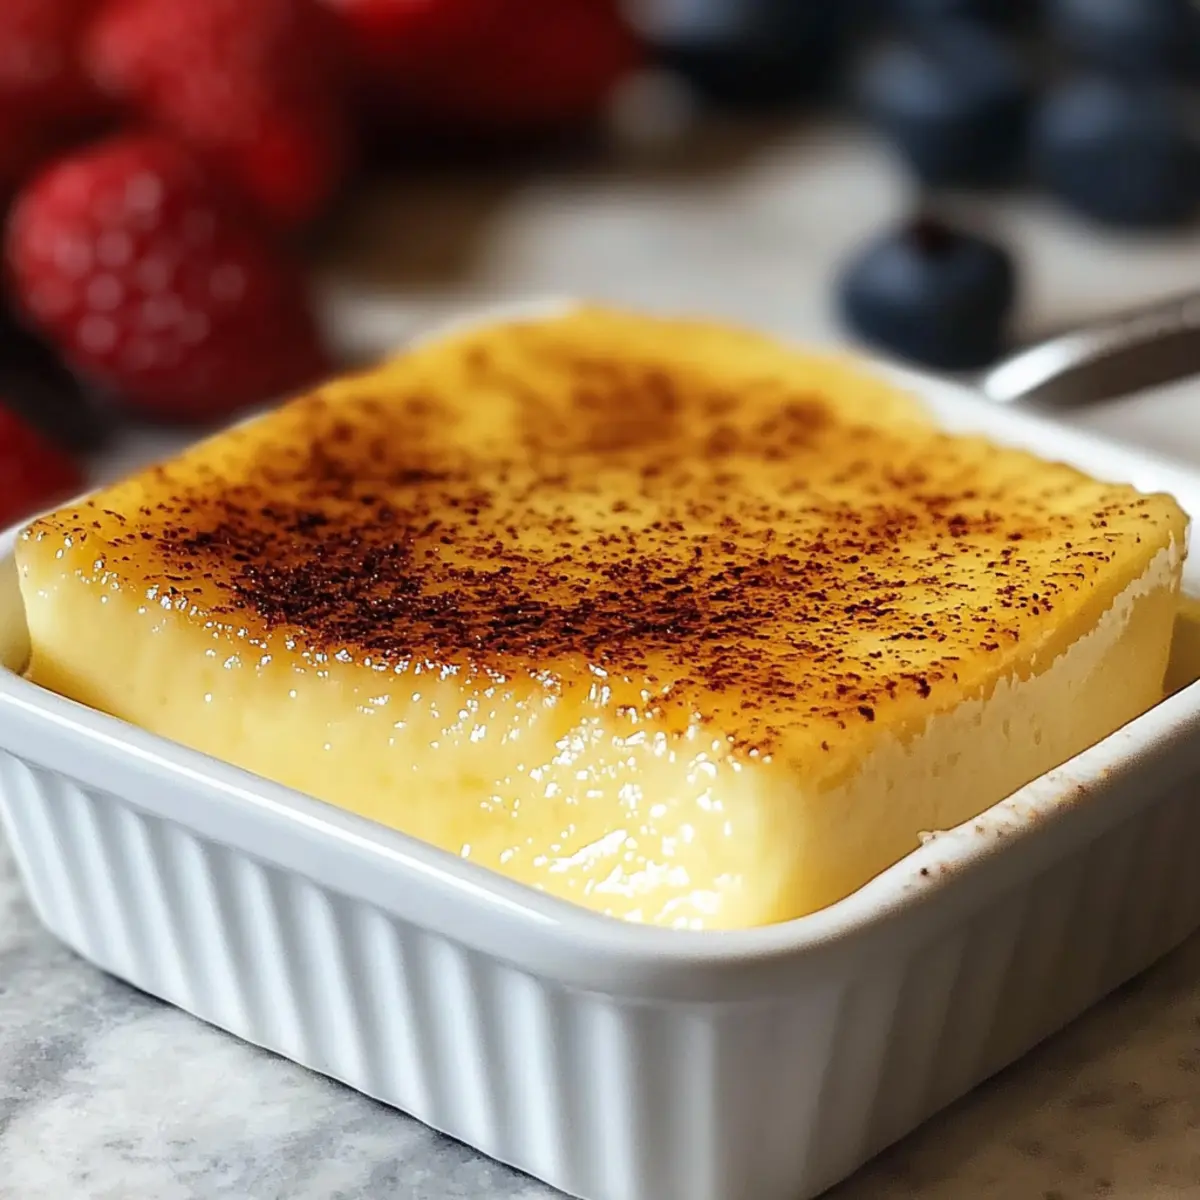
Before serving, sprinkle a touch of ground nutmeg or your preferred topping over the custard for added flavor. These final touches will elevate your Easy and Creamy Fail-Proof Egg Custard, ready to be enjoyed by family and friends alike!
Easy and Creamy Egg Custard Variations
Feel free to let your creativity shine by customizing this custard to suit your taste and dietary needs!
-
Vegan Custard: Substitute eggs with a mixture of silken tofu and almond milk for a creamy, plant-based option. Blend until smooth for a similar texture.
-
Almond Flavor: Swap vanilla extract for almond extract to give your custard a delightful nutty twist. This subtle change brightens up the flavor profile beautifully!
-
Chocolate Delight: Melt dark chocolate and whisk it into the custard mixture before baking. This indulgent twist creates a rich, decadent treat that chocolate lovers will adore.
-
Coconut Dream: Use coconut milk instead of regular milk for a tropical flair. The coconut adds a lovely creaminess, making it feel like a mini vacation in each bite!
-
Citrus Zing: Add a tablespoon of lemon or orange zest to the milk mixture. This brightens up the flavors, giving a refreshing citrus kick that perfectly balances the sweetness.
-
Maple Sweetness: Replace granulated sugar with pure maple syrup. This adds a unique flavor element while maintaining the sweetness—delightful for maple enthusiasts!
-
Berry Topping: Serve your custard with fresh berries like strawberries or blueberries for a burst of freshness and color. They not only enhance the dessert visually but provide a nice tart contrast to the sweet custard.
These variations ensure every spoonful is unique. Whether you prefer a traditional take or want to explore fun twists, there's a satisfying option for everyone. For another delicious treat, consider making Chickpea Spinach Curry or a comforting Egg Drop Soup to accompany your custard!
How to Store and Freeze Easy and Creamy Fail-Proof Egg Custard
Fridge: Store any leftover custard in an airtight container in the refrigerator for up to 3 days. Make sure it's completely cooled before sealing to maintain its creamy texture.
Freezer: You can freeze the custard for up to 2 months. To freeze, pour the cooled custard into a freezer-safe container or silicone mold, leaving space for expansion. Thaw overnight in the fridge before serving.
Reheating: For best results, gently reheat the custard in a microwave or on the stove over low heat. Add a splash of milk if needed to revive its silky consistency. Enjoy your delightful Easy and Creamy Fail-Proof Egg Custard!
Make Ahead Options
These Easy and Creamy Fail-Proof Egg Custards are perfect for busy home cooks looking to save time during the week! You can prepare the custard mixture up to 24 hours in advance; simply follow the recipe through Step 6, then cover and refrigerate the mixture until you're ready to bake. When you're ready to enjoy a delightful dessert, pour the mixture into ramekins and proceed from Step 7. Keeping the mixture well-sealed prevents any unwanted flavors from seeping in, ensuring your custard remains just as delicious. Additionally, once baked, the custards can be stored in the refrigerator for up to 3 days, making them an excellent make-ahead treat!
Expert Tips for Easy and Creamy Fail-Proof Egg Custard
-
Tempering Technique: Gradually whisking warm milk into the eggs prevents scrambling, ensuring a smooth, luxurious custard texture.
-
Check for Doneness: Remove from the oven when the center is still slightly jiggly—it will set up nicely as it cools.
-
Avoid Overcooking: Keep a close eye while baking; overcooking may lead to a grainy custard, detracting from its creaminess.
-
Experiment with Flavors: Don't hesitate to add citrus zest or flavored extracts. Infusions can enhance your Easy and Creamy Fail-Proof Egg Custard in delightful ways.
-
Chill Before Serving: Refrigerating the custard for at least two hours improves flavor and texture, making each bite a creamy delight.
What to Serve with Easy and Creamy Fail-Proof Egg Custard
There's nothing like a beautifully crafted dessert to complete your meal, and this one pairs wonderfully with a variety of delightful treats.
-
Fresh Berries: Juicy strawberries or blueberries add a burst of flavor and freshness that elevates the custard's creaminess. They bring a lovely tartness that perfectly complements the sweetness of the custard.
-
Whipped Cream: Light and airy, a dollop of freshly whipped cream on top enhances the indulgent experience. It adds an elegant touch to every spoonful, providing a beautiful contrast in texture.
-
Chocolate Sauce: Drizzling rich chocolate sauce over your custard will make it irresistible to chocolate lovers. The mix of creamy and chocolatey notes creates a delightful contrast that feels luxurious.
-
Caramel Drizzle: The sweetness of caramel provides a sticky, rich complement that enhances the custard’s warm, vanilla flavor. Together, they form a decadent treat that's sure to impress.
-
Baked Cinnamon Apples: Warm, spiced apples create a cozy, autumnal pairing. Their buttery, tender texture with a hint of cinnamon complements the custard beautifully, inviting cozy memories of family gatherings.
-
Espresso or Coffee: A warm cup of coffee or espresso pairs wonderfully with the creamy dessert. The bold flavor cuts through the richness, creating a balanced and satisfying end to your meal.
-
Shortbread Cookies: Crumbly, buttery shortbread cookies add a delightful crunch that contrasts with the smooth custard. They are perfect for dipping and offer a nostalgic touch to your dessert experience.
-
Almond Biscotti: Crunchy and flavorful, almond biscotti provides an enjoyable texture and nutty flavor that pairs ideally with the silky custard. Dip them in your custard for an unforgettable treat!
Easy and Creamy Fail-Proof Egg Custard Recipe FAQs
How do I choose the best eggs for this recipe?
Absolutely! For the best results, opt for fresh large eggs, as they provide richness and flavor. If you're looking for vegan options, consider using an egg replacer; various brands are available that mimic the texture quite well.
What is the proper way to store leftovers?
You can store any leftover Easy and Creamy Fail-Proof Egg Custard in an airtight container in the refrigerator for up to 3 days. Just make sure it's completely cooled before sealing. It can be enjoyed cold or allowed to sit at room temperature for a few minutes before serving!
Can I freeze Easy and Creamy Egg Custard?
Yes, you can! To freeze, pour the cooled custard into a freezer-safe container, making sure to leave some room at the top to allow for expansion. Seal tightly and freeze for up to 2 months. When you're ready to enjoy it, simply thaw the custard overnight in the refrigerator and gently reheat if desired.
What should I do if my custard comes out grainy?
Very! If your Easy and Creamy Fail-Proof Egg Custard turns out grainy, it may have been overcooked or the eggs might have scrambled. To fix this, you should temper your eggs properly by gradually adding warm milk instead of mixing them all at once. Additionally, always watch the baking time—remove it from the oven when it's slightly jiggly in the center, as it will continue to firm up while cooling.
Are there any dietary considerations for this recipe?
Definitely! This recipe can be easily adapted for different dietary needs. Use almond or soy milk for a dairy-free version and an egg replacer for a vegan option. If you’re concerned about sugar, consider using stevia or honey as an alternative sweetener. Always check ingredient labels to ensure they fit your dietary preferences!
Easy and Creamy Fail-Proof Egg Custard That Melts in Your Mouth
Ingredients
Equipment
Method
- Preheat your oven to 325°F (165°C).
- In a medium-sized mixing bowl, gently whisk the eggs until just combined.
- Warm the milk in a saucepan over medium heat until small bubbles form around the edges.
- Gradually whisk the warm milk into the eggs to temper them.
- Stir in the sugar, vanilla extract, and a pinch of salt until fully dissolved.
- Strain the mixture through a fine sieve into a measuring cup or bowl.
- Pour the custard mixture into ramekins, filling each about three-quarters full.
- Create a water bath by adding hot water to the baking dish halfway up the sides of ramekins.
- Bake for about 35-40 minutes until the edges are set but slightly jiggly in the center.
- Allow to cool to room temperature, then refrigerate for at least 2 hours before serving.
- Before serving, sprinkle ground nutmeg or your preferred topping over the custard.