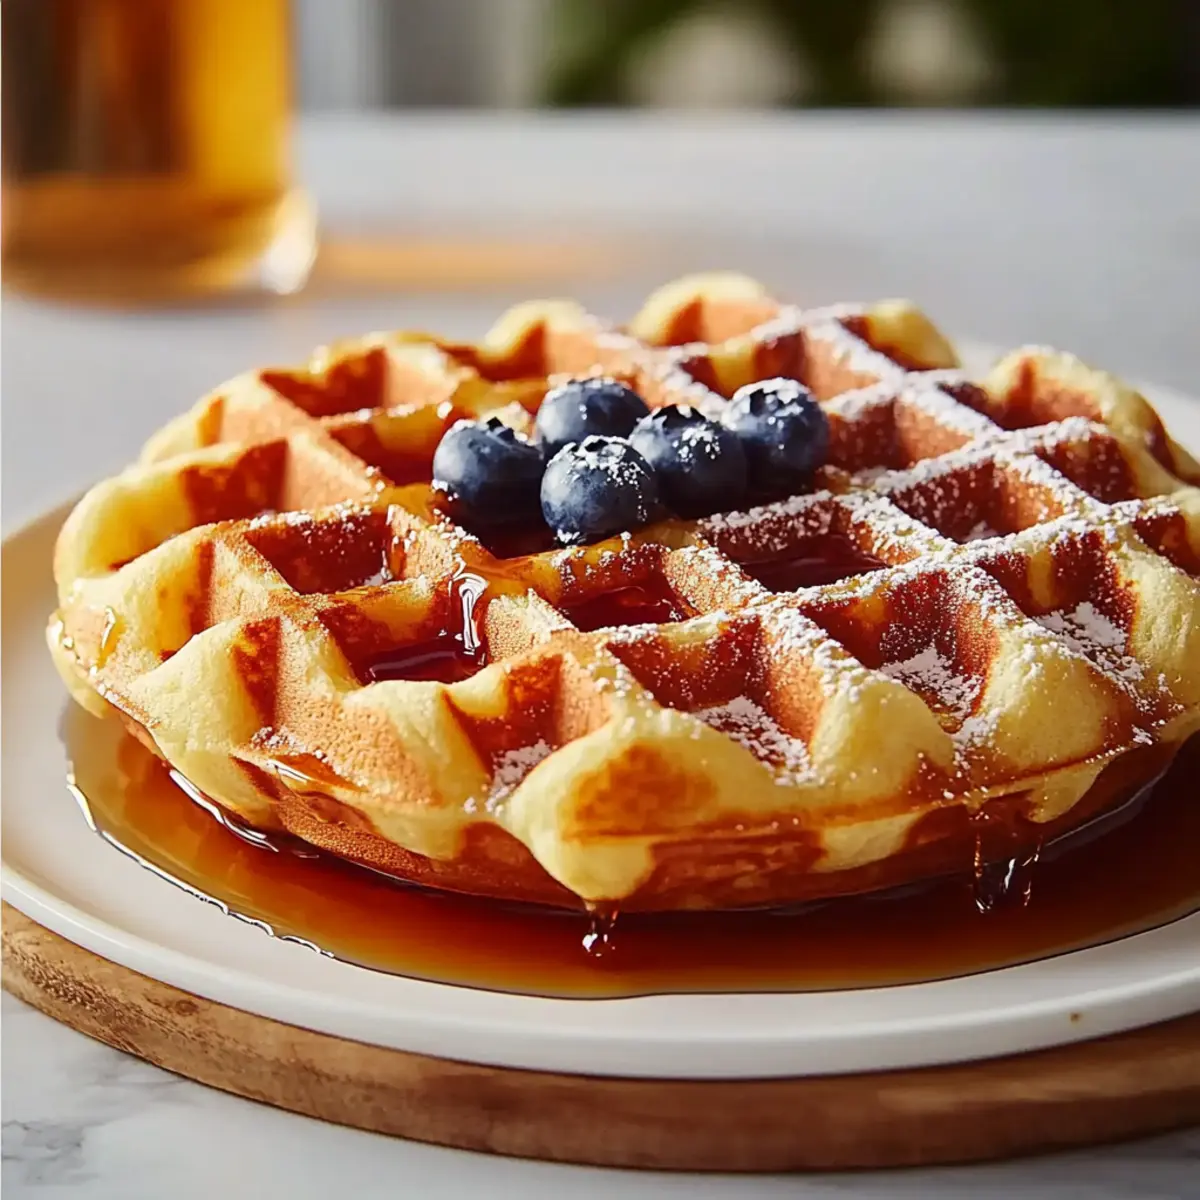
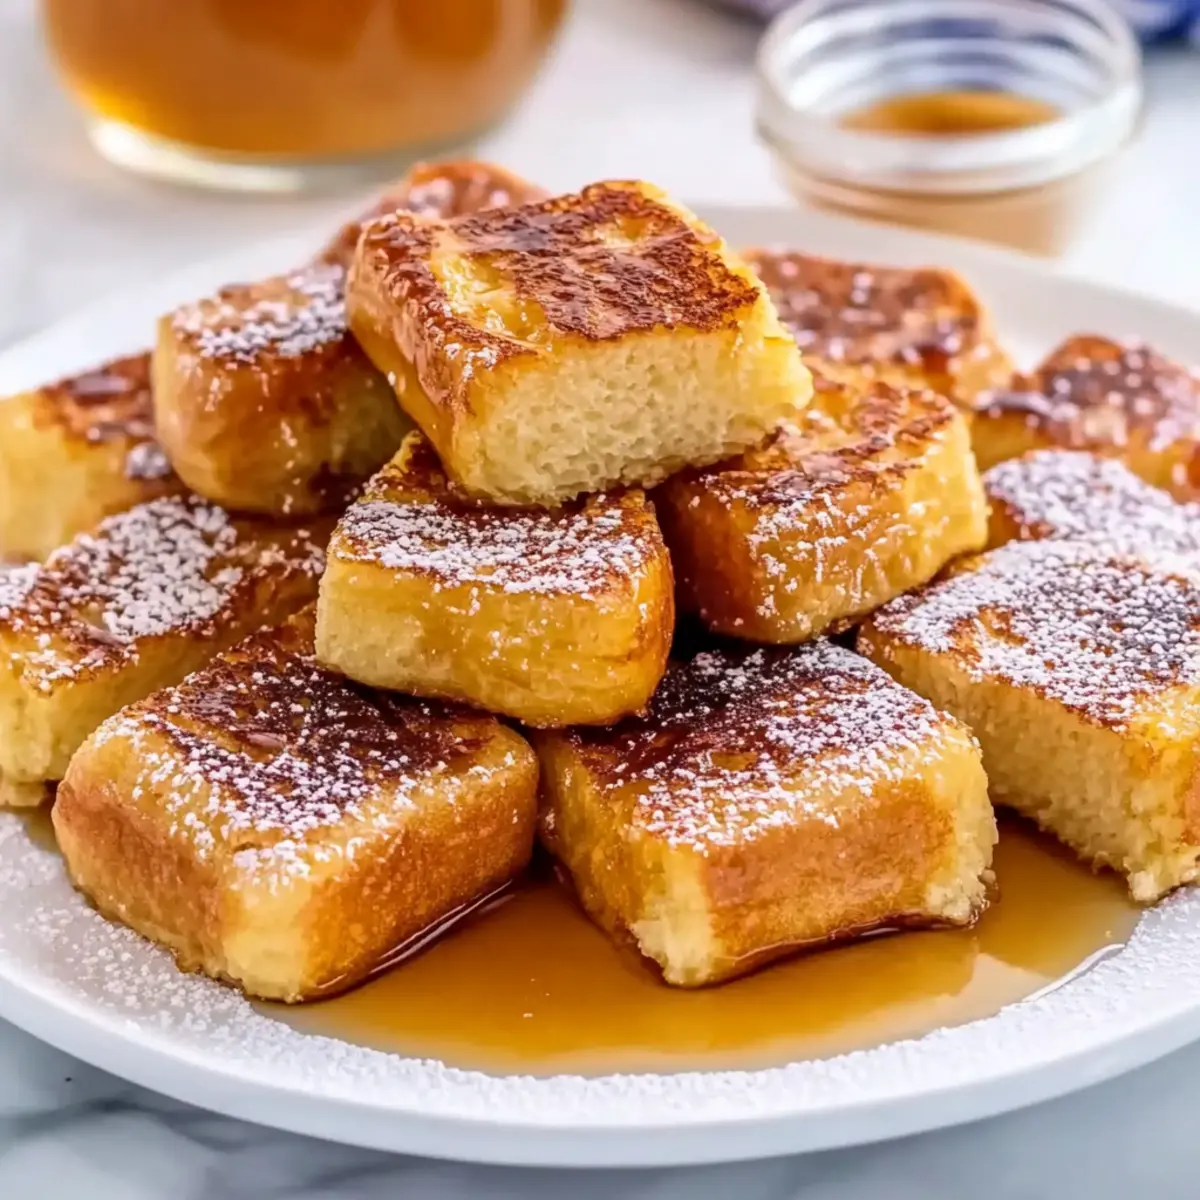
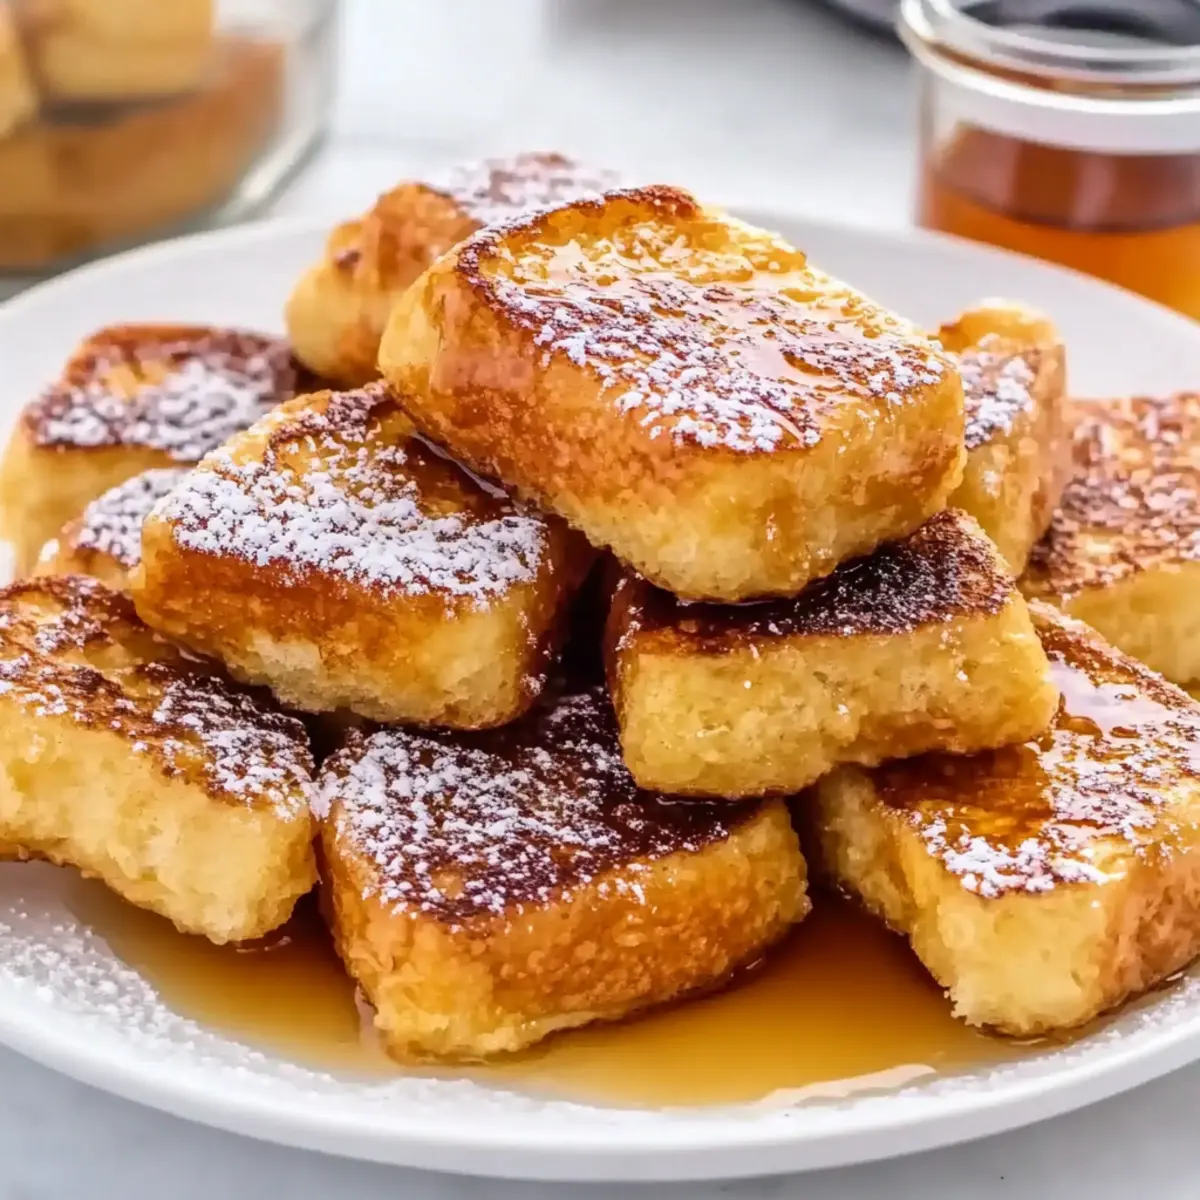
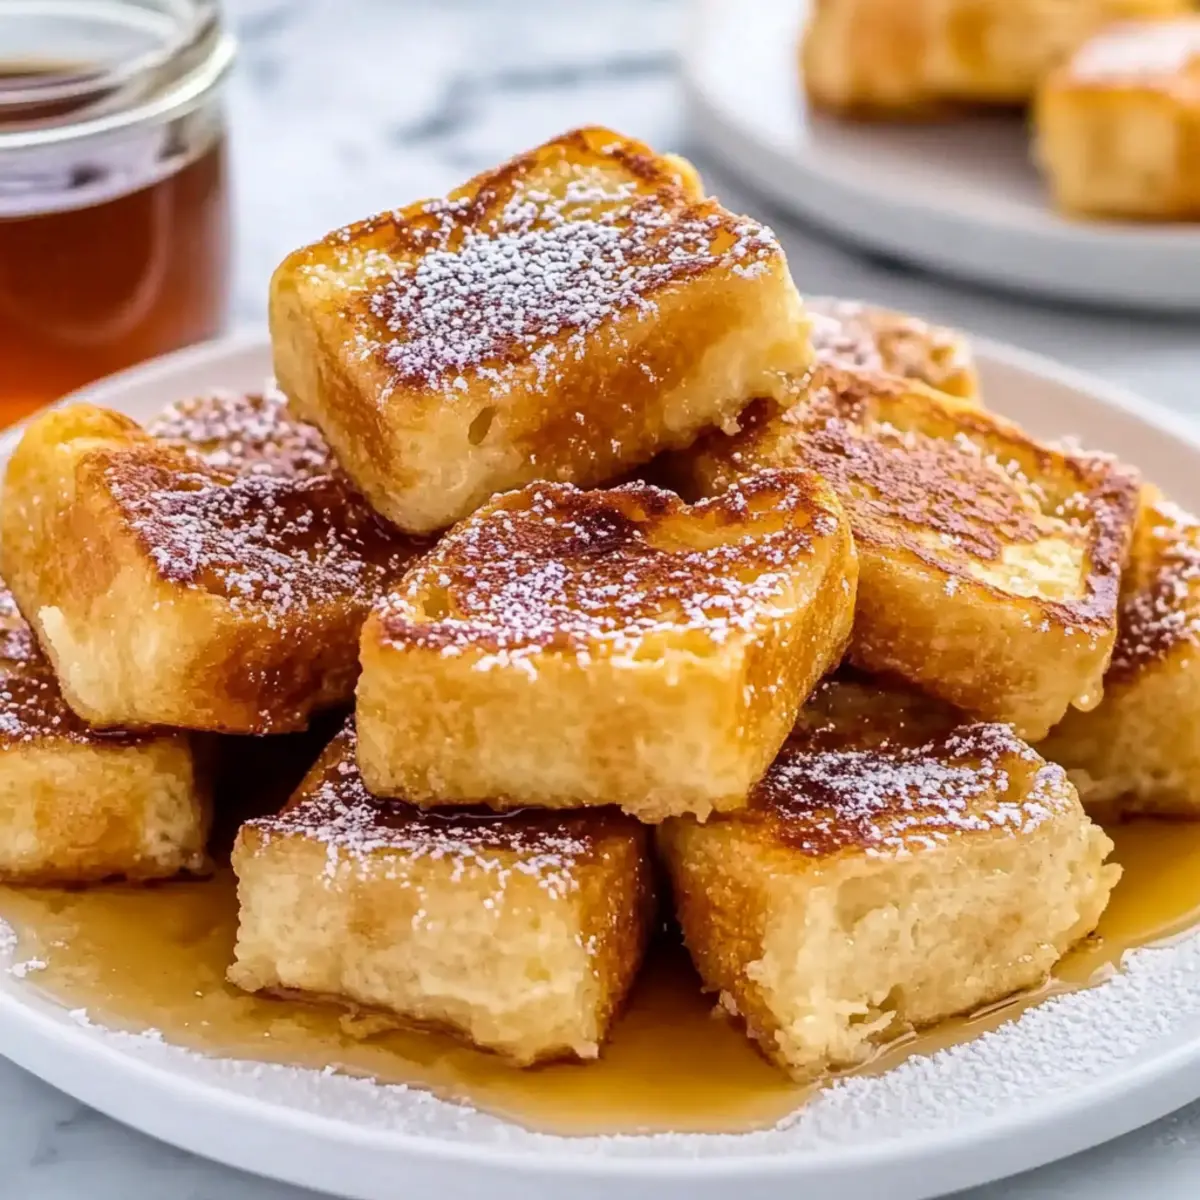
The aroma of fresh cinnamon rolls swirling through your kitchen can turn any regular morning into something magical. When I first discovered how to make High-Protein Cinnamon Rolls, it felt like I had unlocked a secret recipe that married indulgence and health in a warm, fluffy hug of dough. These rolls not only bring back the comforting taste of the classics but are also enhanced with a protein boost, making them the perfect guilt-free treat post-workout or a satisfying breakfast. With quick prep time and the ability to customize the filling, these rolls transform your cravings into a healthier indulgence, ensuring that you can enjoy every bite without a second thought. Are you ready to bring a bakery-worthy delight into your home? Let’s roll!
Why Make High-Protein Cinnamon Rolls?
Irresistible Indulgence: Your craving for something sweet and comforting is satisfied without the guilt!
Protein-Packed Treat: Each roll has around 10g of protein, perfect for post-workout recovery.
Versatile Options: Feel free to get creative! Swap in chocolate protein powder or add your favorite nuts.
Quick Prep: In just a few steps, you can whip up these delicious rolls, perfect for busy mornings.
Crowd-Pleaser: Whether serving family or friends, everyone will enjoy the fluffy texture and sweet, gooey filling.
Experience a fantastic balance of flavors that transforms a classic into a healthier delight! If you love the cozy warmth of cinnamon, you might also enjoy Pumpkin Cinnamon Roll variations for that added seasonal twist!
High-Protein Cinnamon Rolls Ingredients
• Discover the wholesome ingredients that make these rolls a guilt-free indulgence!
For the Dough
- Plain Greek Yogurt – Provides moisture and protein; can substitute with low-fat yogurt or cottage cheese for similar results.
- Self-Rising Flour – Gives structure; alternative: mix all-purpose flour with baking powder and salt (1 ½ cups flour + 2 tsp baking powder + ½ tsp salt).
- Vanilla Protein Powder – Adds protein and a hint of flavor; feel free to use any protein powder you enjoy, though plant-based options may alter the texture.
- Honey or Maple Syrup (optional) – Enhances sweetness; can replace with agave syrup or brown sugar for different flavor notes.
For the Filling
- Cinnamon – Key spice for flavor; essential for the filling and cannot be substituted without losing the signature taste.
- Coconut Sugar or Brown Sugar – Sweetener for the filling, contributing to caramelization; white sugar can also be used as an alternative.
- Unsweetened Applesauce or Melted Coconut Oil – Adds moisture and helps the filling adhere; can swap coconut oil with butter for creaminess.
For the Frosting
- Greek Yogurt (for frosting) – Base for a creamy, protein-rich topping; substitute with cream cheese for a richer texture.
- Milk (for thinning, if needed) – Adjusts the consistency of the frosting; use plant-based milk for dairy-free options.
- Vanilla Extract – Enhances the flavor of the frosting; optional but recommended for added depth.
Get ready to bake some delightful High-Protein Cinnamon Rolls that perk up your mornings with flavor and health in every bite!
Step‑by‑Step Instructions for High-Protein Cinnamon Rolls
Step 1: Preheat and Prep
Begin by preheating your oven to 350°F (175°C) and lining a baking dish with parchment paper to prevent sticking. This is an essential step for achieving perfectly baked High-Protein Cinnamon Rolls. Ensure your baking dish is ready to go so you can transfer the rolls straight from the countertop to the oven smoothly.
Step 2: Make the Dough
In a large mixing bowl, combine the plain Greek yogurt, self-rising flour, and vanilla protein powder. Mix until a shaggy dough forms, then turn it out onto a lightly floured surface. Knead the dough gently for about 2-3 minutes until smooth and pliable, ensuring it’s well combined and floury bits have disappeared.
Step 3: Roll and Fill
Transfer the dough to your floured surface and roll it out into a rectangle, aiming for about a ¼-inch thickness. Spread a layer of unsweetened applesauce evenly over the dough, then generously sprinkle the cinnamon and sugar mixture on top. The inviting aroma should start to fill the air, setting you up for the delightful rolls to come.
Step 4: Shape Rolls
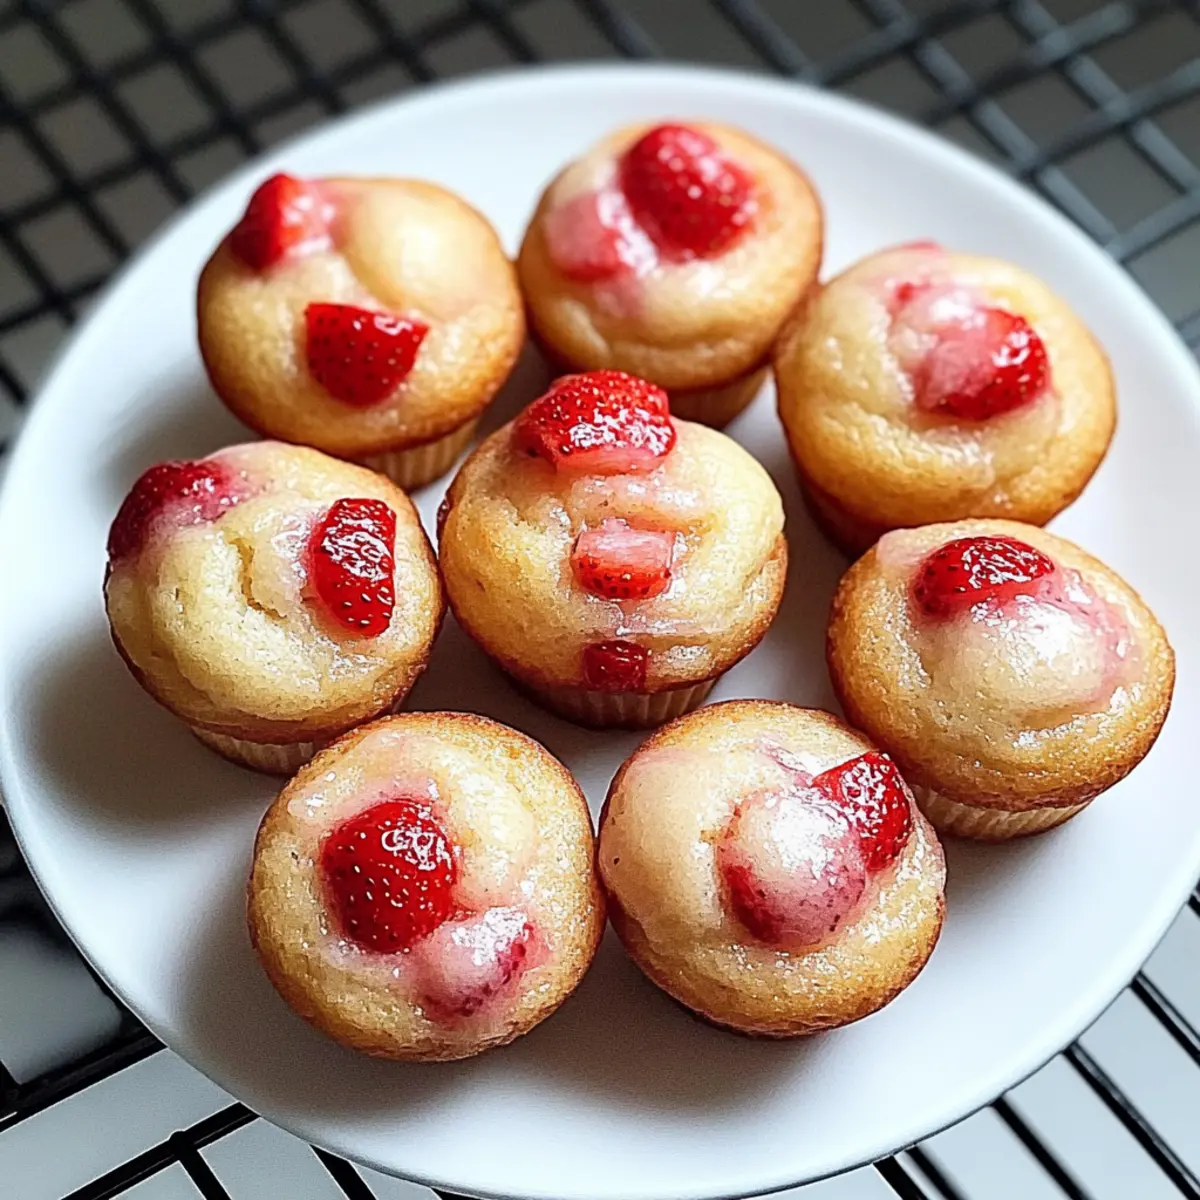
Starting from the long edge, tightly roll the dough into a log, ensuring the filling stays intact. Once rolled, pinch the edge to seal it closed. Using a sharp serrated knife, slice the log into 8 equal pieces and place them cut-side up in your prepared baking dish, creating a cozy space for them to rise in the oven.
Step 5: Bake
Place the baking dish in the preheated oven and bake for 20-25 minutes, or until the rolls are golden brown and puffed up. Keep an eye on them starting at the 18-minute mark to prevent over-baking. Once done, they should emit a wonderful sweet aroma, indicating that your High-Protein Cinnamon Rolls are almost ready to be enjoyed.
Step 6: Prepare Frosting
While the rolls bake, prepare the frosting by combining Greek yogurt, a splash of milk, and vanilla extract in a mixing bowl. Whisk together until smooth and creamy, adjusting the consistency with more milk if needed. The frosting should be spreadable yet thick enough to hold its shape, perfect for drizzling over your warm rolls afterward.
Step 7: Frost and Serve
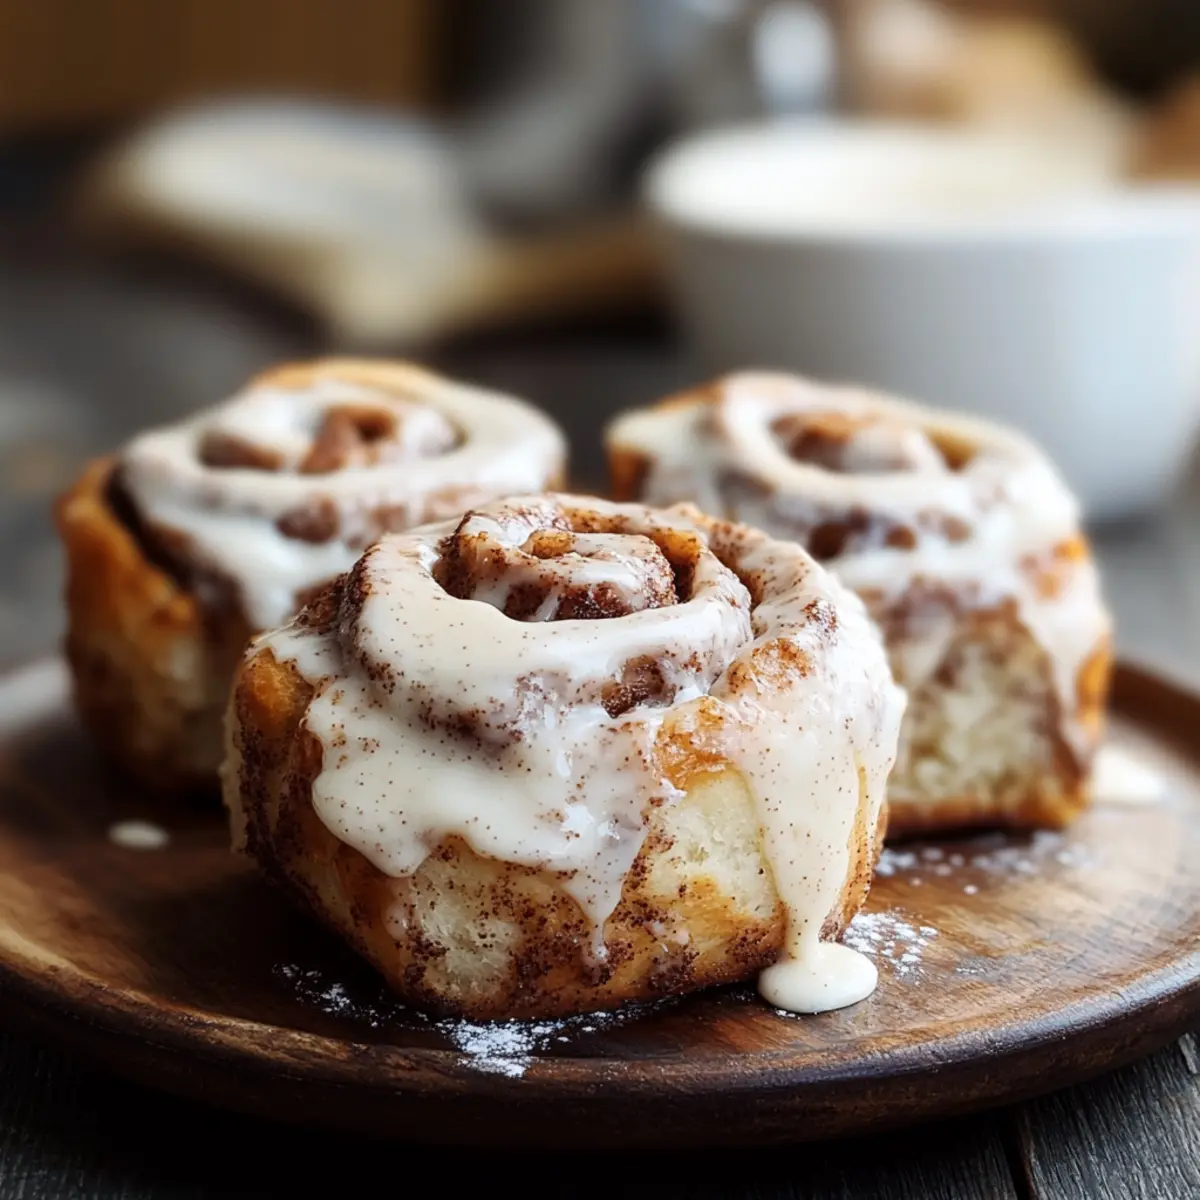
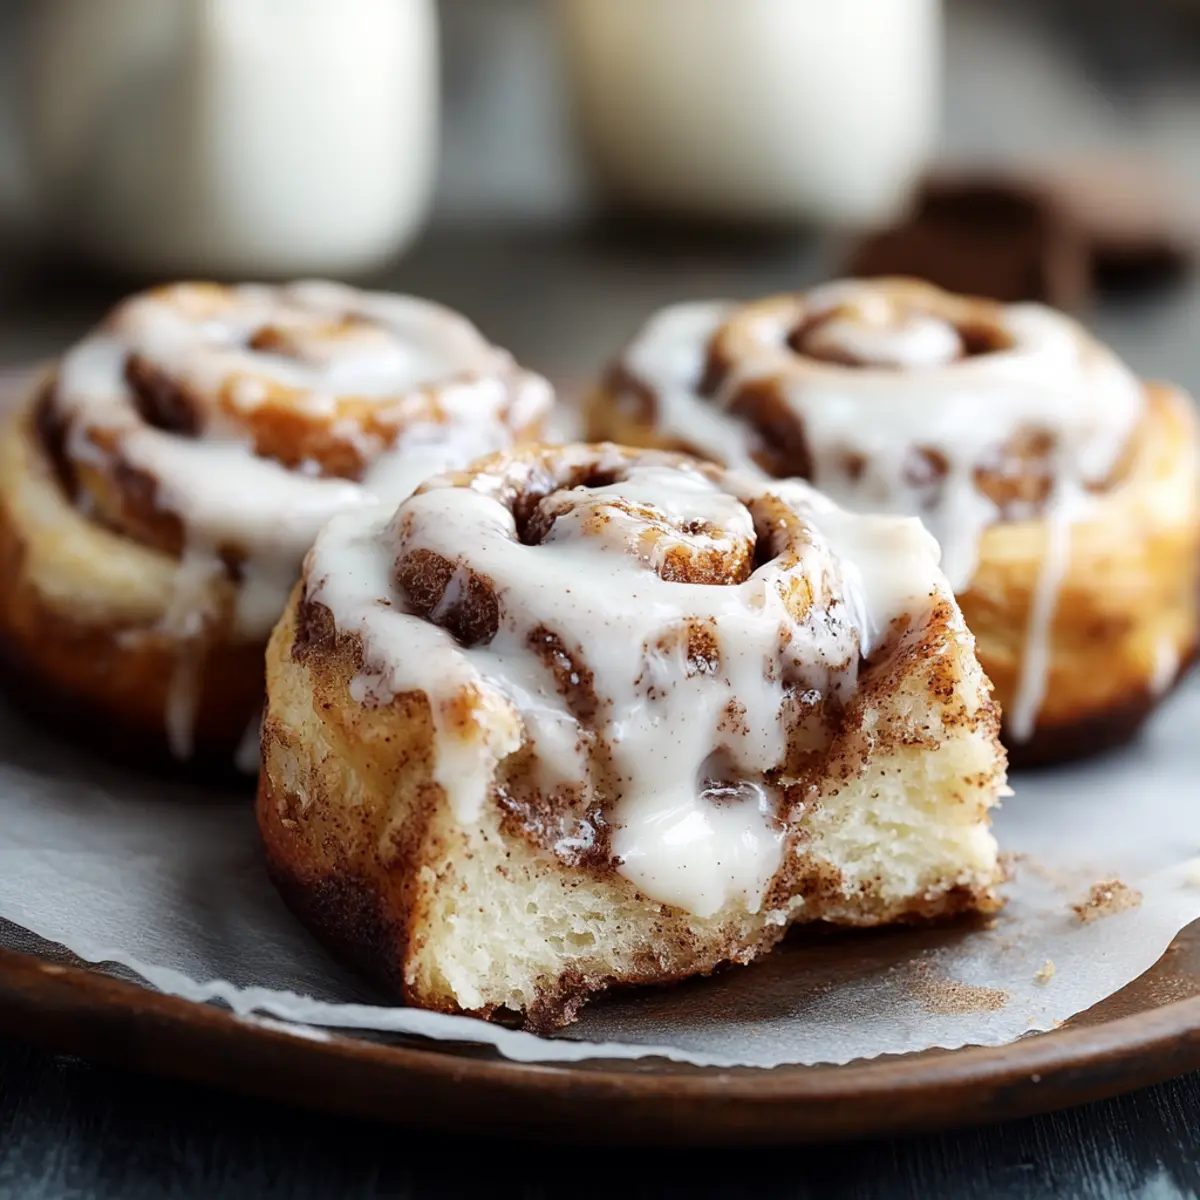
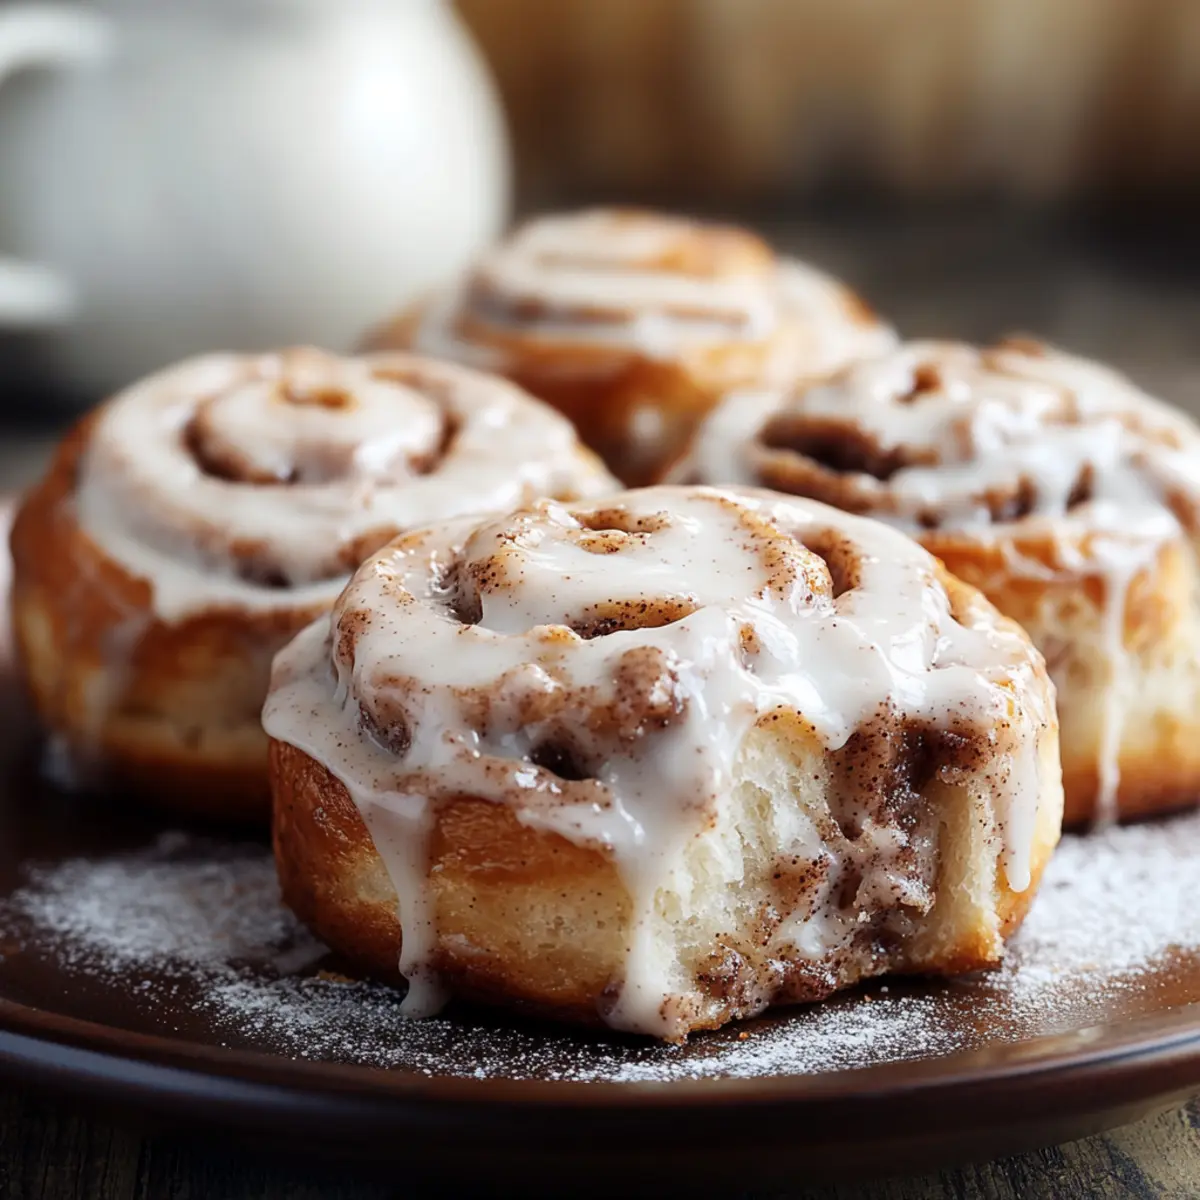
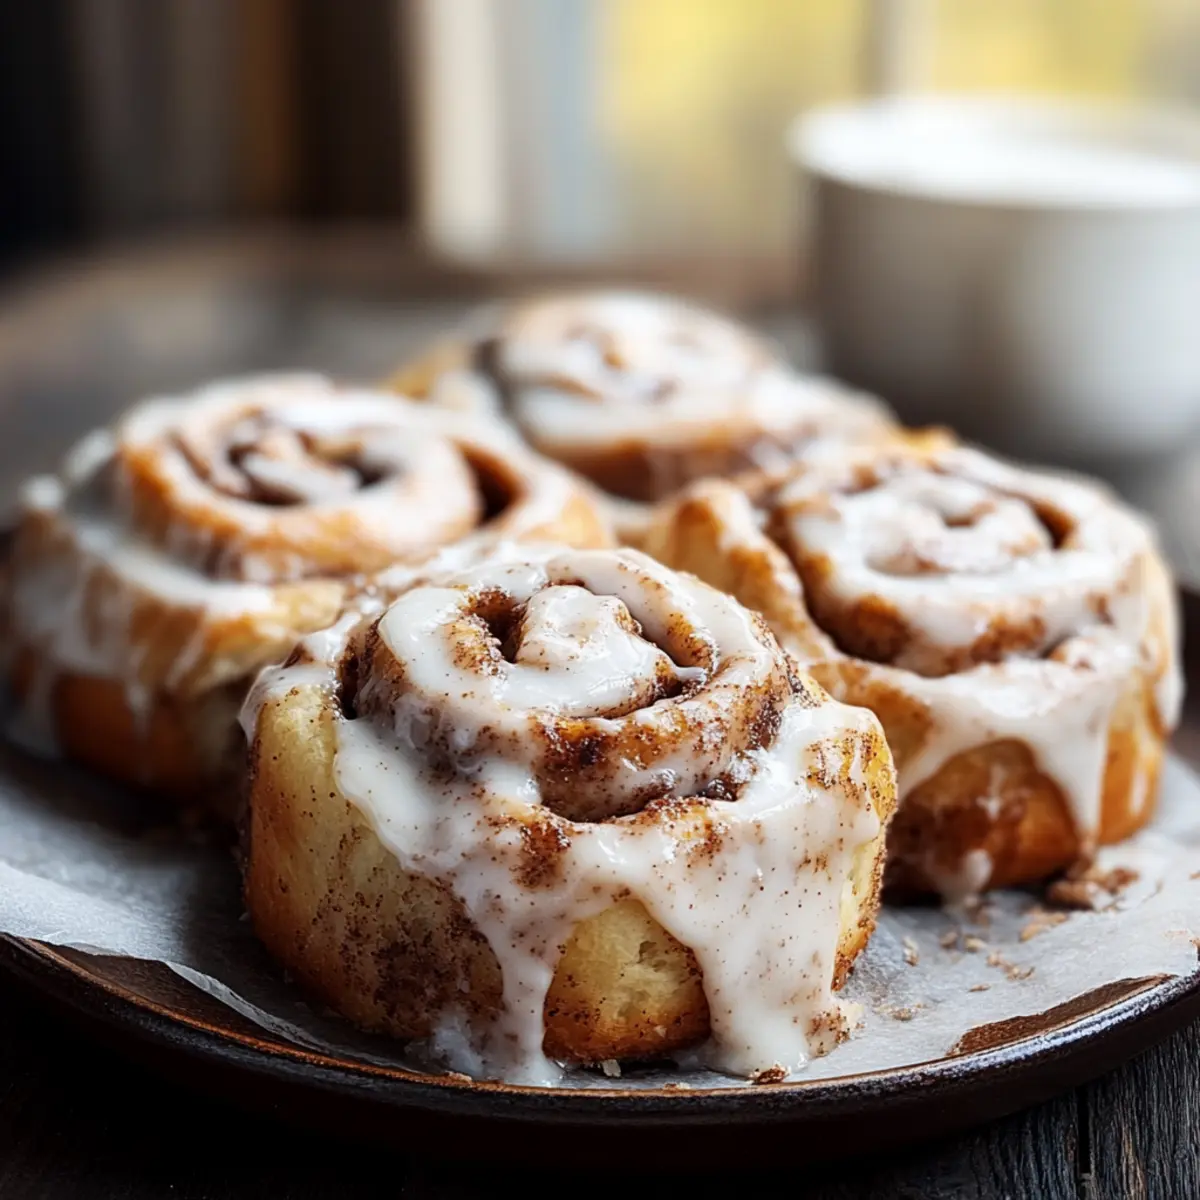
Once the High-Protein Cinnamon Rolls have cooled for about 5-10 minutes, generously drizzle your creamy frosting over the top. Allow it to melt slightly into the warm rolls, creating a delightful contrast. Serve them warm for a comforting treat, perfect for breakfast or a post-workout indulgence that’s both delicious and guilt-free.
How to Store and Freeze High-Protein Cinnamon Rolls
- Room Temperature: Store leftover rolls in an airtight container for up to 3 days to maintain freshness. Enjoy them as a quick snack or breakfast treat!
- Fridge: For longer storage, keep the rolls in the fridge for up to 5 days. Reheat in the microwave for about 10-15 seconds for a warm, gooey experience.
- Freezer: Freeze any unbaked rolls by arranging them on a baking sheet until solid, then transfer to a freezer-safe bag. They can last up to 3 months; bake from frozen, adding 5-10 minutes to the baking time.
- Reheating: When ready to enjoy frozen rolls, defrost overnight in the fridge and reheat in the oven or microwave until warmed through, restoring that fresh-baked charm!
Tips for the Best High-Protein Cinnamon Rolls
- Kneading Technique: Gently knead the dough for just a few minutes. Over-kneading can lead to tough rolls, losing that fluffy texture.
- Chill Ingredients: Use chilled Greek yogurt for a firmer dough that’s easier to roll and shape, ensuring your High-Protein Cinnamon Rolls maintain a good rise.
- Cinnamon-Sugar Balance: Adjust the cinnamon-sugar filling to your taste, but don't skimp on the cinnamon! It's the star attraction of these rolls.
- Slice with Care: For clean cuts, use a serrated knife instead of a regular one. This keeps the rolls from squishing and maintains their lovely shape.
- Serve Warm: These rolls are best enjoyed warm, straight from the oven. The creaminess of the frosting melds perfectly with the warm dough, creating a delightful treat.
What to Serve with High-Protein Cinnamon Rolls
The delightful aroma of fresh-baked cinnamon rolls is only the beginning—complement your feast with these delicious pairings that elevate your experience.
-
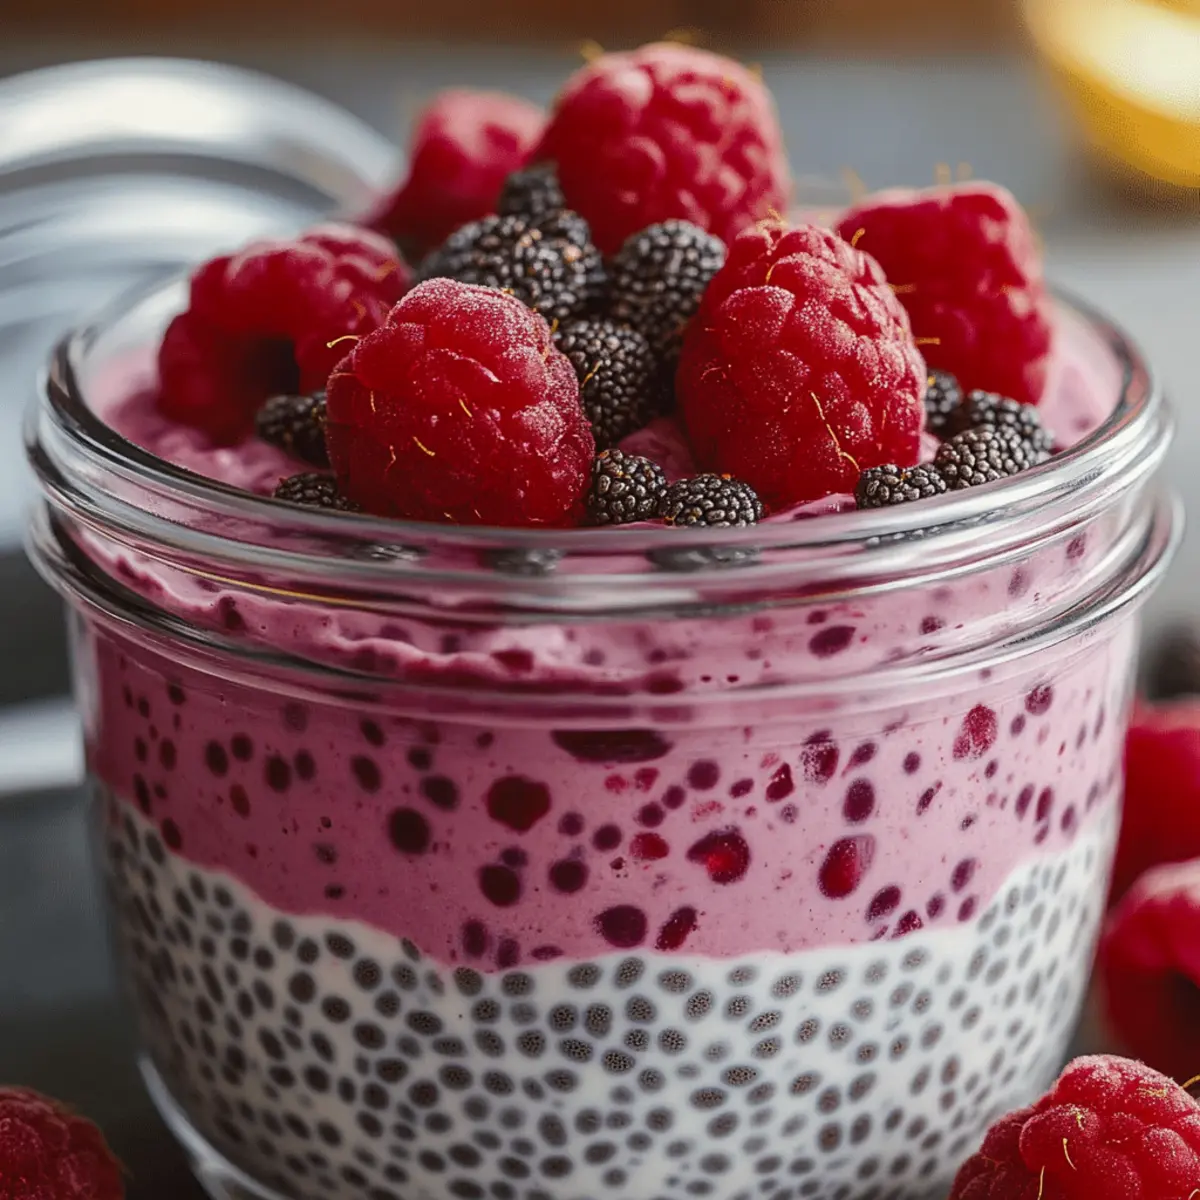
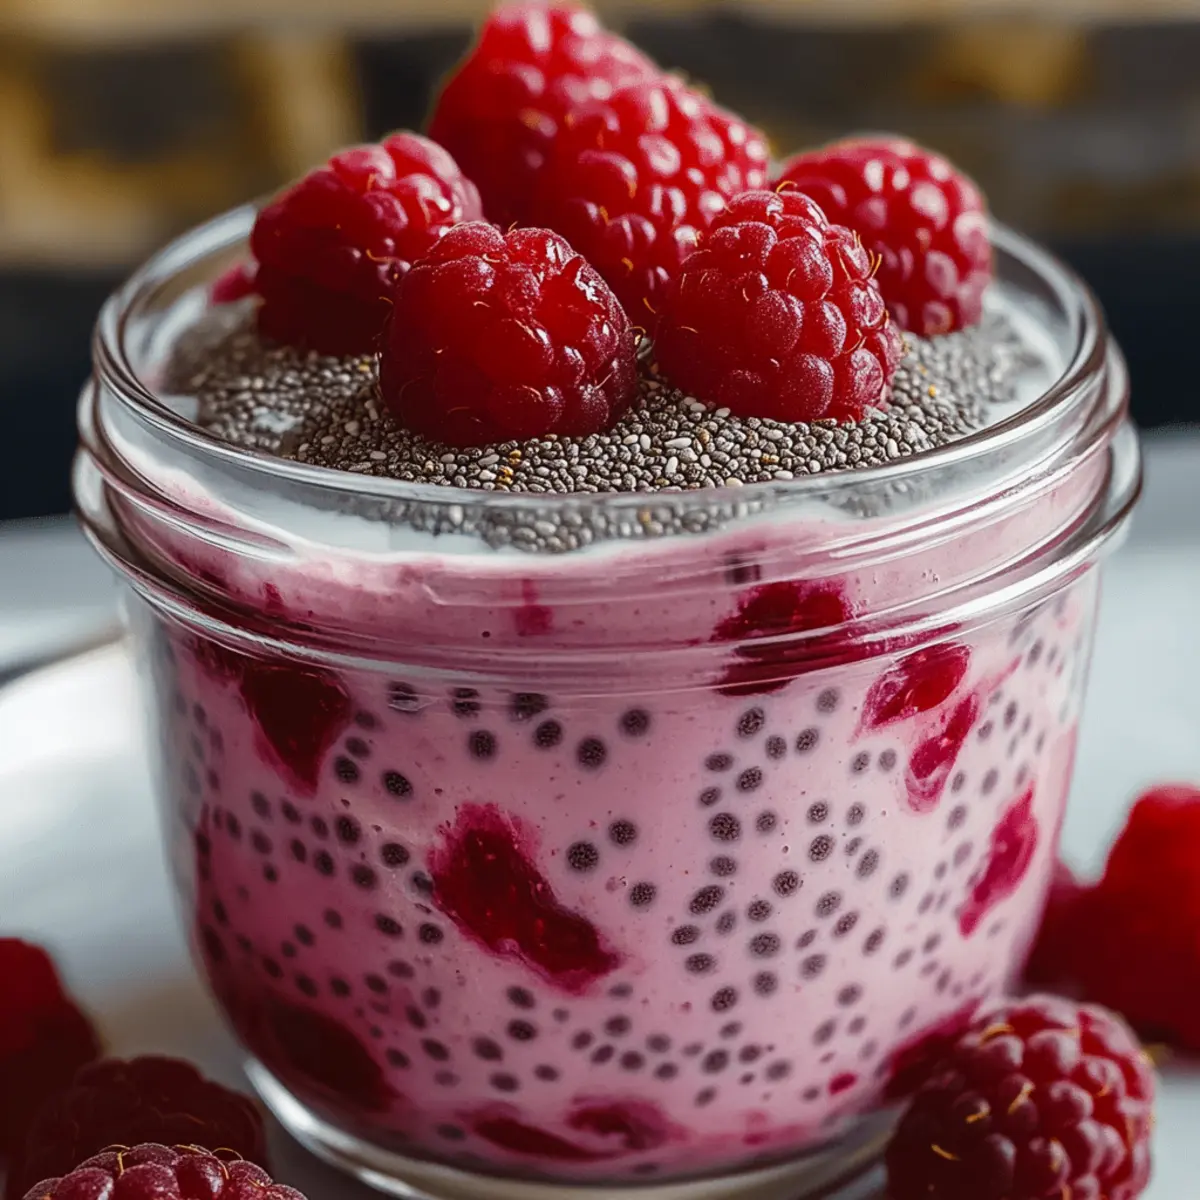
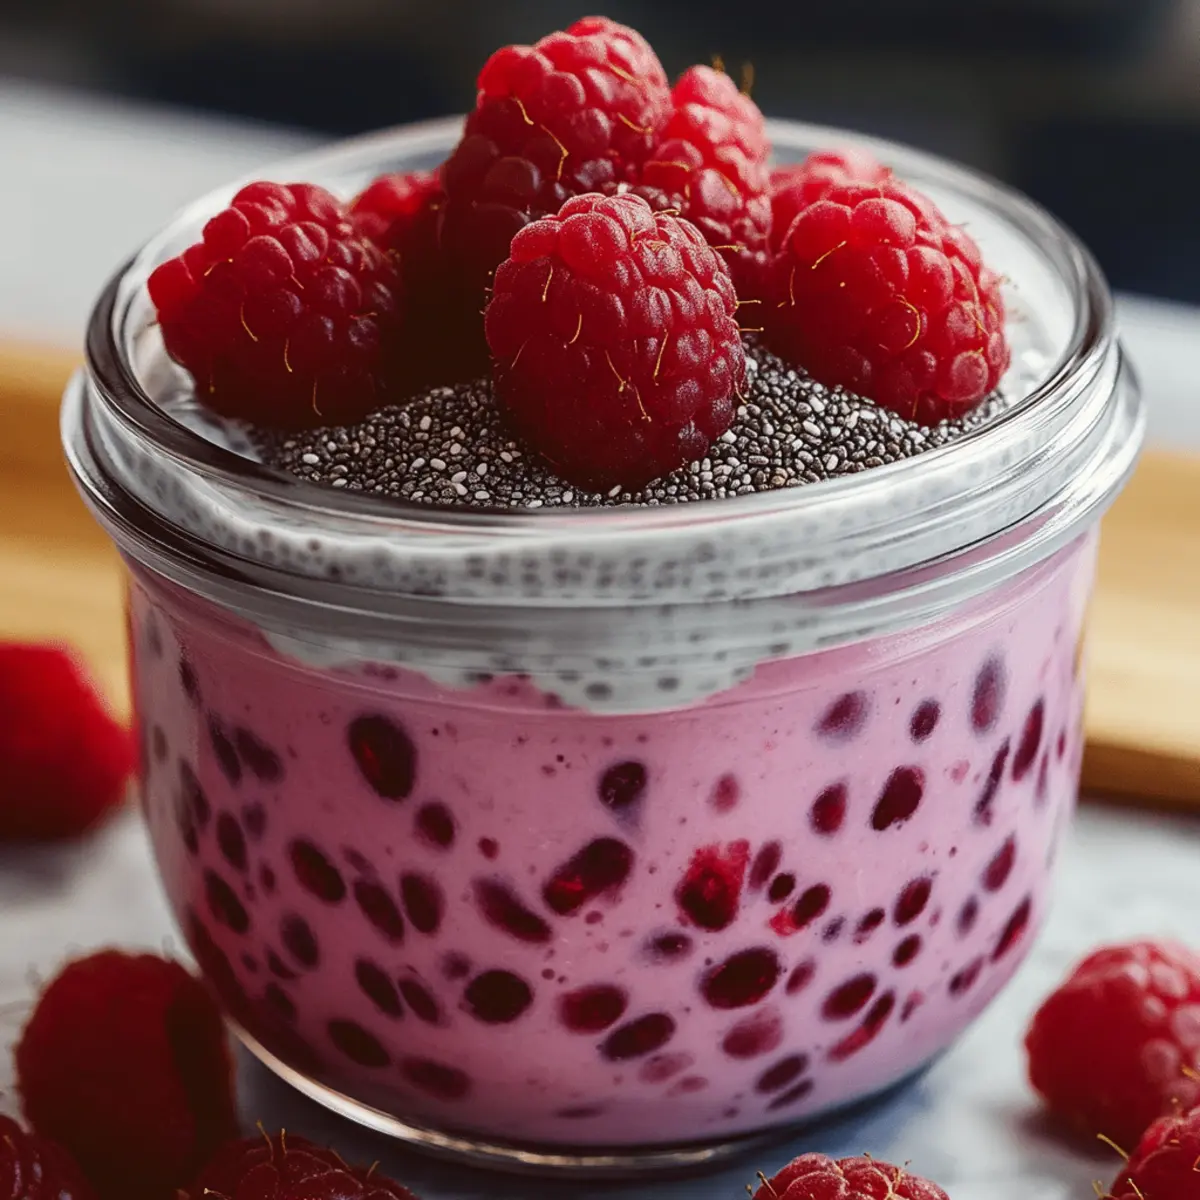
Fresh Berries: Juicy strawberries or raspberries add a refreshing burst of flavor, balancing the sweetness of the rolls.
-
Greek Yogurt Parfait: Layer creamy yogurt with granola and fruits for a beautiful, nutritious side that echoes the protein content.
-
Maple-Glazed Bacon: The salty-sweet crunch of bacon pairs wonderfully, creating a delightful contrast with the soft, fluffy rolls.
-
Smoothie: A protein-packed smoothie made with spinach, banana, and almond milk offers a healthy drink option that enhances your morning routine.
-
Nut Butter: Drizzling your rolls with almond or peanut butter adds richness and an extra dose of protein, turning them into a more satisfying meal.
-
Herbal Tea: A warm cup of chamomile or peppermint tea calms the senses and complements the fragrant spices of cinnamon in the rolls.
-
Vanilla Ice Cream: For dessert enthusiasts, a scoop of vanilla ice cream melting over warm cinnamon rolls creates a decadent finish to your indulgent treat.
-
Breakfast Burrito: For those wanting more variety, a savory breakfast burrito filled with eggs and veggies pairs perfectly, rounding out your meal with protein and flavor.
Indulge in these pairings and create a heartwarming family breakfast or a post-workout delight that everyone will love!
High-Protein Cinnamon Rolls Variations
Feel free to let your creativity shine with these customizable ideas that will elevate your High-Protein Cinnamon Rolls to the next level!
-
Chocolatey Twist: Replace vanilla protein powder with chocolate protein powder for a decadent twist that satisfies your sweet tooth.
-
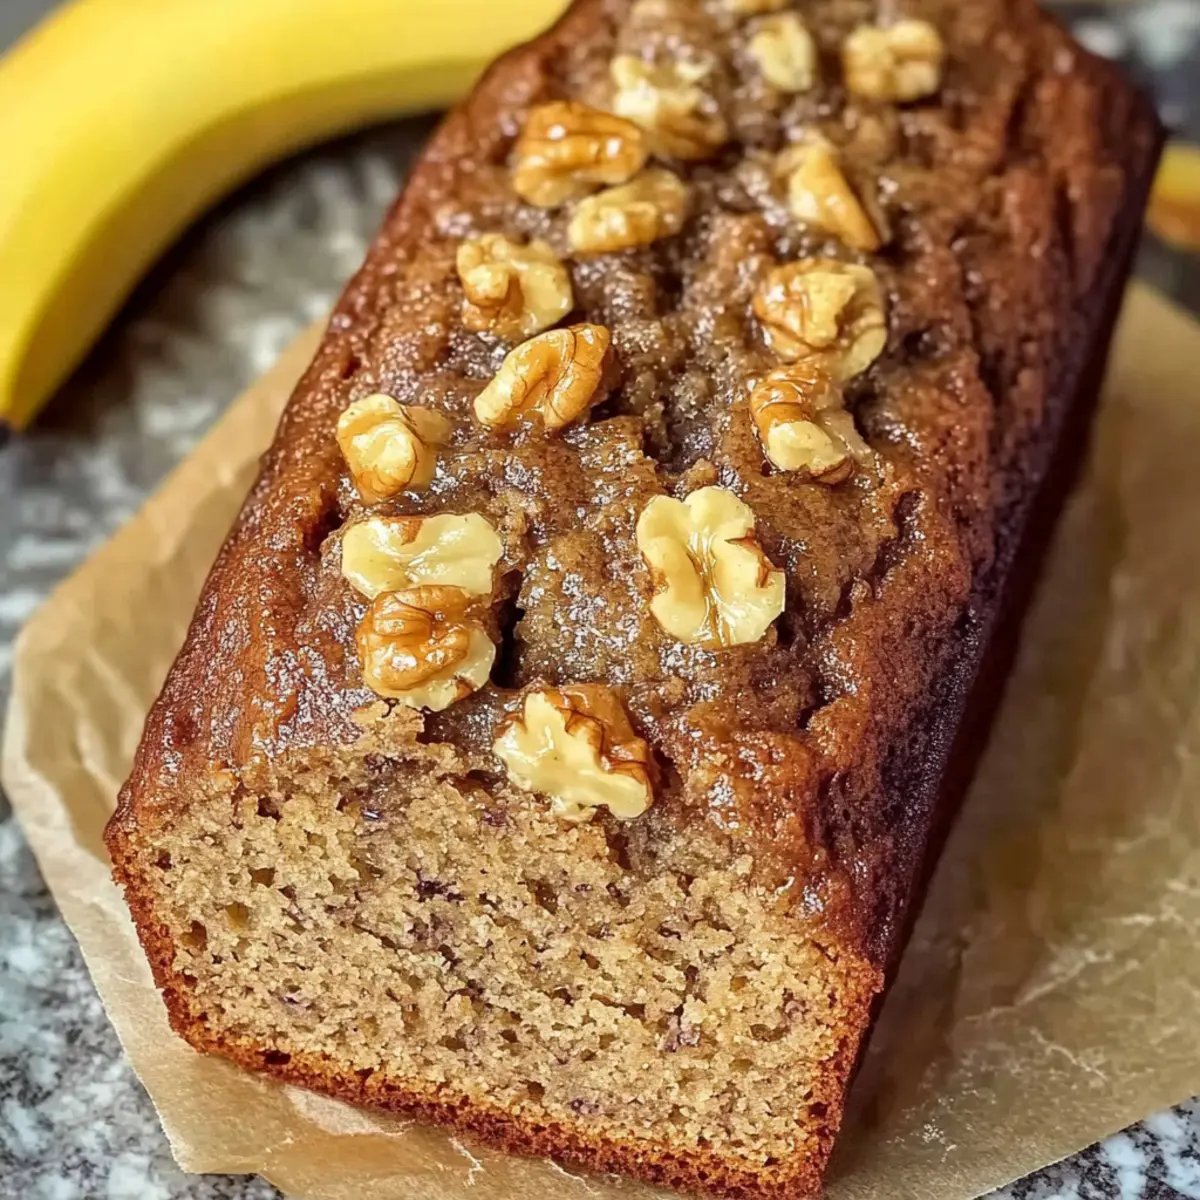
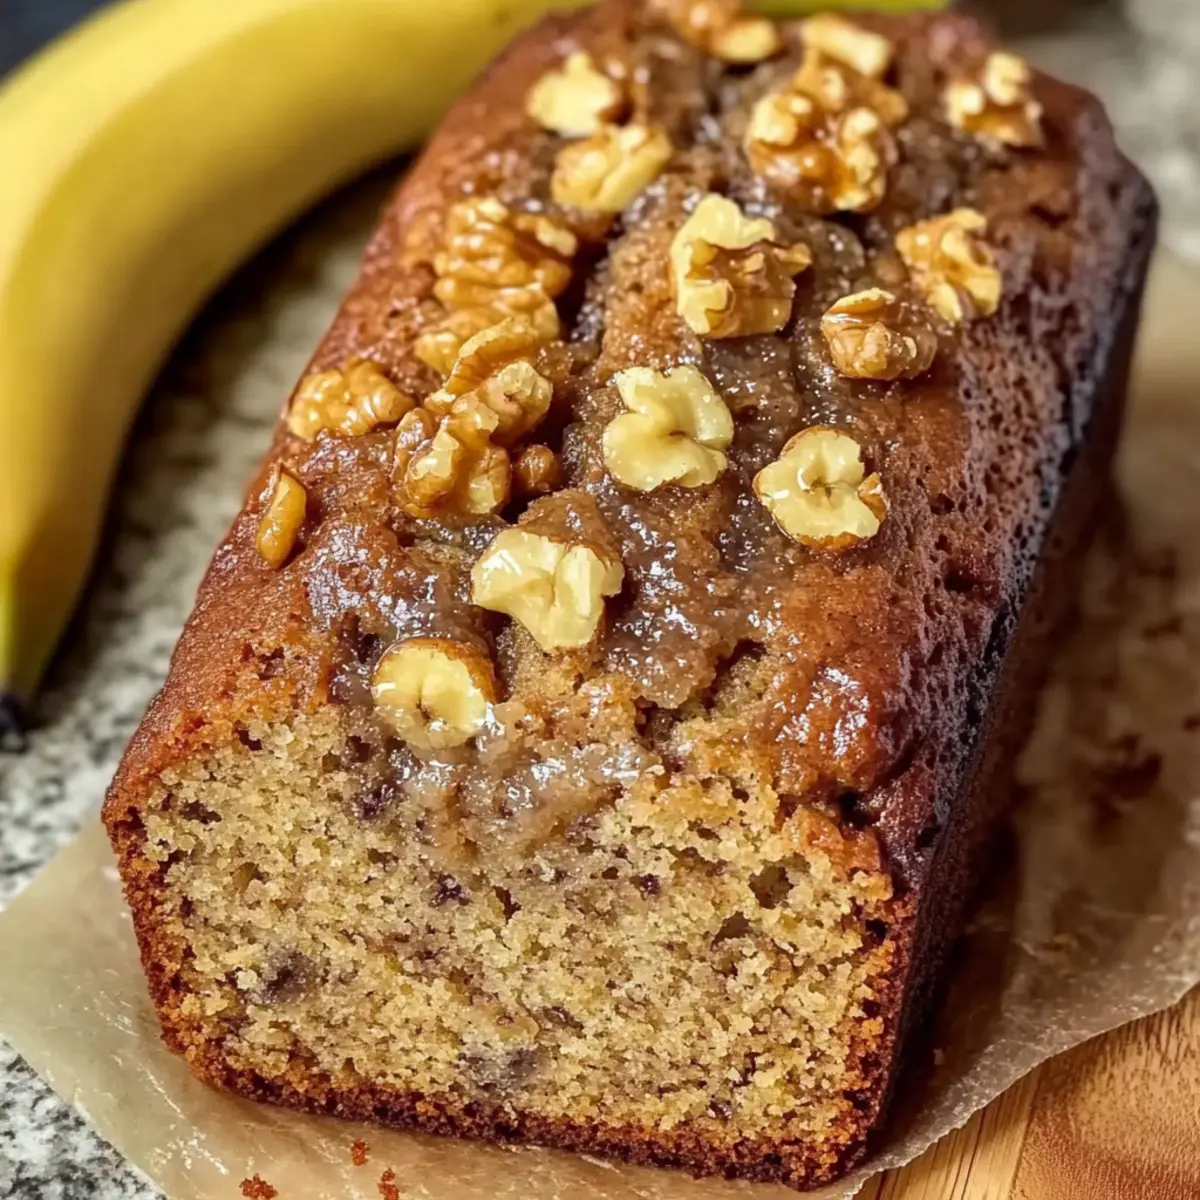
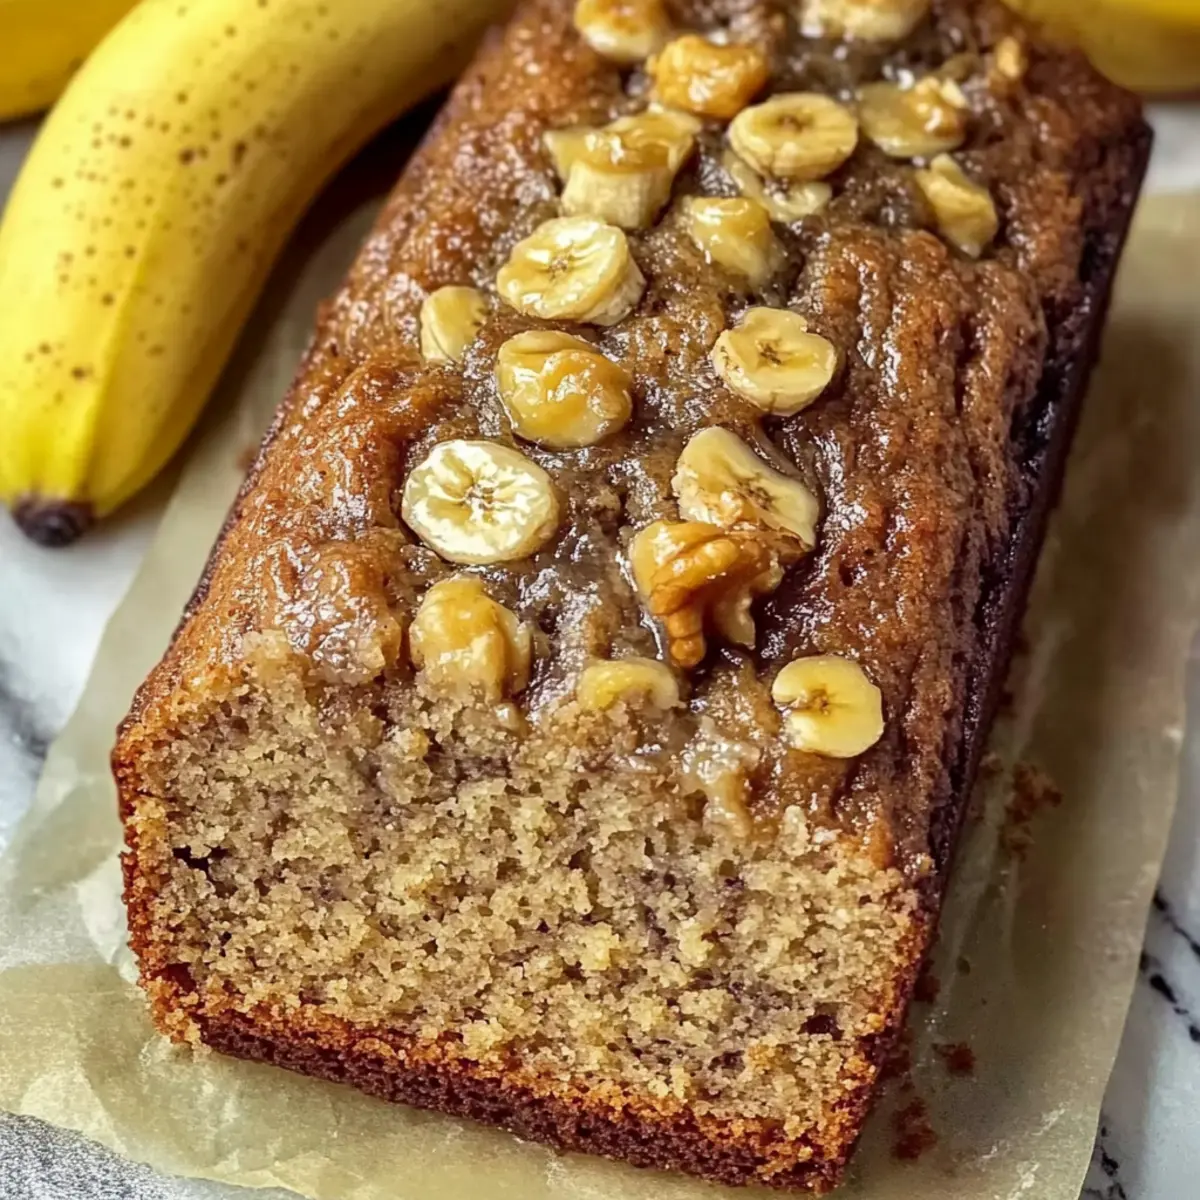
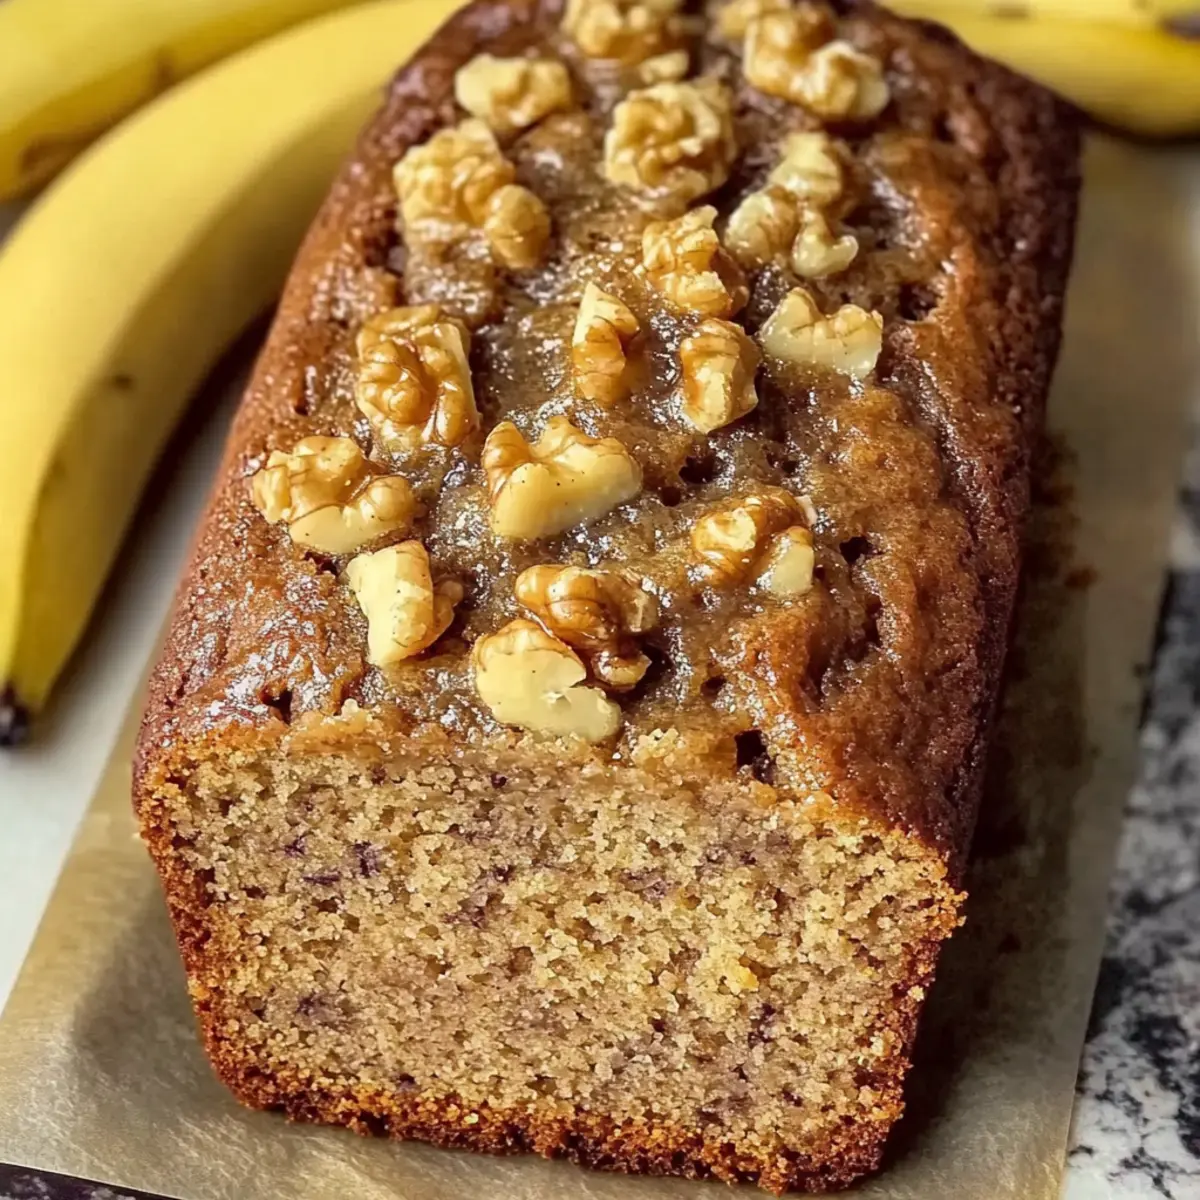
Nutty Filling: Add chopped nuts like walnuts or pecans to the filling for a satisfying crunch that perfectly complements the tender rolls. The nuttiness provides an exciting texture contrast.
-
Dried Fruit Delight: Toss in some raisins or dried cranberries into the filling for a chewy burst of sweetness; this twist makes each bite even more delightful!
-
Spicy Kick: Swap cinnamon for pumpkin spice or nutmeg to infuse autumn warmth into your rolls. This seasonal shift creates a cozy and inviting flavor profile.
-
Berry Burst: Incorporate fresh or frozen berries like blueberries or raspberries into the filling for a burst of natural sweetness and a pop of color.
-
Dairy-Free: Substitute Greek yogurt with coconut yogurt and use plant-based milk for the frosting. This maintains the creamy goodness while adapting to dairy-free needs.
-
Fruity Frosting: Add a splash of fruit puree—like strawberry or peach—to the frosting for an unexpected fruity twist that brightens up every roll.
For more delightful variations, consider making a scrumptious Pumpkin Cinnamon Roll for a seasonal treat that never disappoints. Your High-Protein Cinnamon Rolls will never be boring again!
Make Ahead Options
These High-Protein Cinnamon Rolls are perfect for busy home cooks looking to save time! You can prepare the dough up to 24 hours in advance; simply mix the ingredients, and roll them into individual pieces, then refrigerate them tightly covered. For the best results, ensure the rolls are well-sealed to prevent drying out. When you're ready to bake, just place them in a preheated oven straight from the fridge—add an extra 5 minutes to the baking time to ensure they’re properly cooked. You can also prepare the frosting in advance and store it in the fridge. This way, you’ll have fluffy, warm rolls ready to enjoy with minimal effort, making your mornings deliciously easy!
High-Protein Cinnamon Rolls Recipe FAQs
How can I select the best ripe ingredients for my High-Protein Cinnamon Rolls?
Absolutely! When selecting ingredients like Greek yogurt, look for brands labeled "plain" and "low-fat" to keep it healthier. For yogurt, check for a smooth texture without excess liquid. When choosing applesauce, go for organic varieties without added sugar for the best flavor and quality. Fresh spices like cinnamon should be fragrant; if it smells weak or stale, it’s time to replace it.
How should I store my High-Protein Cinnamon Rolls, and how long will they last?
You can store leftover High-Protein Cinnamon Rolls in an airtight container at room temperature for up to 3 days. For longer freshness, transfer them to the fridge, where they can last for about 5 days. Just reheat them in the microwave for 10-15 seconds to revive their gooeyness and taste.
Can I freeze High-Protein Cinnamon Rolls? How do I do it?
Certainly! To freeze unbaked rolls, arrange them in a single layer on a baking sheet and freeze until solid. Then, transfer to a freezer-safe bag. They can be frozen for up to 3 months! When ready to bake, simply preheat the oven, place the frozen rolls in a baking dish, and add an extra 5-10 minutes to your baking time.
What should I do if my dough is too sticky?
Very! If you find your dough too sticky to handle, don’t fret! Simply sprinkle a tablespoon of flour gradually into the dough and knead until it’s manageable. Another tip is to lightly flour your surface when rolling out the dough as well; this will keep it from sticking and help you achieve that perfect roll.
Are there any dietary considerations for High-Protein Cinnamon Rolls, like allergies or pets?
Of course! If you're baking for someone with dietary restrictions, make sure to check that your protein powder and yogurt are free from allergens like gluten or dairy. Also, if you plan to share a bite with your furry friends, be cautious as some ingredients (like honey and chocolate) are not safe for pets. Always double-check your ingredient labels to ensure they align with anyone's dietary needs.
High-Protein Cinnamon Rolls: Fluffy and Guilt-Free Delights
Ingredients
Equipment
Method
- Preheat your oven to 350°F (175°C) and line a baking dish with parchment paper.
- In a large mixing bowl, combine the plain Greek yogurt, self-rising flour, and vanilla protein powder. Mix until a shaggy dough forms.
- Roll out the dough into a rectangle, spread unsweetened applesauce, and sprinkle cinnamon and sugar on top.
- Tightly roll the dough into a log and slice into 8 equal pieces, placing them cut-side up in the prepared baking dish.
- Bake for 20-25 minutes, or until golden brown. Monitor closely after 18 minutes.
- Prepare the frosting by mixing Greek yogurt, milk, and vanilla extract until smooth.
- Drizzle the frosting over the rolls once they've cooled for 5-10 minutes and serve warm.