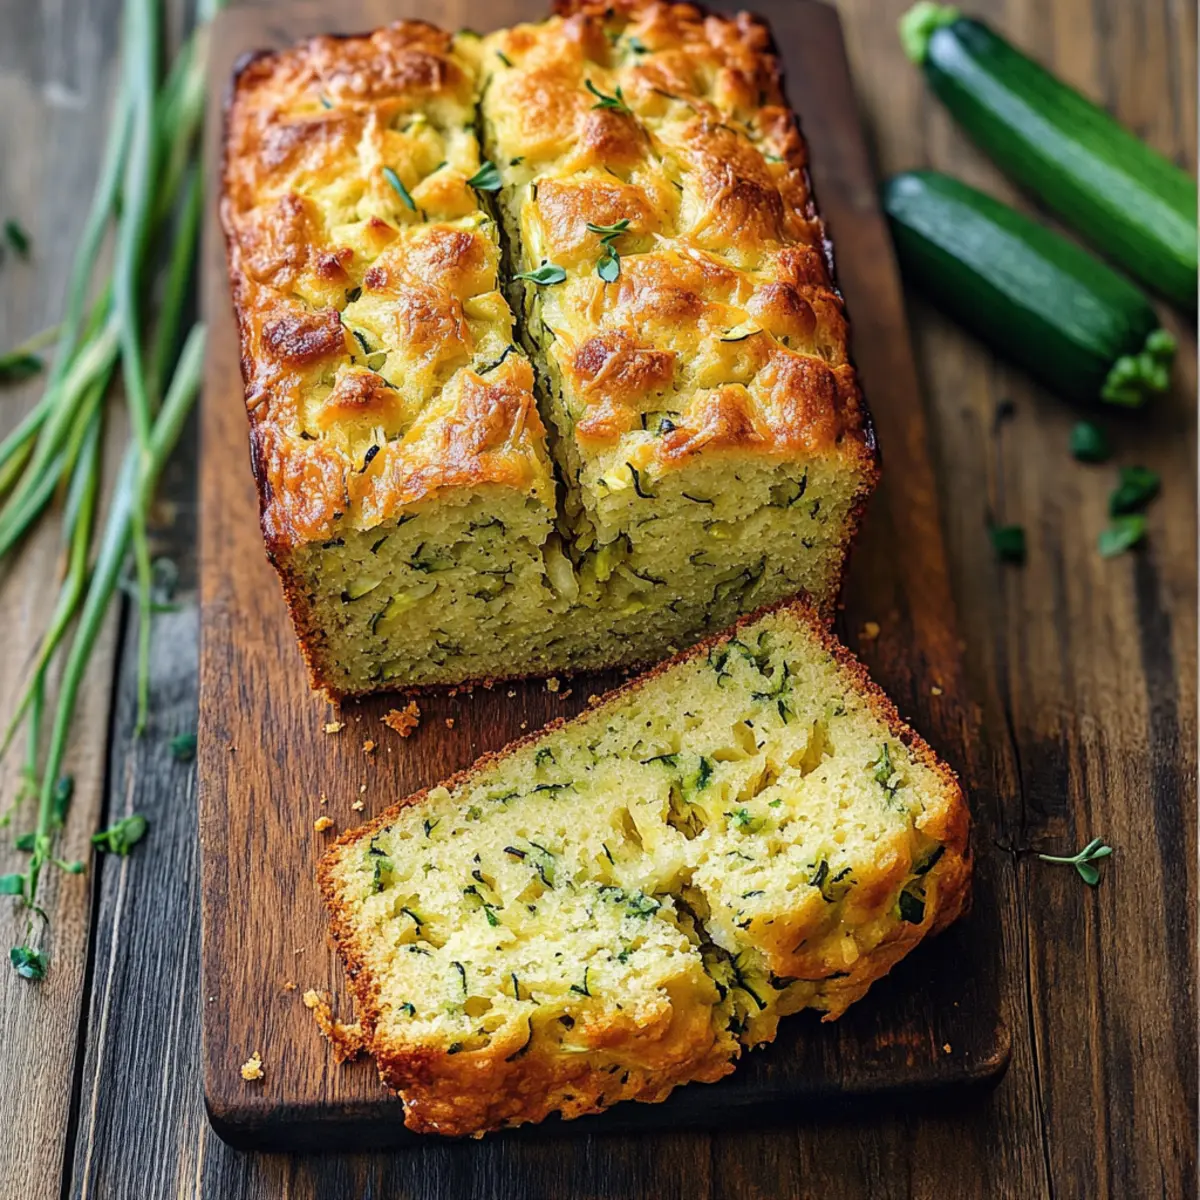
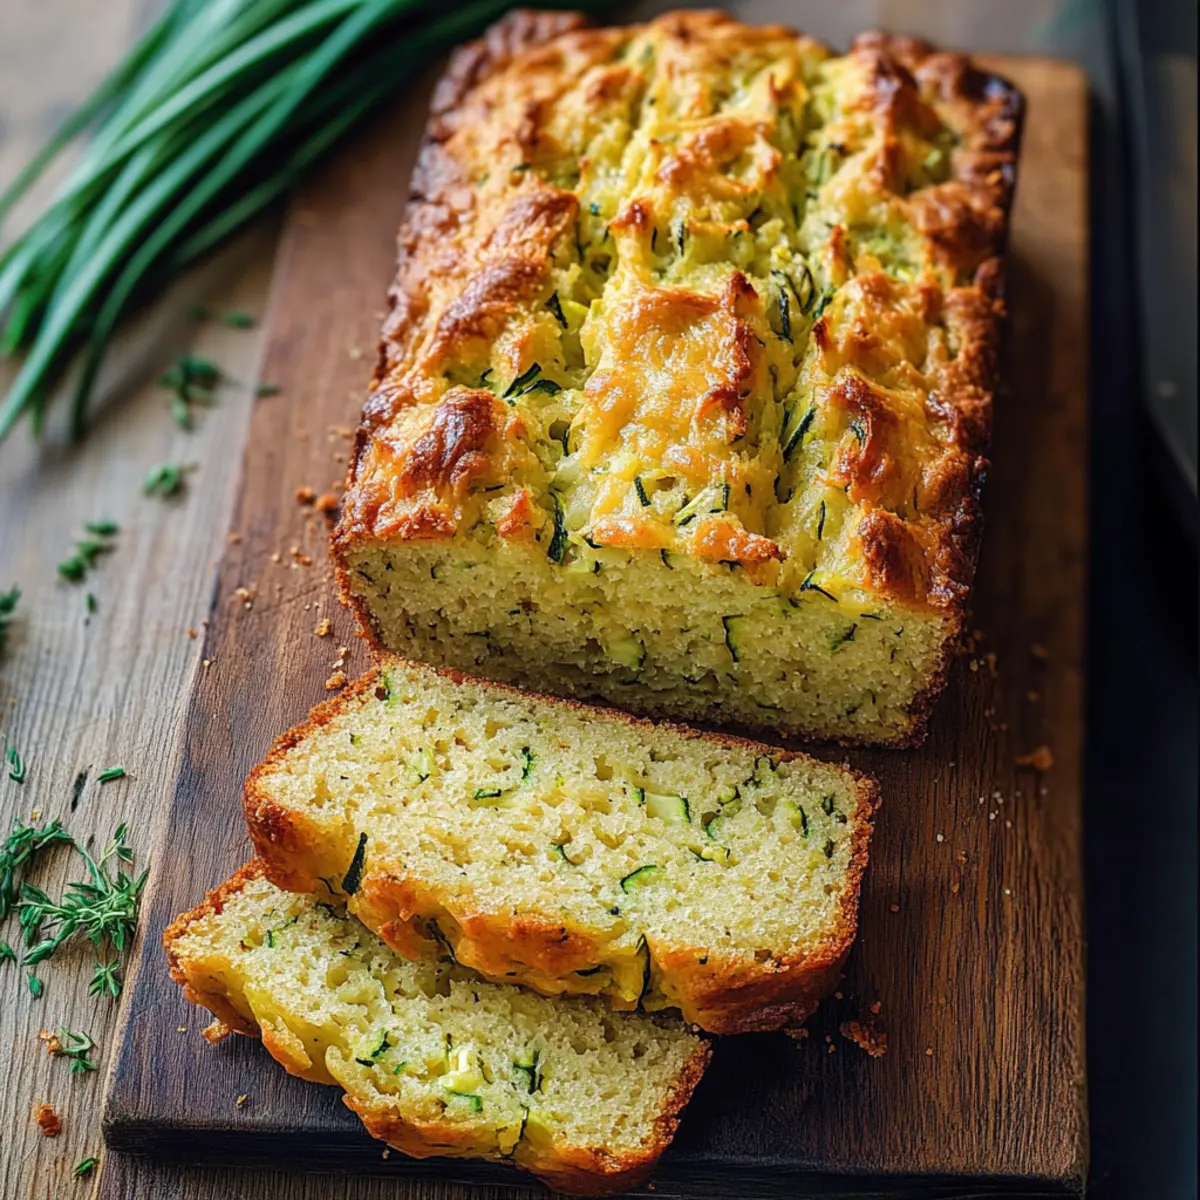
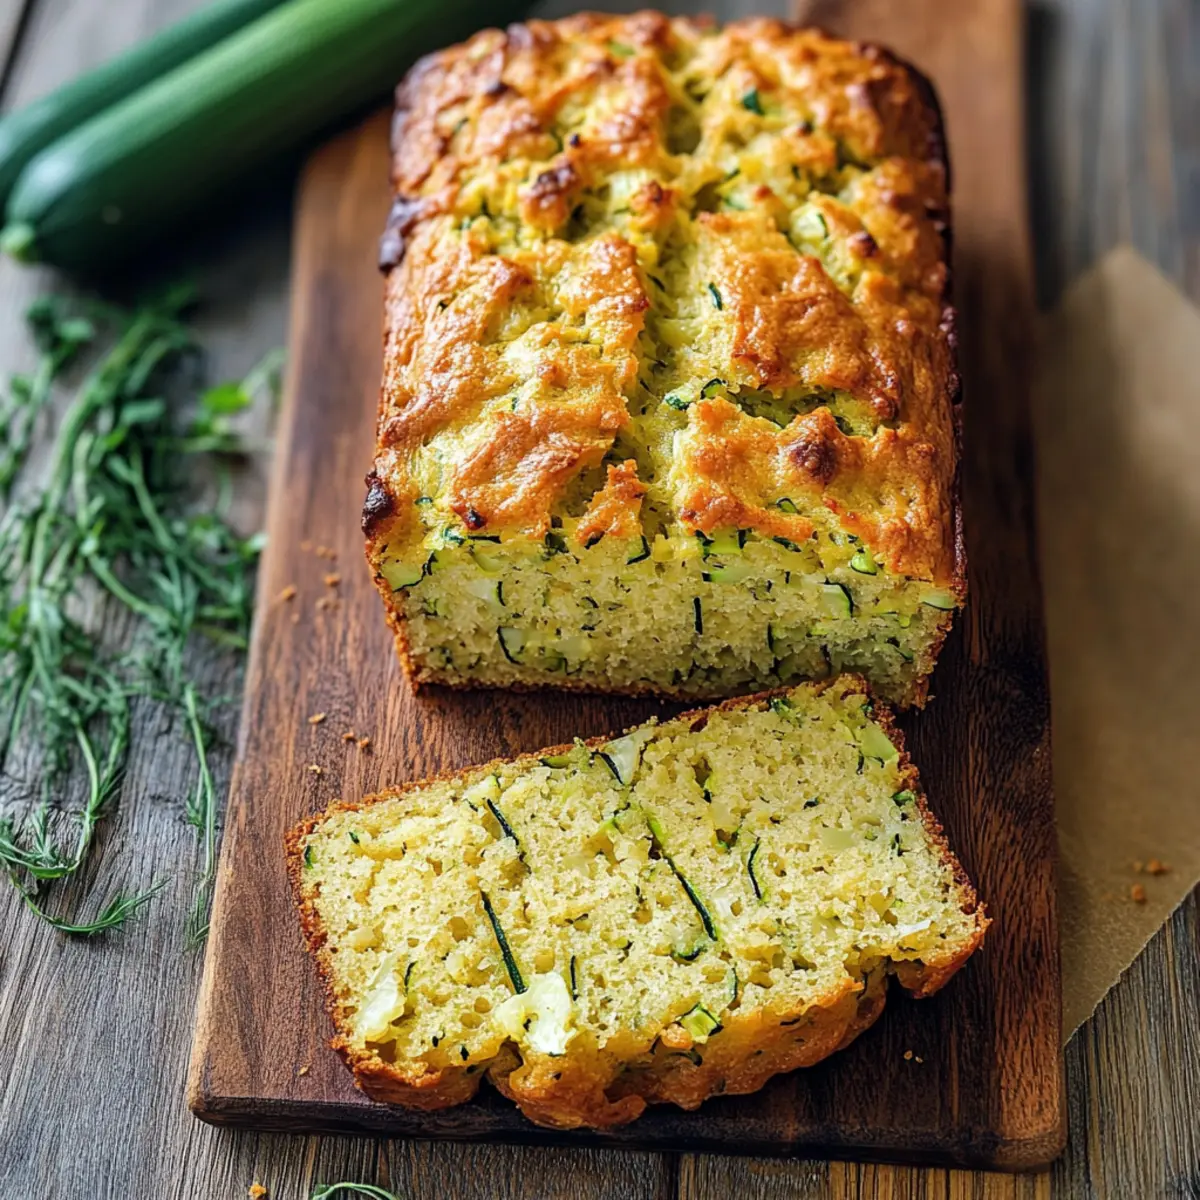
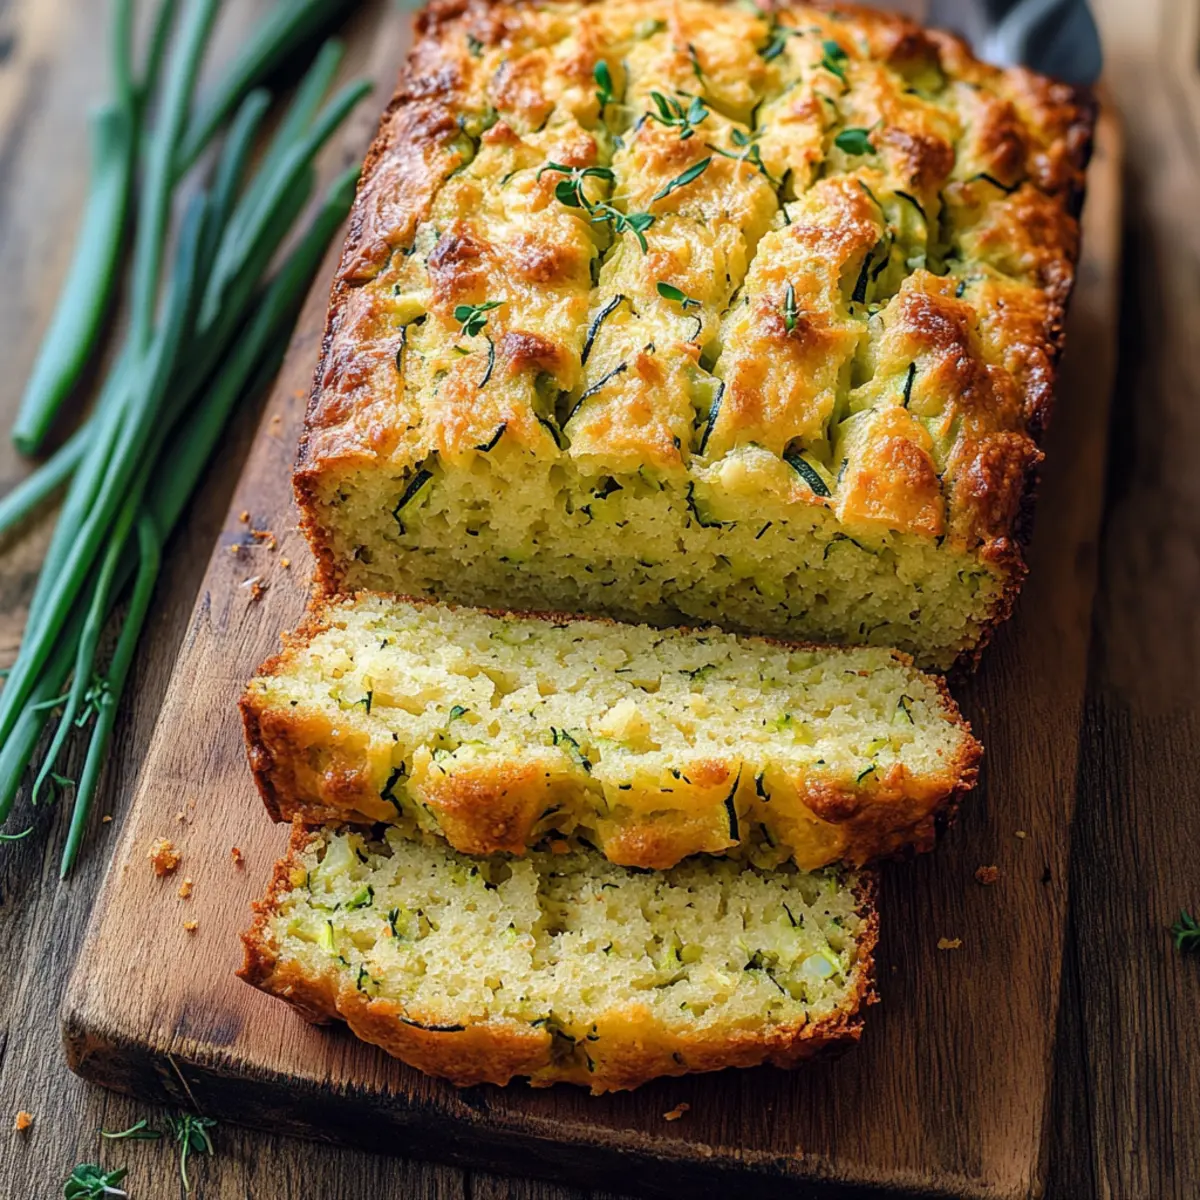
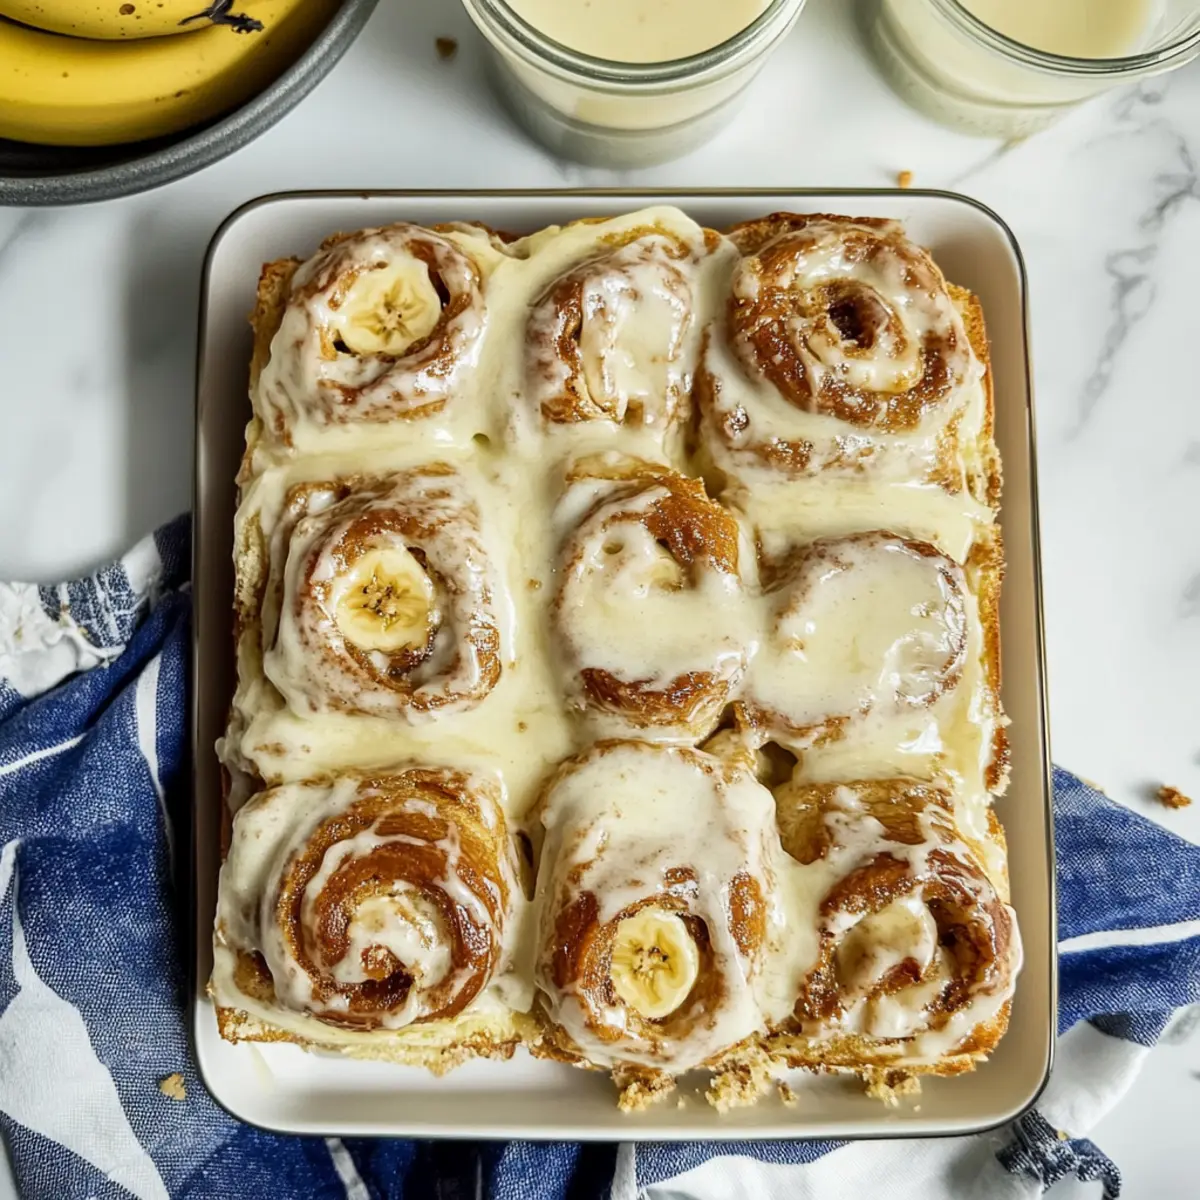
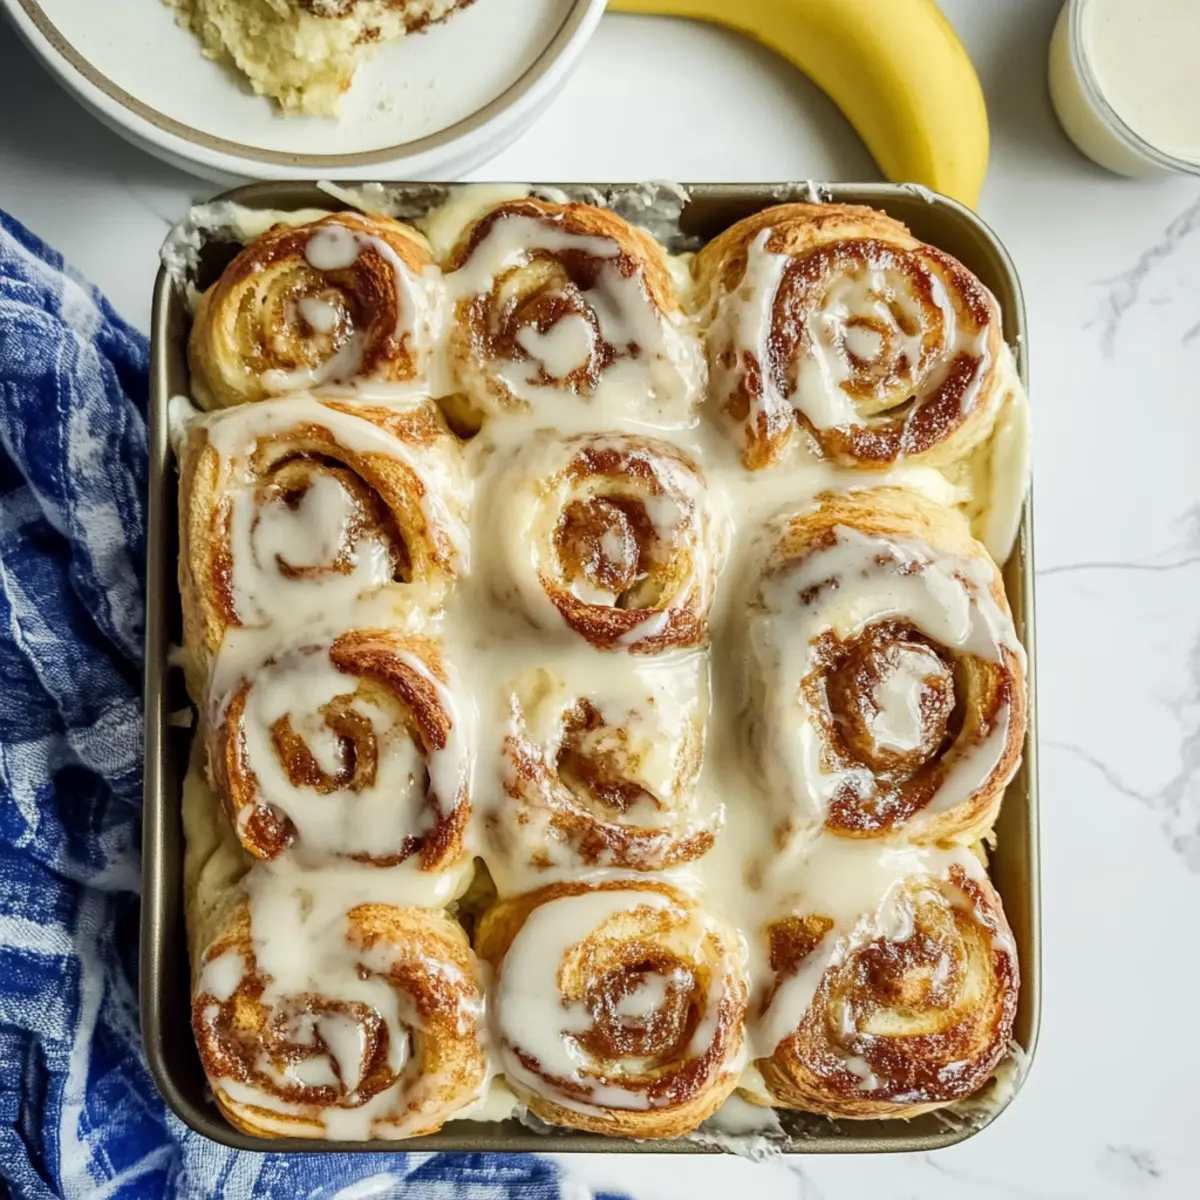
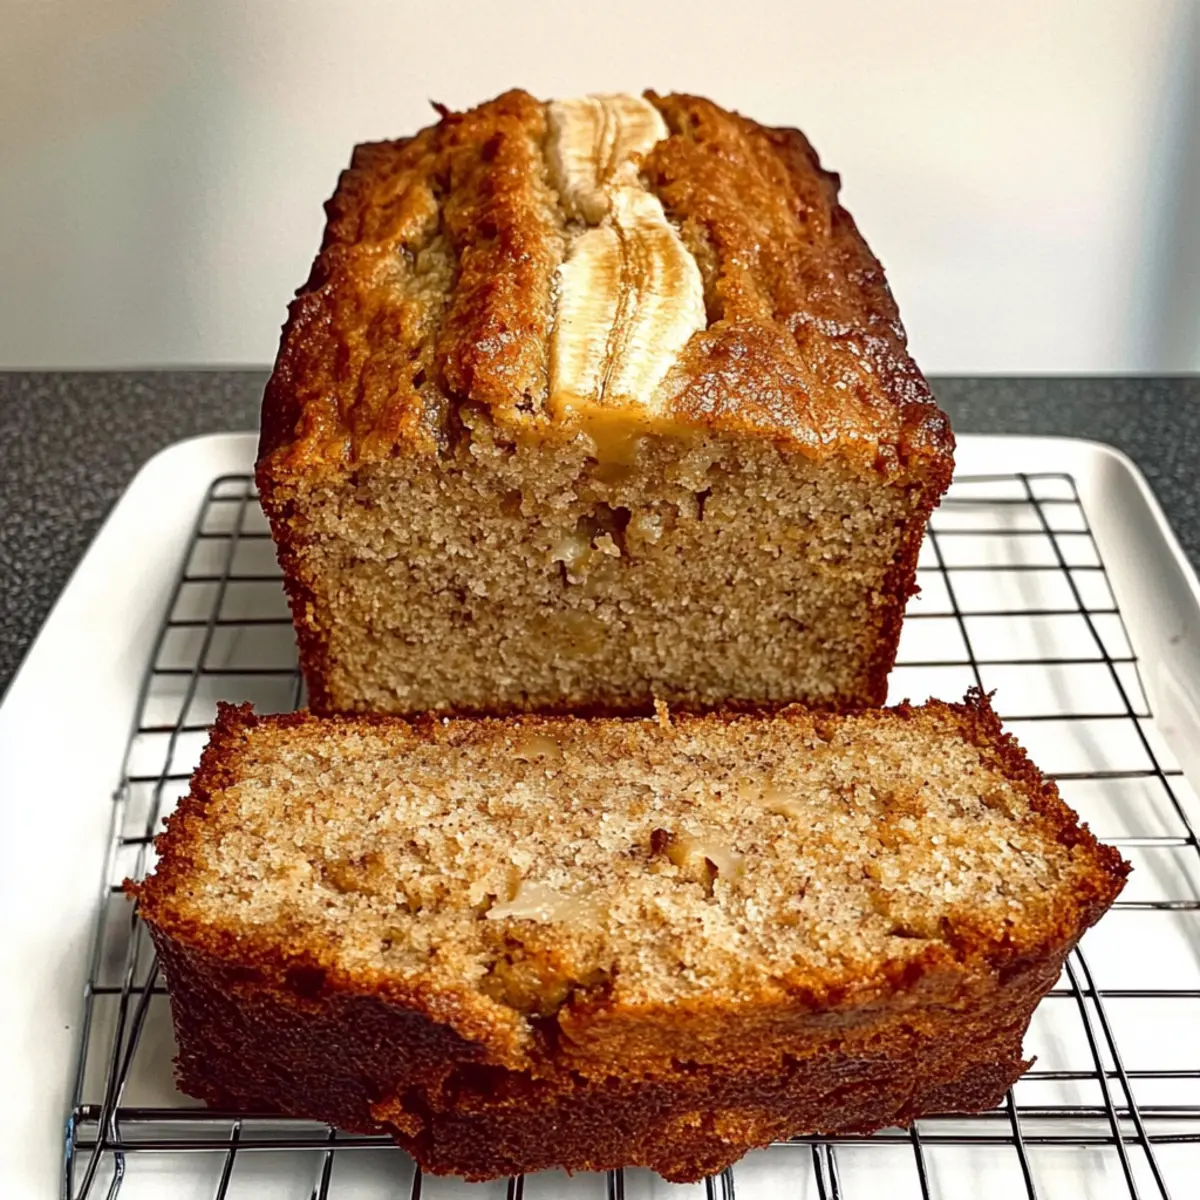
As I tore into a warm slice of Cottage Cheese Banana Bread, the sweet aroma of ripe bananas mingling with cinnamon whisked me straight back to those cozy afternoons spent baking with my grandmother. This delightful recipe isn't just a nostalgic throwback; it's a modern twist on a classic that's gluten-free, high in protein, and lower in sugar than traditional banana bread. Perfect for breakfast or a sweet snack, this moist loaf not only satisfies your cravings but also fuels your body with wholesome ingredients. So, if you’re ready to turn your kitchen into a haven of comfort and health without sacrificing flavor, come along! What special memories will this bread inspire for you?
Why is Cottage Cheese Banana Bread Amazing?
Moist, This Cottage Cheese Banana Bread is incredibly soft and tender, ensuring every bite melts in your mouth.
High-Protein, Packed with protein thanks to the cottage cheese, this recipe not only satisfies your cravings but also supports your active lifestyle.
Gluten-Free, With almond flour as the base, this version is perfect for those avoiding gluten without compromising on taste or texture.
Versatile, Enjoy it as a hearty breakfast or a flavorful snack; it pairs beautifully with a dollop of yogurt or a drizzle of honey!
Easy to Make, A simple mixing process means you can whip it up quickly, making it a great option for busy mornings or afternoon treats.
Elevate your baking game and explore other delightful recipes, such as Cheesy Garlic Bread or the refreshing Breakfast Banana Split. You won’t be disappointed!
Cottage Cheese Banana Bread Ingredients
For the Batter
- Ripe Bananas – Use very ripe bananas for optimal sweetness and moisture.
- Cottage Cheese – This creamy ingredient acts as a fat substitute, adding moisture and protein.
- Eggs – Essential for binding the ingredients; can be replaced with flax eggs for a vegan variation.
- Maple Syrup – Adds a touch of sweetness; honey or monk fruit sweetener also work great.
- Vanilla Extract – Enhances the overall flavor; opt for pure vanilla for the best results.
- Almond Flour – A gluten-free base with a subtle nutty flavor; remember it’s not a 1:1 substitute for all-purpose flour.
- Baking Soda – This component helps give the bread its delightful rise and essential texture.
- Ground Cinnamon – Introduces a warm flavor profile that perfectly complements the bananas.
Enjoy making this Cottage Cheese Banana Bread that promises not just great taste but wholesome goodness!
Step‑by‑Step Instructions for Cottage Cheese Banana Bread
Step 1: Preheat Oven
Begin by preheating your oven to 350°F (175°C). This will ensure the Cottage Cheese Banana Bread bakes evenly and achieves that perfect golden-brown crust. While the oven heats, gather your ingredients to make the process smooth and delightful.
Step 2: Mix Wet Ingredients
In a large mixing bowl, mash your ripe bananas until smooth. Then, combine them with the cottage cheese, eggs, maple syrup, and vanilla extract. Stir the mixture until everything is well incorporated and creamy. This step is vital to infuse moisture and flavor into your banana bread.
Step 3: Combine Dry Ingredients
In a separate bowl, whisk together the almond flour, baking soda, and ground cinnamon. This ensures that the baking soda is evenly distributed, helping the Cottage Cheese Banana Bread rise beautifully. Keep an eye out for any lumps and break them up as you mix.
Step 4: Combine Mixtures
Gently fold the dry ingredients into the wet mixture using a spatula or wooden spoon. Mix until just combined, ensuring not to overmix; a few lumps are perfectly fine. Overmixing can lead to a dense texture, whereas gentle folding preserves that tender crumb we all love.
Step 5: Pour into Pan
Grease a loaf pan with a little oil or line it with parchment paper for easy removal. Carefully pour the batter into the prepared pan, smoothing the top with a spatula. This step not only prepares your loaf for baking but also sets the stage for a beautiful rise in the oven.
Step 6: Bake
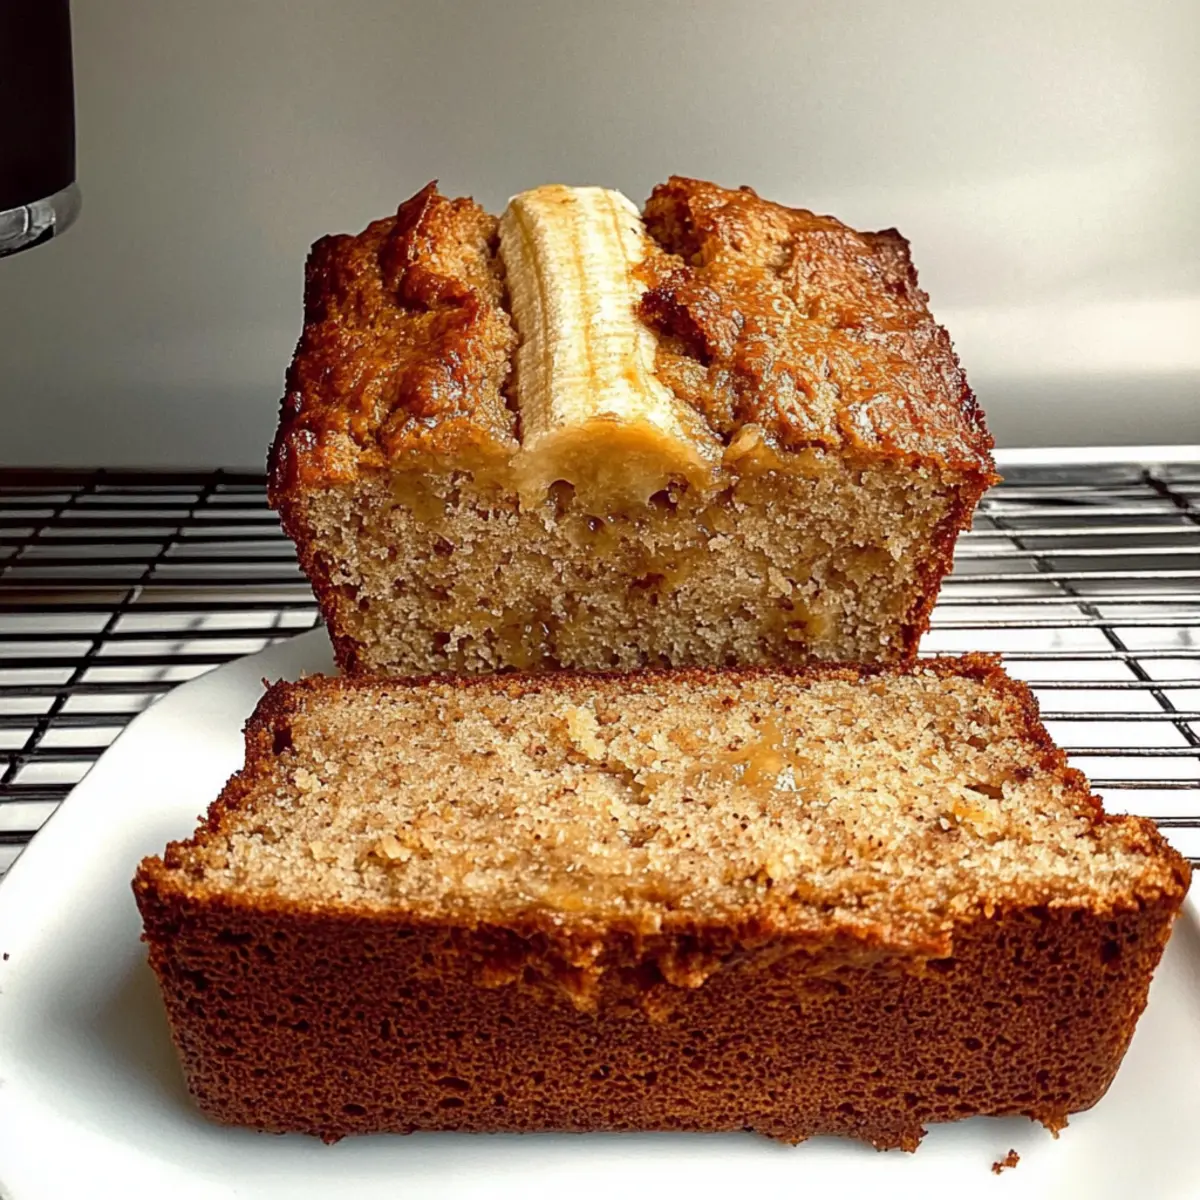
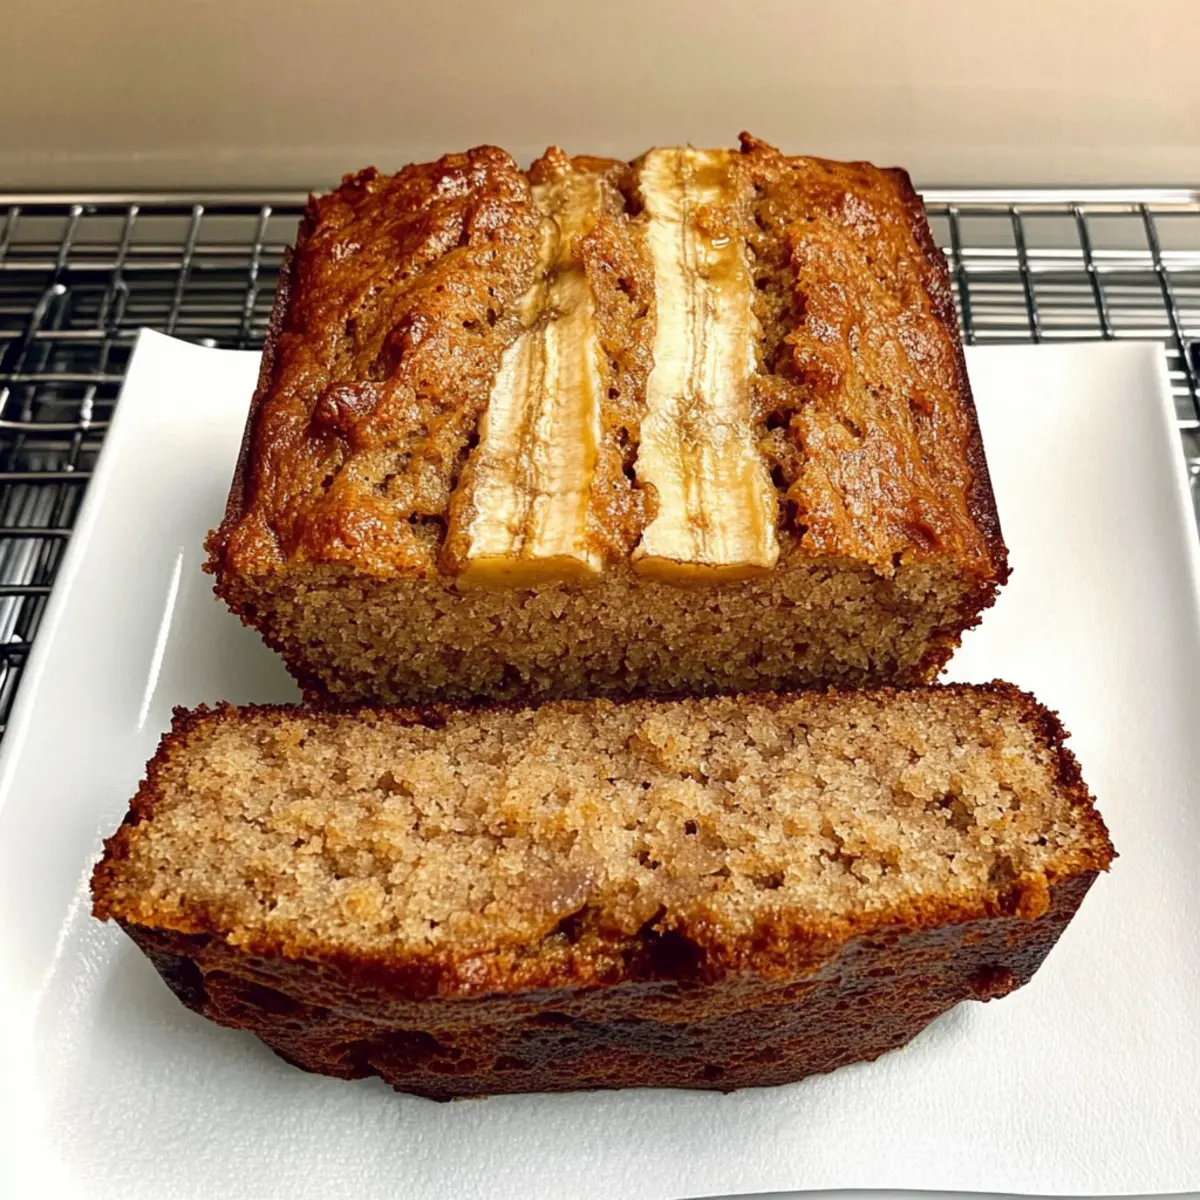
Place the loaf pan in the preheated oven and bake for 50–60 minutes. Check for doneness by inserting a toothpick into the center; it should come out clean or with a few moist crumbs. The top should be golden brown and slightly domed, giving you that inviting baked bread look.
Step 7: Cool
Once baked, remove the Banana Bread from the oven and let it cool in the pan for about 10 minutes. This allows the bread to firm up slightly, making it easier to transfer. After cooling in the pan, gently turn it out onto a wire rack to cool completely, enhancing its flavor and texture.
How to Store and Freeze Cottage Cheese Banana Bread
Room Temperature: Store the Cottage Cheese Banana Bread in an airtight container at room temperature for up to 3 days. This keeps the bread beautifully moist and ready for snacking!
Fridge: If you want to extend its freshness, refrigerate the bread in an airtight container for up to 5 days. Just remember, the cold can alter the texture slightly, so enjoy it warm!
Freezer: For longer storage, slice the bread and wrap each piece individually in plastic wrap and foil. Freeze for up to 2 months. Thaw it overnight in the fridge, then warm in the toaster or oven for the best taste.
Reheating: To reheat, simply pop it in the microwave for about 15-20 seconds or warm in the oven at 350°F (175°C) for 5-10 minutes. Enjoy that delightful freshly-baked aroma!
What to Serve with Cottage Cheese Banana Bread
As the warm, enticing aroma of Cottage Cheese Banana Bread wafts through your kitchen, consider these delightful pairings to complement this delicious treat.
- Greek Yogurt: A dollop of creamy Greek yogurt adds a tangy contrast, enhancing the flavors while boosting protein for a satisfying snack.
- Fresh Berries: Bright, juicy berries such as strawberries or blueberries provide a refreshing sweetness and pop of color that beautifully balances the bread's rich flavors.
- Nut Butter: A smear of almond or peanut butter offers a nutty richness, elevating the taste and adding healthy fats for a more filling meal option.
- Honey Drizzle: A light drizzle of honey provides an extra touch of sweetness, perfect for those moments when you need an indulgent treat without the guilt.
- Coconut Whipped Cream: This light and fluffy topping infuses a tropical twist, making for a delightful dessert experience that feels just a bit special.
- Herbal Tea: A steaming cup of herbal tea, such as chamomile or mint, warms the soul and complements the comforting flavors of your banana bread perfectly.
- Maple Syrup: A splash of maple syrup brings out the natural sweetness of the banana bread, creating a harmonious blend with its flavors—deliciously divine!
- Chia Seed Jam: For something fresh and fruity, a smear of chia seed jam offers a burst of flavor while keeping it health-conscious and delightful.
- Dark Chocolate Chips: For a touch of decadence, toss in some dark chocolate chips, transforming your bread into an indulgent treat while maintaining that health-conscious twist.
Remember, these pairings not only enhance your Cottage Cheese Banana Bread experience but also turn it into a full, satisfying meal that nourishes the body and soul!
Make Ahead Options
These Cottage Cheese Banana Bread recipes are perfect for busy home cooks looking to save time during hectic weeknights! You can prepare the batter up to 24 hours in advance; simply combine the wet and dry ingredients, then refrigerate them separately to maintain freshness. When you’re ready to bake, gently fold the mixtures together and pour into your greased loaf pan. This ensures your banana bread is just as delicious and moist when baked fresh. For even greater convenience, you can bake and cool the bread, then slice and store it in an airtight container in the refrigerator for up to 3 days. Enjoy fresh slices on-the-go or as a cozy breakfast treat!
Expert Tips for Cottage Cheese Banana Bread
• Choose Ripe Bananas: Opt for bananas that are very ripe with brown spots for the best flavor and moisture in your bread.
• Don’t Overmix: When combining the dry and wet ingredients, mix just until combined. Overmixing can result in a denser texture in your Cottage Cheese Banana Bread.
• Use Room Temperature Ingredients: Make sure your cottage cheese and eggs are at room temperature to ensure a smoother batter and even baking.
• Check for Doneness Early: Start checking your bread at 50 minutes. If a toothpick comes out clean, take it out to avoid overbaking and drying it out.
• Cool Before Slicing: Allow the bread to cool completely on a wire rack after baking. This helps in maintaining its moist texture and prevents it from becoming gummy.
Cottage Cheese Banana Bread Variations
Feel free to explore the delicious potential of your Cottage Cheese Banana Bread with these simple twists!
-
Sugar-Free: Use a sugar substitute like erythritol or monk fruit to create a no-sugar-added version, maintaining that sweet flavor without the calories.
-
Dairy-Free: Substitute the cottage cheese with a plant-based alternative, like silken tofu or coconut yogurt, for a delightful dairy-free treat. You’ll still enjoy the moisture without the milk!
-
Nutty Delight: Add 1/2 cup of chopped walnuts or pecans to the batter for a crunchy texture that perfectly complements the soft bread. These nuts also add healthy fats and an inviting aroma.
-
Fruit-Filled: Swirl in 1/2 cup of blueberries or shredded coconut for bursts of flavor and sweetness. This variation adds a refreshing lift to every bite.
-
Spiced Up: Enhance your flavor profile by adding a pinch of nutmeg or some ginger powder. These warm spices create a cozy, inviting aroma that will make your kitchen feel like home.
-
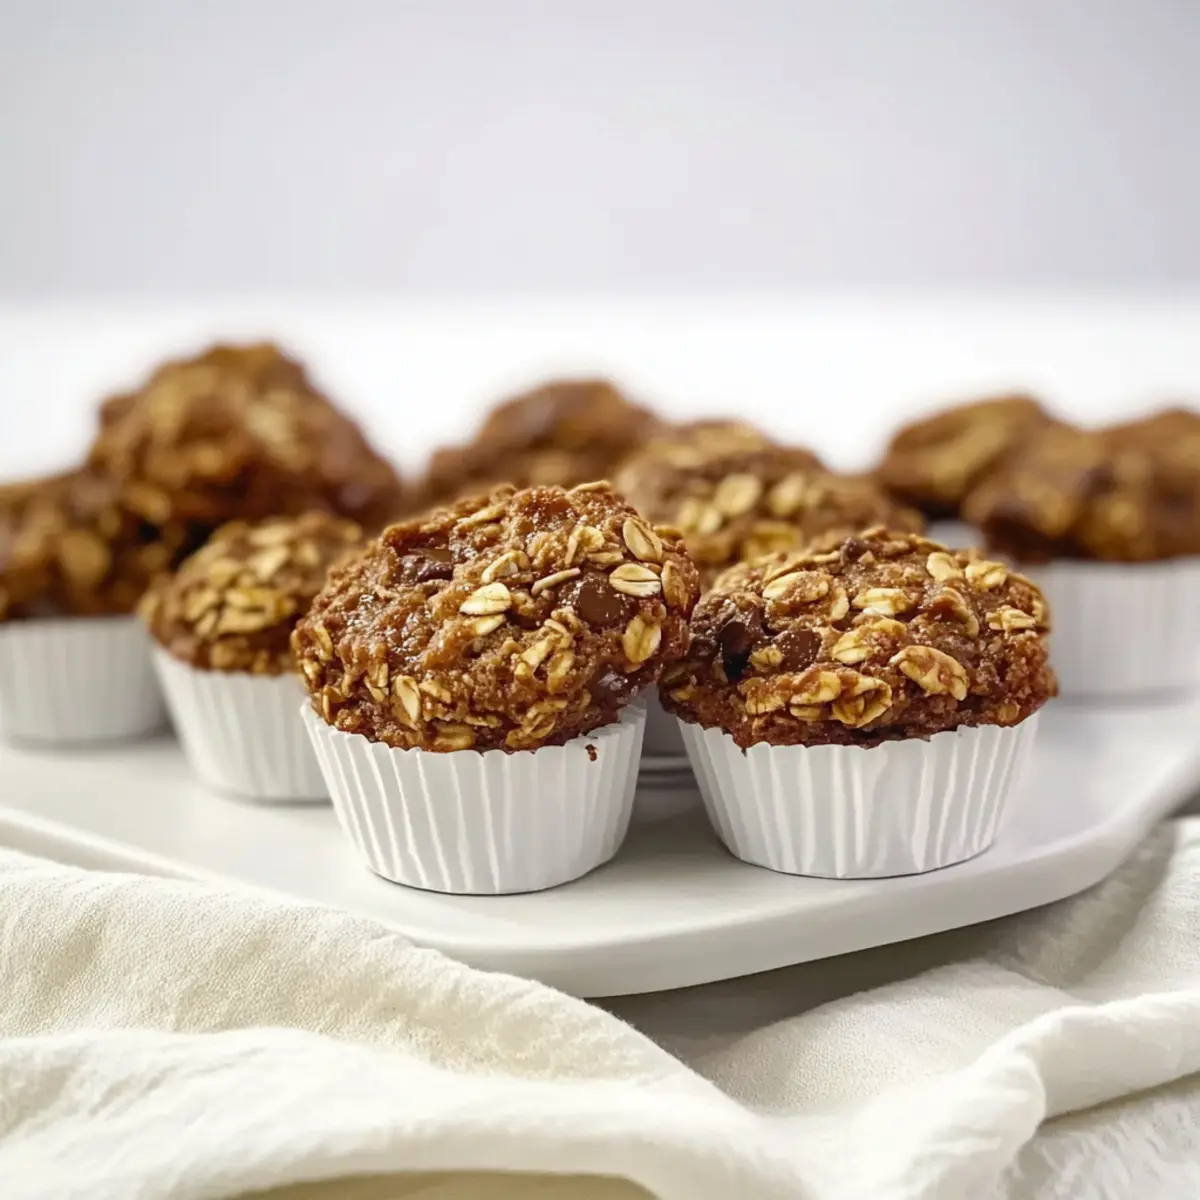
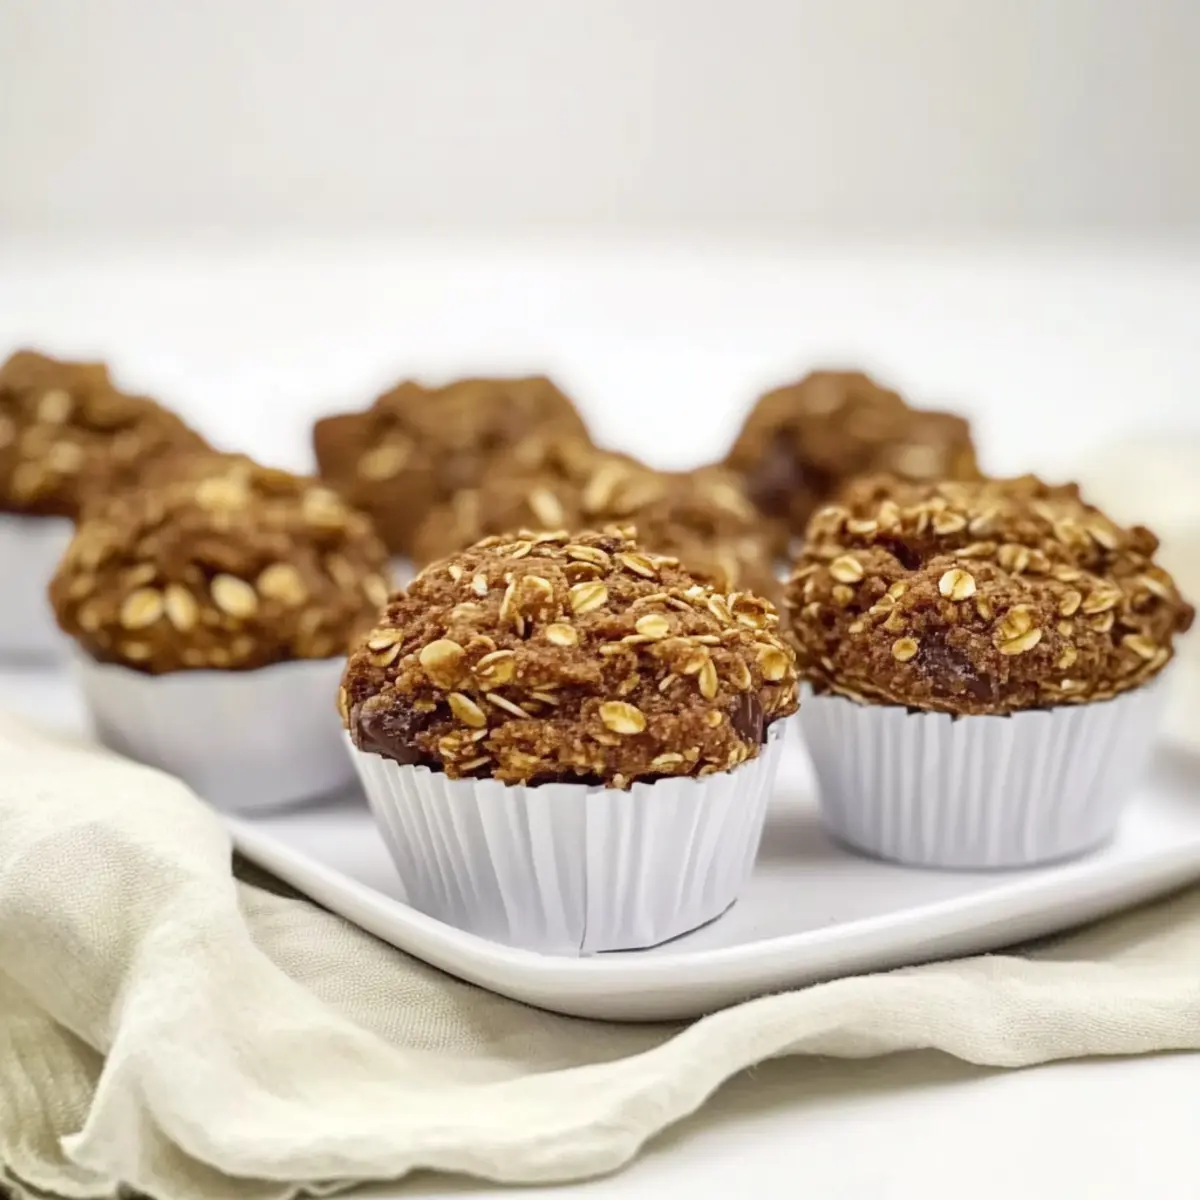
Muffin Version: Transform the batter into muffins by pouring it into a muffin tin. Bake for 15-20 minutes for perfectly portioned handheld treats! Muffins are ideal for busy mornings or school lunches.
-
Chocolate Lover’s Twist: Stir in 1/2 cup of dark chocolate chips to satisfy your sweet tooth – a perfect balance of decadence and health in every slice.
-
Protein Boost: Stir in a scoop of your favorite protein powder for an extra protein kick that's ideal for post-workout recovery.
Elevate your culinary skills with this Cottage Cheese Banana Bread, and don't forget to check out other heartwarming recipes like Cornbread Breakfast Casserole or the vibrant Jello Salad Cottage. You'll discover plenty of inspiration in the kitchen!
Cottage Cheese Banana Bread Recipe FAQs
How do I know if my bananas are ripe enough for baking?
Absolutely! Look for bananas that are heavily speckled with brown spots or even completely brown. The riper the banana, the sweeter and more flavorful your Cottage Cheese Banana Bread will be. If you have bananas that are still yellow with little to no spots, leave them out at room temperature for a couple of days until they reach that sweet, soft stage.
What’s the best way to store Cottage Cheese Banana Bread?
You can store your Cottage Cheese Banana Bread in an airtight container at room temperature for up to 3 days, which helps maintain its delightful moisture. If you want to keep it for a bit longer, pop it in the fridge in an airtight container for up to 5 days. However, be aware that refrigerating can slightly alter its texture, so enjoy it warm!
Can I freeze Cottage Cheese Banana Bread?
Of course! For optimal freezing, slice the bread and wrap each piece tightly in plastic wrap and then in aluminum foil. This will keep each slice fresh for up to 2 months. When you're ready to enjoy, simply thaw it overnight in the fridge and warm it up in the toaster or oven for the best results.
What if my Cottage Cheese Banana Bread turns out too dense?
If you find your banana bread is denser than you’d like, it’s often due to overmixing the wet and dry ingredients. Next time, mix just until combined, and don’t worry about a few lumps! Additionally, if the bananas you used were not ripe enough, that could also lead to additional density. Use very ripe bananas for the best result!
Is this recipe suitable for those with dietary restrictions?
Definitely! This Cottage Cheese Banana Bread is gluten-free due to the use of almond flour, and it can easily be made lower in sugar by adjusting the amount of maple syrup or by substituting with monk fruit sweetener. If you're vegan or accommodating egg allergies, replace the eggs with flax eggs made from ground flaxseed mixed with water. Just mix 1 tablespoon of ground flaxseed with 2.5 tablespoons of water and let it sit for about 5 minutes until it thickens.
Can I add mix-ins to my Cottage Cheese Banana Bread?
The more the merrier! You can easily personalize this recipe by adding chocolate chips, nuts, or dried fruits to enhance texture and flavor. Just fold in about 1/2 to 1 cup of your desired mix-ins into the batter right before pouring it into the pan. Enjoy making it your own!

Cottage Cheese Banana Bread: Moist, Protein-Packed Goodness
Ingredients
Equipment
Method
- Preheat your oven to 350°F (175°C).
- In a large mixing bowl, mash ripe bananas until smooth. Combine with cottage cheese, eggs, maple syrup, and vanilla extract.
- In a separate bowl, whisk together almond flour, baking soda, and ground cinnamon.
- Gently fold dry ingredients into the wet mixture. Mix until just combined.
- Grease a loaf pan and pour the batter in, smoothing the top with a spatula.
- Bake for 50–60 minutes or until a toothpick comes out clean.
- Let it cool in the pan for about 10 minutes, then transfer to a wire rack to cool completely.