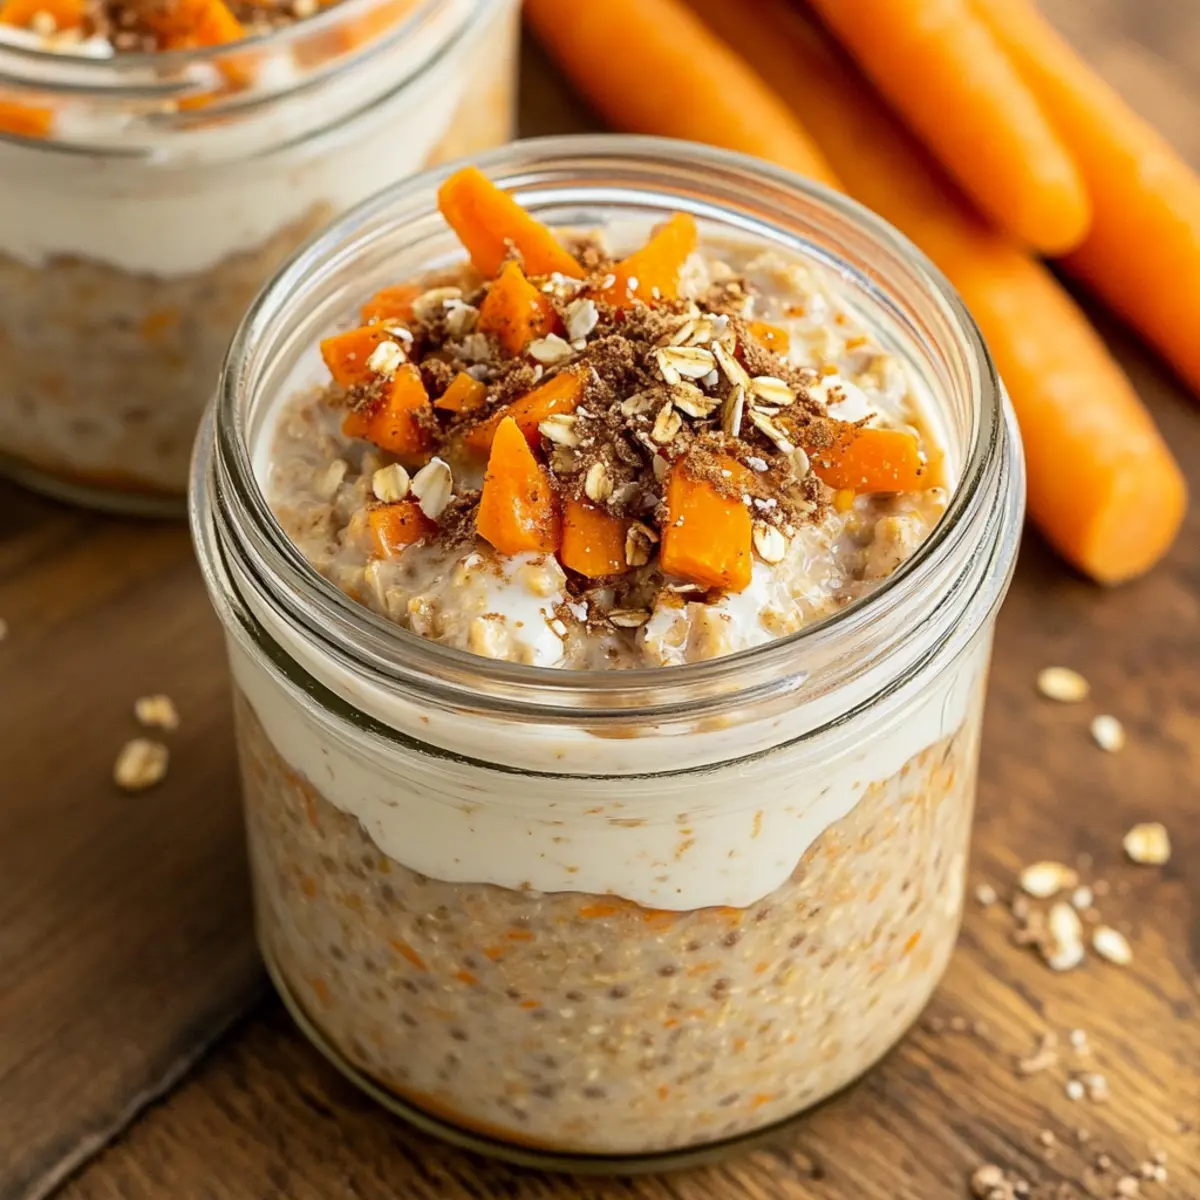
The aroma of blueberry fields wafts through my memory as I recall lazy Sunday mornings spent savoring sweet treats. This is why I’m so excited to share my recipe for Blueberry Cheesecake Overnight Oats—a delightful way to transform your breakfast routine into a dessert-inspired affair! These oats blend the rich, creamy texture of cheesecake with nutritious ingredients like whole rolled oats and chia seeds, topped with vibrant blueberries. Not only are they incredibly quick to prepare, but they also make for an energizing meal that you can easily grab on busy mornings. Plus, they’re gluten-free with simple substitutions available for a vegan twist! Ready to indulge without the guilt? Let’s dive into this deliciously easy recipe that will have you waking up eager to enjoy breakfast!
Why Are Overnight Oats So Popular?
Deliciously Indulgent: These Blueberry Cheesecake Overnight Oats taste like dessert for breakfast, combining the creamy richness of cheesecake with wholesome ingredients.
Quick & Easy: Just mix, layer, and refrigerate! Perfect for those busy mornings when you need a breakfast that’s ready when you are.
Meal Prep Friendly: Prepare a batch for the week! Enjoy them fresh each day by making these oats up to 4 days in advance, so breakfast is hassle-free.
Nutrient-Rich: Packed with fiber and protein, these overnight oats provide a balanced meal that keeps you energized. Plus, check out our nutritional notes for a healthy start!
Customizable: Make them your own by adding various toppings or swapping in your favorite fruits. This recipe is your canvas for a delightful morning treat!
Blueberry Cheesecake Overnight Oats Ingredients
Get ready to create a delightful breakfast!
For the Oats Base
- Whole Rolled Oats – Provides structure and heartiness; use gluten-free oats for a gluten-free variant.
- Chia Seeds – Adds fiber and helps thicken the oats.
- Cream Cheese – Delivers a rich, creamy texture reminiscent of cheesecake; substitute with dairy-free cream cheese for a vegan option.
- Greek Yogurt – Offers creaminess and protein; any type of yogurt, including dairy-free, works well.
- Maple Syrup – Acts as a natural sweetener; adjust to your taste preference.
- Vanilla Extract – Enhances flavor and aroma.
- Almond Milk – Liquid base that hydrates oats; feel free to use any variety of milk, including dairy or plant-based.
For the Blueberry Layer
- Blueberries – Adds natural sweetness and antioxidants; fresh or frozen blueberries work beautifully in this recipe.
Step‑by‑Step Instructions for Blueberry Cheesecake Overnight Oats
Step 1: Mix Ingredients
In a large mixing bowl, combine whole rolled oats, chia seeds, cream cheese, Greek yogurt, maple syrup, almond milk, and vanilla extract. Using a whisk, mix vigorously for about 2-3 minutes until the blend is creamy and smooth. Ensure there are no lumps of cream cheese left, as the smooth consistency is key to the deliciousness of your Blueberry Cheesecake Overnight Oats.
Step 2: Prepare Blueberries
If you're using frozen blueberries, place them in a microwave-safe bowl and heat for 30 seconds to thaw. Once softened, mash the blueberries with a fork until they resemble a jam-like consistency. Set the mixture aside, allowing it to cool slightly, so it can be layered smoothly over the oats later.
Step 3: Layer Oats
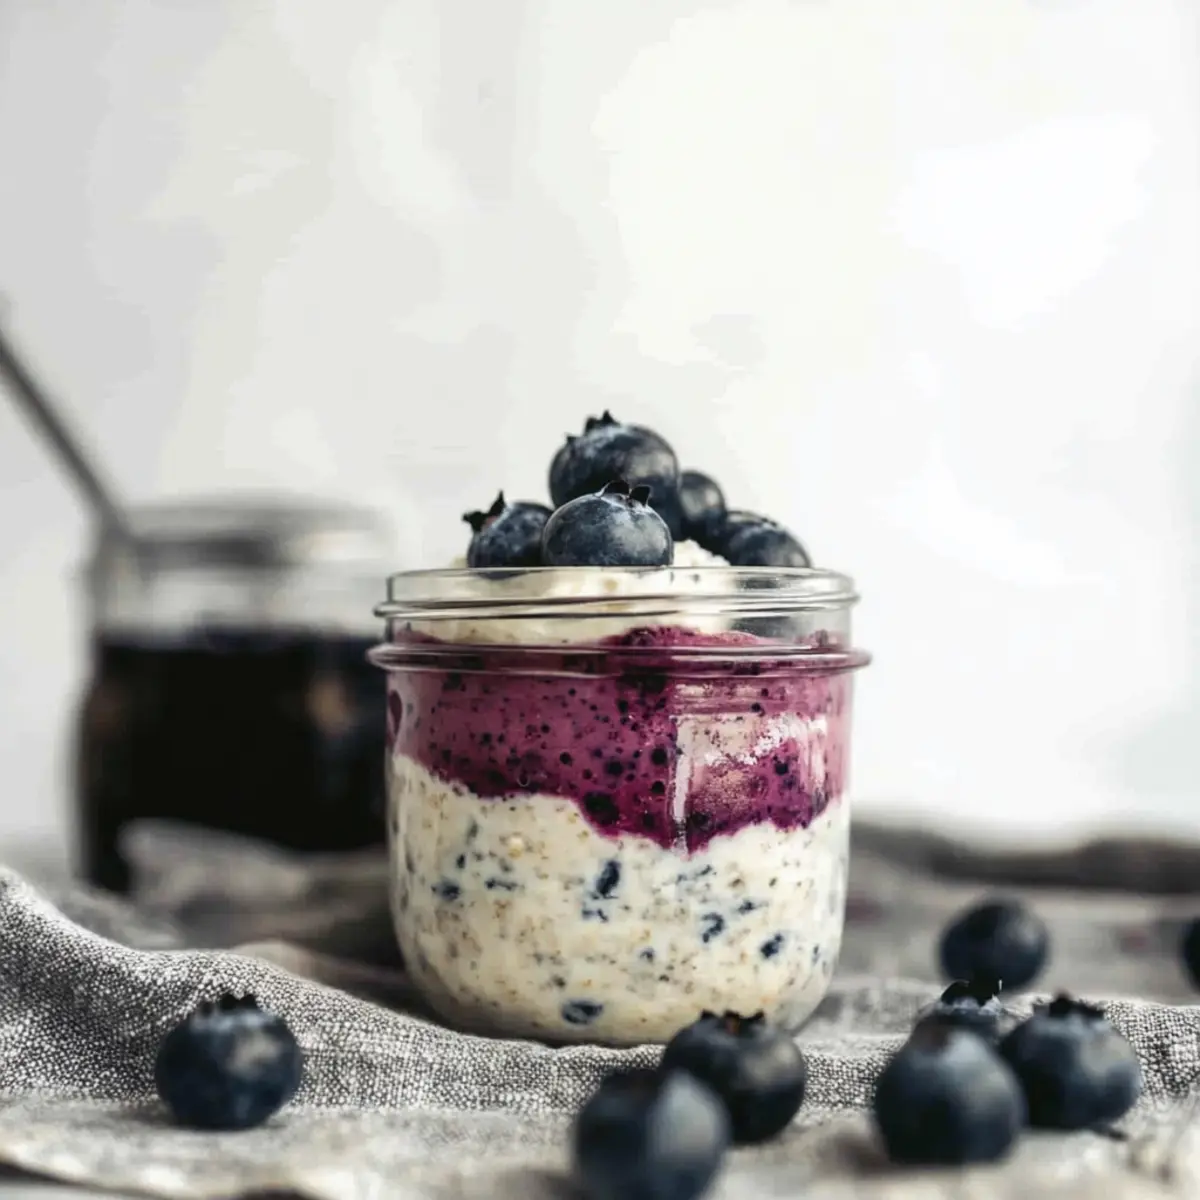
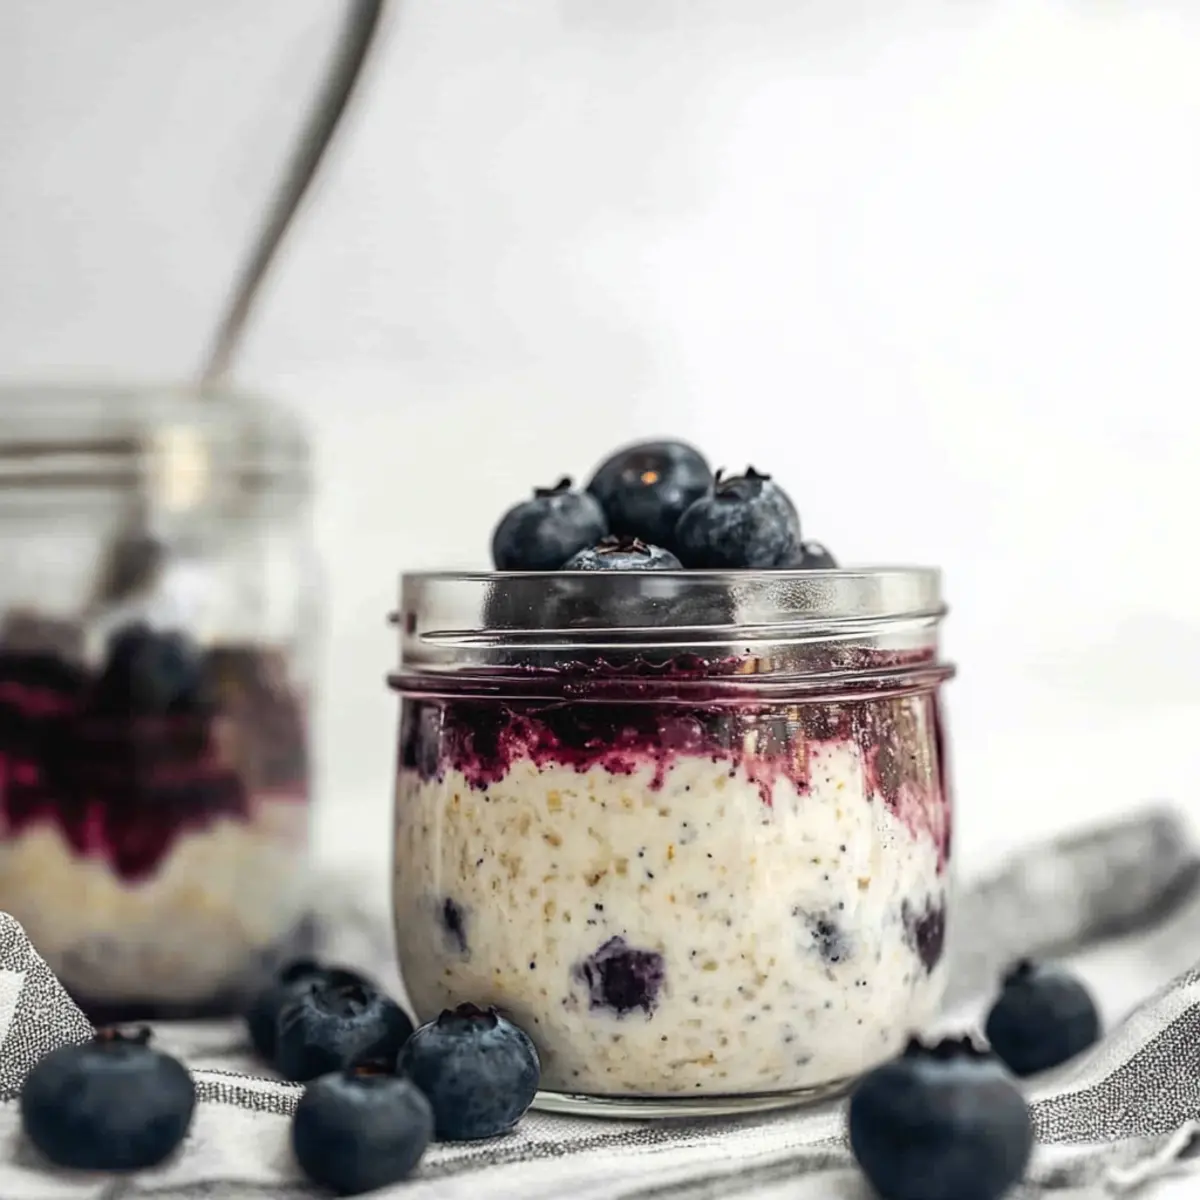
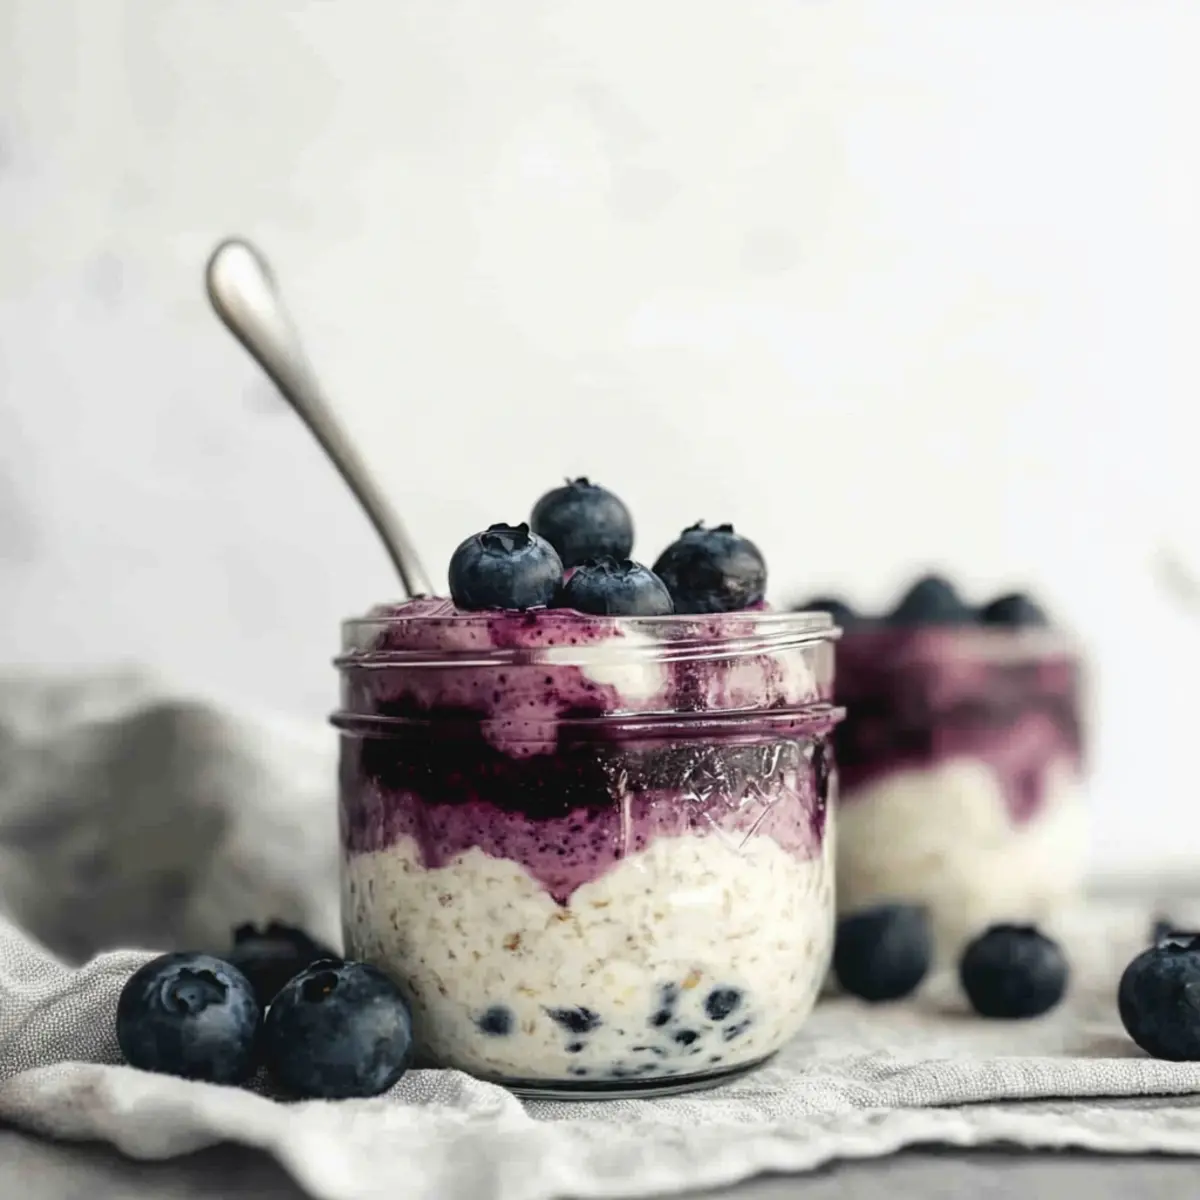
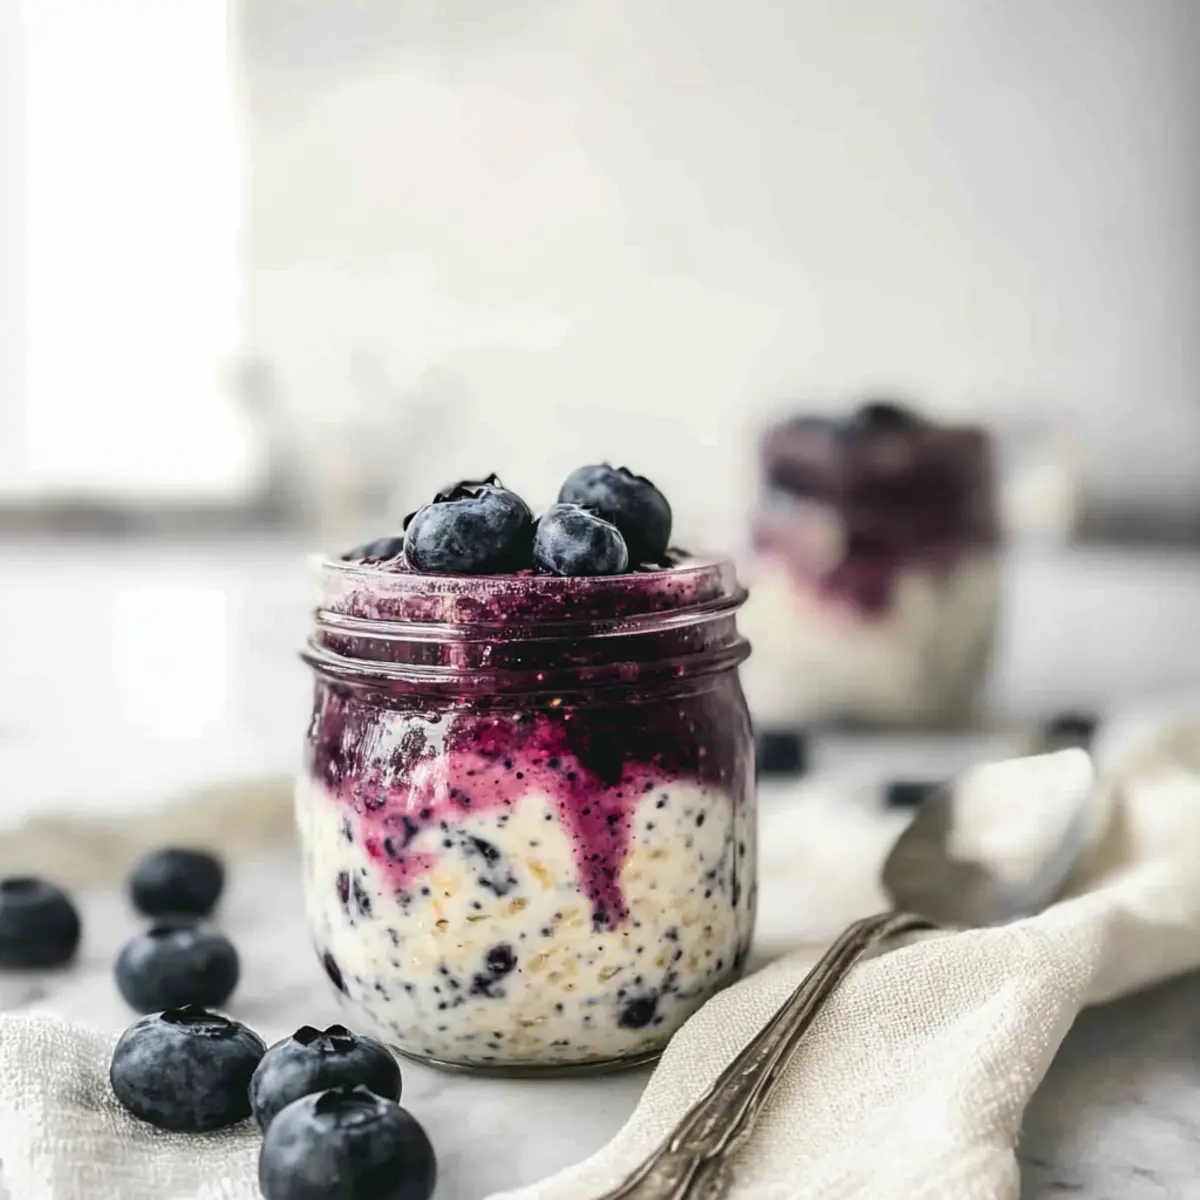
Evenly distribute the creamy oat mixture into five jars or containers. For a beautiful presentation, you can either layer the mashed blueberries on top of the oats or gently swirl them in to create a marbled effect. Both methods will enhance the flavor profile of the Blueberry Cheesecake Overnight Oats!
Step 4: Refrigerate
Seal each jar with a lid or cover with plastic wrap, then place the jars in the refrigerator. Allow the oats to soak for at least 4 hours, but preferably overnight. This soaking time is essential for attaining the perfect creamy texture and allowing the flavors to meld together beautifully.
Step 5: Serve
Once your oats have soaked and thickened, take them out of the refrigerator. Add your favorite toppings, such as additional blueberries or a sprinkle of granola for crunch. You can enjoy the Blueberry Cheesecake Overnight Oats cold straight from the jar, or warm them in the microwave for about 30 seconds for a cozy touch.
Blueberry Cheesecake Overnight Oats Variations
Feel free to make this recipe your own and enjoy delightful twists on these tasty oats!
-
Nut-Free: Substitute creamy almond milk with oat or coconut milk for a nut-free option.
Try different plant-based milks to see which suits you best; it opens up a world of flavor while keeping you allergen-friendly! -
Vegan-Friendly: Use dairy-free cream cheese and yogurt to create a completely plant-based dish.
You won't sacrifice creaminess; this twist ensures everyone can indulge in this luscious breakfast! -
Extra Protein: Add a scoop of your favorite protein powder to the oat mix for a protein-packed version.
This is perfect for those aiming to start their day with a little extra energy boost while enjoying the cheesecake flavor! -
Flavor Infusion: Try swapping out vanilla extract for almond extract to give your oats a nutty taste.
It adds a delightful twist that enhances the sweetness of the blueberries and brings a whole new vibe to your breakfast ritual! -
Crunchy Topping: Incorporate a handful of granola or crushed nuts on top before serving for added texture.
That satisfying crunch alongside the creamy oats makes every bite an exciting experience, ensuring you savor the moment! -
Berry Medley: Mix it up and add other berries like strawberries or raspberries for a colorful, fruity explosion.
Combining different fruits provides a variety of flavors, making breakfast an adventure each day—delight in the taste of summer year-round! -
Spice It Up: Sprinkle in a dash of cinnamon or nutmeg for a cozy warmth.
The spices bolster the creamy, dreamy oatmeal and create an inviting aroma that makes breakfast feel like a hug! -
Maple Twist: Swap maple syrup with honey or agave syrup for a different sweetening experience.
This change brings out unique flavors depending on what you prefer, allowing you to play with sweetness while enjoying your oats!
For more scrumptious variations, you might also enjoy reading about our delightful Flavor Boosts for Breakfast and Nutritious Add-Ins!
How to Store and Freeze Blueberry Cheesecake Overnight Oats
Fridge: Keep your Blueberry Cheesecake Overnight Oats in airtight containers, where they will last up to 4 days. If they become too thick, stir in a splash of milk before enjoying.
Freezer: For longer storage, these oats can be frozen in a freezer-safe container for up to 1 month. Thaw them overnight in the refrigerator before eating for the best texture.
Assembly: If you plan on freezing, layer your oats and blueberries in separate containers to maintain freshness and prevent sogginess.
Reheating: To serve cold, simply grab your jar from the fridge. If you enjoy them warm, heat for about 30 seconds in the microwave, stirring gently before enjoying!
Expert Tips for Blueberry Cheesecake Overnight Oats
-
Soak Time Matters: Ensure you allow the oats to soak for at least 4 hours, preferably overnight, to achieve the creamy texture reminiscent of cheesecake.
-
Sweetness Balance: Tailor the amount of maple syrup used according to your taste. Start with less, as the blueberries add natural sweetness!
-
Store Smartly: Keep leftovers in airtight containers for up to 4 days. If they thicken too much, simply stir in a splash of milk before serving.
-
Vegan Substitutions: For a vegan version of Blueberry Cheesecake Overnight Oats, opt for dairy-free cream cheese and yogurt to maintain that delightful creaminess without dairy.
-
Muffling Mess: When mixing, be sure to whisk vigorously to avoid lumps in the cream cheese, ensuring a smooth, creamy final product that everyone will enjoy.
Make Ahead Options
These Blueberry Cheesecake Overnight Oats are perfect for meal prep enthusiasts! You can prepare the creamy oat mixture and layer the mashed blueberries up to 4 days in advance. Simply mix all the ingredients together, then distribute them into jars. Seal with lids and refrigerate right away to maintain their freshness. As the oats soak in the refrigerator, they'll absorb the flavors and achieve that delightful creamy texture. When you’re ready to serve, just add any desired toppings and enjoy them cold right from the jar or warm them in the microwave for about 30 seconds for a cozy breakfast treat. This simple prep saves you time on busy mornings!
What to Serve with Blueberry Cheesecake Overnight Oats
Imagine waking up to a breakfast that feels indulgent and satisfying—let's build a delightful meal around these delicious oats!
-
Creamy Yogurt Parfait: Top your oats with a dollop of Greek yogurt for an extra creamy texture and a boost of protein to kickstart your day.
-
Toasty Almonds: Add a sprinkle of toasted almonds for a crunchy contrast that pairs beautifully with the creamy oats and sweet blueberries.
-
Fresh Fruit Salad: Serve alongside a vibrant fruit salad for a refreshing burst of flavor, adding variety and nutrition to your breakfast.
-
Sweet Granola: A crunchy granola topping brings sweetness and an irresistible texture, making each bite even more delightful!
-
Spiced Chai Latte: Enjoy a warm spiced chai latte to balance the sweetness of the oats while adding comforting spices to your morning routine.
-
Maple-Drizzled Pancakes: If you’re feeling adventurous, serve with mini pancakes drizzled in maple syrup for a breakfast feast that satisfies every craving.
Transform your breakfast routine into a morning celebration with these thoughtful pairings!
Blueberry Cheesecake Overnight Oats Recipe FAQs
What type of oats should I use for this recipe?
It’s best to use whole rolled oats for the perfect texture in your Blueberry Cheesecake Overnight Oats. If you require a gluten-free option, be sure to choose certified gluten-free oats to suit your dietary needs.
How long can I store Blueberry Cheesecake Overnight Oats?
These oats can be stored in airtight containers in the refrigerator for up to 4 days. If they thicken too much, simply stir in a splash of milk before serving to bring back that creamy consistency!
Can I freeze Blueberry Cheesecake Overnight Oats?
Absolutely! You can freeze your Blueberry Cheesecake Overnight Oats in a freezer-safe container for up to 1 month. To enjoy them, thaw in the refrigerator overnight before serving. For the best results, layer the oats and blueberries in separate containers to maintain texture.
What should I do if my oats are lumpy after mixing?
If you notice lumps in your mixture, don’t worry! Just continue whisking vigorously until everything is well combined, aiming for a smooth consistency. If lumps persist, you can give the mixture a quick blend using an immersion blender for that indulgent creamy texture.
Can I make this recipe vegan?
Yes! For a vegan version of Blueberry Cheesecake Overnight Oats, simply swap out the cream cheese and Greek yogurt with your favorite dairy-free alternatives. This will still give you that delightful creaminess while keeping it plant-based.
Creamy Blueberry Cheesecake Overnight Oats for a Sweet Wake-Up
Ingredients
Equipment
Method
- In a large mixing bowl, combine whole rolled oats, chia seeds, cream cheese, Greek yogurt, maple syrup, almond milk, and vanilla extract. Using a whisk, mix vigorously for about 2-3 minutes until the blend is creamy and smooth.
- If using frozen blueberries, place them in a microwave-safe bowl and heat for 30 seconds to thaw. Mash the blueberries until they resemble a jam-like consistency.
- Evenly distribute the creamy oat mixture into five jars or containers. Layer or swirl the mashed blueberries on top.
- Seal each jar or cover and place them in the refrigerator. Allow the oats to soak for at least 4 hours, preferably overnight.
- Once soaked, serve with additional blueberries or granola. Enjoy cold or warm in the microwave for 30 seconds.