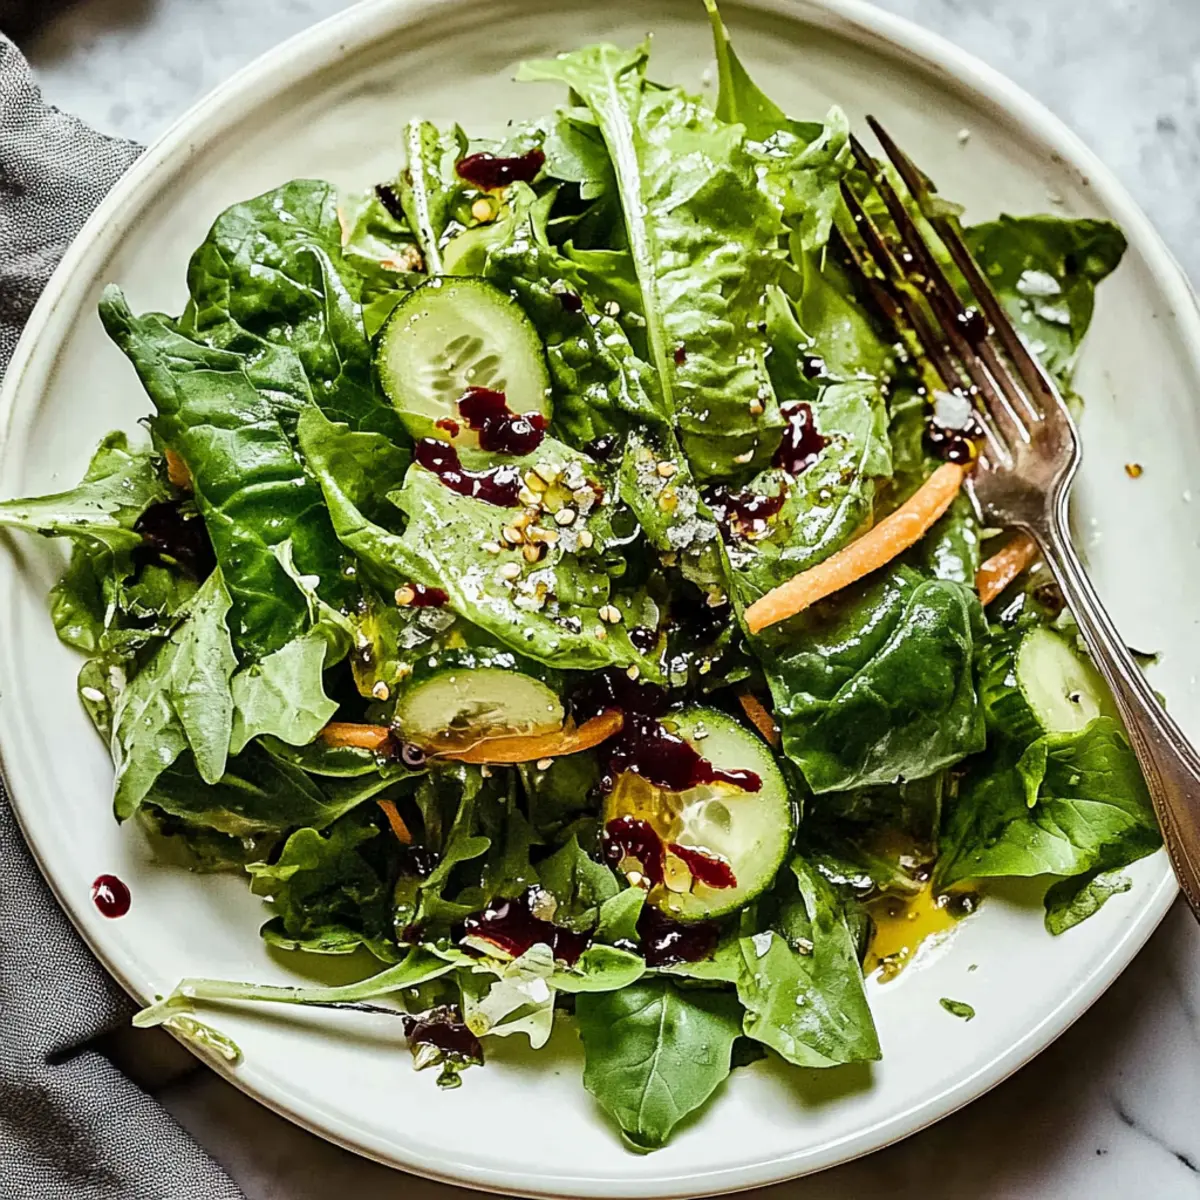
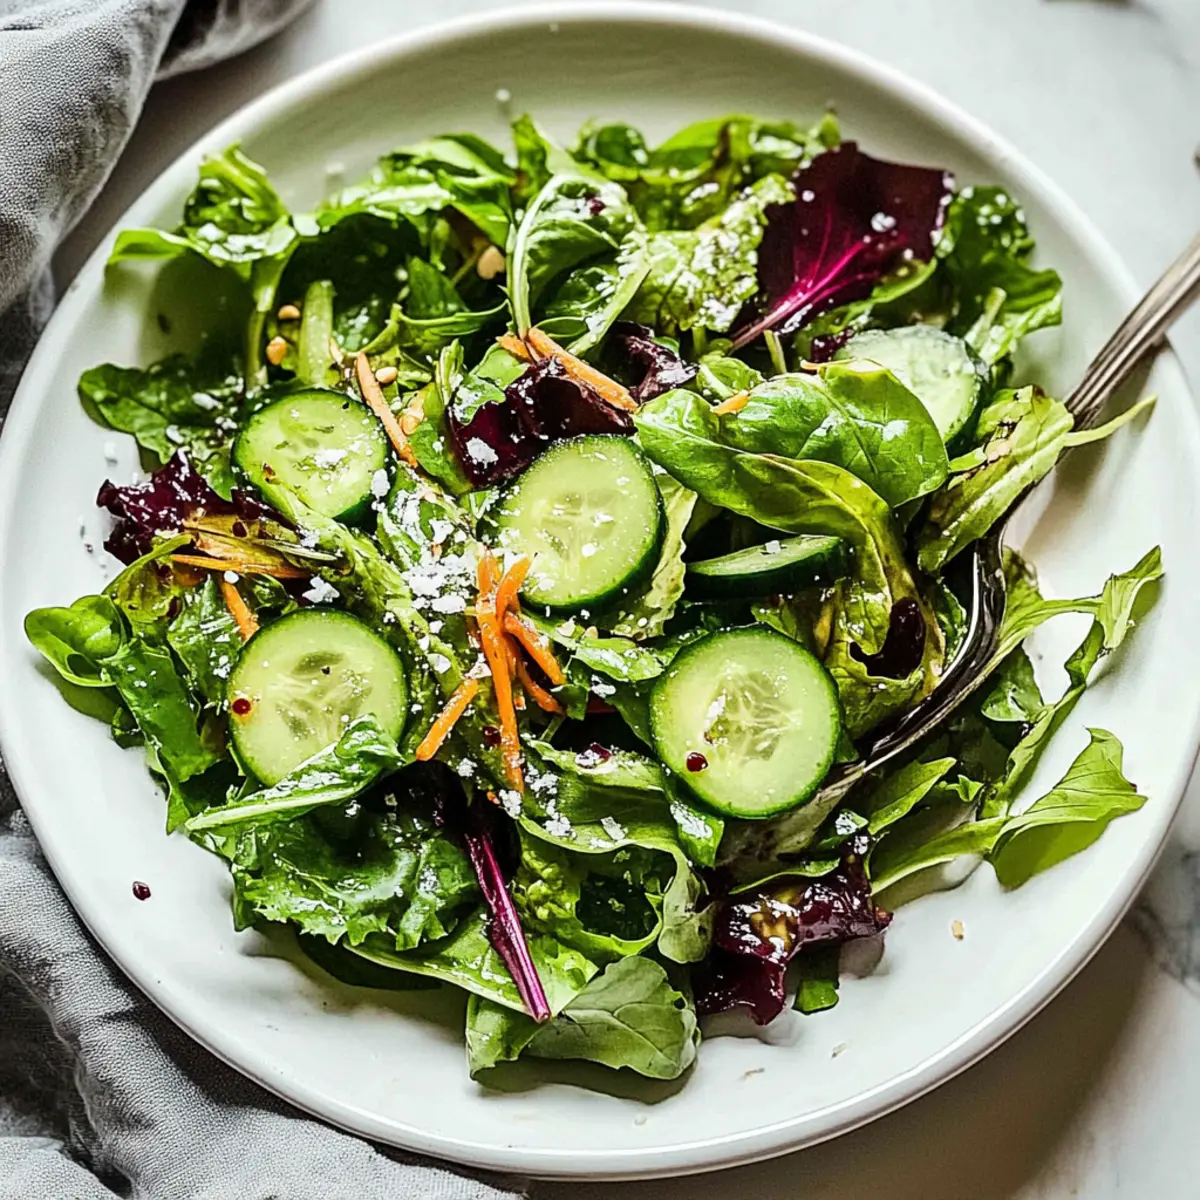
In a world where busy schedules often lead us to the drive-thru, I’ve discovered the magic of a quick, home-cooked Fresh Mixed Greens Side Salad. This vibrant salad comes together in just 10 minutes, making it the perfect accompaniment to your favorite steak, pasta, or grilled chicken. The zesty red wine vinaigrette adds just the right punch, effortlessly cutting through the richness of those hearty dishes. Not only is it a versatile companion for your meals, but this salad is also vegetarian, gluten-free, and dairy-free, making it an inclusive choice for everyone at your table. Whether you're looking to elevate your dinner or simply enjoy a refreshing bite, this easy salad will have you reaching for seconds. Ready to add a splash of color and flavor to your meal? Let’s dive in!
Why is this salad a must-try?
Freshness at Lightning Speed: You’ll whip up this refreshing Mixed Greens Side Salad in just 10 minutes! Perfect for those busy weeknights.
Zesty Flavor Explosion: The vibrant red wine vinaigrette brightens the greens and adds a delightful kick that complements rich meals beautifully.
Versatile Add-Ins: Customize it with crunchy cucumbers or rich cheeses like feta for a satisfying crunch.
Diet-Friendly: Being vegetarian, gluten-free, and dairy-free, this salad caters to various dietary preferences, making it a hit with everyone.
Crowd-Pleasing Choice: Pair it with prime rib or your favorite pasta, and watch everyone at the table go back for seconds, just like with a Chicken Salad with Apples.
Mixed Greens Side Salad Ingredients
• Here’s what you need to create this delightful dish!
For the Vinaigrette
- Extra Virgin Olive Oil (4 tablespoons) – The base of your dressing; use a high-quality oil for the best flavor.
- Red Wine Vinegar (3 tablespoons) – Adds acidity and a tangy bite that lifts the entire salad.
- Dijon Mustard (1 teaspoon) – Helps emulsify the vinaigrette and gives it a zesty kick.
- Honey (1 teaspoon) – Balances the acidity; substitute with agave or maple syrup for a vegan option.
- Shallot (½, finely diced) – Brings a mild onion flavor that’s not overpowering.
- Garlic (2 cloves, finely chopped or grated) – Adds a fragrant, aromatic depth to the vinaigrette.
- Kosher Salt and Ground Black Pepper – Enhances the flavors; adjust to your taste.
For the Salad
- Mixed Greens (5 ounces) – The fresh and crunchy base; a spring mix, arugula, or romaine works best.
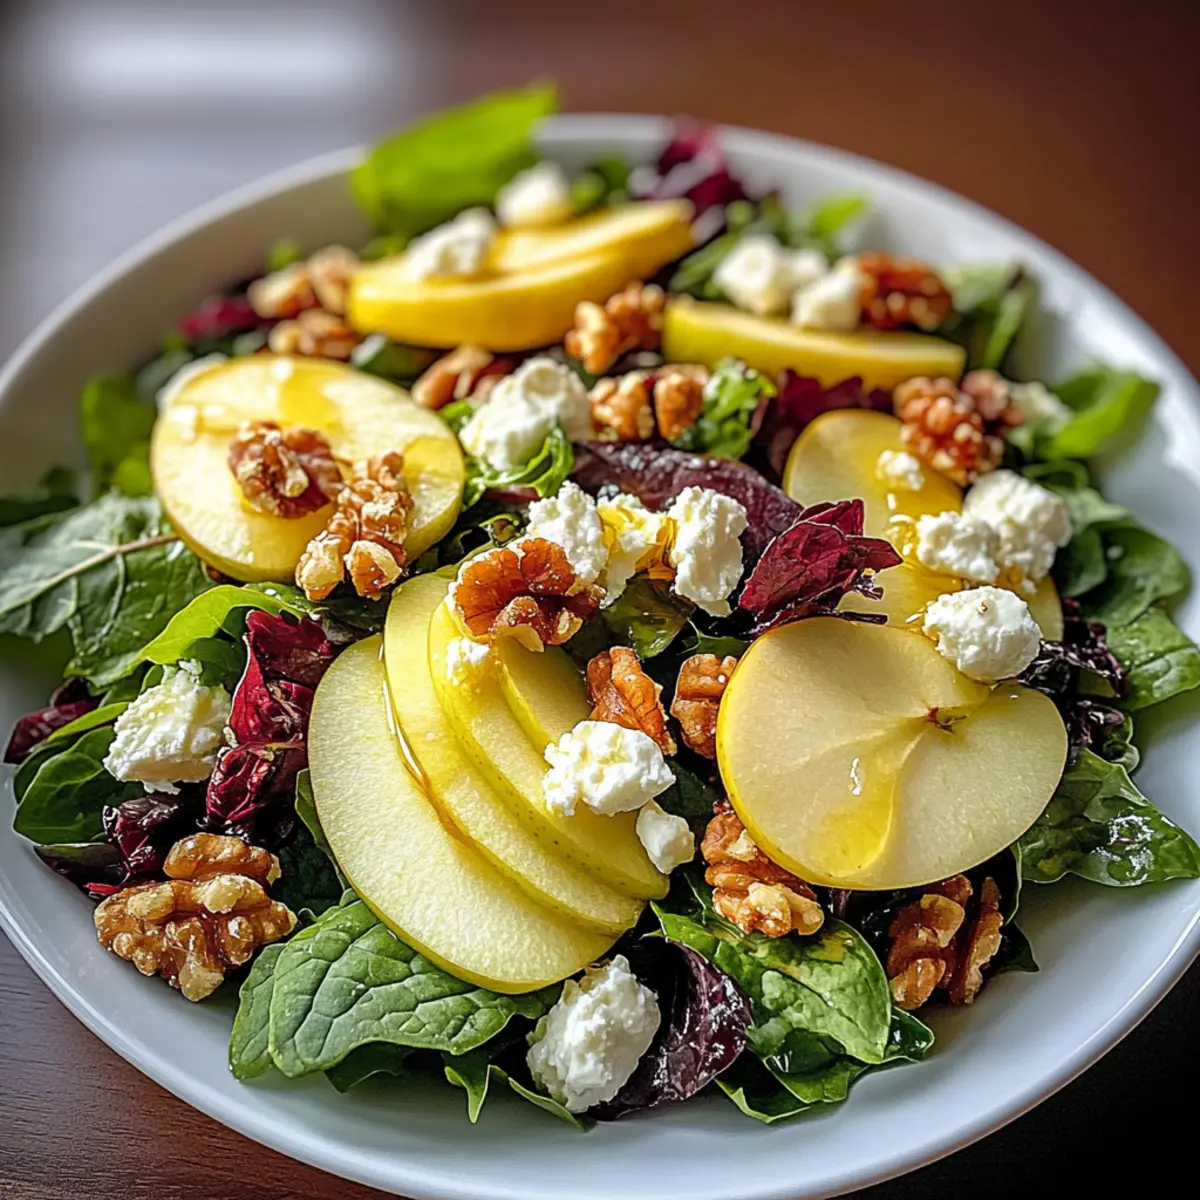
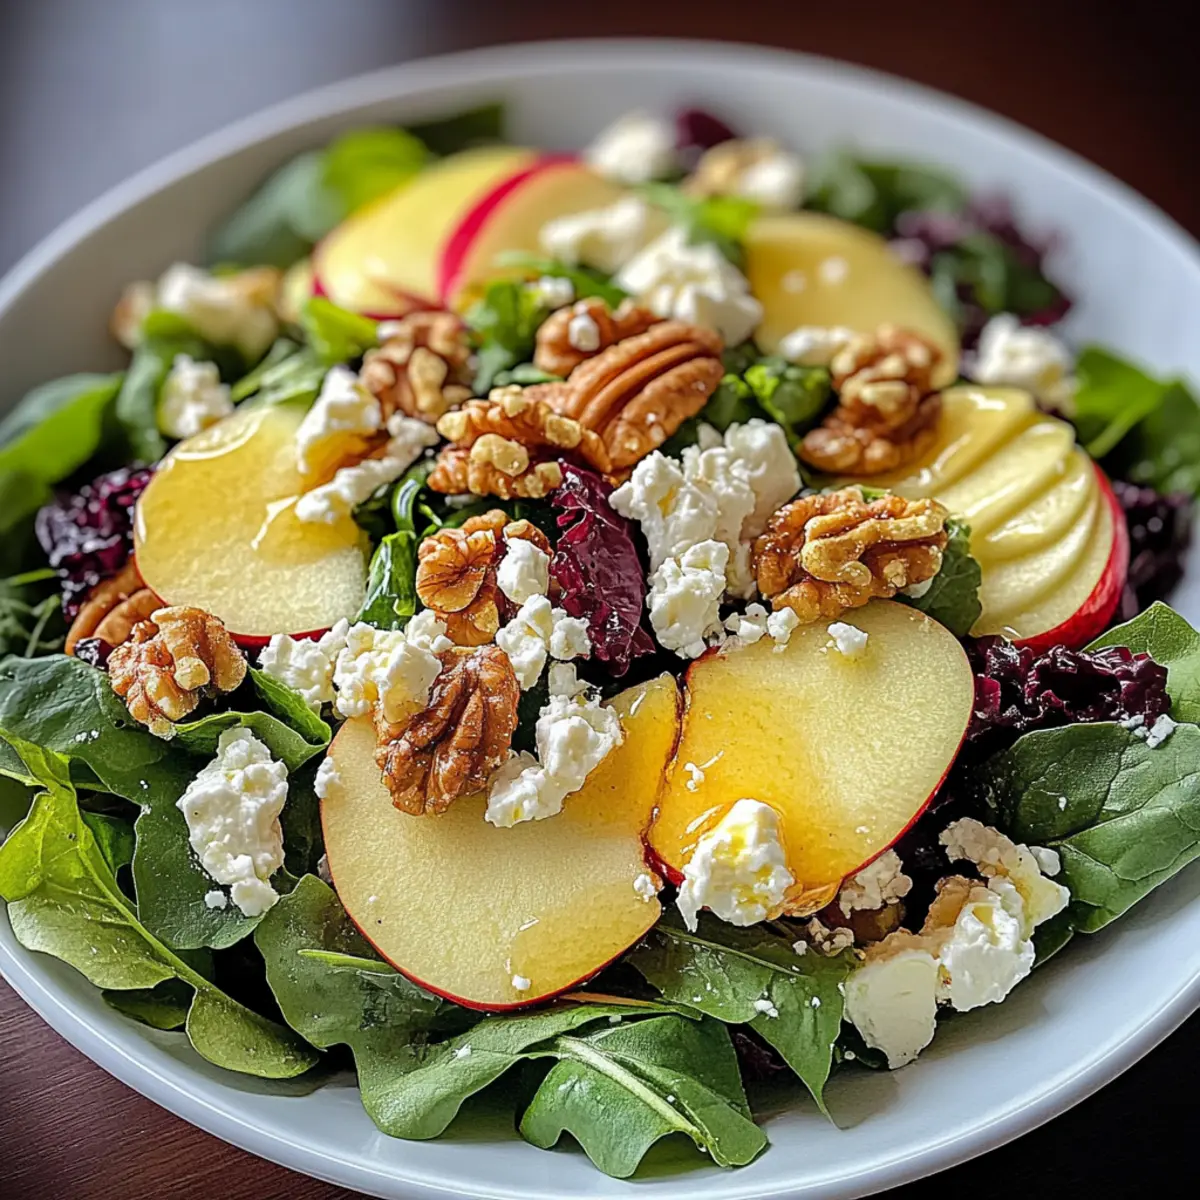
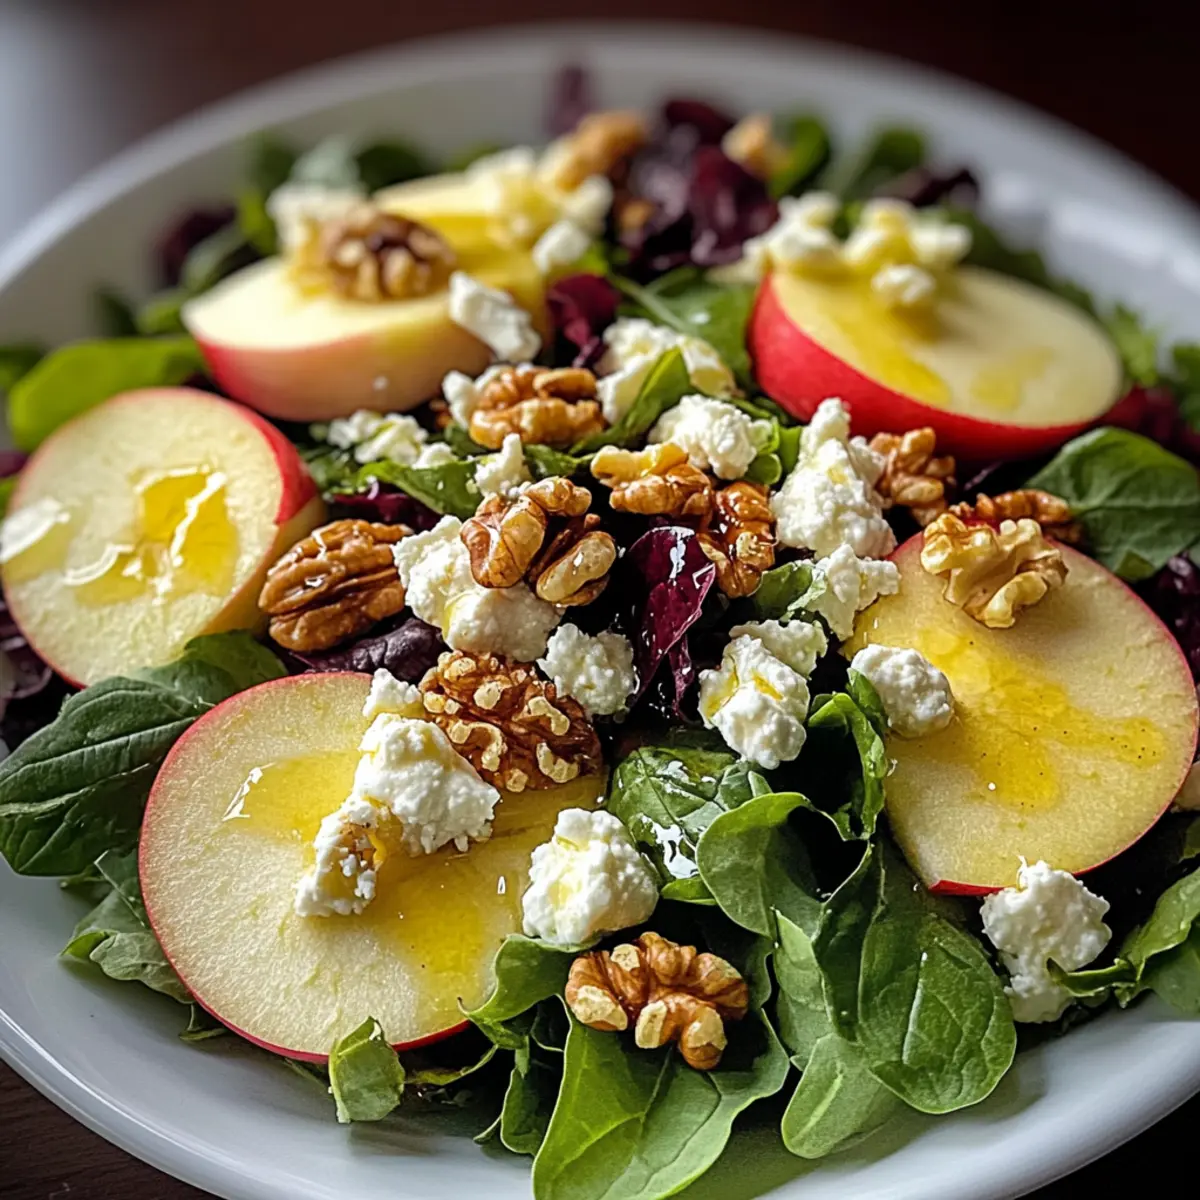
- Optional Add-Ins – Get creative! Try sliced cucumber for crunch, grated carrot for sweetness, or diced tomatoes for juiciness. Add toasted nuts (pine nuts, pistachios, sunflower seeds) for an extra texture twist and cheeses (goat cheese, feta, or grated parmesan) to elevate the flavor profile.
With these simple ingredients, you’re just minutes away from a vibrant Mixed Greens Side Salad that’s bursting with flavor and freshness! Enjoy!
Step‑by‑Step Instructions for Fresh Mixed Greens Side Salad
Step 1: Make the Vinaigrette
In a medium bowl or a jar with a lid, combine 4 tablespoons of extra virgin olive oil, 3 tablespoons of red wine vinegar, 1 teaspoon of Dijon mustard, and 1 teaspoon of honey. Finely dice half a shallot and add it along with 2 cloves of grated garlic. Season with kosher salt and ground black pepper, then whisk or shake vigorously for about 30 seconds until the dressing is fully emulsified and smooth. Taste and adjust the seasoning as needed.
Step 2: Prep the Greens
Rinse and dry 5 ounces of mixed greens using a salad spinner or gently patting them with clean kitchen towels. This helps maintain their crunch. In a large salad bowl, create a foundation with the fresh greens, taking a moment to enjoy their vibrant color and feel. If you’re using any optional add-ins like sliced cucumber or grated carrot, prepare those now for added freshness.
Step 3: Combine the Ingredients
Add your prepped mixed greens to the large bowl, then sprinkle with a pinch of kosher salt and ground black pepper. To take your mixed greens side salad to the next level, toss in any desired optional add-ins such as diced tomatoes or toasted nuts. These will enhance both texture and flavor, making your salad even more delightful.
Step 4: Dress the Salad
Drizzle the freshly made zesty red wine vinaigrette over the top of the mixed greens. Use just enough to lightly coat the leaves, ensuring that each bit receives a taste of that delicious, tangy dressing. Gently toss the ingredients together using salad tongs for about 30 seconds, being careful not to bruise the greens while evenly distributing the dressing.
Step 5: Serve Immediately
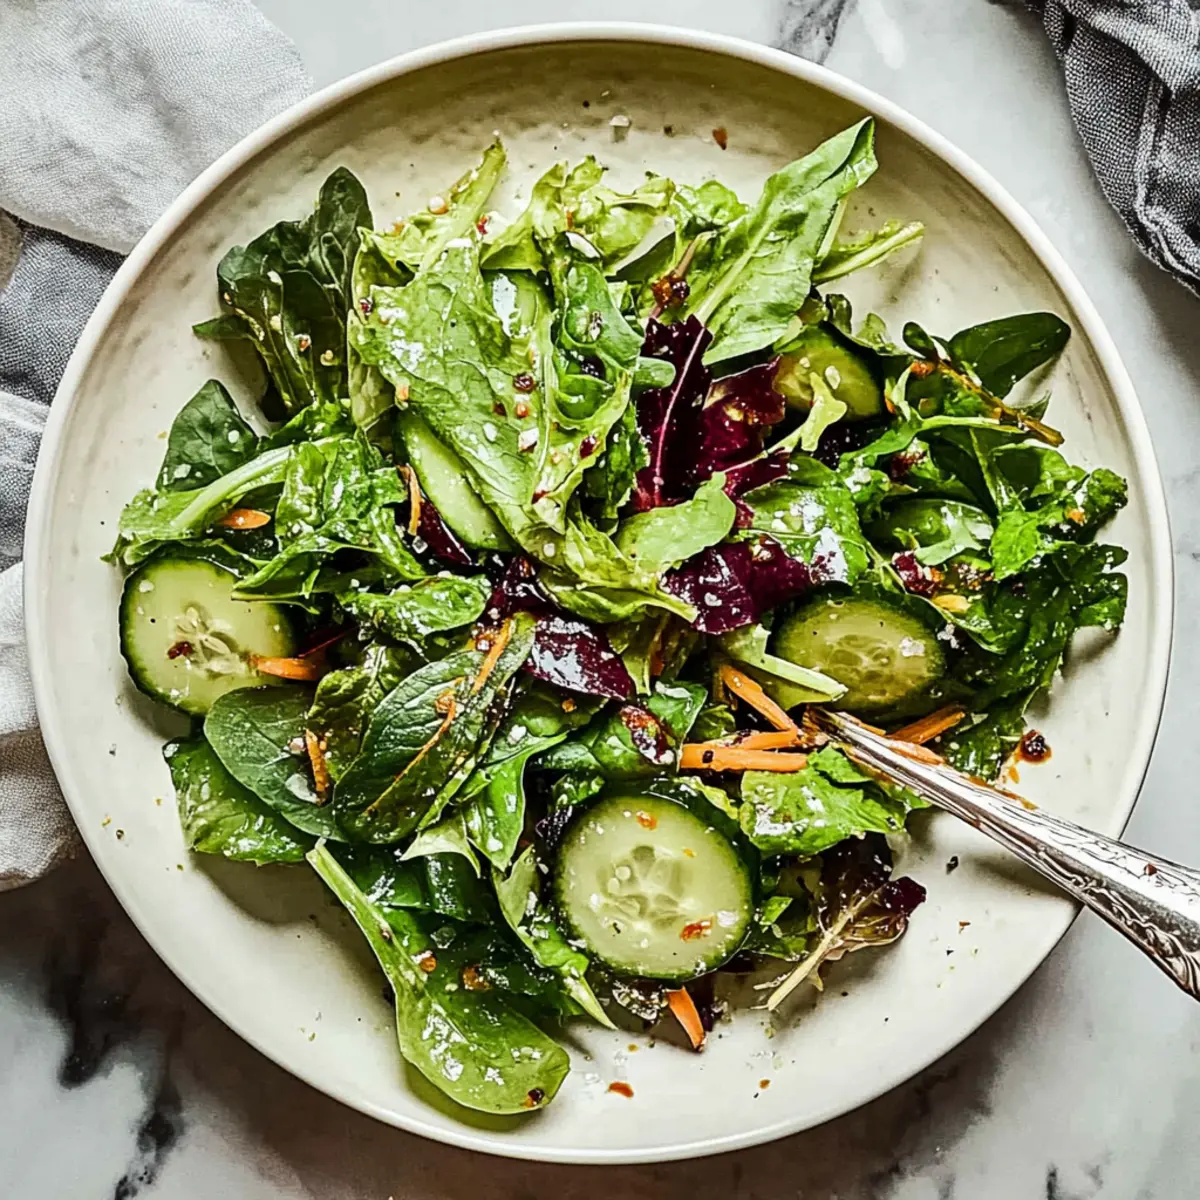
Once everything is well combined, serve the fresh mixed greens side salad immediately in individual bowls or on a large serving platter. The vibrant colors and freshness will invite everyone at your table to dig in. Pair this salad with your favorite rich entrees, such as steak or pasta, and relish in the delightful contrast of flavors.
Mixed Greens Side Salad Variations
Feel free to get creative with this salad, adding your personal touch for even more deliciousness!
- Leafy Swap: Replace mixed greens with vibrant watercress or peppery arugula for a different flavor profile and crunch. Freshness is key!
- Herb-Infused Vinaigrette: Incorporate fresh herbs like basil or parsley into the vinaigrette for a fragrant twist. It’s a delightful way to elevate the dish!
- Balsamic Twist: Substitute red wine vinegar with balsamic vinegar for a sweeter, smoother dressing that beautifully complements the greens.
- Protein Boost: Add grilled chicken, chickpeas, or hard-boiled eggs to transform this salad into a heartier meal. Each bite will be satisfying and filling!
- Crunchy Nuts: Toss in toasted nuts like almonds or walnuts for an added crunch and nutty flavor that pairs beautifully with the vinaigrette.
- Spice It Up: Sprinkle in a bit of red pepper flakes for a subtle heat that will liven up your salad and wake up your taste buds!
- Cheesy Goodness: Drizzle your salad with crumbled goat cheese or shredded parmesan for a creamy touch that harmonizes with the tangy dressing. Just like a Tofu Caesar Salad, which brings a delightful creaminess!
- Sweet Add-ons: Incorporate fruits like sliced strawberries or diced apples for a sweet contrast that enhances the overall flavor profile. Fresh fruit always adds a lovely burst!
Explore these variations, and you'll find endless ways to enjoy your Mixed Greens Side Salad!
How to Store and Freeze Mixed Greens Side Salad
Fridge: Store any leftover Mixed Greens Side Salad in an airtight container for up to 3 days. Keep the dressing separate to maintain the greens' crispiness.
Vinaigrette: The zesty red wine vinaigrette can be refrigerated in a sealed jar for up to a week. Shake well before using.
Freezer: Freezing is not recommended for this salad due to the delicate texture of the greens, which can become mushy.
Reheating: This salad is meant to be enjoyed cold and fresh, so there's no reheating needed—serve straight from the fridge for a refreshing bite!
Expert Tips for Mixed Greens Side Salad
- Quality Counts: Use fresh and high-quality mixed greens for the best taste and crunch. Wilted greens can ruin the refreshing experience.
- Customize Wisely: Feel free to mix and match the optional add-ins; however, avoid overwhelming the salad—too many ingredients can muddle flavors.
- Vinaigrette Adjustments: Taste the vinaigrette as you make it. If too tangy, add more honey; if too sweet, a splash of vinegar can balance it out perfectly.
- Store Separately: If preparing ahead, keep the vinaigrette in a separate container until serving to prevent sogginess in the mixed greens side salad.
- Whisk or Shake: When making the vinaigrette, ensure thorough mixing to achieve the desired emulsification and consistent flavor throughout.
What to Serve with Fresh Mixed Greens Side Salad
Elevate your meal experience by pairing this refreshing side salad with complementary dishes that enhance its vibrant flavors.
- Juicy Grilled Steak: The rich, charred flavor of the steak pairs beautifully with the zesty salad, cutting through the meatiness with each bite.
- Creamy Pasta Carbonara: The lightness of the salad provides a refreshing contrast to the creamy sauce, ensuring a balanced dinner.
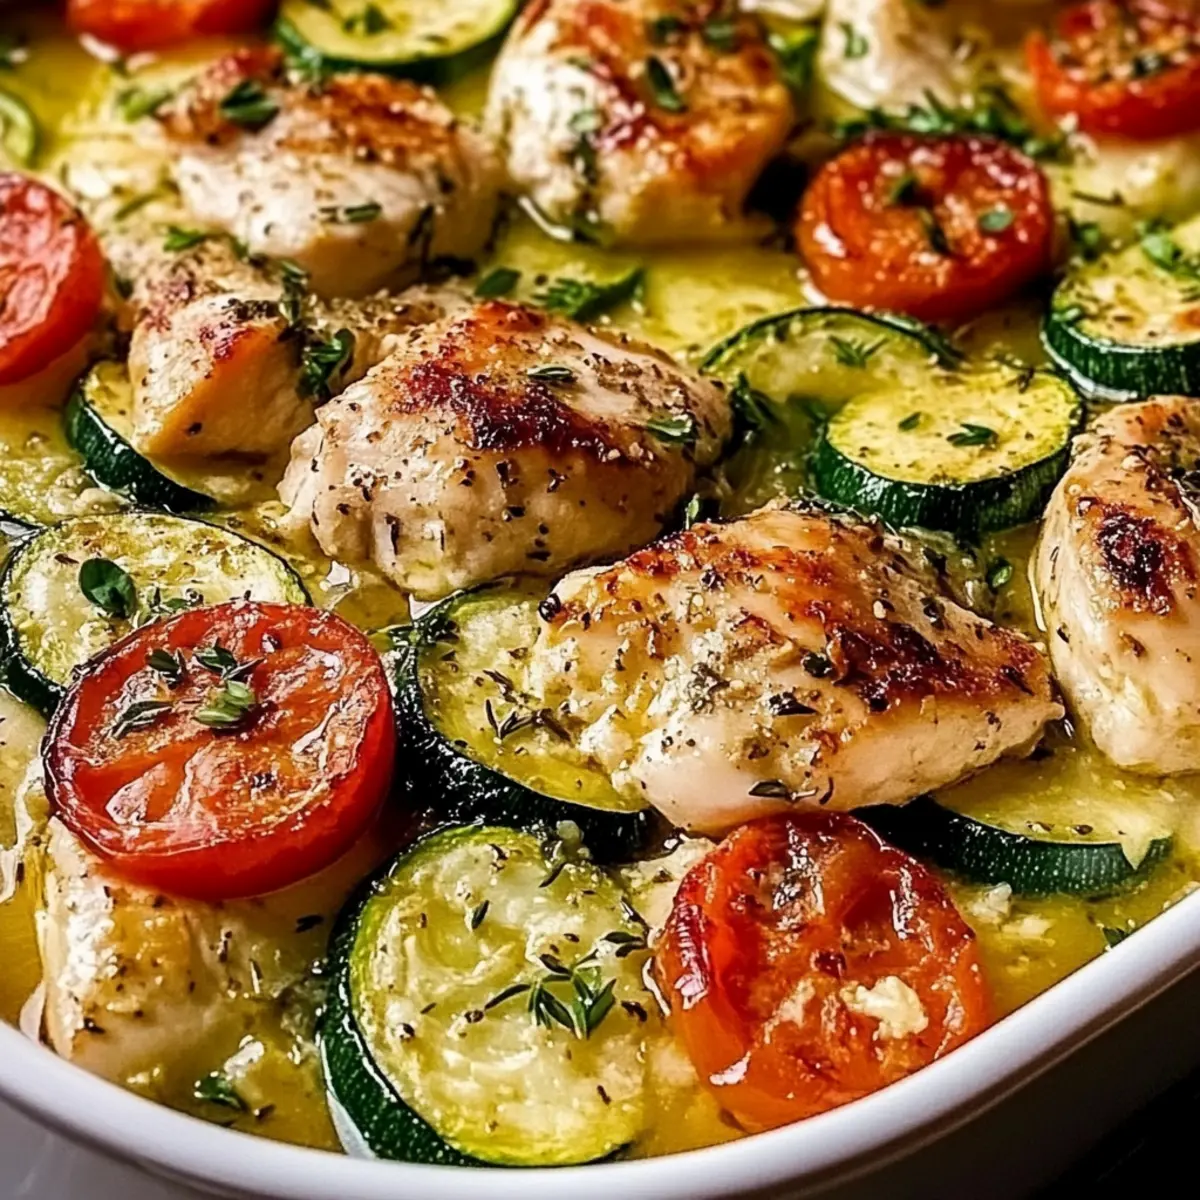
- Savory Roasted Chicken: A simple roasted chicken can benefit from the salad's bright flavors, enhancing the overall dining experience.
- Crusty Garlic Bread: Offer a crunchy side of garlic bread for dipping, adding a satisfying texture alongside the fresh greens.
- Light Chardonnay: A glass of chilled Chardonnay echoes the vinaigrette's flavors, making each sip a delightful complement to your meal.
- Fruit Sorbet: For dessert, a refreshing fruit sorbet cleanses the palate and provides a light, sweet finish to your meal.
Each of these pairings creates a well-rounded dining experience, showcasing the versatility of your Mixed Greens Side Salad!
Make Ahead Options
Preparing your Fresh Mixed Greens Side Salad ahead of time is a breeze, saving you precious minutes during busy weeknights! You can make the zesty red wine vinaigrette up to 1 week in advance; just store it in an airtight container in the fridge. For the salad, rinse and chop your greens up to 24 hours beforehand and keep them in a sealed bag with a paper towel to absorb any moisture, maintaining their crunch. You can also prep any desired add-ins, like diced tomatoes or sliced cucumbers, and store them separately. When ready to serve, simply toss everything together with the vinaigrette, and you'll have a fresh, vibrant Mixed Greens Side Salad that’s just as delicious as if you made it fresh!
Fresh Mixed Greens Side Salad Recipe FAQs
How do I select the best mixed greens?
Absolutely! When choosing mixed greens, look for vibrant colors and crisp textures. Avoid any greens with dark spots, wilting, or sliminess. A spring mix or arugula can elevate your salad's freshness and flavor, ensuring a perfect base for your salad.
What’s the best way to store leftover salad?
You can store leftover Mixed Greens Side Salad in an airtight container in the fridge for up to 3 days. It's essential to keep the vinaigrette separate until you're ready to serve to avoid soggy greens. That way, you can still enjoy the salad's crunch!
Can I freeze mixed greens salad?
Freezing is not recommended for this salad. The delicate texture of the mixed greens will become mushy after thawing. Instead, prepare the salad ingredients fresh and enjoy them right away for the best flavor and texture.
What can I do if the dressing is too tangy for my taste?
Very! If you find the vinaigrette too tangy, you can add a bit more honey or a splash of olive oil to mellow the acidity. Conversely, if it's too sweet, add a touch more red wine vinegar to balance it out. Just whisk it back together, and you're good to go!
Are there any dietary considerations for this salad?
This Mixed Greens Side Salad is a fantastic choice for various dietary preferences: it's vegetarian, gluten-free, and dairy-free! Just be cautious with any add-ins, especially cheeses and dressings that might contain allergens. Always check labels to ensure everyone's eating safely.
How can I customize my salad to fit different tastes?
The more the merrier! Feel free to add your favorite ingredients like sliced cucumber for crunch, diced tomatoes for juiciness, or toasted nuts for extra texture. The options are endless; just make sure not to overwhelm the salad with too many flavors at once. Enjoy experimenting!

Fresh Mixed Greens Side Salad with Zesty Flavor Boost
Ingredients
Equipment
Method
- In a medium bowl or a jar with a lid, combine 4 tablespoons of extra virgin olive oil, 3 tablespoons of red wine vinegar, 1 teaspoon of Dijon mustard, and 1 teaspoon of honey. Finely dice half a shallot and add it along with 2 cloves of grated garlic. Season with kosher salt and ground black pepper, then whisk or shake vigorously for about 30 seconds until the dressing is fully emulsified and smooth.
- Taste and adjust the seasoning as needed.
- Rinse and dry 5 ounces of mixed greens using a salad spinner or gently patting them with clean kitchen towels. In a large salad bowl, create a foundation with the fresh greens.
- If using any optional add-ins like sliced cucumber or grated carrot, prepare those now.
- Add prepped mixed greens to the large bowl, then sprinkle with a pinch of kosher salt and ground black pepper.
- Toss in any desired optional add-ins such as diced tomatoes or toasted nuts.
- Drizzle the freshly made zesty red wine vinaigrette over the top of the mixed greens. Gently toss the ingredients together using salad tongs for about 30 seconds.
- Serve the fresh mixed greens side salad immediately in individual bowls or on a serving platter.