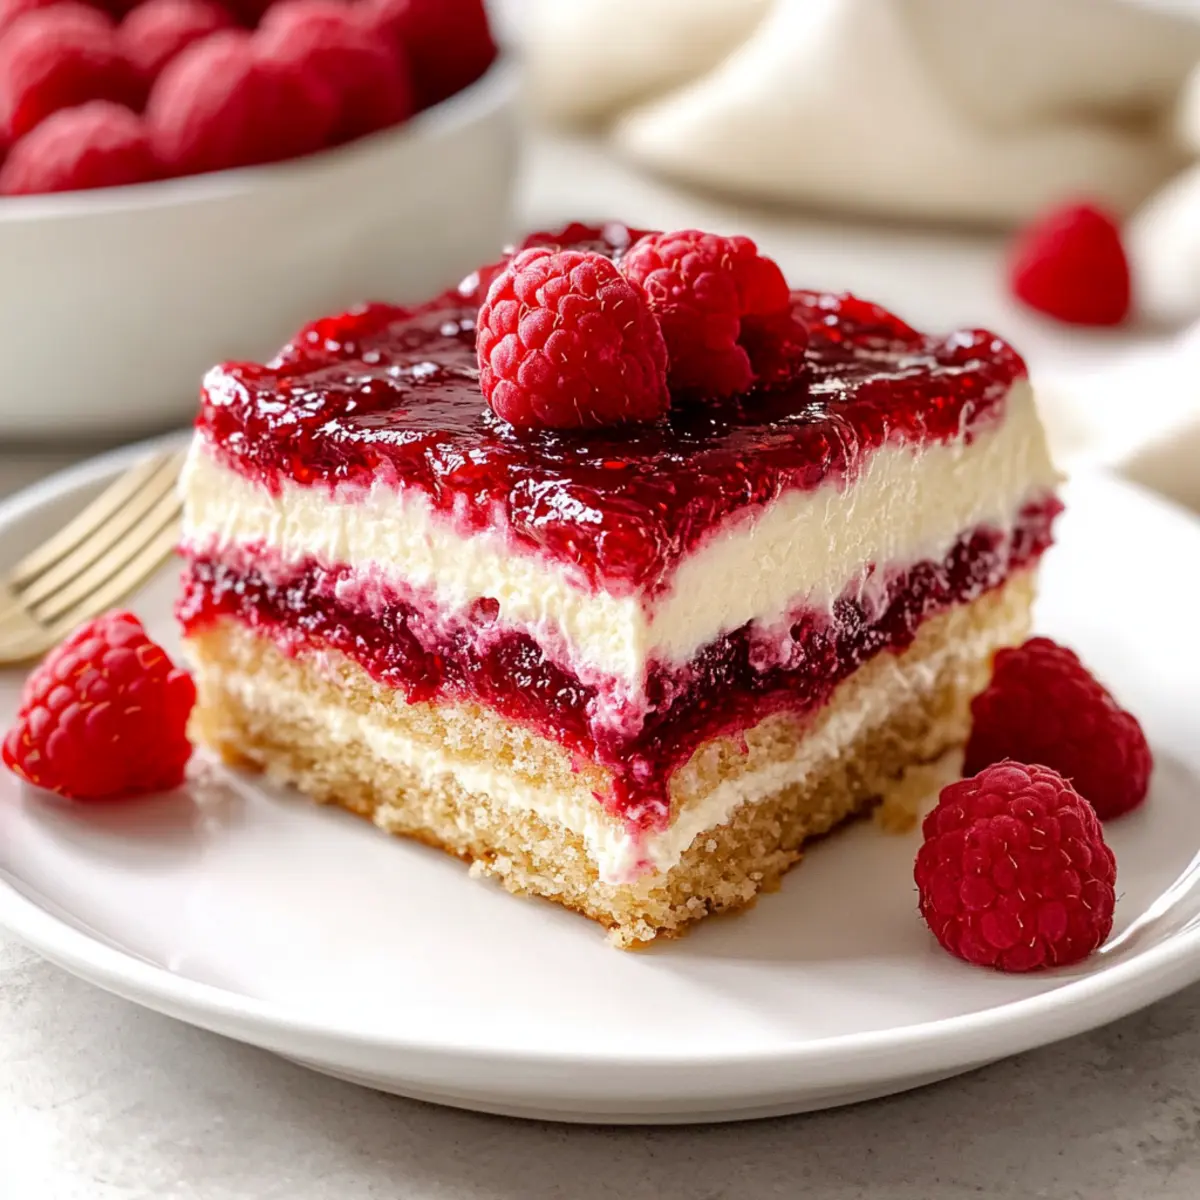
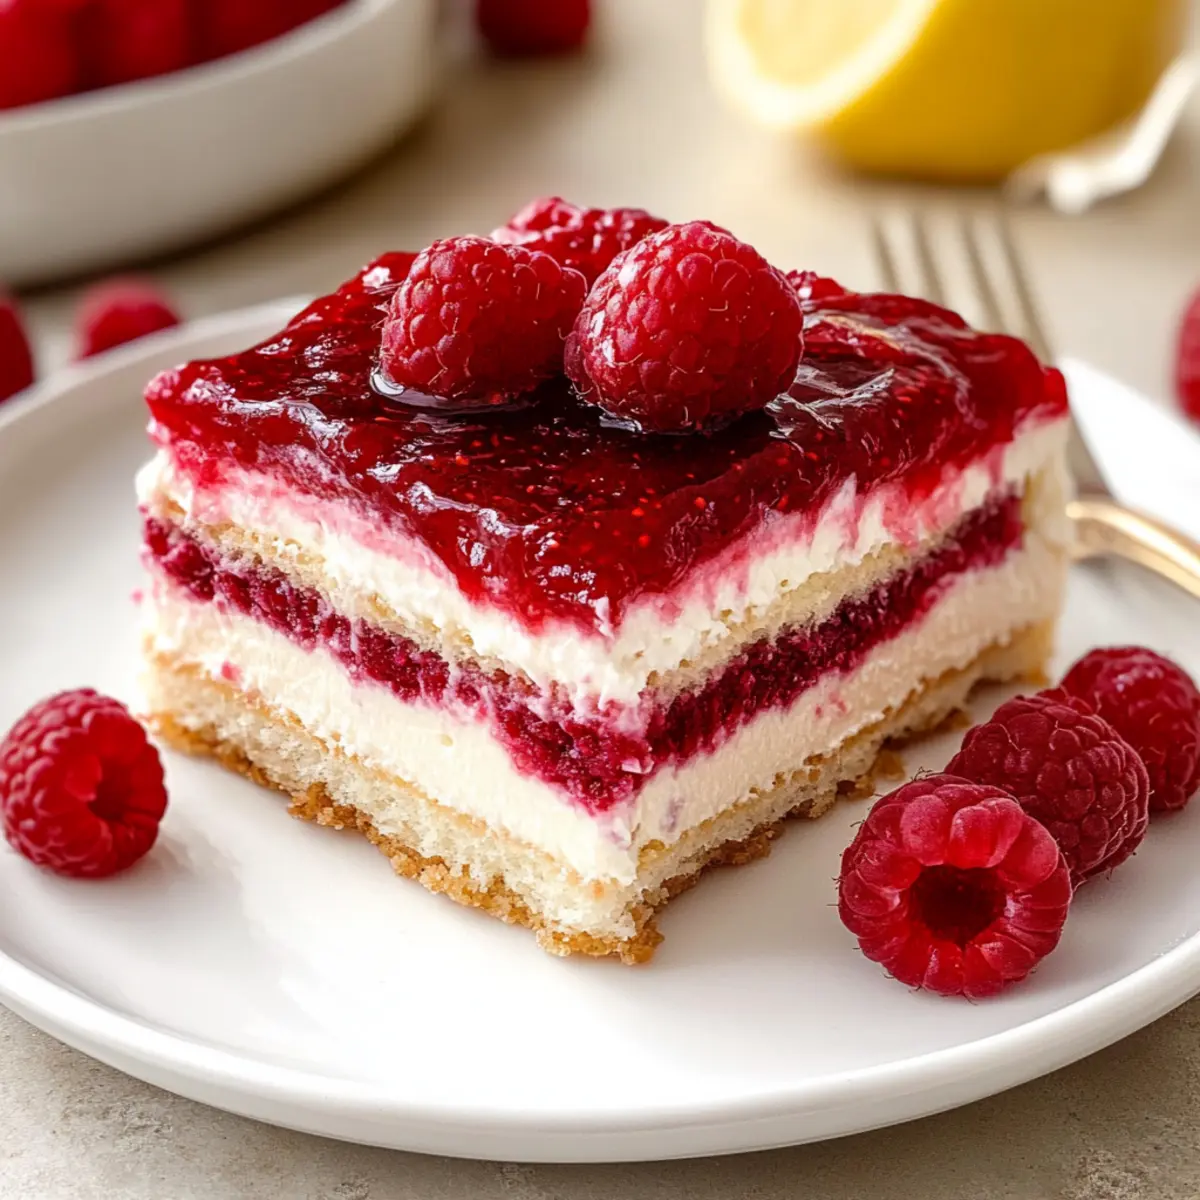
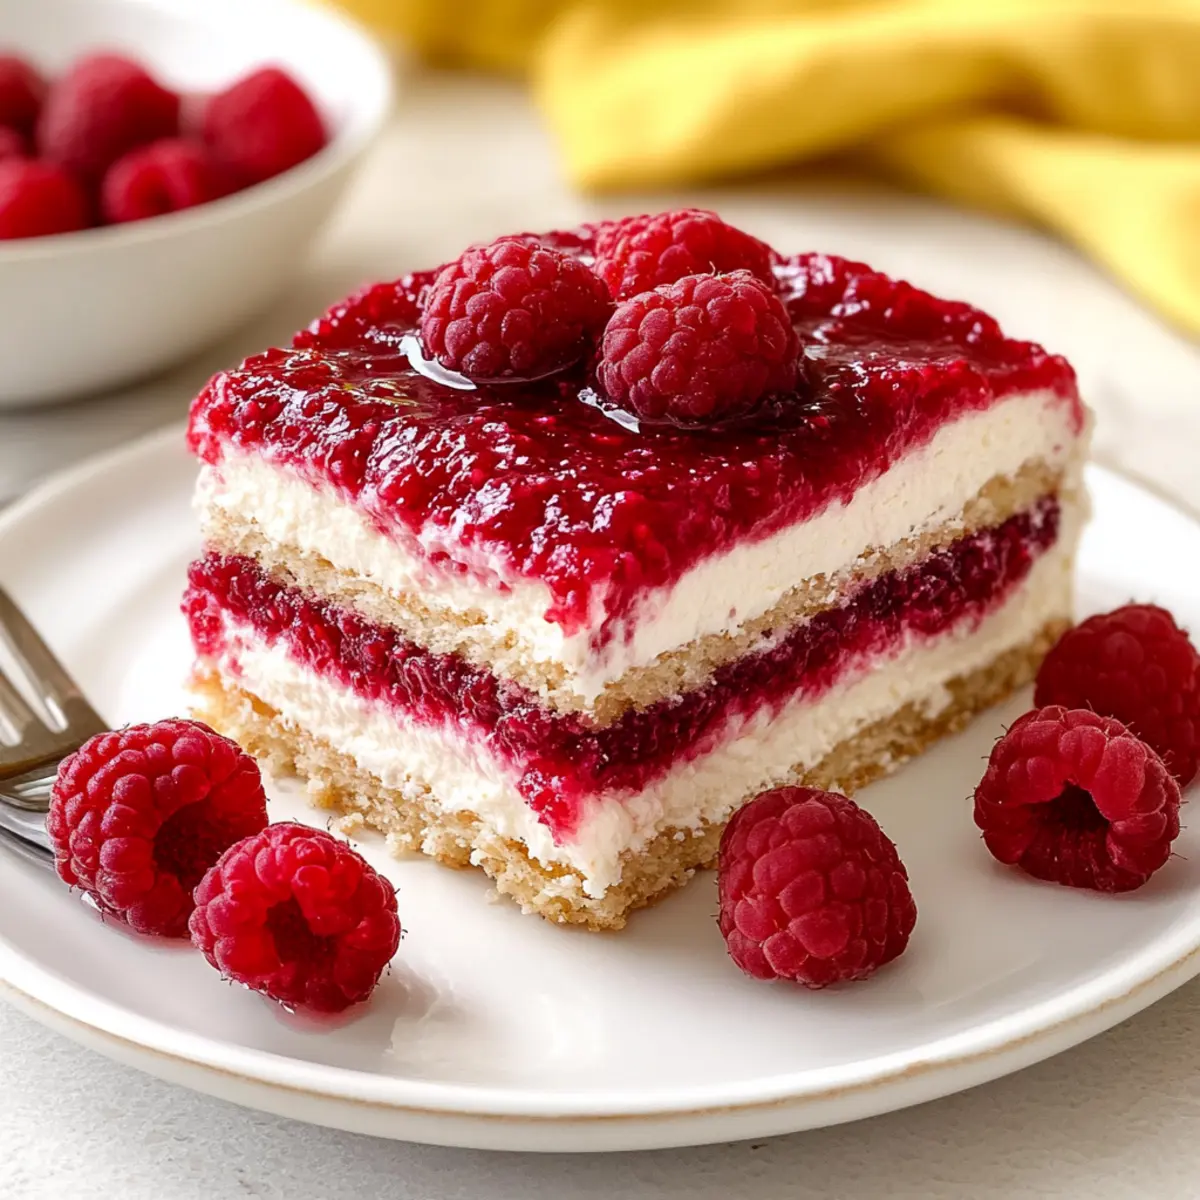
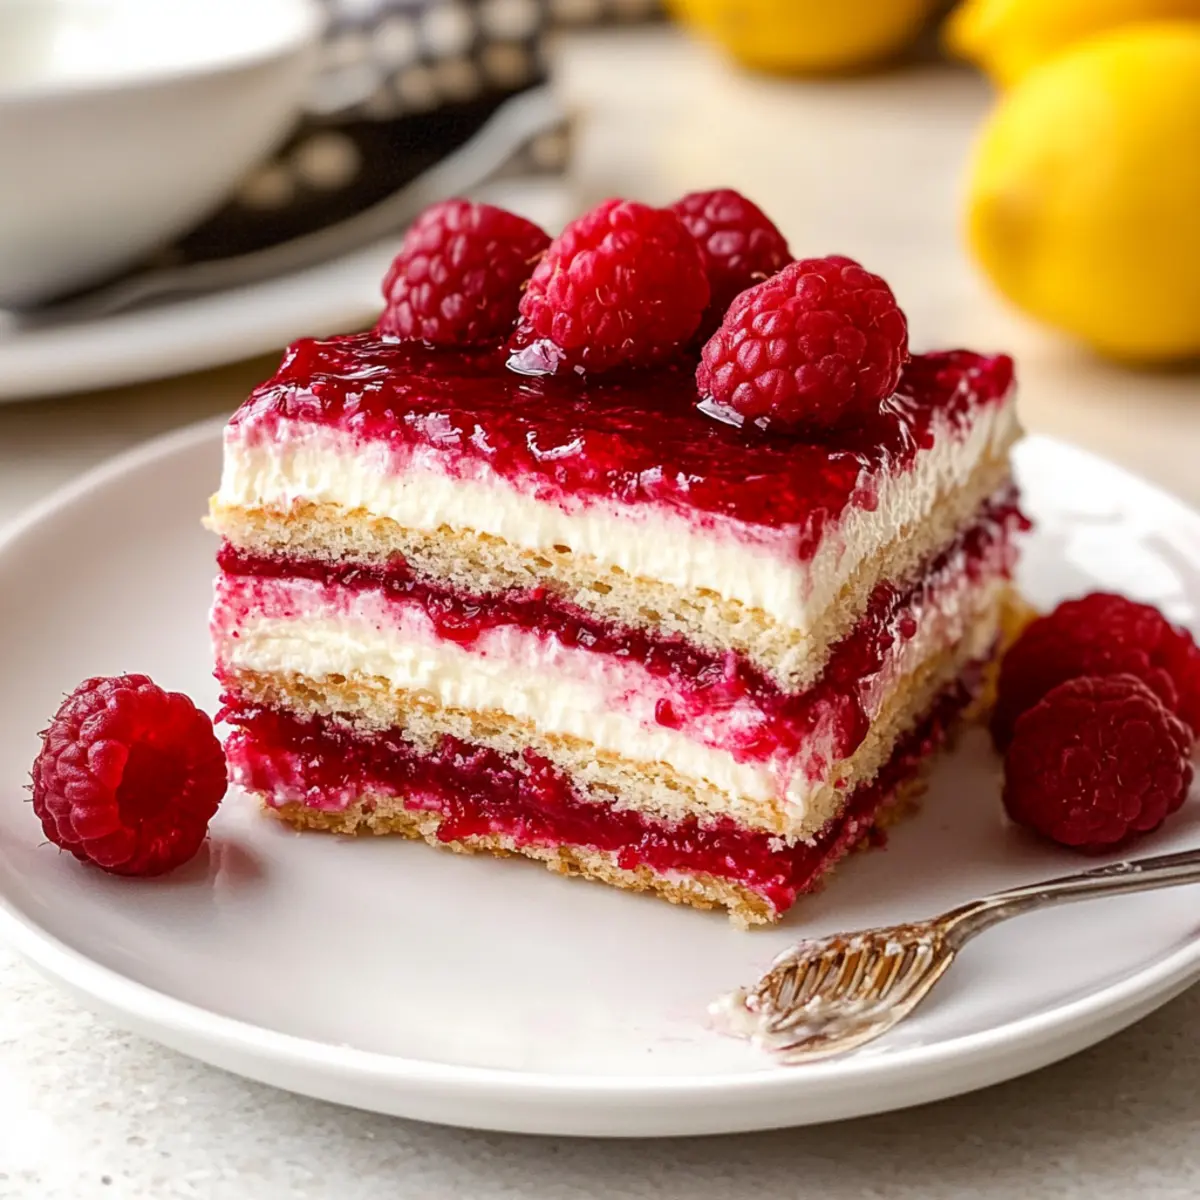
As I stood in my kitchen, the sweet-tart aroma of fresh raspberries wafted through the air, instantly transporting me to warm summer days. If you're like me and have a soft spot for homemade desserts, get ready to indulge in the lusciousness of this Fresh Raspberry Tiramisu. This delightful twist on the classic Italian treat features layers of creamy mascarpone and raspberry-infused ladyfingers, making it a stunning centerpiece for your next gathering. One of the best perks of this no-bake dessert is that it’s effortlessly prepared ahead of time, allowing you to enjoy your event stress-free. Plus, it's a crowd-pleaser that will impress everyone from family to friends without requiring hours in the kitchen. Curious to learn how to recreate this vibrant and creamy delight? Let's dive into the recipe!
Why is Raspberry Tiramisu so special?
Irresistible Flavor: The pairing of sweet raspberries with creamy mascarpone creates a sensational taste experience that dances on the palate.
Effortless Preparation: This no-bake dessert allows you to impress guests without spending hours in the kitchen—perfect for busy hosts!
Make-Ahead Magic: Prepare it in advance, chill overnight, and let the flavors meld for an unforgettable treat that’s ready when you are.
Versatile Delight: While this recipe showcases raspberries, feel free to substitute with strawberries or peaches for a fruity twist or explore a chocolate version for a decadent alternative!
Eye-Catching Presentation: With its vibrant layers, this tiramisu is not just a treat for the taste buds but also a visually stunning centerpiece for any occasion.
Feeling inspired? Don’t forget to check out our Ricotta Stuffed Peppers or try a refreshing batch of Watermelon Popsicles to round out your dessert menu!
Fresh Raspberry Tiramisu Ingredients
For the Raspberry Jam
• Frozen Raspberries – Provides the main fruity flavor; you can also use fresh raspberries for a fresher taste.
• Granulated Sugar – Sweetens the jam and syrup, balancing the tartness of raspberries; no direct substitute recommended.
• Lemon Juice – Adds acidity to enhance sweetness; lime juice can be a zesty alternative.
For the Raspberry Syrup
• Water – Used for dissolving sugar in the syrup; no substitute necessary.
• Granulated Sugar – Essential for the sweetness and consistency of the syrup; no recommended substitutes here.
• Frozen Raspberries – The star fruit that flavors the syrup; fresh raspberries can add a delightful twist.
For the Tiramisu
• Ladyfinger Cookies – The structure of this dessert, soaking up the raspberry syrup; savoiardi or sponge cake can work as alternatives.
• Mascarpone Cheese – Provides that rich, creamy texture we love; cream cheese can offer a tangy twist, or opt for a dairy-free alternative if needed.
• Powdered Sugar – Sweetens the mascarpone filling and gives it a silky texture; no substitutions recommended.
• Vanilla Paste – Adds warmth and depth of flavor; pure vanilla extract makes a great substitute.
• Heavy Cream – Whipped to form light peaks in the filling; use coconut cream for a dairy-free option.
• Limoncello – Optional, but adds a lovely flavor to the syrup; feel free to substitute with a splash of lemonade or omit for a non-alcoholic variant.
Now that you have your Fresh Raspberry Tiramisu ingredients ready, you’re all set to create a dessert that not only delights the taste buds but also dazzles the senses!
Step‑by‑Step Instructions for Fresh Raspberry Tiramisu
Step 1: Make Raspberry Jam
In a medium saucepan, combine frozen raspberries, granulated sugar, and lemon juice over medium heat. Stir occasionally until the mixture comes to a gentle boil, about 5 minutes. Once bubbling, reduce the heat to low and let it simmer for 23-25 minutes until thickened, stirring to prevent sticking. You’ll know it’s ready when it coats the back of a spoon.
Step 2: Cool Jam
Pour the raspberry jam into a bowl and let it cool for a few minutes at room temperature. Then, cover the bowl with plastic wrap and refrigerate until completely cooled, about 30 minutes. This step is crucial as it enhances the rich raspberry flavor that beautifully complements the layers of your Fresh Raspberry Tiramisu.
Step 3: Prepare Raspberry Syrup
In another saucepan, combine water, granulated sugar, and frozen raspberries over medium heat. Stir until the sugar dissolves, then bring to a boil for approximately 2 minutes. Reduce heat to low and simmer for another 3 minutes. Strain the mixture through a fine-mesh sieve into a bowl, pressing lightly on the solids to extract liquid. Allow the syrup to cool completely.
Step 4: Make Mascarpone Filling
In a mixing bowl, combine mascarpone cheese, powdered sugar, lemon juice, and vanilla paste. Beat with an electric mixer on medium speed until smooth and well-aerated, about 2-3 minutes. In a separate bowl, whip heavy cream until it forms medium-stiff peaks. Gently fold the whipped cream into the mascarpone mixture, ensuring a light and airy filling for your Fresh Raspberry Tiramisu.
Step 5: Assemble Tiramisu
Begin the assembly by spooning a small dollop of the mascarpone mixture into the bottom of a 9x9-inch baking dish, smoothing it out evenly. Next, dip ladyfinger cookies into the raspberry syrup for a quick soak—aim for 2-3 seconds only to maintain their structure. Layer half of the dipped ladyfingers over the mascarpone, then add half of the remaining mascarpone mixture followed by half of the cooled raspberry jam. Repeat the layers.
Step 6: Chill Tiramisu
Cover the assembled Fresh Raspberry Tiramisu with plastic wrap, ensuring it’s tightly sealed. Refrigerate for at least 8 hours, preferably overnight. This chilling period allows the flavors to meld beautifully, yielding a dessert that’s not only delicious but also visually stunning when served.
Step 7: Serve
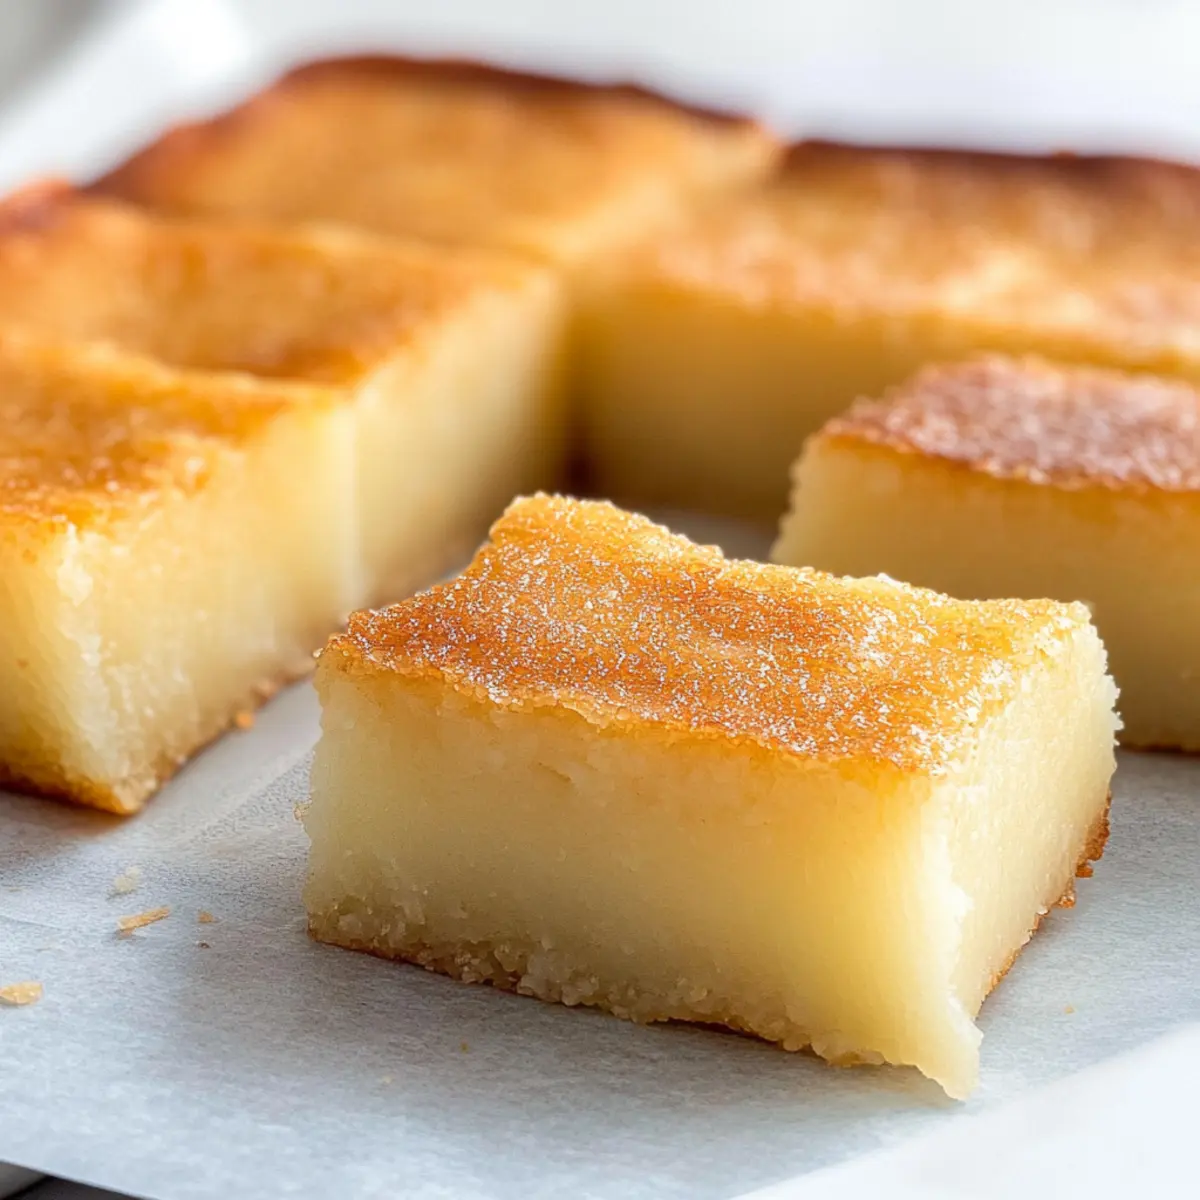
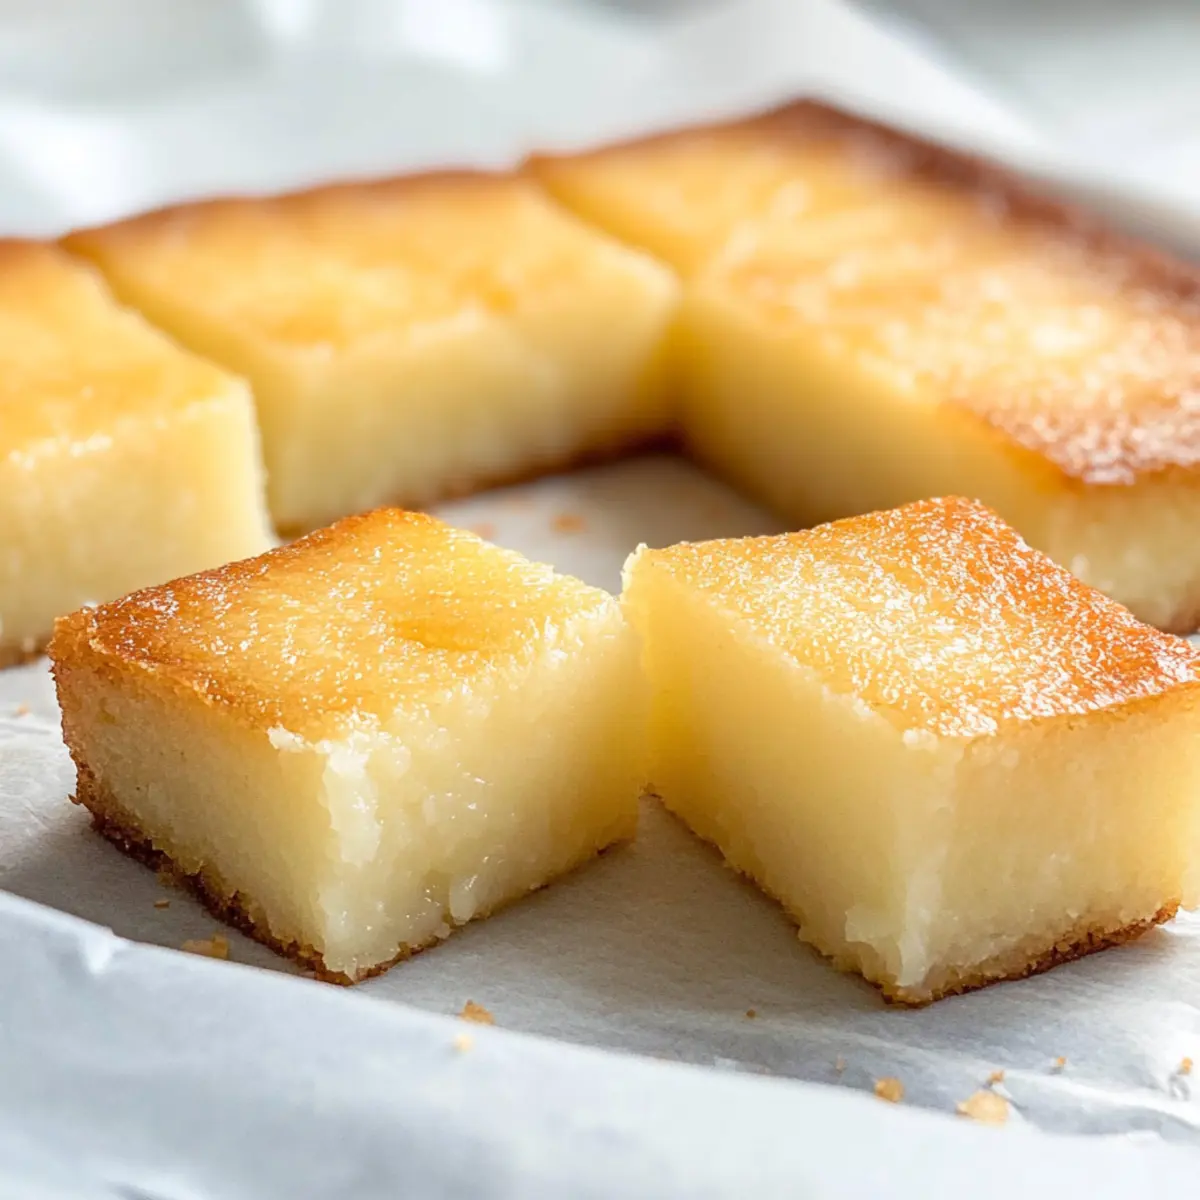
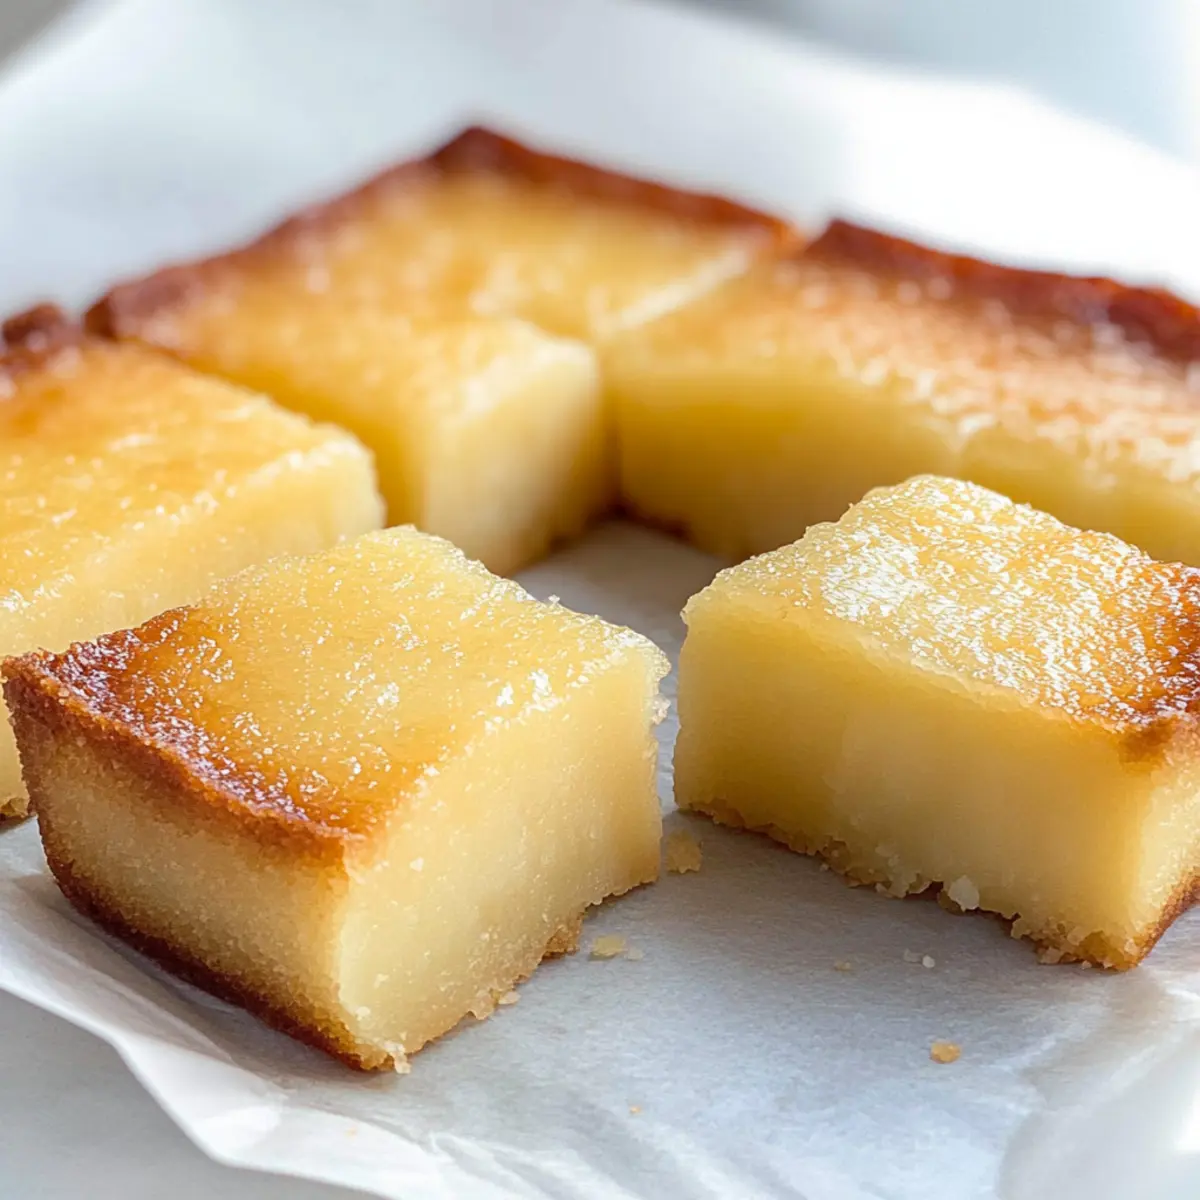
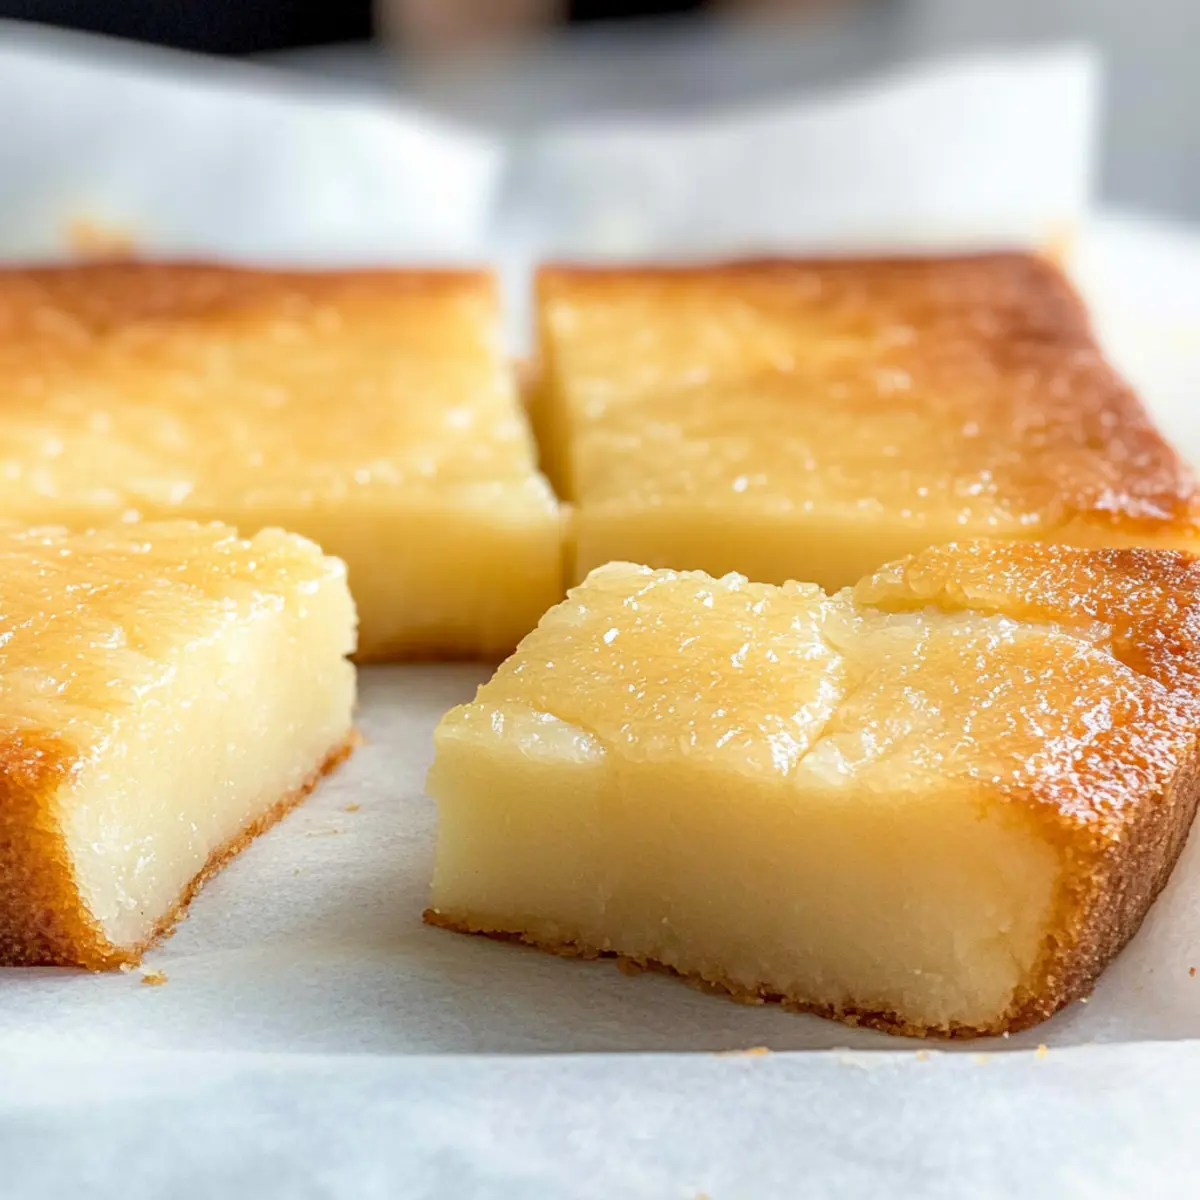
When ready to serve, remove the plastic wrap and top with the remaining raspberry jam, spreading it evenly over the surface. For an additional touch, garnish with fresh raspberries and lemon slices if desired. Cut into squares and enjoy the layered delight of your Fresh Raspberry Tiramisu, perfect for any occasion!
Make Ahead Options
These Fresh Raspberry Tiramisu are perfect for meal prep, allowing you to enjoy a spectacular dessert without the last-minute rush! You can make the raspberry jam and syrup up to 3 days ahead—just be sure to refrigerate them in airtight containers to preserve their vibrant flavors. Additionally, the mascarpone filling can be prepared a day ahead and stored separately, ensuring it remains light and fluffy. When you're ready to assemble, layer the soaked ladyfingers, mascarpone mixture, and raspberry jam, then cover and refrigerate for at least 8 hours, preferably overnight. This way, you'll have a beautifully melded dessert that is just as delicious and ready when you are!
Fresh Raspberry Tiramisu Variations
Feel free to let your creativity shine and customize this delightful dessert to suit your taste!
-
Fruit Swap: Substitute raspberries with strawberries or peaches for a seasonal twist; their sweet flavors create a fabulous contrast with the creamy filling.
-
Chocolate Delight: Add cocoa powder to the mascarpone mixture or drizzle melted chocolate between layers for a rich, indulgent experience that chocolate lovers will adore.
-
Yogurt Option: For a tangy and lighter dessert, try using Greek yogurt instead of mascarpone—just whip it until creamy and dreamy.
-
Nutty Crust: Layer crushed almonds or hazelnuts in between layers for an extra crunch—this earthy flavor complements the fruit beautifully!
-
Herb Infusion: Infuse some fresh mint leaves into the raspberry syrup for a refreshing zing that brightens every bite.
-
Heat It Up: For some spice, sprinkle in a touch of cayenne pepper or cinnamon into your mascarpone mixture; it gives an unexpected warmth that pairs delightfully with the raspberries.
-
Dairy-Free Dream: Use coconut cream instead of heavy cream and dairy-free mascarpone for a creamy yet dairy-free version that's just as delightful.
-
Elegant Topping: Top off the tiramisu with a dusting of edible flowers or lemon zest for a stunning presentation that will impress any guest.
This Fresh Raspberry Tiramisu is just the beginning of your dessert journey—after you indulge in this, why not try our refreshing Watermelon Popsicles for a cool treat or impressing with delectable Ricotta Stuffed Peppers? Happy cooking!
How to Store and Freeze Fresh Raspberry Tiramisu
Fridge: Store your assembled Fresh Raspberry Tiramisu covered tightly with plastic wrap in the refrigerator for up to 4 days. This helps maintain its creamy texture and vibrant flavor.
Freezer: If you want to freeze it, wrap individual slices tightly in plastic wrap, followed by aluminum foil. It should be good for up to 2 months; just thaw in the fridge overnight before serving.
Reheating: There's no need to reheat this dessert. Simply cut the chilled tiramisu into squares and enjoy the delightful layers cold.
Make-Ahead: You can prepare the tiramisu up to 4 days in advance. Just ensure it's well-covered to keep it fresh and ready for your special occasion!
What to Serve with Fresh Raspberry Tiramisu
As you prepare to indulge in this vibrant and creamy dessert, consider these delightful pairings to create a memorable meal experience.
-
Creamy Mashed Potatoes: The velvety texture and buttery flavor of mashed potatoes provide a comforting contrast to the tart raspberry layers, making them a cozy accompaniment.
-
Light Arugula Salad: A fresh salad tossed with lemon vinaigrette and topped with shaved parmesan adds brightness and a peppery crunch, balancing the sweetness of the tiramisu.
-
Sparkling Rosé: The bubbles and berry notes in sparkling rosé echo the raspberry in the tiramisu, enhancing the fruity flavors and elevating your dessert moment.
-
Grilled Peaches: Sweet, caramelized peaches drizzled with balsamic glaze create a fruity counterpart that complements the rich mascarpone while offering a seasonal twist.
-
Coconut Sorbet: The refreshing taste of coconut sorbet provides a cool, creamy contrast that cleanses the palate after each heavenly bite of the tiramisu.
-
Lemon Curd Tart: A tartlemon curd tart brings a bright citrus burst that cuts through the richness of the dessert, creating a delightful harmony of flavors.
-
Chocolate Covered Strawberries: These sweet bites add another layer of indulgence and a burst of flavor, harmonizing with the raspberry tiramisu beautifully.
-
Homemade Whipped Cream: A dollop of lightly sweetened whipped cream serves as a perfect dollop of creaminess, enhancing the luscious layers of your creation.
-
Hazelnut Coffee: Pairing with a warm cup of hazelnut coffee adds a nutty, aromatic touch that complements both the richness of the tiramisu and the fruity notes of the raspberries.
Expert Tips for Fresh Raspberry Tiramisu
-
Chill Overnight: For the best flavor, allow the Fresh Raspberry Tiramisu to chill overnight. This helps the flavors meld beautifully, enhancing every bite.
-
Ladyfinger Soak Time: Dip ladyfingers in raspberry syrup for just 2-3 seconds. Over-soaking can lead to a soggy dessert, while under-soaking may leave them too dry.
-
Texture Check: When whipping the heavy cream, aim for medium-stiff peaks. This lightness is crucial for creating a creamy, airy mascarpone filling.
-
Layering Technique: When layering, ensure each mascarpone mixture layer is even and smooth. This helps achieve a stunning presentation and allows for a perfect slice every time.
-
Garnish for Effect: Fresh raspberries and lemon slices on top not only add a pop of color but also enhance the visual appeal, making your Fresh Raspberry Tiramisu an irresistible centerpiece.
Fresh Raspberry Tiramisu Recipe FAQs
How do I choose the best raspberries for this tiramisu?
Absolutely! When selecting raspberries, look for plump, vibrant berries that are deep red in color, without any dark spots or mushiness. Fresh raspberries should feel firm to the touch. If you can only find frozen raspberries, that’s okay too! Just ensure there are no added sugars or preservatives in the frozen variety.
How should I store my Fresh Raspberry Tiramisu?
Very good question! To keep your Fresh Raspberry Tiramisu fresh, cover it tightly with plastic wrap and store it in the refrigerator. It will stay delicious for up to 4 days. Just make sure it's well-sealed to avoid drying out and maintain maximum creaminess!
Can I freeze Fresh Raspberry Tiramisu?
Certainly! If you want to freeze your tiramisu, I recommend slicing it into individual portions first. Wrap each slice tightly in plastic wrap followed by a layer of aluminum foil. This method will keep your dessert fresh for up to 2 months in the freezer. When ready to enjoy, thaw the slices overnight in the refrigerator, and they'll be just as delightful and creamy!
What should I do if my mascarpone mixture turns lumpy?
If your mascarpone mixture is looking lumpy, don't worry! This can happen if the mascarpone and heavy cream are at different temperatures. For a smoother texture, let the mascarpone sit at room temperature for about 30 minutes before mixing. When whipping the cream, ensure you gradually combine it with the mascarpone to achieve a beautifully smooth filling. If you still encounter lumps, you can use a hand mixer for a few extra seconds to blend it thoroughly.
Is this Fresh Raspberry Tiramisu suitable for people with allergies?
Actually, it depends on the specific allergies! This recipe contains dairy (mascarpone, heavy cream), gluten (ladyfingers), and eggs (in ladyfingers). For a dairy-free version, you could use a dairy-free cream alternative, and for gluten-free options, check for gluten-free ladyfingers or the use of sponge cake. Always read labels carefully and, when in doubt, consult with an allergist to ensure safety for those with food sensitivities.
Can I make a non-alcoholic version of the tiramisu?
Absolutely! If you would prefer a non-alcoholic version, simply omit the Limoncello from the raspberry syrup. You can enhance the flavor by adding a splash of lemonade instead. This will keep the essence of the dessert intact while keeping it family-friendly!
Irresistible Fresh Raspberry Tiramisu Perfect for Any Occasion
Ingredients
Equipment
Method
- In a medium saucepan, combine frozen raspberries, granulated sugar, and lemon juice over medium heat. Stir occasionally until the mixture comes to a gentle boil, about 5 minutes. Reduce the heat to low and let it simmer for 23-25 minutes until thickened, stirring to prevent sticking.
- Pour the raspberry jam into a bowl and let it cool for a few minutes at room temperature. Cover with plastic wrap and refrigerate until completely cooled, about 30 minutes.
- In another saucepan, combine water, granulated sugar, and frozen raspberries over medium heat. Stir until the sugar dissolves, then bring to a boil for approximately 2 minutes. Reduce heat to low and simmer for another 3 minutes. Strain the mixture through a fine-mesh sieve.
- In a mixing bowl, combine mascarpone cheese, powdered sugar, lemon juice, and vanilla paste. Beat with an electric mixer until smooth and well-aerated, about 2-3 minutes. In a separate bowl, whip heavy cream until it forms medium-stiff peaks.
- Spoon a small dollop of the mascarpone mixture into the bottom of a 9x9-inch baking dish. Dip ladyfinger cookies into the raspberry syrup for 2-3 seconds. Layer half of the dipped ladyfingers over the mascarpone, then add half of the remaining mascarpone mixture and half of the cooled raspberry jam. Repeat the layers.
- Cover the assembled dessert with plastic wrap and refrigerate for at least 8 hours, preferably overnight.
- When ready to serve, remove the plastic wrap and top with the remaining raspberry jam. Garnish with fresh raspberries and lemon slices if desired.