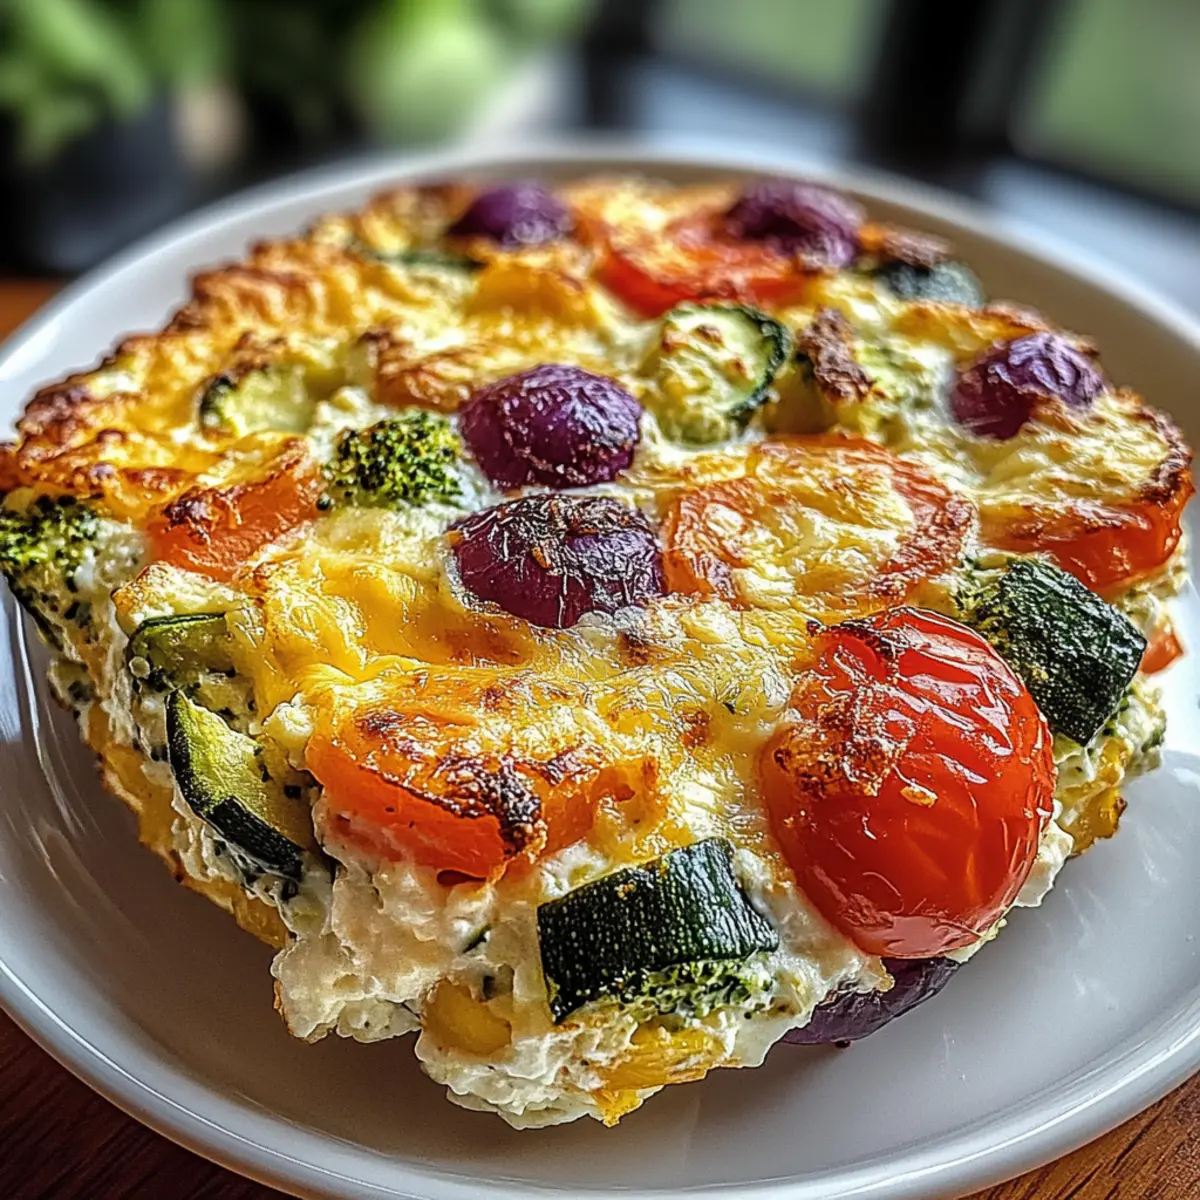
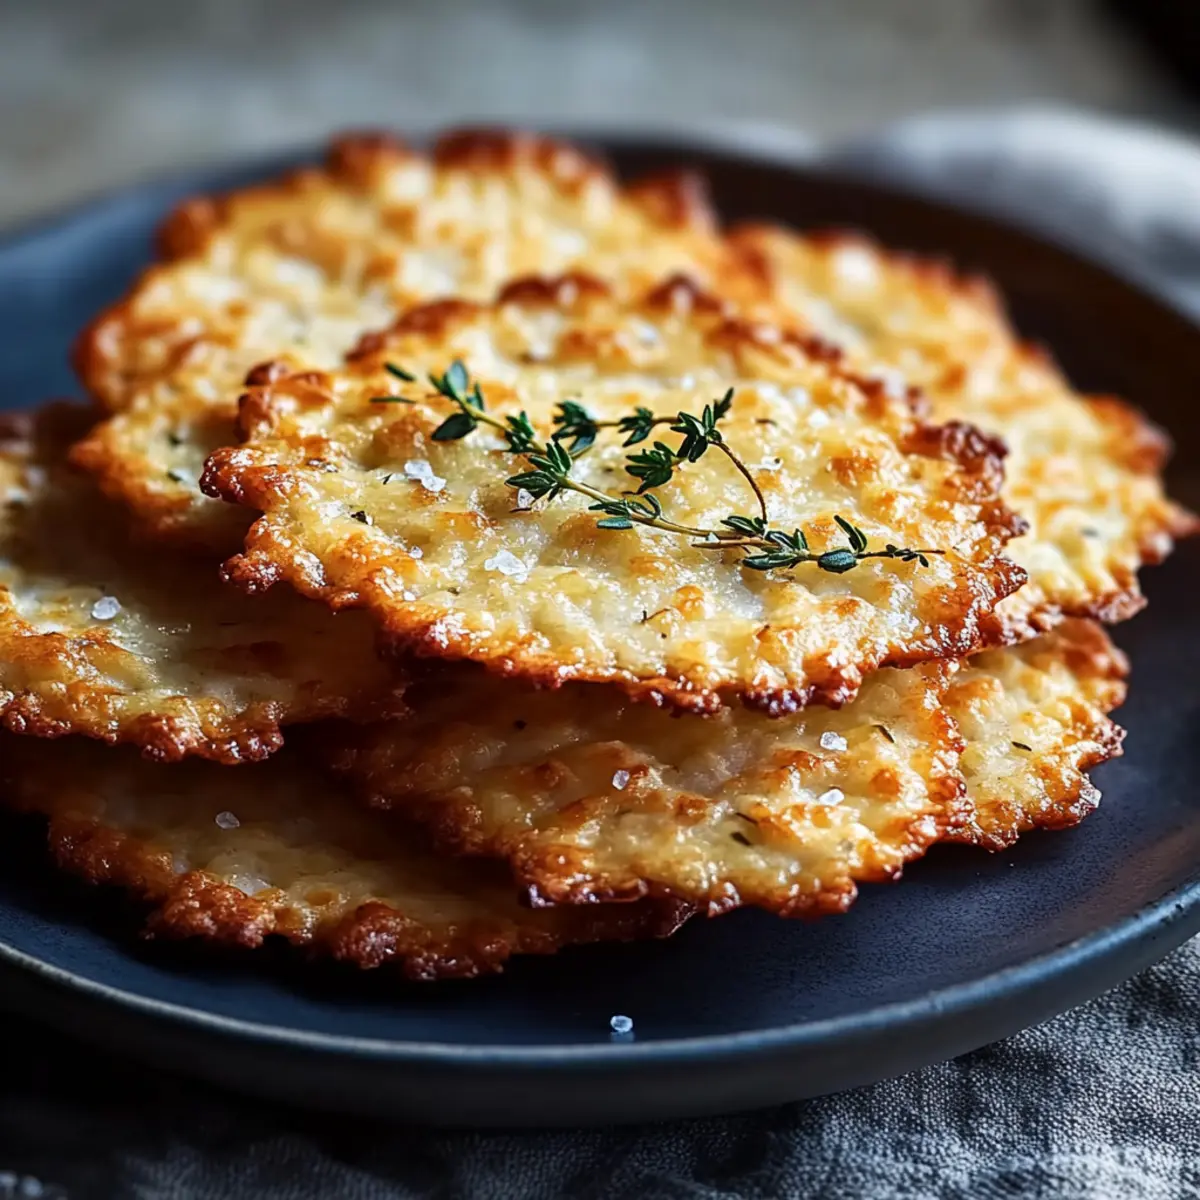
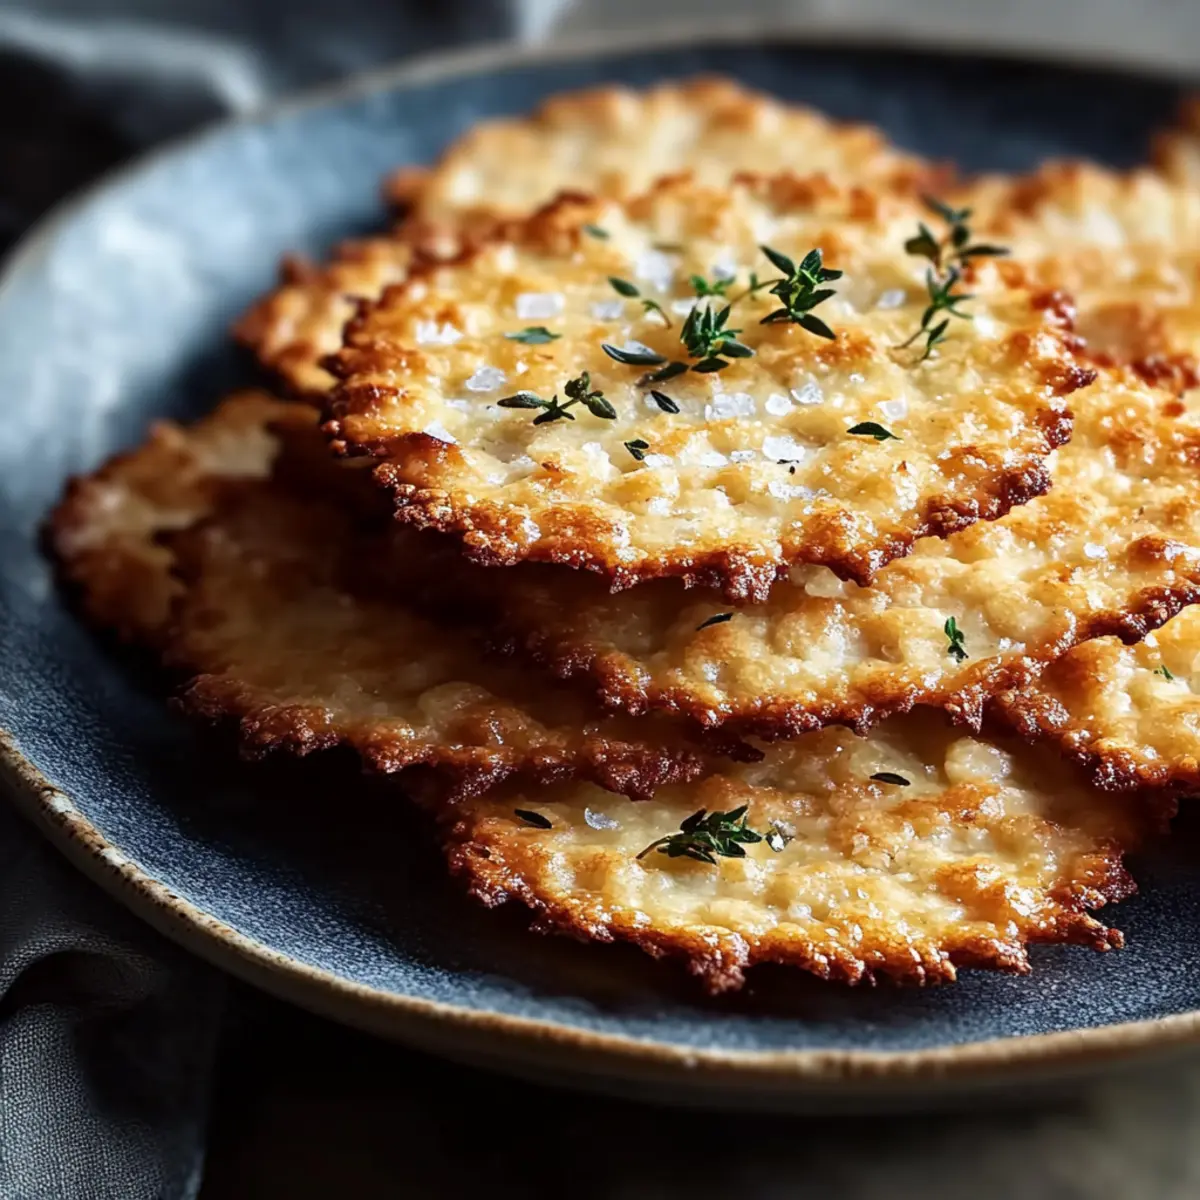
In a flurry of inspiration, I found myself craving a crunchy snack that could satisfy my need for something savory and wholesome. Enter my latest obsession: crispy cottage cheese crackers! These delightful snacks are not only incredibly quick to make, but they also boast a high-protein, gluten-free profile that makes them perfect for anyone looking to elevate their munching game. With a rich, cheesy flavor complemented by just a hint of garlic, they're a fantastic addition to your pantry. Whether you enjoy them on their own or pair them with your favorite dips, these cottage cheese crackers make for a versatile treat that fits seamlessly into any healthy eating plan. Curious about how to create these wonderful delights? Let’s dive in!
Why are Cottage Cheese Crackers a Must-Try?
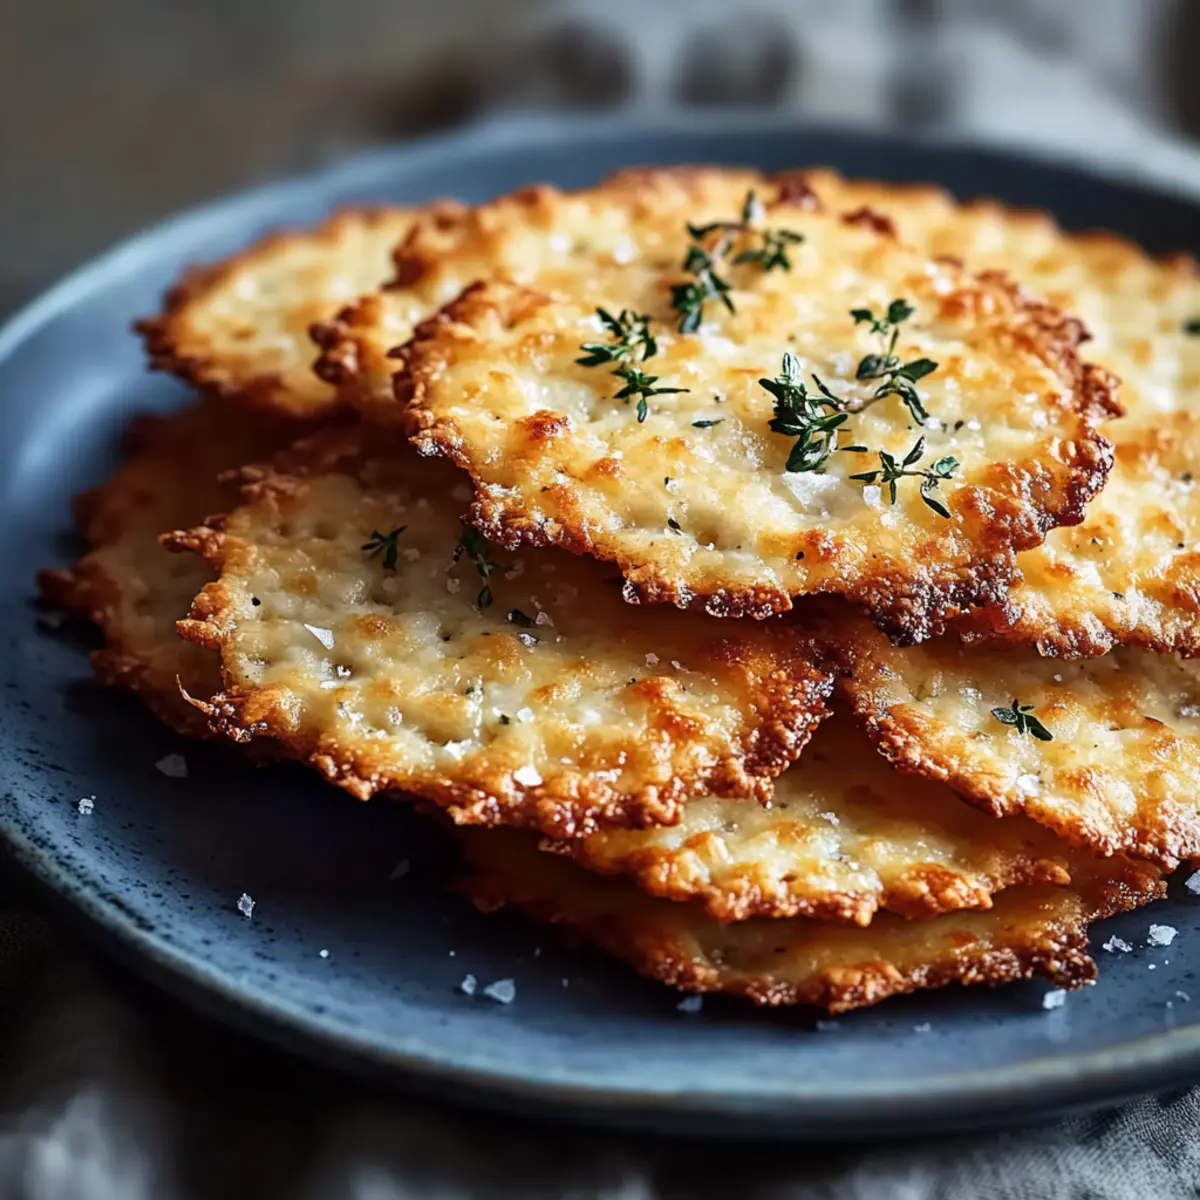
Crispy Texture: These crackers deliver a satisfying crunch that rivals even the store-bought varieties.
High-Protein Snack: Packed with protein from cottage cheese and Parmesan, they keep you energized!
Gluten-Free Delight: Perfectly suited for those following a gluten-free lifestyle, ensuring everyone can indulge.
Quick and Easy: Whip these up in just a few simple steps for a last-minute snack.
Versatile Pairing: Enjoy them solo or with spreads like hummus or guacamole, perfect for any occasion.
You’ll fall in love with their flavor and ease, making these Cottage Cheese Crackers a staple in your home!
Cottage Cheese Crackers Ingredients
Discover the simple components that make these delightful snacks come to life!
For the Dough
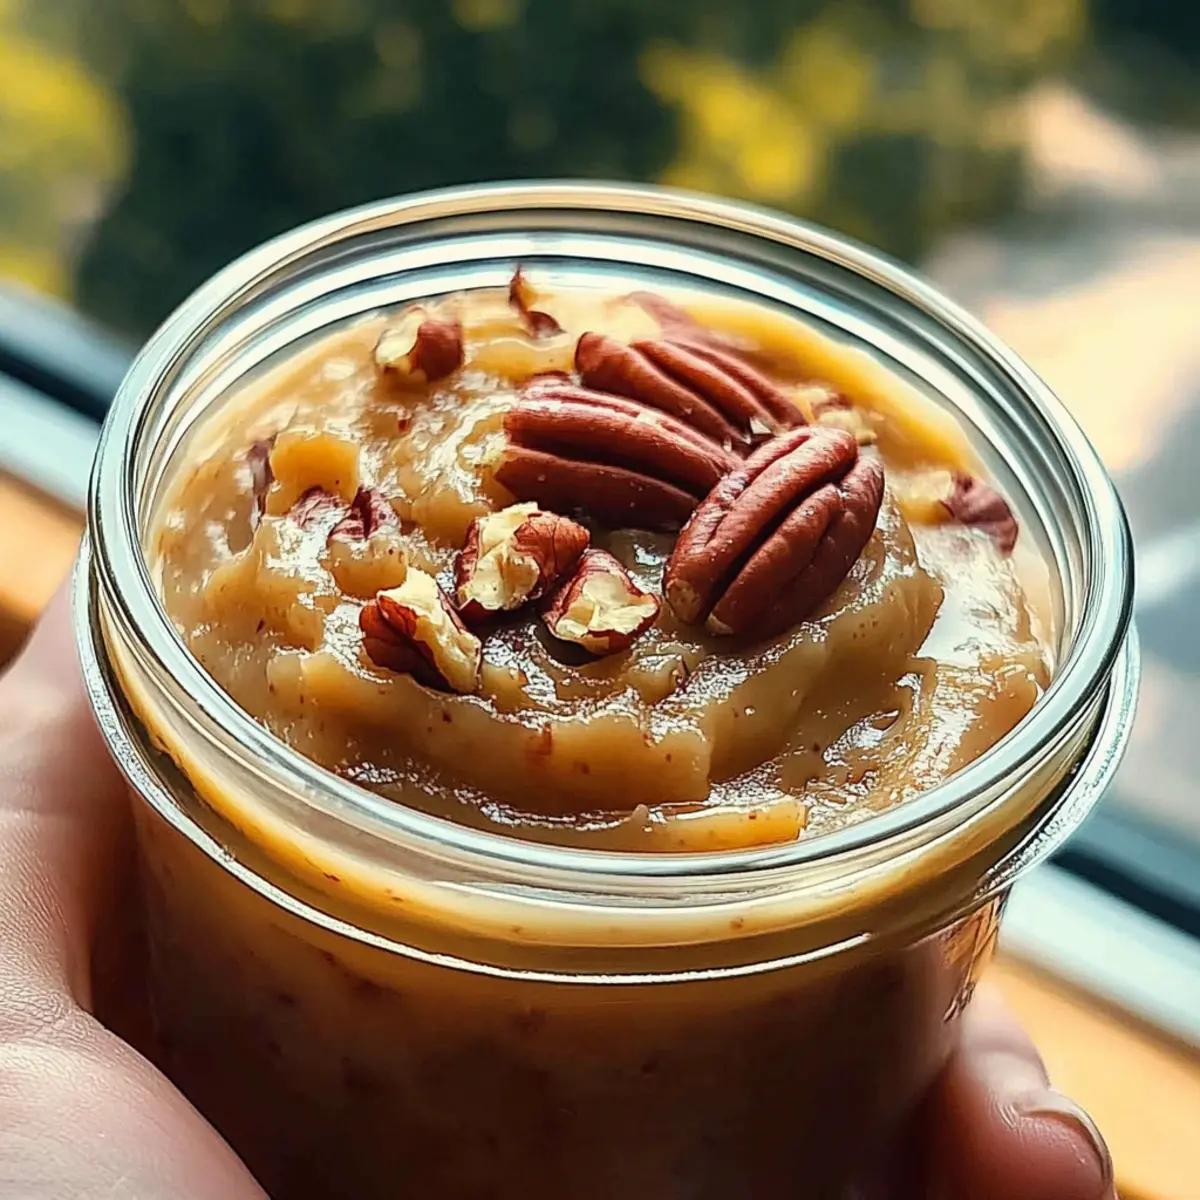
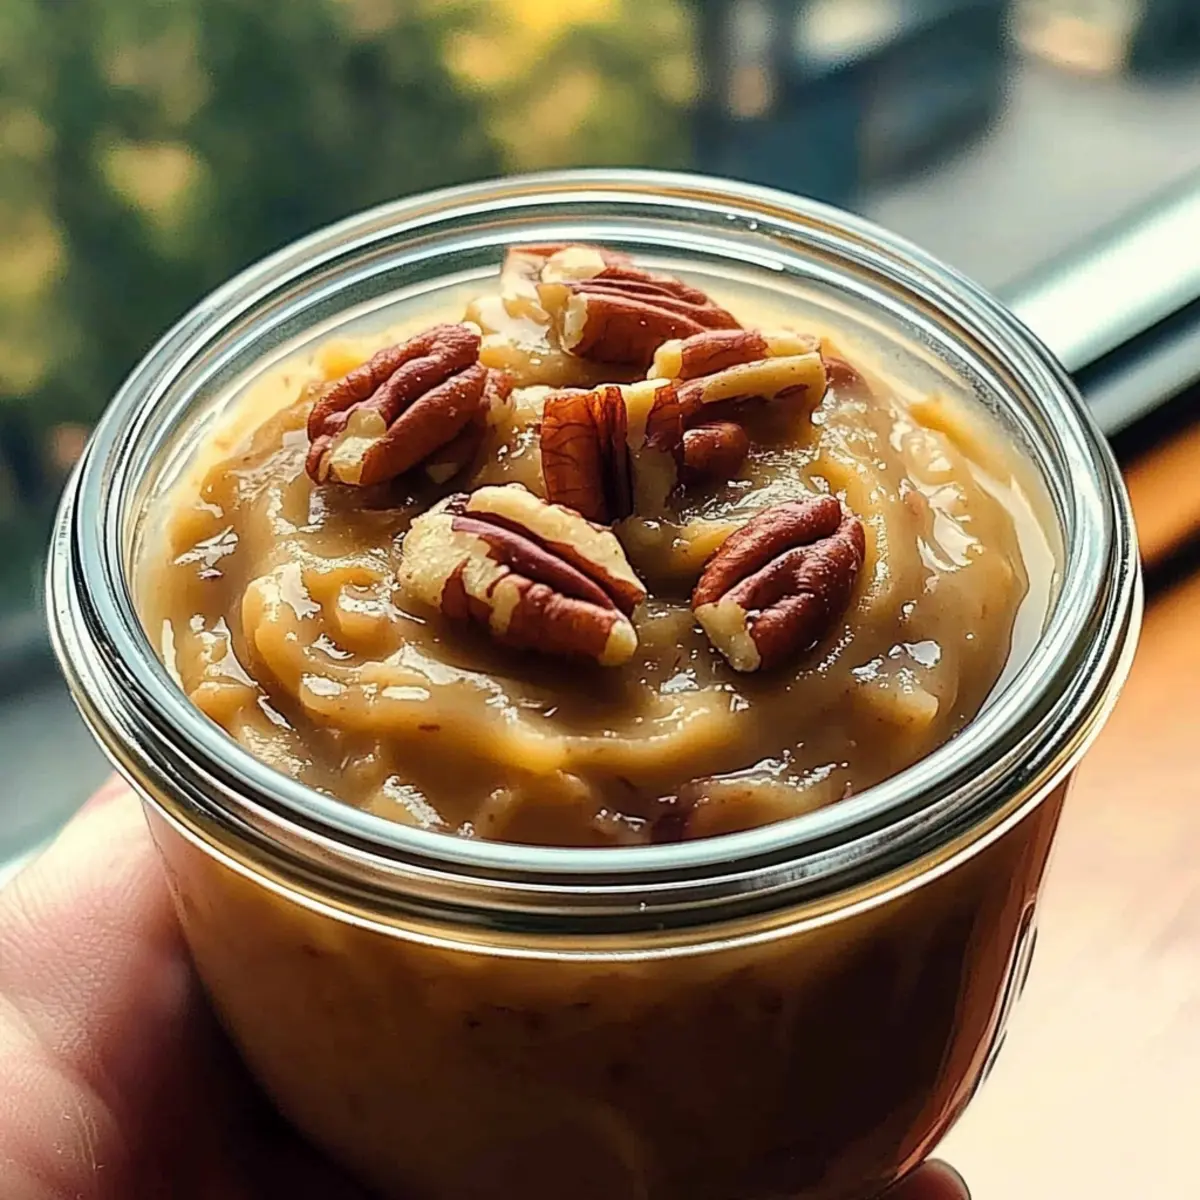
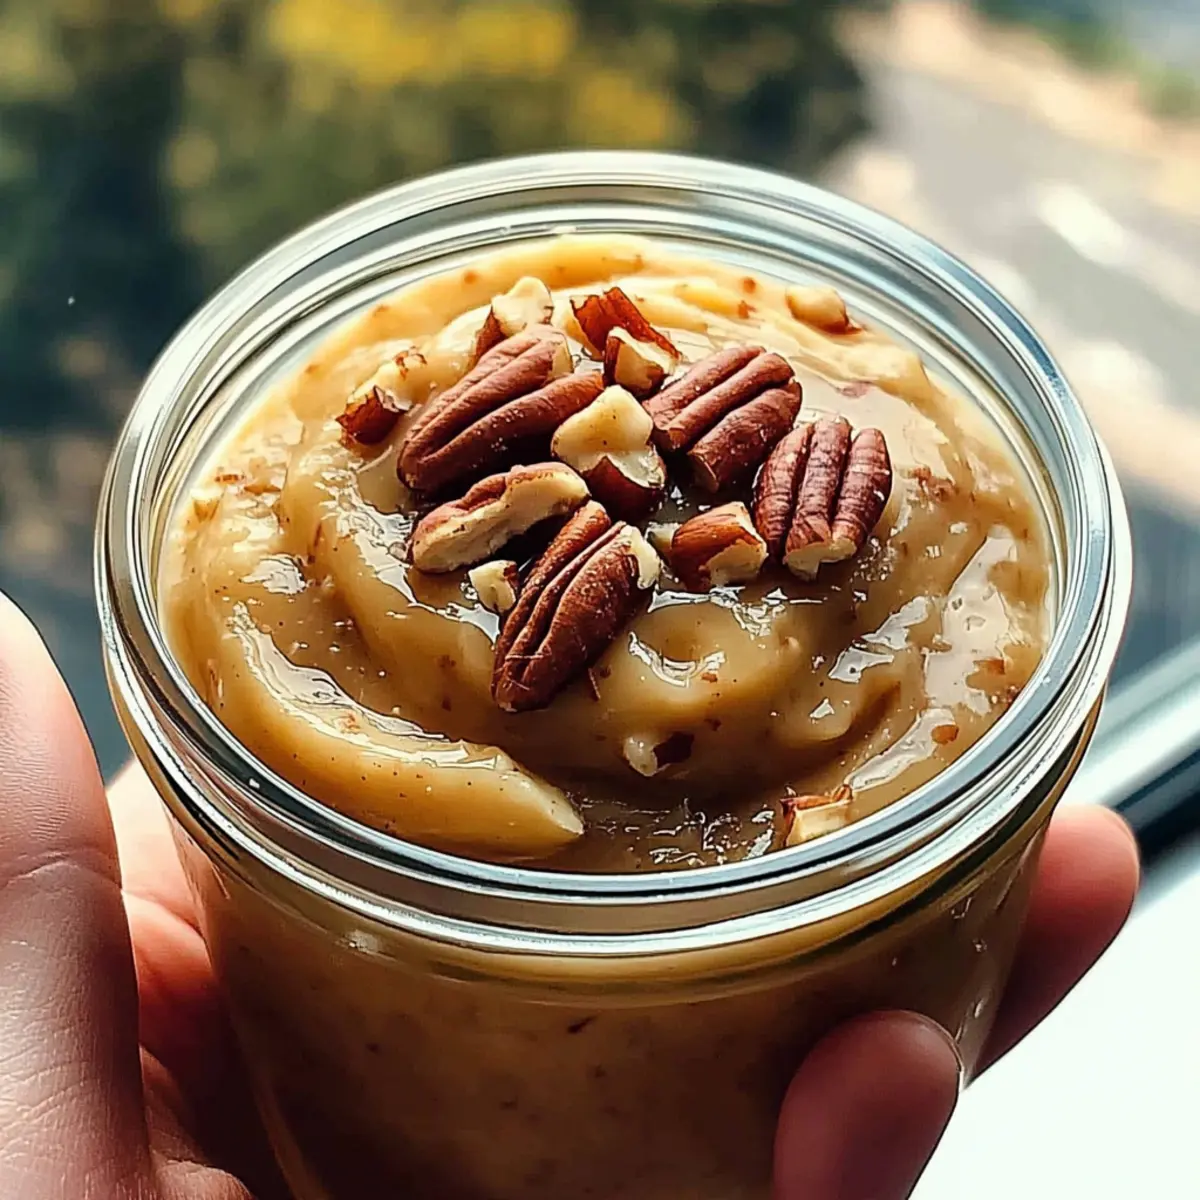
- Full-Fat Cottage Cheese – This is your star ingredient, bringing moisture and protein to the mix; opting for small curd yields the best texture.
- Almond Flour – A key element for structure and crunch, ensuring the recipe remains gluten-free; substitute with oat flour for a different texture if needed.
- Grated Parmesan Cheese – Adds a rich, cheesy flavor to the dough; feel free to increase the amount for an extra cheesy kick!
- Large Egg – Helps bind everything together and enhances the crispy finish of your cottage cheese crackers.
For Flavoring
- Garlic Powder – Infuses savory depth into each bite; adjust the amount based on your garlic affinity or omit entirely for a milder flavor.
- Onion Powder – Elevates the taste profile; it can be left out if you prefer a simpler cracker flavor.
- Salt – A must for enhancing all the delicious flavors in your crackers.
Enjoy the journey of creating these cottage cheese crackers, a snack bursting with flavor and nutrition!
Step‑by‑Step Instructions for Cottage Cheese Crackers
Step 1: Preheat the Oven
Begin by preheating your oven to 375°F (190°C). Meanwhile, take a large baking sheet and line it with parchment paper. This will ensure that your cottage cheese crackers come off easily after baking. A warm oven is essential for achieving that perfectly crispy texture that you’re aiming for!
Step 2: Mix the Dough
In a medium bowl, combine the full-fat cottage cheese, almond flour, grated Parmesan, egg, garlic powder, onion powder, and salt. Stir until the mixture forms a thick dough. It’s important that everything is well incorporated, so take your time to ensure that the flavors meld together beautifully for your cottage cheese crackers.
Step 3: Roll Out the Dough
Transfer the thick dough onto your prepared baking sheet. To achieve an even thickness, place a second sheet of parchment paper on top and use a rolling pin to roll it out to about 1/8-inch thick. This thin layer will help your crackers turn out delightfully crispy, so be diligent about keeping the dough uniform.
Step 4: Score the Dough
Once the dough is rolled out evenly, take a knife or pizza cutter and score the surface into 1.5-inch squares. Be careful not to cut all the way through—just create lines that will help you break the cottage cheese crackers apart later. This step also makes it easier to portion out your snacks after baking.
Step 5: Bake the Crackers
Place your baking sheet into the preheated oven and bake for 15-20 minutes. Keep an eye on them; you’ll know they’re done when the edges turn a lovely golden brown and the center feels firm to the touch. This initial bake is crucial for the base texture of your crackers.
Step 6: Break Apart and Rearrange
When the crackers are baked to perfection, take them out of the oven and let them cool slightly. Use your hands to break them apart along the scored lines, and rearrange them in a single layer on the baking sheet. This helps ensure they bake evenly during the final crisping stage.
Step 7: Final Bake for Crispiness
Return the rearranged cottage cheese crackers to the oven for an additional 5-10 minutes. Look for a rich golden color and a satisfying crunch as they bake to perfection. This final round of baking is key to achieving that irresistible crispy texture that makes these snacks so delightful.
Step 8: Cool Completely
Once fully baked, remove the crackers from the oven and allow them to cool completely on a wire rack. This cooling time is essential for them to harden and reach their ultimate crunchiness. Store your delicious cottage cheese crackers in an airtight container once they’re cool, or enjoy them right away!
What to Serve with Cottage Cheese Crackers
Transform your crispy delights into a full, mouthwatering experience with these perfect pairings!
-
Creamy Hummus: The smoothness of hummus contrasts beautifully with the crunchy texture of the crackers, making every bite a delight.
-
Fresh Guacamole: This rich, creamy dip complements the savory flavor of the crackers, adding a burst of freshness to your snacking experience.
-
Zesty Salsa: The bright flavors of salsa enliven the crackers, creating a vibrant mix of textures and tastes that are perfect for gatherings.
-
Cheese Board: Pair with assorted cheeses for a delightful charcuterie experience. Think sharp cheddar or tangy goat cheese alongside your crackers.
-
Garden Salad: Serve your crackers with a fresh garden salad. The crunchiness of the crackers adds an exciting twist to the meal, making every bite enjoyable.
-
Mini Soup Bowls: Use the crackers as a dipping companion for your favorite soups; the crispy texture adds a satisfying crunch to each soothing slurp.
-
Sparkling Water: A bubbly drink works wonders to cleanse the palate, pairing wonderfully with the savory notes of your cottage cheese crackers.
-
Coffee or Herbal Tea: Surprising as it may be, these flavors adapt well to a warm drink, inviting cozy moments any time of day. Enjoy with a sweet herbal infusion for a delightful finish.
Embrace the joy of creating delightful pairings that make your cottage cheese crackers even more irresistible!
How to Store and Freeze Cottage Cheese Crackers
Room Temperature: Store your cottage cheese crackers in an airtight container at room temperature for up to 5 days to maintain optimal freshness and crispness.
Fridge: For longer storage, you can keep them in the fridge for up to a week. However, they may lose some crispness; refresh them in the oven for a few minutes before enjoying.
Freezer: Freeze cottage cheese crackers in a single layer in a zip-top bag for up to 2 months. To enjoy, simply thaw at room temperature or reheat in the oven at 300°F for a few minutes.
Reheating: If your crackers lose their crunch, revive them by popping them in the oven at 300°F for about 5 minutes. This quick fix restores their delightful crispiness!
Expert Tips for Cottage Cheese Crackers
-
Thin Dough is Key: Roll the dough as thinly as possible—this is essential for achieving that desired crispy texture in your cottage cheese crackers.
-
Don't Rush the Bake: Ensure you complete both baking stages. Skipping the second bake may result in crackers that lack the perfect crunch.
-
Watch the Color: Keep an eye on the edges while baking; they should turn golden brown. This visual cue is a great indicator that your cottage cheese crackers are done.
-
Proper Storage: Store in an airtight container at room temperature. If they lose their crispiness, revive them quickly by placing in a preheated oven at 300°F for a few minutes.
-
Customize Flavors: Feel free to experiment with different spices or cheeses. Adding your favorite seasonings can elevate these high-protein snacks from good to unforgettable!
Cottage Cheese Crackers: Endless Customization
Feel free to get creative and give these crackers your own special touch, enhancing flavors that make your taste buds dance!
-
Gluten-Free Flour: Use coconut flour for a different texture. Mixing different flours can yield unique flavors and crunch.
-
Spice it Up: Add chili powder or cayenne pepper for a delightful kick. Just a pinch can transform these crackers into a zesty treat.
-
Herb-Infused: Incorporate dried herbs like rosemary or thyme for an aromatic touch. These herbs not only add flavors but also make the crackers visually appealing.
-
Cheesy Variations: Swap out Parmesan for cheddar or feta for a robust flavor twist. Each cheese offers its distinct character, perfect for cheese lovers.
-
Sweet Delight: Drizzle with honey after baking for a sweet-and-savory treat. Pair with fruits or a cheese board for an unexpected treat.
-
Nutty Texture: Fold in chia seeds or flaxseeds for added nutrition and crunch. These tiny seeds will enhance both flavor and health benefits.
-
Onion Flavor Boost: Using onion flakes instead of onion powder can provide a slightly different texture with a strong onion flavor. This can give your crackers a hearty taste.
-
Dust with Seasonings: Finishing with a sprinkle of everything bagel seasoning can elevate the snacking experience. It's a fantastic way to explore new tastes without much effort!
Feel free to experiment and create your perfect batch of Cottage Cheese Crackers that best fits your flavor profile!
Make Ahead Options
These Cottage Cheese Crackers are ideal for busy home cooks looking to save time during the week! You can prepare the dough and refrigerate it for up to 24 hours before baking. Simply mix together the cottage cheese, almond flour, Parmesan, egg, and seasonings, then cover the bowl tightly and chill. When you're ready to bake, roll out the dough and follow the initial baking instructions. To maintain the crispness of your crackers, ensure they cool completely before storing in an airtight container. With this make-ahead option, you’ll enjoy delicious, homemade snacks with minimal effort on busy days!
Cottage Cheese Crackers Recipe FAQs
What type of cottage cheese is best for these crackers?
I recommend using full-fat small curd cottage cheese. The smaller curds provide a smoother dough, leading to a better texture in your crackers.
How long can I store cottage cheese crackers?
You can store your cottage cheese crackers in an airtight container at room temperature for up to 5 days. If you want them to last longer, refrigerating them can extend their shelf life to about a week, although they may lose a bit of crunch.
Can I freeze cottage cheese crackers?
Absolutely! To freeze, lay your baked crackers in a single layer on a baking sheet to freeze individually for about 2 hours, then transfer them to a zip-top bag. They can be stored in the freezer for up to 2 months. When you're ready to enjoy some, just thaw them at room temperature or reheat in the oven at 300°F for about 5 minutes.
What should I do if my crackers aren't crispy enough?
If your cottage cheese crackers come out soft, it’s likely they didn’t bake long enough. I suggest baking them for the full time specified and following up with the second bake. If they still need help, pop them back in a preheated oven at 300°F for about 5-10 minutes to refresh their crispiness.
Are cottage cheese crackers suitable for special diets?
Yes! These crackers are gluten-free and high in protein, making them an excellent choice for those on keto or low-carb diets. However, if you have a dairy allergy, consider using a dairy-free cheese alternative, and for nut allergies, substitute almond flour with a gluten-free flour blend. Just make sure to check the labels!

Cottage Cheese Crackers: Crispy High-Protein Snack Bliss
Ingredients
Equipment
Method
- Preheat your oven to 375°F (190°C) and line a baking sheet with parchment paper.
- In a medium bowl, combine the full-fat cottage cheese, almond flour, grated Parmesan, egg, garlic powder, onion powder, and salt. Stir until a thick dough forms.
- Transfer the dough onto your prepared baking sheet. Place another sheet of parchment paper on top and roll it out to about 1/8-inch thick.
- Score the dough into 1.5-inch squares using a knife or pizza cutter.
- Bake in the preheated oven for 15-20 minutes until the edges are golden brown.
- Once baked, let them cool slightly, then break apart along the scored lines and rearrange them on the baking sheet.
- Return to the oven for an additional 5-10 minutes for final crisping.
- Allow to cool completely on a wire rack before storing.