As I sipped a perfectly mixed martini, the idea hit me—a playful twist on a classic! Enter Dirty Martini Deviled Eggs, where the crisp, creamy richness of deviled eggs collides with the bold flavors of my favorite cocktail. Combining smooth yolks with tangy olives and a splash of gin or vodka feels both luxurious and fun, making this appetizer a standout at any gathering. Not only are they quick to whip up—taking under 30 minutes—but they also bring a sophisticated touch to your table that will leave your guests talking. Ready to elevate your next cocktail hour or brunch? These Dirty Martini Deviled Eggs are an irresistible bite that promises to impress!

Why Are These Deviled Eggs So Unique?
Cocktail-Inspired Delight: These Dirty Martini Deviled Eggs bring together the best of both worlds—classic deviled eggs and a favorite cocktail, making them irresistibly unique and fun.
Quick & Easy: With just 30 minutes of prep time, you can create an impressive appetizer without fussing for hours in the kitchen.
Flavor Explosion: The rich yolk mixture combined with briny olives and a hint of gin or vodka creates a robust flavor that will have your guests coming back for seconds.
Versatile Serve: Perfect for cocktail hours, festive brunches, or casual get-togethers, these eggs fit right in at any occasion!
Make Ahead Option: Prepare the yolk mixture in advance for a stress-free assembly when you’re ready to serve, letting you focus on enjoying your party. For more delicious ideas, check out Turkish Eggs Discover for another unique twist on deviled eggs!
Dirty Martini Deviled Eggs Ingredients
For the Egg Base
• 6 large eggs – Essential for creating that classic deviled egg structure.
For the Yolk Mixture
• 1/4 cup mayonnaise – Adds a velvety creaminess; Greek yogurt is a lighter substitution option.
• 1 tablespoon gin (or vodka) – Infuses the cocktail flavor; choose your favorite spirit for a personal touch.
• 1 teaspoon dry vermouth – Contributes aromatic complexity; consider omitting for a simpler taste.
• 1 1/2 teaspoons olive brine – Delivers saltiness and captures the 'dirty' martini essence; adjust to your salt preference.
• 1/4 teaspoon garlic powder – Enhances the depth of flavor; swap for fresh minced garlic for an extra kick.
• Kosher salt, to taste – Personalize based on your sodium preference after adding the brine.
• Freshly ground black pepper, to taste – Adds a dash of warmth and spice; optional but recommended.
For the Garnish
• 2 tablespoons finely chopped green olives – Introduces a briny texture; black olives can work too if desired.
• 1 tablespoon finely chopped parsley – Brings fresh flavor and a pop of color; feel free to omit for allergies.
• Paprika or chili flakes, for garnish (optional) – Offers a beautiful visual appeal and an extra spicy zing.
Elevate your gatherings with these scrumptious Dirty Martini Deviled Eggs that are sure to impress!
Step‑by‑Step Instructions for Dirty Martini Deviled Eggs
Step 1: Boil the Eggs
Start by placing the 6 large eggs in a medium-sized saucepan. Cover them with cold water, ensuring there's about an inch of water above the eggs. Bring the water to a rolling boil over medium-high heat, and as soon as it reaches a boil, immediately remove the saucepan from heat.
Step 2: Let the Eggs Sit
Cover the saucepan with a lid and let the eggs sit undisturbed for 10 minutes. This step is crucial for achieving the perfect hard-boiled consistency. After the waiting period, prepare an ice water bath in a large bowl to cool the eggs quickly.
Step 3: Cool the Eggs
Carefully transfer the eggs from the hot saucepan into the ice water bath. Allow them to cool completely for about 5-10 minutes. This immediate cooling helps with peeling later and ensures that your Dirty Martini Deviled Eggs maintain a smooth appearance without overcooking.
Step 4: Peel and Halve the Eggs
Once the eggs are fully cooled, gently tap each egg on a hard surface to crack the shell, then peel them under running water if necessary for easier removal. After peeling, slice each egg in half lengthwise and gently scoop the yolks into a mixing bowl, setting the egg whites aside.
Step 5: Prepare the Yolk Mixture
In the bowl with the yolks, add 1/4 cup of mayonnaise, 1 tablespoon of gin (or vodka), 1 teaspoon of dry vermouth, 1 1/2 teaspoons of olive brine, and 1/4 teaspoon of garlic powder. Mix everything thoroughly with a fork until the mixture is smooth and creamy, adjusting the seasoning with kosher salt and freshly ground black pepper to taste.
Step 6: Fold in Olives and Parsley
Gently fold in the 2 tablespoons of finely chopped green olives and 1 tablespoon of finely chopped parsley into the yolk mixture. This will add a delightful briny texture and freshness to your Dirty Martini Deviled Eggs. Taste the mixture once more and adjust any seasonings as needed.
Step 7: Stuff the Egg Whites
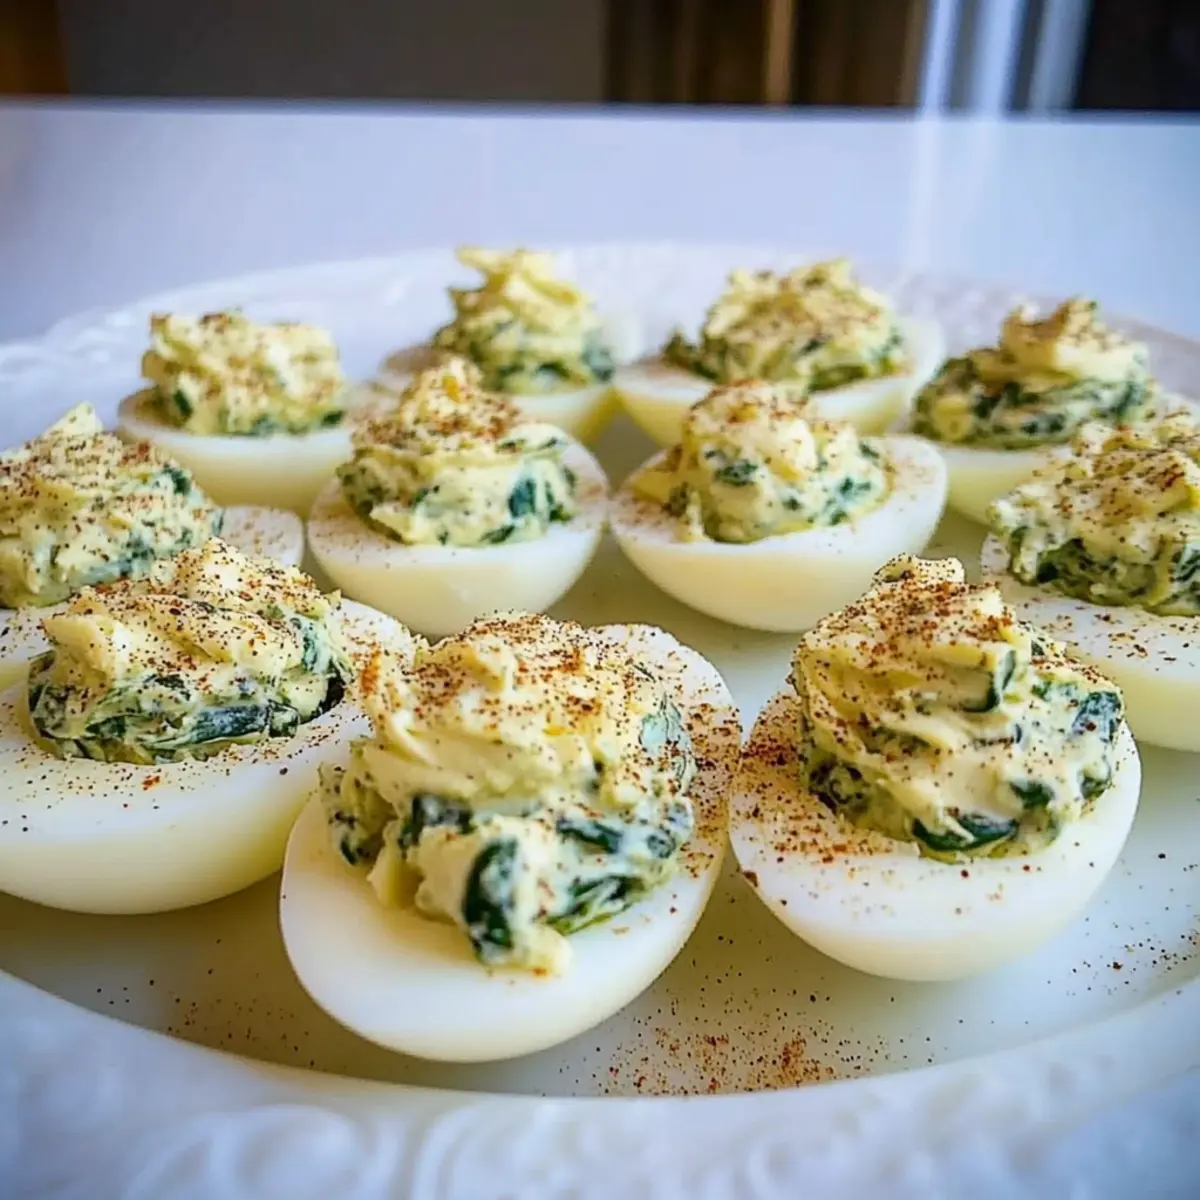
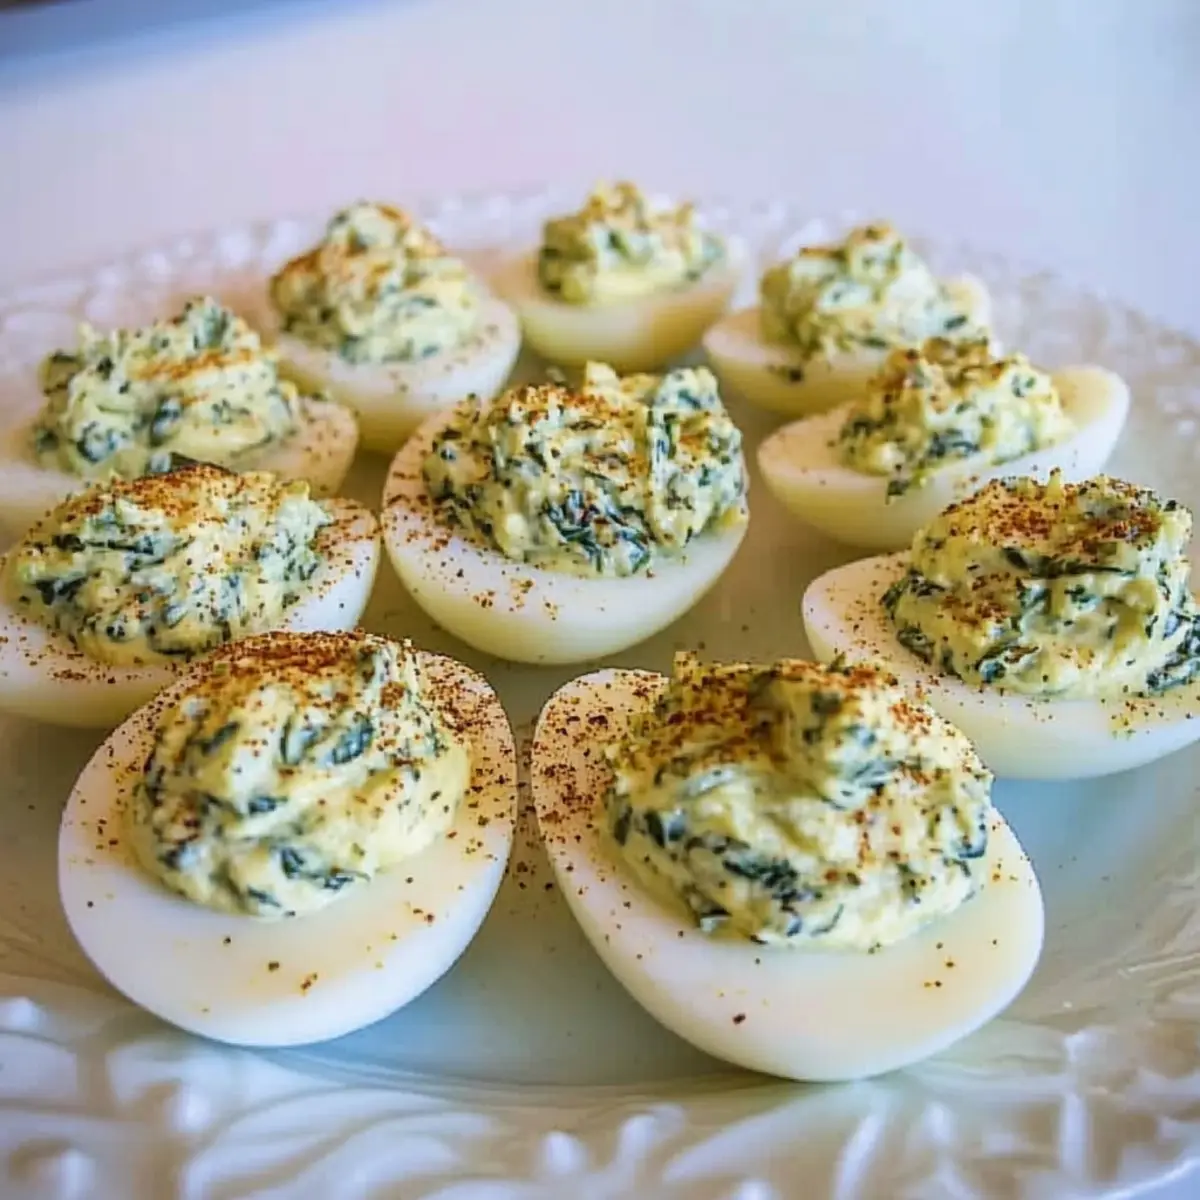
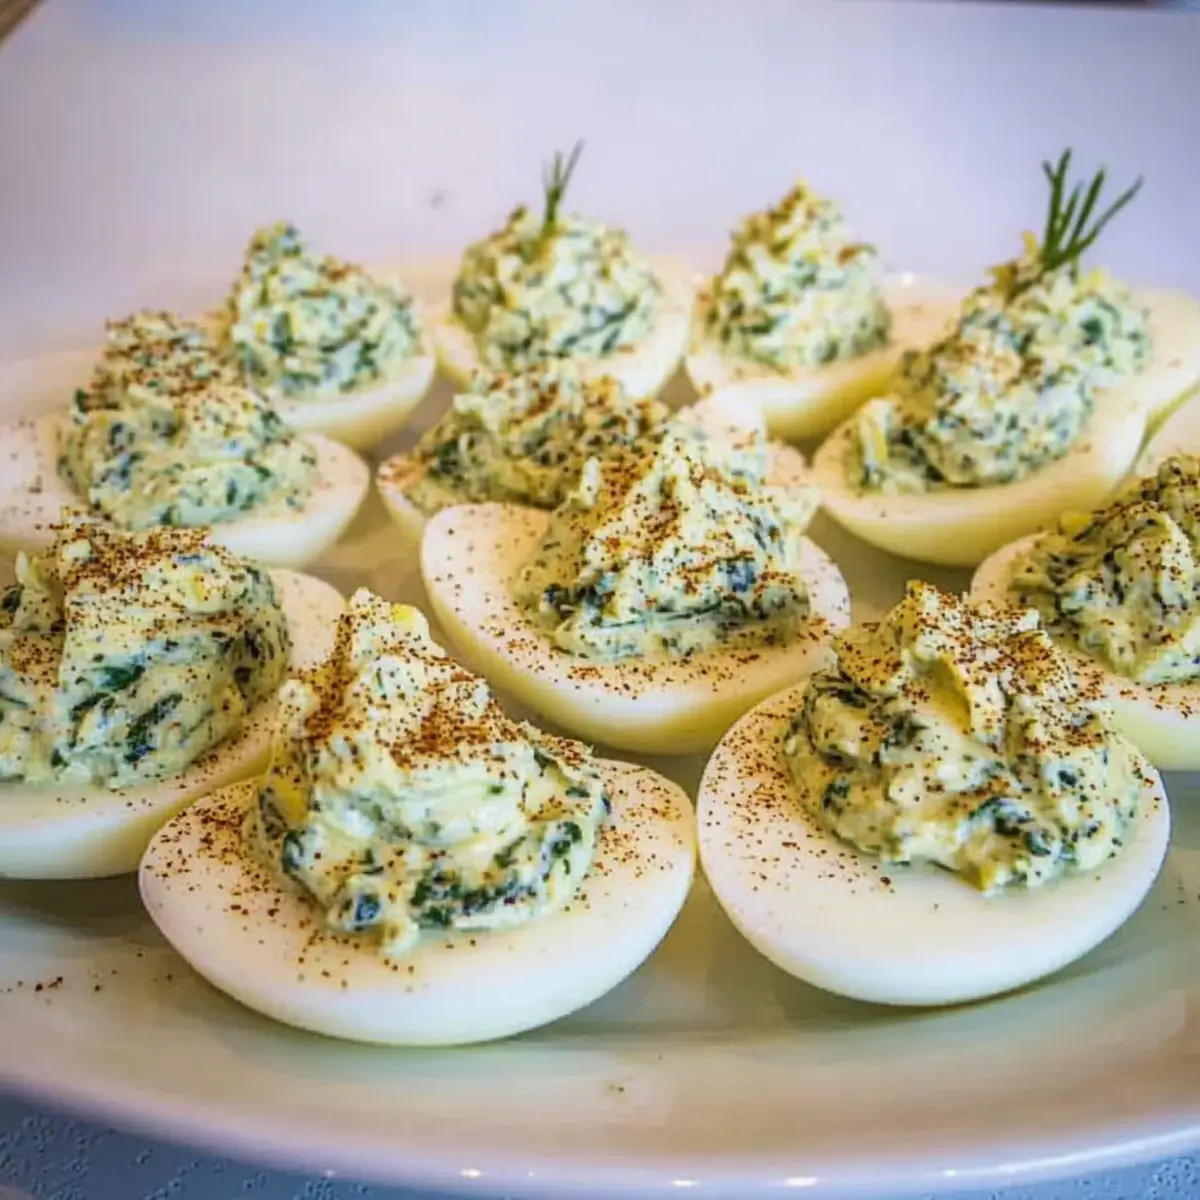
Using a spoon or a piping bag, carefully fill each of the halved egg whites with the yolk mixture, creating a beautiful mound. Aim for an elegant presentation, as this is part of what makes these Dirty Martini Deviled Eggs so sophisticated.
Step 8: Garnish and Serve
Finally, garnish your filled deviled eggs with extra chopped olives or a sprinkle of paprika or chili flakes for an eye-catching finish. Arrange them on a stylish platter and serve chilled, allowing your guests to enjoy these cocktail-inspired treats at your next gathering.
Dirty Martini Deviled Eggs Variations
Feel free to experiment and make these delicious Dirty Martini Deviled Eggs your own, enhancing flavors and textures!
- Gluten-Free: Use gluten-free mayonnaise or yogurt to keep them friendly for all diets without sacrificing taste.
- Spicy Kick: Add a splash of hot sauce to the yolk mixture for a fiery twist that’ll wake up your taste buds!
- Smoky Depth: Swap regular paprika for smoked paprika to infuse your deviled eggs with a rich, smoky flavor.
- Herbaceous Boost: Fold in fresh dill or chives with the olives for a refreshing herbal note that complements the briny flavors beautifully.
- Crunchy Topping: Top with crispy shallots or crumbled bacon for a delightful crunch that adds texture to each creamy bite.
- Tangy Twist: Incorporate a teaspoon of Dijon mustard into the filling for an unexpected zing that enhances the overall flavor harmony.
- Vegan-Friendly: Substitute eggs with avocado for a creamy and vegan alternative to this crowd-pleaser. Check out Turkish Eggs Discover for more exciting egg-free recipes!
- Chilled Variation: Serve these bountiful bites on a bed of ice with an extra olive garnish to keep them perfectly chilled.
Make Ahead Options
These Dirty Martini Deviled Eggs are perfect for meal prep, allowing you to save time and energy on busy days! You can hard-boil and peel your eggs up to 3 days before serving, storing them in an airtight container in the refrigerator to keep them fresh. Additionally, the yolk mixture can be prepared up to 24 hours in advance; simply mix all the ingredients and store in a sealed container. This way, when you’re ready to serve, all you need to do is fill the egg whites with the prepared yolk mixture and garnish them. With this approach, you can enjoy deliciously sophisticated appetizers without any last-minute stress!
Expert Tips for Dirty Martini Deviled Eggs
• Cool Completely: Ensure eggs are fully cooled before peeling; this prevents tearing the whites and makes for a cleaner presentation.
• Flavor Meld: For the best taste, prepare the yolk mixture a day ahead and let it sit in the fridge. Assemble just before serving to maintain freshness.
• Adjust the Brine: Feel free to modify the amount of olive brine based on your salt preference; too much can make the deviled eggs overly salty.
• Garnish Smartly: Don’t skip the garnish! A sprinkle of paprika or chili flakes not only adds taste but enhances the visual appeal of your Dirty Martini Deviled Eggs.
• Experiment with Spirits: Substitute gin for vodka or even try flavored variations like herbal gin to give your eggs a unique twist based on your favorite cocktail!
How to Store and Freeze Dirty Martini Deviled Eggs
Fridge: Store leftover Dirty Martini Deviled Eggs in an airtight container for up to 3 days. Keep them chilled until ready to serve for maximum freshness.
Make-Ahead: You can boil and peel the eggs up to 2 days before serving. Keep them submerged in water in a tightly sealed container to maintain moisture.
Yolk Mixture: Prepare the yolk filling a day in advance and store it in the fridge. Simply fill the egg whites when you're ready for serving to keep the texture perfect.
Freezer: It’s not recommended to freeze stuffed deviled eggs due to potential changes in texture, but you can freeze the yolk mixture in an airtight container for up to a month. Thaw in the fridge before using!
What to Serve with Dirty Martini Deviled Eggs
Elevate your gathering with complementary flavors and textures that enhance these delightful cocktail-inspired bites.
-
Crispy Crostini: Serve warm, toasted bread slices alongside for a crunchy element that balances the creaminess of the deviled eggs.
-
Savory Spiced Nuts: A mix of roasted nuts with spices provides a crunchy, salty contrast that's perfect for snacking between cocktails.
-
Fresh Garden Salad: A light, crisp salad featuring mixed greens and a tangy vinaigrette complements the rich flavors, adding freshness to the table.
-
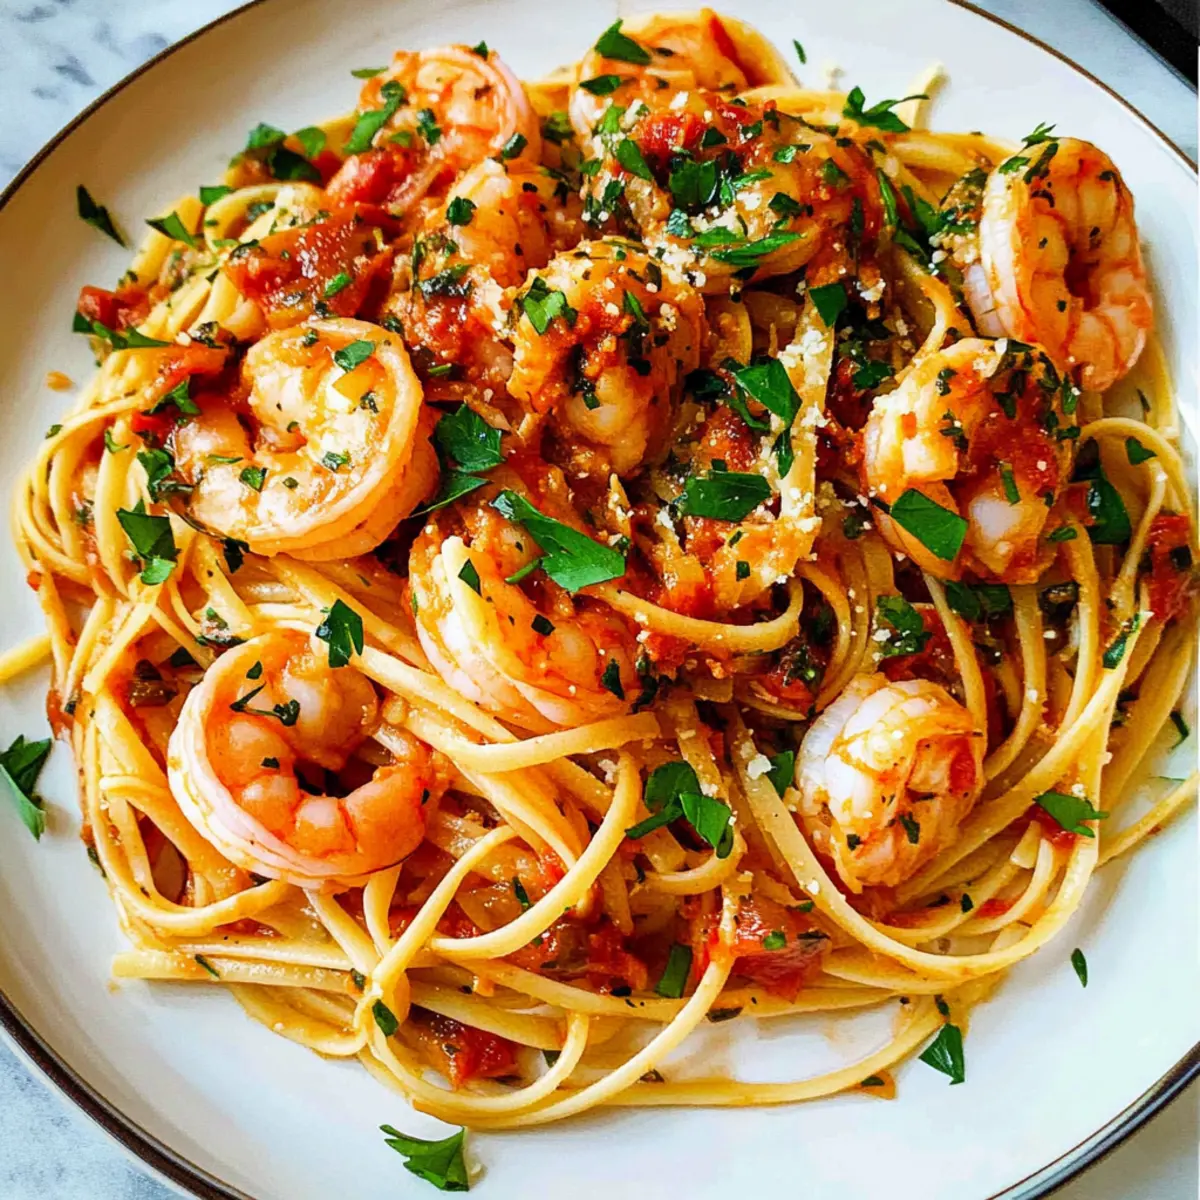
Classic Shrimp Cocktail: This elegant seafood dish pairs beautifully, echoing the sophisticated vibe of the dirty martini flavor.
-
Olive Tapenade: A rich tapenade adds an extra burst of briny flavor while echoing the olive garnish in the deviled eggs, enhancing the overall experience.
-
Cucumber Mint Refresher: Light and refreshing, this cool beverage complements the rich notes of the deviled eggs, providing a lovely palate cleanser.
With these delicious pairings, your Dirty Martini Deviled Eggs will shine even brighter as the star of your gathering!

Dirty Martini Deviled Eggs Recipe FAQs
How do I select the best eggs for deviled eggs?
Absolutely! Always choose large eggs that are fresh, as they will yield creamier yolks and more stable whites. Look for eggs with clean, uncracked shells and a consistent color. If you're worried about the eggs being too fresh, a slightly older egg can be easier to peel after boiling.
How should I store leftover Dirty Martini Deviled Eggs?
Very simply! Place your leftover Dirty Martini Deviled Eggs in an airtight container in the refrigerator. They can typically last for up to 3 days while staying nice and fresh. Just remember to keep them chilled until you're ready to enjoy them again!
Can I freeze the yolk mixture for these deviled eggs?
Certainly! You can freeze the yolk mixture in an airtight container for up to one month. To do this, allow the yolk mixture to cool completely, then scoop it into a container, ensuring there's minimal air inside. When you're ready to use it, simply thaw it out overnight in the refrigerator and give it a good stir before filling the egg whites.
What if my egg whites tear when I peel them?
Don't worry; it happens to the best of us! If you find that your egg whites are tearing, try running them under cold water as you peel. This can help loosen any stubborn bits of shell. Make sure you allow the eggs to cool completely in an ice bath after boiling, as this helps prevent tearing and retains their perfect shape.
Are these deviled eggs suitable for gluten-free diets?
Absolutely! As long as your mayonnaise is gluten-free, these Dirty Martini Deviled Eggs are a fantastic gluten-free appetizer. Always double-check any packaged ingredients to ensure they're safe for gluten-free diets. This appetizer is not just delicious but also accommodating to various dietary needs!
Dirty Martini Deviled Eggs
Ingredients
Equipment
Method
- Step 1: Boil the Eggs - Place the 6 large eggs in a medium-sized saucepan, cover with cold water, and bring to a rolling boil. Remove from heat.
- Step 2: Let the Eggs Sit - Cover with a lid and let the eggs sit undisturbed for 10 minutes.
- Step 3: Cool the Eggs - Transfer the eggs to an ice water bath and cool completely for about 5-10 minutes.
- Step 4: Peel and Halve the Eggs - Tap each egg to crack the shell, peel, and slice in half lengthwise. Scoop yolks into a bowl.
- Step 5: Prepare the Yolk Mixture - Add mayonnaise, gin, vermouth, olive brine, and garlic powder to the yolks. Mix until smooth and season to taste.
- Step 6: Fold in Olives and Parsley - Gently fold in olives and parsley, adjusting seasoning if needed.
- Step 7: Stuff the Egg Whites - Fill each egg white with the yolk mixture, aiming for an elegant presentation.
- Step 8: Garnish and Serve - Garnish with additional olives or paprika. Serve chilled for an impressive appetizer.