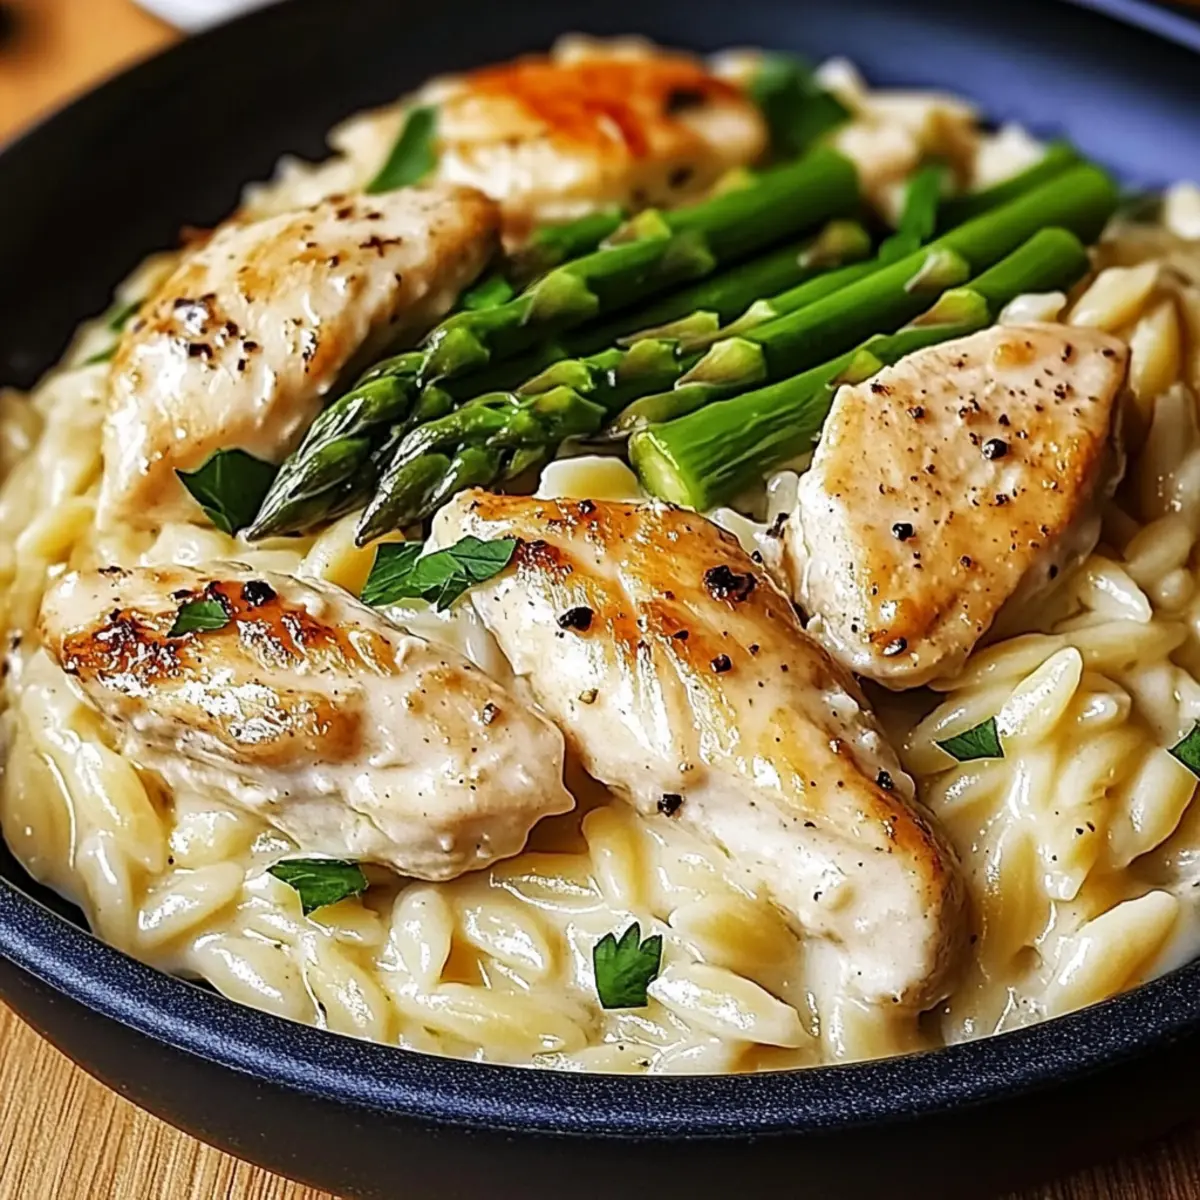
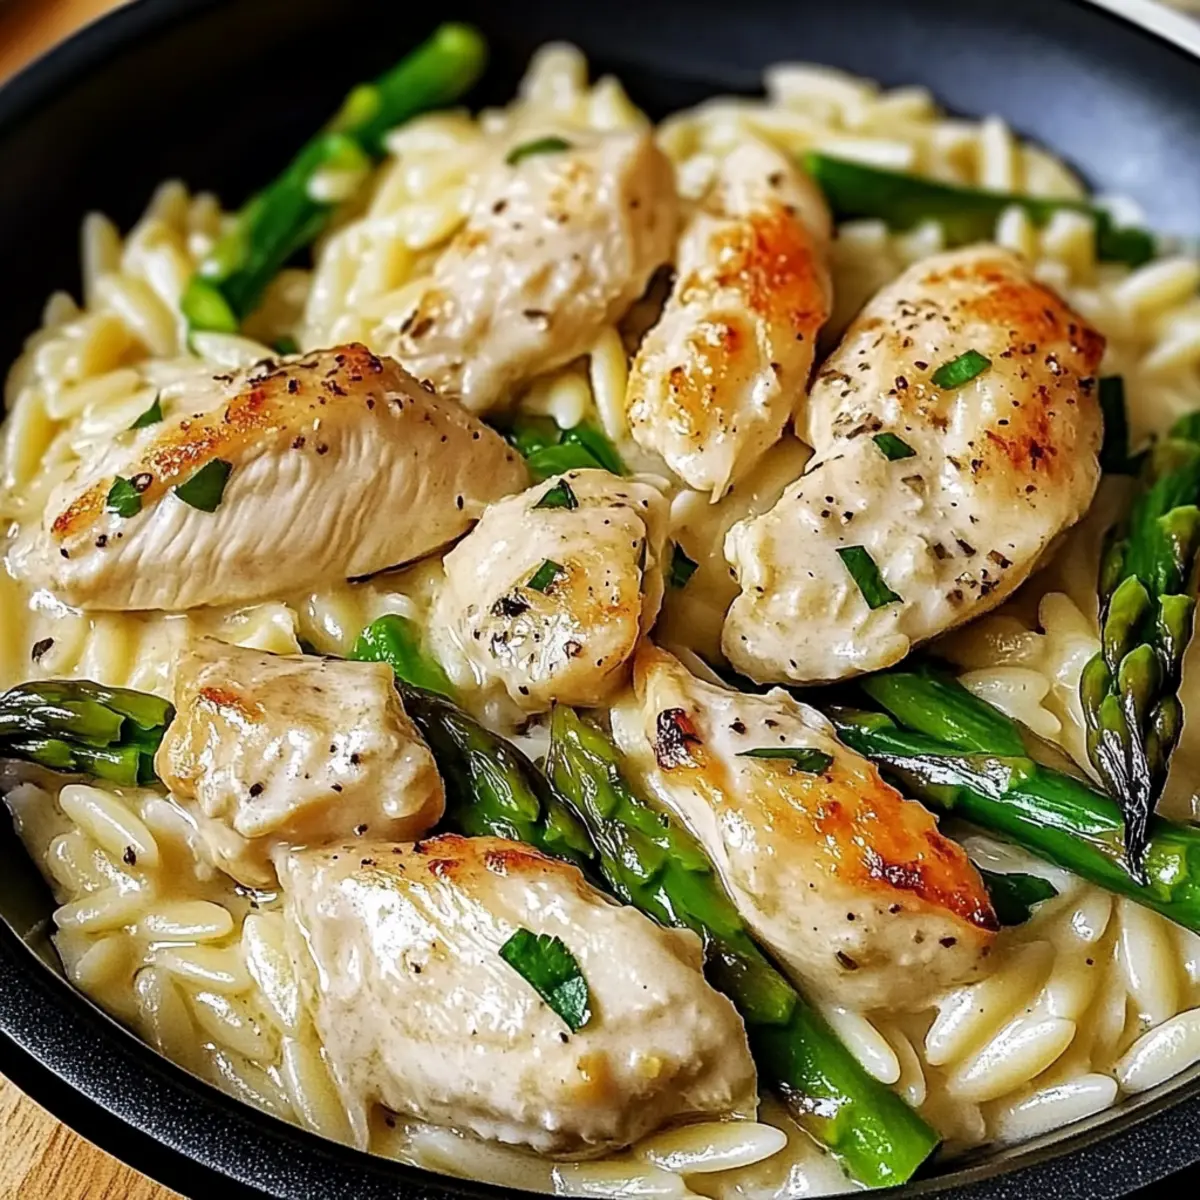
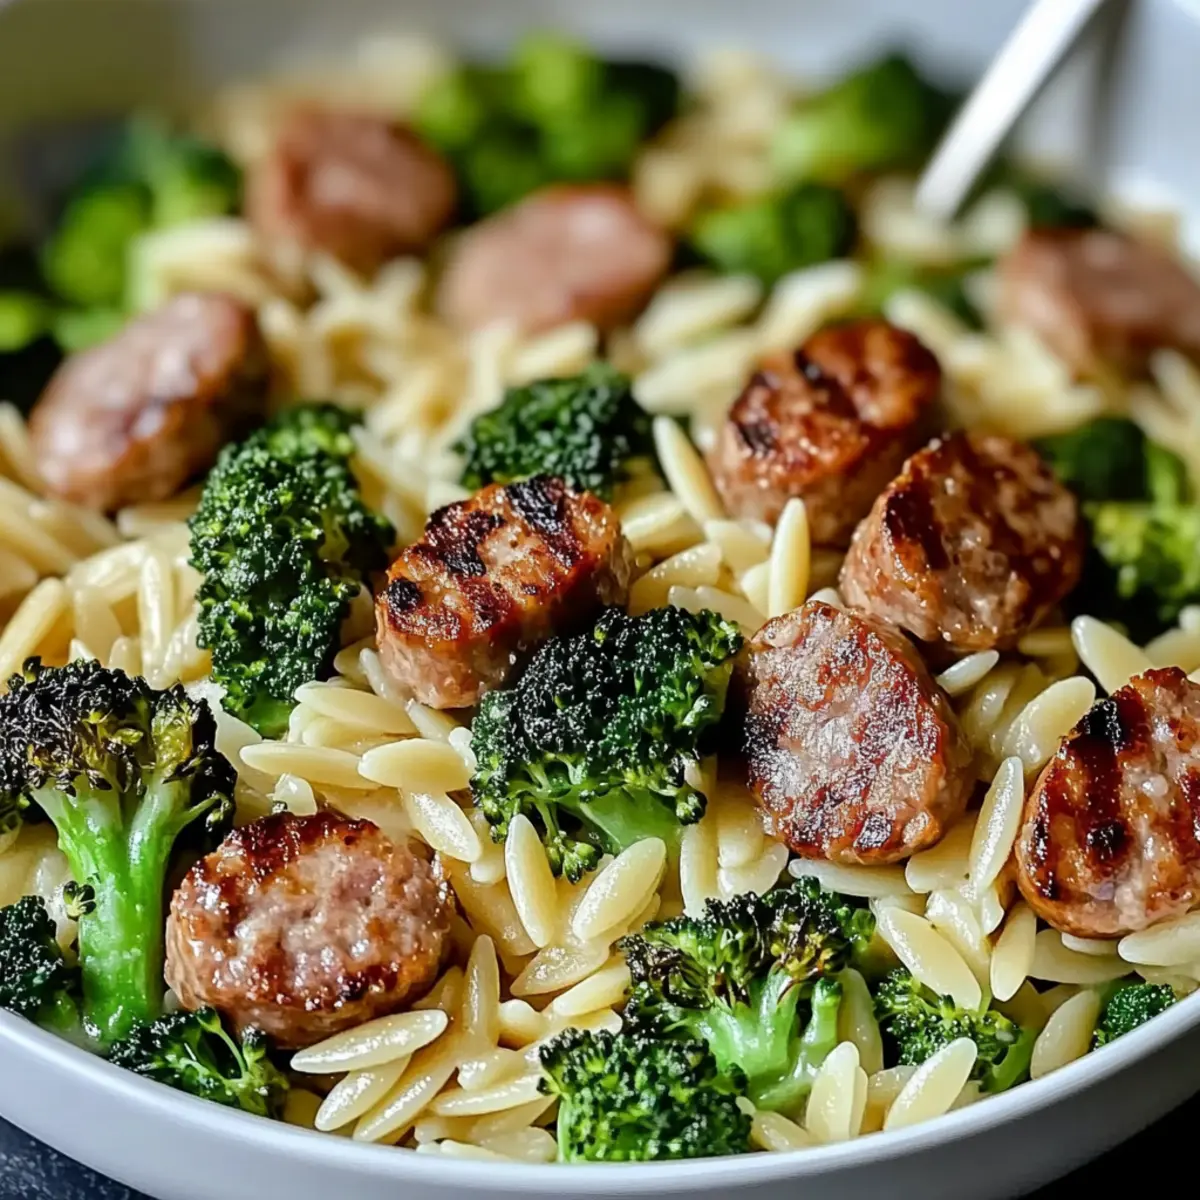
As I stirred the pot, the comforting aroma of garlic and savory sausage filled the kitchen, igniting my appetite for a quick yet satisfying meal. This One-Pot Chicken Sausage Broccoli Orzo is my go-to for those busy evenings when time is short, but the craving for homemade goodness is strong. Ready in just 30 minutes, this creamy delight seamlessly combines tender orzo, fresh broccoli, and flavorful chicken sausage—all in one pot, which means minimal cleanup! Plus, with easy variations for gluten-free diets or different sausage types, this recipe adapts effortlessly to your pantry and preferences. Can you think of a better way to make weeknight dinners a breeze? Let’s dive in and create a meal that warms both the heart and the belly!
Why is This Recipe a Must-Try?
Simplicity at its finest—only one pot needed, making cleanup a breeze. Creamy texture and inviting flavors come together in a delightful harmony, perfect for busy weeknights. Adaptable to suit various diets, whether you choose gluten-free or different sausage options like turkey or plant-based. Quick and satisfying, you can whip up this comforting meal in just 30 minutes. Crowd-pleaser with the whole family, it’s a dish that can turn any table into a cozy gathering. Pair it with a side salad or some crusty bread for a complete experience!
One-Pot Chicken Sausage Broccoli Orzo Ingredients
For the Orzo Base
• Orzo Pasta – Provides a comforting structure; opt for gluten-free orzo for a gluten-free version.
• Chicken Broth – The flavorful liquid that makes the orzo creamy and rich.
For the Sausage & Vegetables
• Chicken Sausage – Deliciously seasoned protein; Italian-style works best, but turkey or vegetarian options can be swapped.
• Olive Oil – Essential for sautéing; adds moisture and enhances the dish’s flavor.
• Broccoli Florets – Freshness and vibrant color; using fresh broccoli gives the best texture.
• Garlic – Infuses the dish with aromatic depth; adds a savory essence that elevates the flavors.
For Seasoning
• Italian Seasoning – A key mix for that quintessential Italian flavor; essential for a well-rounded taste.
• Salt & Pepper – Season to your preference; these staples enhance the overall flavor profile.
For Creaminess & Garnish
• Grated Parmesan Cheese – Adds richness and a creamy touch; for indulgence, consider a splash of heavy cream too.
• Fresh Parsley – For garnish, imparting a bright, fresh finish to the dish.
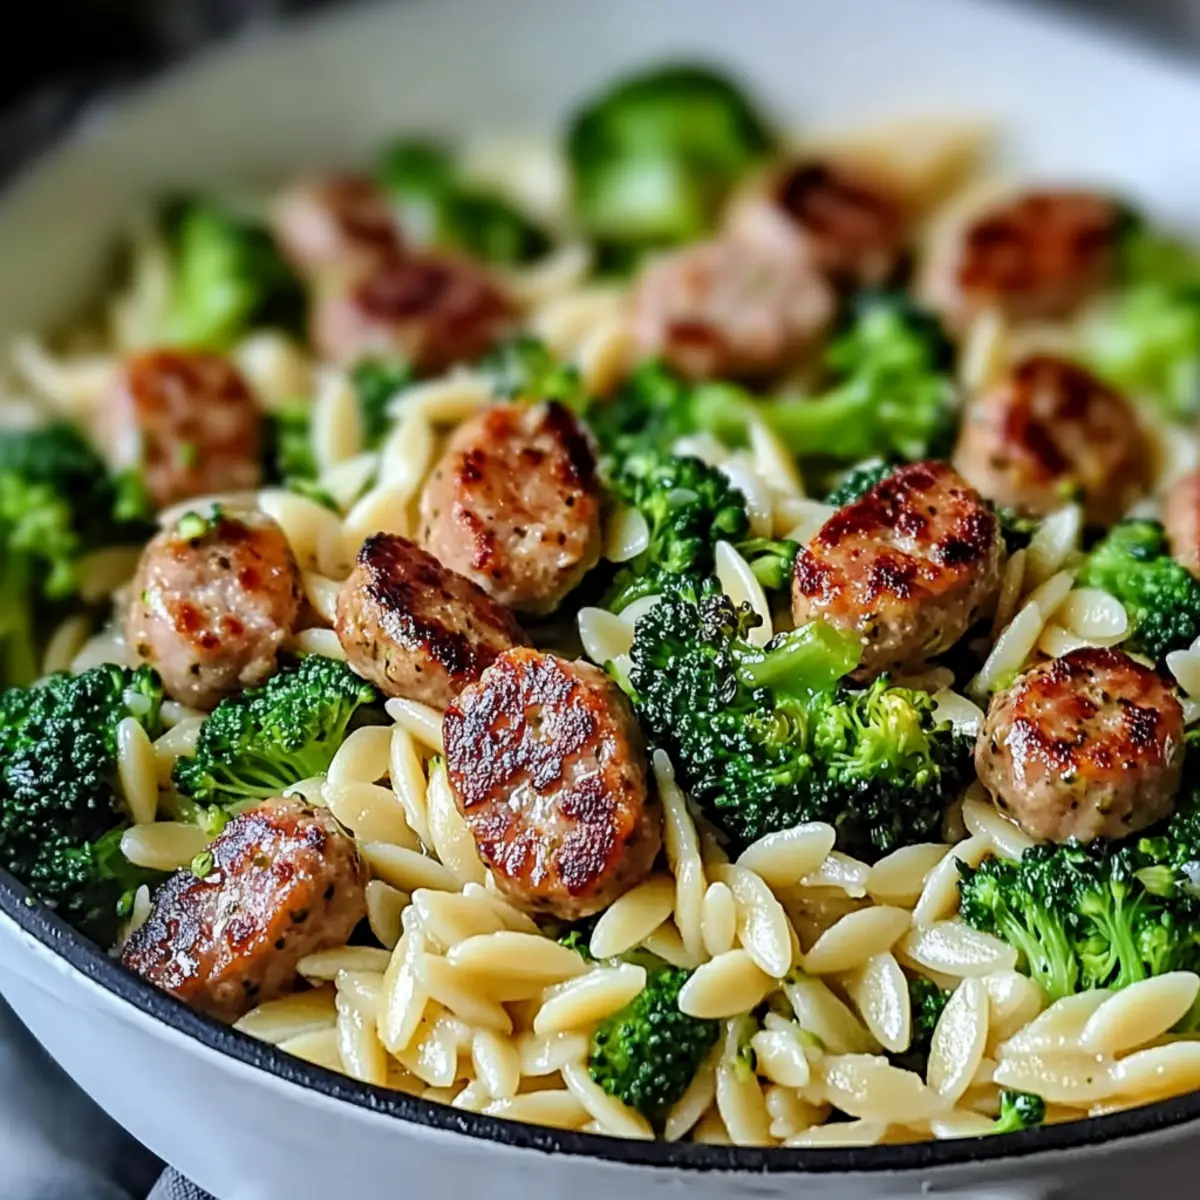
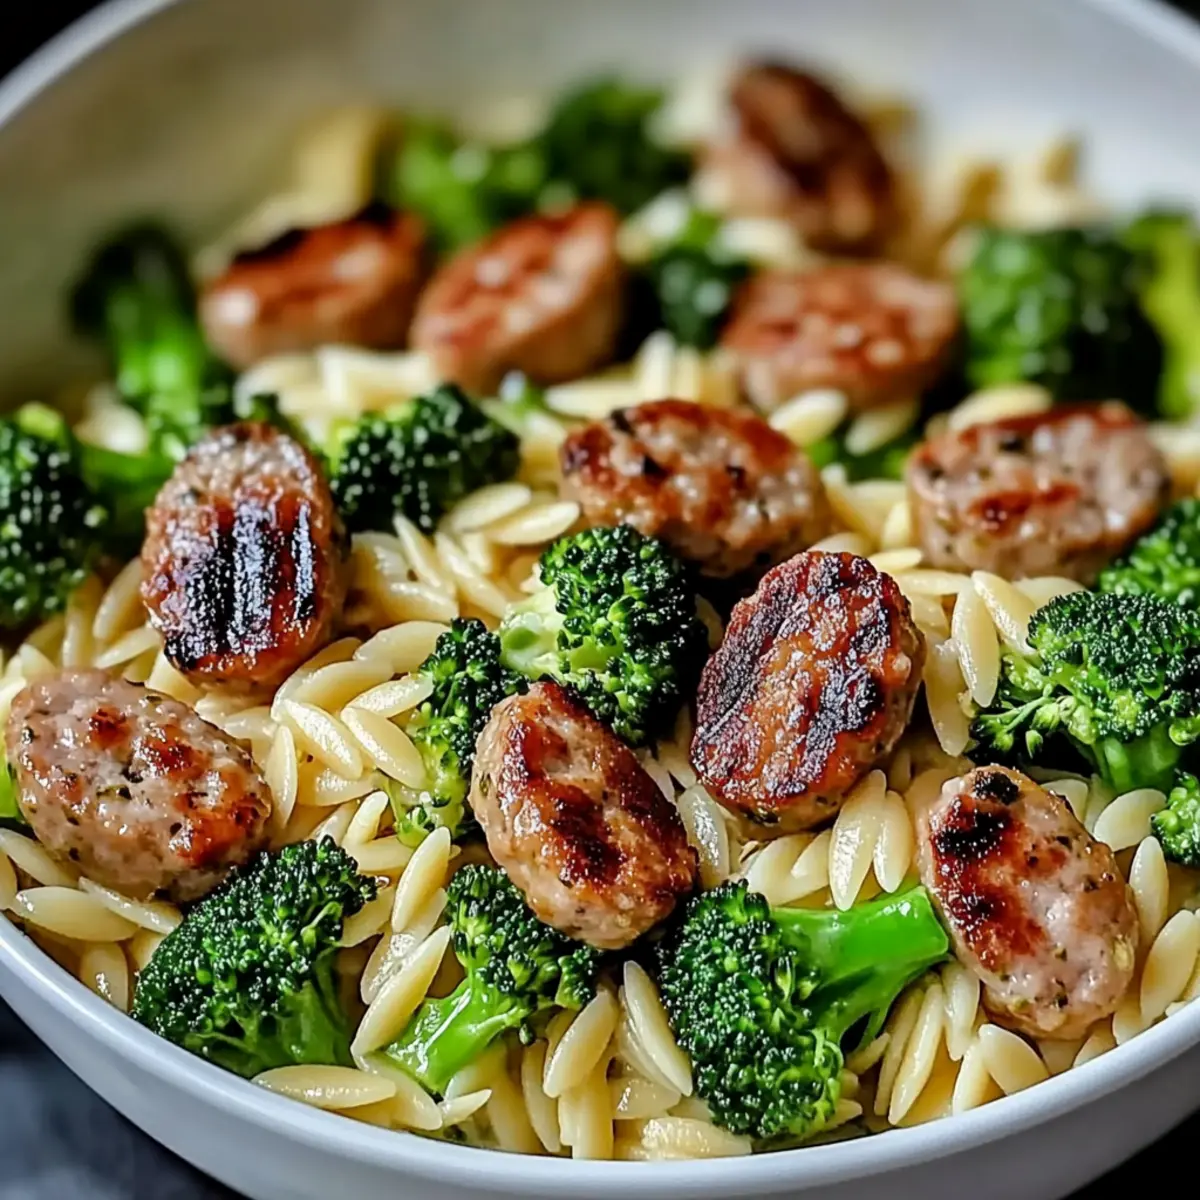
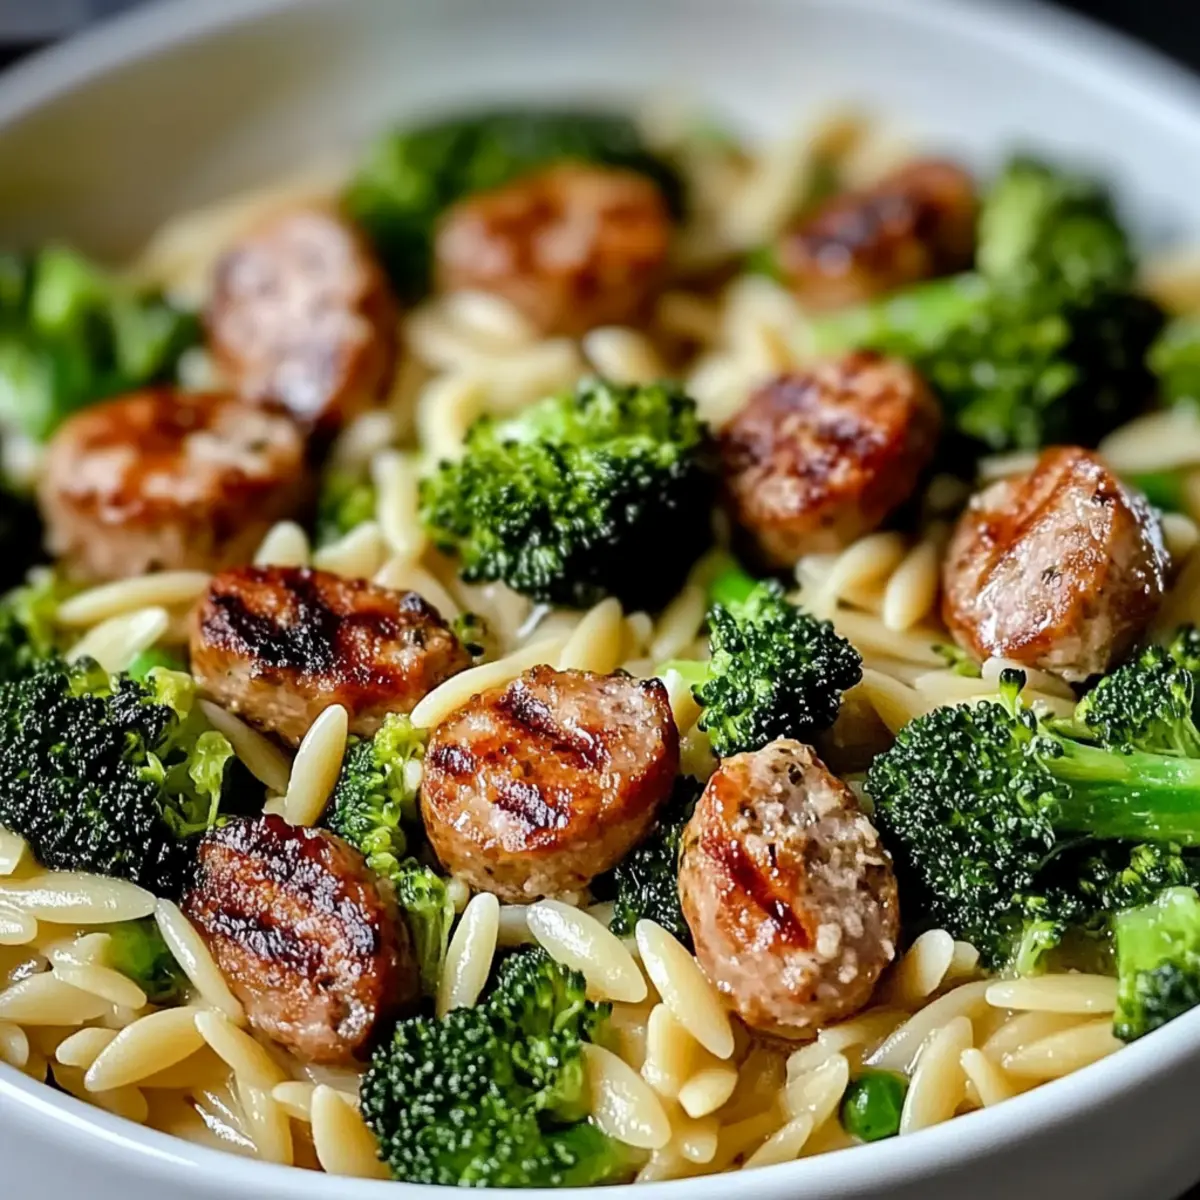
Each scoop of this One-Pot Chicken Sausage Broccoli Orzo promises a hearty and satisfying meal that’ll quickly become a weeknight favorite!
Step‑by‑Step Instructions for One-Pot Chicken Sausage Broccoli Orzo
Step 1: Heat the Oil
In a large pot, heat 1 tablespoon of olive oil over medium heat until it shimmers. This will take about 1-2 minutes. Once heated, make sure the oil coats the bottom of the pot well, preparing it to sauté the chicken sausage.
Step 2: Cook the Sausage
Add sliced chicken sausage to the pot and cook for about 5-7 minutes, stirring occasionally, until the sausage is browned and crispy on the edges. This will release flavorful oils into the pot, forming the base of your One-Pot Chicken Sausage Broccoli Orzo.
Step 3: Sauté the Garlic
Stir in 2 minced garlic cloves into the pot and sauté for an additional minute until fragrant, being careful not to burn the garlic. The aroma will fill your kitchen, signaling that it’s time to add the fresh broccoli.
Step 4: Add Broccoli Florets
Mix in 2 cups of broccoli florets to the pot and cook for 2-3 minutes, just until the broccoli turns bright green and is tender-crisp. This will keep a delightful freshness in your dish, balancing the savory sausage perfectly.
Step 5: Incorporate Orzo and Broth
Pour in 1 cup of orzo pasta, followed by 4 cups of chicken broth, 1 tablespoon of Italian seasoning, and salt and pepper to taste. Stir all the ingredients together, bringing the mixture to a gentle boil while ensuring the orzo is submerged in the broth.
Step 6: Simmer the Dish
Reduce the heat to low and cover the pot, allowing it to simmer for 10-12 minutes. Stir occasionally until the orzo absorbs the broth and becomes tender, creating a creamy texture essential for this One-Pot Chicken Sausage Broccoli Orzo.
Step 7: Finish with Cheese
Once the orzo is tender and the mixture is creamy, take the pot off the heat and stir in ½ cup of grated Parmesan cheese. The cheese will melt into the dish, adding richness and a delightful creaminess that makes this recipe truly comforting.
Step 8: Garnish and Serve
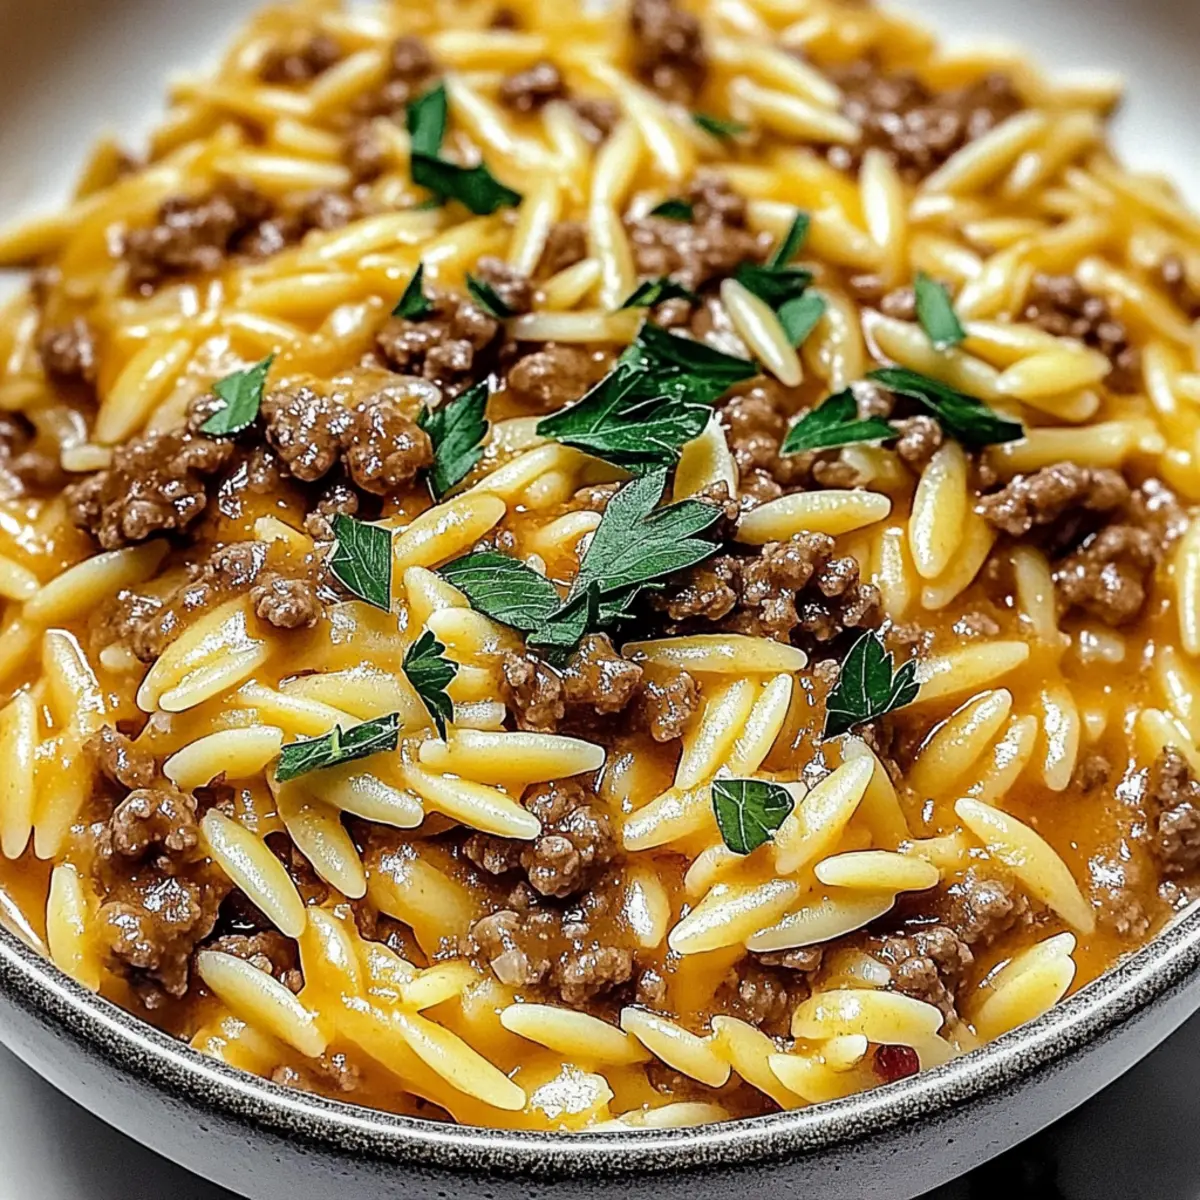
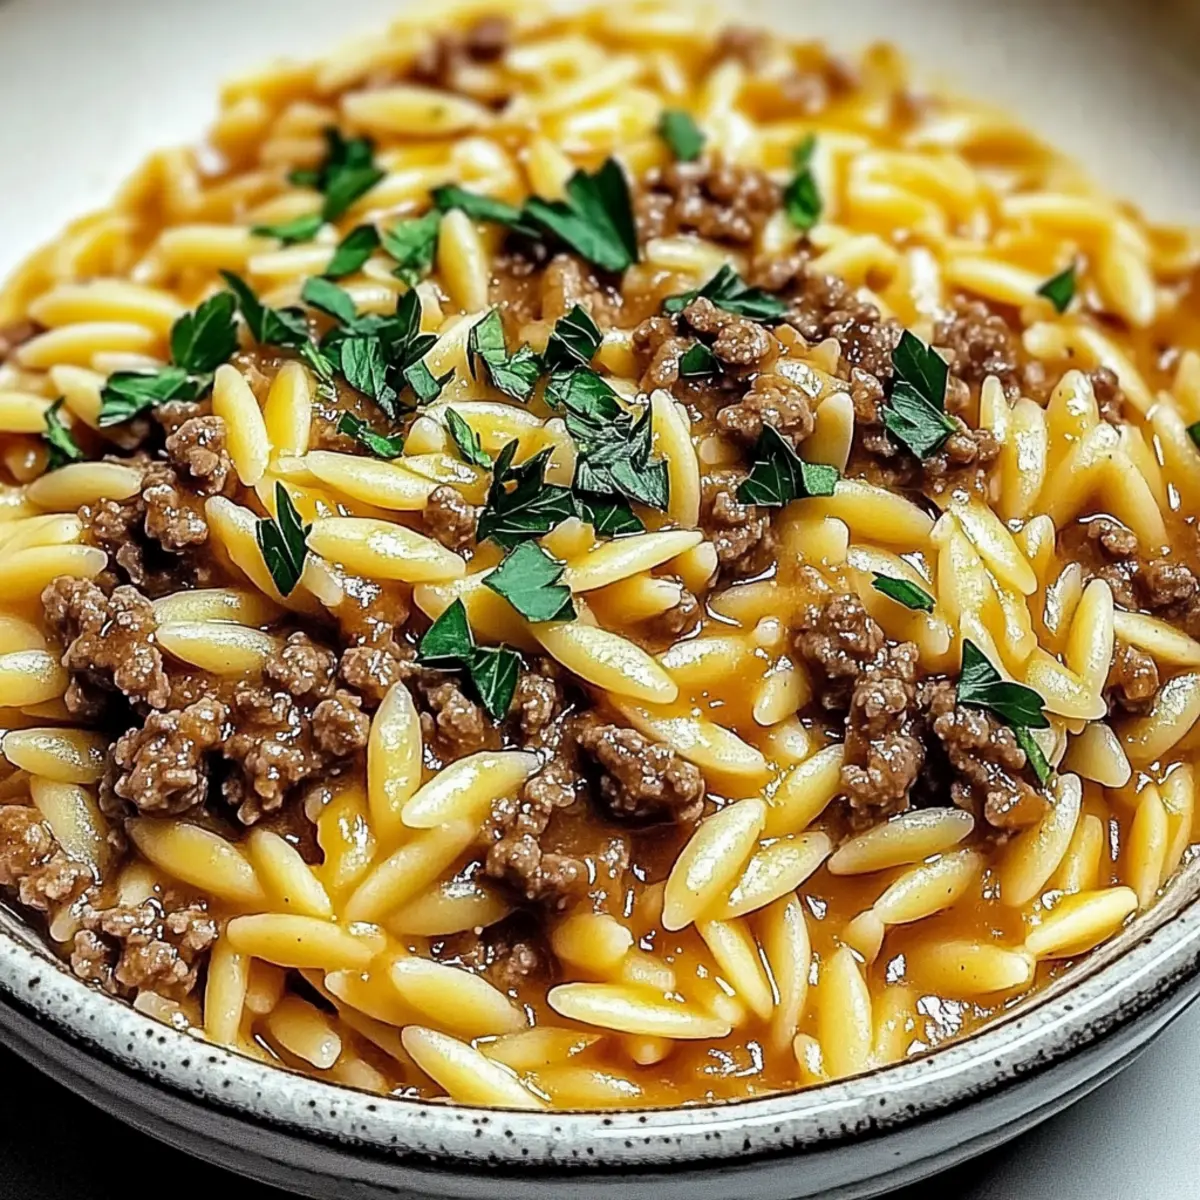
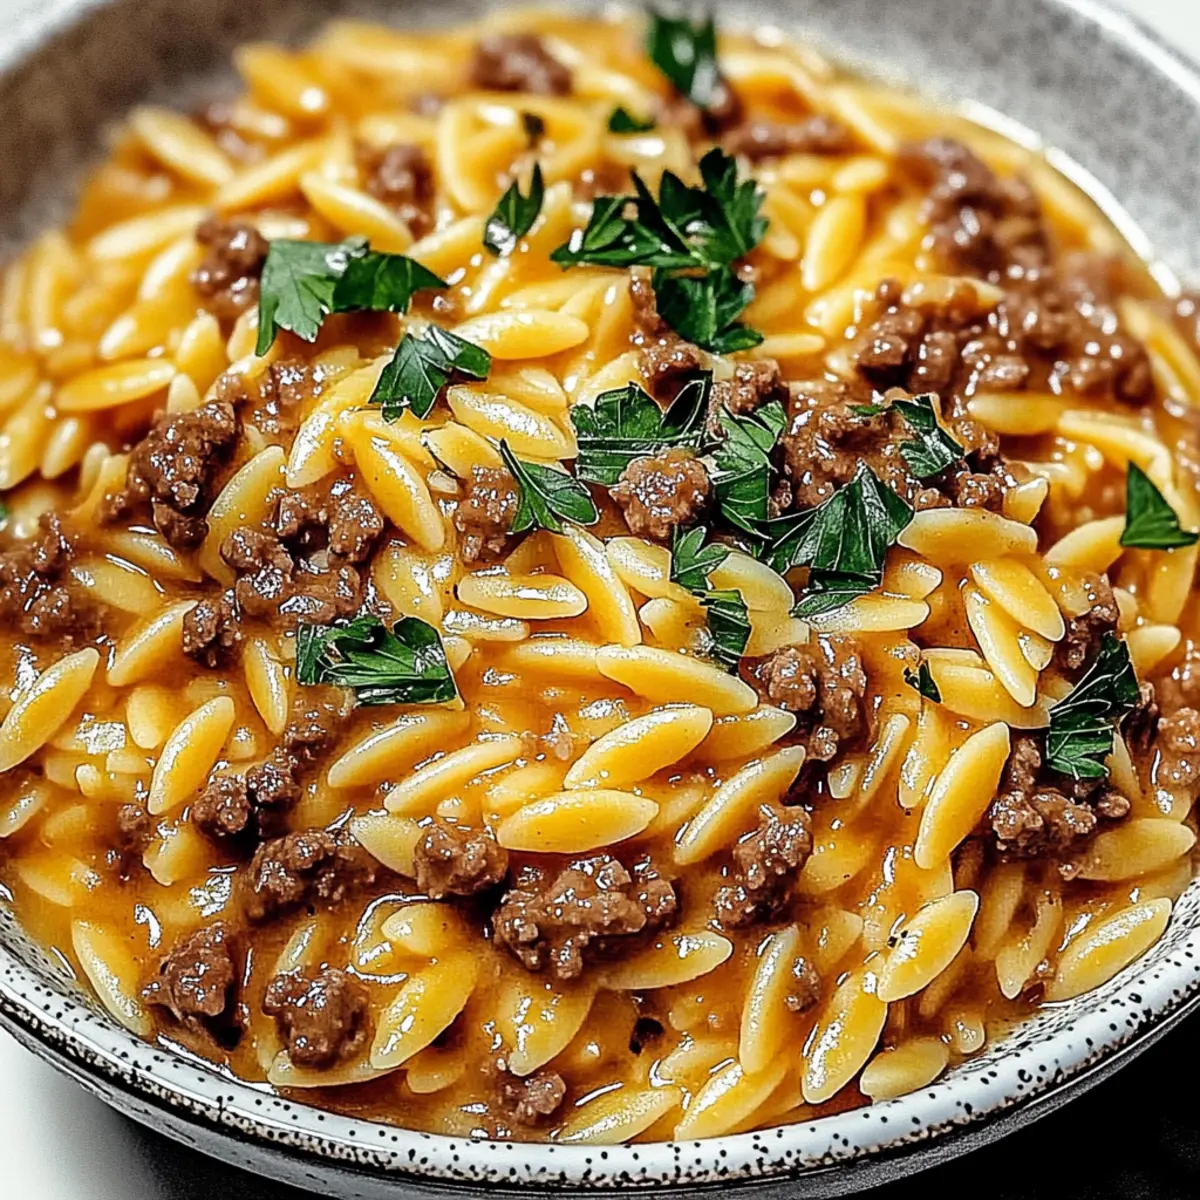
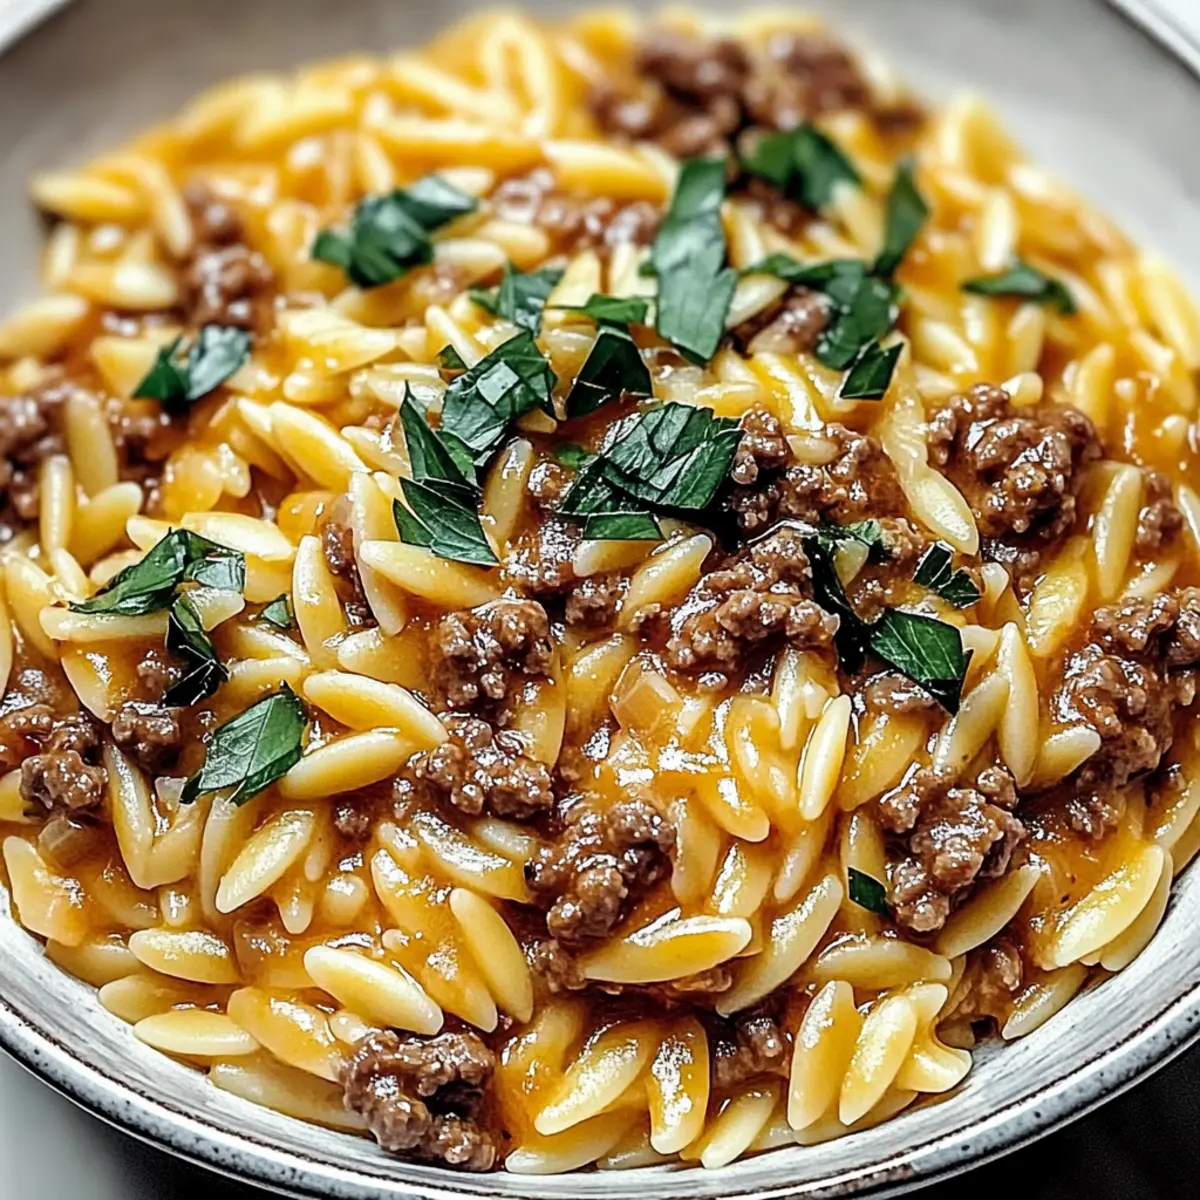
Ladle the One-Pot Chicken Sausage Broccoli Orzo into bowls and garnish with freshly chopped parsley for a pop of color. Serve while hot, enjoying the wonderful harmony of flavors and textures in this cozy weeknight meal.
What to Serve with One-Pot Chicken Sausage Broccoli Orzo
Enhance your cozy dinner with delightful sides that complement every bite of this comforting one-pot meal.
- Crusty Garlic Bread: Perfect for sopping up the creamy orzo, this crunchy yet soft bread adds an aromatic touch to your meal.
- Mixed Green Salad: A fresh mix of greens with a citrus vinaigrette brightens up the plate while balancing the rich flavors of the dish.
- Roasted Vegetables: Bring out earthy sweetness with colorful roasted veggies like carrots and bell peppers for added texture and nutrition.
For something sweet, consider the lightness of sorbet or a slice of lemon cheesecake. They’ll cleanse the palate and end your meal on a refreshing note! Enjoy an invigorating sparkling water or a light white wine to elevate the experience even further.
One-Pot Chicken Sausage Broccoli Orzo Variations
Feel free to get creative with this delicious dish! Each variation invites your taste buds on a new adventure.
- Gluten-Free: Substitute regular orzo with gluten-free orzo to cater to gluten sensitivities without losing the creamy goodness.
- Sausage Swap: Try turkey sausage or a plant-based alternative for a lighter, health-conscious version. These options still pack a flavorful punch!
- Add Greens: Toss in a handful of fresh spinach or kale along with the broccoli for extra nutrients and vibrant color. The greens wilt beautifully, giving a lovely, fresh contrast.
- Herb-Infused: Experiment with fresh herbs like basil or thyme instead of Italian seasoning for a unique flavor profile that elevates the dish. A hint of fresh herb can change everything!
- Creamy Twist: Add a splash of heavy cream along with the Parmesan cheese for a richer, more indulgent version of this comforting meal. Trust me, you won't regret it!
- Heat Things Up: Sprinkle in some red pepper flakes or chopped jalapeños to spice up your orzo dish, creating a delightful kick. A little heat can transform comforting into exciting!
- Flavor Boost: Incorporate sun-dried tomatoes or artichoke hearts for some tangy and earthy notes that complement the sausages perfectly. The added flavor complexity is downright delicious!
- Cheese Lovers: Use a blend of cheeses like mozzarella and Gruyère instead of just Parmesan for a cheesy medley that oozes comfort in every bite. Who can resist more cheese, right?
With these variations and substitutions, your One-Pot Chicken Sausage Broccoli Orzo can adapt beautifully to any craving or dietary need. If you find yourself inspired by different flavor profiles, why not explore sautéed garlic with a hint of spice for an extra layer? There’s always something new to discover!
Make Ahead Options
These One-Pot Chicken Sausage Broccoli Orzo is perfect for meal prep enthusiasts! You can chop the broccoli and slice the chicken sausage up to 3 days in advance, storing them in airtight containers in the refrigerator to maintain their freshness. Additionally, you can measure out the orzo and seasonings, combining them in a small jar for quick access. When you’re ready to cook, simply heat the olive oil, add the sausage, and follow the remaining steps. This way, you’ll enjoy a homemade, comforting dish with minimal effort on busy weeknights—just as delicious and satisfying as if made fresh!
Tips for the Best One-Pot Chicken Sausage Broccoli Orzo
• Use Fresh Broccoli: Fresh broccoli florets provide the best texture and flavor in this dish. Avoid frozen, as they can become mushy.
• Sauté Right: Ensure to cook the chicken sausage until it's nicely browned. This step adds delightful depth to your One-Pot Chicken Sausage Broccoli Orzo.
• Watch the Broth: Adjust the amount of chicken broth based on your desired creaminess. If it gets too thick while sitting, simply add a splash of broth or water when reheating.
• Experiment with Sausage: Don’t hesitate to try different sausage options. Turkey or plant-based varieties work wonderfully, catering to various dietary preferences.
• Season Generously: Taste as you go—adding salt and pepper at each stage enhances the flavor profile and brings out the deliciousness in each ingredient.
How to Store and Freeze One-Pot Chicken Sausage Broccoli Orzo
Room Temperature: Keep this dish out for no more than 2 hours after cooking to prevent spoilage.
Fridge: Store leftovers in an airtight container for up to 3-4 days. When reheating, add a splash of broth to restore creaminess.
Freezer: Portion the orzo into freezer-safe containers and freeze for up to 2 months. Thaw in the fridge overnight and reheat gently on the stovetop.
Reheating: Reheat on medium heat, adding a little broth or water to loosen the orzo, ensuring a creamy texture as you enjoy this delicious One-Pot Chicken Sausage Broccoli Orzo again!
One-Pot Chicken Sausage Broccoli Orzo Recipe FAQs
How do I choose the right orzo pasta?
Absolutely! When selecting orzo, look for a brand that specifically states "gluten-free" if you're making a gluten-free version. The important thing is to check the ingredient list for any potential allergens, especially if you have dietary restrictions.
How long can I store leftovers of One-Pot Chicken Sausage Broccoli Orzo?
You can store the One-Pot Chicken Sausage Broccoli Orzo in an airtight container in the fridge for up to 3-4 days. While it's best enjoyed fresh, just remember that the orzo might thicken as it sits. When reheating, you can always add a splash of broth or water to bring back that creaminess!
Can I freeze One-Pot Chicken Sausage Broccoli Orzo?
Very! To freeze, portion the dish into freezer-safe containers, ensuring to leave some space at the top for expansion. You can freeze it for up to 2 months. When you’re ready to enjoy, simply thaw it in the fridge overnight, and reheat on medium heat with a bit of broth or water to achieve that creamy texture again.
What if my orzo becomes too thick during cooking?
No worries! If the orzo turns out too thick while cooking, adding a bit more broth or water during the simmering stage can help loosen it up. Just keep an eye on it; a gentle stir every few minutes will make sure nothing sticks to the bottom.
Are there any dietary considerations I should keep in mind?
Definitely! If you have any allergies or sensitivities, the chicken sausage and chicken broth can be swapped for alternatives like turkey sausage and vegetable broth for a lighter option. If cooking for pets, make sure to avoid seasoning the dish heavily, as garlic can be harmful to them.
Can I use frozen broccoli instead of fresh?
While fresh broccoli gives the best flavor and texture, you can use frozen broccoli in a pinch. Just be aware that frozen broccoli will require a shorter cooking time and may become mushy, so add it in later when you're cooking the sausage to keep it bright and crunchy.
One-Pot Chicken Sausage Broccoli Orzo for Cozy Weeknight Wins
Ingredients
Equipment
Method
- In a large pot, heat 1 tablespoon of olive oil over medium heat until it shimmers.
- Add sliced chicken sausage to the pot and cook for about 5-7 minutes, stirring occasionally.
- Stir in 2 minced garlic cloves and sauté for an additional minute until fragrant.
- Mix in 2 cups of broccoli florets and cook for 2-3 minutes until bright green.
- Pour in 1 cup of orzo pasta, followed by 4 cups of chicken broth, 1 tablespoon of Italian seasoning, and salt and pepper.
- Reduce the heat to low, cover the pot, and let simmer for 10-12 minutes.
- Once tender, stir in ½ cup of grated Parmesan cheese.
- Garnish with freshly chopped parsley and serve while hot.