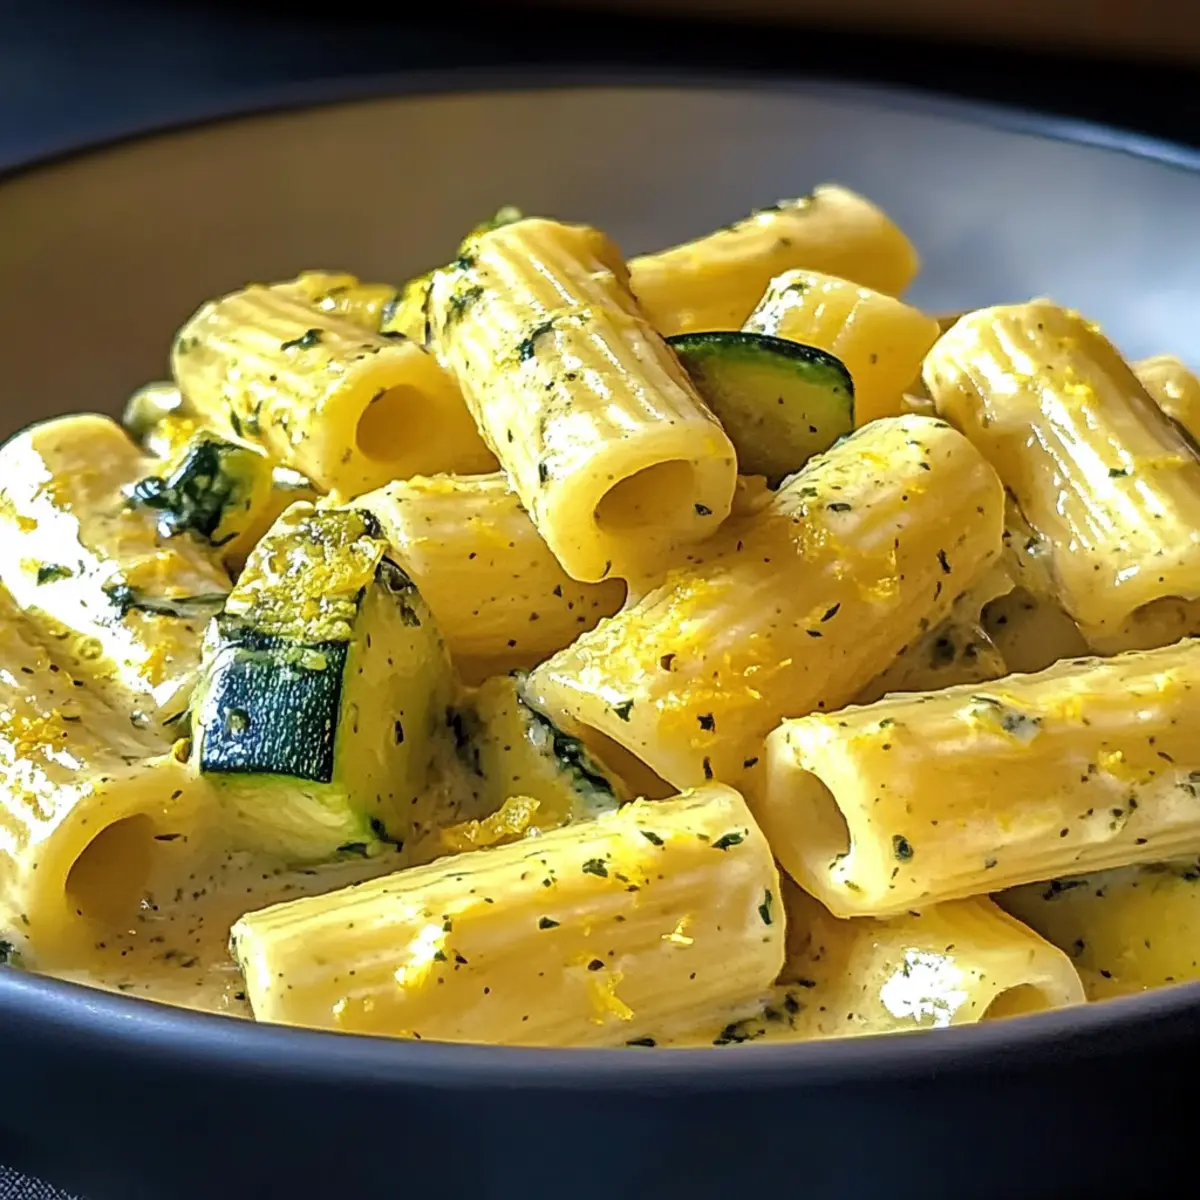
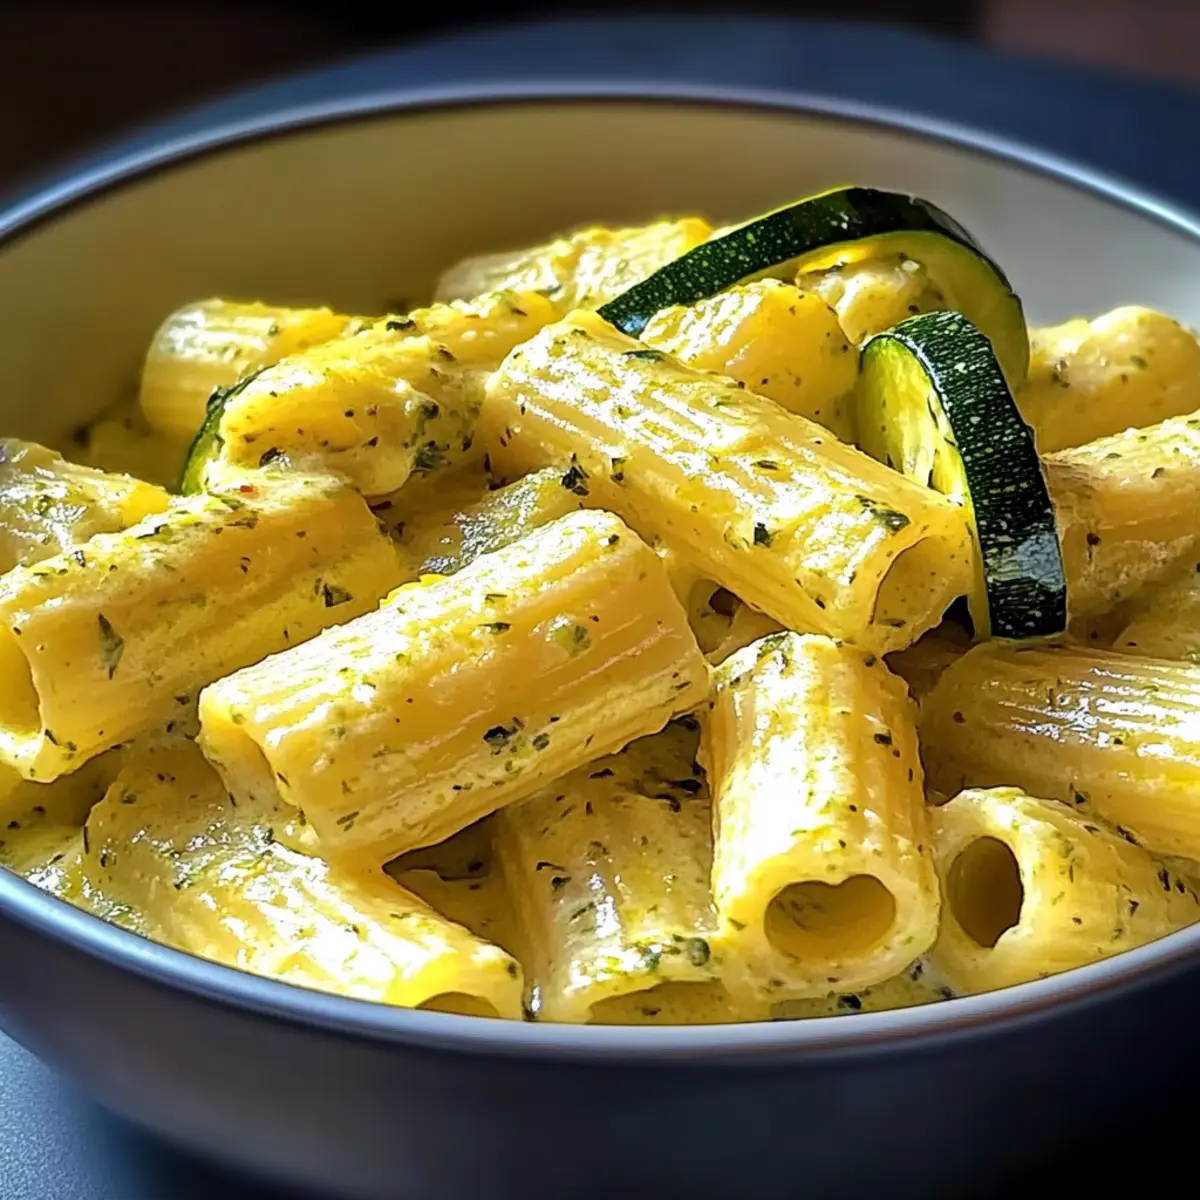
The moment I lifted the lid off my skillet, a wave of garlic and fresh zucchini scent enveloped me like a warm hug. This is exactly the feeling I chase when cooking—finding comfort in the jazz of delicious aromas. Introducing my Lemon Zucchini Rigatoni, a dish that's as quick and easy to whip up as it is flavorful. In under 30 minutes, you can serve up creamy bliss adorned with bright lemon notes and crunchy zucchini, making it the perfect vegetarian meal for any busy weeknight. Not only is it a treat for your taste buds, but it’s also customizable, allowing you to tailor it to your dietary needs or whims. Ready to transform dinner into a delightful experience? Let’s create a plate that invites you to savor every bite!
Why is Lemon Zucchini Rigatoni a Must-Try?
Quick & Easy: With prep and cooking time under 30 minutes, this dish is perfect for busy weeknights when you crave a great meal without the fuss.
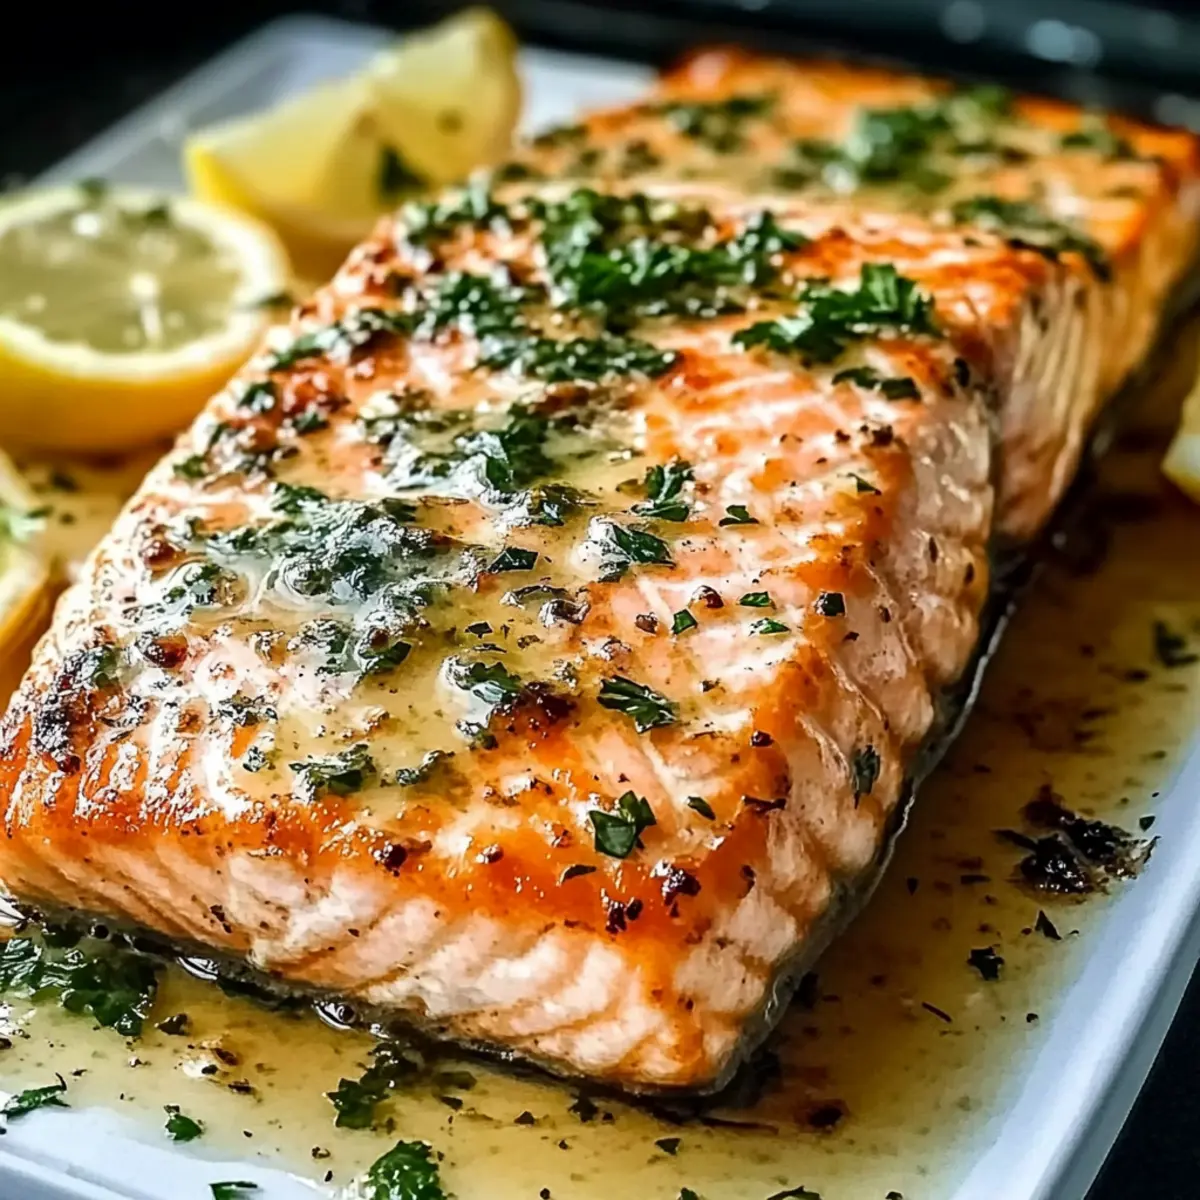
Bursting with Flavor: The combination of fresh garlic, zucchini, and zesty lemon creates a delightful taste that brightens your dinner table.
Customizable: Whether you’re adding grilled chicken or choosing a vegan cheese option, this recipe adapts beautifully to your dietary preferences.
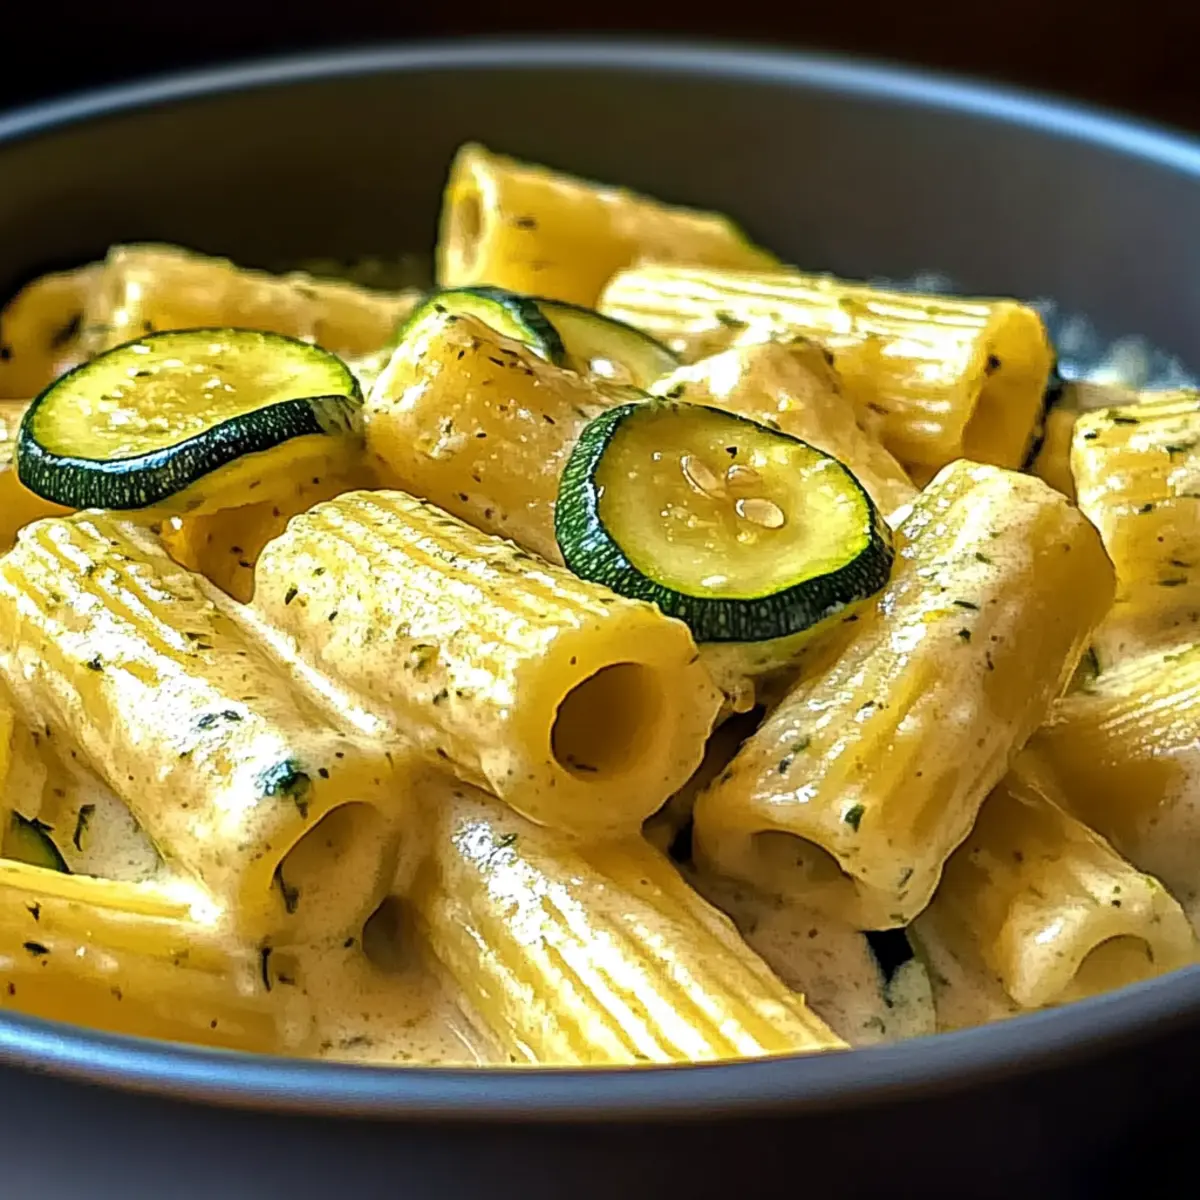
Comforting Texture: Creamy sauce envelops the rigatoni, while the tender zucchini adds a satisfying crunch—an irresistible combination!
Nutrient-Packed: Each serving is not only delicious but also light, clocking in at around 350 calories while delivering a healthy dose of veggies.
For more vibrant flavors, consider serving it alongside a refreshing arugula salad or crispy garlic bread. Enjoy a dinner that's wholesome, delicious, and oh-so-simple!
Lemon Zucchini Rigatoni Ingredients
For the Pasta
• Rigatoni Pasta – This hearty shape holds the creamy sauce perfectly; opt for high-quality, bronze-cut types for added flavor.
For the Sauce
• Extra Virgin Olive Oil – Adds richness and depth; choose a high-quality oil for the best taste.
• Garlic – Fresh minced garlic elevates the dish’s flavor; always use fresh for the best results.
• Lemon Juice – Brightens the dish with zesty notes; opt for freshly squeezed for maximum freshness.
• Salt and Pepper – Essential for balancing flavors; adjust according to your personal taste preferences.
For the Veggies
• Zucchini – Choose firm, vibrant zucchinis that add both texture and flavor; avoid soft ones for the best crunch.
For the Finish
• Parmesan Cheese – Freshly grated for a creamy depth that melts beautifully into the sauce; a key player in the Lemon Zucchini Rigatoni experience!
Feel free to get creative with your additions or substitutions, making this dish perfectly yours! Enjoy the process and the delightful results!
Step‑by‑Step Instructions for Lemon Zucchini Rigatoni
Step 1: Boil the Pasta
Begin by bringing a large pot of salted water to a rolling boil over high heat. Once boiling, add your rigatoni pasta and cook it for 10–12 minutes, or until al dente. As the pasta cooks, prepare to reserve 1 cup of the pasta water, which is crucial for creating that creamy sauce later.
Step 2: Sauté the Garlic and Zucchini
While the rigatoni is cooking, heat a large skillet over medium heat and add a generous splash of extra virgin olive oil. Once hot, add minced garlic and sauté for about 1 minute until fragrant and golden, taking care not to burn it. Next, toss in sliced zucchini and cook for approximately 5 minutes, stirring often until it’s tender yet still slightly crisp.
Step 3: Combine the Ingredients
Carefully drain the cooked rigatoni, ensuring to reserve that vital cup of pasta water. Add the drained rigatoni directly to the skillet with the sautéed garlic and zucchini. Pour in freshly squeezed lemon juice and gently toss everything together for 2–3 minutes, letting the flavors meld beautifully and the pasta absorb that zesty goodness.
Step 4: Incorporate the Cheese
Sprinkle freshly grated Parmesan cheese over the rigatoni mixture while ensuring it’s evenly distributed. Stir gently, allowing the cheese to melt into the creamy sauce. If the dish seems a bit dry, gradually add the reserved pasta water, stirring continuously until the desired creamy consistency is achieved.
Step 5: Season and Finalize
Taste your Lemon Zucchini Rigatoni and season it with salt and freshly cracked pepper according to your preferences. Give it another good toss to ensure all flavors are well combined. If needed, adjust the seasoning and add more cheese for an extra indulgent touch!
Step 6: Serve and Garnish
Plate your vibrant Lemon Zucchini Rigatoni, and for a delightful finish, sprinkle more grated Parmesan on top. If you like, garnish with fresh herbs like basil or parsley for an added burst of color and flavor. Serve immediately and prepare to enjoy this quick and creamy vegetarian delight!
How to Store and Freeze Lemon Zucchini Rigatoni
• Room Temperature: Lemon Zucchini Rigatoni is best enjoyed fresh. If left out, consume within 2 hours to ensure quality and safety.
• Fridge: Store leftovers in an airtight container for up to 3 days. Allow the dish to cool completely before sealing to maintain freshness.
• Freezer: For longer storage, freeze portions in freezer-safe containers for up to 2 months. When ready to enjoy, thaw overnight in the fridge before reheating.
• Reheating: Gently reheat in a skillet over low heat, adding a splash of reserved pasta water as needed to restore creaminess to the sauce.
Expert Tips for Lemon Zucchini Rigatoni
• Pasta Water Magic: Reserve pasta water before draining; it’s the secret to achieving a silky, creamy sauce that clings beautifully to the rigatoni.
• Zucchini Perfection: Cook zucchini just until tender but still slightly crunchy; overcooking can make it mushy and less flavorful.
• Freshness Matters: Always use fresh ingredients, especially garlic and lemon juice, to elevate the flavor profile of your Lemon Zucchini Rigatoni.
• Season Last: Adjust the salt and pepper only after mixing all ingredients. This ensures a balanced flavor throughout the dish.
• Customizable Flavor: Feel free to add proteins like grilled chicken or chickpeas for a heartier meal; this dish is wonderfully adaptable!
Make Ahead Options
These Lemon Zucchini Rigatoni are perfect for busy home cooks looking to save time during their week. You can prep the zucchini and garlic up to 24 hours in advance; just chop the veggies and store them in an airtight container in the refrigerator to maintain their freshness. If you want to take it a step further, cook the rigatoni and toss it in a bit of olive oil to prevent sticking, storing it in the fridge for up to 3 days. When you’re ready to serve, simply sauté the garlic and zucchini, add the pre-cooked pasta, and finish with lemon juice and Parmesan as directed for that creamy, delicious taste!
What to Serve with Lemon Zucchini Rigatoni
Pair your Lemon Zucchini Rigatoni with these delightful accompaniments for a complete meal experience that comforts the soul and excites the palate.
- Crispy Garlic Bread: This warm, buttery delight is perfect for sopping up the creamy sauce, adding a crunchy texture contrast to your dish.
- Arugula Salad: The peppery bite of fresh arugula balances the richness of the pasta, providing a refreshing crunch with a drizzle of lemon vinaigrette.
- Roasted Cherry Tomatoes: Sweet and tangy, these tomatoes burst with flavor and add a beautiful pop of color, enhancing the overall presentation of your meal.
- Grilled Lemon Chicken: For some protein, tender grilled chicken adds a savory depth and a hint of smokiness, beautifully complementing the lemony zest of the rigatoni.
- Chilled White Wine: A crisp Sauvignon Blanc or Pinot Grigio pairs wonderfully, lifting the flavors and adding a refreshing touch as you dine.
- Zucchini Fritters: Mirror the zucchini in your pasta with crispy fritters that offer a crunchy twist and an extra serving of vegetables to your plate.
- Pesto Flatbread: A slice of warm flatbread spread with basil pesto is irresistible, adding aromatic herbal notes that pair beautifully with the bright lemon.
- Citrus Sorbet: For dessert, a light and tangy sorbet cleanses the palate between bites, rounding out the meal with a refreshing finish.
Enjoy exploring these pairings as you bring your dining experience to life!
Lemon Zucchini Rigatoni Variations & Substitutions
Feel free to explore these creative twists that will elevate your Lemon Zucchini Rigatoni and cater to your personal tastes!
-
Vegan Option: Omit the Parmesan and use a plant-based cheese alternative. This still offers a creamy texture without the dairy.
-
Gluten-Free: Substitute rigatoni with gluten-free pasta. There are many fantastic gluten-free options that won't compromise on flavor.
-
Add Protein: Toss in grilled chicken or sautéed chickpeas for extra heartiness. This variation transforms it into a more substantial meal, perfect for hungry bellies!
-
Vegetable Medley: Swap zucchini for bell peppers or spinach to change the flavor profile. Each vegetable offers a unique taste while keeping it fresh and colorful!
-
Spicy Kick: Add a pinch of red pepper flakes or sauté some diced jalapeños along with the garlic for an extra zest. This twist brings a delightful warmth that spices things up!
-
Herb Infusion: Experiment by throwing in fresh herbs like basil or thyme during the sauté step. The aroma will be absolutely enchanting!
-
Citrus Burst: Enhance the lemon flavor by adding lemon zest along with the juice. This adds a vibrant zing that’s truly irresistible.
To explore even more delightful flavors, consider serving your rigatoni alongside a refreshing arugula salad or alongside a comforting Cheesy Zucchini Bake. Happy cooking!

Lemon Zucchini Rigatoni Recipe FAQs
What kind of zucchini should I use for Lemon Zucchini Rigatoni?
Choose firm, vibrant zucchinis that are smooth and shiny, avoiding those with dark spots or soft spots. Ideally, they should be small to medium-sized, as they tend to have a sweeter flavor and a better texture when sautéed.
How should I store leftovers of Lemon Zucchini Rigatoni?
Store leftovers in an airtight container in the fridge for up to 3 days. Make sure to let the pasta cool completely before sealing to keep it fresh. When reheating, you can add a splash of extra pasta water or olive oil to revive the creamy texture.
Can I freeze Lemon Zucchini Rigatoni?
Absolutely! To freeze, allow any leftovers to cool completely, then portion them into freezer-safe containers. They can be stored for up to 2 months. When ready to enjoy, simply thaw overnight in the refrigerator and reheat gently in a skillet over low heat with a bit of reserved pasta water to bring back the creaminess.
What if I don’t have Parmesan cheese?
No problem at all! If Parmesan isn’t an option, you can use nutritional yeast for a vegan-friendly alternative that provides a cheesy flavor. Alternatively, try any other cheese you enjoy, such as Pecorino, feta, or a dairy-free alternative to suit your taste.
How can I increase the protein in my Lemon Zucchini Rigatoni?
You can add grilled chicken for a heartier dish or toss in cooked chickpeas or cannellini beans for a vegetarian protein boost. Simply mix them in with the pasta during the last step of cooking to warm them through and blend in the flavors.
What’s the best way to avoid overcooking the zucchini?
To keep zucchinis tender yet crunchy, sauté them for about 5 minutes until they are slightly softened but still have bite. Stir them often during the cooking process, and remember that they will continue to cook slightly after you take them off the heat.
Lemon Zucchini Rigatoni: Your New Go-To Quick Dinner Delight
Ingredients
Equipment
Method
- Boil a large pot of salted water. Once boiling, add rigatoni and cook for 10-12 minutes.
- In a skillet, heat olive oil over medium heat, add minced garlic and sauté for 1 minute. Add zucchini and cook for 5 minutes.
- Drain rigatoni, reserving 1 cup pasta water. Add to skillet with zucchini and garlic, then add lemon juice and toss for 2-3 minutes.
- Sprinkle Parmesan cheese over the mixture and stir gently until melted. Add reserved pasta water as needed for creaminess.
- Season with salt and pepper to taste. Toss and adjust seasoning if needed.
- Plate the dish, garnishing with extra Parmesan and fresh herbs if desired.