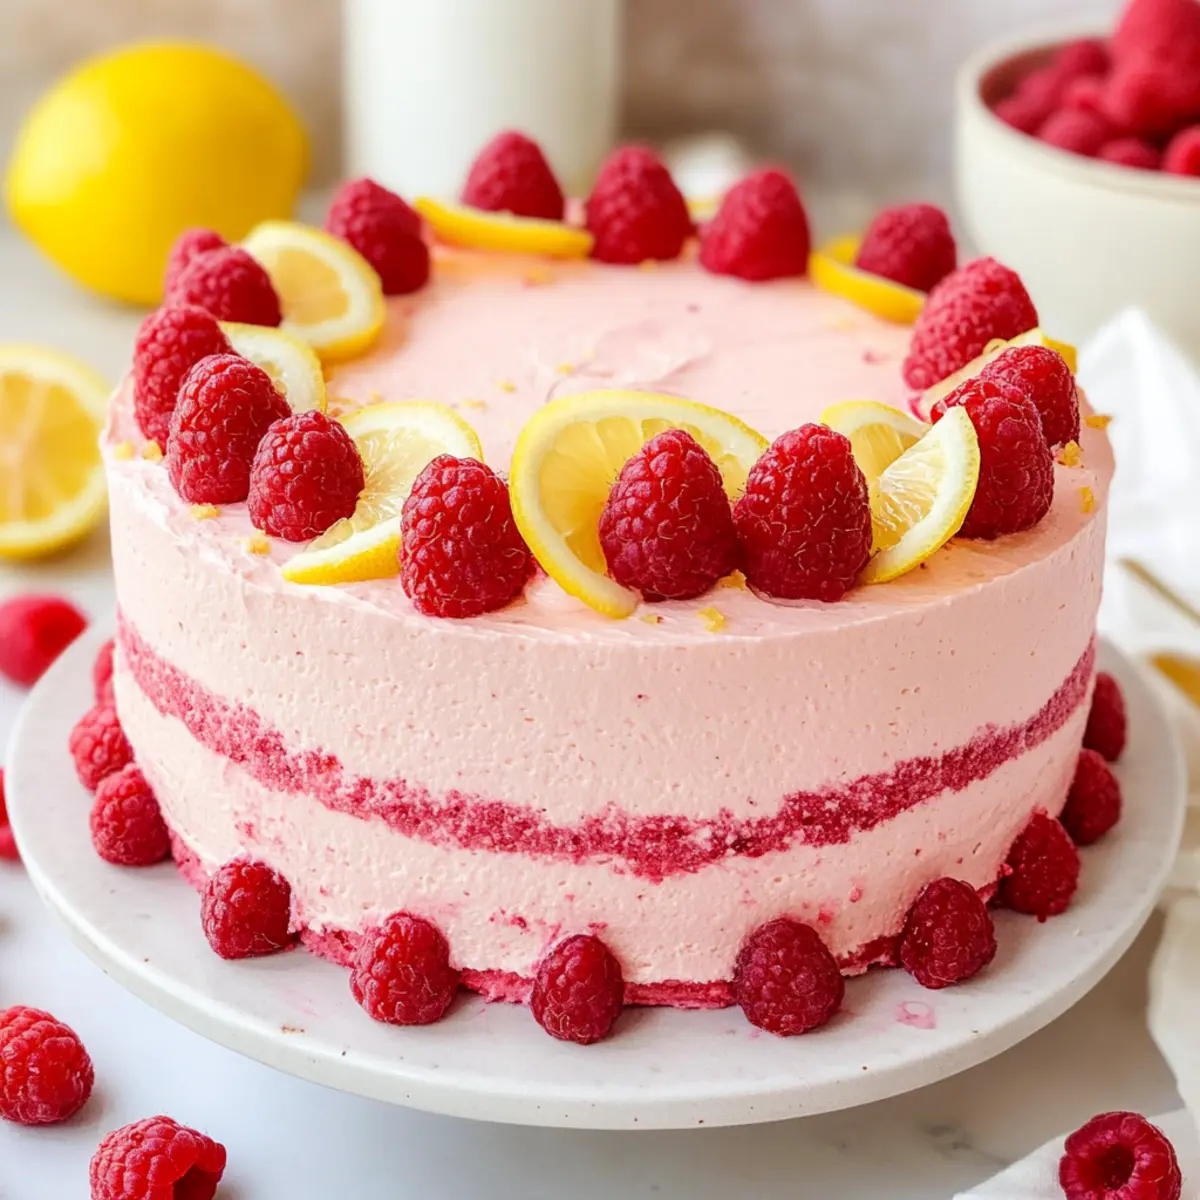
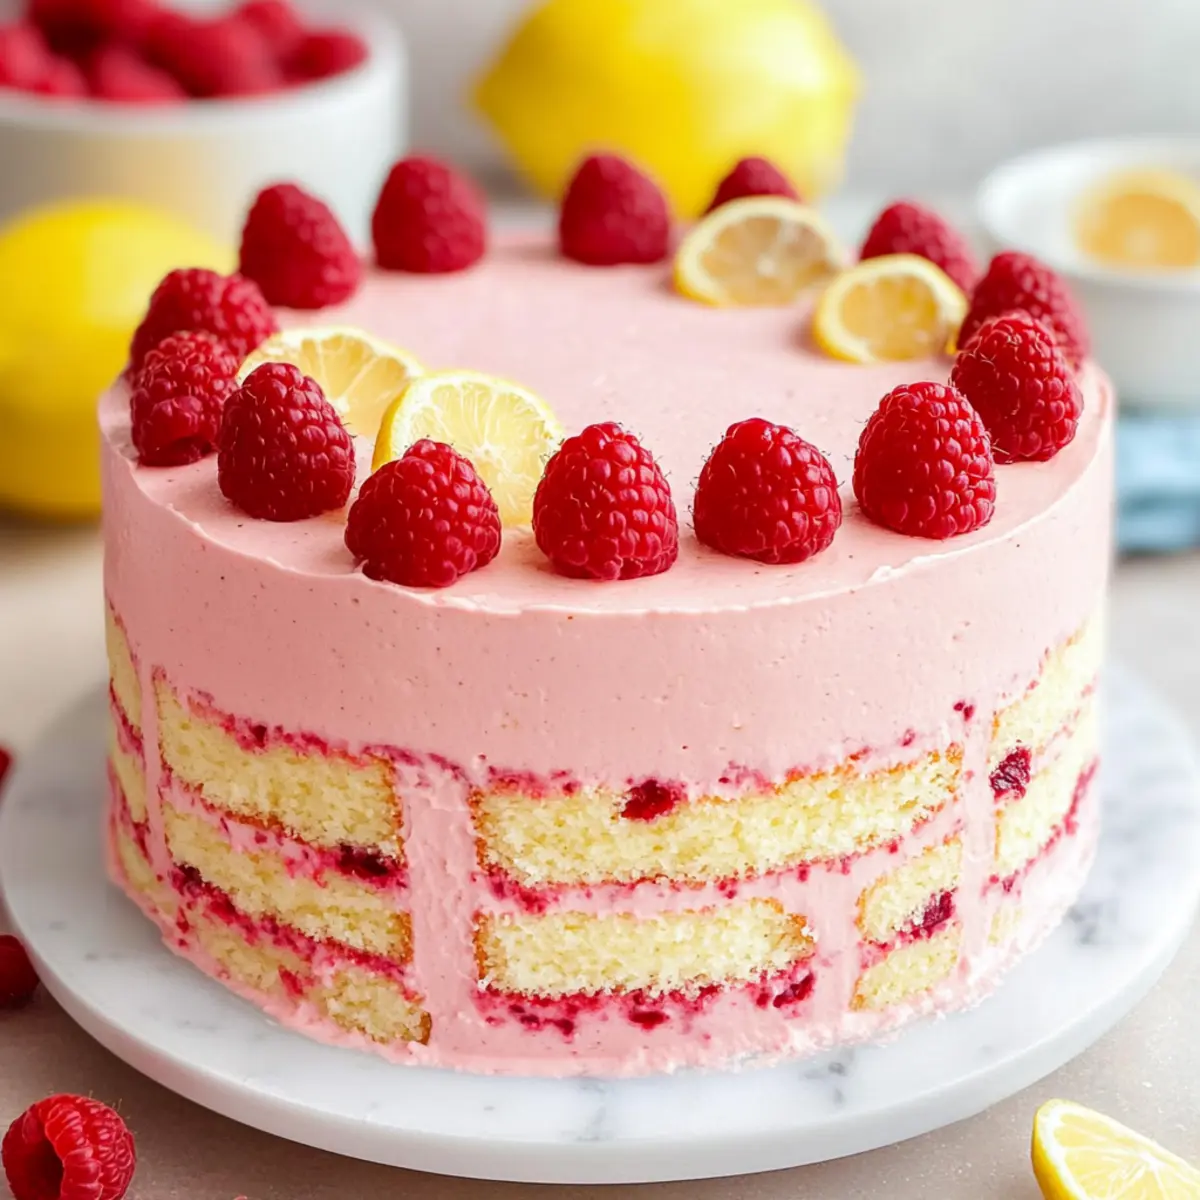
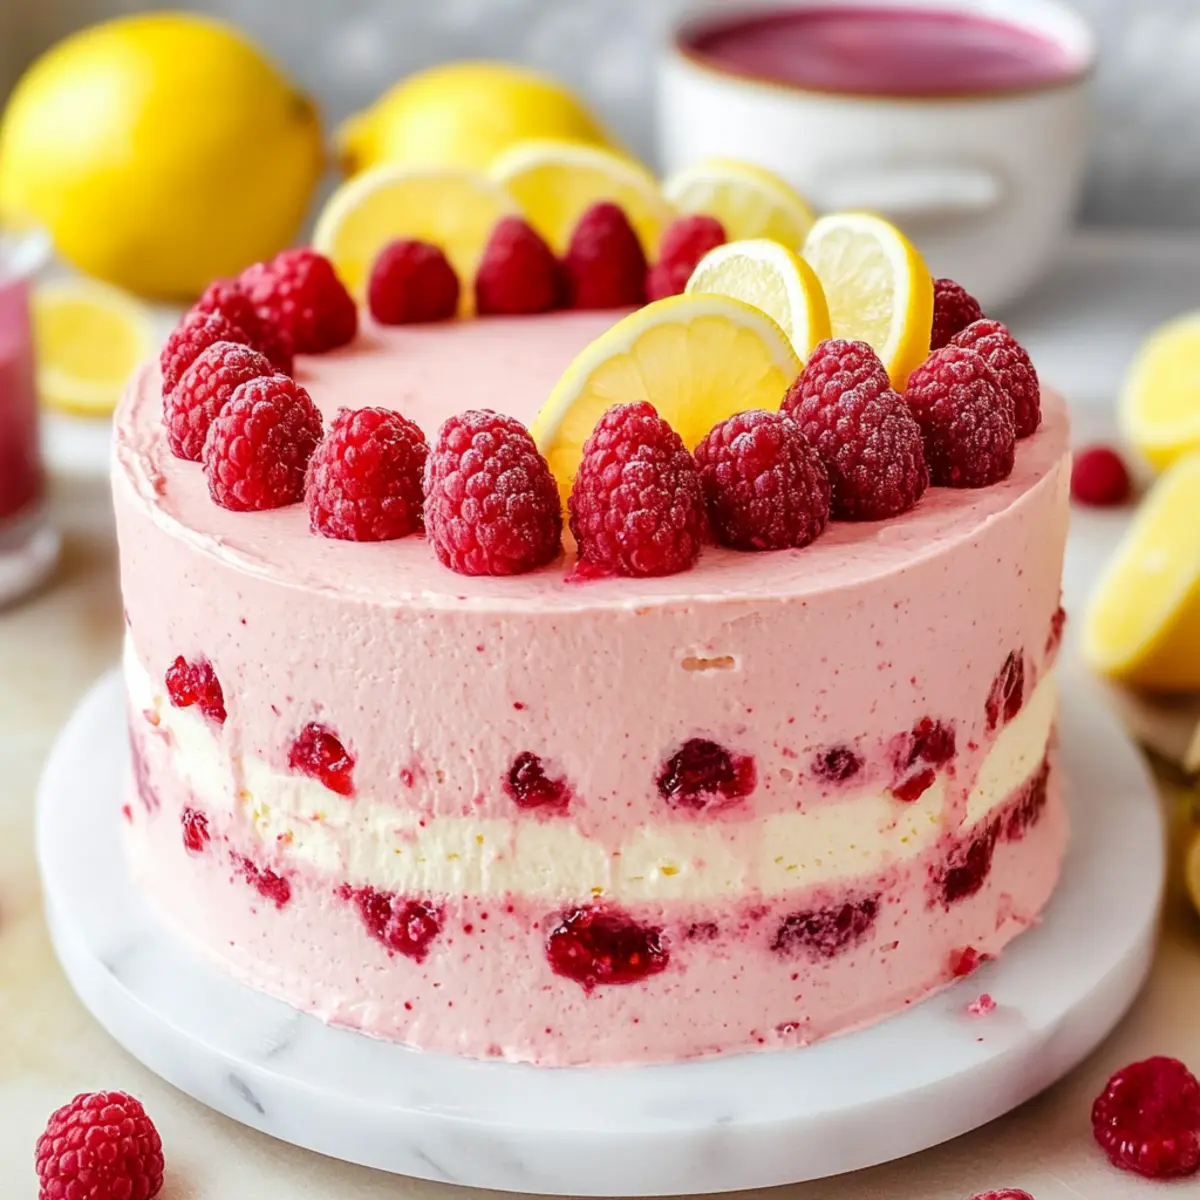
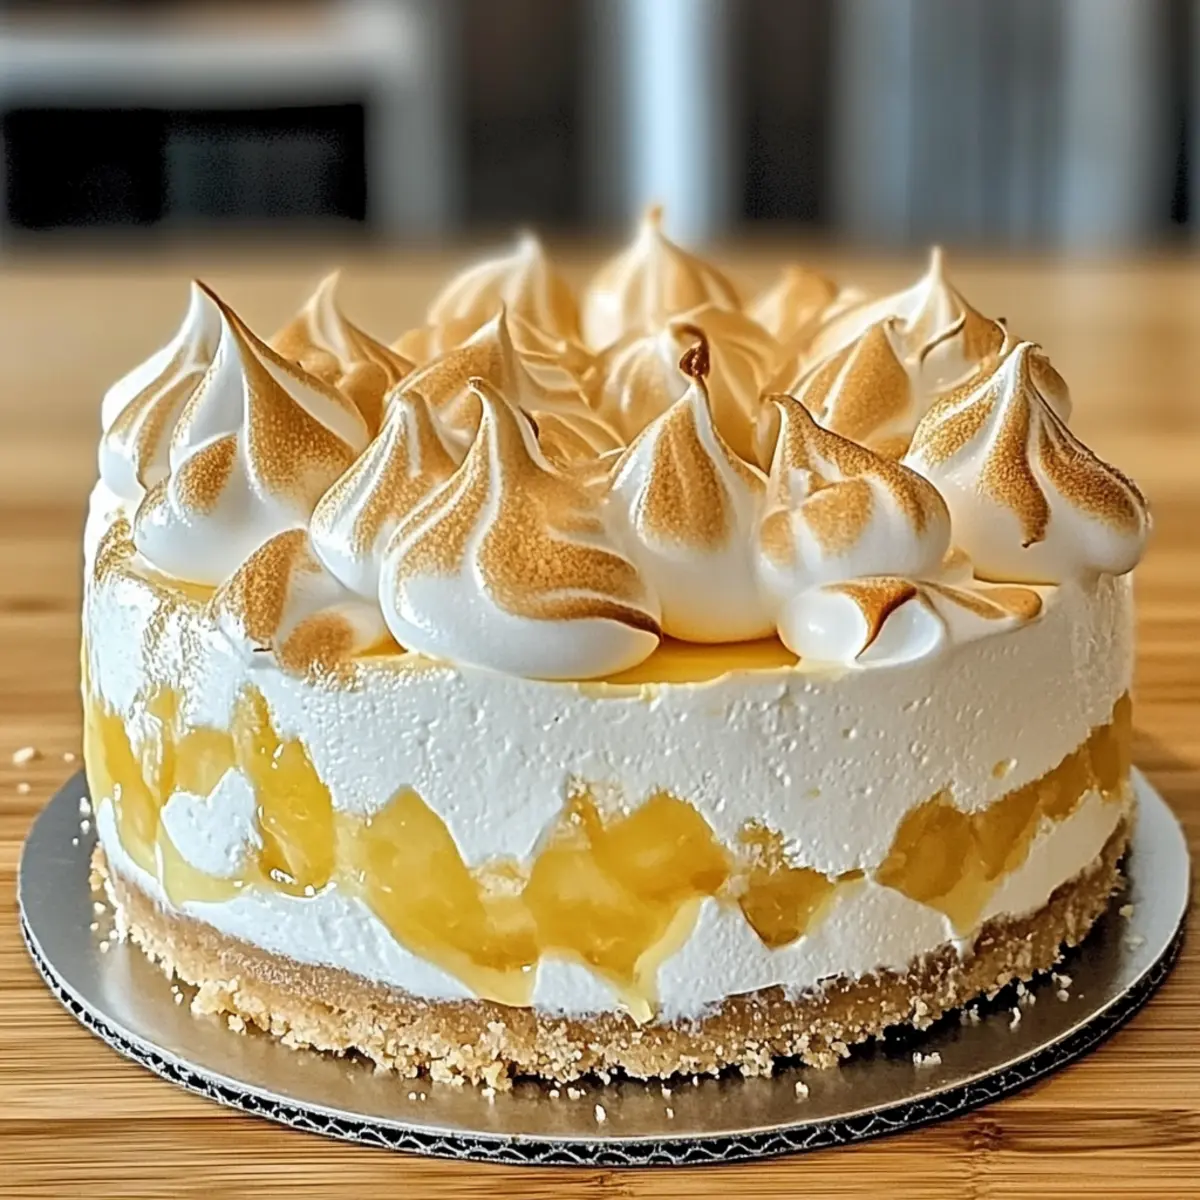
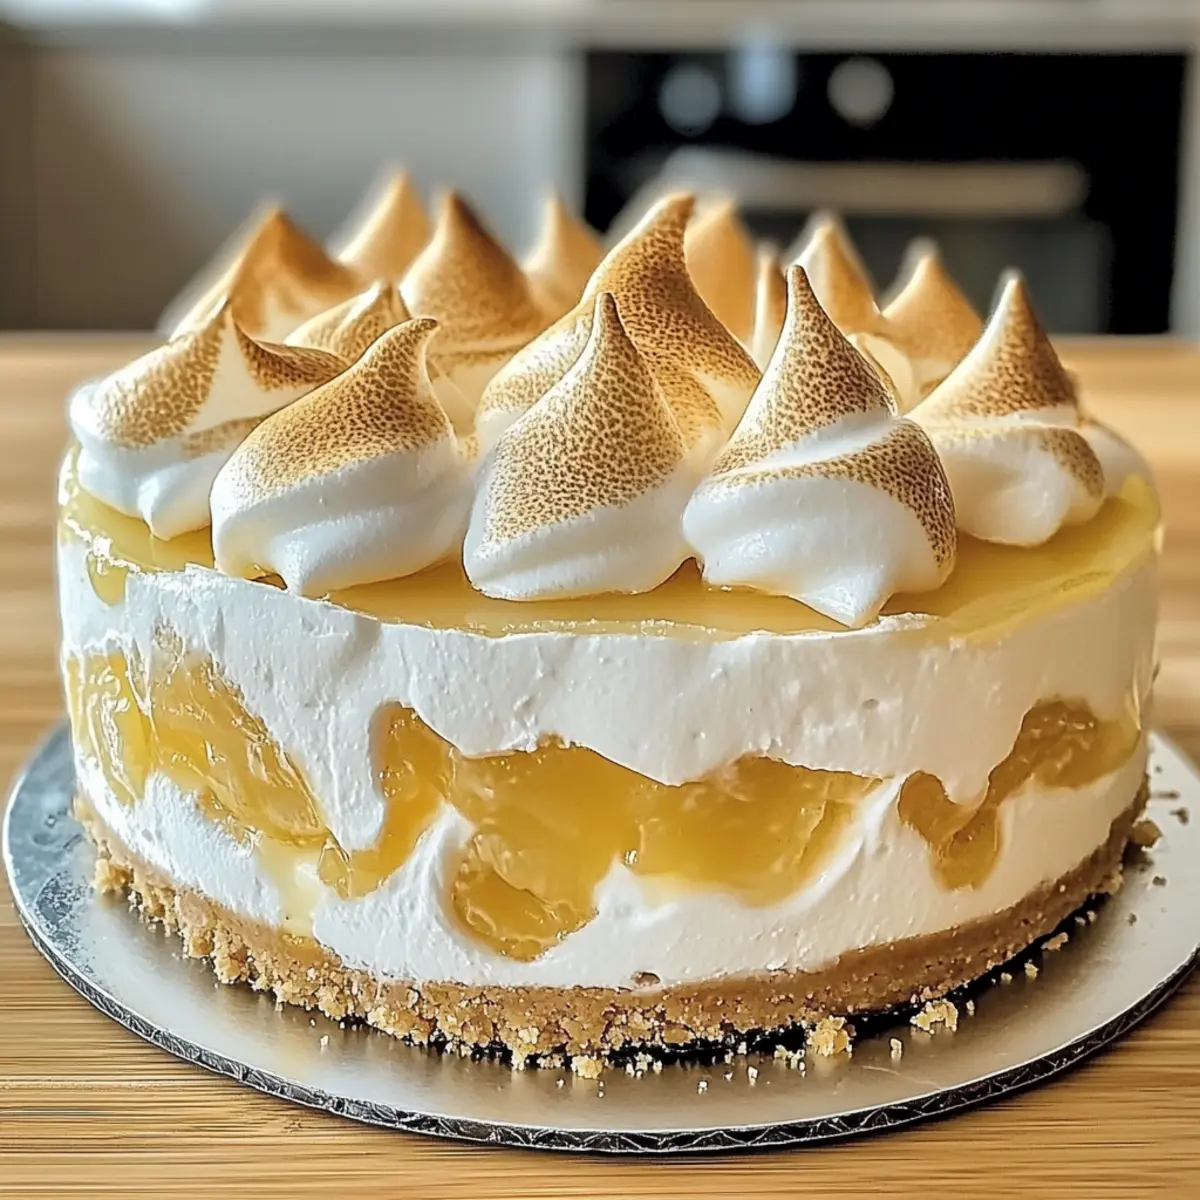
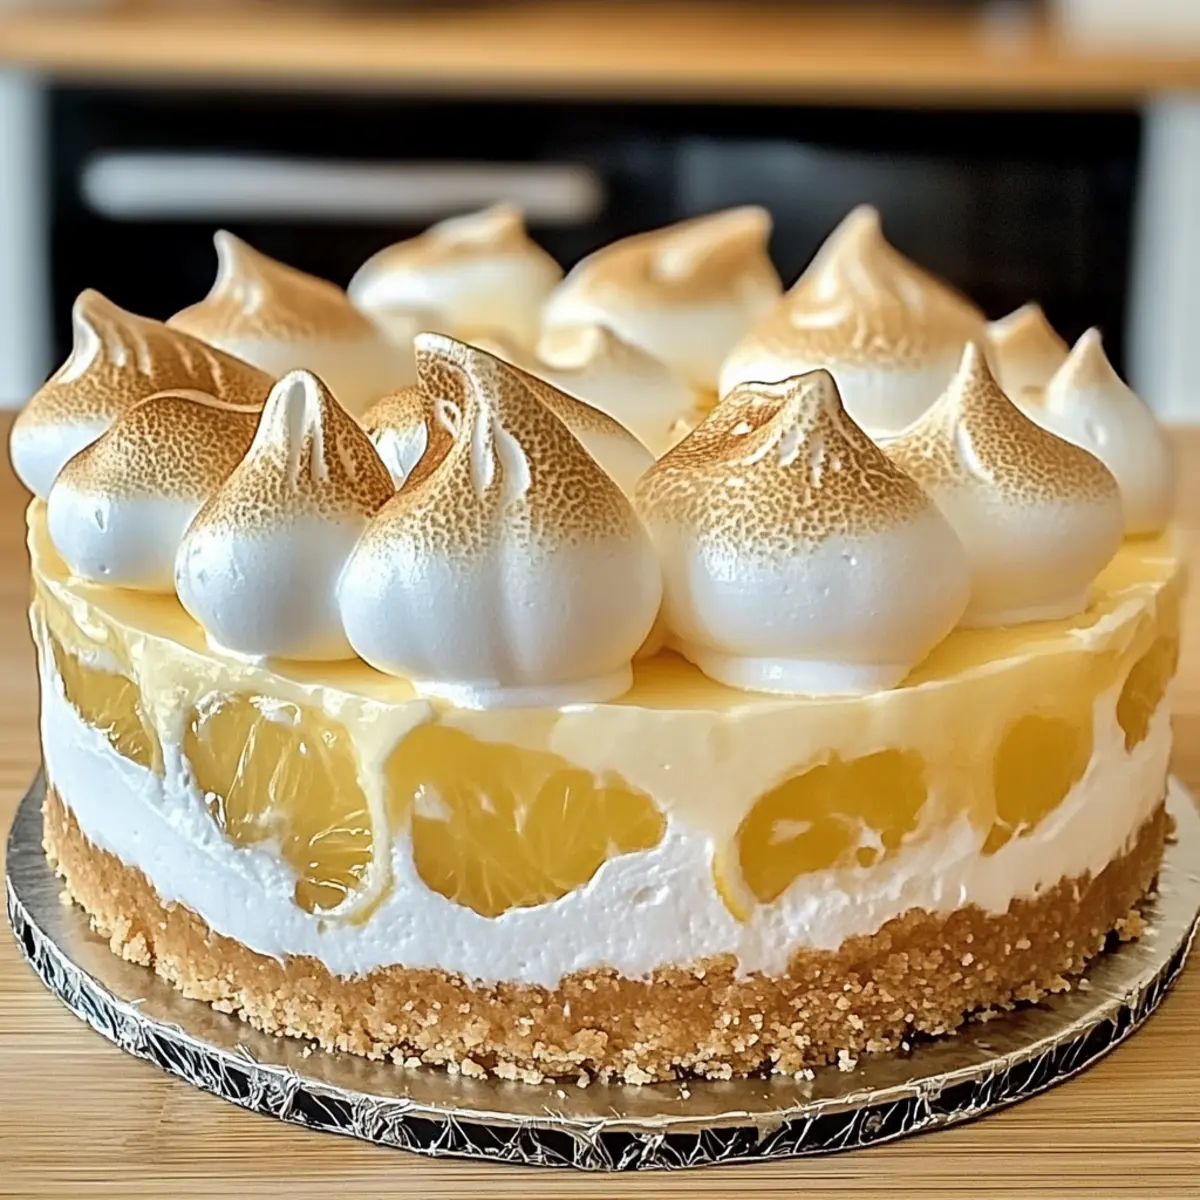
As I stood in my kitchen, a sunny afternoon breeze wafting through the open window, I was hit by a craving so bright it demanded attention—Triple Lemon Meringue Cheesecake. This enticing dessert is the perfect blend of creamy lemon goodness, crunchy graham cracker crust, and airy meringue. What I love most about this recipe is its ability to impress friends and family while being wonderfully straightforward to whip up! Not only does it bring a citrusy zing to the table, but it’s also a visual masterpiece that can turn any gathering into a zesty celebration. Are you ready to create a show-stopping dessert that’ll have everyone asking for seconds? Let’s dive into the magic of making this delightful Triple Lemon Meringue Cheesecake!
Why is this cheesecake so special?
Irresistible Flavor: The triple dose of lemon from the juice, zest, and curd makes this cheesecake a refreshing delight that dances on your palate, perfect for citrus lovers.
Easy to Master: With simple instructions, even novice bakers can confidently create this show-stopping dessert that looks as amazing as it tastes.
Textures Galore: Expect a wonderful contrast—the crunchy crust, creamy filling, and fluffy meringue come together for a satisfying bite.
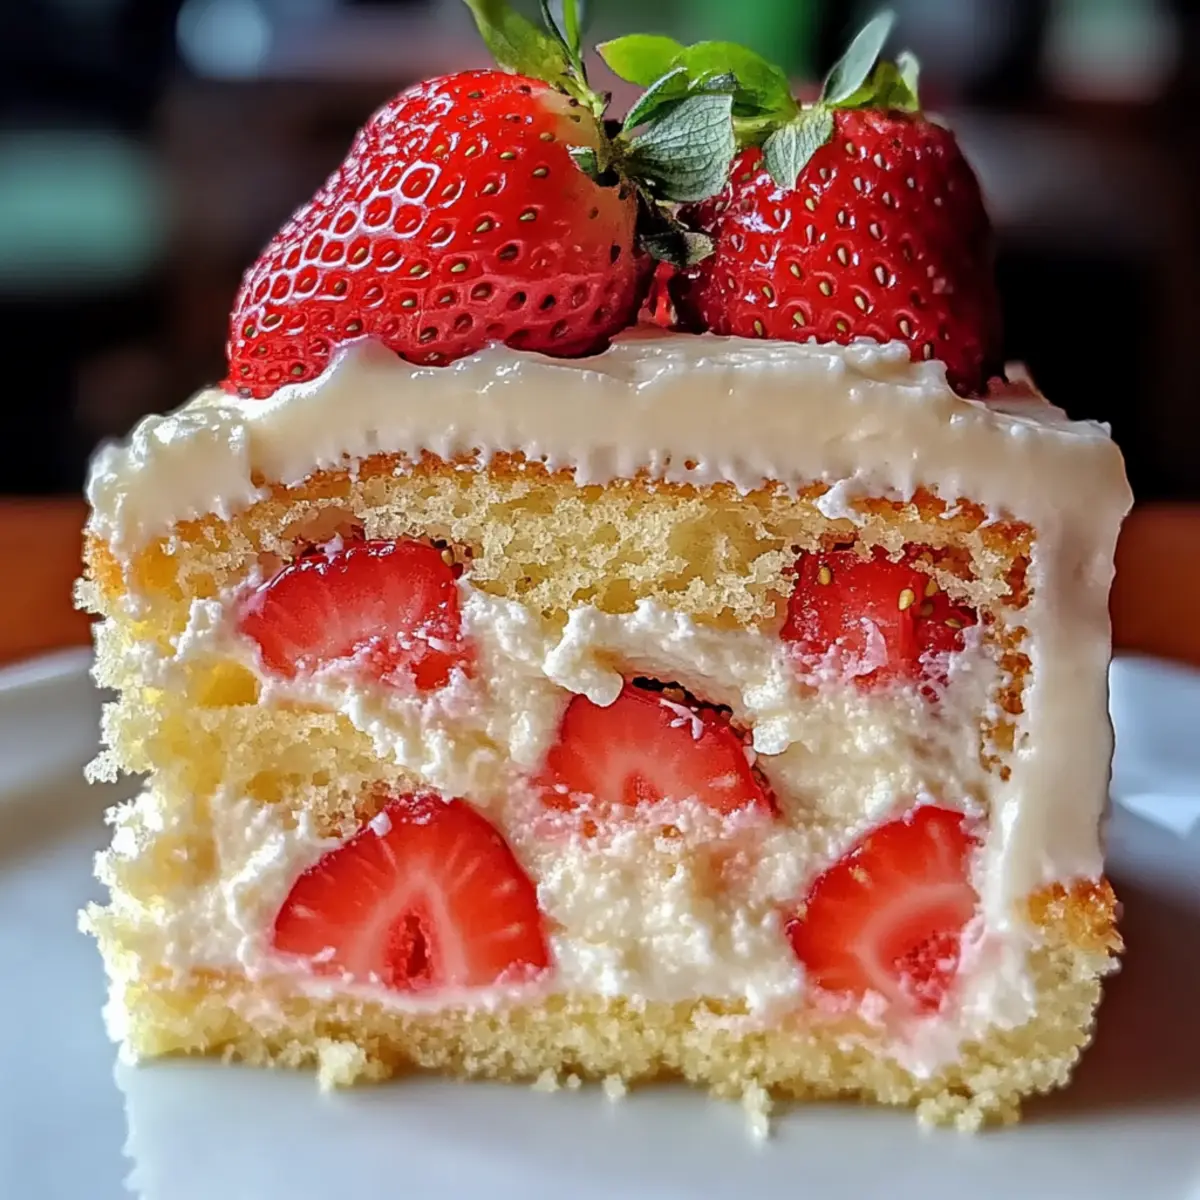
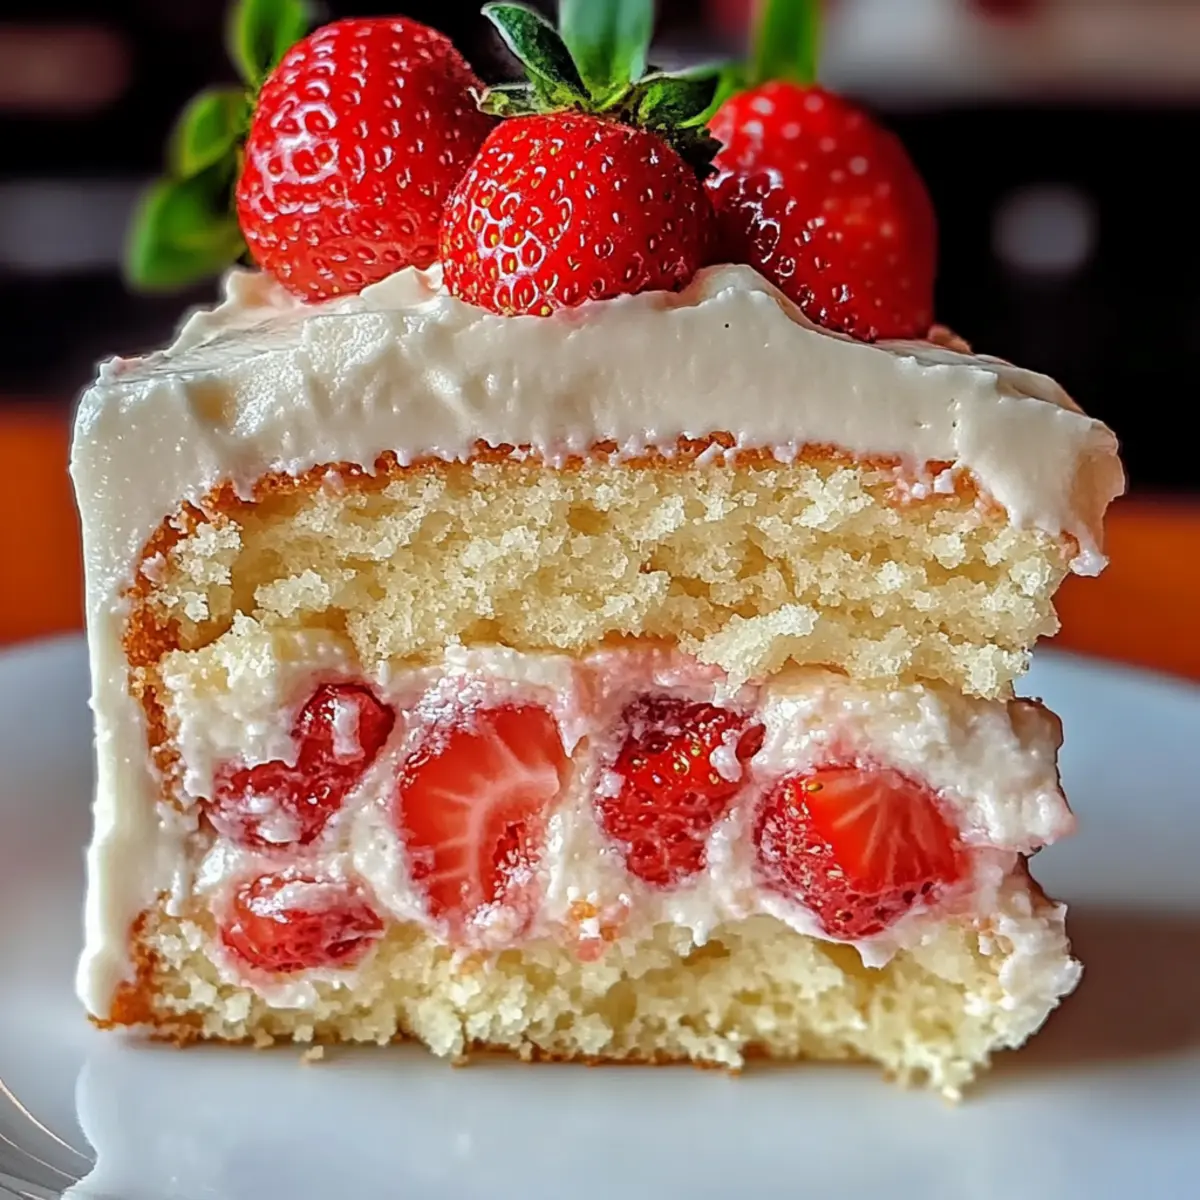
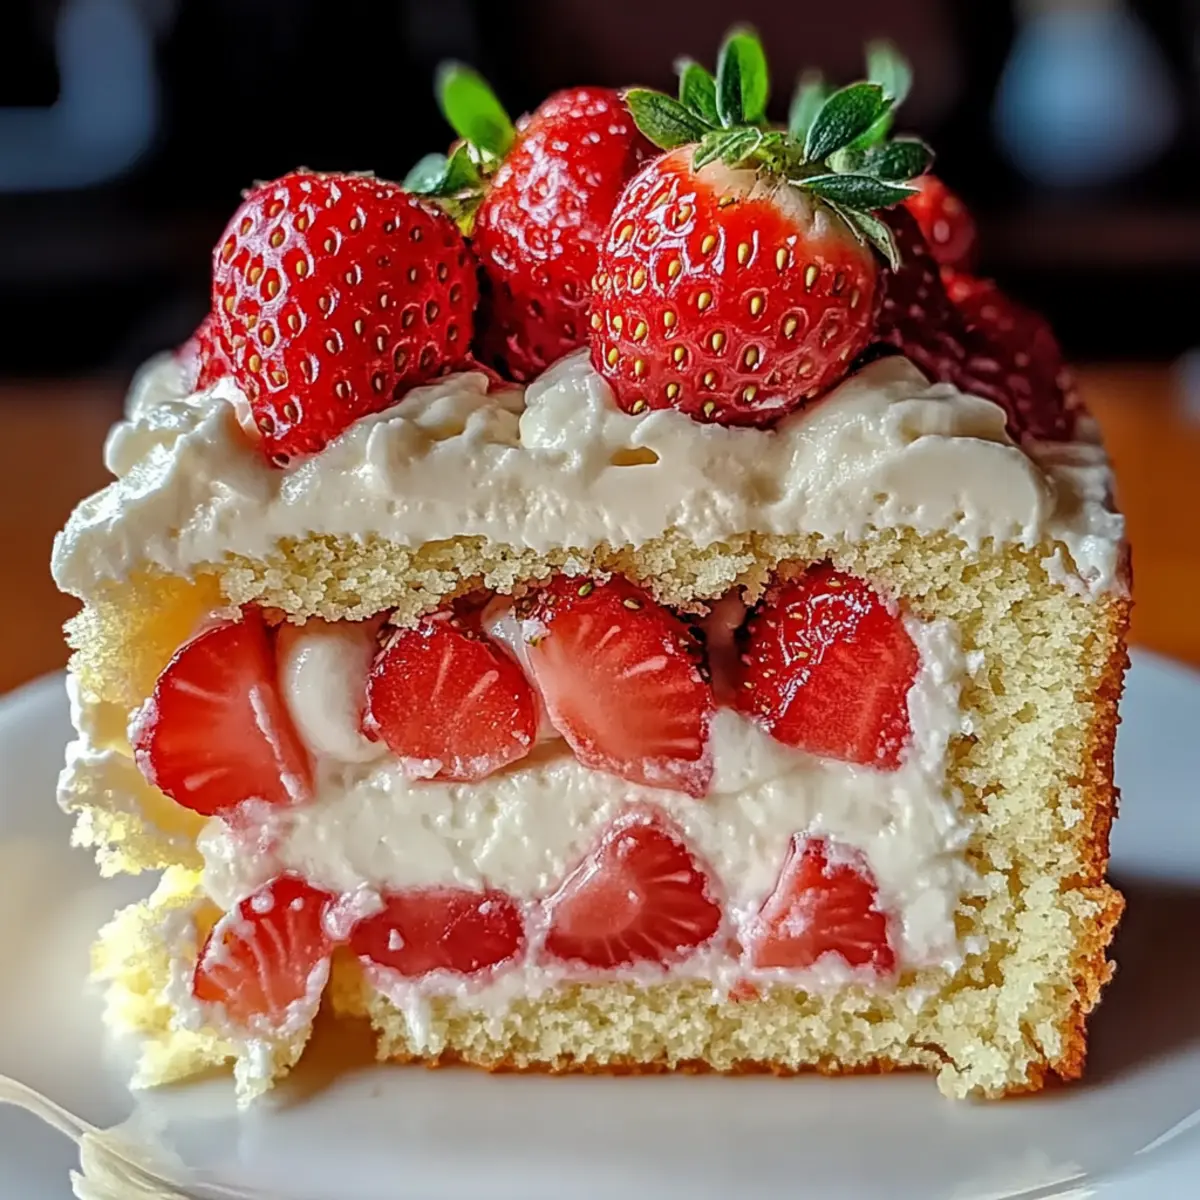
Endless Variations: Try swapping ingredients like using mascarpone cheese or topping with fresh berries to keep things exciting!
Perfect for Gathering: Impress guests during summer barbecues or festive gatherings; this cheesecake is a crowd-pleaser and ideal for serving slices at parties.
Treat yourself to a taste adventure with this Triple Lemon Meringue Cheesecake. Love citrus? Check out our delightful Lemon Ricotta Protein pancakes for breakfast or a comforting Lemon Chicken Soup for dinner!
Triple Lemon Meringue Cheesecake Ingredients
For the Crust
• Graham Cracker Crumbs – Essential for a crunchy base; you can replace with crushed digestive biscuits for a different flavor.
• Butter – Adds richness to the crust; ensure it’s melted for easy mixing.
• Granulated Sugar – Sweetens the crust; consider brown sugar for a more complex taste.
For the Filling
• Cream Cheese – Provides a creamy texture; opt for full-fat for the best results.
• Sour Cream – Adds tanginess; plain yogurt is a lighter substitute if desired.
• Lemon Juice – Infuses vibrancy into the cheesecake; use fresh lemons for the best flavor.
• Lemon Zest – Intensifies the lemon flavor; zest before juicing for easier handling.
• Eggs – Help set the filling; room-temperature eggs yield the best texture.
• Vanilla Extract – Enhances the overall flavor; pure extract is preferable for quality.
For the Meringue
• Egg Whites – Necessary for a fluffy topping; fresh whites are best for stability.
• Cream of Tartar – Stabilizes the egg whites; crucial for achieving the right meringue texture.
• Granulated Sugar (for Meringue) – Sweetens the meringue; add gradually to achieve stiff peaks.
For the Lemon Curd
• Egg Yolks – Essential for richness in the curd; fresh, large yolks work best.
• Unsalted Butter – Adds creaminess to the curd; unsalted is recommended for a balanced flavor.
• Granulated Sugar – Sweetens the lemon curd; adjust to taste based on personal preference.
This Triple Lemon Meringue Cheesecake will undoubtedly become a cherished recipe in your collection, providing zesty sweetness and creamy delight that tantalizes your taste buds!
Step‑by‑Step Instructions for Triple Lemon Meringue Cheesecake
Step 1: Preheat the Oven
Start by preheating your oven to 325°F (160°C). This will ensure it reaches the ideal temperature while you prepare the crust. A consistent temperature is crucial for baking the perfect Triple Lemon Meringue Cheesecake and helps avoid cracks in the cheesecake.
Step 2: Prepare the Crust
In a mixing bowl, combine graham cracker crumbs, melted butter, and granulated sugar until well blended. Press this mixture firmly into the bottom of a 9-inch springform pan, creating an even layer. Bake the crust for 10 minutes, or until golden and fragrant, then allow it to cool completely before adding the filling.
Step 3: Make the Filling
Beat the cream cheese and sugar together in a large bowl until smooth and creamy. Gradually add the eggs, mixing well after each addition. Fold in the sour cream, fresh lemon juice, lemon zest, and vanilla extract until fully incorporated, creating a luscious filling for your Triple Lemon Meringue Cheesecake.
Step 4: Bake the Cheesecake
Pour the creamy filling over the cooled crust. To prevent cracks, place the springform pan into a larger baking dish filled with hot water, creating a water bath. Bake for 50-60 minutes, or until the filling is slightly jiggly in the center. Once done, turn off the oven and let the cheesecake cool inside for 1 hour.
Step 5: Refrigerate the Cheesecake
After cooling in the oven, carefully remove the cheesecake from the water bath and refrigerate it for at least 4 hours, or overnight if possible. This resting time allows flavors to meld beautifully and ensures the cheesecake sets properly, making it easier to slice and serve later.
Step 6: Prepare the Lemon Curd
In a medium saucepan over low heat, whisk together egg yolks, sugar, lemon juice, and lemon zest until the mixture thickens, about 8-10 minutes. Remove from heat and stir in unsalted butter until completely melted and smooth, creating a rich lemon curd. Let it cool before spreading over the cheesecake.
Step 7: Make the Meringue
In a clean, dry mixing bowl, whip the egg whites with cream of tartar until soft peaks form, approximately 3-5 minutes. Gradually add granulated sugar while continuing to whip until stiff peaks form. This fluffy meringue will be the crowning glory of your Triple Lemon Meringue Cheesecake.
Step 8: Assemble and Bake Again
Spread the meringue generously over the cooled lemon curd, creating a decorative swirl. Increase the oven temperature to 350°F (175°C) and bake for 10-15 minutes, or until the meringue is golden brown. Keep a close eye to avoid burning, as the meringue can quickly turn dark.
Step 9: Cool Before Serving
Once baked, remove the cheesecake from the oven and let it cool at room temperature. After about 30 minutes, place it in the refrigerator for an additional 1-2 hours before slicing. This cooling period ensures that the flavors settle and the textures meld beautifully in your delicious Triple Lemon Meringue Cheesecake.
What to Serve with Triple Lemon Meringue Cheesecake
Elevate your dessert experience with delightful pairings that enhance the zesty brilliance of this cheesecake!
-
Fresh Berries: The tartness of berries like raspberries or strawberries complements the citrus notes beautifully, adding a pop of color and freshness.
-
Whipped Cream: A dollop of lightly sweetened whipped cream creates a luxurious mouthfeel that balances the cheesecake’s bold flavors.
-
Mint Tea: The refreshing herbal notes of mint tea provide a calming contrast to the cheesecake’s bright flavors, a perfect way to cleanse the palate.
-
Lemon Sorbet: Serve a scoop of lemon sorbet alongside for an extra tangy zing that complements your cheesecake, while adding a delightful frozen element.
-
Pistachio Crumble: Sprinkle finely crushed pistachios over the slice for a nutty crunch that contrasts with the creamy filling, adding an exciting texture variation.
-
Dark Chocolate Shavings: A sprinkle of dark chocolate shavings brings depth to the dessert, with bitter notes that harmonize with the sweet-tart lemon flavors.
-
Sparking Lemonade: Pair the cheesecake with a glass of bubbly sparkling lemonade for a fun, refreshing fizz that accentuates the citrus theme.
-
Toasted Coconut Flakes: A sprinkle of toasted coconut on top lends a tropical twist and texture that beautifully marries with the cheesecake’s creamy profile.
-
Iced Green Tea: Lettuce the bright flavors shine through with a chilled glass of iced green tea, subtly enhancing the refreshing experience with each bite.
Expert Tips for Triple Lemon Meringue Cheesecake
-
Egg Whites Matter: Ensure your mixing bowl is clean and dry when whipping egg whites. This is crucial for achieving stiff peaks, enhancing the meringue texture.
-
Room Temperature Ingredients: Bring cream cheese and eggs to room temperature before use. This prevents lumps in your filling, resulting in a smooth, creamy texture for your Triple Lemon Meringue Cheesecake.
-
Water Bath Wisdom: Create a water bath by placing the springform pan in a larger dish filled with hot water. This helps to evenly bake the cheesecake and avoids unsightly cracks.
-
Cooling Curds: Allow the lemon curd to cool completely before pouring it over the cheesecake. This prevents moisture from seeping into the cheesecake, ensuring a perfect layer of flavor.
-
Watch the Meringue: Keep a close eye on your meringue as it bakes. It can quickly go from golden to burnt, so remove it from the oven once it achieves the desired golden hue.
Triple Lemon Meringue Cheesecake Variations
Personalize this classic dessert with delightful twists that will tantalize your taste buds and surprise your guests!
-
Mascarpone Swap: Use mascarpone instead of cream cheese for a velvety richness that elevates every bite.
-
Citrus Medley: Combine lemon with key lime or blood orange for a colorful citrus explosion that adds a unique flair.
-
Berry Bliss: Top with fresh mixed berries to brighten the flavor profile and create a pop of color against the creamy filling. The tartness of berries contrasts beautifully with the sweet lemon curd.
-
Spicy Ginger Snap Crust: Swap graham cracker crumbs for crushed gingersnap cookies to bring a spicy twist to the base, perfect for those who love a warm touch of flavor.
-
Drizzle of Dark Chocolate: For a decadent touch, drizzle melted dark chocolate over the meringue; the richness of chocolate complements the lemon perfectly.
-
Coconut Cream Topping: Fold in toasted coconut flakes into the meringue mixture for tropical flair that adds a delightful crunch.
-
Chili Lime Zest: Add a hint of chili powder to the lemon zest for a surprising kick that plays beautifully with the citrus.
-
Lemon Basil Infusion: Incorporate fresh basil into the lemon curd for an herby twist that elevates the refreshing lemon flavor.
By exploring these variations, you'll ensure that your Triple Lemon Meringue Cheesecake remains a delightful and exciting dessert, perfect for any occasion. If you're in the mood for more lemony recipes, try our lovely Lemon Ricotta Protein pancakes for breakfast or a soothing bowl of Lemon Chicken Soup for dinner!
How to Store and Freeze Triple Lemon Meringue Cheesecake
Fridge: Store any leftover cheesecake in an airtight container in the refrigerator for up to 5 days. This will help maintain its creamy texture and vibrant flavor.
Freezer: For longer storage, freeze individual slices of the Triple Lemon Meringue Cheesecake wrapped tightly in plastic wrap and then aluminum foil for up to 2-3 months.
Thawing: When you’re ready to enjoy a frozen slice, transfer it to the fridge and let it thaw overnight for optimal texture.
Reheating: It's best served cold, but if you prefer it slightly warmer, let it sit at room temperature for 20 minutes before serving.
Make Ahead Options
These Triple Lemon Meringue Cheesecakes are perfect for meal prep enthusiasts looking to save time during busy weeks! You can prepare the graham cracker crust and lemon curd up to 3 days in advance. Simply store the cooled crust in an airtight container at room temperature, and refrigerate the lemon curd to keep it fresh. When you're ready to serve, bake the cheesecake filling and assemble it with the meringue just a few hours before serving to ensure the best texture. This approach ensures that your dessert is just as delicious and visually stunning when it’s time to impress your guests!
Triple Lemon Meringue Cheesecake Recipe FAQs
How do I select ripe lemons for the cheesecake?
Absolutely! When choosing lemons, look for ones that are firm and heavy for their size. The skin should be bright yellow, without any dark spots or blemishes. For the best flavor, fresh lemons are preferred over bottled lemon juice and should feel slightly soft to the touch. A little give indicates juiciness inside!
What’s the best way to store leftover cheesecake?
Very good question! Store any leftover Triple Lemon Meringue Cheesecake in an airtight container in the refrigerator for up to 5 days. This helps preserve its creamy texture and zesty flavor, ensuring each slice remains as delightful as when fresh.
Can I freeze the cheesecake for later?
Absolutely! To freeze, wrap individual slices of Triple Lemon Meringue Cheesecake tightly in plastic wrap, then in aluminum foil for extra protection. You can freeze it for up to 2-3 months without losing flavor or texture. When you're ready to enjoy a slice, simply transfer it to the fridge to thaw overnight for the best results.
What should I do if my meringue doesn’t set properly?
If your meringue isn't forming stiff peaks or is weeping, it could be due to moisture in the bowl or the egg whites not being at room temperature. Ensure your mixing bowl is clean and dry before whipping. Start with room-temperature egg whites for better results; can take about 3-5 minutes of whipping to achieve soft peaks, followed by gradually adding sugar until stiff peaks form.
Are there any allergy concerns I should be aware of?
Yes! This recipe contains common allergens such as eggs and dairy, so be cautious if you're serving anyone with allergies. For a dairy-free version, you can explore alternatives like dairy-free cream cheese and egg substitutes. Always inform your guests of potential allergens when serving this delectable cheesecake!
How long should the cheesecake cool before serving?
Make sure to let your Triple Lemon Meringue Cheesecake cool at room temperature for at least 30 minutes after baking. This helps it set properly before refrigerating for an additional 1-2 hours. Cooling allows flavors to meld beautifully, resulting in a perfect slice when served!

Incredible Triple Lemon Meringue Cheesecake for Citrus Lovers
Ingredients
Equipment
Method
- Preheat your oven to 325°F (160°C).
- In a mixing bowl, combine graham cracker crumbs, melted butter, and granulated sugar until blended. Press into a 9-inch springform pan.
- Bake the crust for 10 minutes, then cool completely.
- Beat cream cheese and sugar until smooth, add eggs gradually, then fold in sour cream, lemon juice, zest, and vanilla.
- Pour filling over the cooled crust and bake for 50-60 minutes in a water bath until slightly jiggly in the center.
- Cool in the oven for 1 hour, then refrigerate for at least 4 hours.
- For lemon curd, whisk egg yolks, sugar, lemon juice, and zest in a saucepan. Heat until thick, then stir in butter.
- Whip egg whites with cream of tartar until soft peaks form, add sugar gradually until stiff peaks form.
- Spread meringue over lemon curd and bake at 350°F (175°C) for 10-15 minutes until golden.
- Cool at room temperature for 30 minutes, then refrigerate for 1-2 hours before slicing.