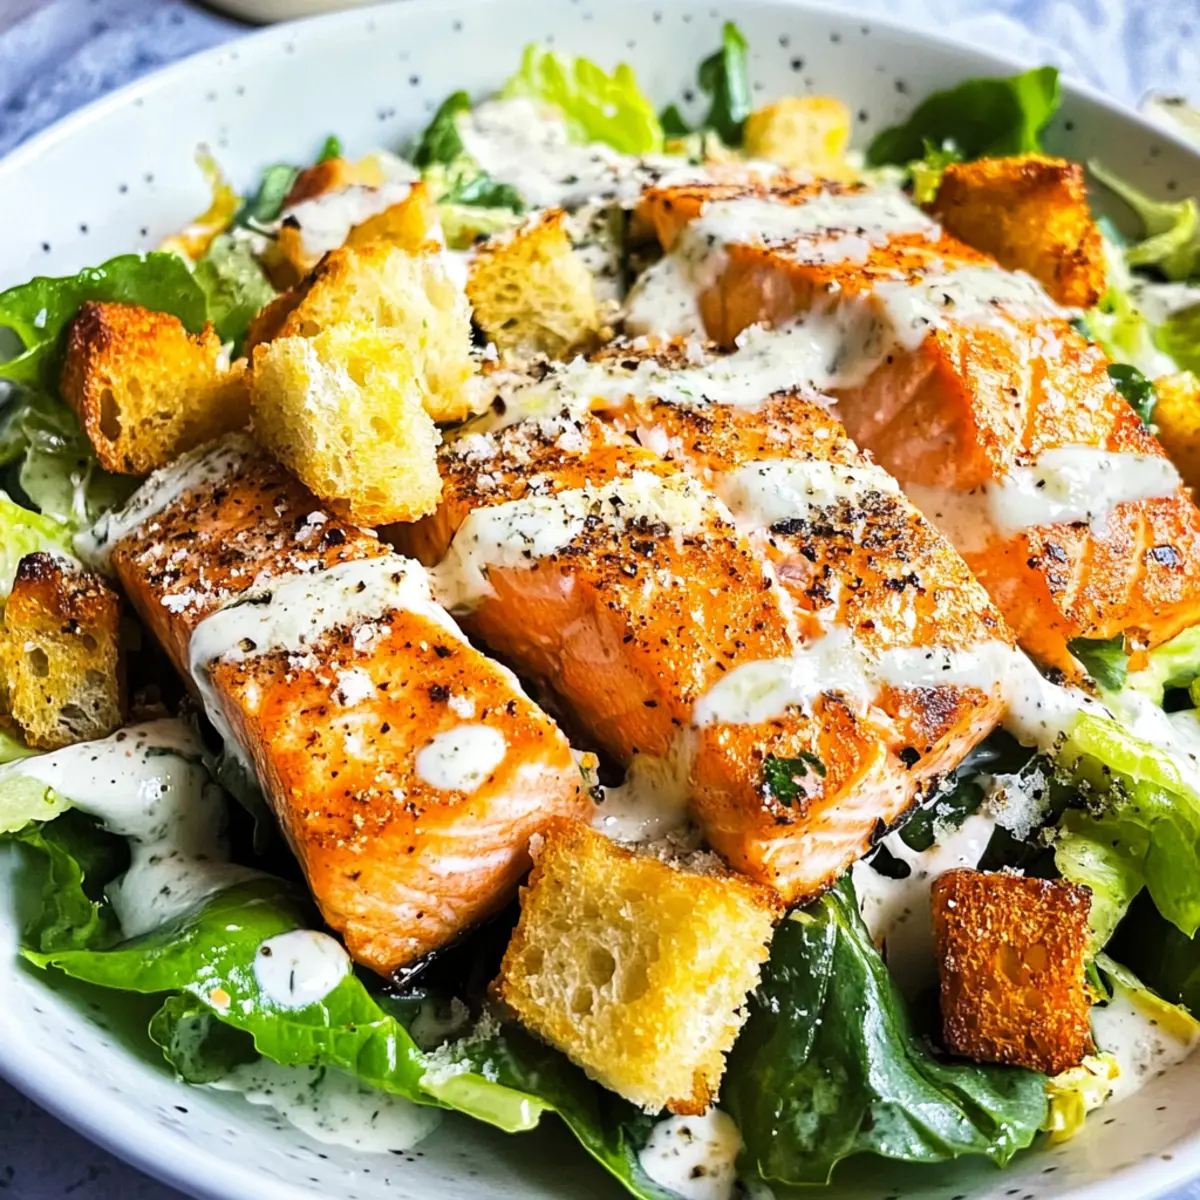
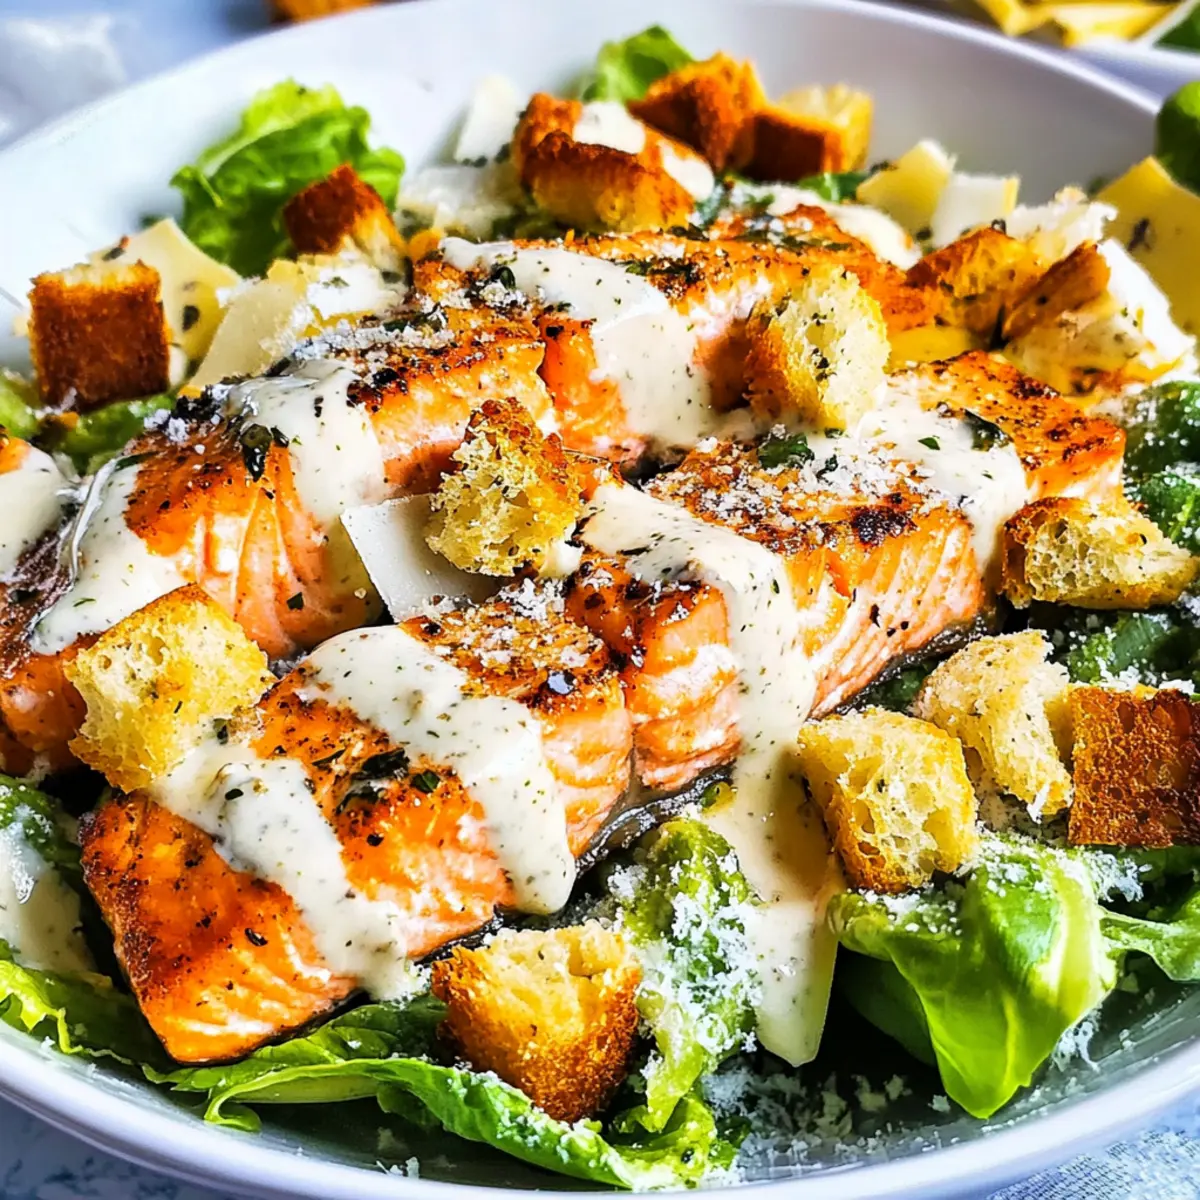
As I flipped through my recipe collection, a little voice nudged me to grab the salmon fillets lurking in the fridge. Suddenly, the idea of whipping up an Easy Salmon Caesar Salad sprang to mind—it's always my go-to when I crave something quick yet satisfying. This delightful dish combines the crispness of romaine with perfectly cooked salmon and a drizzle of creamy dressing, bringing together the best of healthy meals and indulgent flavors. It's not just an easy dinner recipe; it’s packed with protein to fuel your day and feels like a restaurant-quality treat right at home. Ready to make your taste buds dance and bring joy to your dinner table? Let's dive into this deliciously healthy creation!
Why is this salad a must-try?
Flavor-Packed Delight: The combination of savory salmon and zesty Caesar dressing creates a flavor explosion in every bite.
Health Hero: With protein-rich salmon and fresh romaine, this salad elevates your green game into a hearty meal.
Easy to Customize: Feel free to swap proteins or add favorites like avocado or cherry tomatoes for a unique twist.
Quick Preparation: Whip this up in under 30 minutes, making it perfect for busy weeknights.
Crowd-Pleasing Appeal: This salad is a fabulous conversation starter at dinner parties, impressing guests with minimal effort.
With this Easy Salmon Caesar Salad, you’ll never view healthy meals the same way again! For another comforting dish, try our delicious Chicken Salad with Apples!
Easy Salmon Caesar Salad Ingredients
• Dive into the deliciousness with these simple ingredients!
For the Salad
- Romaine Lettuce – A crisp, crunchy base that can be swapped with kale or spinach for a different leafiness.
- Salmon Fillets (4 x 6 oz) – The hero of this dish, loaded with omega-3 fatty acids; consider chicken or tofu for a change.
- Shaved Parmesan Cheese (1/4 cup) – Adds a creamy texture; for a vegan option, try nutritional yeast!
- Garlic & Herb Croutons (1 cup) – Adds delightful crunch; you can use homemade or store-bought, or get creative with toasted nuts for a gluten-free version.
For Cooking the Salmon
- Extra Virgin Olive Oil (1 tbsp) – Gives richness and helps achieve a golden crust on the salmon; avocado oil is a great alternative.
For Seasoning
- Dried Rosemary (1 tbsp) – Provides a lovely aromatic flavor; thyme or oregano can substitute nicely.
- Smoked Paprika (1 tsp) – Introduces a smoky note to balance the salad; regular paprika works if you're looking for milder flavor.
- Salt and Pepper to Taste – Essential for bringing out the flavors—adjust according to your personal preferences.
For the Dressing
- Caesar Dressing (1/2 cup) – Adds creaminess and completes the dish; homemade dressing holds the freshest flavors, but store-bought is super convenient!
Ready to savor your Easy Salmon Caesar Salad? Let’s get cooking!
Step‑by‑Step Instructions for Easy Salmon Caesar Salad
Step 1: Cook the Salmon
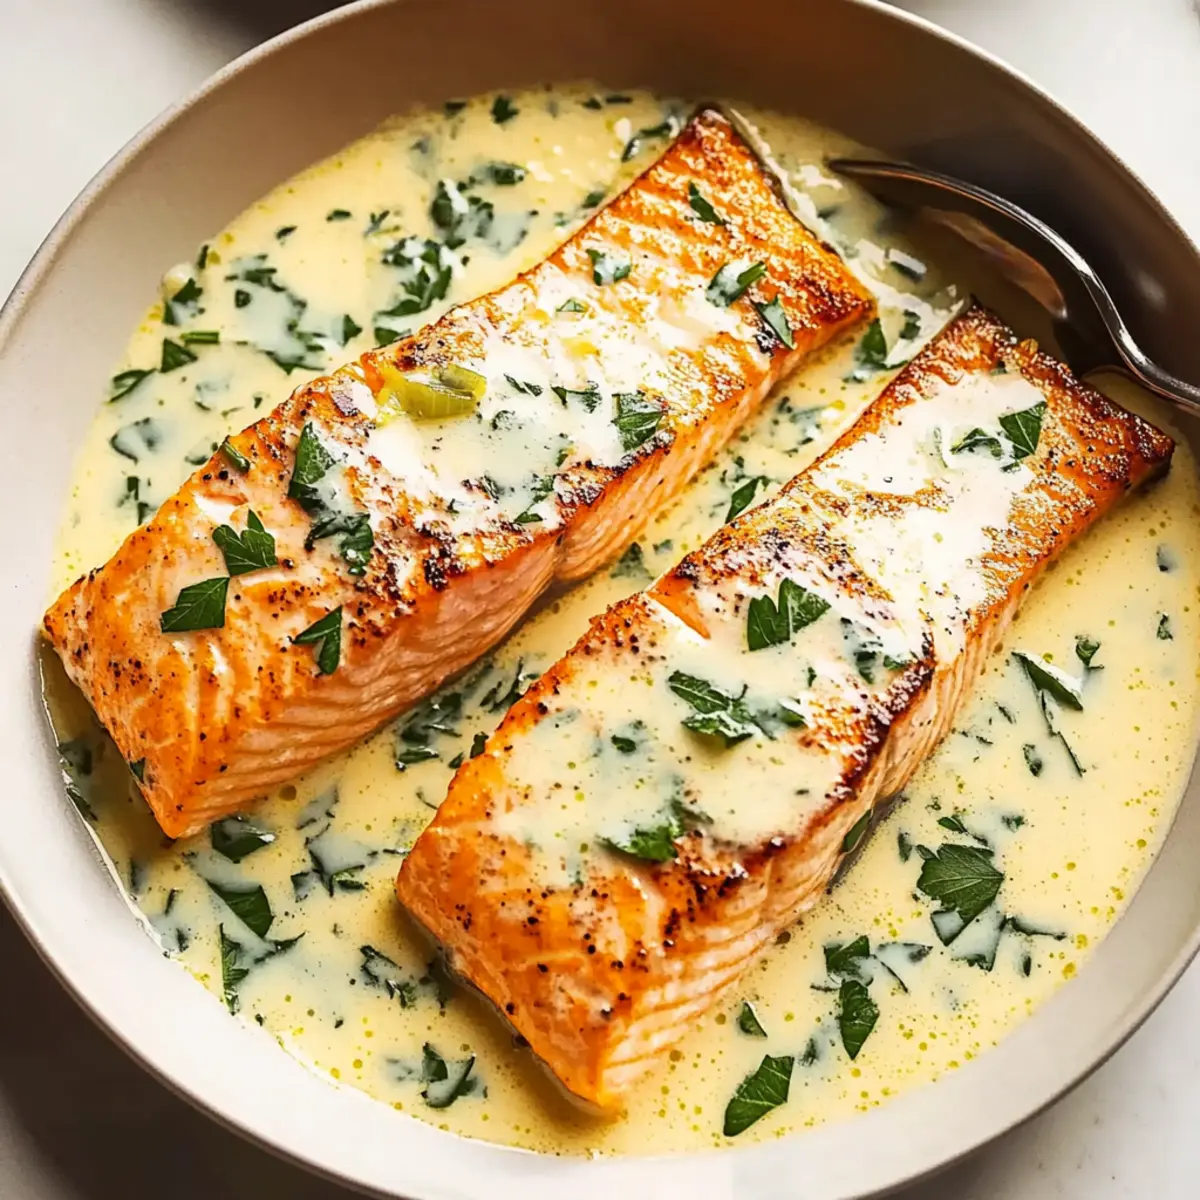
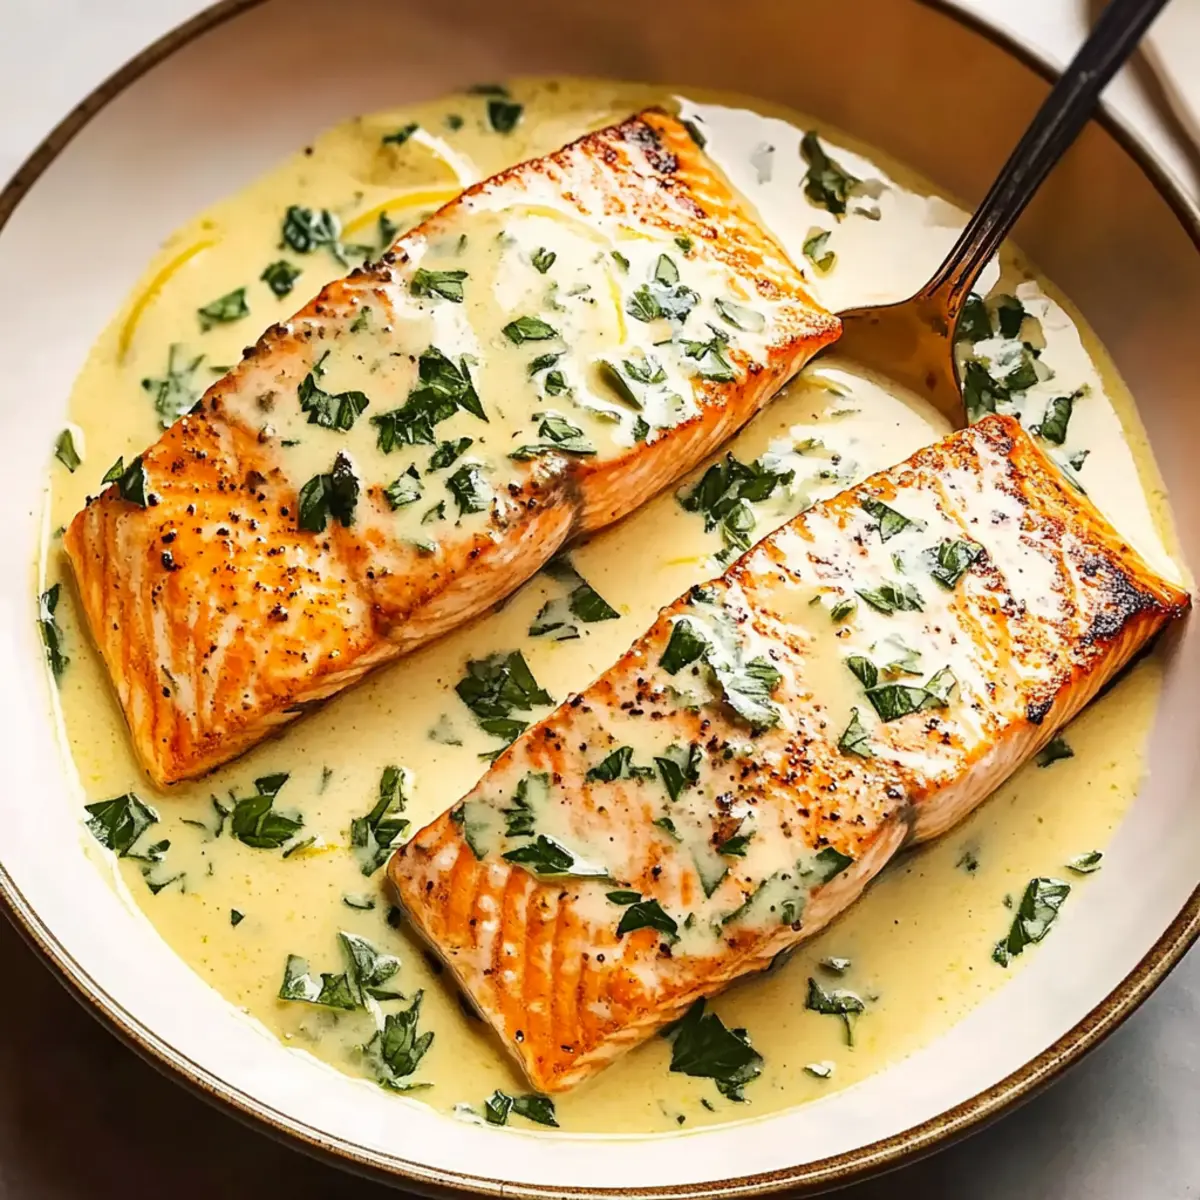
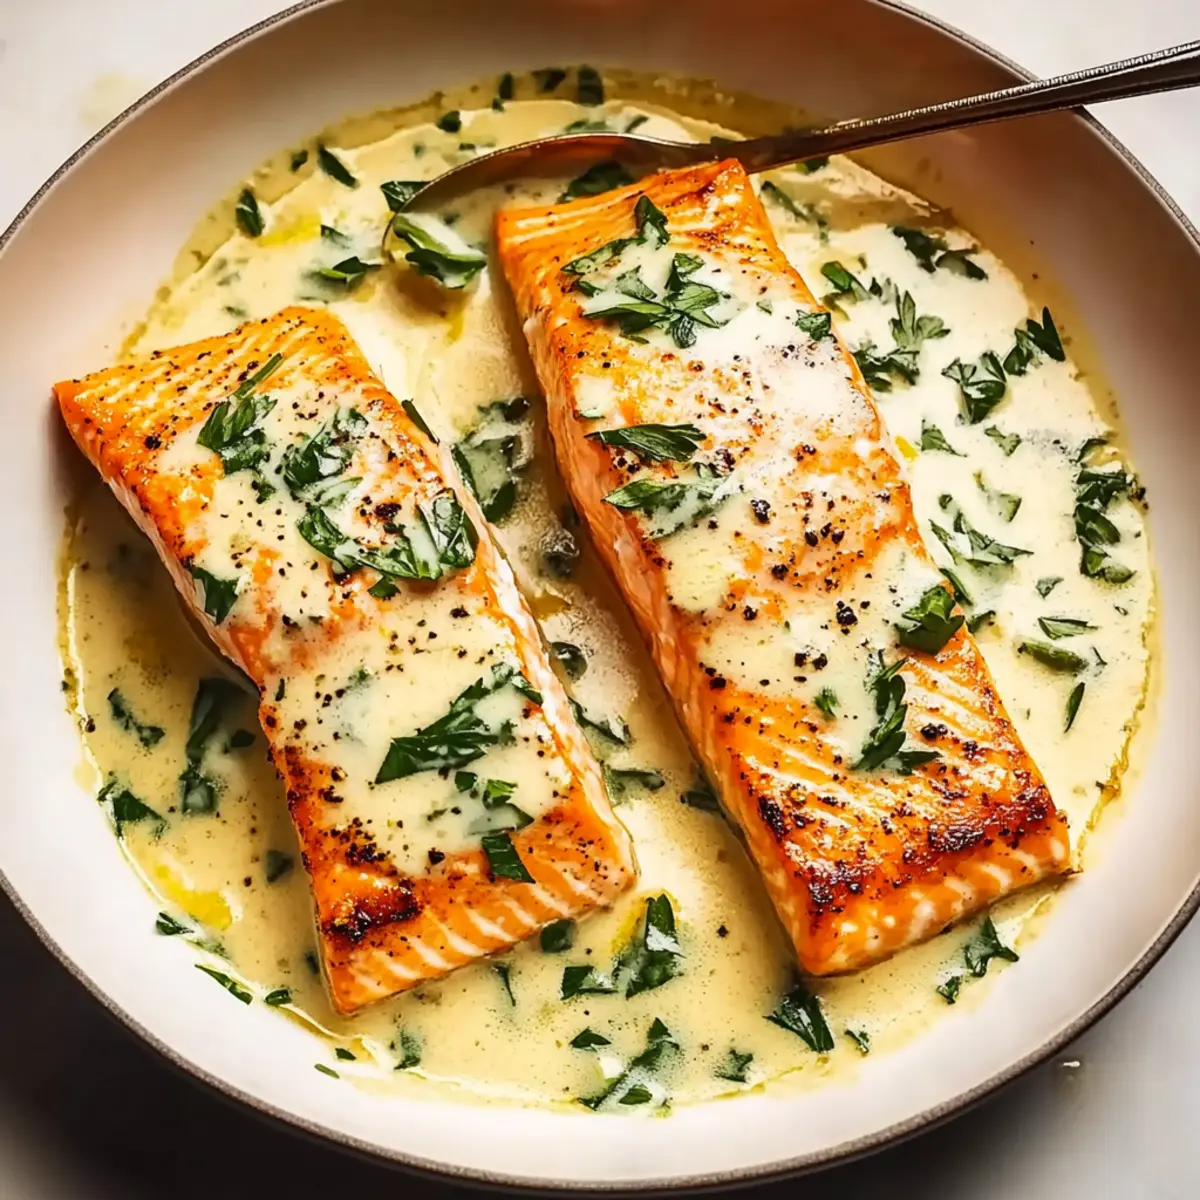
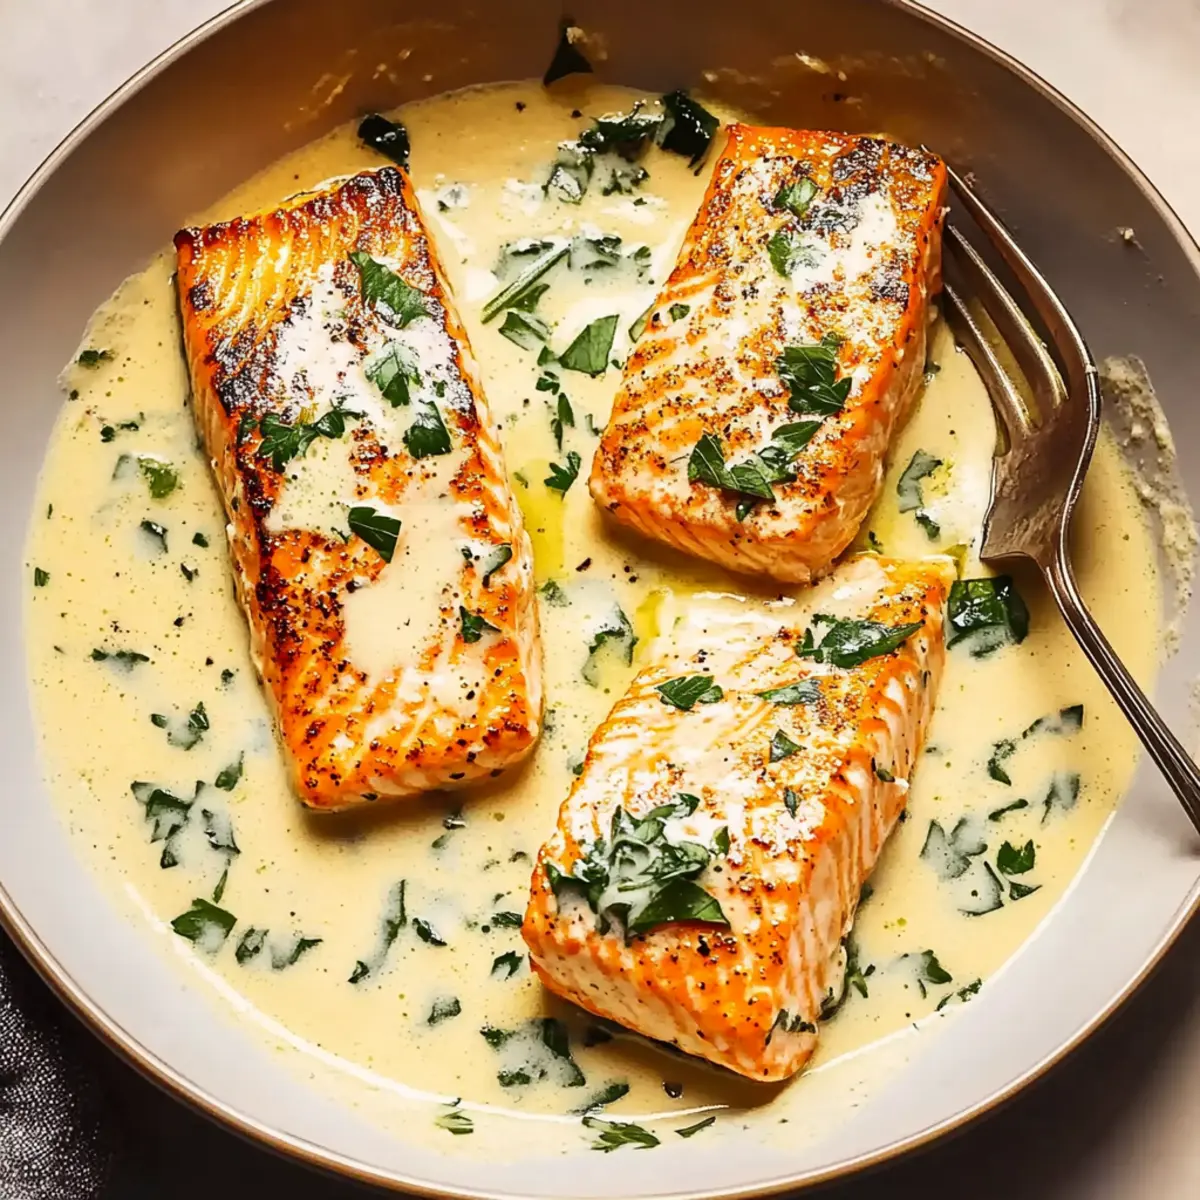
Start by heating a large skillet over medium-high heat and adding 1 tablespoon of extra virgin olive oil. Once the oil is shimmering, season your salmon fillets with dried rosemary, smoked paprika, salt, and pepper. Place the salmon skin-side down in the skillet and cook for about 5 minutes, until the skin is crispy and the fillet is turning opaque. Flip the fillets carefully and cook for an additional 2 minutes for perfect doneness.
Step 2: Prepare the Salad Base
While the salmon is cooking, wash and chop 1 head of romaine lettuce into bite-sized pieces. In a large mixing bowl, add the chopped romaine along with 1/4 cup of shaved Parmesan cheese. To enhance the flavors, drizzle in 1/2 cup of Caesar dressing, then toss the ingredients together until the lettuce is well-coated in the creamy dressing, ensuring an even distribution of flavors in your Easy Salmon Caesar Salad.
Step 3: Plate the Salad
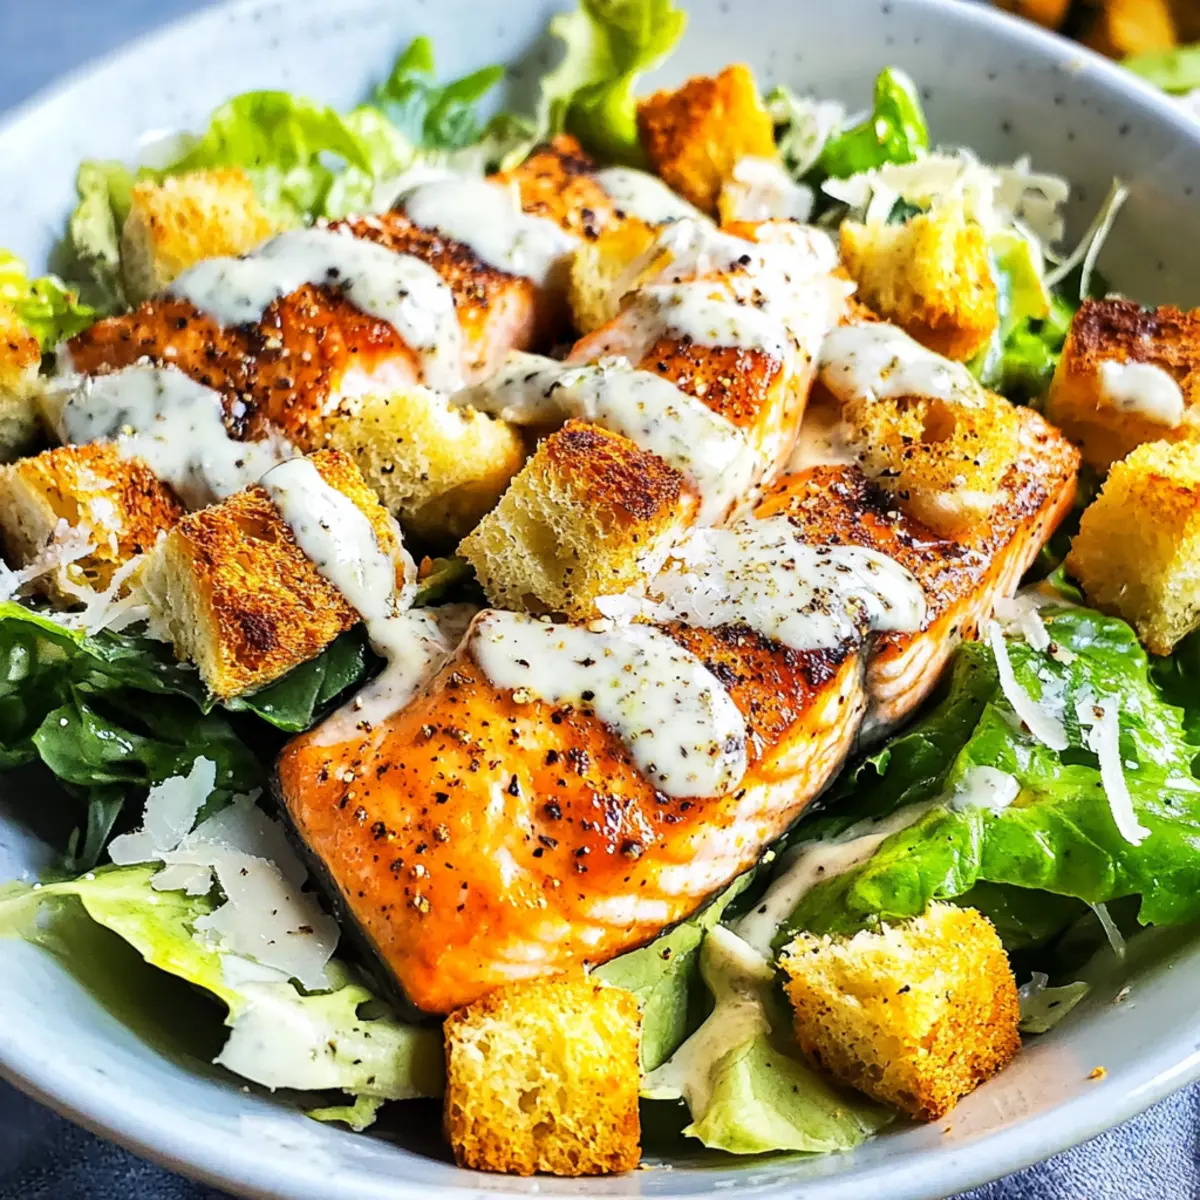
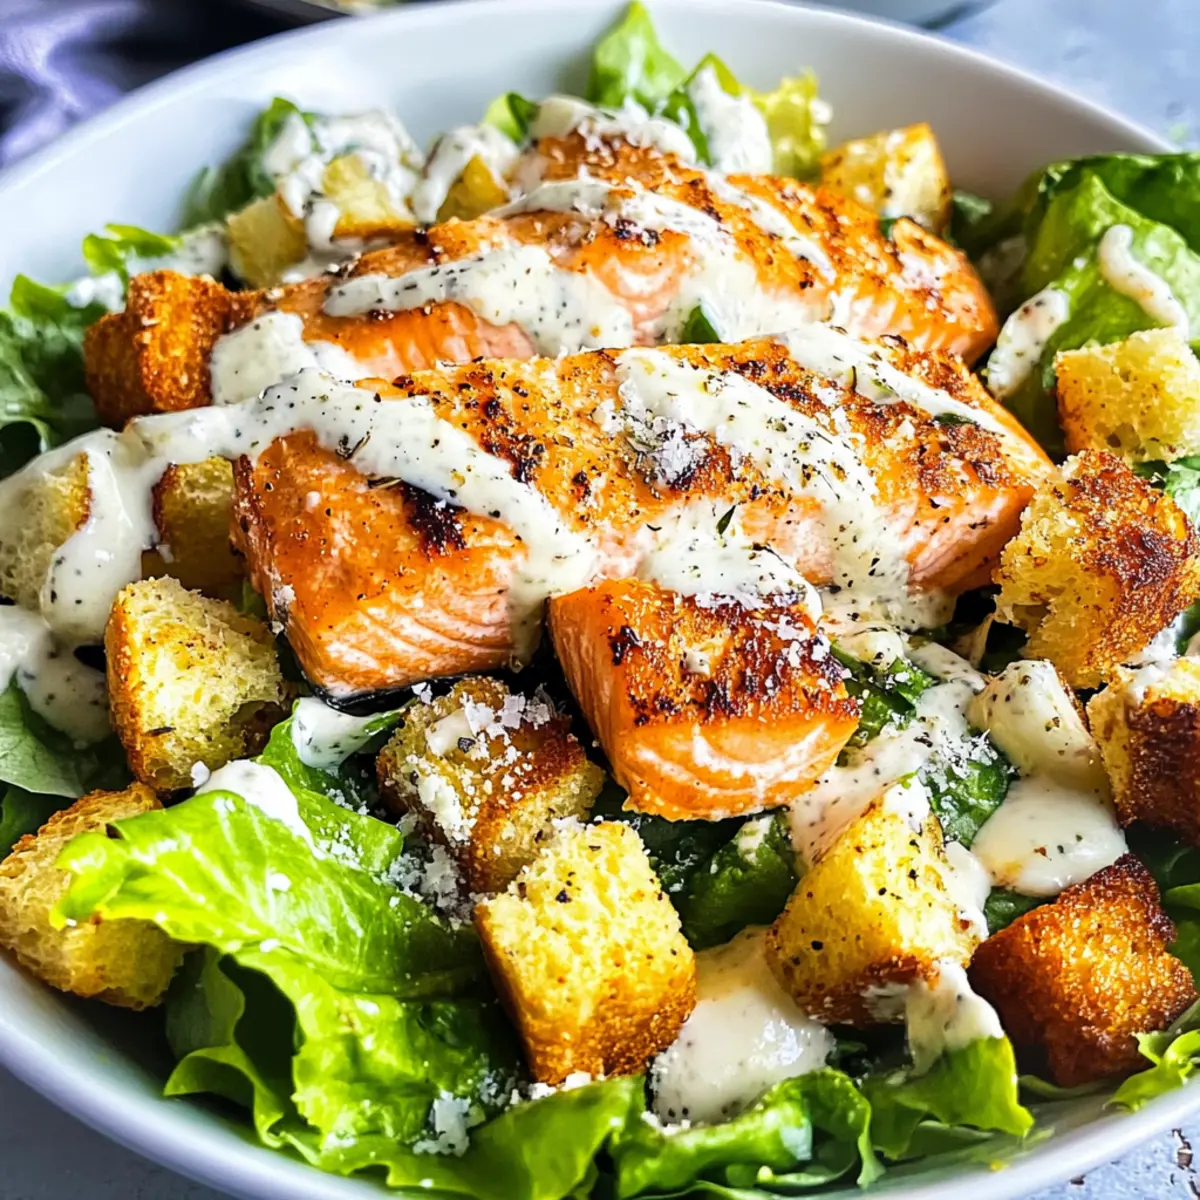
Once the salmon is cooked to perfection, remove it from the skillet and let it rest for a minute. To serve, divide the dressed romaine and Parmesan mixture evenly among four plates. Place one salmon fillet atop each salad portion to create a beautiful presentation. Finally, sprinkle 1 cup of garlic and herb croutons over the salads for that delightful crunch.
Step 4: Garnish and Serve
For an appealing finish, you can add a sprinkle of extra Parmesan or any additional toppings of your choice. Serve your Easy Salmon Caesar Salad immediately while the salmon is warm and the greens are crisp. Enjoy this healthy and satisfying meal that is sure to impress!
Expert Tips for Easy Salmon Caesar Salad
-
Crispy Skin Secret: Pat the salmon skin dry before cooking to ensure maximum crispiness. This simple step makes a world of difference in texture.
-
Perfectly Cooked Salmon: Use a meat thermometer to check for doneness. Salmon should reach an internal temperature of 145°F (63°C) for flakiness and flavor without compromising moisture.
-
Freshness Matters: Consider making homemade Caesar dressing for optimal freshness and flavor. It’s quick and elevates your Easy Salmon Caesar Salad to a whole new level.
-
Customize to Taste: Feel free to swap out proteins or add extras like avocado and cherry tomatoes. The versatility will keep your meals exciting and enjoyable.
-
Storage Tips: For freshness, store leftover salad in the fridge for 1-2 days. Keep salmon and dressing separate until serving to maintain crispness.
Make Ahead Options
This Easy Salmon Caesar Salad is perfect for busy home cooks seeking to streamline their meal prep! You can prepare the salad base (romaine lettuce, shaved Parmesan, and croutons) up to 3 days in advance, storing it in an airtight container in the refrigerator to maintain freshness. The salmon can be cooked up to 24 hours ahead of time—simply refrigerate it and reheat gently in the skillet or microwave before serving to keep it deliciously tender. For best results, add the Caesar dressing right before serving to prevent sogginess. With these make-ahead tips, you’ll have a healthy, flavor-packed meal ready to go in no time!
What to Serve with Easy Salmon Caesar Salad
Elevate your dining experience with complementary sides and drinks that enhance the flavors and textures of this delicious salad.
-
Roasted Asparagus: The tender yet slightly crisp asparagus adds a vibrant green touch, enhancing the freshness of your meal. Drizzle with lemon to elevate its bright flavor alongside the salad.
-
Quinoa Pilaf: This nutty, protein-packed side provides a satisfying contrast, making your meal hearty and filling. It’s a great way to add more texture and a slight chewiness that pairs beautifully with the salmon.
-
Grilled Sweet Potatoes: Their natural sweetness balances the savory notes of the Caesar dressing while adding a delightful creaminess in every bite. Serve them warm for a comforting element that works wonders alongside the salad.
-
Creamy Garlic Mashed Potatoes: Rich and smooth, these mashed potatoes offer a velvety texture that complements the crispy salmon perfectly. A sprinkle of fresh herbs can brighten the dish and add color.
-
Crisp White Wine: A chilled Sauvignon Blanc or Pinot Grigio enhances the flavors of the salad, providing a refreshing contrast to the rich salmon while accentuating the salad’s creaminess.
-
Lemon Sorbet: A light and refreshing dessert option that cleanses the palate beautifully after the richness of the meal. Its citrusy zing pairs perfectly with the flavors found in your Easy Salmon Caesar Salad.
With these delightful pairings, you’re set for a wholesome meal that brings together delicious, healthy elements that everyone will love!
How to Store and Freeze Easy Salmon Caesar Salad
Fridge: Store leftovers in an airtight container for up to 1-2 days. Keep the dressing and croutons separate to maintain the salad's crispness.
Freezer: Freezing is not recommended due to the fresh ingredients. However, you can freeze cooked salmon separately for up to 3 months; thaw in the fridge before using.
Reheating: If you’ve stored the salmon separately, reheat in the microwave or skillet until warmed through, and then toss it with fresh greens and dressing.
Enjoy Fresh: For the best experience and flavor, serve your Easy Salmon Caesar Salad immediately after preparation!
Easy Salmon Caesar Salad Variations
Feel free to let your creativity shine with these delicious twists on the classic Salad!
-
Protein Swap: Substitute salmon with grilled shrimp or chicken for a different flavor profile. The key is to maintain that juicy texture!
-
Leafy Greens Upgrade: Try kale or arugula instead of romaine for an exciting change in texture and flavor. Each green brings its own unique taste to the mix.
-
Creamy Alternatives: Replace shaved Parmesan with crumbled feta or goat cheese for a tangy surprise. This adds richness and depth, inviting your taste buds to explore!
-
Nutritional Boost: Toss in some chickpeas or black beans for an extra punch of protein and fiber. This will not only fill you up but also add a delightful creaminess.
-
Flavor Explosion: Mix in fresh herbs like basil or cilantro for an aromatic touch. They provide a burst of flavor that elevates your salad from good to extraordinary!
-
Vegan Delight: For a completely plant-based version, swap salmon for roasted tofu or tempeh and use nutritional yeast in place of cheese. Your vegan friends will thank you!
-
Vegetable Medley: Add cherry tomatoes, cucumbers, or avocado for a touch of freshness and color. These additions not only enhance the flavor but also boost the nutritional value.
-
Zesty Kick: Spice things up by drizzling in some sriracha or adding sliced jalapeños to your salad. The heat contrasts beautifully with the creamy dressing, igniting your taste buds!
Your customized Easy Salmon Caesar Salad is just waiting to be created! And if you’re looking for another comforting dish, try our delightful Avocado Egg Salad for a refreshing change!
Easy Salmon Caesar Salad Recipe FAQs
What type of romaine lettuce should I use?
I recommend using fresh and crisp romaine lettuce, as it provides the perfect crunchy base for your salad. If you'd like to mix things up, kale or spinach are great alternatives that will still give you a similar texture and nutritional value.
How should I store leftovers of the Easy Salmon Caesar Salad?
For the best taste, store any leftovers in an airtight container in the refrigerator for up to 1-2 days. Just be sure to keep the dressing and croutons separate from the salad to maintain the salad's crispness and prevent sogginess.
Can I freeze the Easy Salmon Caesar Salad?
Freezing this salad as a whole is not recommended due to the fresh ingredients; however, you can freeze cooked salmon alone. Wrap the salmon tightly in foil or plastic wrap, then place it in a freezer-safe bag. It will last up to 3 months in the freezer. When ready to enjoy, simply thaw the salmon in the fridge overnight before serving it with fresh greens.
What should I do if my salmon is overcooked?
If you find your salmon has become overcooked and dry, try slicing it into smaller pieces and mixing it into the salad with plenty of Caesar dressing. This will help impart moisture back into the dish and enhance overall flavor. Additionally, adding fresh avocado or a squeeze of lemon can further brighten the flavors.
Is this Easy Salmon Caesar Salad suitable for those with dietary restrictions?
Absolutely! If you have dietary restrictions such as lactose intolerance or a vegan diet, you can easily customize the recipe. Substitute the Parmesan cheese with nutritional yeast for a dairy-free option. To make it vegan, replace the salmon with grilled tofu or chickpeas as a protein source, and opt for a vegan Caesar dressing.
How do I tell if my salmon is fresh?
When selecting salmon, look for bright, moist flesh with no dark spots or strong fishy smells. The flesh should spring back when pressed, indicating freshness. If you can, purchase it from a trusted source and ideally on the day you plan to cook it for the best quality.
Easy Salmon Caesar Salad That'll Elevate Your Dinner Game
Ingredients
Equipment
Method
- Heat a large skillet over medium-high heat and add 1 tablespoon of olive oil. Season salmon fillets with rosemary, paprika, salt, and pepper. Cook skin-side down for about 5 minutes, flip and cook for an additional 2 minutes.
- Wash and chop romaine lettuce into bite-sized pieces. In a mixing bowl, combine chopped romaine, Parmesan cheese, and Caesar dressing. Toss until well-coated.
- Plate dressed romaine evenly on four plates. Place one salmon fillet atop each salad, sprinkle with croutons for crunch.
- Garnish with extra Parmesan or toppings of your choice. Serve immediately while the salmon is warm and the greens are crisp.