As the scent of baking wafted through my kitchen one afternoon, I realized I was about to make a Paula Deen–inspired coconut loaf cake that would transport me straight to a tropical paradise. This moist coconut pound cake loaf is a delightful twist on a beloved classic, combining a rich, buttery texture with the subtle sweetness of coconut. Easy to whip up, it’s perfect for impressing guests at brunch or enjoying a cozy slice with coffee after dinner. Plus, it’s an excellent opportunity to play with variations like coconut oil for a more intense flavor! Are you ready to create a deliciously sweet escape in your own home?
Why is Coconut Pound Cake So Irresistible?
Moist Texture: This luscious cake boasts a rich, buttery crumb that melts in your mouth. Each bite is a tropical escape!
Easy to Make: Even novice bakers will find success with this simple recipe, meaning everyone can enjoy a slice.
Versatile Variations: Feel free to switch coconut oil for butter or explore other extracts – your flavor playground awaits!
Crowd-Pleasing: This cake makes a stunning centerpiece for brunches or special occasions, guaranteed to impress!
Enjoy serving it alongside a cup of coffee or tea, or check out our Chocolate Pudding Cake for another delightful dessert option!
Paula Deen–Inspired Coconut Loaf Cake Ingredients
For the Cake
• Unsalted Butter – provides a rich, buttery flavor and texture; make sure it's softened for easy creaming with sugar.
• Granulated Sugar – adds sweetness and structure; a crucial component to achieving that tender, moist texture.
• Large Eggs – help with rising; using room temperature eggs will ensure a smoother batter.
• Vanilla Extract – enhances the overall flavor; be cautious with the quantity to avoid overpowering the coconut essence.
• Almond Extract – adds depth to the cake's flavor; a little goes a long way, so use sparingly.
• All-Purpose Flour – provides necessary structure; this is vital to achieving a good rise and texture in your coconut loaf cake.
• Baking Powder – crucial for leavening; check its freshness to ensure your cake rises beautifully.
• Kosher Salt – balances the sweetness and highlights the flavors in the cake.
• Unsweetened Coconut Milk – introduces moisture and coconut flavor; avoid sweetened versions to keep it balanced.
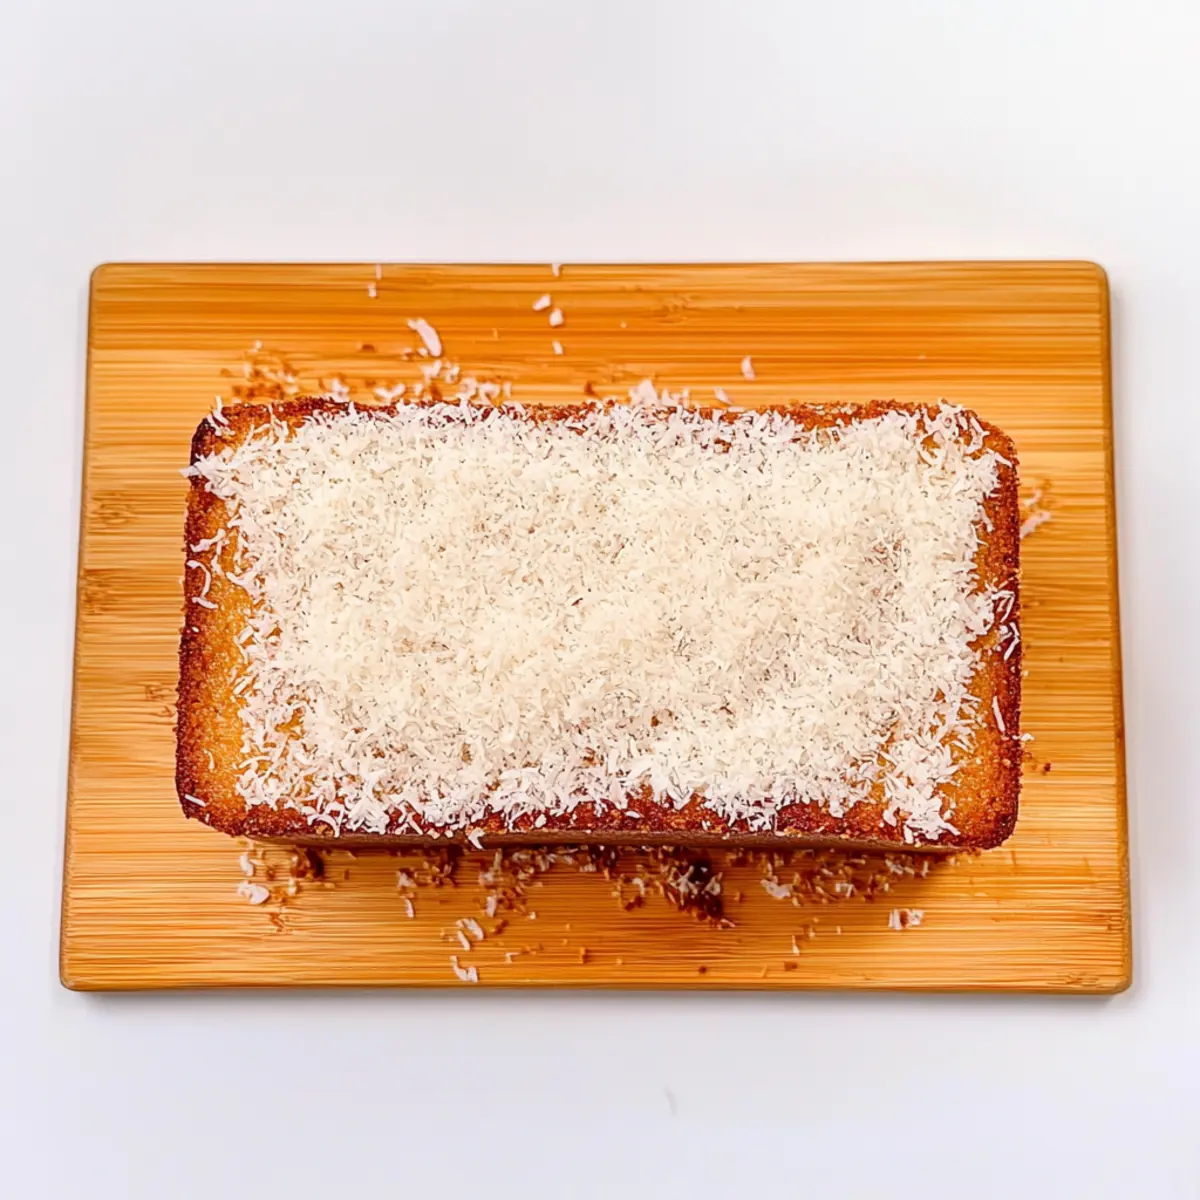
• Shredded Coconut – adds texture and delivers bursts of coconut flavor; coat lightly with flour to prevent sinking in the batter.
For the Glaze
• Powdered Sugar – for the glaze, ensure it’s sifted to keep the consistency smooth and drizzle-friendly.
• Coconut Milk (for glaze) – helps achieve a luscious texture; adjust the amount for your desired drizzling consistency.
• Vanilla Extract (for glaze) – boosts flavor in your glaze, adding that perfect finishing touch to your moist coconut pound cake.
This Paula Deen–inspired coconut loaf cake is not just a treat but a beloved tradition that brings warmth and joy to every occasion!
Step‑by‑Step Instructions for Paula Deen–inspired coconut loaf cake
Step 1: Preheat and Prepare
Begin by preheating your oven to 350°F (175°C). While it's heating up, generously grease a 9x5-inch loaf pan with butter or non-stick spray to ensure the cake releases easily after baking. This step is crucial for achieving that perfect, golden-brown crust on your Paula Deen–inspired coconut loaf cake.
Step 2: Cream Butter and Sugar
In a large mixing bowl, use an electric mixer to cream together the softened unsalted butter and granulated sugar until the mixture becomes light and fluffy, about 3-5 minutes. You’ll know it’s ready when it’s pale in color and has a smooth texture. This is key for a tender cake, so take your time with this step!
Step 3: Incorporate Eggs and Extracts
Next, add in the large eggs one at a time, mixing well after each addition to ensure they’re fully incorporated. Follow this by adding the vanilla and almond extracts, blending until everything is well combined. This sweet aroma will elevate the flavors in your coconut loaf cake and create a delightful base.
Step 4: Mix Dry Ingredients
In a separate bowl, whisk together the all-purpose flour, baking powder, kosher salt, and shredded coconut. This step not only combines the dry ingredients evenly but also helps the baking powder distribute better in the batter. Make sure there are no lumps, and keep the shredded coconut separate until it’s time to combine.
Step 5: Combine Wet and Dry Mixtures
Gradually fold the dry mixture into the creamed batter, alternating with the unsweetened coconut milk. Start and end with the dry ingredients, mixing until just combined. Be careful not to overmix, as this can affect the final texture of your Paula Deen–inspired coconut loaf cake, so use a spatula for gentleness.
Step 6: Bake the Cake
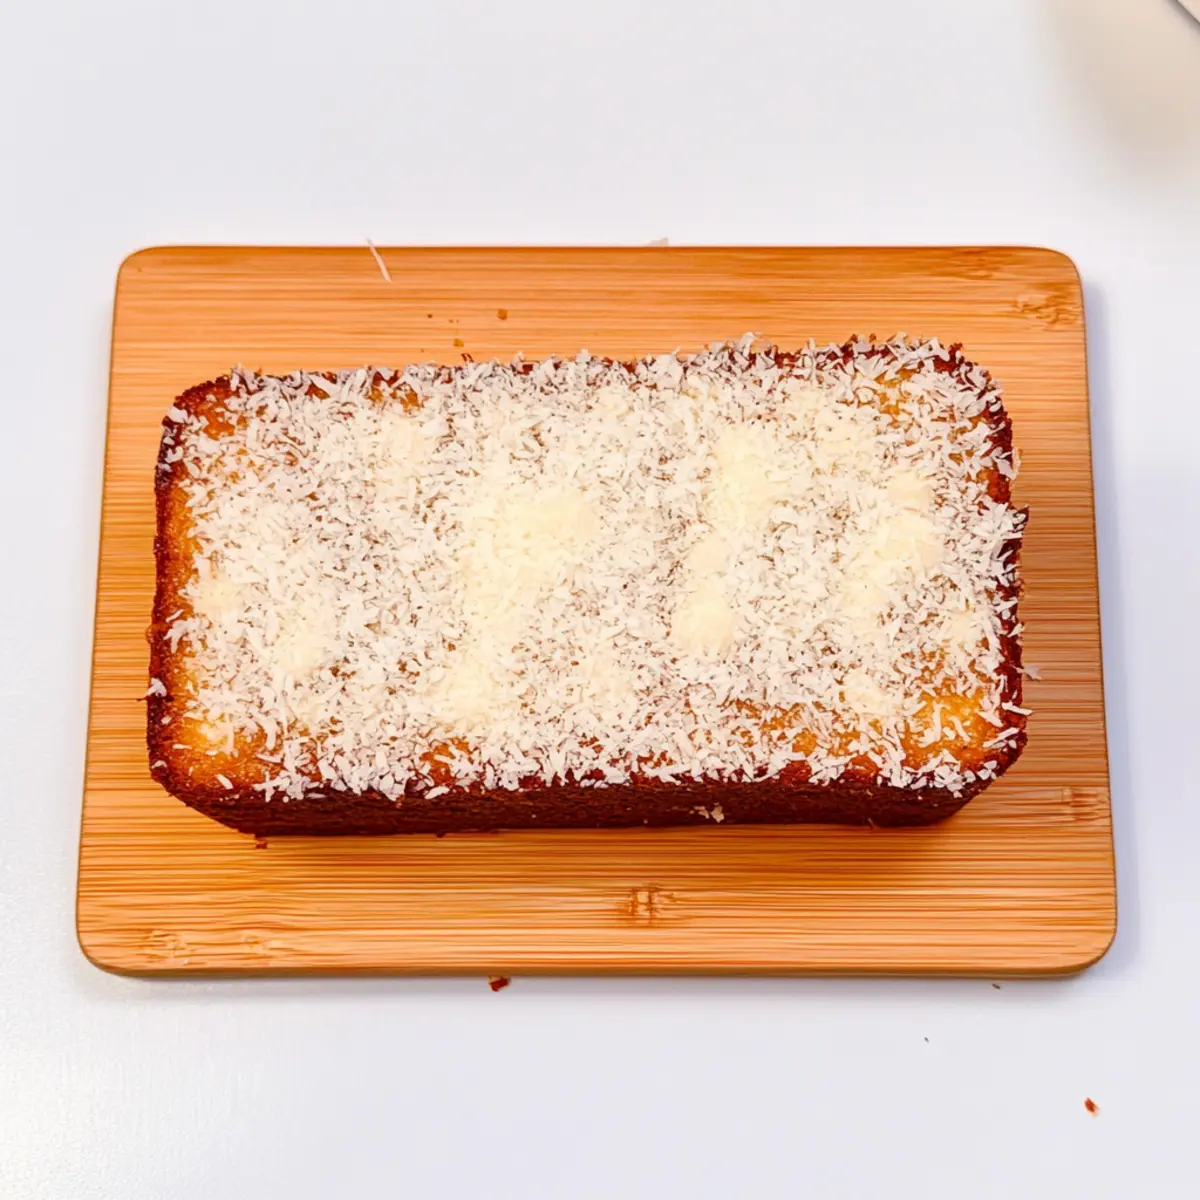
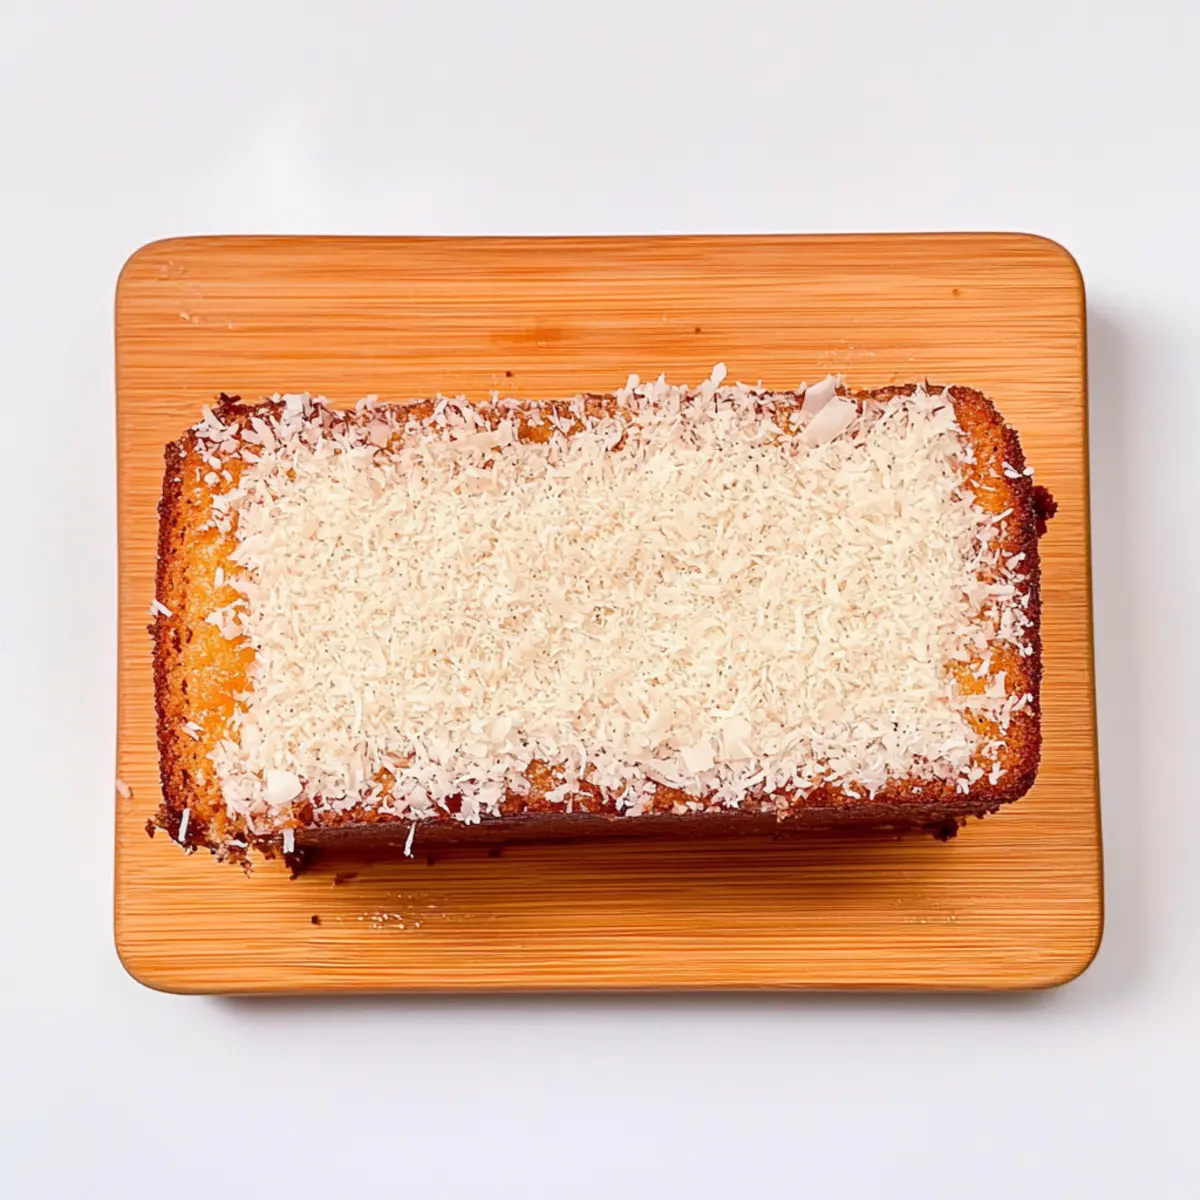
Pour the final batter into your prepared loaf pan, smoothing the top with a spatula. Place it in the preheated oven and bake for 50-60 minutes, or until a toothpick inserted into the center comes out clean or with a few moist crumbs. The cake should be golden brown and have risen beautifully, filling your kitchen with delicious coconut aromas.
Step 7: Cool the Cake
Once baked, remove it from the oven and allow the coconut loaf cake to cool in the pan for about 10 minutes. Then, carefully transfer it to a wire rack to cool completely. This step is essential to prevent sogginess and to ensure that glorious texture you’re aiming for in your cake.
Step 8: Prepare the Glaze
While the cake cools, prepare the glaze by mixing the sifted powdered sugar, coconut milk, and vanilla extract in a small bowl until smooth. Adjust the thickness with more coconut milk if necessary; it should be drizzling consistency. Once the cake is cool, this delightful glaze will add a final touch of sweetness and flavor.
Step 9: Drizzle and Serve
Finally, drizzle the glaze generously over your Paula Deen–inspired coconut loaf cake. Allow it to set for a few moments before slicing for serving. Enjoy this delightful, moist cake alongside your favorite cup of coffee or tea, bringing a tropical twist to your dessert table!
Expert Tips for Paula Deen-Inspired Coconut Loaf Cake
Room Temperature Ingredients: Ensure that your butter, eggs, and coconut milk are at room temperature. This helps create a smooth batter for your coconut loaf cake.
Check Baking Powder Freshness: Test your baking powder by adding a teaspoon to hot water. If it bubbles, it's fresh; if not, replace it for a better rise.
Prevent Coconut Sinking: Lightly coat shredded coconut with flour before adding it to the batter. This simple trick keeps it evenly distributed throughout the cake.
Mind the Mixing: Be careful not to overmix your batter, especially when combining wet and dry ingredients. Gentle folding helps maintain a tender texture in your Paula Deen-inspired coconut loaf cake.
Cool Completely: Allow your cake to cool completely on a wire rack before glazing. This prevents the glaze from melting into the cake and ensures a beautiful finish.
How to Store and Freeze Paula Deen–Inspired Coconut Loaf Cake
Room Temperature: Store your cooled coconut loaf cake in an airtight container at room temperature for up to 3 days to maintain its moisture and flavor.
Fridge: For longer freshness, refrigerate the cake in an airtight container for up to a week. Allow it to come to room temperature before serving to enjoy the best texture.
Freezer: Wrap the cooled loaf tightly in plastic wrap and aluminum foil, or place it in a freezer-safe bag to prevent freezer burn. It can be frozen for up to 3 months.
Reheating: To serve, simply thaw the cake overnight in the fridge and let it come to room temperature. You can warm individual slices in the microwave for about 10-15 seconds for a fresh-baked taste.
Make Ahead Options
These Paula Deen–inspired coconut loaf cake options are perfect for busy home cooks looking to streamline their meal planning! You can prepare the batter up to 24 hours in advance by mixing the ingredients and storing the batter in an airtight container in the refrigerator. Additionally, you can also bake the cake and allow it to cool completely, then wrap it tightly in plastic wrap or aluminum foil to keep it fresh for up to 3 days at room temperature. Just remember to let it come to room temperature before serving, and drizzle the glaze right before enjoying. This way, your tropical dessert remains just as delicious without losing its moist texture!
Variations & Substitutions for Coconut Pound Cake
Feel free to get creative and customize this delightful coconut pound cake to suit your taste preferences!
-
Coconut Oil: Substitute coconut oil for butter for a more intense coconut flavor. Just remember, this may create a denser cake texture.
-
Flavor Extracts: Swap almond extract for other extracts like lemon or coconut for a unique twist. Experimenting with flavors can elevate your cake experience beautifully.
-
Citrus Zest: Infuse the batter with lime or orange zest for an added pop of freshness. The citrus brings a vibrant zing that pairs impeccably with coconut!
-
Nutty Delight: Add chopped walnuts or pecans for a delightful crunch in every bite. This variation gives a lovely texture and nutty flavor to the loaf.
-
Gluten-Free: Substitute all-purpose flour with a gluten-free flour blend if needed. Be sure to use one that contains xanthan gum for best results!
-
Chocolate Lovers: Mix in chocolate chips for a delicious contrast to the coconut flavor. Who can resist a tropical loaf with a touch of chocolatey goodness?
-
Reduced Sugar: Use a sugar substitute or reduce the sugar slightly for a healthier version. This can make your cake less sweet while still being enjoyable.
-
Tropical Twist: Incorporate crushed pineapple or mango into the batter for an exotic fruity addition. This will add moisture as well as a vibrant tropical flair!
Pair your loaf with a cup of coffee or tea for the perfect afternoon indulgence. And if you're on the lookout for other delightful desserts, consider checking out our German Chocolate Poke Cake or Chocolate Pudding Cake. Enjoy experimenting with these variations!
What to Serve with Moist Coconut Pound Cake Loaf?
Indulging in a slice of this luscious coconut loaf cake invites a wave of tropical delight; here are some delicious pairings that will elevate your dessert experience.
-
Creamy Coconut Ice Cream: This complements the coconut flavor while adding a velvety, cold contrast that melts into each bite of the warm loaf.
-
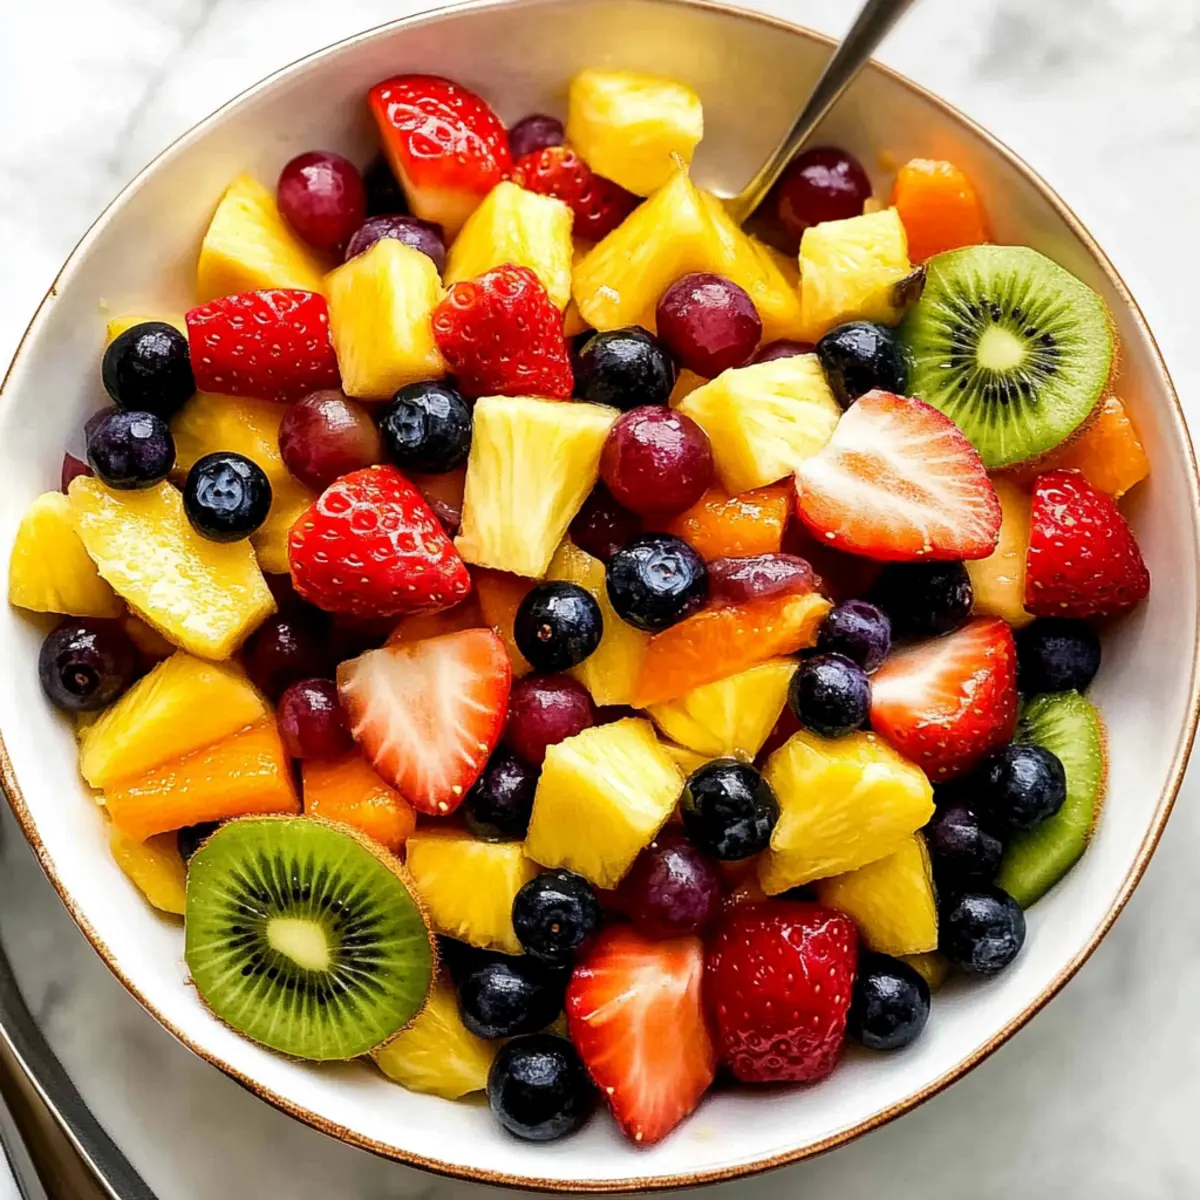
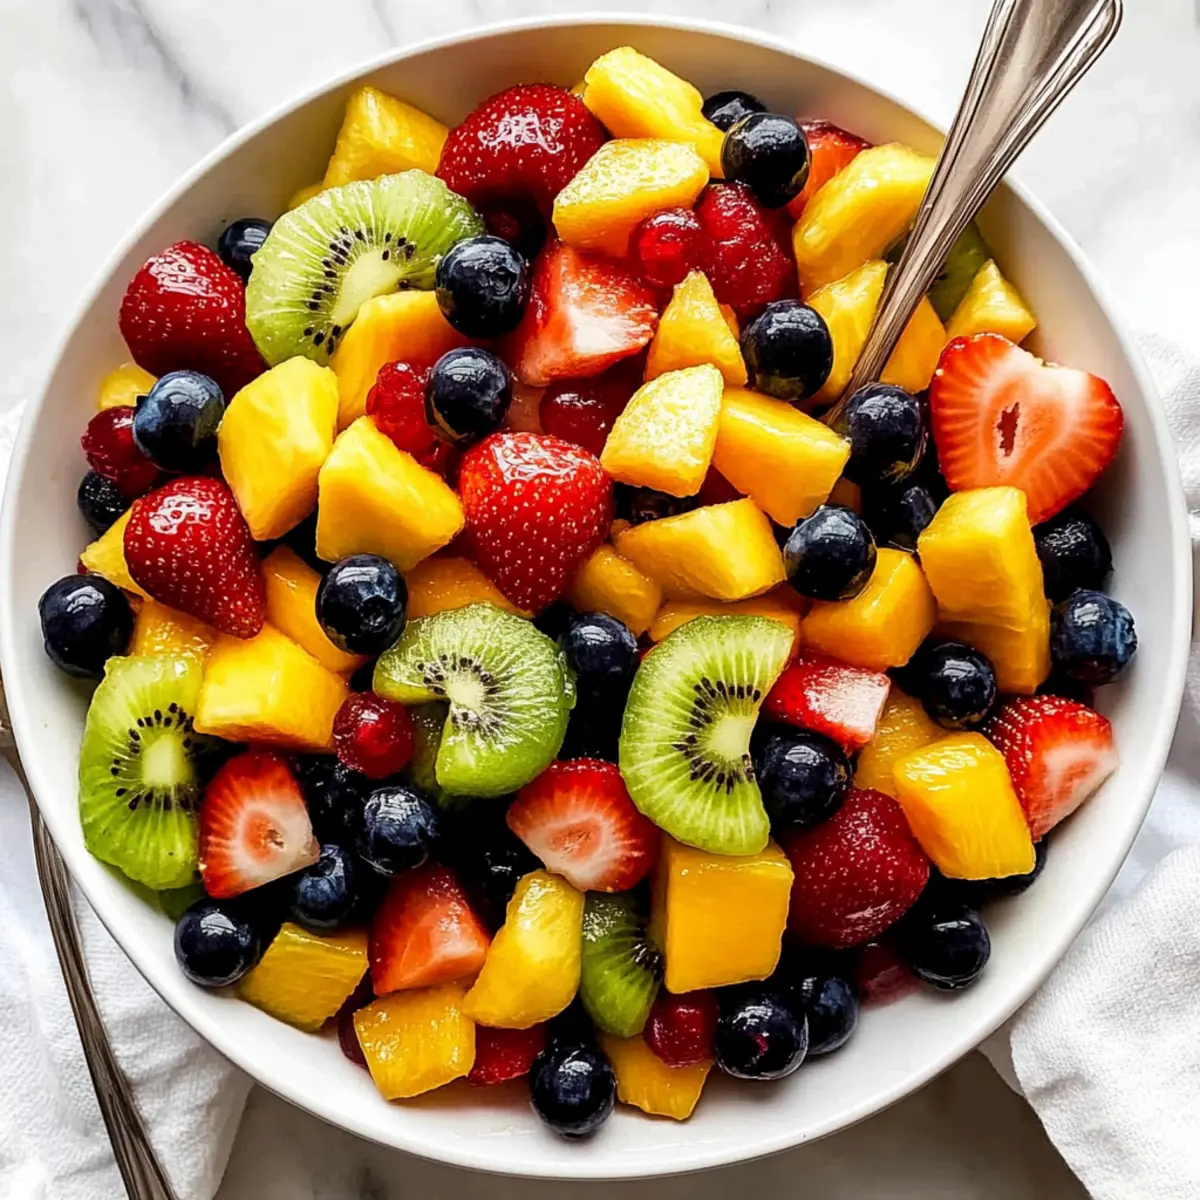
Fresh Berries Medley: A burst of tartness from strawberries, blueberries, and raspberries balances the sweetness, adding a refreshing note that’s irresistible.
-
Rich Espresso or Coffee: The deep, bold flavors of coffee enhance the cake's sweetness, creating a comforting experience perfect for afternoon breaks or brunch.
-
Minty Iced Tea: A cold glass of mint-infused iced tea refreshes your palate, while its herbal notes bring a delightful contrast to the smooth cake.
-
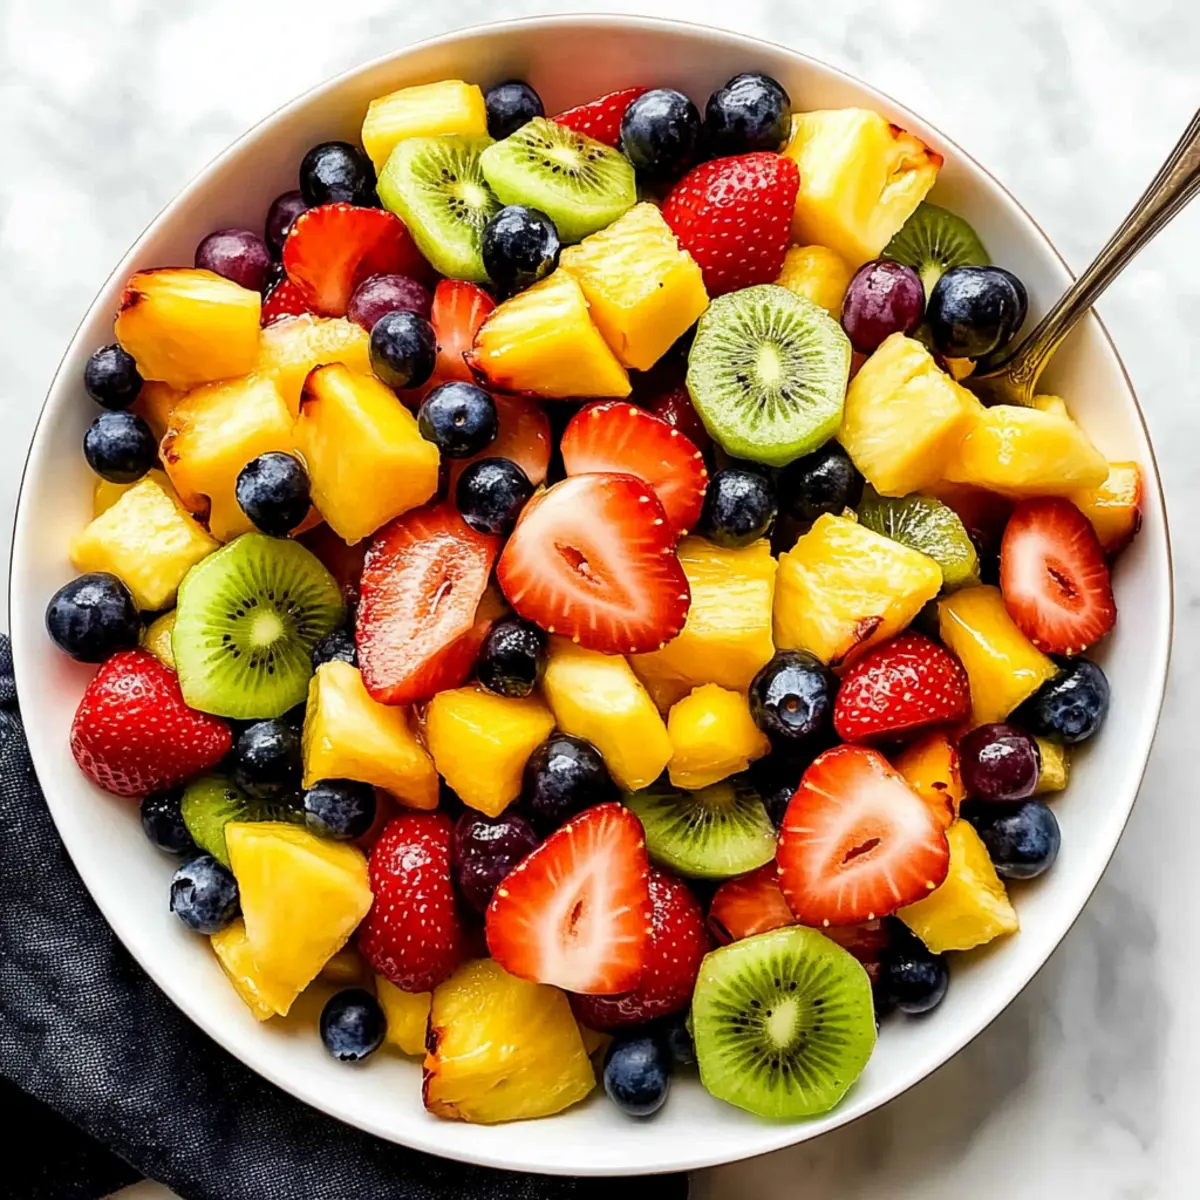
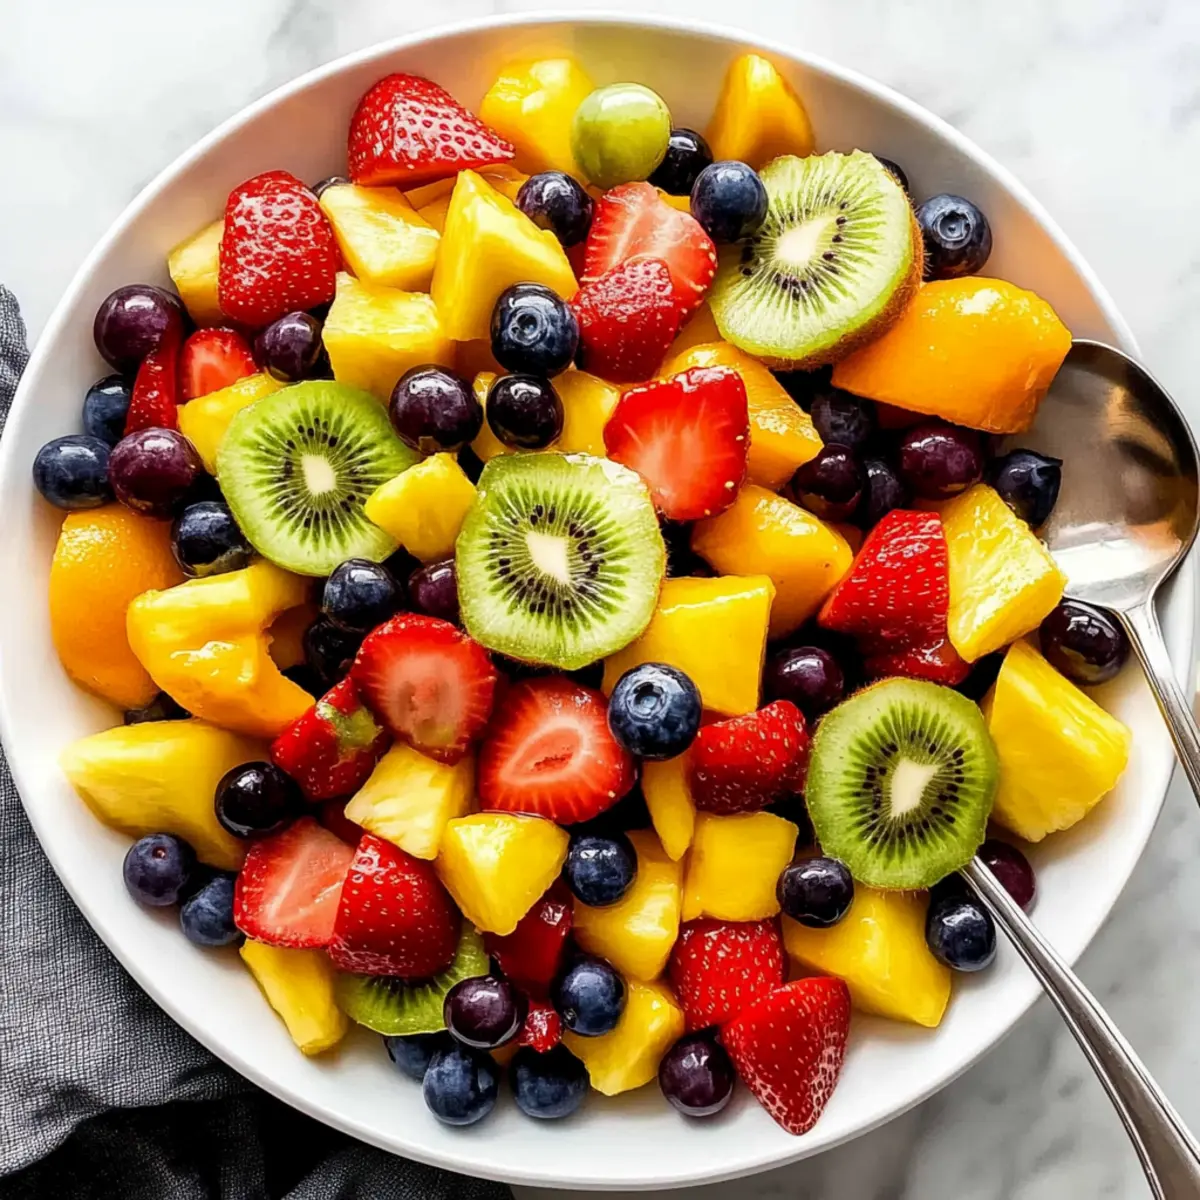
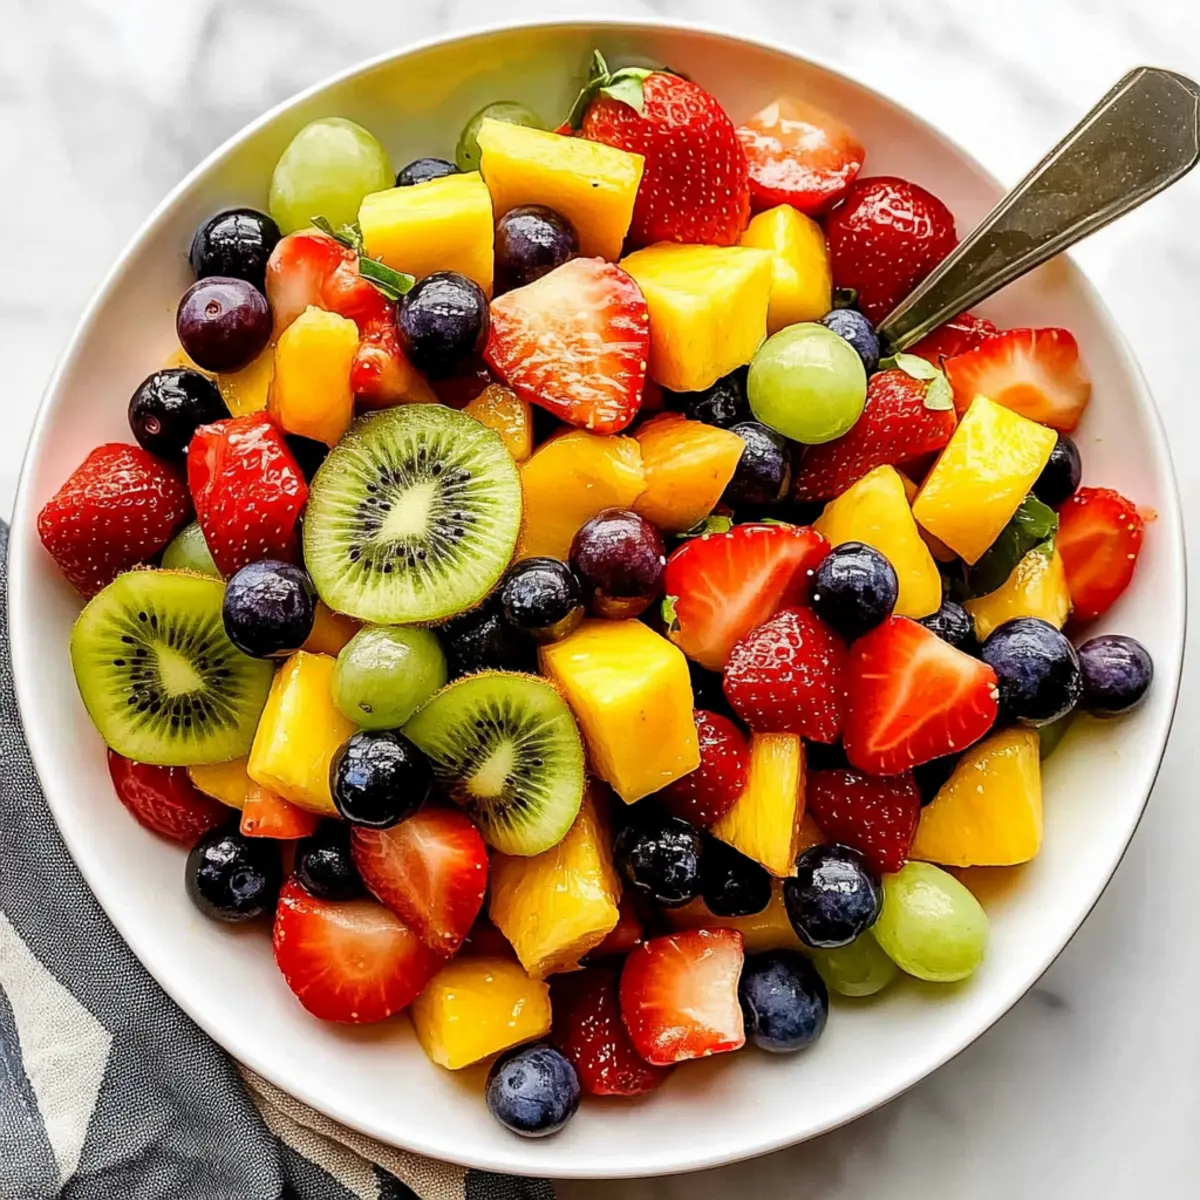
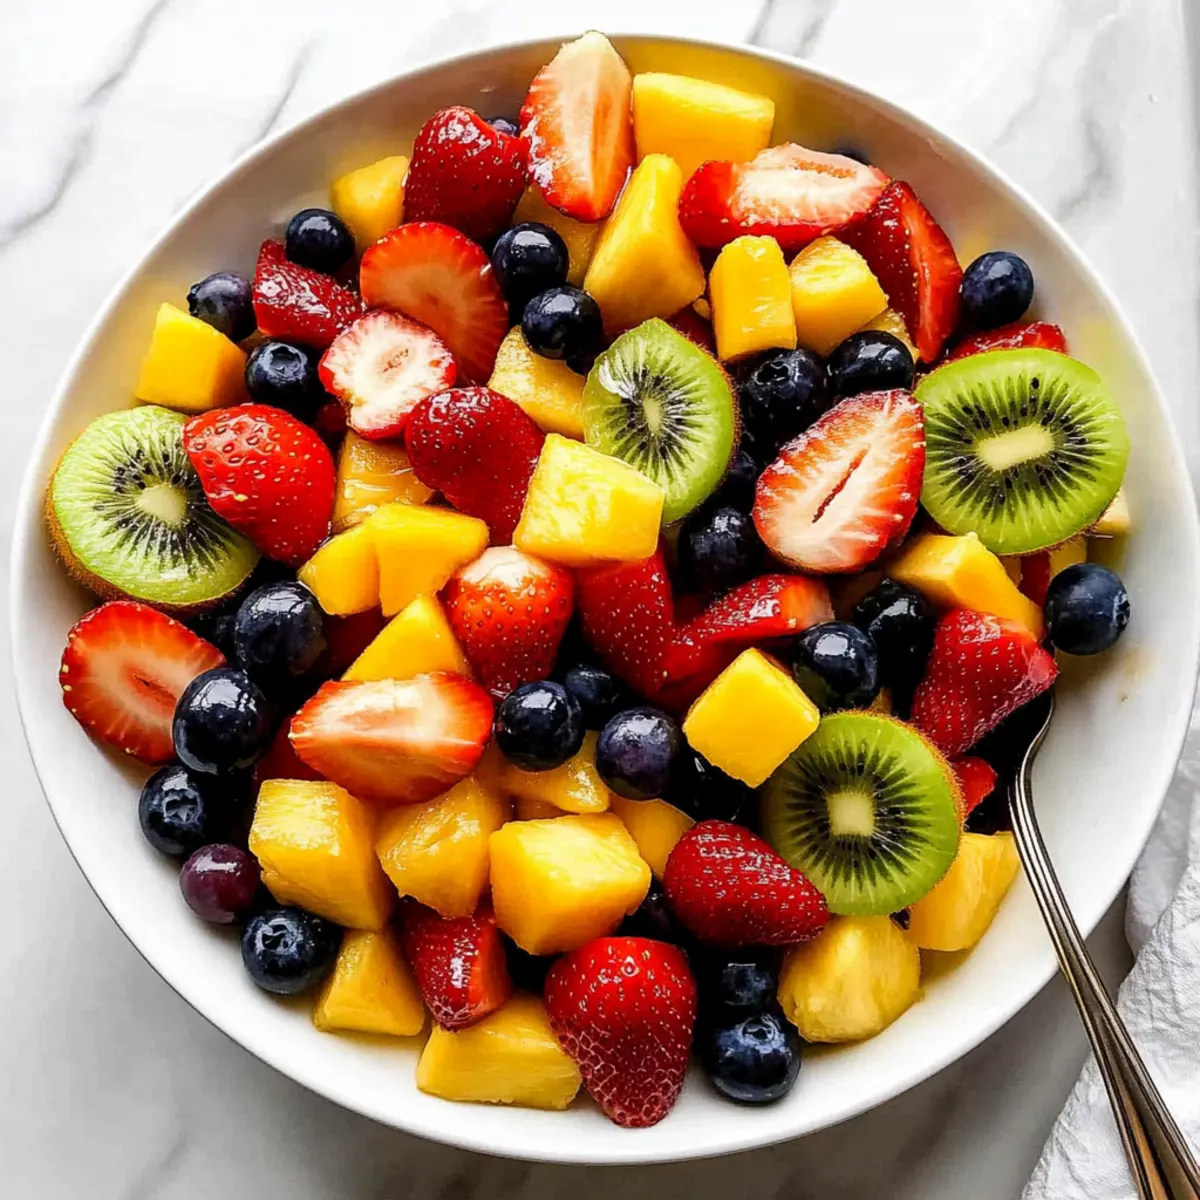
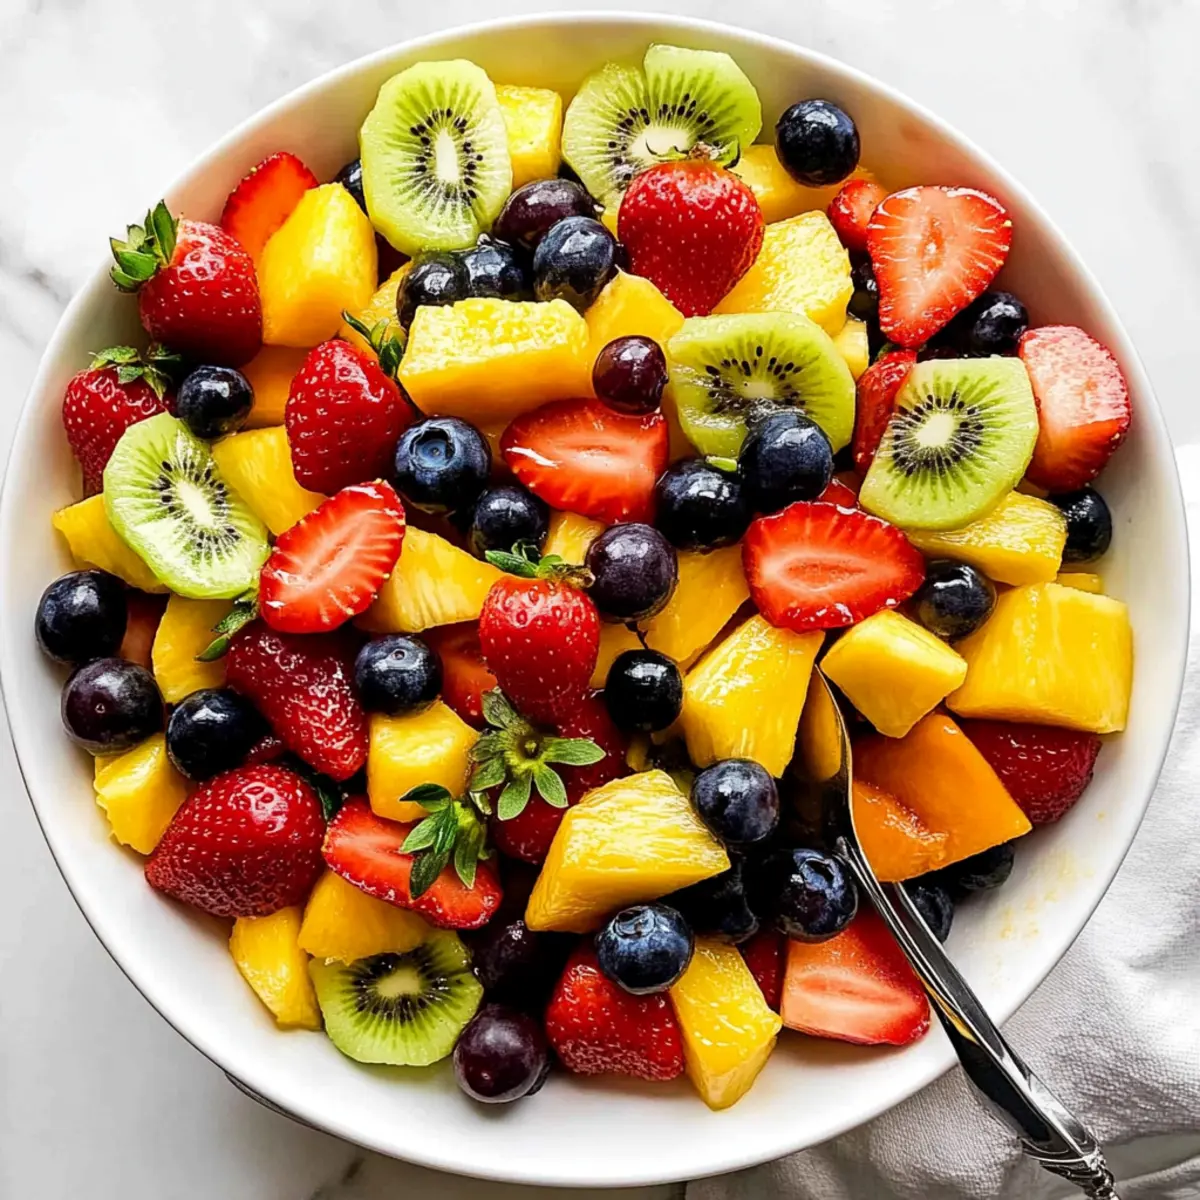
Tropical Fruit Salad: Bright, juicy slices of pineapple, mango, and kiwi add a burst of flavor and visual appeal, harmonizing beautifully with the coconut notes.
-
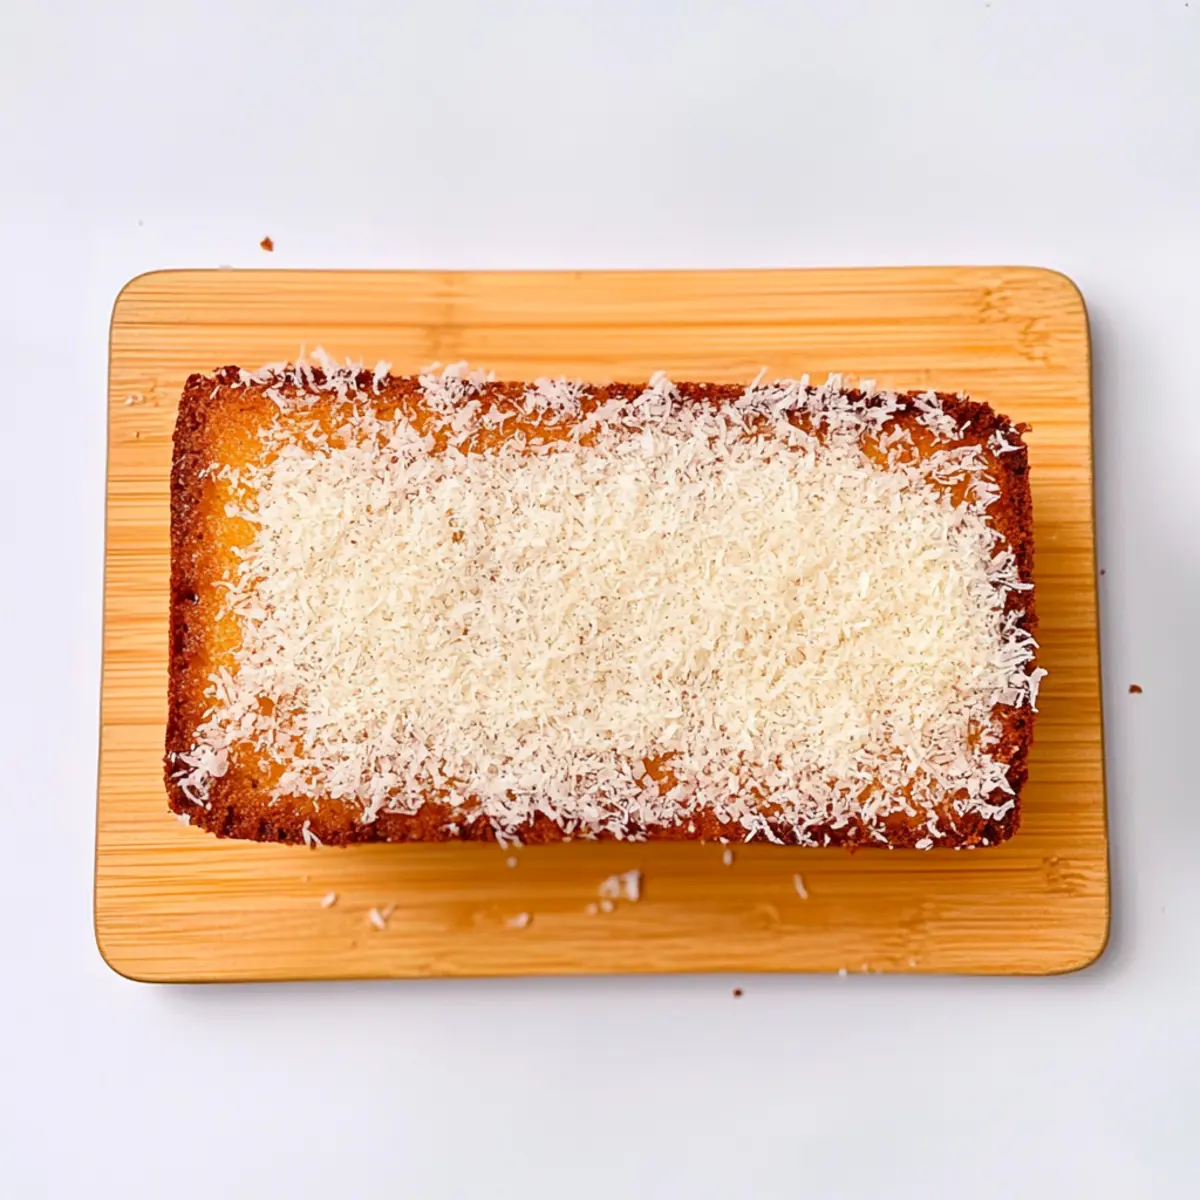
Toasted Coconut Flakes: Sprinkle some on top for presentation and a satisfying crunch; they echo the flavors in the cake and add visual zest to your serving.
-
Lemon Glaze: A drizzle of tangy lemon glaze brightens the cake, contrasting the richness of the coconut while adding a citrus twist that elevates every bite.
-
Chilled Coconut Water: For a light beverage, chilled coconut water brings out the cake's tropical essence, making each slice feel like a vacation treat.
-
Chocolate Sauce Drizzle: For a decadent twist, drizzle a little chocolate sauce over the cake, creating a heavenly pairing with the coconut flavor!
Explore these delightful accompaniments to your Paula Deen–inspired coconut loaf cake, transforming a simple dessert into an unforgettable experience!
Paula Deen-Inspired Coconut Pound Cake Recipe FAQs
What kind of coconut should I use for the coconut pound cake?
I recommend using unsweetened shredded coconut for the best flavor and texture. Sweetened coconut can make the cake overly sweet and alter the balance.
How do I store the coconut pound cake properly?
To keep your coconut loaf cake fresh, store it in an airtight container at room temperature for up to 3 days. If you want it to last longer, refrigerate it for up to a week.
Can I freeze the coconut pound cake?
Absolutely! To freeze your Paula Deen-inspired coconut loaf cake, wrap it tightly in plastic wrap and then in aluminum foil or place it in a freezer-safe bag. It can be frozen for up to 3 months. When you’re ready to enjoy it, thaw it in the fridge overnight and let it come to room temperature.
What should I do if my loaf cake doesn’t rise?
If your cake doesn’t rise as expected, it could be due to old baking powder. Check for freshness by adding a teaspoon of baking powder to a small cup of hot water; if it bubbles vigorously, it’s still good. Also, avoid overmixing the batter, as this can lead to a denser cake.
Is this coconut pound cake safe for people with nut allergies?
The recipe uses almond extract, which may not be suitable for those with nut allergies. You can easily substitute it with an extra splash of vanilla extract or omit it entirely without losing much flavor.
Can I use coconut oil instead of butter in this recipe?
Yes, you can substitute coconut oil for butter for a stronger coconut flavor. Just note that this might yield a denser texture, so keep an eye on the baking time as well!
Irresistibly Moist Paula Deen-Inspired Coconut Loaf Cake
Ingredients
Equipment
Method
- Preheat your oven to 350°F (175°C) and grease a 9x5-inch loaf pan.
- Cream together the softened unsalted butter and granulated sugar until light and fluffy.
- Add large eggs one at a time, mixing well. Then add vanilla and almond extracts.
- In a separate bowl, whisk together flour, baking powder, kosher salt, and shredded coconut.
- Gradually fold the dry mixture into the creamed batter, alternating with coconut milk.
- Pour the batter into the prepared pan and bake for 50-60 minutes until a toothpick comes out clean.
- Cool in the pan for 10 minutes, then transfer to a wire rack to cool completely.
- Prepare the glaze by mixing powdered sugar, coconut milk, and vanilla extract until smooth.
- Drizzle the glaze over the cooled cake and let it set before serving.