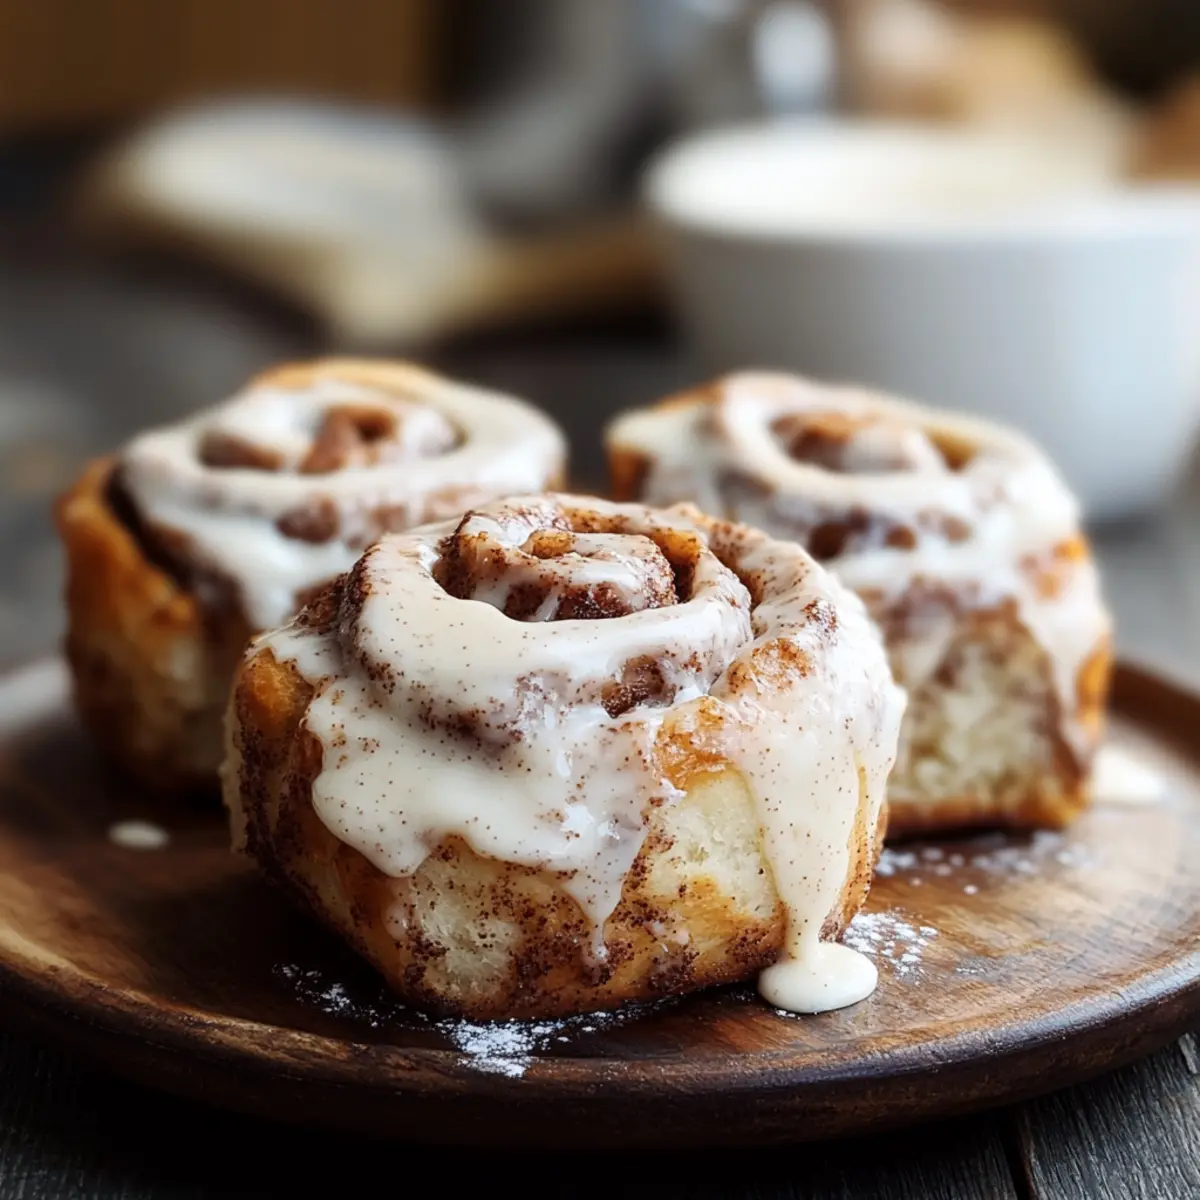
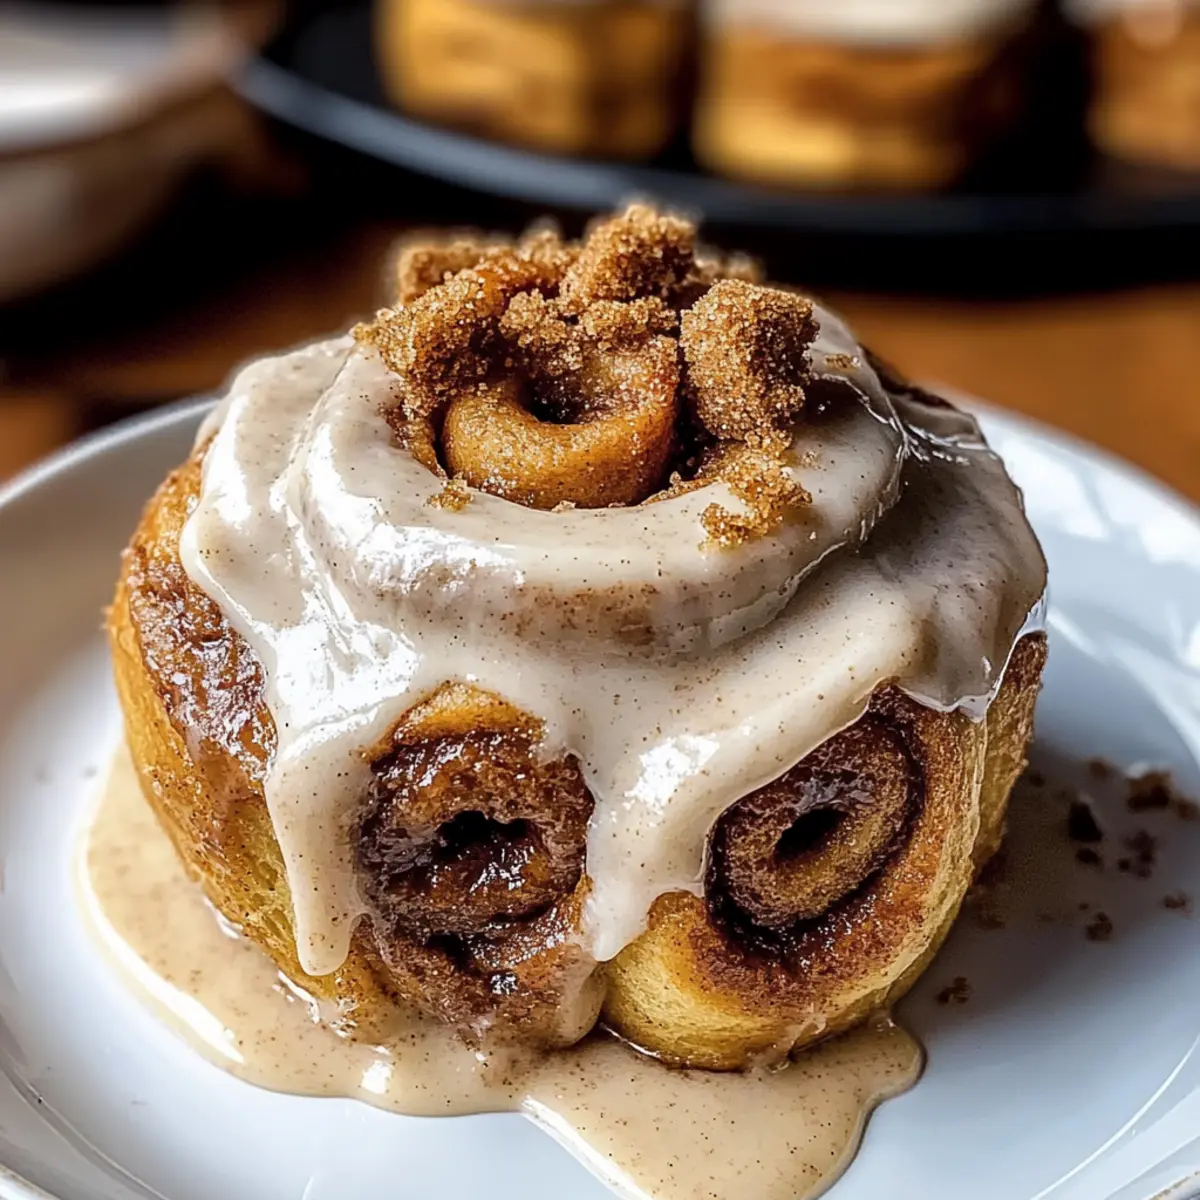
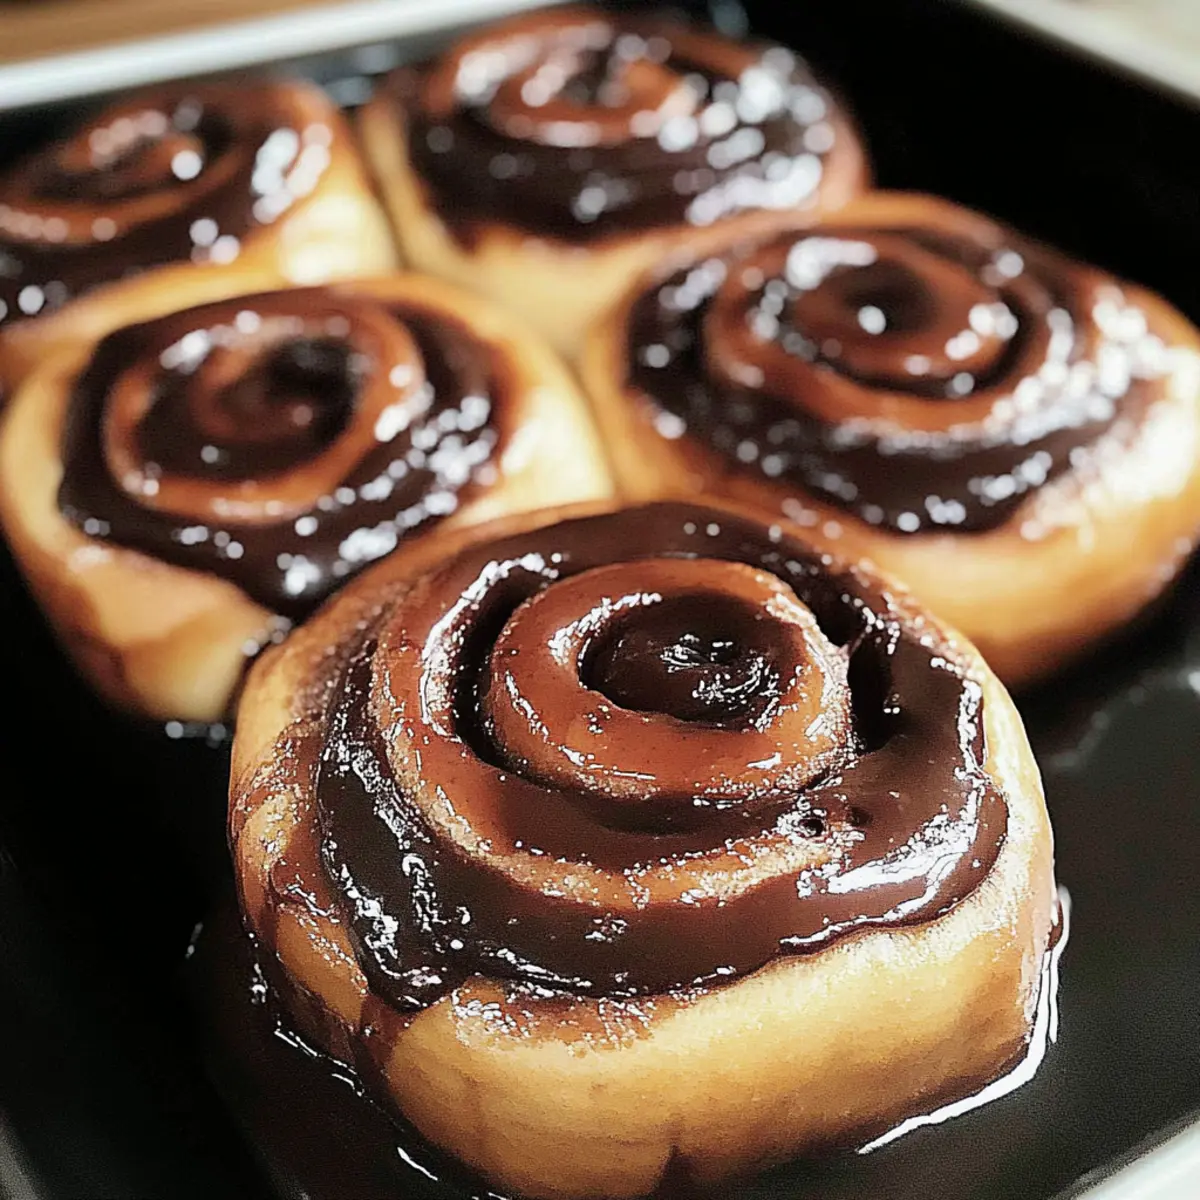
As the aroma of freshly baked goods fills the air, I can’t help but feel a wave of nostalgia wash over me—those family gatherings where warm treats brought everyone together. This recipe for Soft Chocolate Cinnamon Rolls captures that sense of togetherness perfectly. Indulge in these delightful rolls, featuring a luscious combination of gooey chocolate and warm cinnamon, making them an irresistible choice for breakfast, brunch, or dessert. They’re not only fluffy and comforting but also versatile enough to accommodate make-ahead plans and ingredient swaps for your kitchen needs. Are you ready to experience this cozy treat that’s sure to become a favorite in your home?
Why Make Chocolate Cinnamon Rolls?
Irresistible flavors come together in these Soft Chocolate Cinnamon Rolls, combining gooey chocolate with warm cinnamon for a heavenly experience. Versatile options allow you to customize the recipe with your choice of milks or sweeteners, ensuring everyone can enjoy them. Quick to make, these treats are perfect for busy mornings or lazy brunches alike. Crowd-pleasers that are sure to impress family and friends, these rolls create unforgettable moments. You can even prepare them in advance! Try the make-ahead method for even easier baking.
Chocolate Cinnamon Rolls Ingredients
• Here’s everything you need to make Chocolate Cinnamon Rolls that will wow your family!
For the Dough
- Warm Whole Milk – Provides moisture and activates the yeast; substitute with almond milk for a dairy-free version.
- Active Dry Yeast – Helps the dough rise; you can use instant yeast without proofing.
- Granulated Sugar – Sweetens the dough while feeding the yeast; brown sugar gives a richer flavor.
- Large Eggs – Adds richness and binds the dough; no substitutes are recommended.
- Vanilla Extract – Enhances flavor; can be omitted for a simpler profile.
- Unsalted Butter – Adds richness and moisture; replace with coconut oil for a dairy-free option.
- All-Purpose Flour – Provides structure to the rolls; whole wheat flour can substitute, but texture will change.
- Salt – Balances sweetness and enhances overall flavor; it's crucial for tasty dough.
For the Filling
- Unsalted Butter (Filling) – Softened for easy spreading; margarine can work in its place.
- Light Brown Sugar – Sweetens the filling and contributes to a gooey texture; white sugar can be substituted.
- Ground Cinnamon – Essential for that warm flavor; skipping this will alter the essence.
- Unsweetened Cocoa Powder – Infuses a delightful chocolate flavor; carob powder is a caffeine-free alternative.
- Semi-Sweet Chocolate Chunks – Offers a melty filling with a rich taste; dark chocolate is an option for less sweetness.
Enjoy whipping up these delightful Chocolate Cinnamon Rolls in your kitchen, perfect for any occasion!
Step‑by‑Step Instructions for Soft Chocolate Cinnamon Rolls
Step 1: Activate Yeast
Warm the whole milk to about 100-110°F, using a thermometer for precision. In a mixing bowl, combine the warm milk with active dry yeast and granulated sugar. Let this mixture sit for about 5-10 minutes until it becomes bubbly and frothy, indicating that the yeast is active and ready for the Chocolate Cinnamon Rolls dough.
Step 2: Prepare Dough
In the bowl with the activated yeast, mix in the large eggs, vanilla extract, and melted unsalted butter. Gradually add all-purpose flour and salt, mixing until a shaggy dough forms. Transfer the dough to a floured surface and knead for about 6-8 minutes until it’s smooth and elastic, feeling soft and pliable to the touch.
Step 3: First Rise
Place the kneaded dough in a lightly greased bowl and cover it with a clean kitchen towel or plastic wrap. Let it rise in a warm location for about 1 hour, or until the dough has doubled in size. Keep an eye on it; it should be puffy and airy by the end of the rising time, perfect for making your Soft Chocolate Cinnamon Rolls.
Step 4: Prepare Filling
While the dough is rising, make the filling by mixing softened unsalted butter, light brown sugar, ground cinnamon, unsweetened cocoa powder, and semi-sweet chocolate chunks in a bowl. Blend until well combined, creating a rich, creamy mixture. This filling will add a luscious chocolatey flavor to your Chocolate Cinnamon Rolls.
Step 5: Roll and Cut
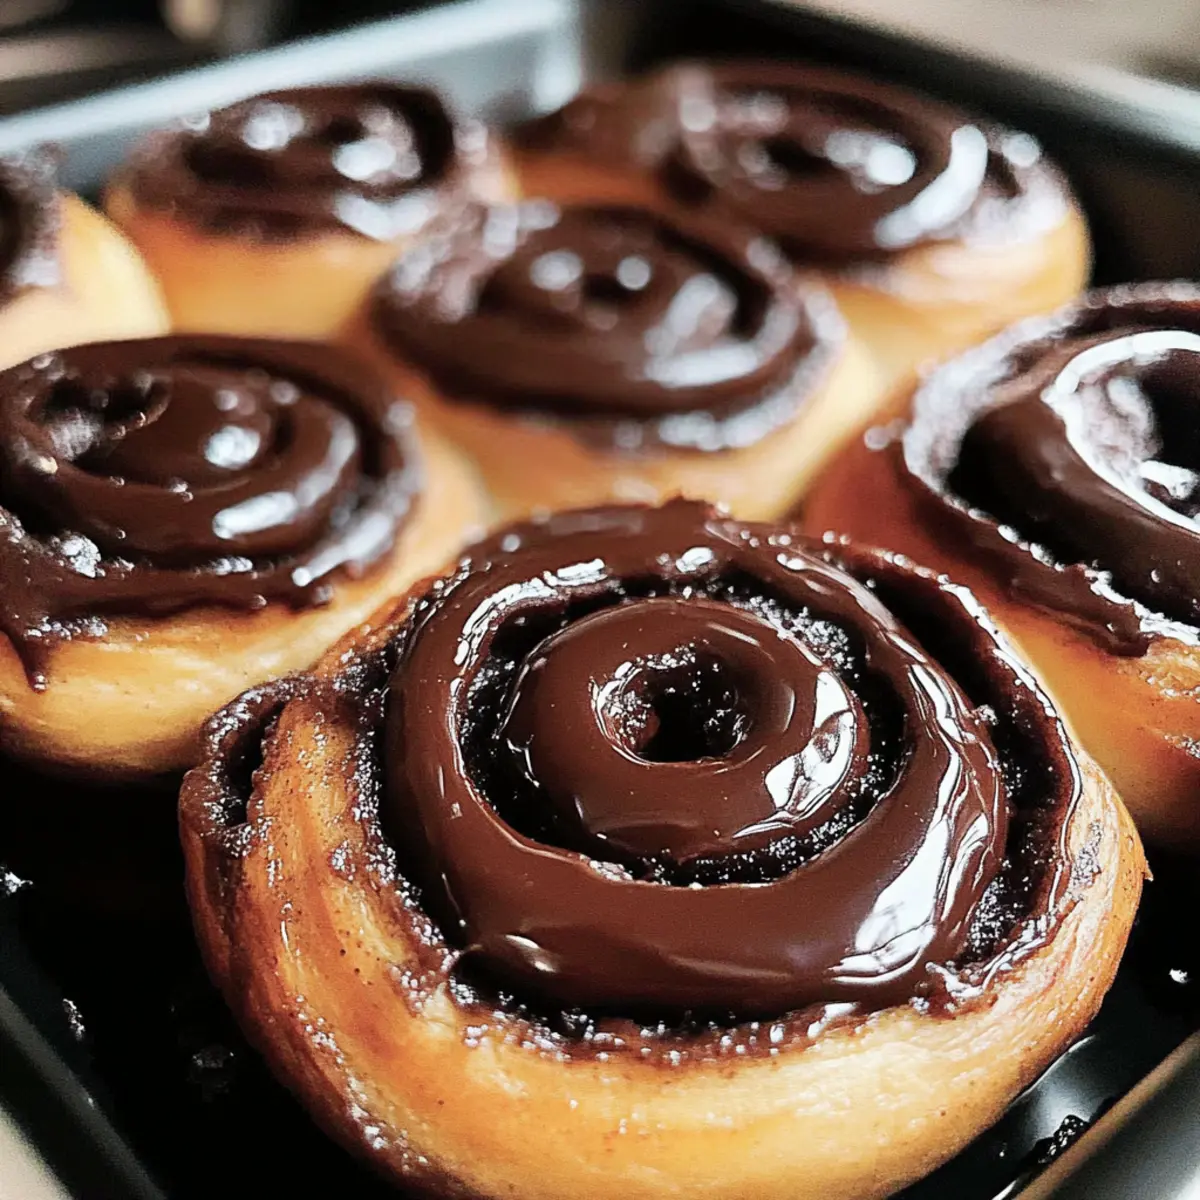
Once the dough has risen, punch it down gently to release air, then roll it out into a rectangle approximately 16x12 inches on a floured surface. Evenly spread the prepared filling over the dough, reaching the edges. Roll the dough tightly into a log, then slice the log into 12 equal rolls, creating perfect spirals for baking.
Step 6: Second Rise
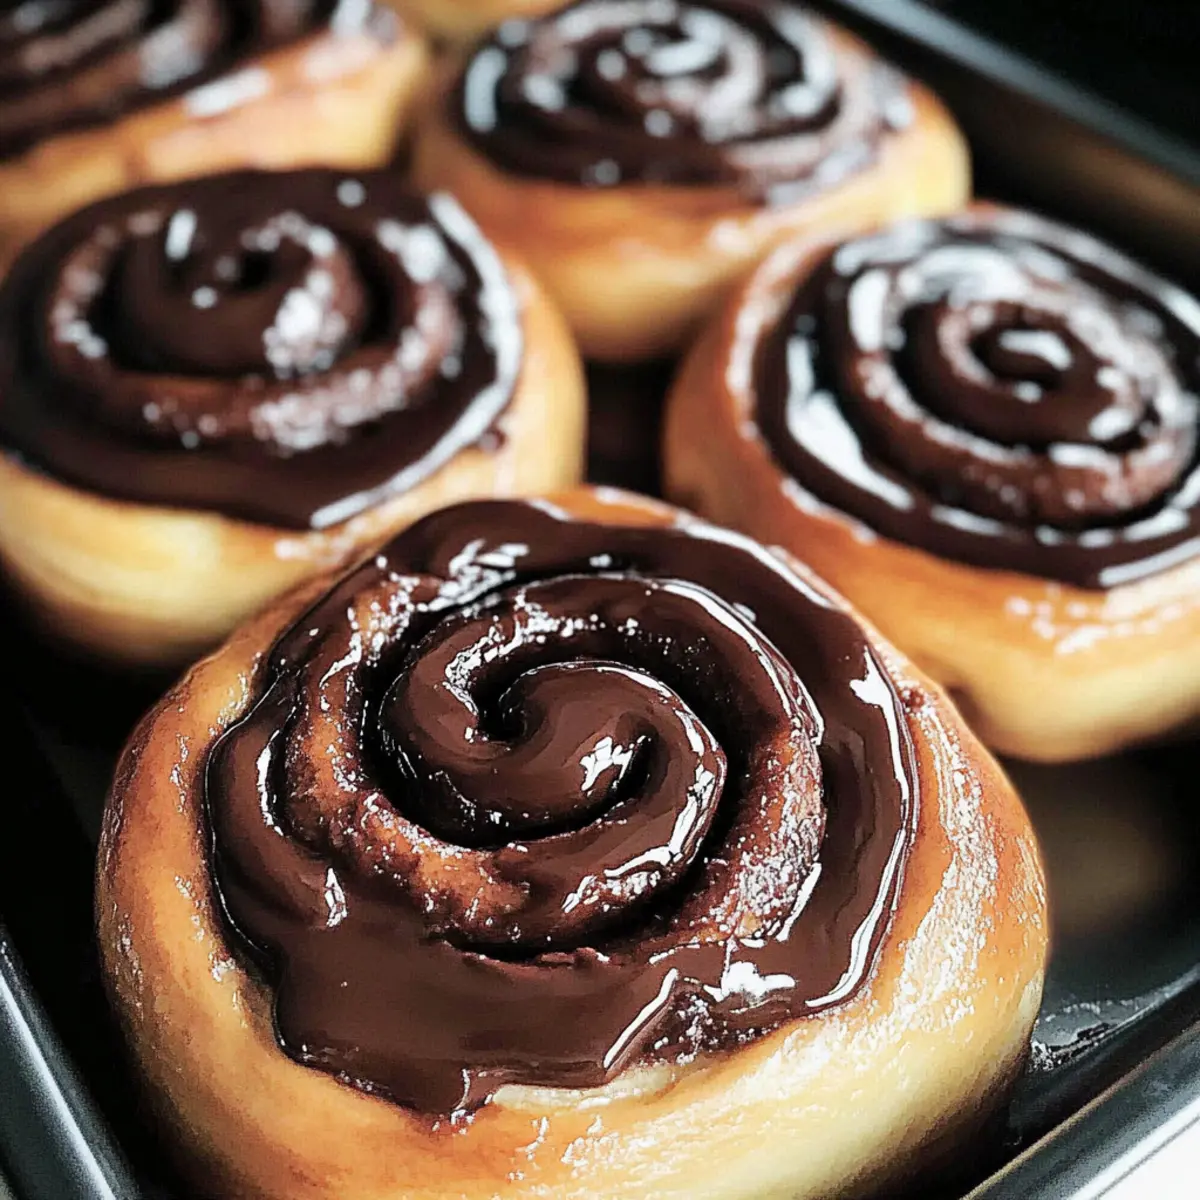
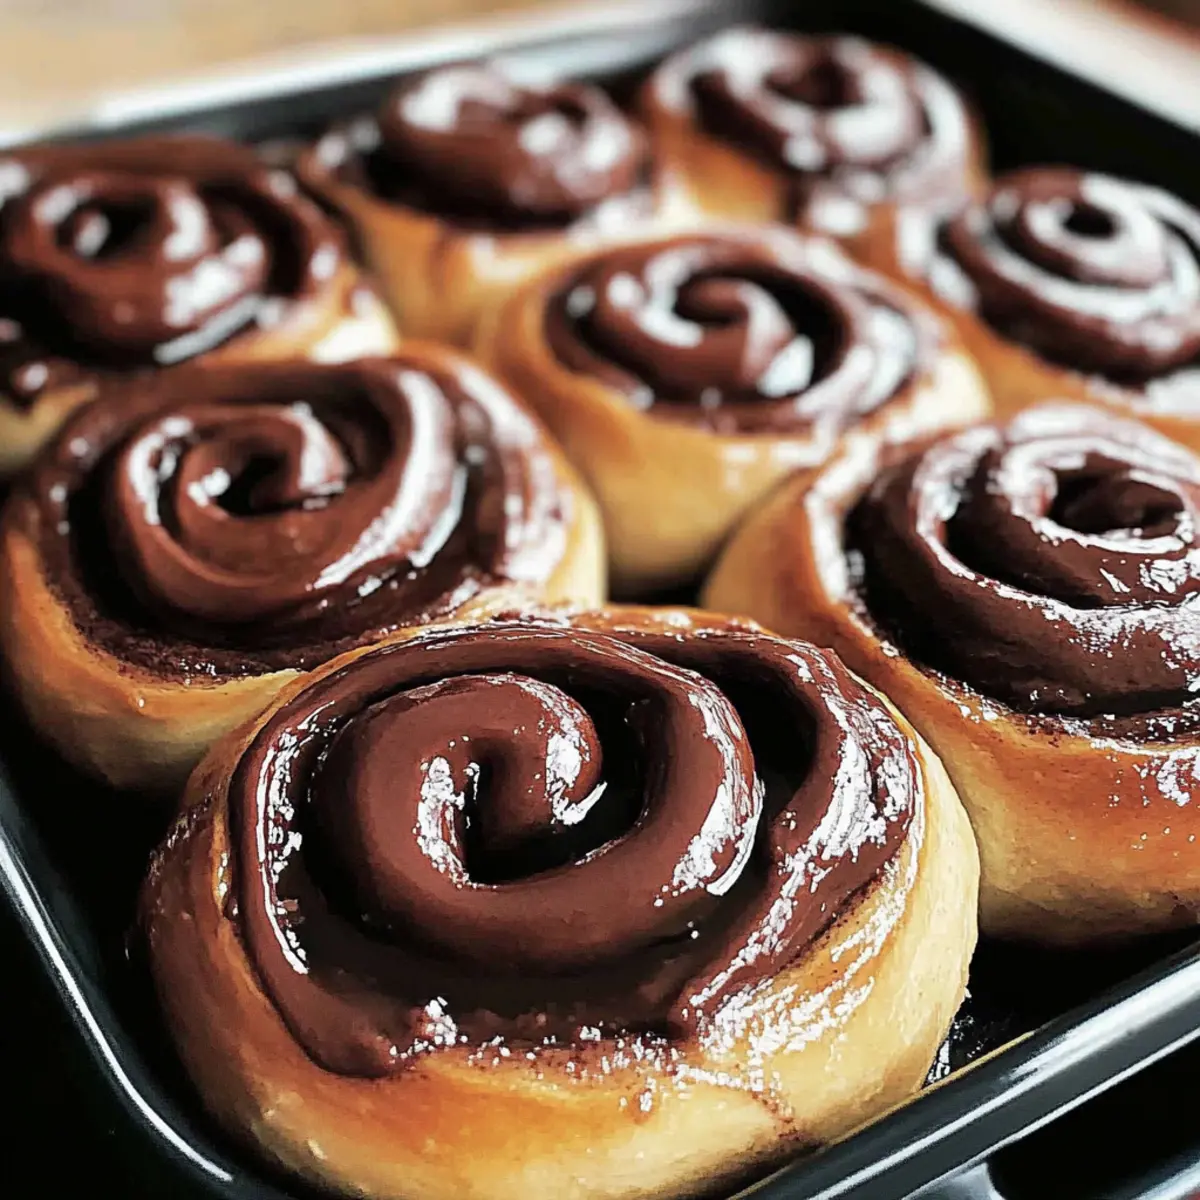
Arrange the sliced rolls in a greased baking pan or on a lined baking sheet, leaving space between them for expansion. Cover the rolls with a towel or plastic wrap, letting them rise for another 30-45 minutes until they look puffy and have filled the gaps, ensuring a soft and fluffy final result in your Chocolate Cinnamon Rolls.
Step 7: Bake
Preheat your oven to 350°F (175°C). Once the rolls have risen adequately, bake them in the preheated oven for approximately 20-25 minutes, or until they turn golden brown and the centers are fluffy. If they begin to brown too quickly, gently tent them with foil to prevent burning, ensuring even cooking.
Step 8: Glaze (optional)
While the rolls cool slightly, prepare a glaze by whisking together powdered sugar, unsweetened cocoa powder, milk, and vanilla extract until smooth. Drizzle the glaze over the warm Soft Chocolate Cinnamon Rolls, letting it seep into the swirls for an extra touch of sweetness. Serve warm and savor the delightful flavors!
Make Ahead Options
These Soft Chocolate Cinnamon Rolls are an excellent option for meal prep! You can prepare the rolls up to 24 hours in advance by completing the rising and shaping steps. After cutting the rolls, place them in a greased baking pan, cover tightly with plastic wrap, and refrigerate overnight. This allows the dough to slowly rise and develop flavor without sacrificing quality. When you’re ready to bake, simply pull the rolls out of the fridge, let them rest at room temperature for about 30 minutes, then pop them in the oven. Enjoy the warm, gooey goodness of freshly baked Chocolate Cinnamon Rolls with minimal morning effort!
Storage Tips for Chocolate Cinnamon Rolls
-
Room Temperature: Chocolate Cinnamon Rolls can be stored at room temperature for up to 3 days. Keep them in an airtight container to maintain their softness and freshness.
-
Fridge: If you prefer to extend their shelf life, place the rolls in the fridge, where they will stay fresh for about 5 days. Be sure to wrap them tightly to prevent drying out.
-
Freezer: These indulgent treats can be frozen for up to 2 months. After cooling completely, wrap them securely in plastic wrap and foil before placing in a freezer-safe bag.
-
Reheating: To enjoy your Chocolate Cinnamon Rolls again, simply reheat in the oven at 350°F (175°C) for about 10-15 minutes or pop them in the microwave for 20-30 seconds until warm.
Chocolate Cinnamon Rolls Variations
Feel free to explore these delightful twists and substitutions to personalize your Chocolate Cinnamon Rolls experience!
- Dairy-Free: Replace whole milk with almond milk and unsalted butter with coconut oil for a deliciously vegan option.
- Nutty Surprise: Fold in chopped walnuts or pecans into the filling for added crunch and a nutty flavor boost. They contrast beautifully with the gooey chocolate.
- Fruit Fusion: Add dried cranberries or raisins to the filling for a touch of sweetness and chewiness. This variation gives your rolls an unexpected burst of flavor.
- Gluten-Free: Substitute all-purpose flour with a 1:1 gluten-free blend, ensuring everyone can enjoy the soft, fluffy goodness. Just make sure to check the details on the blend for best results!
- Extra Spice: Incorporate a pinch of nutmeg or ginger into the filling for a warm, aromatic twist that brings a cozy warmth to your rolls.
- Cream Cheese Glaze: Swap the chocolate glaze for a cream cheese frosting, made with softened cream cheese, powdered sugar, and a hint of lemon juice. This tangy glaze complements the richness perfectly.
- Chocolate Overload: Double the amount of chocolate chunks in the filling for an extra indulgent treat. More chocolate is always better, right?
- Make-Ahead Magic: Assemble your rolls the night before and store them in the fridge overnight. In the morning, just allow them to rise before baking. It’s a time-saver for busy mornings!
These variations can turn your delicious Chocolate Cinnamon Rolls into a new masterpiece every time you whip them up! Whether you follow the classic version or explore some of these creative swaps, you’re sure to delight your taste buds. If you're eager for more delightful recipes, don’t miss out on trying these scrumptious Pumpkin Cinnamon Roll variations as well!
Expert Tips for Chocolate Cinnamon Rolls
-
Temperature Matters: Ensure all ingredients, especially the warm milk and eggs, are at room temperature for the best rise, which enhances the texture of your Chocolate Cinnamon Rolls.
-
Yeast Activation: Use a thermometer to ensure the milk is not too hot when activating yeast; temperatures above 120°F can kill the yeast, preventing your rolls from rising.
-
Kneading Technique: Knead the dough until it’s smooth and elastic, about 6-8 minutes. This develops gluten, which gives the rolls their fluffy structure.
-
Second Rise Importance: Don’t rush the second rise; allowing the rolls to puff up again is crucial for achieving that soft, airy texture everyone loves in Chocolate Cinnamon Rolls.
-
Storage Tips: If you have leftovers, cool completely, wrap them tightly, and freeze. They keep well for up to 2 months—rehave before serving for a fresh taste!
What to Serve with Soft Chocolate Cinnamon Rolls?
Indulging in these warm, gooey rolls creates an experience that's meant to be shared with delightful companions.
- Rich Coffee: Pairs perfectly with the sweetness of the rolls, balancing flavors and elevating breakfast or dessert moments.
- Vanilla Ice Cream: A scoop on the side adds a creamy contrast, melting delightfully over the warm rolls.
- Fresh Berries: Bright blueberries or raspberries bring a burst of freshness, cutting through the richness for a refreshing twist.
- Maple Syrup Drizzle: A touch of pure maple syrup enhances the sweetness with a robust flavor that complements the chocolate.
- Creamy Yogurt: A dollop of Greek yogurt is a great way to add some tanginess and creaminess to the indulgent rolls.
- Sparkling Water: Light and refreshing, it cleanses your palate between bites, allowing you to fully savor each flavorful mouthful.
- Dark Chocolate Coffee: Serving these rolls with a cup of dark chocolate coffee heightens the chocolate experience, making for a cozy pairing.
- Caramel Sauce: Drizzle over the rolls for a decadent added sweetness that truly elevates the treat to something special.
- Nutella Spread: A little extra spread of Nutella on the side can transform your rolls into a chocolate lover's dream!
- Cheesecake Flavored Muffins: For a brunch gathering, serve alongside these mini delights for an indulgent pastry spread that's sure to impress.
Chocolate Cinnamon Rolls Recipe FAQs
What kind of milk should I use for the dough?
I recommend using warm whole milk for moisture and activating the yeast, but you can definitely substitute with almond milk for a dairy-free version. The milk should be heated to about 100-110°F for optimal yeast activation!
How should I store leftover Chocolate Cinnamon Rolls?
You can store Chocolate Cinnamon Rolls at room temperature in an airtight container for up to 3 days. If you want to keep them longer, place them in the fridge for about 5 days or freeze them for up to 2 months. Just remember to wrap them tightly to keep them soft and fresh!
Can I freeze the Chocolate Cinnamon Rolls?
Absolutely! After they've cooled completely, wrap them securely in plastic wrap and then in foil to prevent freezer burn. Store them in a freezer-safe bag or container, and they will remain delicious for up to 2 months. When you're ready to enjoy, simply reheat them in the oven at 350°F (175°C) for 10-15 minutes or microwave them for 20-30 seconds.
What if my dough doesn't rise properly?
If your dough fails to rise, it could be due to the yeast being inactive. Make sure the milk isn't too hot when adding the yeast, as temperatures above 120°F can kill it. Also, ensure that the yeast is fresh; expired yeast won't activate. If the dough is merely sluggish, allow it to rest in a warmer place—it may just need a little more TLC!
Are there any dietary considerations I should be aware of?
When making Chocolate Cinnamon Rolls, pay attention to any dietary restrictions of your guests. For a dairy-free option, use almond milk and coconut oil instead of butter. As for sweetness, you can substitute brown sugar with white sugar or even experiment with natural sweeteners like honey or maple syrup. Just remember, some substitutes may slightly alter the final flavor or texture!
Irresistible Chocolate Cinnamon Rolls: Soft, Gooey Delight
Ingredients
Equipment
Method
- Warm the whole milk to about 100-110°F. Combine warm milk with active dry yeast and granulated sugar. Let sit for 5-10 minutes until frothy.
- Mix in the large eggs, vanilla extract, and melted butter. Gradually add flour and salt, mixing until a shaggy dough forms. Knead on a floured surface for 6-8 minutes.
- Place kneaded dough in a greased bowl, cover, and let rise in a warm location for about 1 hour, until doubled in size.
- Prepare the filling by mixing softened butter, brown sugar, cinnamon, cocoa powder, and chocolate chunks until well combined.
- Roll out the dough into a 16x12 inch rectangle. Spread filling over the dough and roll tightly into a log. Slice into 12 rolls.
- Arrange rolls in a greased pan, cover, and let rise for another 30-45 minutes until puffy.
- Preheat oven to 350°F. Bake rolls for 20-25 minutes until golden brown. Tent with foil if browning too quickly.
- Prepare glaze by whisking together powdered sugar, cocoa powder, milk, and vanilla extract. Drizzle over warm rolls.